check transmission fluid DODGE VIPER 2015 VX / 3.G User Guide
[x] Cancel search | Manufacturer: DODGE, Model Year: 2015, Model line: VIPER, Model: DODGE VIPER 2015 VX / 3.GPages: 148, PDF Size: 21.7 MB
Page 109 of 148

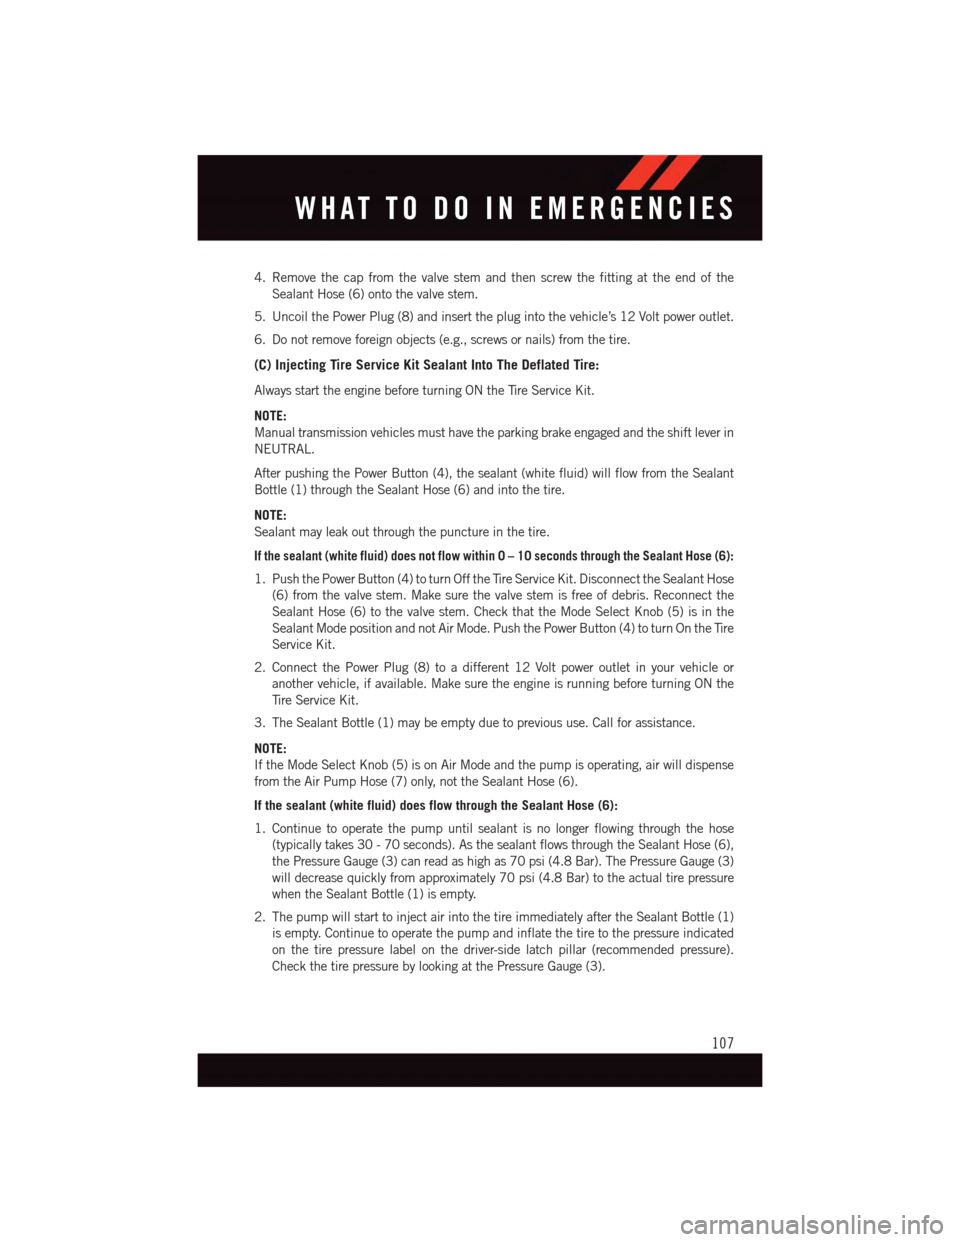
4. Remove the cap from the valve stem and then screw the fitting at the end of the
Sealant Hose (6) onto the valve stem.
5. Uncoil the Power Plug (8) and insert the plug into the vehicle’s 12 Volt power outlet.
6. Do not remove foreign objects (e.g., screws or nails) from the tire.
(C) Injecting Tire Service Kit Sealant Into The Deflated Tire:
Always start the engine before turning ON the Tire Service Kit.
NOTE:
Manual transmission vehicles must have the parking brake engaged and the shift lever in
NEUTRAL.
After pushing the Power Button (4), the sealant (white fluid) will flow from the Sealant
Bottle (1) through the Sealant Hose (6) and into the tire.
NOTE:
Sealant may leak out through the puncture in the tire.
If the sealant (white fluid) does not flow within0–10seconds through the Sealant Hose (6):
1. Push the Power Button (4) to turn Off the Tire Service Kit. Disconnect the Sealant Hose
(6) from the valve stem. Make sure the valve stem is free of debris. Reconnect the
Sealant Hose (6) to the valve stem. Check that the Mode Select Knob (5) is in the
Sealant Mode position and not Air Mode. Push the Power Button (4) to turn On the Tire
Service Kit.
2. Connect the Power Plug (8) to a different 12 Volt power outlet in your vehicle or
another vehicle, if available. Make sure the engine is running before turning ON the
Ti r e S e r v i c e K i t .
3. The Sealant Bottle (1) may be empty due to previous use. Call for assistance.
NOTE:
If the Mode Select Knob (5) is on Air Mode and the pump is operating, air will dispense
from the Air Pump Hose (7) only, not the Sealant Hose (6).
If the sealant (white fluid) does flow through the Sealant Hose (6):
1. Continue to operate the pump until sealant is no longer flowing through the hose
(typically takes 30 - 70 seconds). As the sealant flows through the Sealant Hose (6),
the Pressure Gauge (3) can read as high as 70 psi (4.8 Bar). The Pressure Gauge (3)
will decrease quickly from approximately 70 psi (4.8 Bar) to the actual tire pressure
when the Sealant Bottle (1) is empty.
2. The pump will start to inject air into the tire immediately after the Sealant Bottle (1)
is empty. Continue to operate the pump and inflate the tire to the pressure indicated
on the tire pressure label on the driver-side latch pillar (recommended pressure).
Check the tire pressure by looking at the Pressure Gauge (3).
WHAT TO DO IN EMERGENCIES
107
Page 122 of 148

MAINTENANCE SCHEDULES
The Scheduled Maintenance services listed in this manual must be done at the times or
mileages specified to protect your vehicle warranty and ensure the best vehicle perfor-
mance and reliability. More frequent maintenance may be needed for vehicles in severe
operating conditions, such as dusty areas and very short trip driving. Inspection and
service should also be done anytime a malfunction is suspected.
NOTE:
Under no circumstances should oil change intervals exceed 6,000 miles (10 000 km)
or six months, whichever comes first.
CAUTION!
Failure to perform the required maintenance items may result in damage to the vehicle.
At Each Stop For Fuel
•Checktheengineoillevelaboutfiveminutesafterafullywarmedengineisshutoff.
Checking the oil level while the vehicle is on level ground will improve the accuracy of
the oil level reading. Add oil only when the level is at or below the ADD or MIN mark.
•Checkthewindshieldwashersolventandaddifrequired.
Once A Month
•Checktirepressureandlookforunusualwearordamage.Rotatetiresatthefirstsign
of irregular wear, even if it occurs before your next scheduled service.
•Inspectthebattery,andcleanandtightentheterminalsasrequired.
•Checkthefluidlevelsofthecoolantreservoir,brakemastercylinder,powersteering,
and transmission, and add as needed.
•Checkalllightsandallotherelectricalitemsforcorrectoperation.
At Each Oil Change
•Changetheengineoilfilter.
•Inspecttheexhaustsystem.
NOTE:
Also, inspect the exhaust system if you notice a change in the sound of the exhaust
system, or if the exhaust fumes can be detected inside the vehicle.
•Inspectthebrakehoses.
•Inspectthesuspensioncomponents.
•Lubricatedoorhingesandchecksprings.
•Checktheenginecoolantlevel,hoses,andclamps.
•Checkpowersteeringfluidlevel.
MAINTAINING YOUR VEHICLE
120
Page 137 of 148

Defects, Reporting...........131Dimmer Control.............23Dimmer Switch, Headlight.......23Disabled Vehicle Towing . . . . . . . . .99DisposalAntifreeze (Engine Coolant)....119
ElectronicsYo u r Ve h i c l e ' s S o u n d S y s t e m....36Electronic Speed Control (CruiseControl) . . . . . . . . . . . . . . . .24Electronic Stability Control(ESC)..............28,103Electronic Stability Control (ESC)OFF Indicator . . . . . . . . . . . .104Emergency, In Case OfBrake Warning Light . . . . . . .102Freeing Vehicle When Stuck . . .113Overheating . . . . . . . . . . . .104To w i n g . . . . . . . . . . . . . . . . 9 9Emergency Key..............8EngineAir Cleaner.............119Checking Oil Level.........119Compartment............116Coolant (Antifreeze)........118Cooling . . . . . . . . . . . . . . .119Fuel Requirements.........118Oil . . . . . . . . . . . . . .118, 119Oil Filler Cap...........119Oil Selection . . . . . . . . .118, 119Overheating . . . . . . . . . . . .104Starting................9Stopping...............9Te m p e r a t u r e W a r n i n g L i g h t....101Engine Oil Viscosity..........118Event Data Recorder..........114Exhaust System............119
FA Q . . . . . . . . . . . . . . . . . . . 1 3 3FiltersAir Cleaner.............119Engine Oil..........118, 119Engine Oil Disposal........119FlashersTu r n S i g n a l............103
Fluid Capacities............118Fluid Level ChecksBrake . . . . . . . . . . . . . . .119Capacities.............118Manual Transmission.......119Power Steering..........119Fluids, Lubricants AndGenuine Parts............118Freeing A Stuck Vehicle . . . . . . . .113Frequently Asked Questions......133FuelAdding................30Octane Rating . . . . . . . . . . .118Requirements...........118Ta n k C a p a c i t y...........118Fuse . . . . . . . . . . . . . . . . . .124Fuses . . . . . . . . . . . . . . . . . .124
Garage Door Opener (HomeLink®)...94General Maintenance.........119Glass Cleaning.............119
Hands-Free Phone (Uconnect®)....82HeadlightsAutomatic . . . . . . . . . . . . . .23Cleaning..............119Dimmer Switch...........23High Beam.............22Head Restraints.............17High Beam Indicator..........103High Beam/Low Beam Select(Dimmer) Switch...........22HomeLink®(Garage Door Opener) . . .94Hood Release.............115
Instrument Cluster............6Instrument Cluster WarningLights . . . . . . . . . . . . . .99, 103Instrument Panel Cover........119Instrument Panel Lens Cleaning . . .119Interior And Instrument Lights......5Interior Appearance Care.......119Intermittent Wipers (Delay Wipers) . . .22Introduction................2iPod®/USB/MP3 ControlBluetooth®Streaming Audio....82
INDEX
135
Page 138 of 148

Jump Starting.............111
Key Fob . . . . . . . . . . . . . . . . . .8Locking Doors.............8Locking Liftgate . . . . . . . . . . . .8Unlocking Doors............8Unlocking Liftgate . . . . . . . . . .8Key Fob Programmable Features....92Keyless Enter-N-GoStarting/Stopping...........9Keyless Entry System...........8
Lap/Shoulder Belts...........11LightsBulb Replacement........129High Beam Indicator . . . . . . .103Low Fuel . . . . . . . . . . . . . .99Seat Belt Reminder........102Security Alarm...........103Service...............129Ti r e P r e s s u r e M o n i t o r i n g(TPMS)..............100Lubrication, Body...........119
Maintenance Free Battery . . . . . . .119Maintenance, General.........119Maintenance Procedures.......119Maintenance Record..........123Maintenance Schedule.....120, 121Malfunction Indicator Light(Check Engine)...........103Manual TransmissionFluid Level Check.........119Lubricant Selection........119Master Cylinder (Brakes)........119MOPAR®Accessories.........132
Navigation . . . . . . . . . . . . . . . .63
Occupant Restraints...........13Oil, Engine . . . . . . . . . . . .118, 119Capacity..............118Change Interval..........119Checking..............119Disposal . . . . . . . . . . . . . .119Filter.............118, 119
Filter Disposal...........119Materials Added To........119Recommendation......118, 119Viscosity...........118, 119Oil Filter, Selection...........119Oil Pressure Light . . . . . . . . . . . .99OutletPower................97Overheating, Engine..........104
Paint Care . . . . . . . . . . . . . . .119Panic Alarm................8Pedals, Adjustable............19Phone, Hands-Free (Uconnect®). . . .82Phone (Uconnect®)...........82Placard, Tire And LoadingInformation . . . . . . . . . . . . .127PowerOutlet (AuxiliaryElectrical Outlet) . . . . . . . . . .97Seats................18PretensionersSeat Belts..............11Programmable ElectronicFeatures.............93,94
RadioPresets . . . . . . . . . . . . . . . .56Rain Sensitive Wiper System......22Rear Camera...............35Rear ParkSense System.........35Recreational Towing...........98Refrigerant . . . . . . . . . . . . . . .119Reporting Safety Defects.......131Restraint, Head.............17Rocking Vehicle When Stuck.....113
Schedule, Maintenance........120Seat Belt Maintenance........119Seat Belts................11Adjustable Shoulder Belt......11Pretensioners............11Reminder.............102Seat Belt Warning..........11Seats...................18Adjustment.............18Power................18
INDEX
136