spare wheel FIAT 124 SPIDER ABARTH 2017 2.G Owners Manual
[x] Cancel search | Manufacturer: FIAT, Model Year: 2017, Model line: 124 SPIDER ABARTH, Model: FIAT 124 SPIDER ABARTH 2017 2.GPages: 292, PDF Size: 121.25 MB
Page 122 of 292
Tire Pressure Monitoring System —
Sport Grade
The TPMS system monitors the
pressure for each tire.
If tire pressure is too low in one or more
tires, the system will inform the driver
via the
warning light in the
instrument cluster and by the warning
beep sound.
The tire pressure sensors installed on
each wheel send tire pressure data by
radio signal to the receiver unit in the
vehicle.
TPMS does not alleviate your need to
check the pressure and condition of all
four tires regularly.
Each tire, including the spare (if
provided), should be checked monthly
when cold and inflated to the inflation
pressure recommended by the vehicle
manufacturer on the vehicle placard or
tire inflation pressure label. (If your
vehicle has tires of a different size than
the size indicated on the vehicle placard
or tire inflation pressure label, you
should determine the proper tire
inflation pressure for those tires.)
As an added safety feature, your vehicle
has been equipped with a tire pressure
monitoring system (TPMS) that
illuminates a low tire pressure telltale
when one or more of your tires is
significantly under-inflated. Accordingly,
when the low tire pressure telltale
illuminates, you should stop and check
your tires as soon as possible, and inflate them to the proper pressure.
Driving on a significantly under-inflated
tire causes the tire to overheat and can
lead to tire failure. Under-inflation also
reduces fuel efficiency and tire tread life,
and may affect the vehicle's handling
and stopping ability. Please note that
the TPMS is not a substitute for proper
tire maintenance, and it is the driver's
responsibility to maintain correct tire
pressure, even if under-inflation has not
reached the level to trigger illumination
of the TPMS low tire pressure telltale.
Your vehicle has also been equipped
with a TPMS malfunction indicator to
indicate when the system is not
operating properly. When the system
detects a malfunction, the telltale will
flash for approximately one minute and
then remain continuously illuminated.
This sequence will continue upon
subsequent vehicle start-ups as long as
the malfunction exists.] When the
malfunction indicator is illuminated, the
system may not be able to detect or
signal low tire pressure as intended.
TPMS malfunctions may occur for a
variety of reasons, including the
installation of replacement or alternate
tires or wheels on the vehicle that
prevent the TPMS from functioning
properly. Always check the TPMS
malfunction telltale after replacing one
or more tires or wheels on your vehicle
to ensure that the replacement or
alternate tires and wheels allow the
TPMS to continue to function properly.
System Error Activation
When the
warning light flashes,
there may be a system malfunction.
Contact your Authorized Dealer.
A system error activation may occur in
the following cases:
When there is equipment or a device
near the vehicle using the same radio
frequency as that of the tire pressure
sensors.
When a metallic device such as a
non-genuine navigation system is
equipped near the center of the
dashboard, which may block radio
signals from the tire pressure sensor to
the receiver unit.
When using the following devices in
the vehicle that may cause radio
interference with the receiver unit.
A digital device such as a personal
computer.
A current converter device such as a
DC-AC converter.
When excess snow or ice adheres to
the vehicle, especially around the
wheels.
When the tire pressure sensor
batteries are discharged.
When using a wheel with no tire
pressure sensor installed.
120
SAFETY
Page 168 of 292
PARKVIEW REAR
BACKUP CAMERA —
IF EQUIPPED
Operation
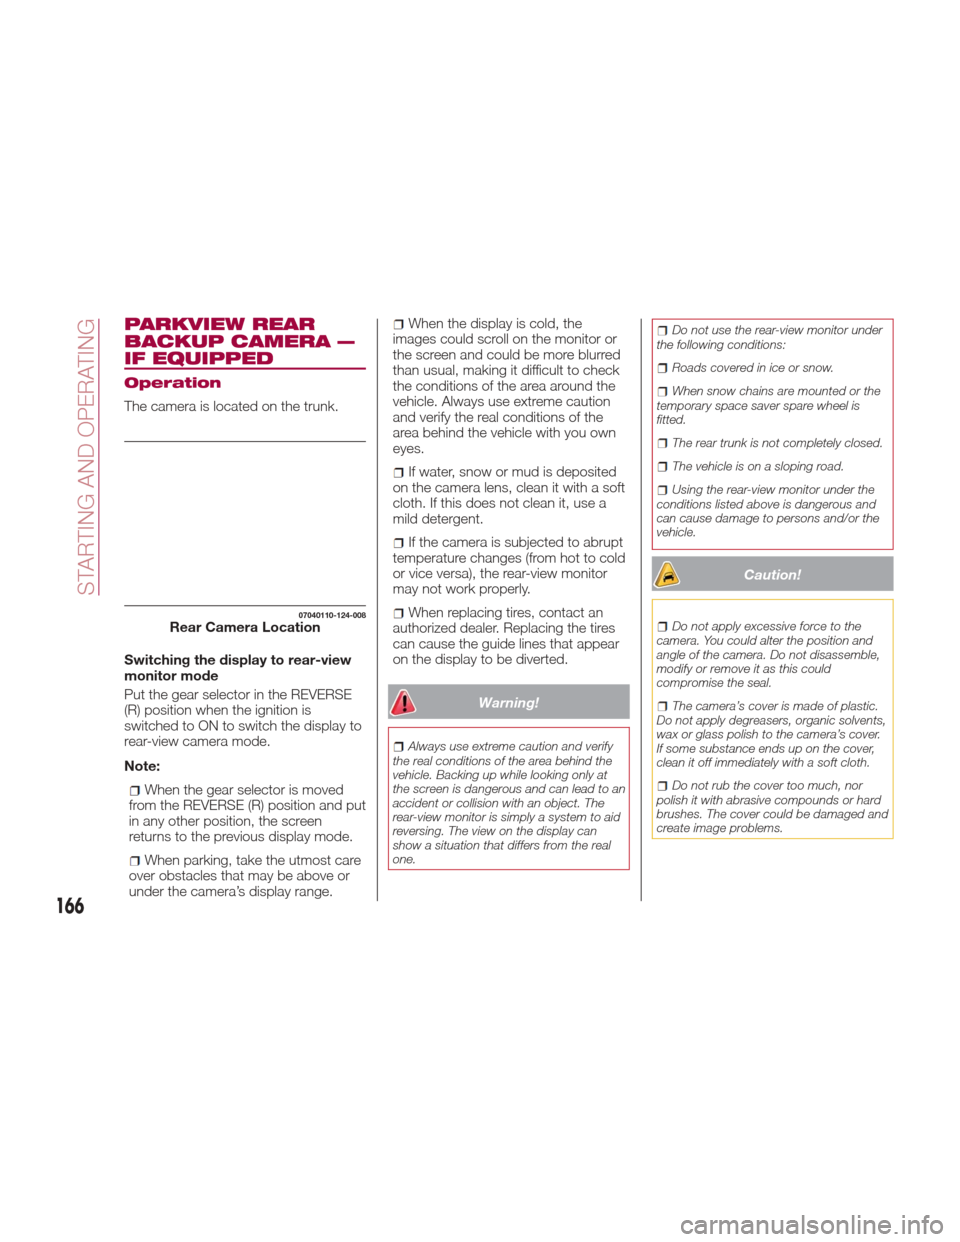
The camera is located on the trunk.
Switching the display to rear-view
monitor mode
Put the gear selector in the REVERSE
(R) position when the ignition is
switched to ON to switch the display to
rear-view camera mode.
Note:
When the gear selector is moved
from the REVERSE (R) position and put
in any other position, the screen
returns to the previous display mode.
When parking, take the utmost care
over obstacles that may be above or
under the camera’s display range.
When the display is cold, the
images could scroll on the monitor or
the screen and could be more blurred
than usual, making it difficult to check
the conditions of the area around the
vehicle. Always use extreme caution
and verify the real conditions of the
area behind the vehicle with you own
eyes.
If water, snow or mud is deposited
on the camera lens, clean it with a soft
cloth. If this does not clean it, use a
mild detergent.
If the camera is subjected to abrupt
temperature changes (from hot to cold
or vice versa), the rear-view monitor
may not work properly.
When replacing tires, contact an
authorized dealer. Replacing the tires
can cause the guide lines that appear
on the display to be diverted.
Warning!
Always use extreme caution and verify
the real conditions of the area behind the
vehicle. Backing up while looking only at
the screen is dangerous and can lead to an
accident or collision with an object. The
rear-view monitor is simply a system to aid
reversing. The view on the display can
show a situation that differs from the real
one.
Do not use the rear-view monitor under
the following conditions:
Roads covered in ice or snow.
When snow chains are mounted or the
temporary space saver spare wheel is
fitted.
The rear trunk is not completely closed.
The vehicle is on a sloping road.
Using the rear-view monitor under the
conditions listed above is dangerous and
can cause damage to persons and/or the
vehicle.
Caution!
Do not apply excessive force to the
camera. You could alter the position and
angle of the camera. Do not disassemble,
modify or remove it as this could
compromise the seal.
The camera’s cover is made of plastic.
Do not apply degreasers, organic solvents,
wax or glass polish to the camera’s cover.
If some substance ends up on the cover,
clean it off immediately with a soft cloth.
Do not rub the cover too much, nor
polish it with abrasive compounds or hard
brushes. The cover could be damaged and
create image problems.
07040110-124-008Rear Camera Location
166
STARTING AND OPERATING
Page 204 of 292
CHANGING A WHEEL
Warning!
Do not attempt to change a tire on the
side of the vehicle close to moving traffic.
Pull far enough off the road to avoid the
danger of being hit when operating the jack
or changing the wheel.
Being under a jacked-up vehicle is
dangerous. The vehicle could slip off the
jack and fall on you. You could be crushed.
Never put any part of your body under a
vehicle that is on a jack. If you need to get
under a raised vehicle, take it to a service
center where it can be raised on a lift.
The jack is designed to be used as a
tool for changing tires only. The jack should
not be used to lift the vehicle for service
purposes. The vehicle should be jacked on
a firm level surface only. Avoid ice or
slippery areas.
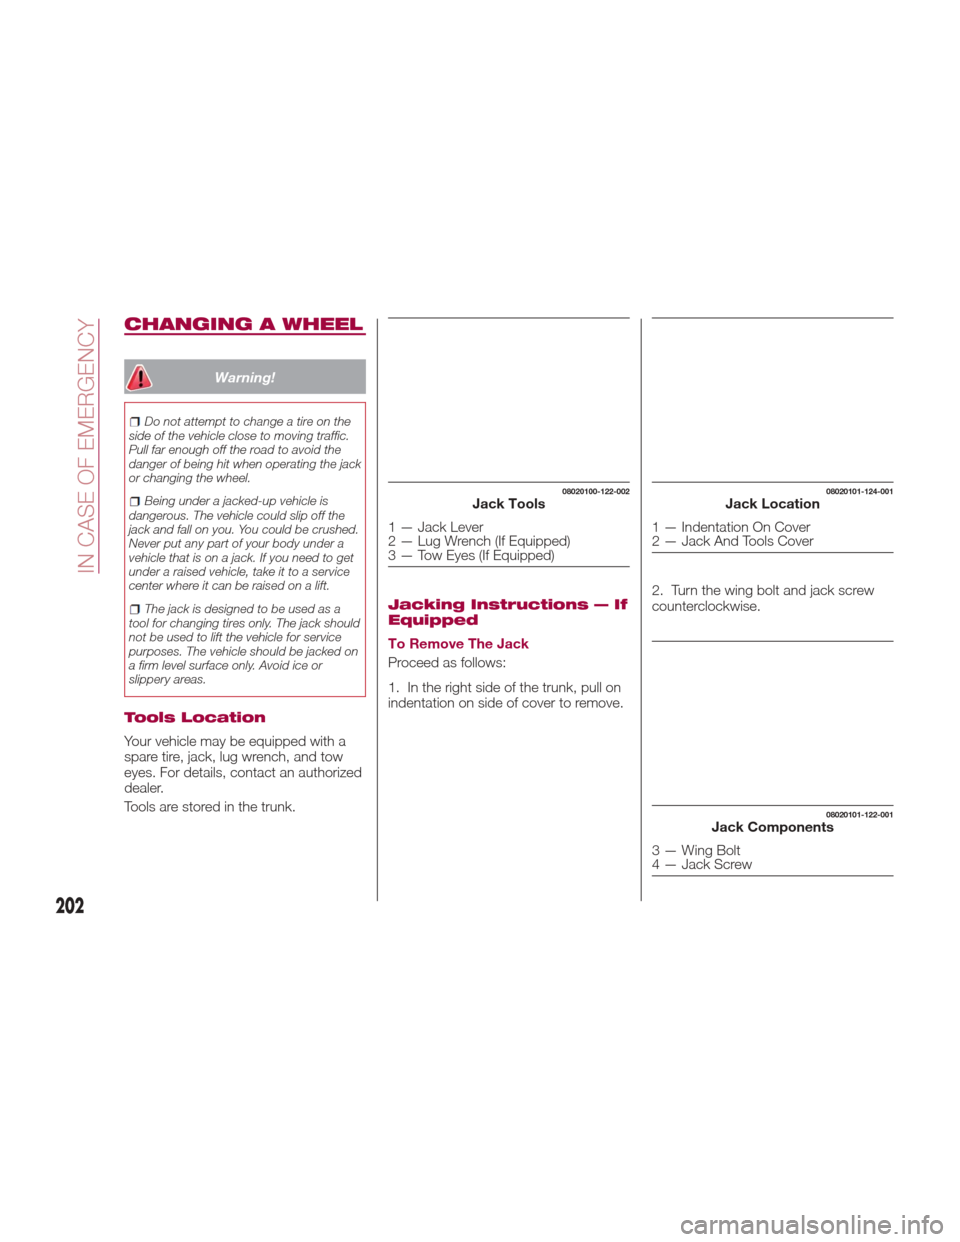
Tools Location
Your vehicle may be equipped with a
spare tire, jack, lug wrench, and tow
eyes. For details, contact an authorized
dealer.
Tools are stored in the trunk.
Jacking Instructions — If
Equipped
To Remove The Jack
Proceed as follows:
1. In the right side of the trunk, pull on
indentation on side of cover to remove. 2. Turn the wing bolt and jack screw
counterclockwise.
08020100-122-002Jack Tools
1 — Jack Lever
2 — Lug Wrench (If Equipped)
3 — Tow Eyes (If Equipped)
08020101-124-001Jack Location
1 — Indentation On Cover
2 — Jack And Tools Cover
08020101-122-001Jack Components
3 — Wing Bolt
4 — Jack Screw
202
IN CASE OF EMERGENCY
Page 205 of 292
To Secure The Jack
Proceed as follows:
1. Insert the wing bolt into the jack with
the jack screw pointing back, and turn
the wing bolt clockwise to temporarily
tighten it.
2. Turn the jack screw clockwise.
3. Turn the wing bolt completely to
secure the jack.
4. Insert the cover tabs and install the
cover.
Warning!
A loose tire or jack thrown forward in a
collision or hard stop could endanger the
occupants of the vehicle. Always stow the
jack parts and the spare tire in the places
provided. Have the deflated (flat) tire
repaired or replaced immediately.
Maintenance
Always keep the jack clean.
Make sure the moving parts are kept
free from dirt or rust.
Make sure the screw thread is
adequately lubricated.
Conditions Of Non-Use
Temperatures below -40°F (−40°C)
On sandy or muddy ground
On uneven ground
On steep roads
In extreme weather conditions
In direct contact with the engine or
for repairs under the vehicle
On boats
Changing Procedure
Note: Make sure the jack is well
lubricated before using it.
Warning!
Do not attempt to change a tire on the side
of the vehicle close to moving traffic, pull
far enough off the road to avoid being hit
when operating the jack or changing the
wheel.
Proceed as follows:
1. Stop the vehicle in a position that
does not cause any danger to traffic
and lets you change the tire in safety, as
far as possible from the edge of the
driving lane. The ground must be flat
and sufficiently compact.
2. Turn on the hazard warning lights
and engage the parking brake. 3. For vehicles with automatic
transmission, place the gear selector in
Park (P). For vehicles with manual
transmission, place gear selector in
Reverse (R) and turn off the engine.
4. Stop the engine. The motor must be
kept off as long as the vehicle is lifted
off the ground.
5. Remove the jack and tools.
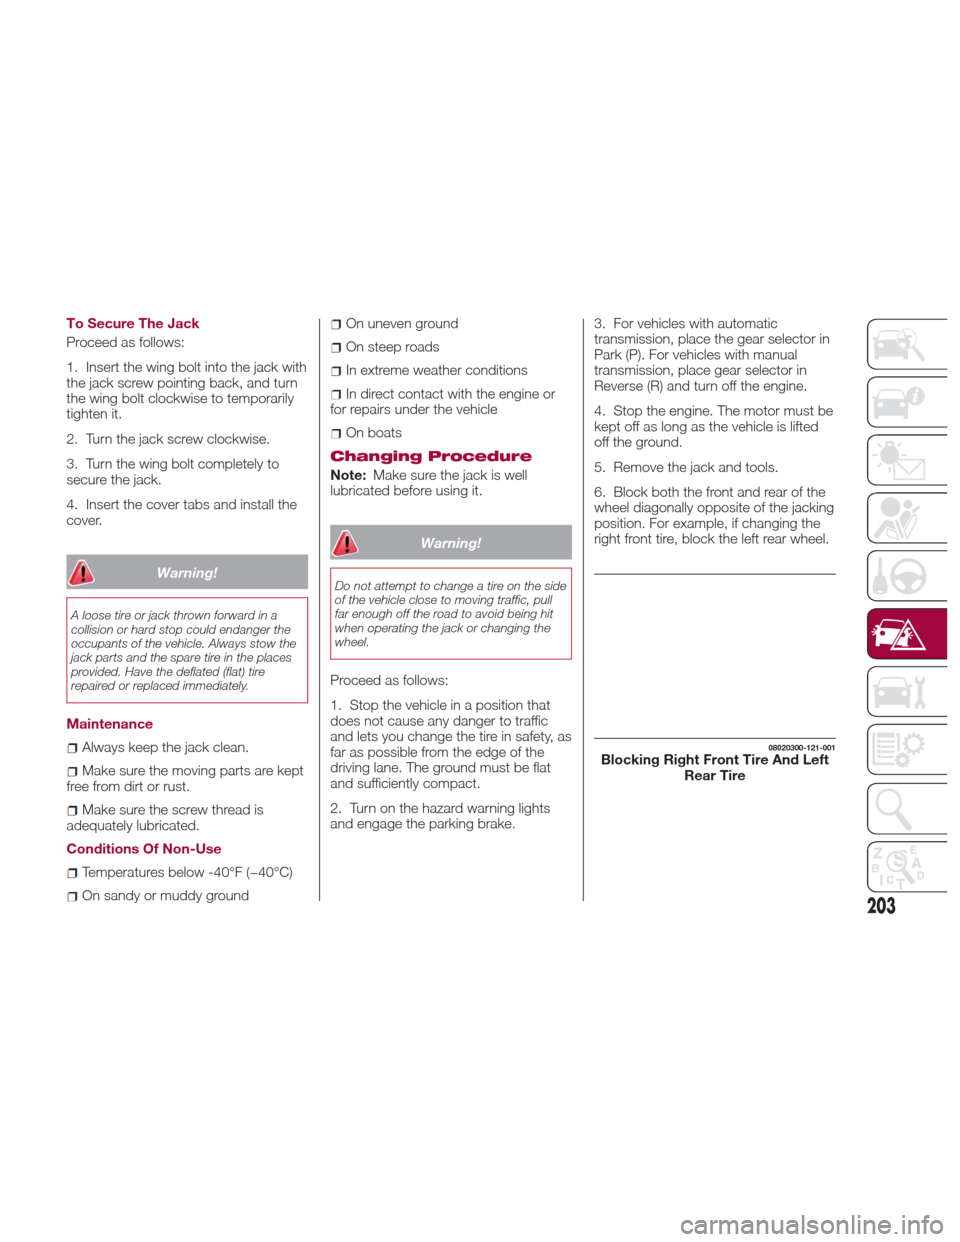
6. Block both the front and rear of the
wheel diagonally opposite of the jacking
position. For example, if changing the
right front tire, block the left rear wheel.
08020300-121-001Blocking Right Front Tire And Left
Rear Tire
203
Page 207 of 292
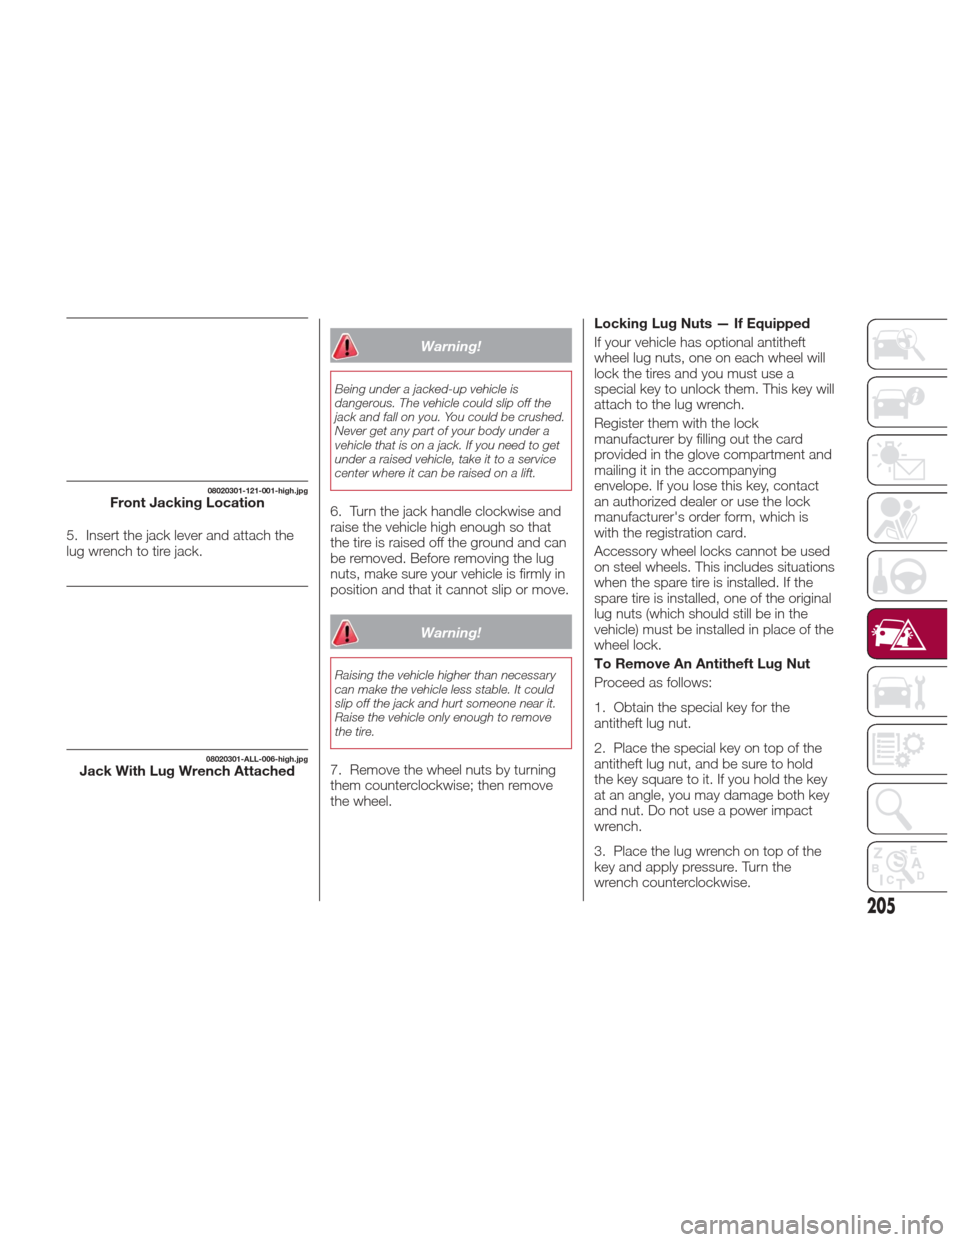
5. Insert the jack lever and attach the
lug wrench to tire jack.
Warning!
Being under a jacked-up vehicle is
dangerous. The vehicle could slip off the
jack and fall on you. You could be crushed.
Never get any part of your body under a
vehicle that is on a jack. If you need to get
under a raised vehicle, take it to a service
center where it can be raised on a lift.
6. Turn the jack handle clockwise and
raise the vehicle high enough so that
the tire is raised off the ground and can
be removed. Before removing the lug
nuts, make sure your vehicle is firmly in
position and that it cannot slip or move.
Warning!
Raising the vehicle higher than necessary
can make the vehicle less stable. It could
slip off the jack and hurt someone near it.
Raise the vehicle only enough to remove
the tire.
7. Remove the wheel nuts by turning
them counterclockwise; then remove
the wheel.Locking Lug Nuts — If Equipped
If your vehicle has optional antitheft
wheel lug nuts, one on each wheel will
lock the tires and you must use a
special key to unlock them. This key will
attach to the lug wrench.
Register them with the lock
manufacturer by filling out the card
provided in the glove compartment and
mailing it in the accompanying
envelope. If you lose this key, contact
an authorized dealer or use the lock
manufacturer's order form, which is
with the registration card.
Accessory wheel locks cannot be used
on steel wheels. This includes situations
when the spare tire is installed. If the
spare tire is installed, one of the original
lug nuts (which should still be in the
vehicle) must be installed in place of the
wheel lock.
To Remove An Antitheft Lug Nut
Proceed as follows:
1. Obtain the special key for the
antitheft lug nut.
2. Place the special key on top of the
antitheft lug nut, and be sure to hold
the key square to it. If you hold the key
at an angle, you may damage both key
and nut. Do not use a power impact
wrench.
3. Place the lug wrench on top of the
key and apply pressure. Turn the
wrench counterclockwise.
08020301-121-001-high.jpgFront Jacking Location
08020301-ALL-006-high.jpgJack With Lug Wrench Attached
205
Page 208 of 292
To Install The Antitheft Lug Nut
Proceed as follows:
1. Place the special key on top of the
nut, and be sure to hold the key square
to it. If you hold the key at an angle, you
may damage both key and nut. Do not
use a power impact wrench.
2. Place the lug wrench on top of the
special key, apply pressure, and turn it
clockwise.
Mounting The Tire
Proceed as follows:
1. Remove dirt and grime from the
mounting surfaces of the wheel and
hub, including the hub bolts, with a
cloth.
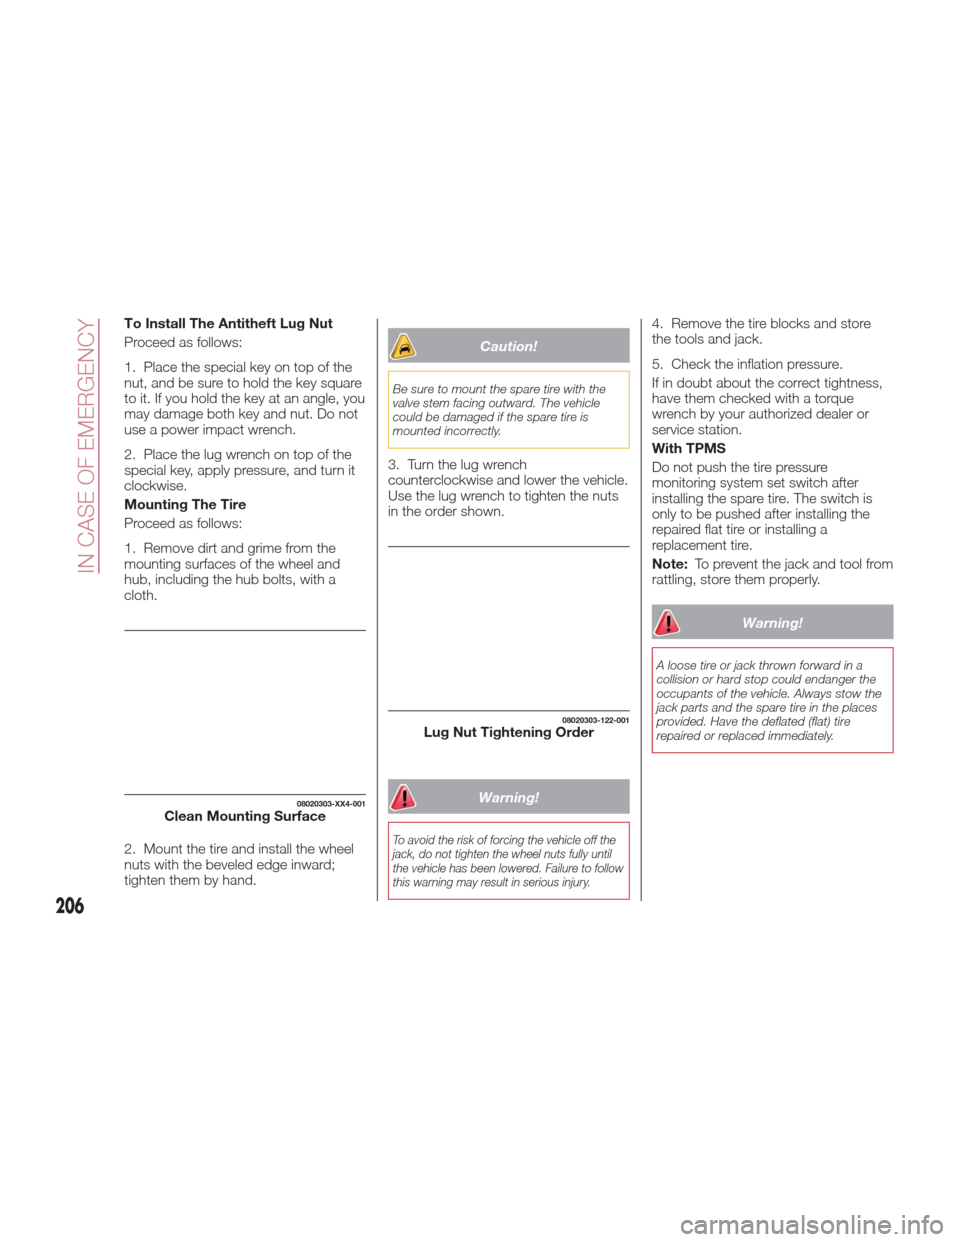
2. Mount the tire and install the wheel
nuts with the beveled edge inward;
tighten them by hand.
Caution!
Be sure to mount the spare tire with the
valve stem facing outward. The vehicle
could be damaged if the spare tire is
mounted incorrectly.
3. Turn the lug wrench
counterclockwise and lower the vehicle.
Use the lug wrench to tighten the nuts
in the order shown.
Warning!
To avoid the risk of forcing the vehicle off the
jack, do not tighten the wheel nuts fully until
the vehicle has been lowered. Failure to follow
this warning may result in serious injury.
4. Remove the tire blocks and store
the tools and jack.
5. Check the inflation pressure.
If in doubt about the correct tightness,
have them checked with a torque
wrench by your authorized dealer or
service station.
With TPMS
Do not push the tire pressure
monitoring system set switch after
installing the spare tire. The switch is
only to be pushed after installing the
repaired flat tire or installing a
replacement tire.
Note:To prevent the jack and tool from
rattling, store them properly.
Warning!
A loose tire or jack thrown forward in a
collision or hard stop could endanger the
occupants of the vehicle. Always stow the
jack parts and the spare tire in the places
provided. Have the deflated (flat) tire
repaired or replaced immediately.
08020303-XX4-001Clean Mounting Surface
08020303-122-001Lug Nut Tightening Order
206
IN CASE OF EMERGENCY
Page 239 of 292
RAISING THE
VEHICLE
If the vehicle needs to be raised, see an
authorized dealer which is equipped
with arm hoists or workshop lifts.
The vehicle’s lifting points are marked
on the side skirts with the
symbols.
WHEELS AND TIRES
Tire Safety Information
Tire safety information will cover
aspects of the following information:
Tire Markings, Tire Identification
Numbers, Tire Terminology and
Definitions, Tire Pressures and Tire
Loading.
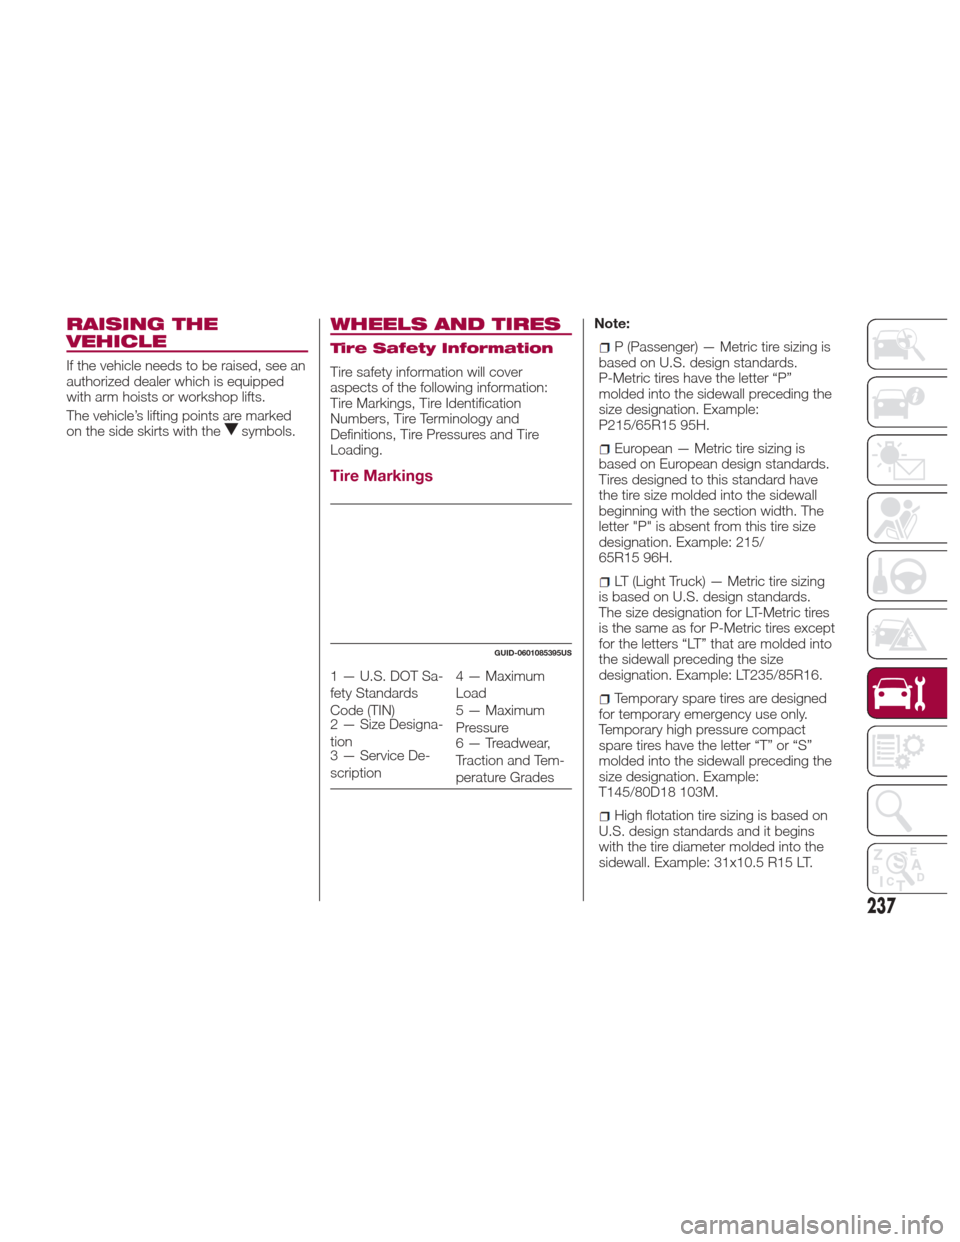
Tire Markings
Note:
P (Passenger) — Metric tire sizing is
based on U.S. design standards.
P-Metric tires have the letter “P”
molded into the sidewall preceding the
size designation. Example:
P215/65R15 95H.
European — Metric tire sizing is
based on European design standards.
Tires designed to this standard have
the tire size molded into the sidewall
beginning with the section width. The
letter "P" is absent from this tire size
designation. Example: 215/
65R15 96H.
LT (Light Truck) — Metric tire sizing
is based on U.S. design standards.
The size designation for LT-Metric tires
is the same as for P-Metric tires except
for the letters “LT” that are molded into
the sidewall preceding the size
designation. Example: LT235/85R16.
Temporary spare tires are designed
for temporary emergency use only.
Temporary high pressure compact
spare tires have the letter “T” or “S”
molded into the sidewall preceding the
size designation. Example:
T145/80D18 103M.
High flotation tire sizing is based on
U.S. design standards and it begins
with the tire diameter molded into the
sidewall. Example: 31x10.5 R15 LT.
GUID-0601085395US
1 — U.S. DOT Sa-
fety Standards
Code (TIN) 4 — Maximum
Load
2 — Size Designa-
tion 5 — Maximum
Pressure
3 — Service De-
scription 6 — Treadwear,
Traction and Tem-
perature Grades
237
Page 247 of 292
Refer to “Freeing A Stuck Vehicle” in “In
Case Of Emergency” for further
information.
Warning!
Fast spinning tires can be dangerous.
Forces generated by excessive wheel
speeds may cause tire damage or failure. A
tire could explode and injure someone. Do
not spin your vehicle's wheels faster than
30 mph (48 km/h) for more than
30 seconds continuously when you are
stuck, and do not let anyone near a
spinning wheel, no matter what the speed.
Tread Wear Indicators
Tread wear indicators are in the original
equipment tires to help you in
determining when your tires should be
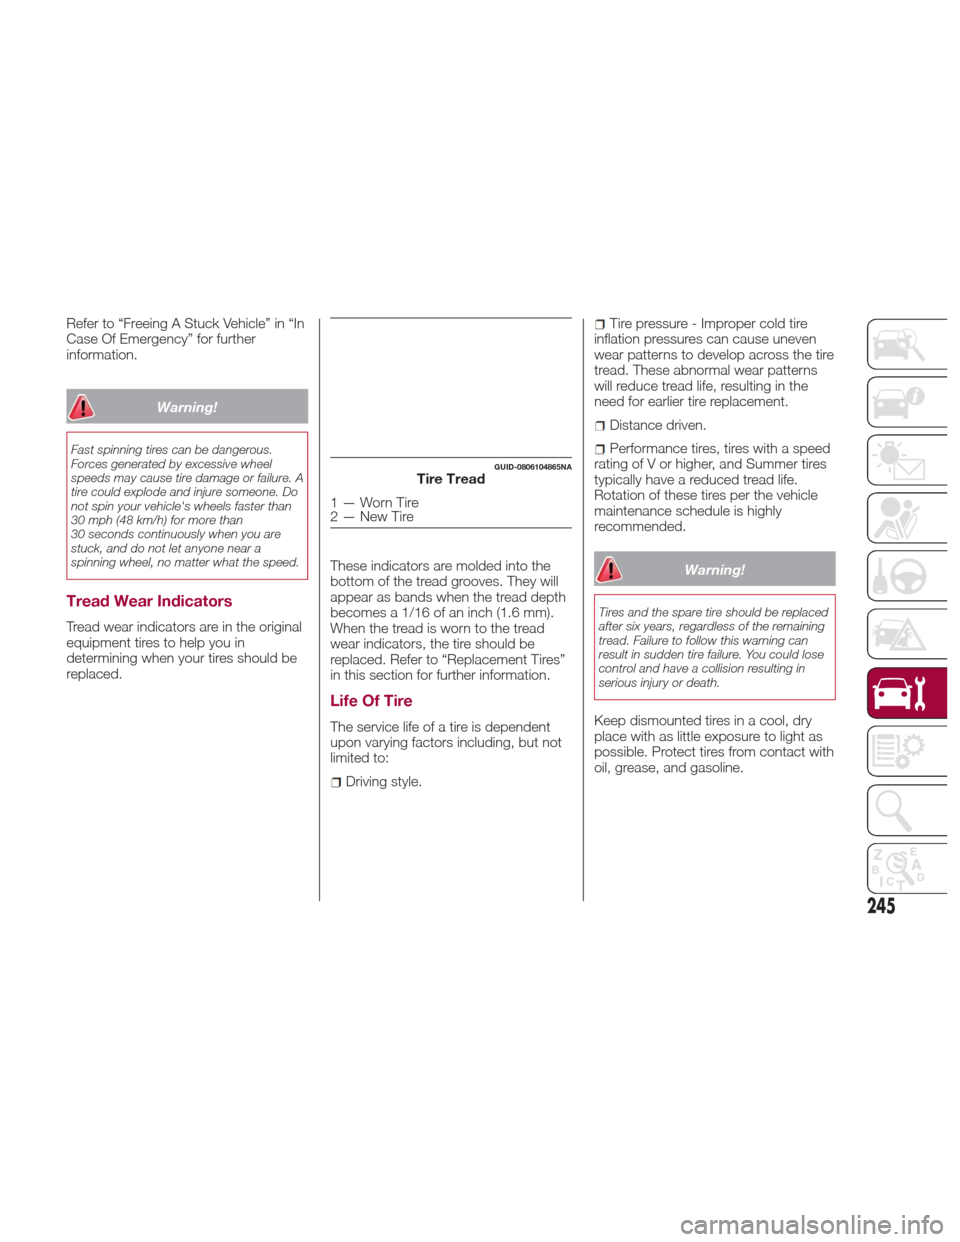
replaced.These indicators are molded into the
bottom of the tread grooves. They will
appear as bands when the tread depth
becomesa1/16ofaninch(1.6mm).
When the tread is worn to the tread
wear indicators, the tire should be
replaced. Refer to “Replacement Tires”
in this section for further information.
Life Of Tire
The service life of a tire is dependent
upon varying factors including, but not
limited to:
Driving style.
Tire pressure - Improper cold tire
inflation pressures can cause uneven
wear patterns to develop across the tire
tread. These abnormal wear patterns
will reduce tread life, resulting in the
need for earlier tire replacement.
Distance driven.
Performance tires, tires with a speed
rating of V or higher, and Summer tires
typically have a reduced tread life.
Rotation of these tires per the vehicle
maintenance schedule is highly
recommended.
Warning!
Tires and the spare tire should be replaced
after six years, regardless of the remaining
tread. Failure to follow this warning can
result in sudden tire failure. You could lose
control and have a collision resulting in
serious injury or death.
Keep dismounted tires in a cool, dry
place with as little exposure to light as
possible. Protect tires from contact with
oil, grease, and gasoline.
GUID-0806104865NATire Tread
1—WornTire
2—NewTire
245
Page 249 of 292
Warning!
Do not use Summer tires in snow/ice
conditions. You could lose vehicle control,
resulting in severe injury or death. Driving
too fast for conditions also creates the
possibility of loss of vehicle control.
Snow Tires
Some areas of the country require the
use of snow tires during the Winter.
Snow tires can be identified by a
“mountain/snowflake” symbol on the
tire sidewall.If you need snow tires,
select tires equivalent
in size and type to the
original equipment
tires. Use snow tires
only in sets of four;
failure to do so may
adversely affect the safety and handling
of your vehicle.
Snow tires generally have lower speed
ratings than what was originally
equipped with your vehicle and should
not be operated at sustained speeds
over 75 mph (120 km/h). For speeds
above 75 mph (120 km/h) refer to
original equipment or an authorized tire
dealer for recommended safe operating
speeds, loading and cold tire inflation
pressures. While studded tires improve
performance on ice, skid and traction
capability on wet or dry surfaces may
be poorer than that of non-studded
tires. Some states prohibit studded
tires; therefore, local laws should be
checked before using these tire types.
Spare Tires — If
Equipped
Note:
For vehicles equipped with Tire Service
Kit instead of a spare tire, please refer
to “Tire Service Kit” in “In Case Of
Emergency” for further information.
Caution!
Because of the reduced ground clearance,
do not take your vehicle through an
automatic car wash with a compact or
limited use temporary spare installed.
Damage to the vehicle may result.
Spare Tire Matching Original
Equipped Tire And Wheel — If
Equipped
Your vehicle may be equipped with a
spare tire and wheel equivalent in look
and function to the original equipment
tire and wheel found on the front or rear
axle of your vehicle. This spare tire may
be used in the tire rotation for your
vehicle. If your vehicle has this option,refer to an authorized tire dealer for the
recommended tire rotation pattern.
Compact Spare Tire — If
Equipped
The compact spare is for temporary
emergency use only. You can identify if
your vehicle is equipped with a
compact spare by looking at the spare
tire description on the Tire and Loading
Information Placard located on the
driver’s side door opening or on the
sidewall of the tire. Compact spare tire
descriptions begin with the letter “T” or
“S” preceding the size designation.
Example: T145/80D18 103M.
T,S=Tempo
rary Spare Tire
Since this tire has limited tread life, the
original equipment tire should be
repaired (or replaced) and reinstalled on
your vehicle at the first opportunity.
Do not install a wheel cover or attempt
to mount a conventional tire on the
compact spare wheel, since the wheel
is designed specifically for the compact
spare tire. Do not install more than one
compact spare tire and wheel on the
vehicle at any given time.
247
Page 250 of 292
Warning!
Compact and collapsible spares are for
temporary emergency use only. With these
spares, do not drive more than 50 mph
(80 km/h). Temporary use spares have
limited tread life. When the tread is worn to
the tread wear indicators, the temporary
use spare tire needs to be replaced. Be
sure to follow the warnings, which apply to
your spare. Failure to do so could result in
spare tire failure and loss of vehicle control.
Collapsible Spare Tire — If
Equipped
The collapsible spare is for temporary
emergency use only. You can identify if
your vehicle is equipped with a
collapsible spare by looking at the
spare tire description on the Tire and
Loading Information Placard located on
the driver’s side door opening or on the
sidewall of the tire.
Collapsible spare tire description
example: 165/80-17 101P.
Since this tire has limited tread life, the
original equipment tire should be
repaired (or replaced) and reinstalled on
your vehicle at the first opportunity.
Inflate collapsible tire only after the
wheel is properly installed to the
vehicle. Inflate the collapsible tire using
the electric air pump before lowering
the vehicle.Do not install a wheel cover or attempt
to mount a conventional tire on the
collapsible spare wheel, since the wheel
is designed specifically for the
collapsible spare tire.
Warning!
Compact and Collapsible spares are for
temporary emergency use only. With these
spares, do not drive more than 50 mph
(80 km/h). Temporary use spares have
limited tread life. When the tread is worn to
the tread wear indicators, the temporary
use spare tire needs to be replaced. Be
sure to follow the warnings, which apply to
your spare. Failure to do so could result in
spare tire failure and loss of vehicle control.
Full Size Spare — If Equipped
The full size spare is for temporary
emergency use only. This tire may look
like the originally equipped tire on the
front or rear axle of your vehicle, but it is
not. This spare tire may have limited
tread life. When the tread is worn to the
tread wear indicators, the temporary
use full size spare tire needs to be
replaced. Since it is not the same as
your original equipment tire, replace (or
repair) the original equipment tire and
reinstall on the vehicle at the first
opportunity.
Limited Use Spare — If
Equipped
The limited use spare tire is for
temporary emergency use only. This tire
is identified by a label located on the
limited use spare wheel. This label
contains the driving limitations for this
spare. This tire may look like the original
equipped tire on the front or rear axle of
your vehicle, but it is not. Installation of
this limited use spare tire affects vehicle
handling. Since it is not the same as
your original equipment tire, replace (or
repair) the original equipment tire and
reinstall on the vehicle at the first
opportunity.
Warning!
Limited use spares are for emergency use
only. Installation of this limited use spare
tire affects vehicle handling. With this tire,
do not drive more than the speed listed on
the limited use spare wheel. Keep inflated
to the cold tire inflation pressures listed on
your Tire and Loading Information Placard
located on the driver’s side B-Pillar or the
rear edge of the driver’s side door. Replace
(or repair) the original equipment tire at the
first opportunity and reinstall it on your
vehicle. Failure to do so could result in loss
of vehicle control.
248
SERVICING AND MAINTENANCE