rear view mirror FIAT 500 1960 1.G Workshop Manual
[x] Cancel search | Manufacturer: FIAT, Model Year: 1960, Model line: 500, Model: FIAT 500 1960 1.GPages: 128, PDF Size: 9.01 MB
Page 124 of 128

8 Refit the intermediate protection lining ensuring that
it is properly located and well glued. Refit the door
lining panel, key and crank handle.
Door ventilator:
The door ventilator comprises the glass, weather strip
placed between the glass and chromium plated frame,
the chromium plated frame together with pin and bracket
for upper and lower hinging, frame control handle and
lining.
To remove the ventilator glass first drill the upper pivot
pin using a portable electric drill and release the nut and
locknut from the lower pivot bracket. Carefully lift away
the glass.
Reassembly:
To reassemble the ventilator glass proceed as follows:
1 Coat the outer edge of the glass on which the chrome
plated frame must be installed with a 50% solution of
petrol and oil to ensure that the glass can be easily
inserted into the frame.
2 Install the lock handle which is secured to the frame
by means of a screw sunk into the handle body and
t w o corrugated spring washers placed between the
frame and the handle.
3 Before installing the ventilator pane on the door panel
ensure that the metal channels in the front post flanges
at the pane base are firmly located in place and f i t the
rubber weather strip arranging it carefully in its
seating. The weather strip is secured by clips located
on the metal channels.
4 Refit the handle striker plate and secure it to the door
channel by means of t w o self-tapping screws.
5 Insert the lower ventilator swivel on the door panel to
welded bracket. Fit the spring and secure ventilator
assembly through the nut, locknut and plain washer so
that it can, be freely adjusted to any position without
undue effort (see FIG 12:5).
6 Fit the chrome cover on the lower ventilator swivel.
Refit the upper ventilator swivel in the door panel
brackets and clench it using a hammer and a suitably
sized drift against a firm metal block. This will ensure
correct ventilator movement.
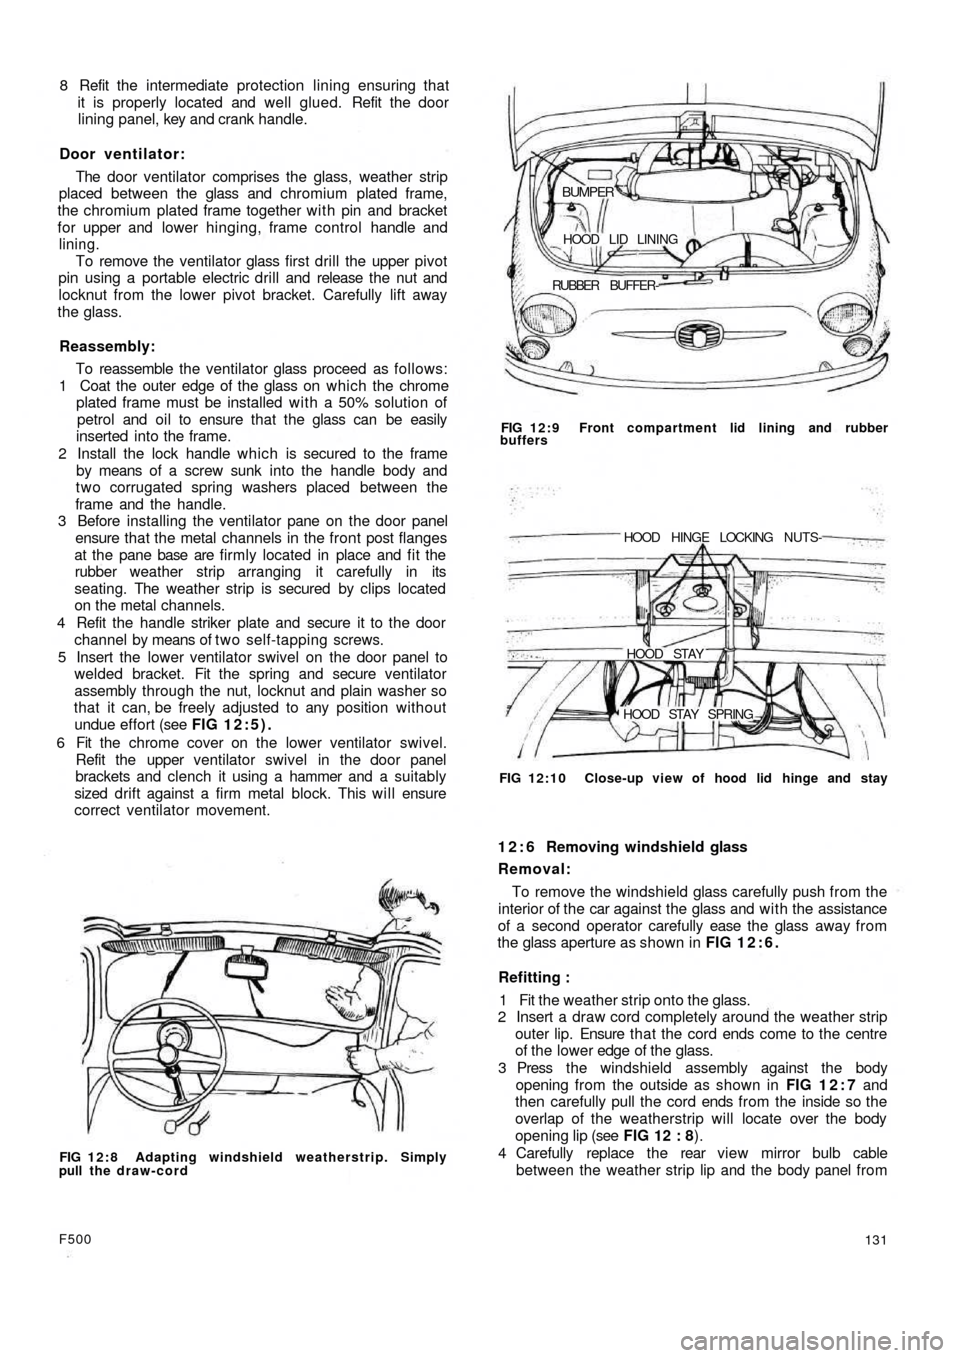
FIG 12:8 Adapting windshield weatherstrip. Simply
pull the draw-cord
F500
131 RUBBER BUFFER-HOOD LID LINING
BUMPER
FIG 12:9 Front compartment lid lining and rubber
buffers
HOOD STAY SPRING HOOD STAY HOOD HINGE LOCKING NUTS-
FIG 12:10 Close-up view of hood lid hinge and stay
1 2 : 6 Removing windshield glass
Removal:
To remove the windshield glass carefully push from the
interior of the car against the glass and with the assistance
of a second operator carefully ease the glass away f r o m
the glass aperture as shown in FIG 12:6.
Refitting :
1 Fit the weather strip onto the glass.
2 Insert a draw cord completely around the weather strip
outer lip. Ensure t h a t the cord ends come to the centre
of the lower edge of the glass.
3 Press t h e windshield assembly against the body
opening from the outside as shown in FIG 1 2 : 7 and
then carefully pull the cord ends from the inside so the
overlap of the weatherstrip will locate over the body
opening lip (see FIG 12 : 8).
4 Carefully replace the rear view mirror bulb cable
between the weather strip lip and the body panel from