instrument cluster FIAT 500 2013 2.G User Guide
[x] Cancel search | Manufacturer: FIAT, Model Year: 2013, Model line: 500, Model: FIAT 500 2013 2.GPages: 423, PDF Size: 9.86 MB
Page 150 of 423
INSTRUMENT CLUSTER DESCRIPTIONS
1. Glow Plug Light — If Equipped
This vehicle will inhibit engine cranking when the
ambient temperature is less than –22° F (–30° C)
and the oil temperature sensor reading indicates an
engine block heater has not been used. The Glow Plug
light will flash during in cold weather for up to 10
seconds. An externally powered electric engine block
heater is available as optional equipment or from your
authorized studio).
The message#Plug In Engine Heater#, will be displayed
in the instrument cluster when the ambient temperature
is below 5°F (-15°C) at the time the engine is shut off as
a reminder to avoid possible crank delays at the next cold
start.
2. Rear Defrost Button
Press and release this button to turn on the rear
window defroster. This indicator will illuminate
when the rear window defroster is on. The rear window
defroster automatically turns off after 20 minutes.
CAUTION!
Failure to follow these cautions can cause damage to
the heating elements:
•Use care when washing the inside of the rear
window. Do not use abrasive window cleaners on
the interior surface of the window. Use a soft cloth
and a mild washing solution, wiping parallel to the
heating elements. Labels can be peeled off after
soaking with warm water.
(Continued)
148 UNDERSTANDING YOUR INSTRUMENT PANEL
Page 158 of 423
The light also will turn on when the parking brake is applied
with the ignition switch in the ON/RUN position.
NOTE:This light shows only that the parking brake is
applied. It does not show the degree of brake application.
21. Electronic Stability Control OFF (ESC OFF)
Indicator Light
This light indicates the Electronic Stability Con-
trol system (ESC) has been turned off by the
driver.
22. Electronic Stability Control (ESC) Activation /
Malfunction Indicator Light
The ESC Activation/Malfunction Indicator
Light in the instrument cluster will come on for
four seconds when the ignition switch is
turned to the ON/RUN position. If the ESC
Activation/Malfunction Indicator Light comes on con-
tinuously with the engine running, a malfunction has
been detected in the ESC system. If this light remains on,
see your authorized studio as soon as possible to have the
problem diagnosed and corrected.
NOTE:
•The ESC Off Indicator Light and the ESC Activation/
Malfunction Indicator Light come on momentarily
each time the ignition switch is turned to ON/RUN.
•Each time the ignition is turned to ON/RUN, the
ESC system will be on, even if it was turned off
previously.
23. Anti-Lock Brake (ABS) Light
This light monitors the Anti-Lock Brake System
(ABS). The light will turn on when the ignition
switch is turned to the ON/RUN position and
may stay on for as long as four seconds.
If the ABS light remains on or turns on while driving, it
indicates that the Anti-Lock portion of the brake system
156 UNDERSTANDING YOUR INSTRUMENT PANEL
Page 161 of 423
service, so that you can be sure that it is properly reset, or
that the door jamb sticker is accurate if the odometer
must be reset at zero.
NOTE:If the vehicle is equipped with the Electronic
Vehicle Information Center (EVIC) in the instrument
cluster, all warnings including “door” and “gate” and
“Change Engine Oil” will only be displayed in the EVIC
display. For additional information, refer to “Electronic
Vehicle Information Center (EVIC).”
Refer to the “Electronic Vehicle Information Center
(EVIC)” for further information.
28. Fuel Gauge / Fuel Door Reminder
The fuel door reminder indicates that the fuel filler door
is located on the right side of the vehicle. When the
ignition switch is in the ON/RUN position, the digital
scale will show the level of fuel remaining in the fuel
tank.
NOTE:The fuel gauge and range will not immediately
update accurately when refueling with the engine on.
29. Tachometer
The white area of the scale shows the permissible engine
revolutions-per-minute (RPM x 1000) for each gear range.
Before reaching the red area, ease up on the accelerator to
prevent engine damage.
30. Speedometer
The Speedometer shows the vehicle speed in miles per
hour (mph) and/or kilometers per hour (km/h).
4
UNDERSTANDING YOUR INSTRUMENT PANEL 159
Page 162 of 423
ELECTRONIC VEHICLE INFORMATION CENTER
(EVIC)
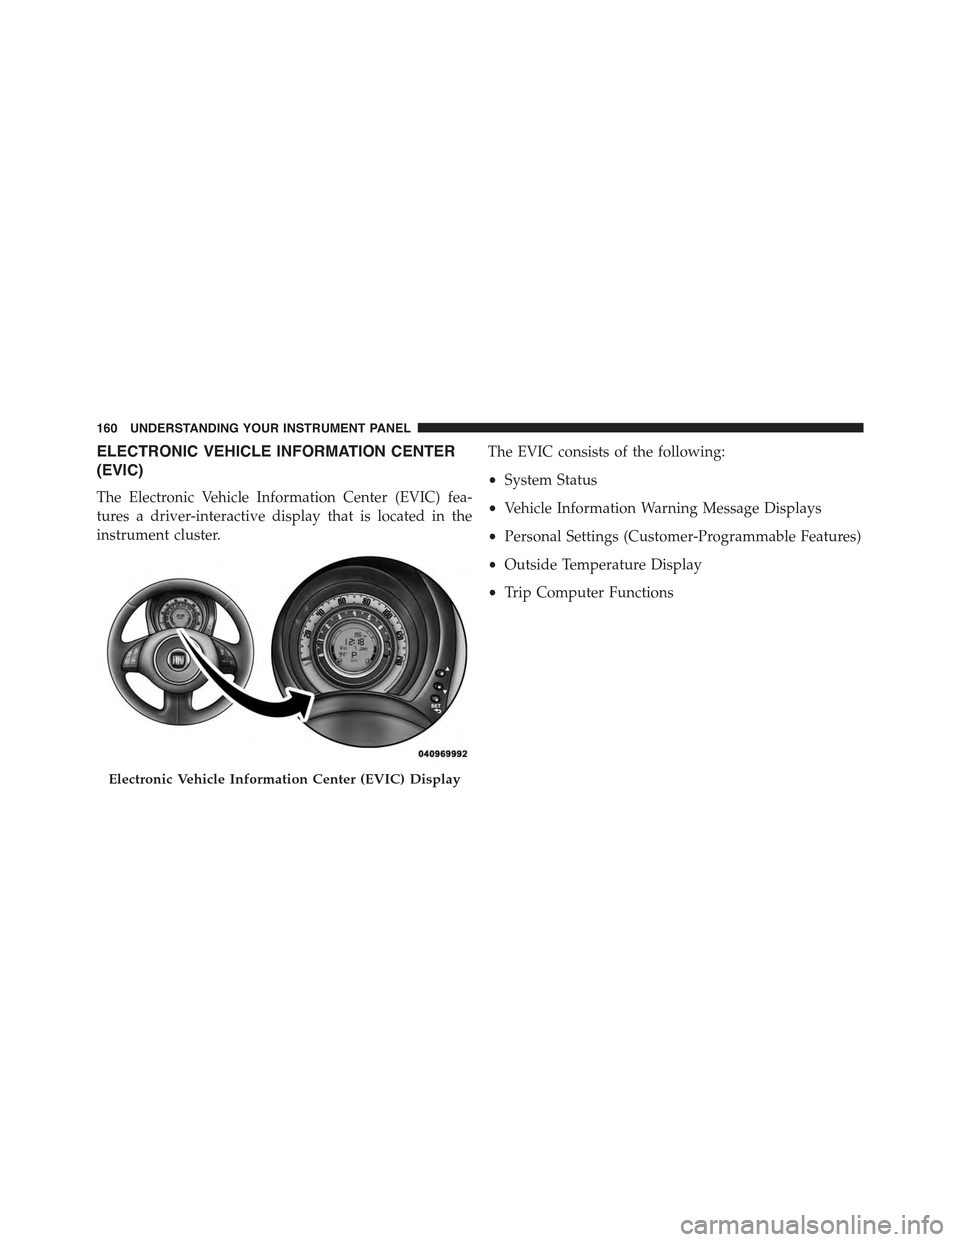
The Electronic Vehicle Information Center (EVIC) fea-
tures a driver-interactive display that is located in the
instrument cluster.
The EVIC consists of the following:
•System Status
•Vehicle Information Warning Message Displays
•Personal Settings (Customer-Programmable Features)
•Outside Temperature Display
•Trip Computer Functions
Electronic Vehicle Information Center (EVIC) Display
160 UNDERSTANDING YOUR INSTRUMENT PANEL
Page 167 of 423
NOTE:If the indicator message illuminates when you
start the vehicle, the oil change indicator system did not
reset. If necessary, repeat this procedure.
Trip Computer
The Trip Computer is located in the instrument cluster. It
features a driver-interactive display (displays informa-
tion such as; trip information, range, fuel consumption,
average speed and travel time).
Trip Button
TheTRIPbutton, located on the right steering column
stalk, can be used to display and to reset the previously
described values.
•A short button press displays the different values.
•A long button press resets the system and then starts a
new trip.
New Trip
To reset:
•Press and hold theTRIPbutton to reset the system
manually.
•When the “Trip distance” reaches 9999.9 miles or
kilometers or when the “Travel time” reaches 99.59 (99
hours and 59 minutes), the system is reset automati-
cally.
•Disconnecting/Reconnecting the battery resets the
system.
NOTE:If the reset operation occurs in the presence of
the screens concerning Trip A or Trip B, only the infor-
mation associated with Trip A or Trip B functions will be
reset.
4
UNDERSTANDING YOUR INSTRUMENT PANEL 165
Page 174 of 423
•Briefly press theSET ESCbutton to go back to the
menu screen, or press and hold theSET ESCbutton
(approximately one second) to go back to the main
screen without storing the settings.
See Radio (Repeat Audio Information)
With this function active, the EVIC display shows infor-
mation relevant to the sound system.
•Radio: tuned radio station frequency, automatic tuning
activation or AutoSTore.
•CD audio, CD MP3: track number.
To activate (On) or to deactivate (Off) the sound system
info displaying proceed as follows:
1. Briefly press theSET ESCbutton “On” or “Off” will
flash on the display (according to the previous set-
ting).
2. Press the UPor DOWNbutton for setting.
3. Briefly press theSET ESCbutton to go back to the
menu screen, or press and hold theSET ESCbutton
(approximately one second) to go back to the main
screen without storing the settings.
If the radio has BLUE&ME™, refer to the appropriate
“BLUE&ME™ User ’s Manual” for further information.
Speed Display
When this function is activated the cluster will display
the vehicle speed (MPH or km/h).
To activate (On) or to deactivate (Off) the speed display
feature, proceed as follows:
1. Briefly press theSET ESCbutton. “MPH”, “km/h”,
then “Off” will flash on the display (according to
previous setting).
2. Press the UPor DOWNbutton to select
display deactivation “Off”, “MPH” or “km/h”.
172 UNDERSTANDING YOUR INSTRUMENT PANEL
Page 179 of 423
•Fuel Econ On – turns on a fuel economy upshift light
in the instrument cluster, for optimum fuel economy,
when operating in base driving mode.
•Fuel Econ Off – the fuel economy upshift light is
disabled.
To set the required unit, proceed as follows:
1. Briefly press theSET ESCbutton to display the two
sub-menus.
2. Press the UPor DOWNbutton to navigate
the two sub-menus.
3. Select the required sub-menu and then briefly press
theSET ESCbutton.
4. Press the UPor DOWNbutton for setting.
5. Briefly press theSET ESCbutton to return to the
sub-menu.
When you have made the required settings, briefly press
theSET ESCbutton to go back to the sub-menu screen,
or press and hold theSET ESCbutton (approximately
one second) to go back to the main screen without storing
the settings.
Hill Start Assist
This function is used when starting a vehicle from a stop
on a hill. Hill Start Assist maintains the same level of
brake pressure the driver applied for a short period of
time after the foot has been removed from the brake
pedal.
Proceed as follows to switch this function on or off:
1. Briefly press theSET ESCbutton. “On” or “Off” will
flash on the display (according to previous setting).
2. Press the UPor DOWNbutton for setting.
4
UNDERSTANDING YOUR INSTRUMENT PANEL 177
Page 226 of 423
Turn the ignition switch to the AVV (START) position and
release it when the engine starts. If the engine fails to start
within 10 seconds, turn the ignition switch to the STOP
(OFF/LOCK) position, wait 10 to 15 seconds, then repeat
the “Normal Starting” procedure.
Cold Weather Operation
To prevent possible engine damage while starting at low
temperatures, this vehicle will inhibit engine cranking
when the ambient temperature is less than –22° F (–30° C)
and the oil temperature sensor reading indicates an
engine block heater has not been used. An externally-
powered electric engine block heater is available as
optional equipment or from your authorized studio.
The message “plug in engine heater” will be displayed in the
instrument cluster when the ambient temperature is below
5° F (–15° C) at the time the engine is shut off as a reminder
to avoid possible crank delays at the next cold start.
CAUTION!
Use of the recommended SAE 5W-30 oil and adher-
ing to the prescribed oil change intervals is important
to prevent engine damage and ensure satisfactory
starting in cold conditions.
If Engine Fails To Start
WARNING!
Never pour fuel or other flammable liquids into the
throttle body air inlet opening in an attempt to start
the vehicle. This could result in a flash fire causing
serious personal injury.
224 STARTING AND OPERATING
Page 233 of 423
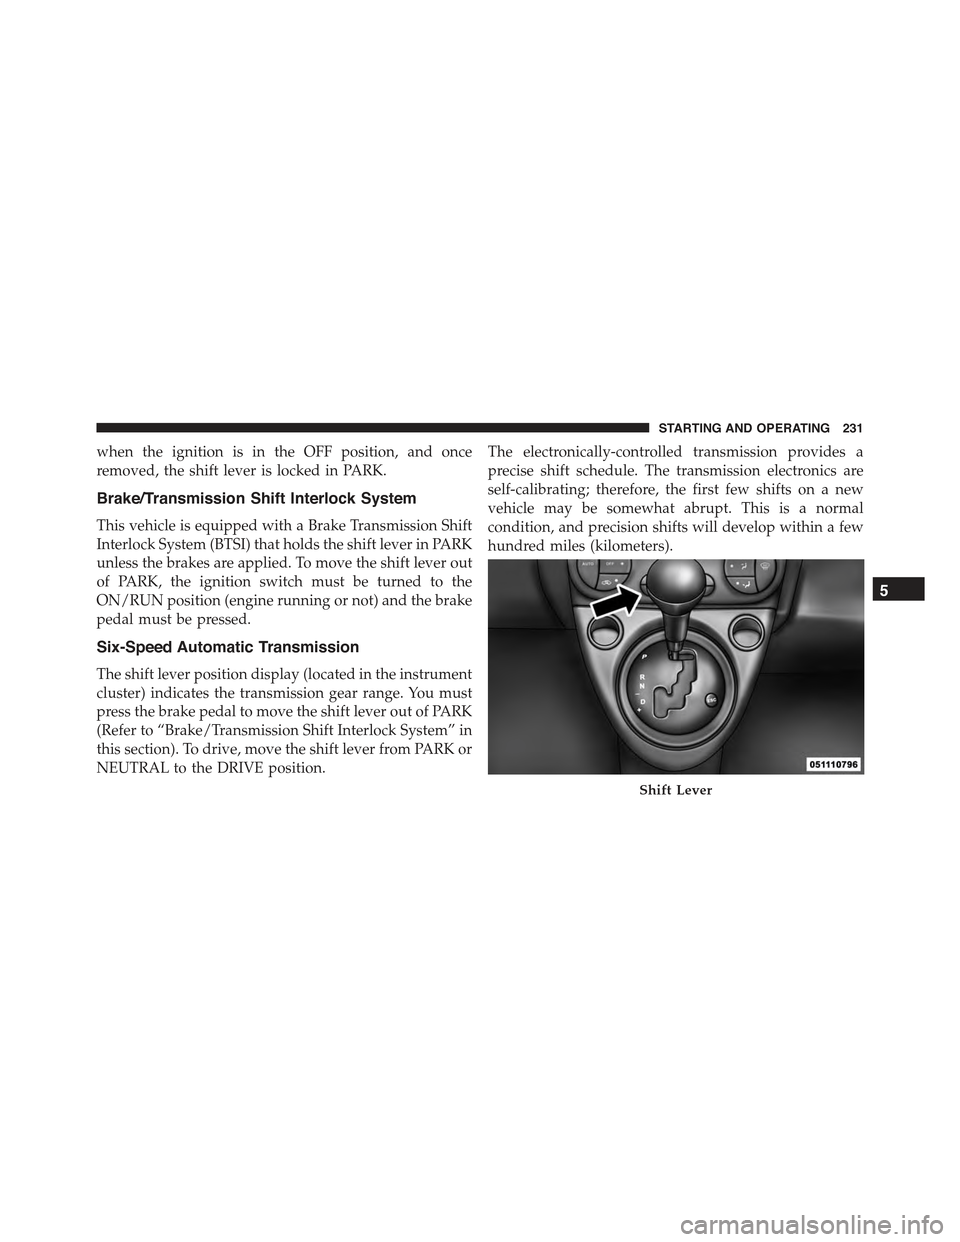
when the ignition is in the OFF position, and once
removed, the shift lever is locked in PARK.
Brake/Transmission Shift Interlock System
This vehicle is equipped with a Brake Transmission Shift
Interlock System (BTSI) that holds the shift lever in PARK
unless the brakes are applied. To move the shift lever out
of PARK, the ignition switch must be turned to the
ON/RUN position (engine running or not) and the brake
pedal must be pressed.
Six-Speed Automatic Transmission
The shift lever position display (located in the instrument
cluster) indicates the transmission gear range. You must
press the brake pedal to move the shift lever out of PARK
(Refer to “Brake/Transmission Shift Interlock System” in
this section). To drive, move the shift lever from PARK or
NEUTRAL to the DRIVE position.
The electronically-controlled transmission provides a
precise shift schedule. The transmission electronics are
self-calibrating; therefore, the first few shifts on a new
vehicle may be somewhat abrupt. This is a normal
condition, and precision shifts will develop within a few
hundred miles (kilometers).
Shift Lever
5
STARTING AND OPERATING 231
Page 234 of 423
Only shift from DRIVE to PARK or REVERSE when the
accelerator pedal is released and the vehicle is stopped.
Be sure to keep your foot on the brake pedal when
shifting between these gears.
The transmission shift lever has PARK, REVERSE, NEU-
TRAL, DRIVE, and AutoStick® shift positions. Manual
shifts can be made using the AutoStick® shift control
(refer to “AutoStick®” in “Starting and Operating” for
further information). Moving the shift lever forward or
rearward (–/+) while in the AutoStick® position (beside
the DRIVE position) will manually select the transmis-
sion gear, and will display the current gear in the
instrument cluster as 6, 5, 4, 3, 2, 1.
Gear Ranges
DO NOT race the engine when shifting from PARK or
NEUTRAL into another gear range.
NOTE:After selecting any gear range, wait a moment to
allow the selected gear to engage before accelerating.
This is especially important when the engine is cold.
PARK
This range supplements the parking brake by locking the
transmission. The engine can be started in this range.
Never attempt to use PARK while the vehicle is in
motion. Apply the parking brake when leaving the
vehicle in this range.
When parking on a level surface, you may place the shift
lever in PARK first, and then apply the parking brake.
When parking on a hill, apply the parking brake before
placing the shift lever in PARK, otherwise the load on the
transmission locking mechanism may make it difficult to
move the shift lever out of PARK. As an added precau-
tion, turn the front wheels toward the curb on a downhill
grade and away from the curb on an uphill grade.
232 STARTING AND OPERATING