sensor FIAT 500 2013 2.G User Guide
[x] Cancel search | Manufacturer: FIAT, Model Year: 2013, Model line: 500, Model: FIAT 500 2013 2.GPages: 423, PDF Size: 9.86 MB
Page 129 of 423
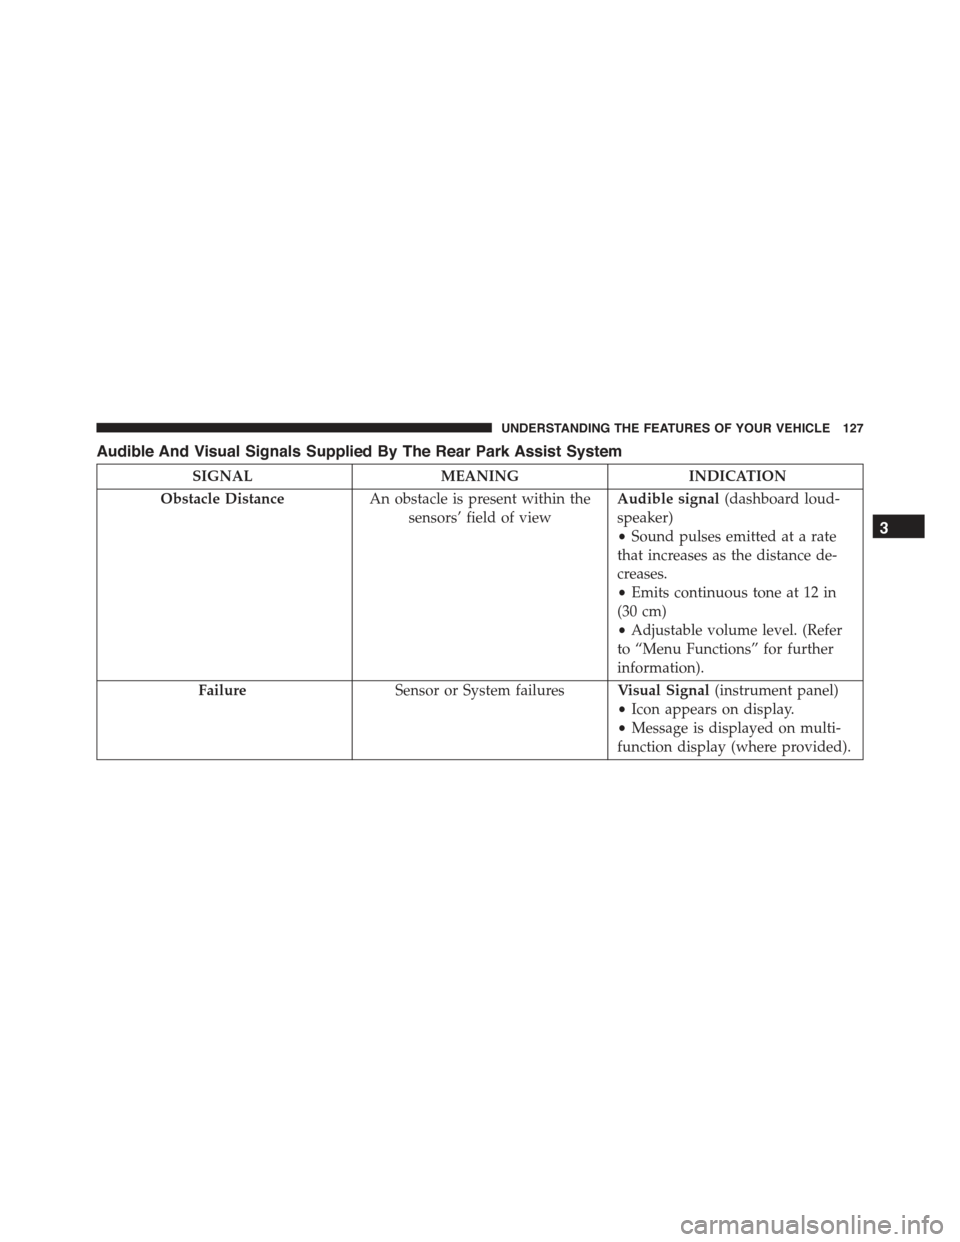
Audible And Visual Signals Supplied By The Rear Park Assist System
SIGNALMEANINGINDICATION
Obstacle DistanceAn obstacle is present within the
sensors’ field of view
Audible signal(dashboard loud-
speaker)
•Sound pulses emitted at a rate
that increases as the distance de-
creases.
•Emits continuous tone at 12 in
(30 cm)
•Adjustable volume level. (Refer
to “Menu Functions” for further
information).
FailureSensor or System failuresVisual Signal(instrument panel)
•Icon appears on display.
•Message is displayed on multi-
function display (where provided).
3
UNDERSTANDING THE FEATURES OF YOUR VEHICLE 127
Page 130 of 423
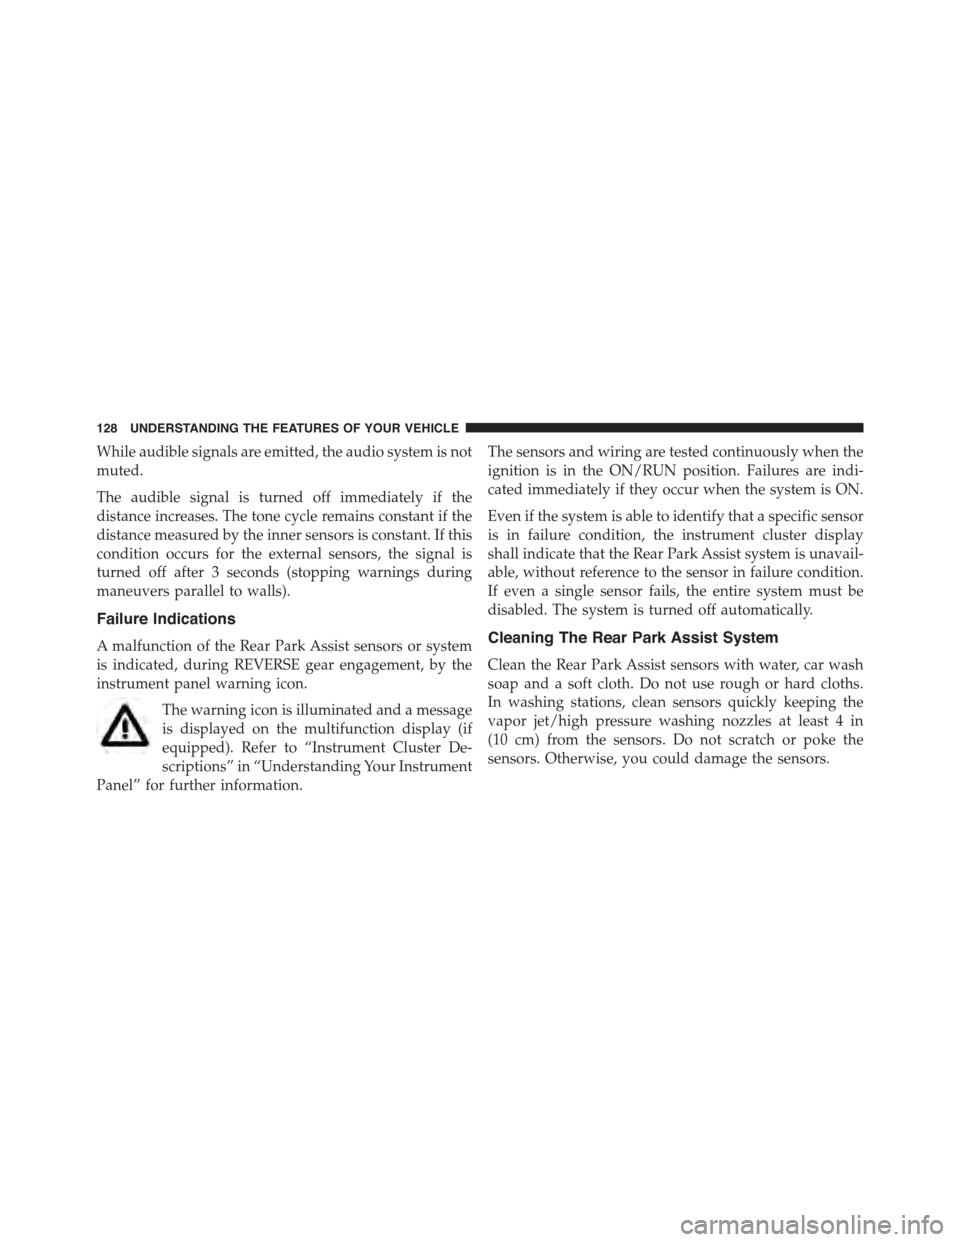
While audible signals are emitted, the audio system is not
muted.
The audible signal is turned off immediately if the
distance increases. The tone cycle remains constant if the
distance measured by the inner sensors is constant. If this
condition occurs for the external sensors, the signal is
turned off after 3 seconds (stopping warnings during
maneuvers parallel to walls).
Failure Indications
A malfunction of the Rear Park Assist sensors or system
is indicated, during REVERSE gear engagement, by the
instrument panel warning icon.
The warning icon is illuminated and a message
is displayed on the multifunction display (if
equipped). Refer to “Instrument Cluster De-
scriptions” in “Understanding Your Instrument
Panel” for further information.
The sensors and wiring are tested continuously when the
ignition is in the ON/RUN position. Failures are indi-
cated immediately if they occur when the system is ON.
Even if the system is able to identify that a specific sensor
is in failure condition, the instrument cluster display
shall indicate that the Rear Park Assist system is unavail-
able, without reference to the sensor in failure condition.
If even a single sensor fails, the entire system must be
disabled. The system is turned off automatically.
Cleaning The Rear Park Assist System
Clean the Rear Park Assist sensors with water, car wash
soap and a soft cloth. Do not use rough or hard cloths.
In washing stations, clean sensors quickly keeping the
vapor jet/high pressure washing nozzles at least 4 in
(10 cm) from the sensors. Do not scratch or poke the
sensors. Otherwise, you could damage the sensors.
128 UNDERSTANDING THE FEATURES OF YOUR VEHICLE
Page 131 of 423
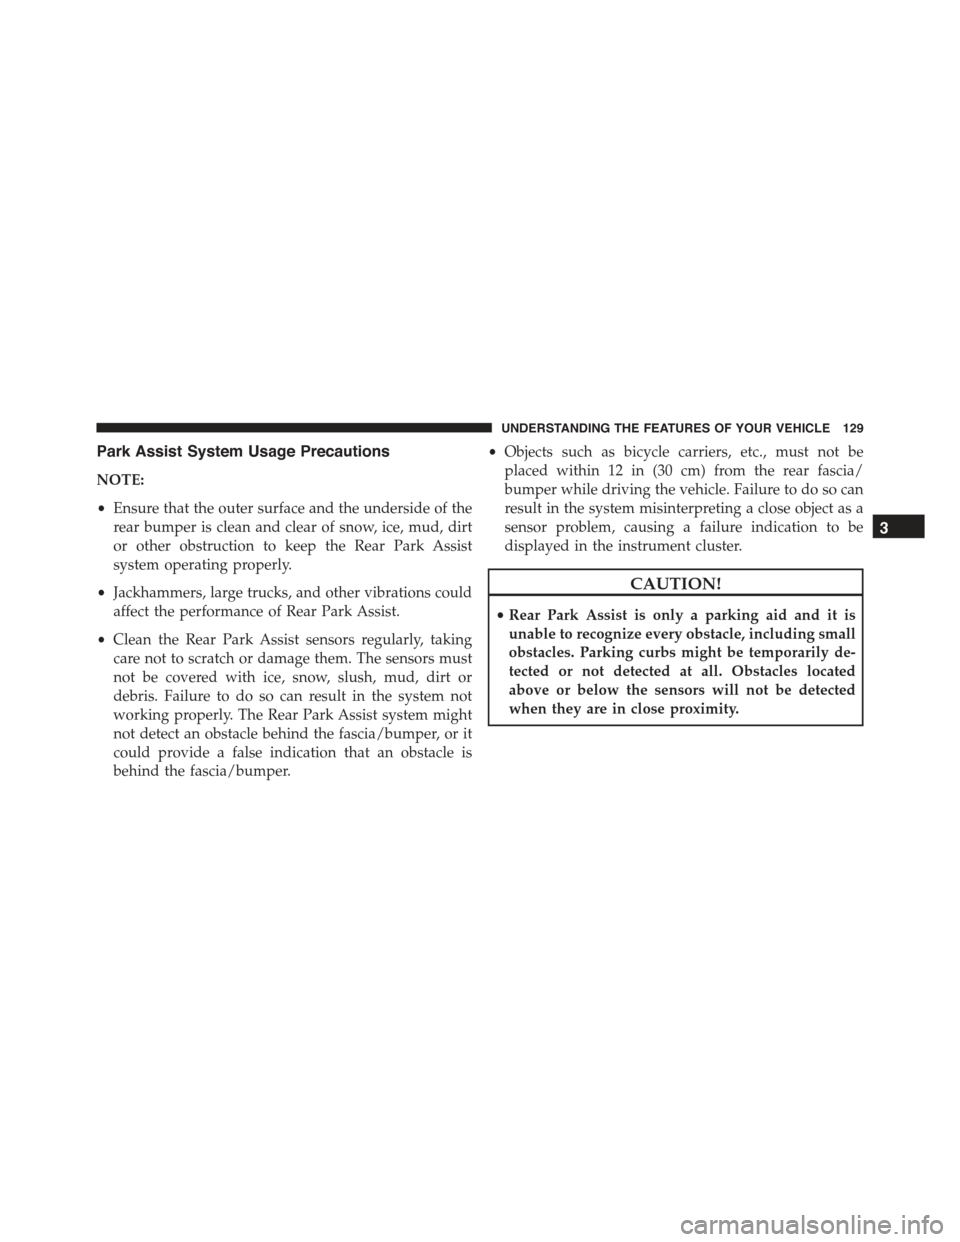
Park Assist System Usage Precautions
NOTE:
•Ensure that the outer surface and the underside of the
rear bumper is clean and clear of snow, ice, mud, dirt
or other obstruction to keep the Rear Park Assist
system operating properly.
•Jackhammers, large trucks, and other vibrations could
affect the performance of Rear Park Assist.
•Clean the Rear Park Assist sensors regularly, taking
care not to scratch or damage them. The sensors must
not be covered with ice, snow, slush, mud, dirt or
debris. Failure to do so can result in the system not
working properly. The Rear Park Assist system might
not detect an obstacle behind the fascia/bumper, or it
could provide a false indication that an obstacle is
behind the fascia/bumper.
•Objects such as bicycle carriers, etc., must not be
placed within 12 in (30 cm) from the rear fascia/
bumper while driving the vehicle. Failure to do so can
result in the system misinterpreting a close object as a
sensor problem, causing a failure indication to be
displayed in the instrument cluster.
CAUTION!
•Rear Park Assist is only a parking aid and it is
unable to recognize every obstacle, including small
obstacles. Parking curbs might be temporarily de-
tected or not detected at all. Obstacles located
above or below the sensors will not be detected
when they are in close proximity.
3
UNDERSTANDING THE FEATURES OF YOUR VEHICLE 129
Page 132 of 423
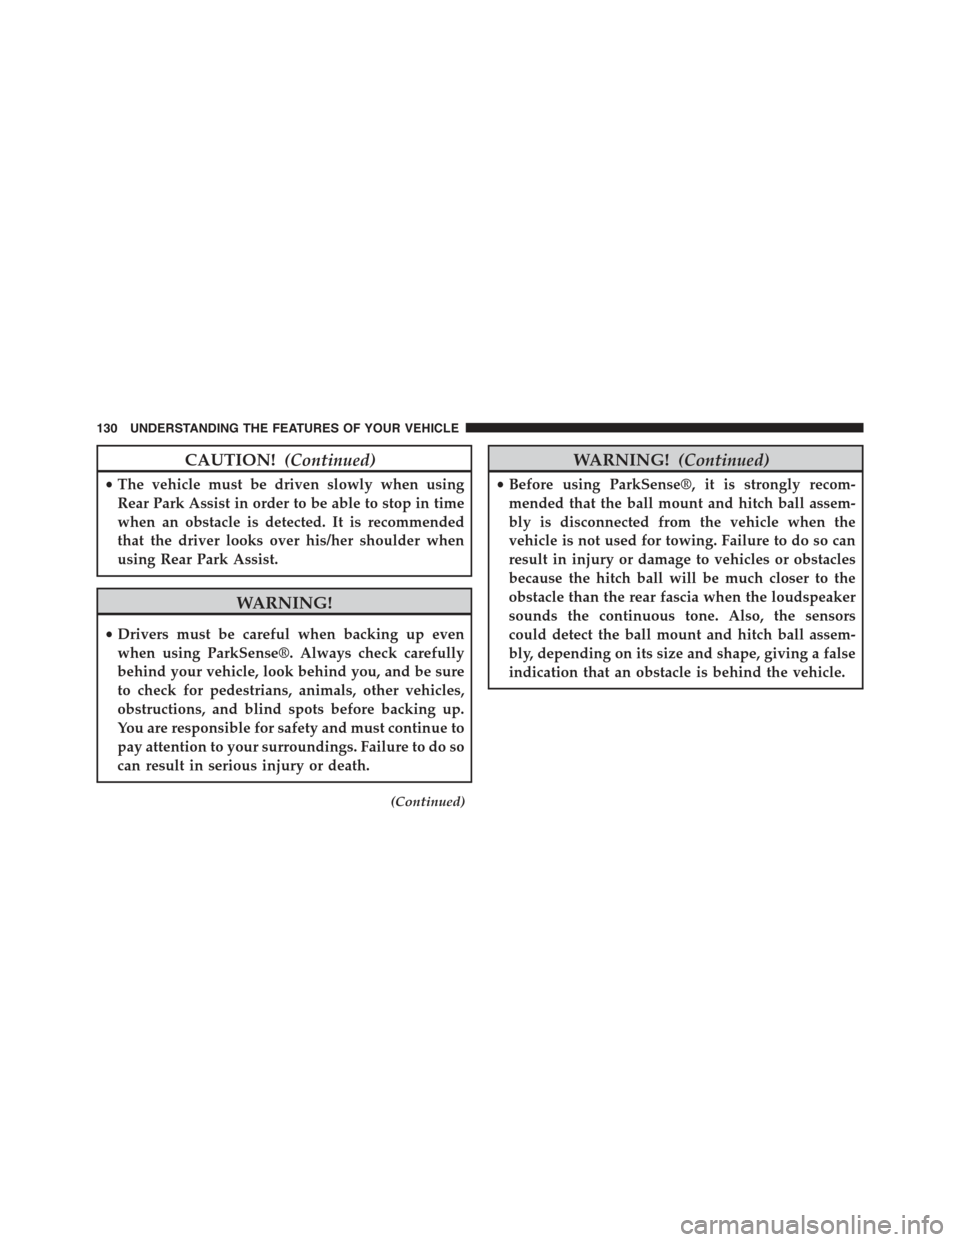
CAUTION!(Continued)
•The vehicle must be driven slowly when using
Rear Park Assist in order to be able to stop in time
when an obstacle is detected. It is recommended
that the driver looks over his/her shoulder when
using Rear Park Assist.
WARNING!
•Drivers must be careful when backing up even
when using ParkSense®. Always check carefully
behind your vehicle, look behind you, and be sure
to check for pedestrians, animals, other vehicles,
obstructions, and blind spots before backing up.
You are responsible for safety and must continue to
pay attention to your surroundings. Failure to do so
can result in serious injury or death.
(Continued)
WARNING!(Continued)
•Before using ParkSense®, it is strongly recom-
mended that the ball mount and hitch ball assem-
bly is disconnected from the vehicle when the
vehicle is not used for towing. Failure to do so can
result in injury or damage to vehicles or obstacles
because the hitch ball will be much closer to the
obstacle than the rear fascia when the loudspeaker
sounds the continuous tone. Also, the sensors
could detect the ball mount and hitch ball assem-
bly, depending on its size and shape, giving a false
indication that an obstacle is behind the vehicle.
130 UNDERSTANDING THE FEATURES OF YOUR VEHICLE
Page 150 of 423
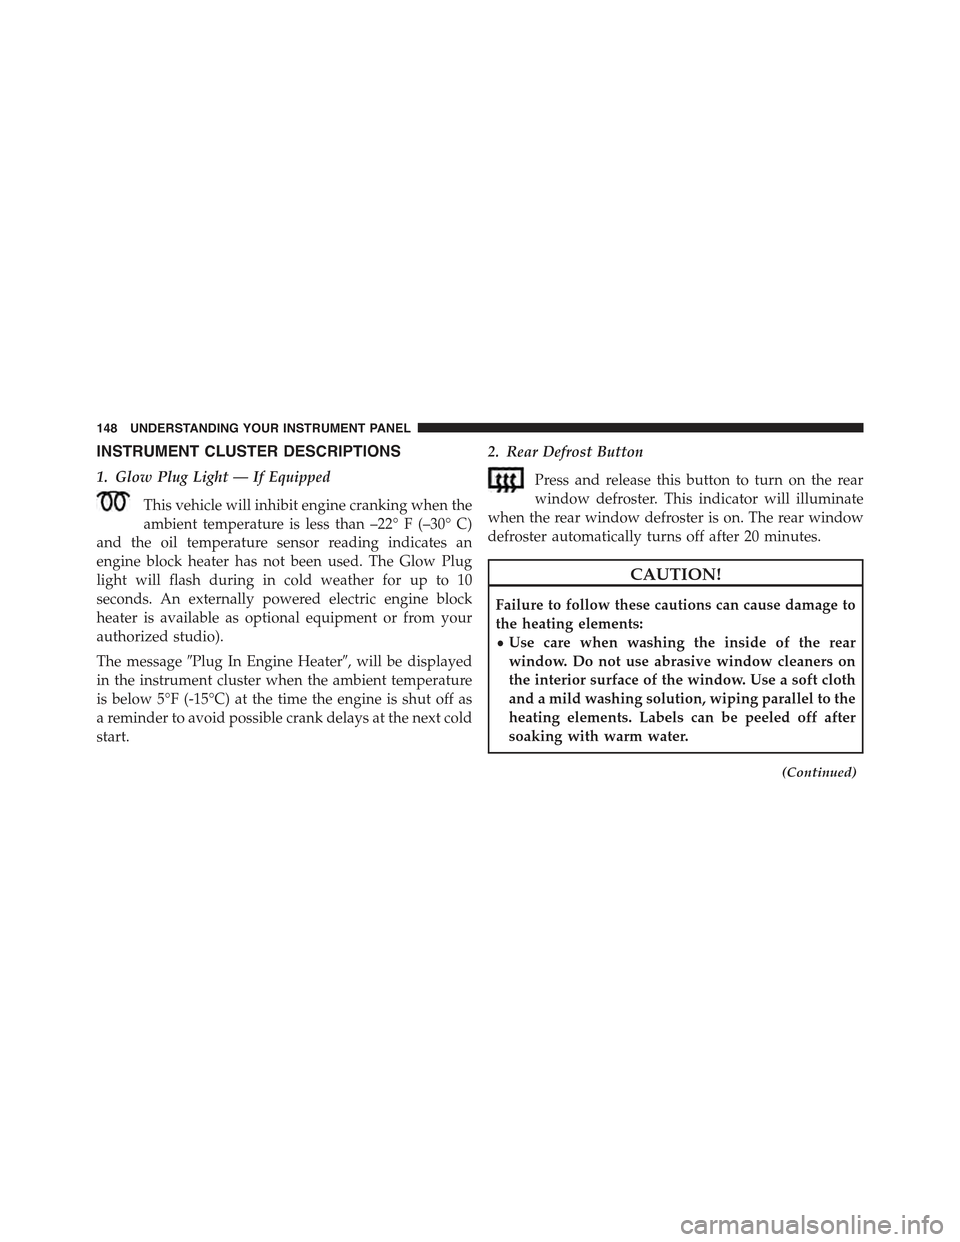
INSTRUMENT CLUSTER DESCRIPTIONS
1. Glow Plug Light — If Equipped
This vehicle will inhibit engine cranking when the
ambient temperature is less than –22° F (–30° C)
and the oil temperature sensor reading indicates an
engine block heater has not been used. The Glow Plug
light will flash during in cold weather for up to 10
seconds. An externally powered electric engine block
heater is available as optional equipment or from your
authorized studio).
The message#Plug In Engine Heater#, will be displayed
in the instrument cluster when the ambient temperature
is below 5°F (-15°C) at the time the engine is shut off as
a reminder to avoid possible crank delays at the next cold
start.
2. Rear Defrost Button
Press and release this button to turn on the rear
window defroster. This indicator will illuminate
when the rear window defroster is on. The rear window
defroster automatically turns off after 20 minutes.
CAUTION!
Failure to follow these cautions can cause damage to
the heating elements:
•Use care when washing the inside of the rear
window. Do not use abrasive window cleaners on
the interior surface of the window. Use a soft cloth
and a mild washing solution, wiping parallel to the
heating elements. Labels can be peeled off after
soaking with warm water.
(Continued)
148 UNDERSTANDING YOUR INSTRUMENT PANEL
Page 151 of 423
CAUTION!(Continued)
•Do not use scrapers, sharp instruments, or abrasive
window cleaners on the interior surface of the
window.
•Keep all objects a safe distance from the window.
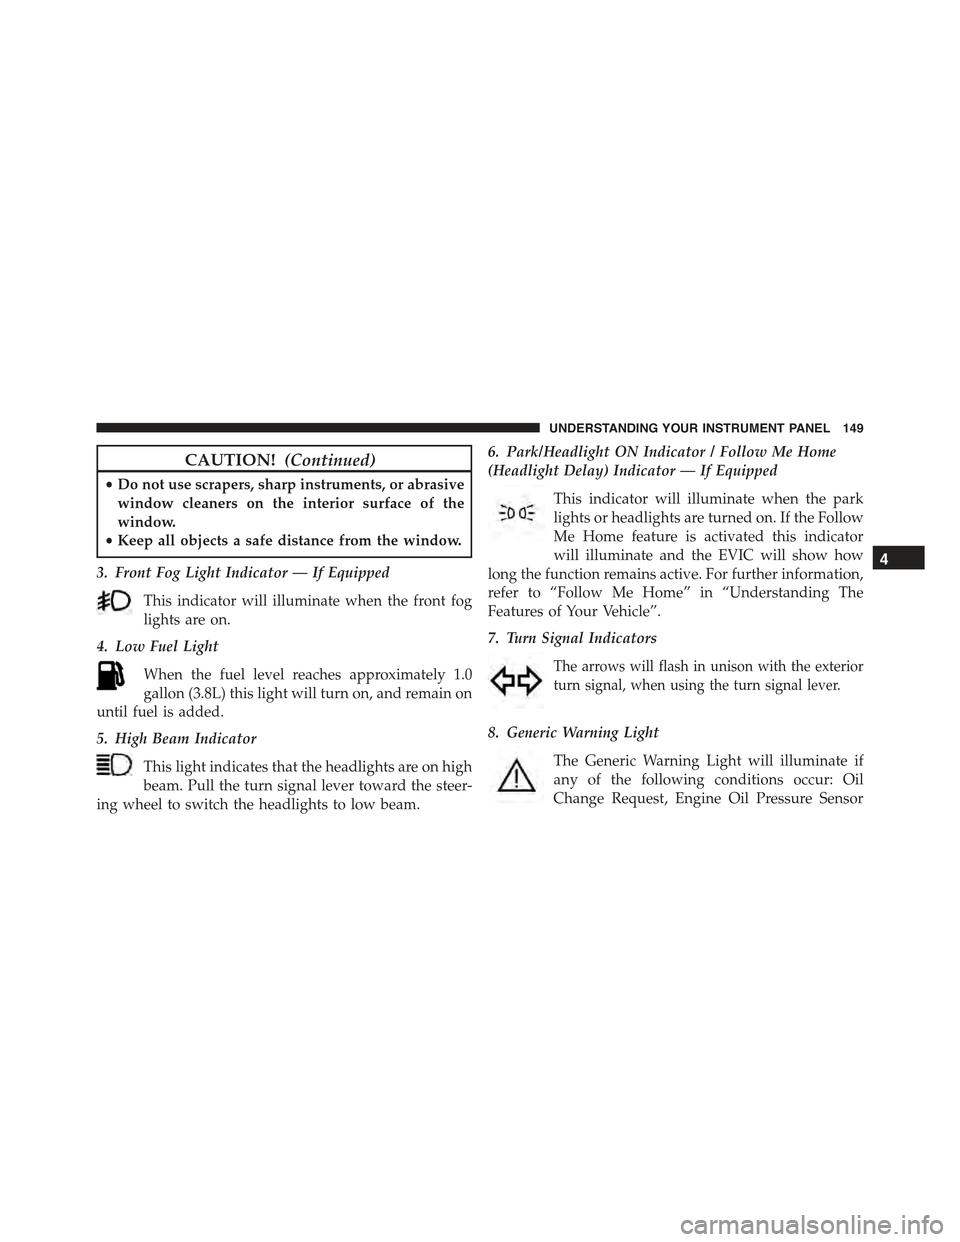
3. Front Fog Light Indicator — If Equipped
This indicator will illuminate when the front fog
lights are on.
4. Low Fuel Light
When the fuel level reaches approximately 1.0
gallon (3.8L) this light will turn on, and remain on
until fuel is added.
5. High Beam Indicator
This light indicates that the headlights are on high
beam. Pull the turn signal lever toward the steer-
ing wheel to switch the headlights to low beam.
6. Park/Headlight ON Indicator / Follow Me Home
(Headlight Delay) Indicator — If Equipped
This indicator will illuminate when the park
lights or headlights are turned on. If the Follow
Me Home feature is activated this indicator
will illuminate and the EVIC will show how
long the function remains active. For further information,
refer to “Follow Me Home” in “Understanding The
Features of Your Vehicle”.
7. Turn Signal Indicators
The arrows will flash in unison with the exterior
turn signal, when using the turn signal lever.
8. Generic Warning Light
The Generic Warning Light will illuminate if
any of the following conditions occur: Oil
Change Request, Engine Oil Pressure Sensor
4
UNDERSTANDING YOUR INSTRUMENT PANEL 149
Page 152 of 423
Failure, External Light Failure, Fuel Cut-Off Intervention,
Fuel Cut-Off Not Available, Parking Sensor Failure.
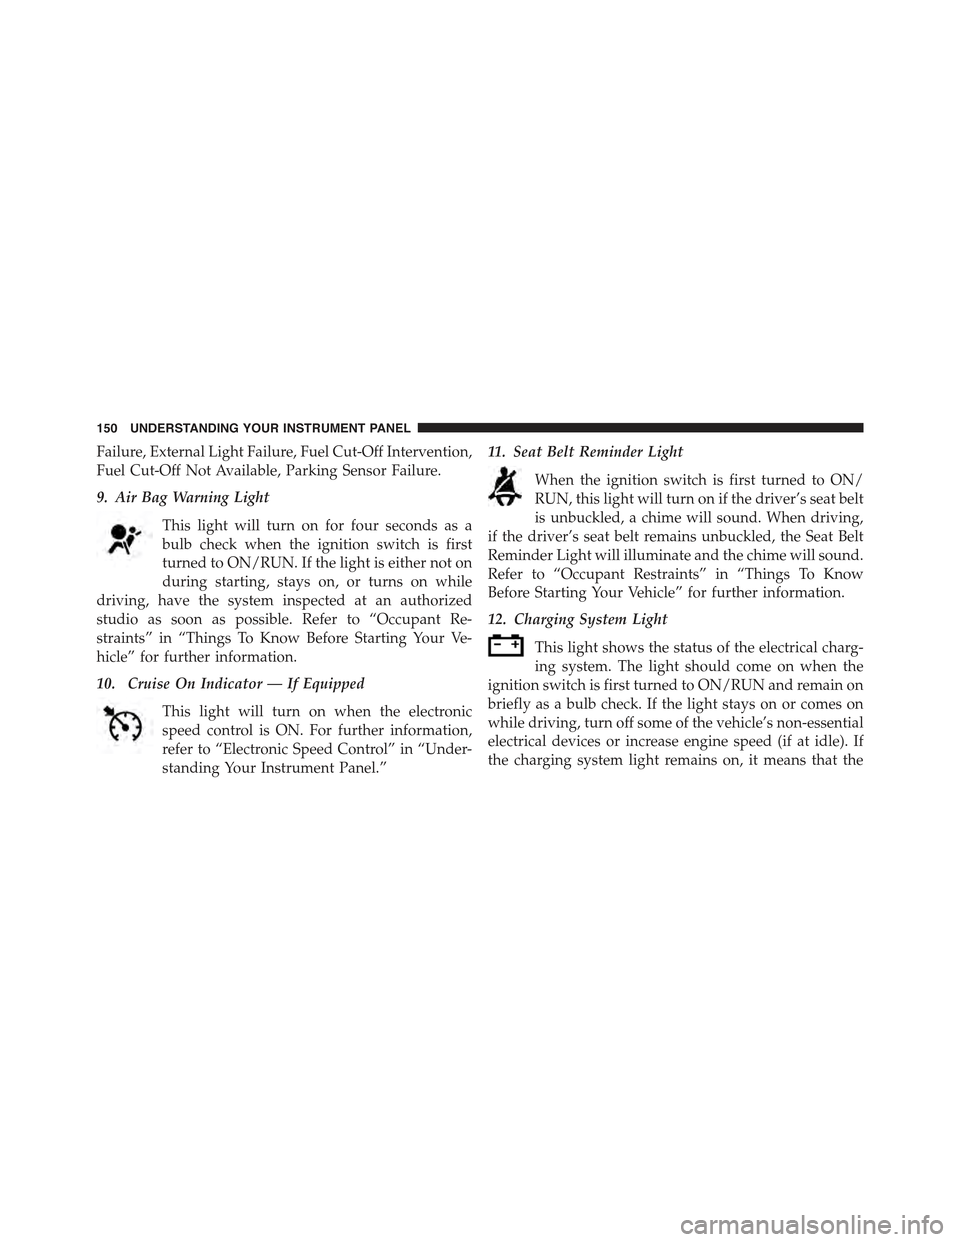
9. Air Bag Warning Light
This light will turn on for four seconds as a
bulb check when the ignition switch is first
turned to ON/RUN. If the light is either not on
during starting, stays on, or turns on while
driving, have the system inspected at an authorized
studio as soon as possible. Refer to “Occupant Re-
straints” in “Things To Know Before Starting Your Ve-
hicle” for further information.
10. Cruise On Indicator — If Equipped
This light will turn on when the electronic
speed control is ON. For further information,
refer to “Electronic Speed Control” in “Under-
standing Your Instrument Panel.”
11. Seat Belt Reminder Light
When the ignition switch is first turned to ON/
RUN, this light will turn on if the driver’s seat belt
is unbuckled, a chime will sound. When driving,
if the driver’s seat belt remains unbuckled, the Seat Belt
Reminder Light will illuminate and the chime will sound.
Refer to “Occupant Restraints” in “Things To Know
Before Starting Your Vehicle” for further information.
12. Charging System Light
This light shows the status of the electrical charg-
ing system. The light should come on when the
ignition switch is first turned to ON/RUN and remain on
briefly as a bulb check. If the light stays on or comes on
while driving, turn off some of the vehicle’s non-essential
electrical devices or increase engine speed (if at idle). If
the charging system light remains on, it means that the
150 UNDERSTANDING YOUR INSTRUMENT PANEL
Page 155 of 423
CAUTION!
The TPMS has been optimized for the original
equipment tires and wheels. TPMS pressures and
warning have been established for the tire size
equipped on your vehicle. Undesirable system opera-
tion or sensor damage may result when using re-
placement equipment that is not of the same size,
type, and/or style. Aftermarket wheels can cause
sensor damage. Do not use tire sealant from a can or
balance beads if your vehicle is equipped with a
TPMS, as damage to the sensors may result.
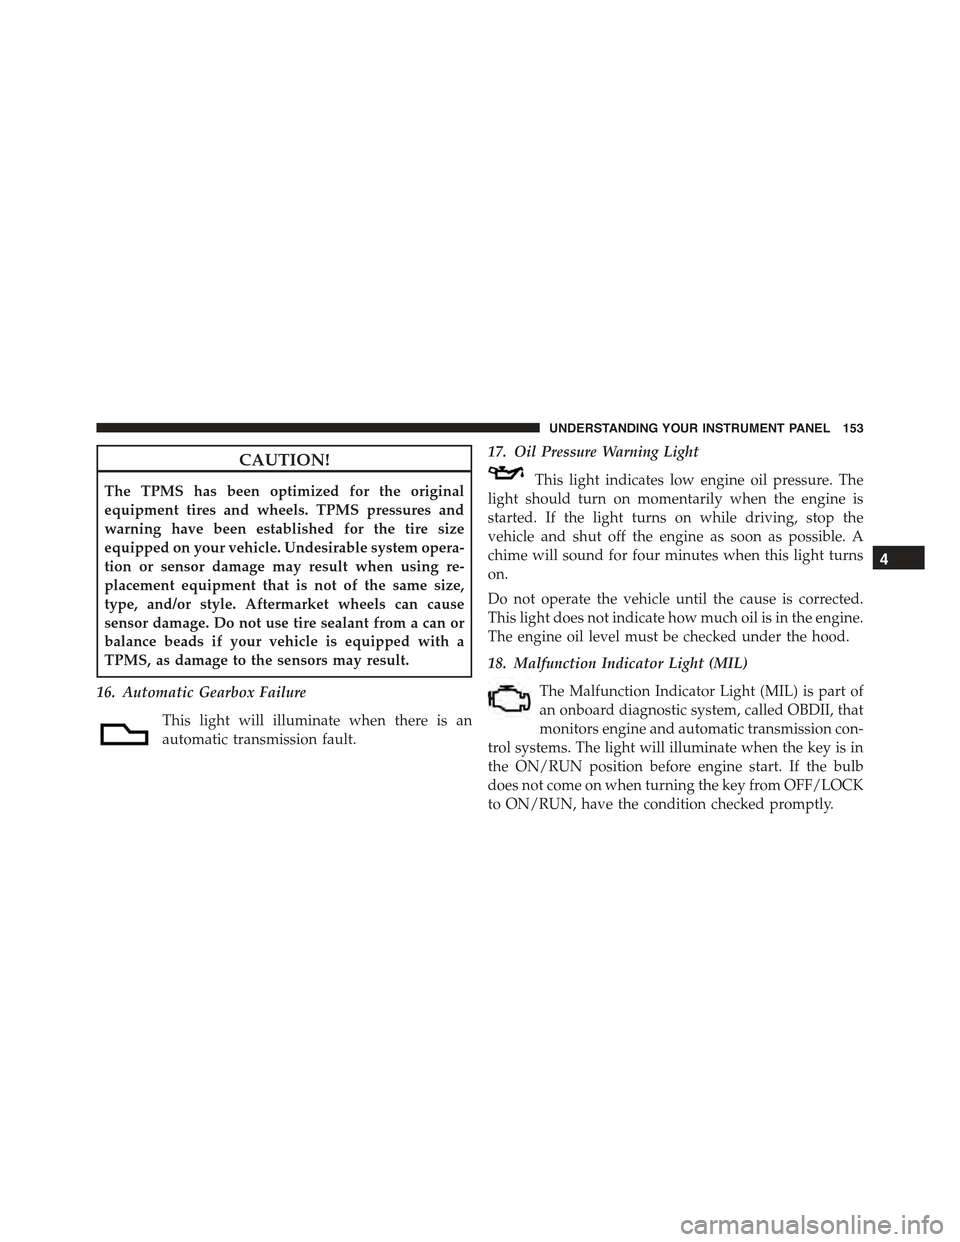
16. Automatic Gearbox Failure
This light will illuminate when there is an
automatic transmission fault.
17. Oil Pressure Warning Light
This light indicates low engine oil pressure. The
light should turn on momentarily when the engine is
started. If the light turns on while driving, stop the
vehicle and shut off the engine as soon as possible. A
chime will sound for four minutes when this light turns
on.
Do not operate the vehicle until the cause is corrected.
This light does not indicate how much oil is in the engine.
The engine oil level must be checked under the hood.
18. Malfunction Indicator Light (MIL)
The Malfunction Indicator Light (MIL) is part of
an onboard diagnostic system, called OBDII, that
monitors engine and automatic transmission con-
trol systems. The light will illuminate when the key is in
the ON/RUN position before engine start. If the bulb
does not come on when turning the key from OFF/LOCK
to ON/RUN, have the condition checked promptly.
4
UNDERSTANDING YOUR INSTRUMENT PANEL 153
Page 170 of 423
Personal Settings (Customer-Programmable
Features)
Dimmer
The EVIC display is provided with a light sensor capable
of detecting environmental light conditions and adjust-
ing the brightness of the instruments accordingly.
NOTE:The brightness of the instrument panel may
change while travelling following an event that causes
switching from “day” to “night” conditions (or vice
versa) in the passenger compartment (e.g. in a tunnel, on
avenues in shadows, under bridges, etc.).
To adjust the brightness, proceed as follows:
1. Press the UPor DOWNbutton to set the
required brightness level.
2. Briefly press theSET ESCbutton to go back to the
menu screen or press and hold theSET ESC(approxi-
mately one second) to go back to the main screen
without storing settings.
Speed Beep (Speed Limit)
With this function it is possible to set the car speed limit
(mph or km/h); when this limit is exceeded the driver is
immediately alerted.
To set the speed limit, proceed as follows:
1. Briefly press theSET ESCbutton. The display will
show the message (Speed Beep).
2. Press the UPor DOWNbutton to select speed
limit activation (On) or deactivation (Off).
168 UNDERSTANDING YOUR INSTRUMENT PANEL
Page 226 of 423
Turn the ignition switch to the AVV (START) position and
release it when the engine starts. If the engine fails to start
within 10 seconds, turn the ignition switch to the STOP
(OFF/LOCK) position, wait 10 to 15 seconds, then repeat
the “Normal Starting” procedure.
Cold Weather Operation
To prevent possible engine damage while starting at low
temperatures, this vehicle will inhibit engine cranking
when the ambient temperature is less than –22° F (–30° C)
and the oil temperature sensor reading indicates an
engine block heater has not been used. An externally-
powered electric engine block heater is available as
optional equipment or from your authorized studio.
The message “plug in engine heater” will be displayed in the
instrument cluster when the ambient temperature is below
5° F (–15° C) at the time the engine is shut off as a reminder
to avoid possible crank delays at the next cold start.
CAUTION!
Use of the recommended SAE 5W-30 oil and adher-
ing to the prescribed oil change intervals is important
to prevent engine damage and ensure satisfactory
starting in cold conditions.
If Engine Fails To Start
WARNING!
Never pour fuel or other flammable liquids into the
throttle body air inlet opening in an attempt to start
the vehicle. This could result in a flash fire causing
serious personal injury.
224 STARTING AND OPERATING