air condition FIAT 500 2017 2.G Owners Manual
[x] Cancel search | Manufacturer: FIAT, Model Year: 2017, Model line: 500, Model: FIAT 500 2017 2.GPages: 350, PDF Size: 3.01 MB
Page 27 of 350
under normal conditions. However, in a collision the
seat belt will lock and reduce your risk of striking the
inside of the vehicle or being thrown out of the vehicle.
WARNING!
•Relying on the air bags alone could lead to more
severe injuries in a collision. The air bags work
with your seat belt to restrain you properly. In some
collisions, the air bags won’t deploy at all. Always
wear your seat belt even though you have air bags.
• In a collision, you and your passengers can suffer
much greater injuries if you are not properly
buckled up. You can strike the interior of your
vehicle or other passengers, or you can be thrown
out of the vehicle. Always be sure you and others
in your vehicle are buckled up properly.
• It is dangerous to ride in a cargo area, inside or
outside of a vehicle. In a collision, people riding
in these areas are more likely to be seriously
injured or killed.
• Do not allow people to ride in any area of your
vehicle that is not equipped with seats and seat
belts.
(Continued)
WARNING! (Continued)
•Be sure everyone in your vehicle is in a seat and
using a seat belt properly. Occupants, including
the driver, should always wear their seat belt
whether or not an air bag is also provided at their
seating position to minimize the risk of severe
injury or death in the event of a crash.
• Occupants, including the driver, should always
wear their seat belt whether or not an air bag is
also provided at their seating position to mini-
mize the risk of severe injury or death in the
event of a crash.
• Wearing your seat belt incorrectly could make
your injuries in a collision much worse. You
might suffer internal injuries, or you could even
slide out of the seat belt. Follow these instructions
to wear your seat belt safely and to keep your
passengers safe, too.
•
Two people should never be belted into a single
seat belt. People belted together can crash into one
another in a collision, hurting one another badly.
Never use a lap/shoulder belt or a lap belt for more
than one person, no matter what their size.
(Continued)
2
THINGS TO KNOW BEFORE STARTING YOUR VEHICLE 25
Page 61 of 350
WARNING!(Continued)
•If your vehicle is equipped with a split rear seat,
make sure the tether strap does not slip into the
opening between the seatbacks as you remove
slack in the strap.
Transporting Pets
Air Bags deploying in the front seat could harm your
pet. An unrestrained pet will be thrown about and
possibly injured, or injure a passenger during panic
braking or in a collision.
Pets should be restrained in the rear seat in pet har-
nesses or pet carriers that are secured by seat belts.
ENGINE BREAK-IN RECOMMENDATIONS
A long break-in period is not required for the engine
and drivetrain (transmission and axle) in your vehicle.
Drive moderately during the first 300 miles (500 km).
After the initial 60 miles (100 km), speeds up to 50 or
55 mph (80 or 90 km/h) are desirable. While cruising, brief full-throttle acceleration within the
limits of local traffic laws contributes to a good break-in.
Wide-open throttle acceleration in low gear can be
detrimental and should be avoided.
The engine oil installed in the engine at the factory is a
high-quality energy conserving type lubricant. Oil
changes should be consistent with anticipated climate
conditions under which vehicle operations will occur.
For the recommended viscosity and quality grades,
refer to “Maintenance Procedures” in “Maintaining
Your Vehicle.”
CAUTION!
Never use Non-Detergent Oil or Straight Mineral
Oil in the engine or damage may result.
NOTE: A new engine may consume some oil during its
first few thousand miles (kilometers) of operation. This
should be considered a normal part of the break-in and
not interpreted as a problem.
2
THINGS TO KNOW BEFORE STARTING YOUR VEHICLE 59
Page 63 of 350
Whenever a change is noticed in the sound of the
exhaust system, when exhaust fumes can be detected
inside the vehicle, or when the underside or rear of the
vehicle is damaged, have a competent mechanic inspect
the complete exhaust system and adjacent body areas
for broken, damaged, deteriorated, or mispositioned
parts. Open seams or loose connections could permit
exhaust fumes to seep into the passenger compartment.
In addition, inspect the exhaust system each time the
vehicle is raised for lubrication or oil change. Replace as
required.
Safety Checks You Should Make Inside The
Vehicle
Seat Belts
Inspect the seat belt system periodically, checking for
cuts, frays, and loose parts. Damaged parts must be
replaced immediately. Do not disassemble or modify
the system.
Front seat belt assemblies must be replaced after a
collision. Rear seat belt assemblies must be replaced
after a collision if they have been damaged (i.e., bent
retractor, torn webbing, etc.). If there is any question
regarding seat belt or retractor condition, replace the
seat belt.
Air Bag Warning Light
The Air Bag warning lightwill turn on for four to
eight seconds as a bulb check when the ignition is
first placed in the ON/RUN position. If the light is
either not on during starting, stays on, or turns on
while driving, have the system inspected at an
authorized dealer as soon as possible. This light will
illuminate with a single chime when a fault with the
Air Bag Warning Light has been detected, it will stay
on until the fault is cleared. If the light comes on
intermittently or remains on while driving, have an
authorized dealer service the vehicle immediately.
Refer to “Occupant Restraints” for further
information.
Defroster
Check operation by selecting the defrost mode and
place the blower control on high speed. You should be
able to feel the air directed against the windshield. See
your authorized dealer for service if your defroster is
inoperable.
Floor Mat Safety Information
Always use floor mats designed to fit the footwell of
your vehicle. Use only floor mats that leave the pedal
2
THINGS TO KNOW BEFORE STARTING YOUR VEHICLE 61
Page 118 of 350
•The digital gauge will likely indicate a higher
temperature when driving in hot weather, or up
mountain grades. It should not be allowed to
exceed the upper limits of the normal operating
range.
WARNING!
Driving with a hot engine cooling system could
damage your vehicle. If the temperature gauge reads
“H” pull over and stop the vehicle. Idle the vehicle
with the air conditioner turned off until the pointer
drops back into the normal range. If the pointer
remains on the “H,” turn the engine off immediately
and call an authorized dealer for service.
WARNING!
A hot engine cooling system is dangerous. You or
others could be badly burned by steam or boiling
coolant. You may want to call an authorized dealer
for service if your vehicle overheats. If you decide
to look under the hood yourself, see “Maintaining
Your Vehicle.” Follow the warnings under the Cool-
ing System Pressure Cap paragraph. 3.
Speedometer
• Indicates vehicle speed.
4. Fuel Gauge
• The digital display shows the amount of fuel in the
tank.
• The switching on of the digital warning light
indicates that 1 – 1.3 gallons of fuel are left in the
tank; in this situation, refuel as soon as possible.
• Do not travel with the fuel tank almost empty; any
gaps in fuel delivery could damage the catalytic
converter.
5. Base and Sport Mode Gauge Displays
Depending on what options and trim level, your vehicle
may be equipped with two gauge displays available
with the push of the Sport Mode button. •Instant Consumption Bargraph: This bargraph
shows the instant fuel consumption, the style
changes according to vehicle version while mini-
mum and maximum values change depending on
selected unit. The possible labels are:
• mpg
• Km/l
• l/100 km
116 UNDERSTANDING YOUR INSTRUMENT PANEL
Page 170 of 350
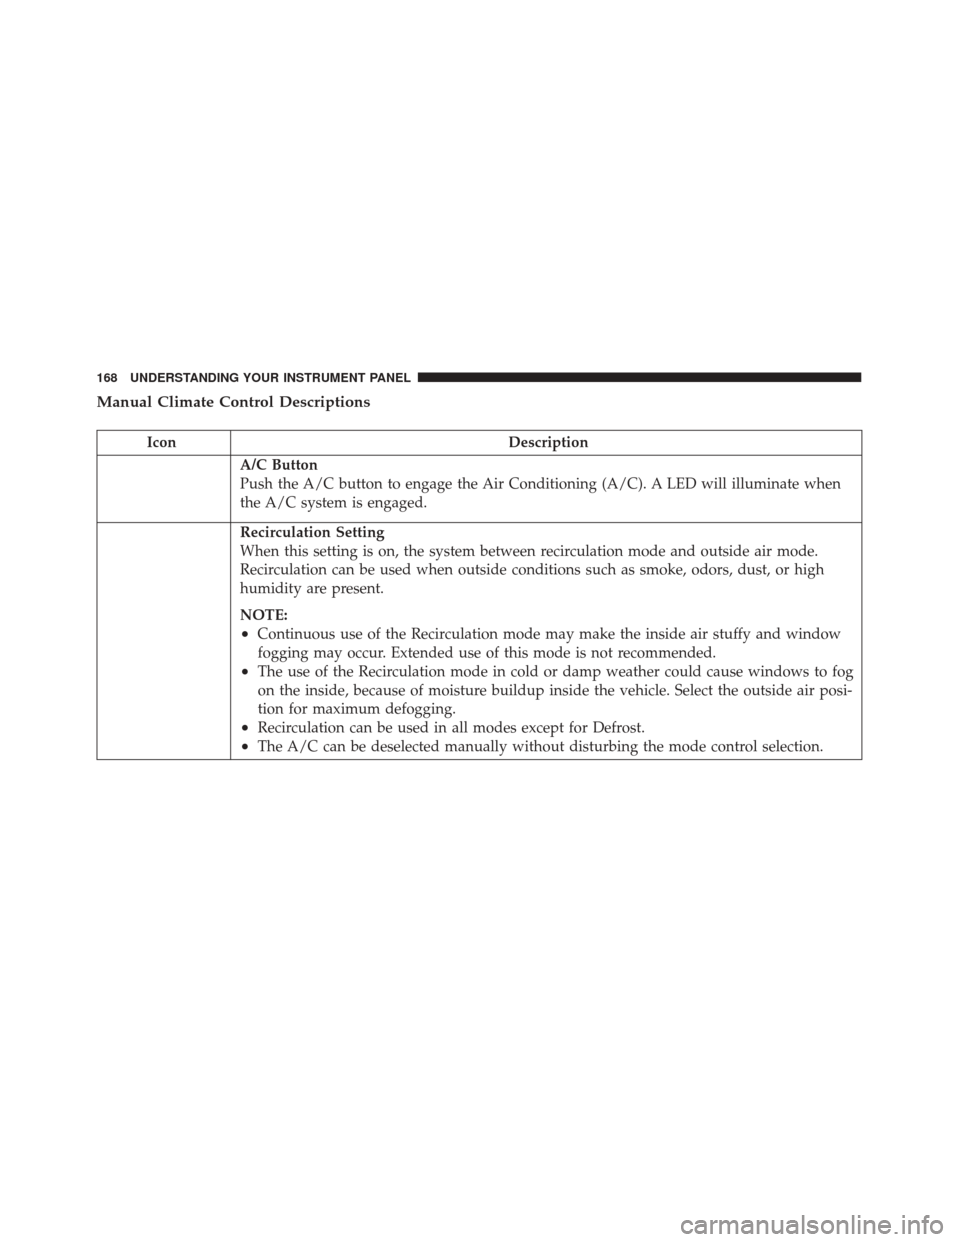
Manual Climate Control Descriptions
IconDescription
A/C Button
Push the A/C button to engage the Air Conditioning (A/C). A LED will illuminate when
the A/C system is engaged.
Recirculation Setting
When this setting is on, the system between recirculation mode and outside air mode.
Recirculation can be used when outside conditions such as smoke, odors, dust, or high
humidity are present.
NOTE:
•Continuous use of the Recirculation mode may make the inside air stuffy and window
fogging may occur. Extended use of this mode is not recommended.
•The use of the Recirculation mode in cold or damp weather could cause windows to fog
on the inside, because of moisture buildup inside the vehicle. Select the outside air posi-
tion for maximum defogging.
•Recirculation can be used in all modes except for Defrost.
•The A/C can be deselected manually without disturbing the mode control selection.
168 UNDERSTANDING YOUR INSTRUMENT PANEL
Page 172 of 350
IconDescription
Panel Mode
Bi-Level Mode
Floor Mode
Mix Mode
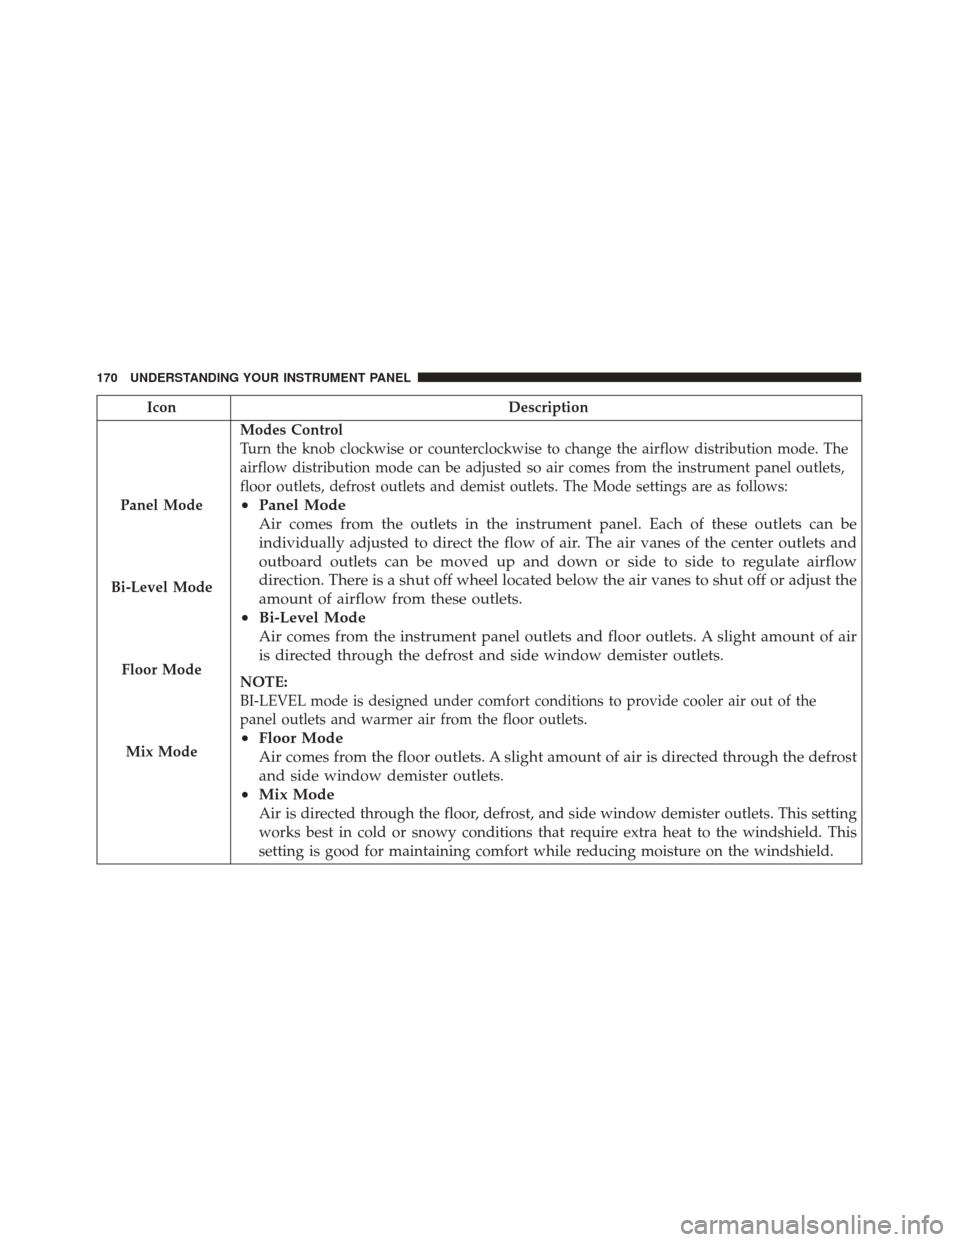
Modes Control
Turn the knob clockwise or counterclockwise to change the airflow distribution mode. The
airflow distribution mode can be adjusted so air comes from the instrument panel outlets,
floor outlets, defrost outlets and demist outlets. The Mode settings are as follows:
• Panel Mode
Air comes from the outlets in the instrument panel. Each of these outlets can be
individually adjusted to direct the flow of air. The air vanes of the center outlets and
outboard outlets can be moved up and down or side to side to regulate airflow
direction. There is a shut off wheel located below the air vanes to shut off or adjust the
amount of airflow from these outlets.
• Bi-Level Mode
Air comes from the instrument panel outlets and floor outlets. A slight amount of air
is directed through the defrost and side window demister outlets.
NOTE:
BI-LEVEL mode is designed under comfort conditions to provide cooler air out of the
panel outlets and warmer air from the floor outlets.
•Floor Mode
Air comes from the floor outlets. A slight amount of air is directed through the defrost
and side window demister outlets.
• Mix Mode
Air is directed through the floor, defrost, and side window demister outlets. This setting
works best in cold or snowy conditions that require extra heat to the windshield. This
setting is good for maintaining comfort while reducing moisture on the windshield.
170 UNDERSTANDING YOUR INSTRUMENT PANEL
Page 174 of 350
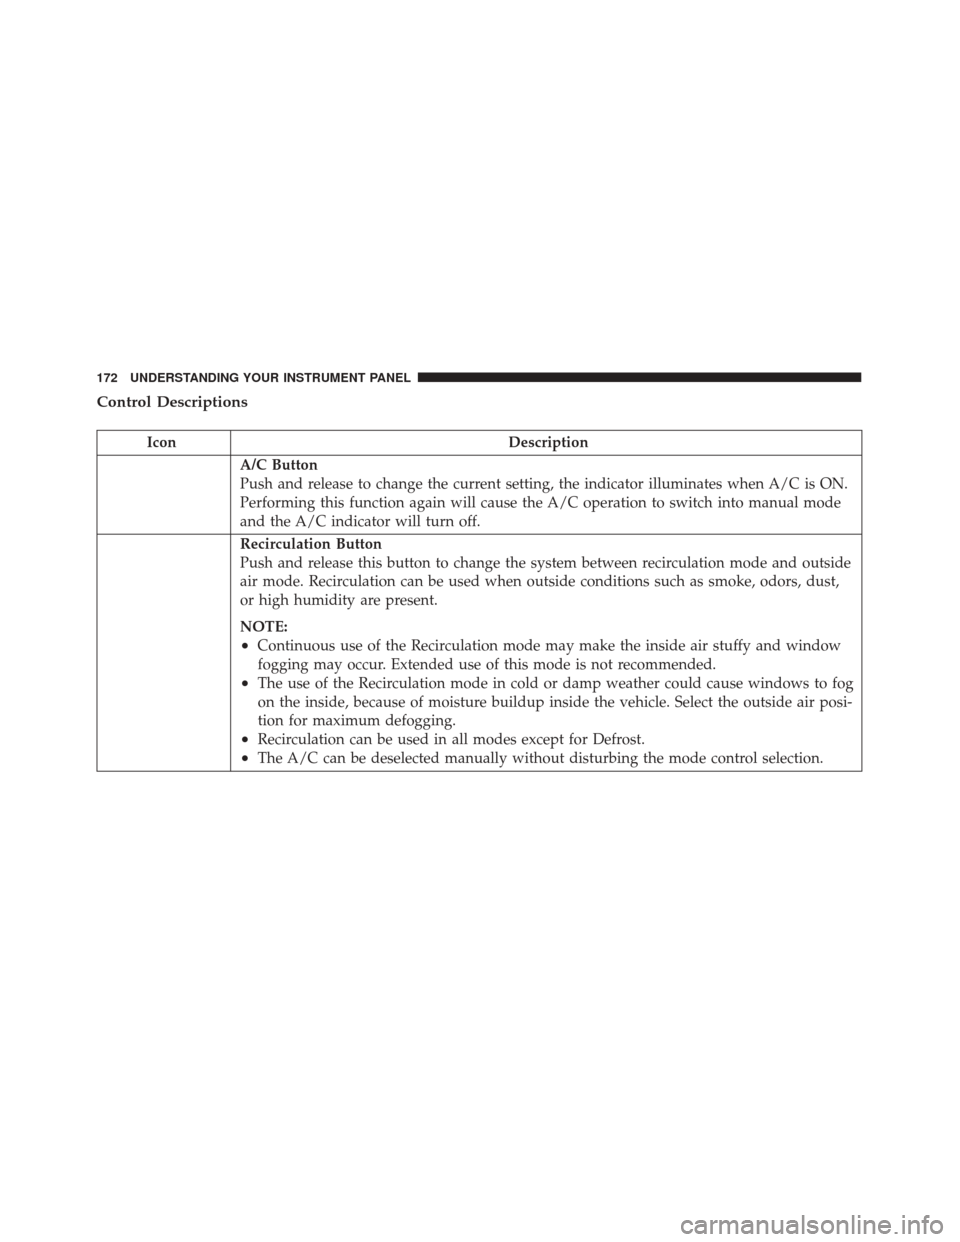
Control Descriptions
IconDescription
A/C Button
Push and release to change the current setting, the indicator illuminates when A/C is ON.
Performing this function again will cause the A/C operation to switch into manual mode
and the A/C indicator will turn off.
Recirculation Button
Push and release this button to change the system between recirculation mode and outside
air mode. Recirculation can be used when outside conditions such as smoke, odors, dust,
or high humidity are present.
NOTE:
•Continuous use of the Recirculation mode may make the inside air stuffy and window
fogging may occur. Extended use of this mode is not recommended.
•The use of the Recirculation mode in cold or damp weather could cause windows to fog
on the inside, because of moisture buildup inside the vehicle. Select the outside air posi-
tion for maximum defogging.
•Recirculation can be used in all modes except for Defrost.
•The A/C can be deselected manually without disturbing the mode control selection.
172 UNDERSTANDING YOUR INSTRUMENT PANEL
Page 176 of 350
IconDescription
Panel Mode
Floor Mode
Bi-Level Mode
Mix Mode
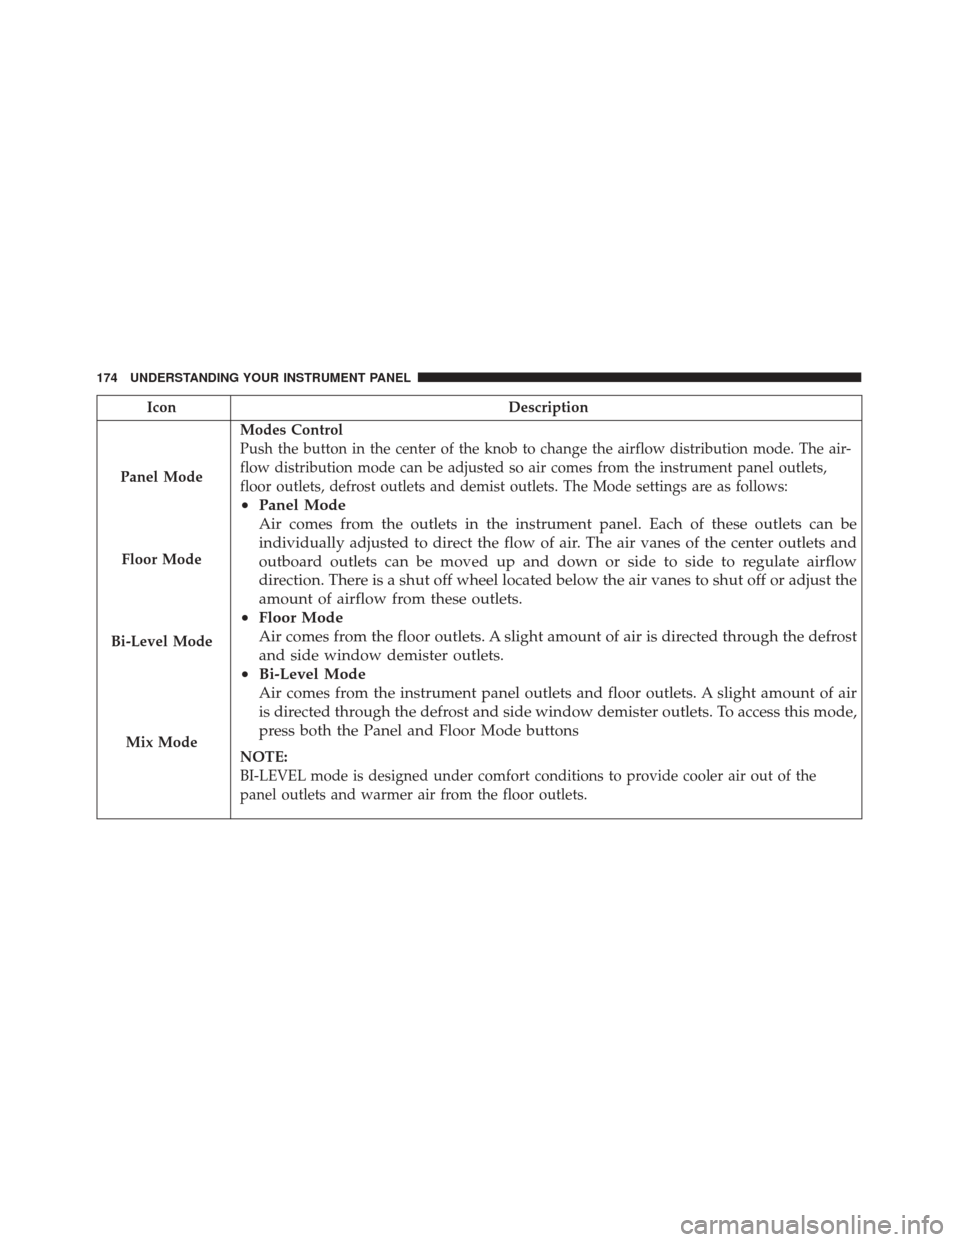
Modes Control
Push the button in the center of the knob to change the airflow distribution mode. The air-
flow distribution mode can be adjusted so air comes from the instrument panel outlets,
floor outlets, defrost outlets and demist outlets. The Mode settings are as follows:
• Panel Mode
Air comes from the outlets in the instrument panel. Each of these outlets can be
individually adjusted to direct the flow of air. The air vanes of the center outlets and
outboard outlets can be moved up and down or side to side to regulate airflow
direction. There is a shut off wheel located below the air vanes to shut off or adjust the
amount of airflow from these outlets.
• Floor Mode
Air comes from the floor outlets. A slight amount of air is directed through the defrost
and side window demister outlets.
• Bi-Level Mode
Air comes from the instrument panel outlets and floor outlets. A slight amount of air
is directed through the defrost and side window demister outlets. To access this mode,
press both the Panel and Floor Mode buttons
NOTE:
BI-LEVEL mode is designed under comfort conditions to provide cooler air out of the
panel outlets and warmer air from the floor outlets.
174 UNDERSTANDING YOUR INSTRUMENT PANEL
Page 177 of 350
IconDescription
•Mix Mode
Air is directed through the floor, defrost, and side window demister outlets. This
setting works best in cold or snowy conditions that require extra heat to the
windshield. This setting is good for maintaining comfort while reducing moisture on
the windshield.
Climate Control OFF Button
Push and release this button to turn the Climate Control ON/OFF.
Temperature UP And DOWN Button
Provides the driver with independent temperature control. Push the UP button on the face-
plate for warmer temperature settings. Push the DOWN button on the faceplate for cooler
temperature settings.
CAUTION!
Failure to follow these cautions can cause damage
to the heating elements:
•Use care when washing the inside of the rear
window. Do not use abrasive window cleaners on
(Continued)
CAUTION! (Continued)
the interior surface of the window. Use a soft
cloth and a mild washing solution, wiping paral-
lel to the heating elements. Labels can be peeled
off after soaking with warm water.
(Continued)
4
UNDERSTANDING YOUR INSTRUMENT PANEL 175
Page 178 of 350
CAUTION!(Continued)
•Do not use scrapers, sharp instruments, or abra-
sive window cleaners on the interior surface of
the window.
• Keep all objects a safe distance from the window.
Climate Control Functions
A/C (Air Conditioning)
The Air Conditioning (A/C) button allows the operator
to manually activate or deactivate the air conditioning
system. When the air conditioning system is turned on,
cool dehumidified air will flow through the outlets into
the cabin. For improved fuel economy, push the A/C
button to turn off the air conditioning and manually
adjust the blower and airflow mode settings. Also,
make sure to select only Panel, Bi-Level or Floor modes.
NOTE:
• If fog or mist appears on the windshield or side glass,
select Defrost mode and increase blower speed if
needed.
• If your air conditioning performance seems lower
than expected, check the front of the A/C condenser (located in front of the radiator), for an accumulation
of dirt or insects. Clean with a gentle water spray
from the front of the radiator and through the
condenser.
Recirculation
When outside air contains smoke, odors, or high hu-
midity, or if rapid cooling is desired, you may wish to
recirculate interior air by pushing the Recirculation
control button. The recirculation indicator will illumi-
nate when this button is selected. Push the button a
second time to turn off the Recirculation mode and
allow outside air into the vehicle.
NOTE: In cold weather, use of recirculation mode may
lead to excessive window fogging. The recirculation
feature may be unavailable (button on the touchscreen
greyed out) if conditions exist that could create fogging
on the inside of the windshield. On systems with
Manual Climate Controls, the Recirculation mode is not
allowed in Defrost mode to improve window clearing
operation. Recirculation will be disabled automatically
if this mode is selected. Attempting to use Recirculation
while in this mode will cause the LED in the control
button to blink and then turn off.
176 UNDERSTANDING YOUR INSTRUMENT PANEL