heating FIAT 500 ABARTH CABRIO 2017 2.G Owners Manual
[x] Cancel search | Manufacturer: FIAT, Model Year: 2017, Model line: 500 ABARTH CABRIO, Model: FIAT 500 ABARTH CABRIO 2017 2.GPages: 338, PDF Size: 2.78 MB
Page 63 of 338
Exhaust Gas
WARNING!
Exhaust gases can injure or kill. They contain
carbon monoxide (CO), which is colorless and odor-
less. Breathing it can make you unconscious and
can eventually poison you. To avoid breathing
(CO), follow these safety tips:
•Do not run the engine in a closed garage or in
confined areas any longer than needed to move
your vehicle in or out of the area.
• If you are required to drive with the trunk/
liftgate/rear doors open, make sure that all win-
dows are closed and the climate control BLOWER
switch is set at high speed. DO NOT use the
recirculation mode.
• If it is necessary to sit in a parked vehicle with the
engine running, adjust your heating or cooling
controls to force outside air into the vehicle. Set
the blower at high speed.
The best protection against carbon monoxide entry into
the vehicle body is a properly maintained engine ex-
haust system. Whenever a change is noticed in the sound of the
exhaust system, when exhaust fumes can be detected
inside the vehicle, or when the underside or rear of the
vehicle is damaged, have a competent mechanic inspect
the complete exhaust system and adjacent body areas
for broken, damaged, deteriorated, or mispositioned
parts. Open seams or loose connections could permit
exhaust fumes to seep into the passenger compartment.
In addition, inspect the exhaust system each time the
vehicle is raised for lubrication or oil change. Replace as
required.
Safety Checks You Should Make Inside The
Vehicle
Seat Belts
Inspect the seat belt system periodically, checking for
cuts, frays, and loose parts. Damaged parts must be
replaced immediately. Do not disassemble or modify
the system.
Front seat belt assemblies must be replaced after a
collision. Rear seat belt assemblies must be replaced
after a collision if they have been damaged (i.e., bent
retractor, torn webbing, etc.). If there is any question
regarding seat belt or retractor condition, replace the
seat belt.
2
THINGS TO KNOW BEFORE STARTING YOUR VEHICLE 61
Page 79 of 338
Lift the seatback upright and push the seat rearward to
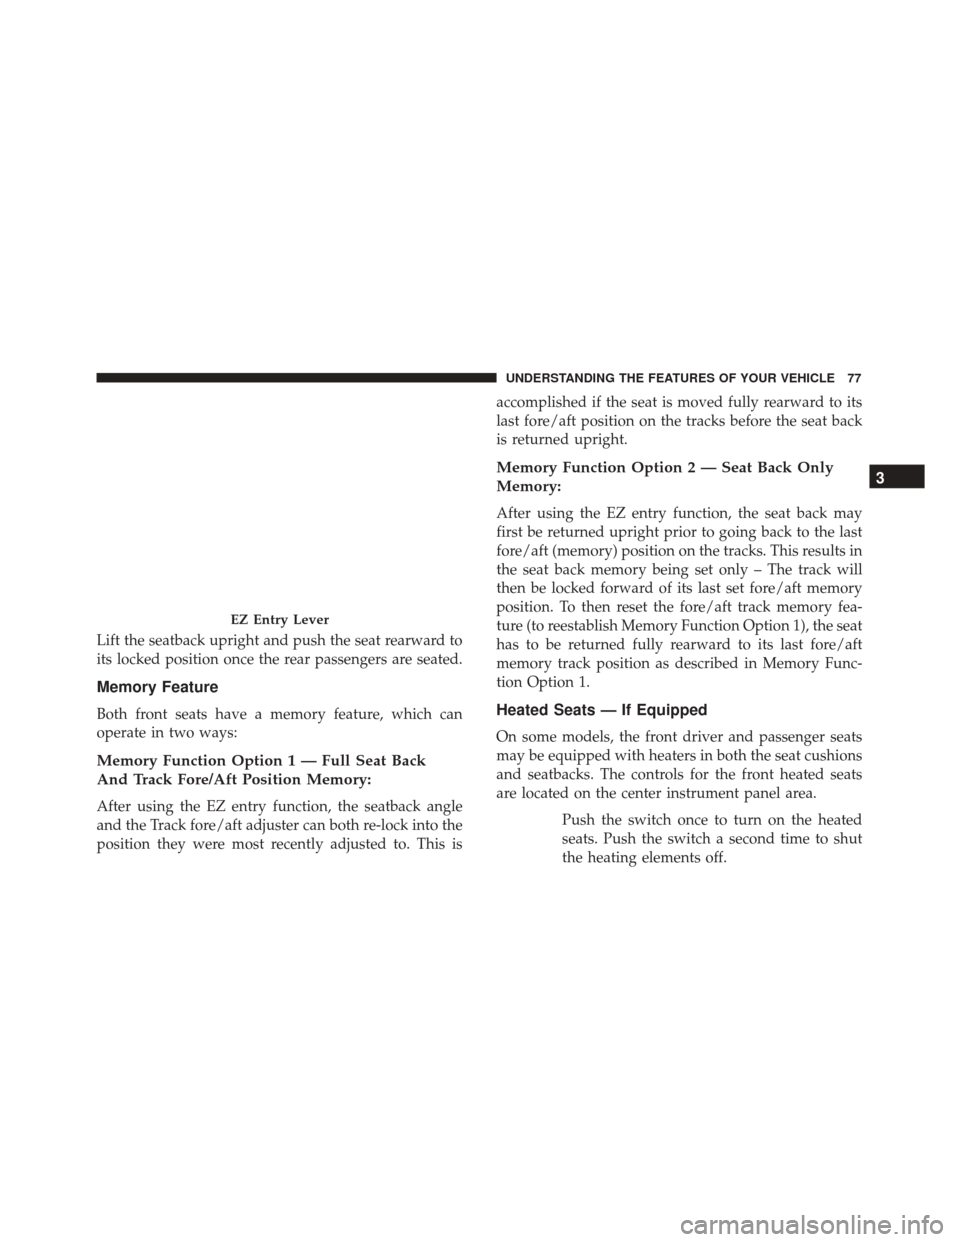
its locked position once the rear passengers are seated.
Memory Feature
Both front seats have a memory feature, which can
operate in two ways:
Memory Function Option 1 — Full Seat Back
And Track Fore/Aft Position Memory:
After using the EZ entry function, the seatback angle
and the Track fore/aft adjuster can both re-lock into the
position they were most recently adjusted to. This isaccomplished if the seat is moved fully rearward to its
last fore/aft position on the tracks before the seat back
is returned upright.
Memory Function Option 2 — Seat Back Only
Memory:
After using the EZ entry function, the seat back may
first be returned upright prior to going back to the last
fore/aft (memory) position on the tracks. This results in
the seat back memory being set only – The track will
then be locked forward of its last set fore/aft memory
position. To then reset the fore/aft track memory fea-
ture (to reestablish Memory Function Option 1), the seat
has to be returned fully rearward to its last fore/aft
memory track position as described in Memory Func-
tion Option 1.
Heated Seats — If Equipped
On some models, the front driver and passenger seats
may be equipped with heaters in both the seat cushions
and seatbacks. The controls for the front heated seats
are located on the center instrument panel area.
Push the switch once to turn on the heated
seats. Push the switch a second time to shut
the heating elements off.
EZ Entry Lever
3
UNDERSTANDING THE FEATURES OF YOUR VEHICLE 77
Page 101 of 338
Sun Shade — If Equipped
For vehicles equipped with either a power sunroof or a
fixed glass roof, there is a sun shade that can be open or
closed. To open the sun shade, push the tab and move
the shade to a full open position.
ELECTRICAL POWER OUTLETS
There is a standard 12 Volt (13 Amp) power outlet,
located in the floor console, for added convenience. This
power outlet can power mobile phones, electronics and
other low power devices.Power is available when the ignition switch is in the
ON/RUN or START position. Insert the cigar lighter or
accessory plug into the outlet for use. To preserve the
heating element, do not hold the lighter in the heating
position.
CAUTION!
•
Do not exceed the maximum power of 160 Watts
(13 Amps) at 12 Volts. If the 160 Watts (13 Amps)
power rating is exceeded, the fuse protecting the
system will need to be replaced.
(Continued)
Manual Sun Shade
Power Outlet
3
UNDERSTANDING THE FEATURES OF YOUR VEHICLE 99
Page 106 of 338
CAUTION!
Failure to follow these cautions can cause damage
to the heating elements:
•Use care when washing the inside of the rear
window. Do not use abrasive window cleaners on
the interior surface of the window. Use a soft
cloth and a mild washing solution, wiping paral-
lel to the heating elements. Labels can be peeled
off after soaking with warm water.
• Do not use scrapers, sharp instruments, or abra-
sive window cleaners on the interior surface of
the window.
• Keep all objects a safe distance from the window.
104 UNDERSTANDING THE FEATURES OF YOUR VEHICLE
Page 135 of 338
CAUTION!
Failure to follow these cautions can cause damage
to the heating elements:
•Use care when washing the inside of the rear
window. Do not use abrasive window cleaners on
the interior surface of the window. Use a soft
cloth and a mild washing solution, wiping paral-
lel to the heating elements. Labels can be peeled
off after soaking with warm water.
• Do not use scrapers, sharp instruments, or abra-
sive window cleaners on the interior surface of
the window.
• Keep all objects a safe distance from the window.
4
UNDERSTANDING YOUR INSTRUMENT PANEL 133
Page 173 of 338
CAUTION!
Failure to follow these cautions can cause damage
to the heating elements:
•Use care when washing the inside of the rear
window. Do not use abrasive window cleaners on
the interior surface of the window. Use a soft
cloth and a mild washing solution, wiping paral-
lel to the heating elements. Labels can be peeled
off after soaking with warm water.
• Do not use scrapers, sharp instruments, or abra-
sive window cleaners on the interior surface of
the window.
• Keep all objects a safe distance from the window.
Automatic Temperature Control Overview
Automatic Temperature Controls
4
UNDERSTANDING YOUR INSTRUMENT PANEL 171
Page 178 of 338
CAUTION!
Failure to follow these cautions can cause damage
to the heating elements:
•Use care when washing the inside of the rear
window. Do not use abrasive window cleaners on
the interior surface of the window. Use a soft
cloth and a mild washing solution, wiping paral-
lel to the heating elements. Labels can be peeled
off after soaking with warm water.
• Do not use scrapers, sharp instruments, or abra-
sive window cleaners on the interior surface of
the window.
• Keep all objects a safe distance from the window.
Climate Control Functions
A/C (Air Conditioning)
The Air Conditioning (A/C) button allows the operator
to manually activate or deactivate the air conditioning
system. When the air conditioning system is turned on,
cool dehumidified air will flow through the outlets into
the cabin. For improved fuel economy, push the A/C
button to turn off the air conditioning and manually
adjust the blower and airflow mode settings. Also,
make sure to select only Panel, Bi-Level or Floor modes. NOTE:
•
If fog or mist appears on the windshield or side glass,
select Defrost mode and increase blower speed if
needed.
• If your air conditioning performance seems lower
than expected, check the front of the A/C condenser
(located in front of the radiator), for an accumulation
of dirt or insects. Clean with a gentle water spray
from the front of the radiator and through the
condenser.
Recirculation
When outside air contains smoke, odors, or high hu-
midity, or if rapid cooling is desired, you may wish to
recirculate interior air by pushing the Recirculation
control button. The recirculation indicator will illumi-
nate when this button is selected. Push the button a
second time to turn off the Recirculation mode and
allow outside air into the vehicle.
176 UNDERSTANDING YOUR INSTRUMENT PANEL
Page 180 of 338
Manual Operation Override
This system offers a full complement of manual over-
ride features. The AUTO symbol in the front ATC
display will be turned off when the system is being
used in the manual mode.
NOTE:The system will not automatically sense the
presence of fog, mist or ice on the windshield. DE-
FROST mode must be manually selected to clear the
windshield and side glass.
Operating Tips
NOTE: Refer to the chart at the end of this section for
suggested control settings for various weather conditions.
Summer Operation
The engine cooling system must be protected with a
high-quality antifreeze coolant to provide proper corro-
sion protection and to protect against engine overheating.
OAT coolant (conforming to MS.90032) is recommended.
Refer to “Maintenance Procedures” in “Maintaining Your
Vehicle” for proper coolant selection.
Winter Operation
To ensure the best possible heater and defroster perfor-
mance, make sure the engine cooling system is func-
tioning properly and the proper amount, type, and
concentration of coolant is used. Refer to “Maintenance
Procedures” in “Maintaining Your Vehicle” for proper
coolant selection. Use of the air Recirculation mode
during Winter months is not recommended because it
may cause window fogging.
Vacation/Storage
Before you store your vehicle, or keep it out of service
(i.e., vacation) for two weeks or more, run the air
conditioning system at idle for about five minutes, in
fresh air with the blower setting on high. This will
ensure adequate system lubrication to minimize the
possibility of compressor damage when the system is
started again.
Window Fogging
Vehicle windows tend to fog on the inside in mild, rainy
and/or humid weather. To clear the windows, select
Defrost or Mix mode and increase the front blower
speed. Do not use the Recirculation mode without A/C
for long periods, as fogging may occur.
178 UNDERSTANDING YOUR INSTRUMENT PANEL
Page 196 of 338
CAUTION!
Towing the vehicle, coasting, or driving for any
other reason with the transmission in NEUTRAL
can cause severe transmission damage. Refer to
“Recreational Towing” in “Starting And Operating”
and “Towing A Disabled Vehicle” in “What To Do
In Emergencies” for further information.
DRIVE (D)
This range should be used for most city and highway
driving. It provides the smoothest upshifts and down-
shifts, and the best fuel economy. The transmission
automatically upshifts through all forward gears. The
DRIVE position provides optimum driving characteris-
tics under all normal operating conditions.
When frequent transmission shifting occurs (such as
when operating the vehicle under heavy loading con-
ditions, in hilly terrain, or traveling into strong head
winds), use the AutoStick shift control (refer to
AutoStick in this section for further information) to
select a lower gear. Under these conditions, using a
lower gear will improve performance and extend trans-
mission life by reducing excessive shifting and heat
buildup.
If the transmission temperature exceeds normal operating
limits, the transmission controller will expand the range
of torque converter clutch engagement. This is done to
prevent transmission damage due to overheating.
During cold temperatures, transmission operation may
be modified depending on engine coolant temperature.
Normal operation will resume once the engine tempera-
ture has risen to a suitable level.
Transmission Limp Home Mode
Transmission function is monitored electronically for
abnormal conditions. If a condition is detected that
could result in transmission damage, Transmission
Limp Home Mode is activated. In this mode, the
transmission remains in third gear regardless of which
forward gear is selected. PARK, REVERSE, and NEU-
TRAL will continue to operate. The Malfunction Indi-
cator Light (MIL) may be illuminated. Limp Home
Mode allows the vehicle to be driven to an authorized
dealer for service without damaging the transmission.
194 STARTING AND OPERATING
Page 221 of 338
WARNING!
Overloading of your tires is dangerous. Overload-
ing can cause tire failure, affect vehicle handling,
and increase your stopping distance. Use tires of the
recommended load capacity for your vehicle. Never
overload them.
TIRES — GENERAL INFORMATION
Tire Pressure
Proper tire inflation pressure is essential to the safe and
satisfactory operation of your vehicle. Four primary
areas are affected by improper tire pressure:
•Safety and Vehicle Stability
• Economy
• Tread Wear
• Ride Comfort
Safety
WARNING!
•Improperly inflated tires are dangerous and can
cause collisions.
• Underinflation increases tire flexing and can re-
sult in overheating and tire failure.
• Overinflation reduces a tire’s ability to cushion
shock. Objects on the road and chuckholes can
cause damage that result in tire failure.
• Overinflated or underinflated tires can affect ve-
hicle handling and can fail suddenly, resulting in
loss of vehicle control.
• Unequal tire pressures can cause steering prob-
lems. You could lose control of your vehicle.
• Unequal tire pressures from one side of the ve-
hicle to the other can cause the vehicle to drift to
the right or left.
• Always drive with each tire inflated to the recom-
mended cold tire inflation pressure.
Both under-inflation and over-inflation affect the stabil-
ity of the vehicle and can produce a feeling of sluggish
response or over responsiveness in the steering.
5
STARTING AND OPERATING 219