Symbol FIAT 500C 2017 2.G Owners Manual
[x] Cancel search | Manufacturer: FIAT, Model Year: 2017, Model line: 500C, Model: FIAT 500C 2017 2.GPages: 350, PDF Size: 3.01 MB
Page 6 of 350
INTRODUCTION
Congratulations on selecting your new vehicle. Be
assured that it represents precision workmanship, dis-
tinctive styling, and high quality.
This Owner’s Manual has been prepared with the
assistance of service and engineering specialists to
acquaint you with the operation and maintenance of
your vehicle. It is supplemented by Warranty Informa-
tion, and various customer-oriented documents. Please
take the time to read these publications carefully. Fol-
lowing the instructions and recommendations in this
manual will help assure safe and enjoyable operation of
your vehicle.
The enclosed Warranty Information lists the services
that FCA US LLC offers to its customers:
•The Warranty with terms and conditions for main-
taining its validity
• The range of additional services available to FCA US
LLC customers NOTE: After reviewing the owner information, it
should be stored in the vehicle for convenient refer-
encing and remain with the vehicle when sold.
When it comes to service, remember that your autho-
rized dealer knows your vehicle best, has factory-
trained technicians and genuine MOPAR® parts, and
cares about your satisfaction.
HOW TO USE THIS MANUAL
Consult the Table of Contents to determine which
section contains the information you desire.
Since the specification of your vehicle depends on the
items of equipment ordered, certain descriptions and
illustrations may differ from your vehicle’s equipment.
The detailed index at the back of this Owner’s Manual
contains a complete listing of all subjects.
Consult the following table for a description of the
symbols that may be used on your vehicle or through-
out this Owner’s Manual:
4 INTRODUCTION
Page 52 of 350
Lower Anchors And Tethers For CHildren
(LATCH) Restraint System
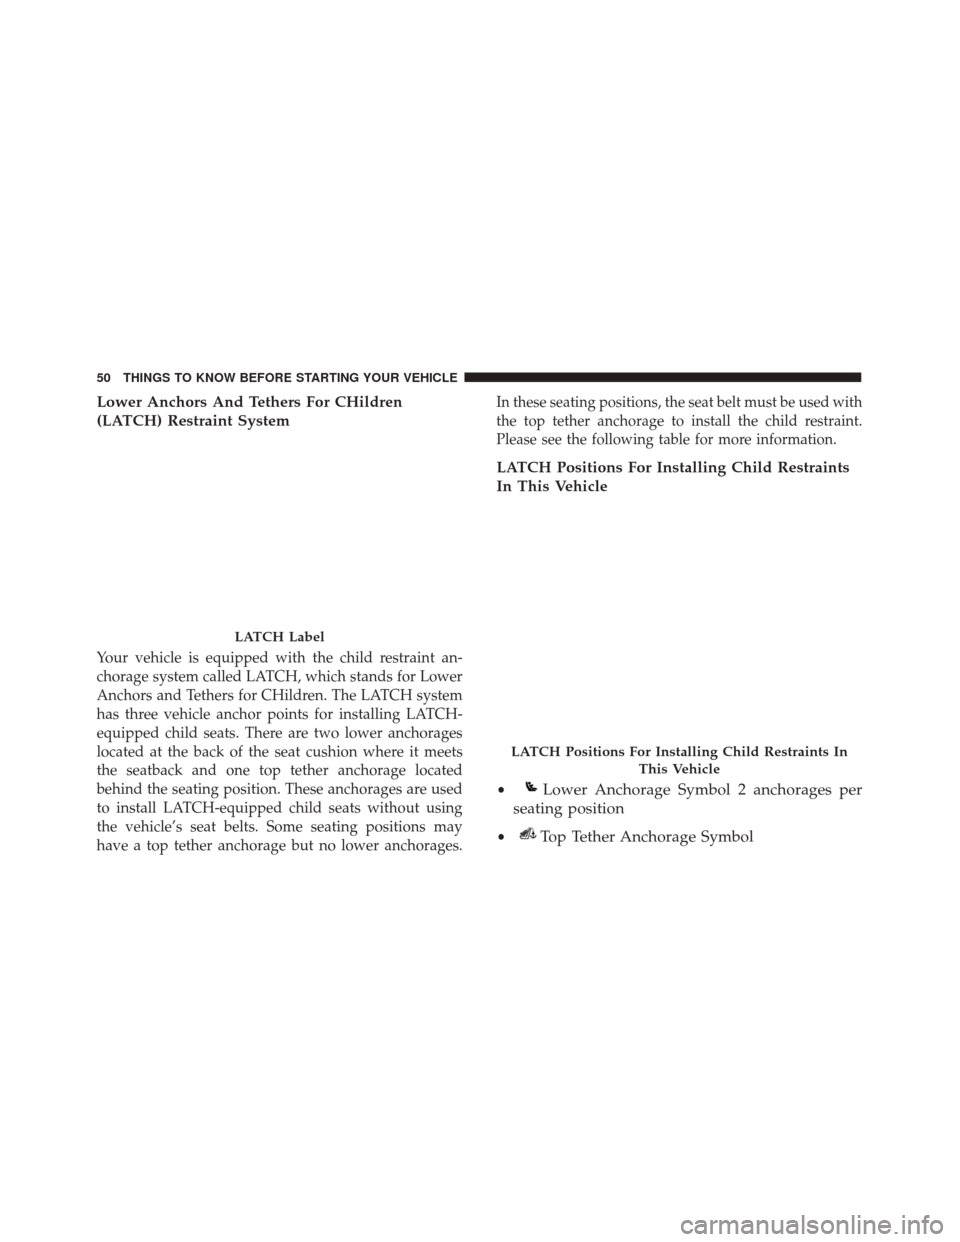
Your vehicle is equipped with the child restraint an-
chorage system called LATCH, which stands for Lower
Anchors and Tethers for CHildren. The LATCH system
has three vehicle anchor points for installing LATCH-
equipped child seats. There are two lower anchorages
located at the back of the seat cushion where it meets
the seatback and one top tether anchorage located
behind the seating position. These anchorages are used
to install LATCH-equipped child seats without using
the vehicle’s seat belts. Some seating positions may
have a top tether anchorage but no lower anchorages.
In these seating positions, the seat belt must be used with
the top tether anchorage to install the child restraint.
Please see the following table for more information.
LATCH Positions For Installing Child Restraints
In This Vehicle
•Lower Anchorage Symbol 2 anchorages per
seating position
•Top Tether Anchorage Symbol
LATCH Label
LATCH Positions For Installing Child Restraints In
This Vehicle
50 THINGS TO KNOW BEFORE STARTING YOUR VEHICLE
Page 54 of 350
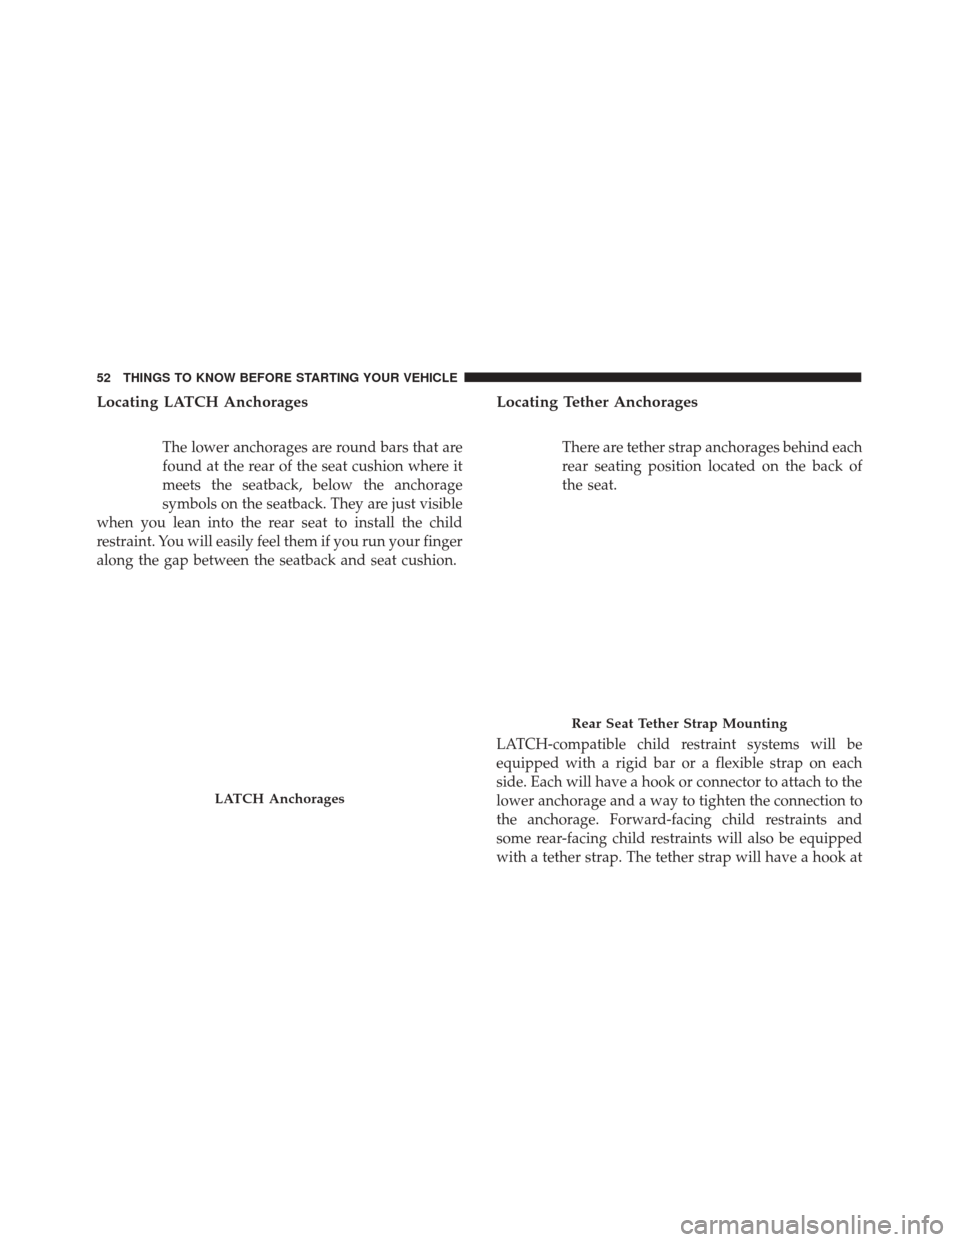
Locating LATCH Anchorages
The lower anchorages are round bars that are
found at the rear of the seat cushion where it
meets the seatback, below the anchorage
symbols on the seatback. They are just visible
when you lean into the rear seat to install the child
restraint. You will easily feel them if you run your finger
along the gap between the seatback and seat cushion.
Locating Tether Anchorages
There are tether strap anchorages behind each
rear seating position located on the back of
the seat.
LATCH-compatible child restraint systems will be
equipped with a rigid bar or a flexible strap on each
side. Each will have a hook or connector to attach to the
lower anchorage and a way to tighten the connection to
the anchorage. Forward-facing child restraints and
some rear-facing child restraints will also be equipped
with a tether strap. The tether strap will have a hook at
LATCH Anchorages
Rear Seat Tether Strap Mounting
52 THINGS TO KNOW BEFORE STARTING YOUR VEHICLE
Page 57 of 350
Lap/Shoulder Belt Systems For Installing Child
Restraints In This Vehicle
Lap/Shoulder Belt Systems For Installing ChildRestraints In This Vehicle
•ALR = Switchable Automatic Locking Retractor
•
Top Tether Anchorage Symbol 2
THINGS TO KNOW BEFORE STARTING YOUR VEHICLE 55
Page 73 of 350
Wind Stop
The Wind Stop installs in the backseat area of the
vehicle. The Wind Stop will not interfere with power
top operation. Therefore, it can remain installed when
the top is up.
MIRRORS
Inside Day/Night Mirror
The mirror can be adjusted up, down, left, and right for
various drivers. The mirror should be adjusted to center
on the view through the rear window.
Headlight glare from vehicles behind you can be re-
duced by moving the small control under the mirror to
the night position (toward the rear of the vehicle). The
mirror should be adjusted while set in the day position
(toward the windshield).
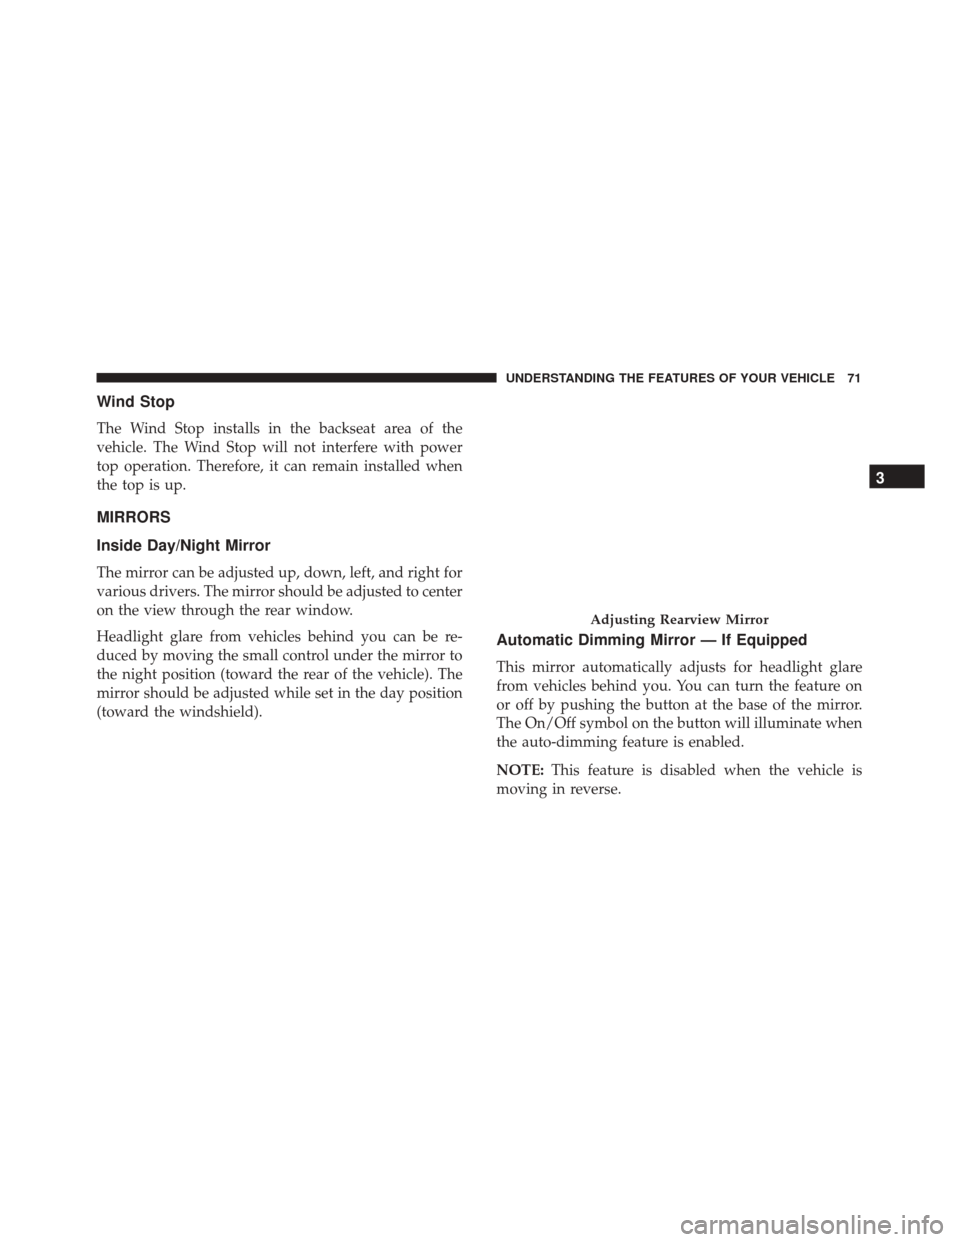
Automatic Dimming Mirror — If Equipped
This mirror automatically adjusts for headlight glare
from vehicles behind you. You can turn the feature on
or off by pushing the button at the base of the mirror.
The On/Off symbol on the button will illuminate when
the auto-dimming feature is enabled.
NOTE:This feature is disabled when the vehicle is
moving in reverse.
Adjusting Rearview Mirror
3
UNDERSTANDING THE FEATURES OF YOUR VEHICLE 71
Page 85 of 350
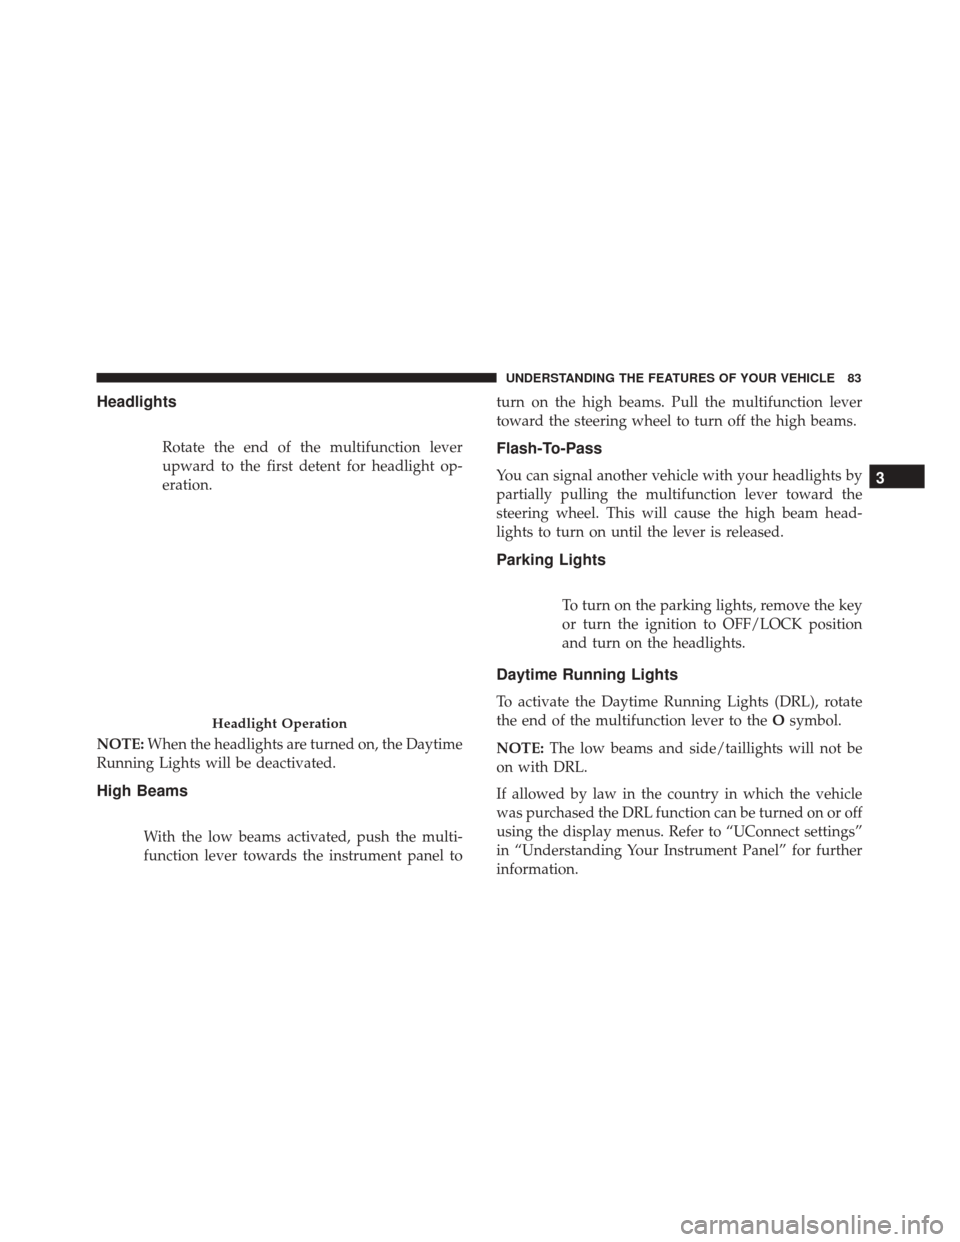
Headlights
Rotate the end of the multifunction lever
upward to the first detent for headlight op-
eration.
NOTE: When the headlights are turned on, the Daytime
Running Lights will be deactivated.
High Beams
With the low beams activated, push the multi-
function lever towards the instrument panel to turn on the high beams. Pull the multifunction lever
toward the steering wheel to turn off the high beams.
Flash-To-Pass
You can signal another vehicle with your headlights by
partially pulling the multifunction lever toward the
steering wheel. This will cause the high beam head-
lights to turn on until the lever is released.
Parking Lights
To turn on the parking lights, remove the key
or turn the ignition to OFF/LOCK position
and turn on the headlights.
Daytime Running Lights
To activate the Daytime Running Lights (DRL), rotate
the end of the multifunction lever to the
Osymbol.
NOTE: The low beams and side/taillights will not be
on with DRL.
If allowed by law in the country in which the vehicle
was purchased the DRL function can be turned on or off
using the display menus. Refer to “UConnect settings”
in “Understanding Your Instrument Panel” for further
information.
Headlight Operation
3
UNDERSTANDING THE FEATURES OF YOUR VEHICLE 83
Page 179 of 350
Automatic Temperature Control (ATC) —
If Equipped
Automatic Operation
1. Push the AUTO button on the faceplate, or the AUTObutton on the touchscreen on the Automatic Tem-
perature Control (ATC) Panel.
2. Next, adjust the temperature you would like the system to maintain by adjusting the driver and
passenger temperature control buttons. Once the
desired temperature is displayed, the system will
achieve and automatically maintain that comfort
level.
3. When the system is set up for your comfort level, it is not necessary to change the settings. You will
experience the greatest efficiency by simply allowing
the system to function automatically.
NOTE:
• It is not necessary to move the temperature settings
for cold or hot vehicles. The system automatically
adjusts the temperature, mode, and blower speed to
provide comfort as quickly as possible. •
The temperature can be displayed in U.S. or Metric
units by selecting the US/Metric customer-
programmable feature. Refer to the “Customer Pro-
grammable Features — Uconnect System Settings” in
this section of the manual.
To provide you with maximum comfort in the Auto-
matic mode during cold start-ups, the blower fan will
remain on low until the engine warms up. The blower
will increase in speed and transition into Auto mode.
Manual Operation Override
This system offers a full complement of manual over-
ride features. The AUTO symbol in the front ATC
display will be turned off when the system is being
used in the manual mode.
NOTE: The system will not automatically sense the
presence of fog, mist or ice on the windshield. DE-
FROST mode must be manually selected to clear the
windshield and side glass.
Operating Tips
NOTE: Refer to the chart at the end of this section for
suggested control settings for various weather condi-
tions.
4
UNDERSTANDING YOUR INSTRUMENT PANEL 177
Page 214 of 350
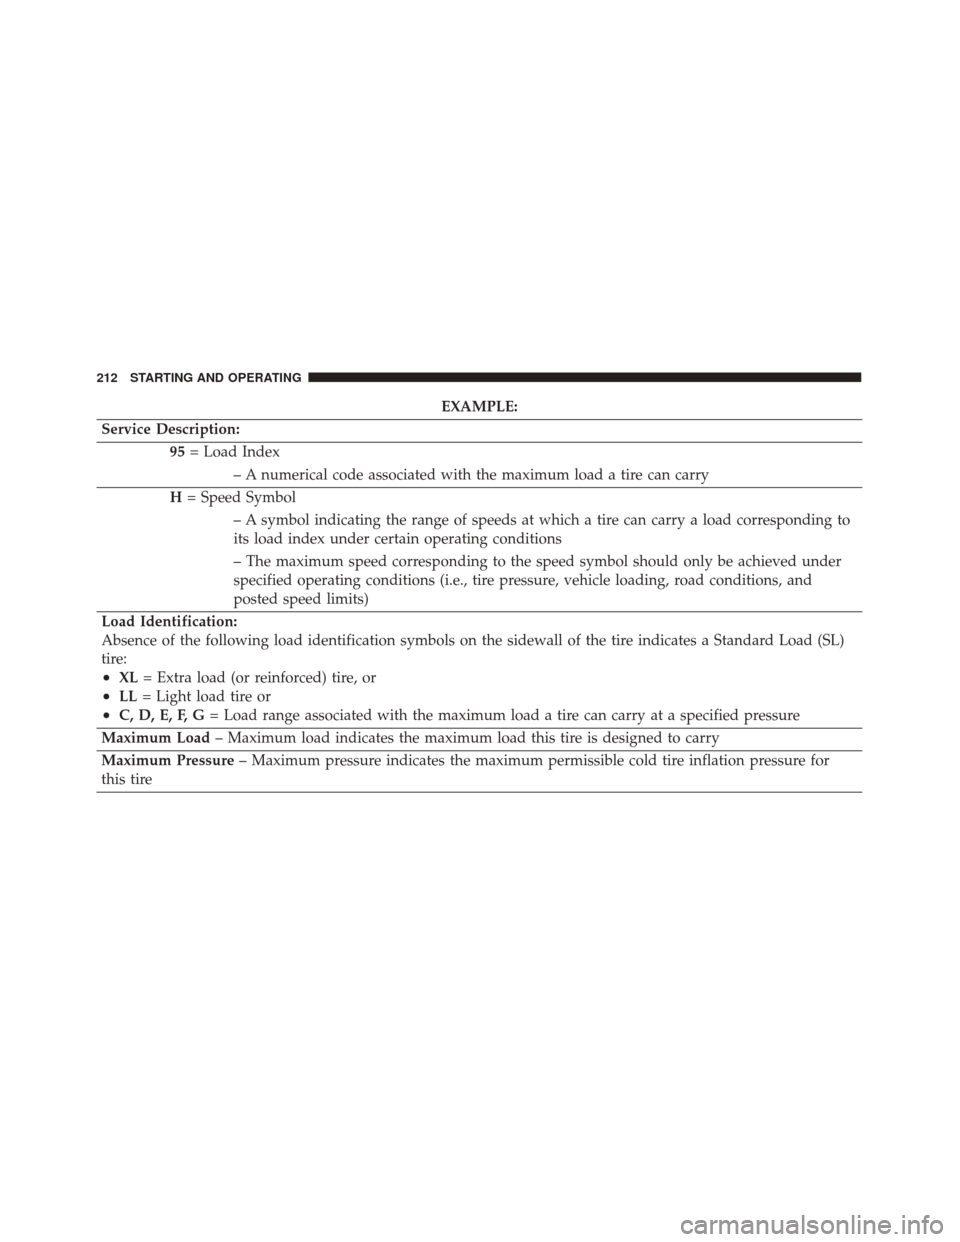
EXAMPLE:
Service Description: 95= Load Index
– A numerical code associated with the maximum load a tire can carry
H = Speed Symbol
– A symbol indicating the range of speeds at which a tire can carry a load corresponding to
its load index under certain operating conditions
– The maximum speed corresponding to the speed symbol should only be achieved under
specified operating conditions (i.e., tire pressure, vehicle loading, road conditions, and
posted speed limits)
Load Identification:
Absence of the following load identification symbols on the sidewall of the tire indicates a Standard Load (SL)
tire:
•XL = Extra load (or reinforced) tire, or
•LL= Light load tire or
•C, D, E, F, G = Load range associated with the maximum load a tire can carry at a specified pressure
Maximum Load – Maximum load indicates the maximum load this tire is designed to carry
Maximum Pressure – Maximum pressure indicates the maximum permissible cold tire inflation pressure for
this tire
212 STARTING AND OPERATING
Page 215 of 350
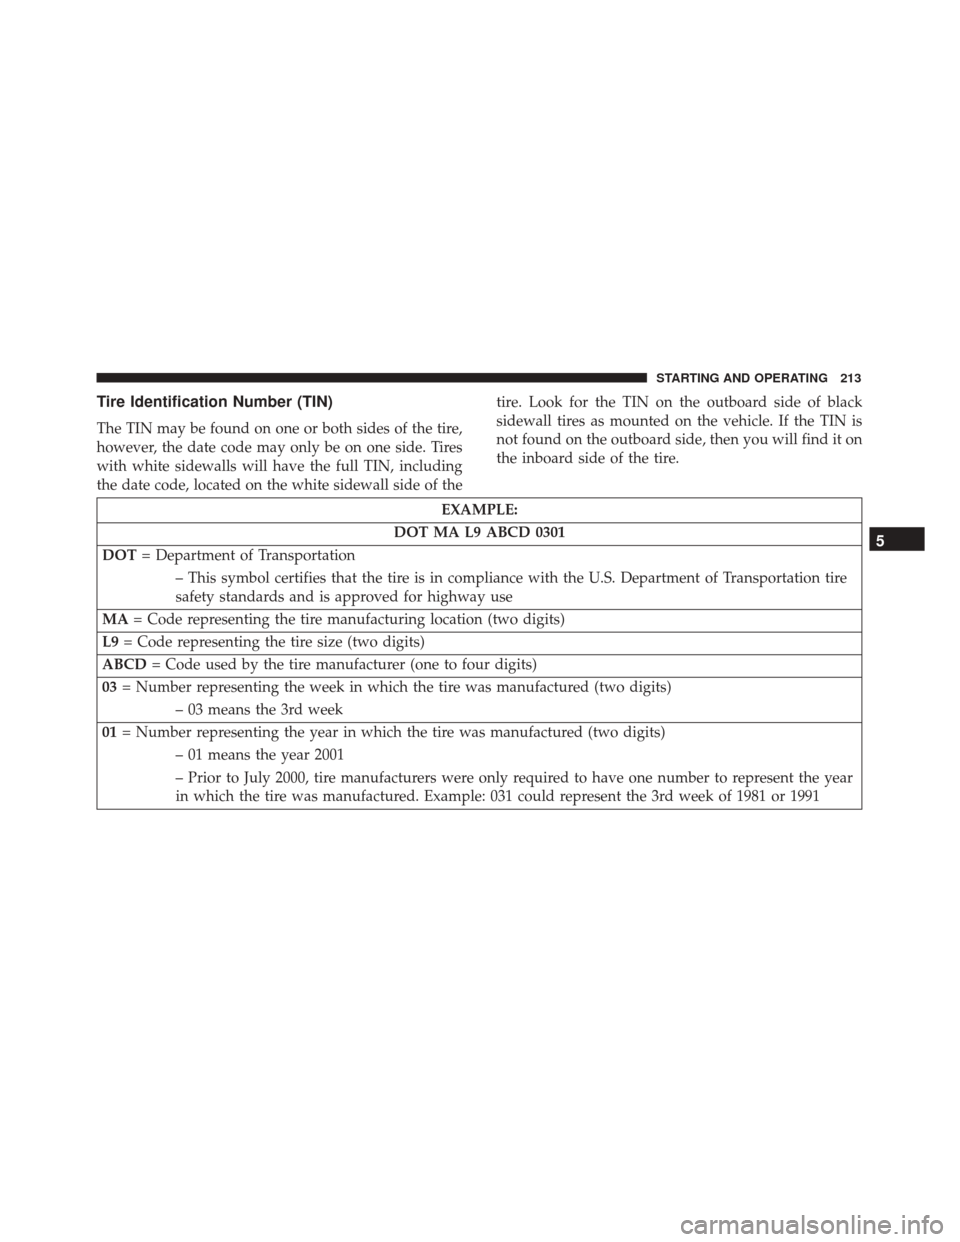
Tire Identification Number (TIN)
The TIN may be found on one or both sides of the tire,
however, the date code may only be on one side. Tires
with white sidewalls will have the full TIN, including
the date code, located on the white sidewall side of thetire. Look for the TIN on the outboard side of black
sidewall tires as mounted on the vehicle. If the TIN is
not found on the outboard side, then you will find it on
the inboard side of the tire.
EXAMPLE:
DOT MA L9 ABCD 0301
DOT = Department of Transportation
– This symbol certifies that the tire is in compliance with the U.S. Department of Transportation tire
safety standards and is approved for highway use
MA = Code representing the tire manufacturing location (two digits)
L9 = Code representing the tire size (two digits)
ABCD = Code used by the tire manufacturer (one to four digits)
03 = Number representing the week in which the tire was manufactured (two digits)
– 03 means the 3rd week
01 = Number representing the year in which the tire was manufactured (two digits)
– 01 means the year 2001
– Prior to July 2000, tire manufacturers were only required to have one number to represent the year
in which the tire was manufactured. Example: 031 could represent the 3rd week of 1981 or 1991
5
STARTING AND OPERATING 213
Page 224 of 350
Consult an authorized tire dealer for tire repairs and
additional information.
Damaged Run Flat tires, or Run Flat tires that have
experienced a loss of pressure should be replaced
immediately with another Run Flat tire of identical size
and service description (Load Index and Speed Sym-
bol).
Tire Types
All Season Tires — If Equipped
All Season tires provide traction for all seasons (Spring,
Summer, Fall and Winter). Traction levels may vary
between different all season tires. All season tires can be
identified by the M+S, M&S, M/S or MS designation on
the tire sidewall. Use all season tires only in sets of four;
failure to do so may adversely affect the safety and
handling of your vehicle.
Summer Or Three Season Tires — If Equipped
Summer tires provide traction in both wet and dry
conditions, and are not intended to be driven in snow or
on ice. If your vehicle is equipped with Summer tires, be
aware these tires are not designed for Winter or cold
driving conditions. Install Winter tires on your vehicle
when ambient temperatures are less than 40°F (5°C) or
if roads are covered with ice or snow. For more infor-
mation, contact an authorized dealer.
Summer tires do not contain the all season designation
or mountain/snowflake symbol on the tire sidewall.
Use Summer tires only in sets of four; failure to do so
may adversely affect the safety and handling of your
vehicle.
WARNING!
Do not use Summer tires in snow/ice conditions.
You could lose vehicle control, resulting in severe
injury or death. Driving too fast for conditions also
creates the possibility of loss of vehicle control.
222 STARTING AND OPERATING