tire pressure FIAT 500E 2014 2.G Owner's Guide
[x] Cancel search | Manufacturer: FIAT, Model Year: 2014, Model line: 500E, Model: FIAT 500E 2014 2.GPages: 363, PDF Size: 2.66 MB
Page 263 of 363
CAUTION!
•The TPMS has been optimized for the original
equipment tires and wheels. TPMS pressures and
warnings have been established for the tire size
equipped on your vehicle. Undesirable system op-
eration or sensor damage may result when using
replacement equipment that is not of the same size,
type, and/or style. Aftermarket wheels can cause
sensor damage. Do not use aftermarket tire sealants
or balance beads if your vehicle is equipped with a
TPMS, as damage to the sensors may result.
• After inspecting or adjusting the tire pressure,
always reinstall the valve stem cap. This will
prevent moisture and dirt from entering the valve
stem, which could damage the Tire Pressure Moni-
toring Sensor. NOTE:
•
The TPMS is not intended to replace normal tire care
and maintenance, or to provide warning of a tire
failure or condition.
• The TPMS should not be used as a tire pressure gauge
while adjusting your tire pressure.
• Driving on a significantly under-inflated tire causes
the tire to overheat and can lead to tire failure.
• Under-inflation also reduces fuel efficiency and tire
tread life, and may affect the vehicle’s handling and
stopping ability.
• It is particularly important for you to check the tire
pressure in all of the tires on your vehicle monthly and
to maintain the proper pressure.
5
STARTING AND OPERATING 261
Page 264 of 363
•The TPMS is not a substitute for proper tire mainte-
nance, and it is the driver ’s responsibility to maintain
correct tire pressure using an accurate tire pressure
gauge, even if under-inflation has not reached the level
to trigger illumination of the “Tire Pressure Monitor-
ing Telltale Light.”
• Seasonal temperature changes will affect tire pressure,
and the TPMS will monitor the actual tire pressure in
the tire.
Premium TPM System
The Tire Pressure Monitor System (TPMS) uses wireless
technology with wheel rim mounted electronic sensors to
monitor tire pressure levels. Sensors, mounted to each
wheel as part of the valve stem, transmit tire pressure
readings to the receiver module. The TPMS consists of the following components:
•
Receiver module
• Four Tire Pressure Monitoring Sensors
• Various Tire Pressure Monitoring System messages,
which display in the Electronic Vehicle Information
Center (EVIC)
• Tire Pressure Monitoring Telltale Light
Tire Pressure Monitoring Low Pressure Warnings
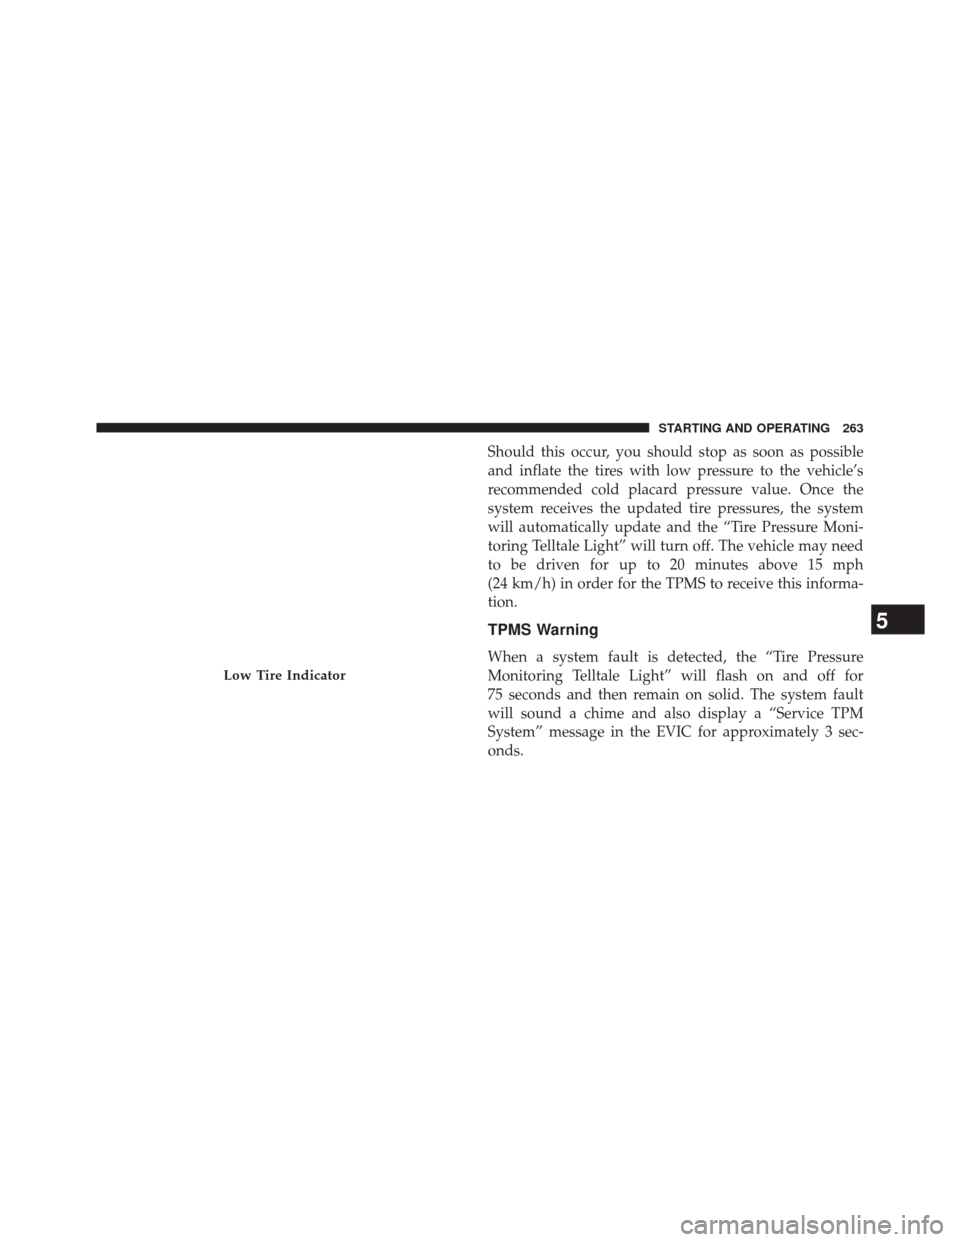
The “Tire Pressure Monitoring Telltale Light” will
illuminate in the instrument cluster and a chime will
sound when tire pressure is low in one or more of the
four active road tires. In addition, the Electronic
Vehicle Information Center (EVIC) will display a
graphic showing the pressure values of each tire with
the low tire pressure tire highlighted.
262 STARTING AND OPERATING
Page 265 of 363
Should this occur, you should stop as soon as possible
and inflate the tires with low pressure to the vehicle’s
recommended cold placard pressure value. Once the
system receives the updated tire pressures, the system
will automatically update and the “Tire Pressure Moni-
toring Telltale Light” will turn off. The vehicle may need
to be driven for up to 20 minutes above 15 mph
(24 km/h) in order for the TPMS to receive this informa-
tion.
TPMS Warning
When a system fault is detected, the “Tire Pressure
Monitoring Telltale Light” will flash on and off for
75 seconds and then remain on solid. The system fault
will sound a chime and also display a “Service TPM
System” message in the EVIC for approximately 3 sec-
onds.
Low Tire Indicator
5
STARTING AND OPERATING 263
Page 266 of 363
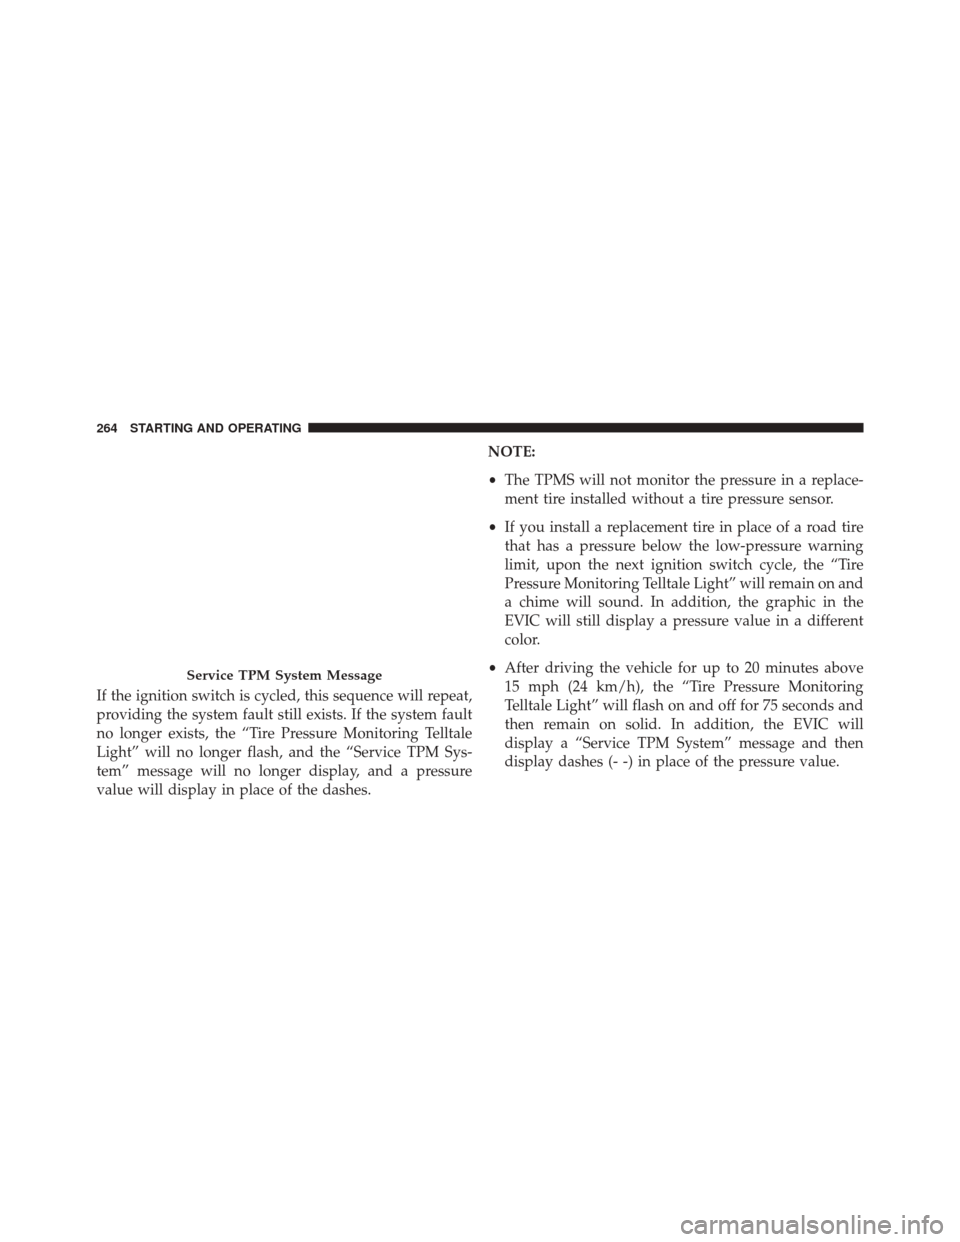
If the ignition switch is cycled, this sequence will repeat,
providing the system fault still exists. If the system fault
no longer exists, the “Tire Pressure Monitoring Telltale
Light” will no longer flash, and the “Service TPM Sys-
tem” message will no longer display, and a pressure
value will display in place of the dashes.NOTE:
•
The TPMS will not monitor the pressure in a replace-
ment tire installed without a tire pressure sensor.
• If you install a replacement tire in place of a road tire
that has a pressure below the low-pressure warning
limit, upon the next ignition switch cycle, the “Tire
Pressure Monitoring Telltale Light” will remain on and
a chime will sound. In addition, the graphic in the
EVIC will still display a pressure value in a different
color.
• After driving the vehicle for up to 20 minutes above
15 mph (24 km/h), the “Tire Pressure Monitoring
Telltale Light” will flash on and off for 75 seconds and
then remain on solid. In addition, the EVIC will
display a “Service TPM System” message and then
display dashes (- -) in place of the pressure value.
Service TPM System Message
264 STARTING AND OPERATING
Page 267 of 363
•For each subsequent ignition switch cycle, a chime will
sound, the “Tire Pressure Monitoring Telltale Light”
will flash on and off for 75 seconds and then remain on
solid, and the EVIC will display a “Service TPM
System” message and dashes (- -) in place of the
pressure value.
Once you repair or replace the original road tire and
reinstall it, the TPMS will update automatically. In addi-
tion, the “Tire Pressure Monitoring Telltale Light” will
turn off and the graphic in the EVIC will display a new
pressure value instead of dashes (- -), as long as no tire
pressure is below the low-pressure warning limit in any
of the four active road tires. The vehicle may need to be
driven for up to 20 minutes above 15 mph (24 km/h) in
order for the TPMS to receive this information.General Information
This device complies with Part 15 of the FCC rules and
RSS 210 of Industry Canada. Operation is subject to the
following conditions:
• This device may not cause harmful interference.
• This device must accept any interference received,
including interference that may cause undesired op-
eration. The tire pressure sensors are covered under
one of the following licenses: United States
MRXC4W4MA4 Canada 2546A-C4W4MA4 1.
TRAILER TOWING
Trailer towing with this vehicle is not recommended.
5
STARTING AND OPERATING 265
Page 277 of 363
TIREFIT Kit Components And OperationUsing The Mode Select Knob And Hoses
Your TIREFIT kit is equipped with the following symbols
to indicate the air or sealant mode.
Selecting Air Mode
Push in the Mode Select Knob (5) and turn to
this position for air pump operation only. Use
the Black Air Pump Hose (7) when selecting
this mode.
Selecting Sealant Mode
Push in the Mode Select Knob (5) and
turn to this position to inject the TIRE-
FIT Sealant and to inflate the tire. Use
the Sealant Hose (clear hose) (6) when
selecting this mode.
TIREFIT Components
1 — Sealant Bottle 5 — Mode Select Knob
2 — Deflation Button 6 — Sealant Hose (Clear)
3 — Pressure Gauge 7 — Air Pump Hose (Black)
4 — Power Button 8 — Power Plug (located on bottom side of TIREFIT Kit)
6
WHAT TO DO IN EMERGENCIES 275
Page 278 of 363
Using The Power ButtonPush and release the Power Button (4) once to
turn On the TIREFIT kit. Push and release the
Power Button (4) again to turn Off the TIREFIT
kit.
Using The Deflation Button
Press the Deflation Button (2) to reduce the air
pressure in the tire if it becomes over-inflated.
TIREFIT Usage Precautions
•Replace the TIREFIT Sealant Bottle (1) and Sealant
Hose (6) prior to the expiration date (printed at the
lower right hand corner on the bottle label) to assure
optimum operation of the system. Refer to “Sealing a
Tire with TIREFIT” section (F) “Sealant Bottle and
Hose Replacement”. •
The Sealant Bottle (1) and Sealant Hose (6) are a one
tire application use and need to be replaced after each
use. Always replace these components immediately at
your original equipment vehicle dealer.
• When the TIREFIT sealant is in a liquid form, clean
water, and a damp cloth will remove the material fromTIREFIT Expiration Date Location
276 WHAT TO DO IN EMERGENCIES
Page 279 of 363
the vehicle or tire and wheel components. Once the
sealant dries, it can easily be peeled off and properly
discarded.
• For optimum performance, make sure the valve stem
on the wheel is free of debris before connecting the
TIREFIT kit.
• You can use the TIREFIT air pump to inflate bicycle
tires. The kit also comes with two needles, located in
the Accessory Storage Compartment (on the bottom of
the air pump) for inflating sport balls, rafts, or similar
inflatable items. However, use only the Air Pump Hose
(7) and make sure the Mode Select Knob (5) is in the
Air Mode when inflating such items to avoid injecting
sealant into them. The TIREFIT Sealant is only in-
tended to seal punctures less than ¼” (6 mm) diameter
in the tread of your vehicle.
• Do not lift or carry the TIREFIT kit by the hoses.WARNING!
•Do not attempt to seal a tire on the side of the
vehicle closest to traffic. Pull far enough off the
road to avoid the danger of being hit when using
the TIREFIT kit.
• Do not use TIREFIT or drive the vehicle under the
following circumstances:
– If the puncture in the tire tread is approximately 1/4” (6 mm) or larger.
– If the tire has any sidewall damage.
– If the tire has any damage from driving with extremely low tire pressure.
– If the tire has any damage from driving on a flat tire.
– If the wheel has any damage.
– If you are unsure of the condition of the tire or the wheel.
(Continued)
6
WHAT TO DO IN EMERGENCIES 277
Page 282 of 363
NOTE:Sealant may leak out through the puncture in the
tire.
If the sealant (white fluid) does not flow within0–10
seconds through the Sealant Hose (6):
1. Press the Power Button (4) to turn Off the TIREFIT kit. Disconnect the Sealant Hose (6) from the valve stem.
Make sure the valve stem is free of debris. Reconnect
the Sealant Hose (6) to the valve stem. Check that the
Mode Select Knob (5) is in the Sealant Mode position
and not Air Mode. Press the Power Button (4) to turn
On the TIREFIT kit.
2. Connect the Power Plug (8) to a different 12 Volt power outlet in your vehicle or another vehicle, if
available. Make sure the engine is running before
turning ON the TIREFIT kit.
3. The Sealant Bottle (1) may be empty due to previous use. Call for assistance. NOTE:
If the Mode Select Knob (5) is on Air Mode and
the pump is operating, air will dispense from the Air
Pump Hose (7) only, not the Sealant Hose (6).
If the sealant (white fluid) does flow through the
Sealant Hose (6):
1.
Continue to operate the pump until sealant is no longer
flowing through hose (typically takes 30 - 70 seconds).
As the sealant flows through the Sealant Hose (6), the
Pressure Gauge (3) can read as high as 70 psi (4.8 Bar).
The Pressure Gauge (3) will decrease quickly from
approximately 70 psi (4.8 Bar) to the actual tire pressure
when the Sealant Bottle (1) is empty.
2. The pump will start to inject air into the tire immedi- ately after the Sealant Bottle (1) is empty. Continue to
operate the pump and inflate the tire to the pressure
indicated on the tire pressure label on the driver-side
latch pillar (recommended pressure). Check the tire
pressure by looking at the Pressure Gauge (3).
280 WHAT TO DO IN EMERGENCIES
Page 283 of 363
If the tire does not inflate to at least 26 psi (1.8 Bar)
pressure within 15 minutes:
•The tire is too badly damaged. Do not attempt to drive
the vehicle further. Call for assistance.
NOTE: If the tire becomes over-inflated, press the Defla-
tion Button to reduce the tire pressure to the recom-
mended inflation pressure before continuing.
If the tire inflates to the recommended pressure or is at
least 26 psi (1.8 Bar) pressure within 15 minutes:
1. Press the Power Button (4) to turn off the TIREFIT kit.
2. Remove the Speed Limit sticker from the top of the Sealant Bottle (1) and place the sticker on the instru-
ment panel.
3.
Immediately disconnect the Sealant Hose (6) from the
valve stem, reinstall the cap on the fitting at the end of
the hose, and place the TIREFIT kit in the vehicle storage
location. Quickly proceed to (D) “Drive Vehicle.”
CAUTION!
• The metal end fitting from Power Plug (8) may get
hot after use, so it should be handled carefully.
• Failure to reinstall the cap on the fitting at the end
of the Sealant Hose (6) can result in sealant con-
tacting your skin, clothing, and the vehicle’s inte-
rior. It can also result in sealant contacting internal
TIREFIT kit components which may cause perma-
nent damage to the kit.
(D) Drive Vehicle:
Immediately after injecting sealant and inflating the tire,
drive the vehicle 5 miles (8 km) or 10 minutes to ensure
distribution of the TIREFIT Sealant within the tire. Do not
exceed 55 mph (90 km/h).
6
WHAT TO DO IN EMERGENCIES 281