warning light FIAT 500E 2015 2.G Owner's Manual
[x] Cancel search | Manufacturer: FIAT, Model Year: 2015, Model line: 500E, Model: FIAT 500E 2015 2.GPages: 100, PDF Size: 2.97 MB
Page 63 of 100
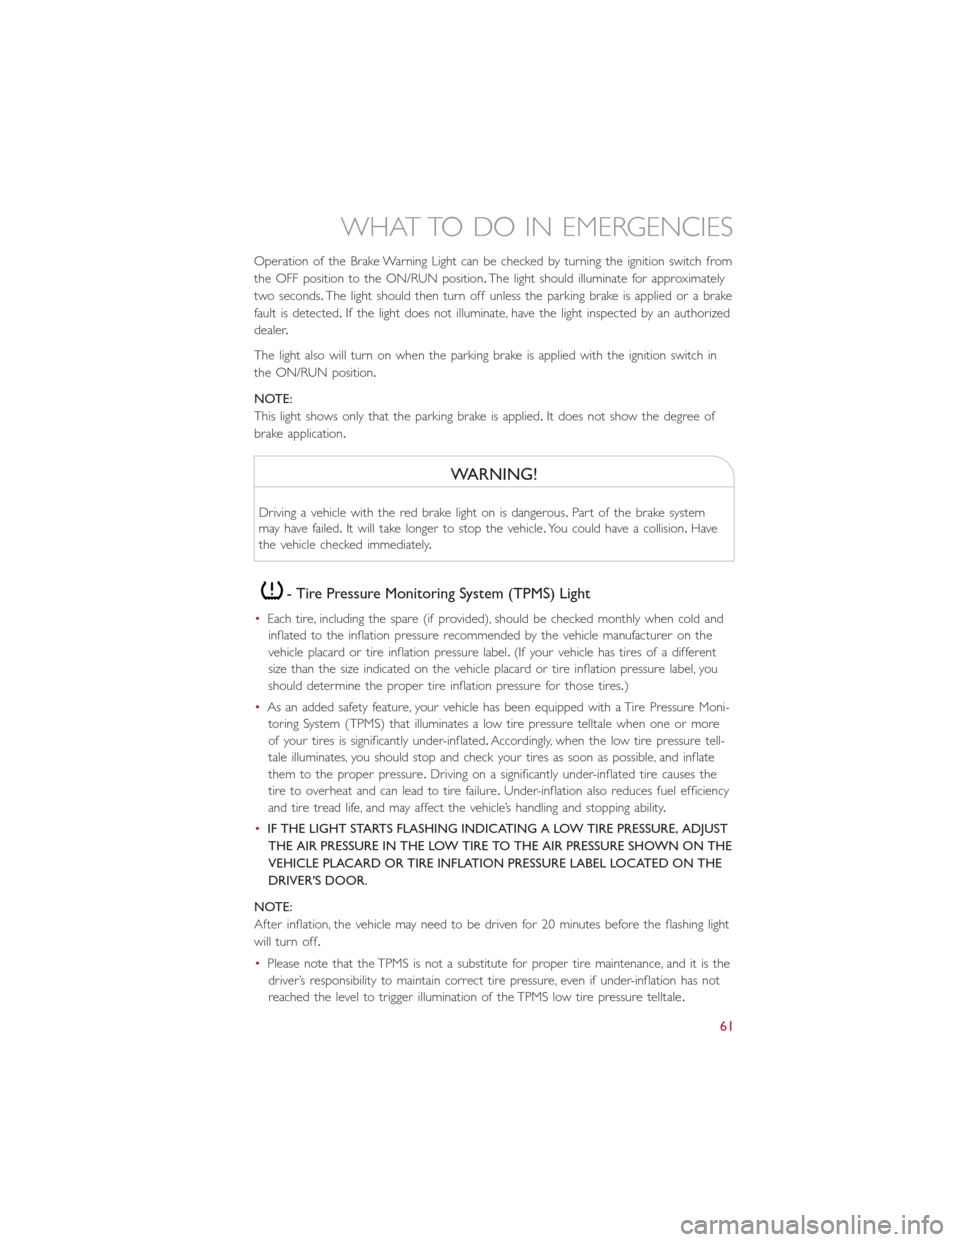
Operation of the Brake Warning Light can be checked by turning the ignition switch from
the OFF position to the ON/RUN position.The light should illuminate for approximately
two seconds.The light should then turn off unless the parking brake is applied or a brake
fault is detected.If the light does not illuminate, have the light inspected by an authorized
dealer.
The light also will turn on when the parking brake is applied with the ignition switch in
the ON/RUN position.
NOTE:
This light shows only that the parking brake is applied.It does not show the degree of
brake application.
WARNING!
Driving a vehicle with the red brake light on is dangerous.Part of the brake system
may have failed.It will take longer to stop the vehicle.You could have a collision.Have
the vehicle checked immediately.
- Tire Pressure Monitoring System (TPMS) Light
•Each tire, including the spare (if provided), should be checked monthly when cold and
inflated to the inflation pressure recommended by the vehicle manufacturer on the
vehicle placard or tire inflation pressure label.(If your vehicle has tires of a different
size than the size indicated on the vehicle placard or tire inflation pressure label, you
should determine the proper tire inflation pressure for those tires.)
•As an added safety feature, your vehicle has been equipped with a Tire Pressure Moni-
toring System (TPMS) that illuminates a low tire pressure telltale when one or more
of your tires is significantly under-inflated.Accordingly, when the low tire pressure tell-
tale illuminates, you should stop and check your tires as soon as possible, and inflate
them to the proper pressure.Driving on a significantly under-inflated tire causes the
tire to overheat and can lead to tire failure.Under-inflation also reduces fuel efficiency
and tire tread life, and may affect the vehicle’s handling and stopping ability.
•IF THE LIGHT STARTS FLASHING INDICATING A LOW TIRE PRESSURE, ADJUST
THE AIR PRESSURE IN THE LOW TIRE TO THE AIR PRESSURE SHOWN ON THE
VEHICLE PLACARD OR TIRE INFLATION PRESSURE LABEL LOCATED ON THE
DRIVER'S DOOR.
NOTE:
After inflation, the vehicle may need to be driven for 20 minutes before the flashing light
will turn off.
•Please note that the TPMS is not a substitute for proper tire maintenance, and it is the
driver’s responsibility to maintain correct tire pressure, even if under-inflation has not
reached the level to trigger illumination of the TPMS low tire pressure telltale.
WHAT TO DO IN EMERGENCIES
61
Page 64 of 100
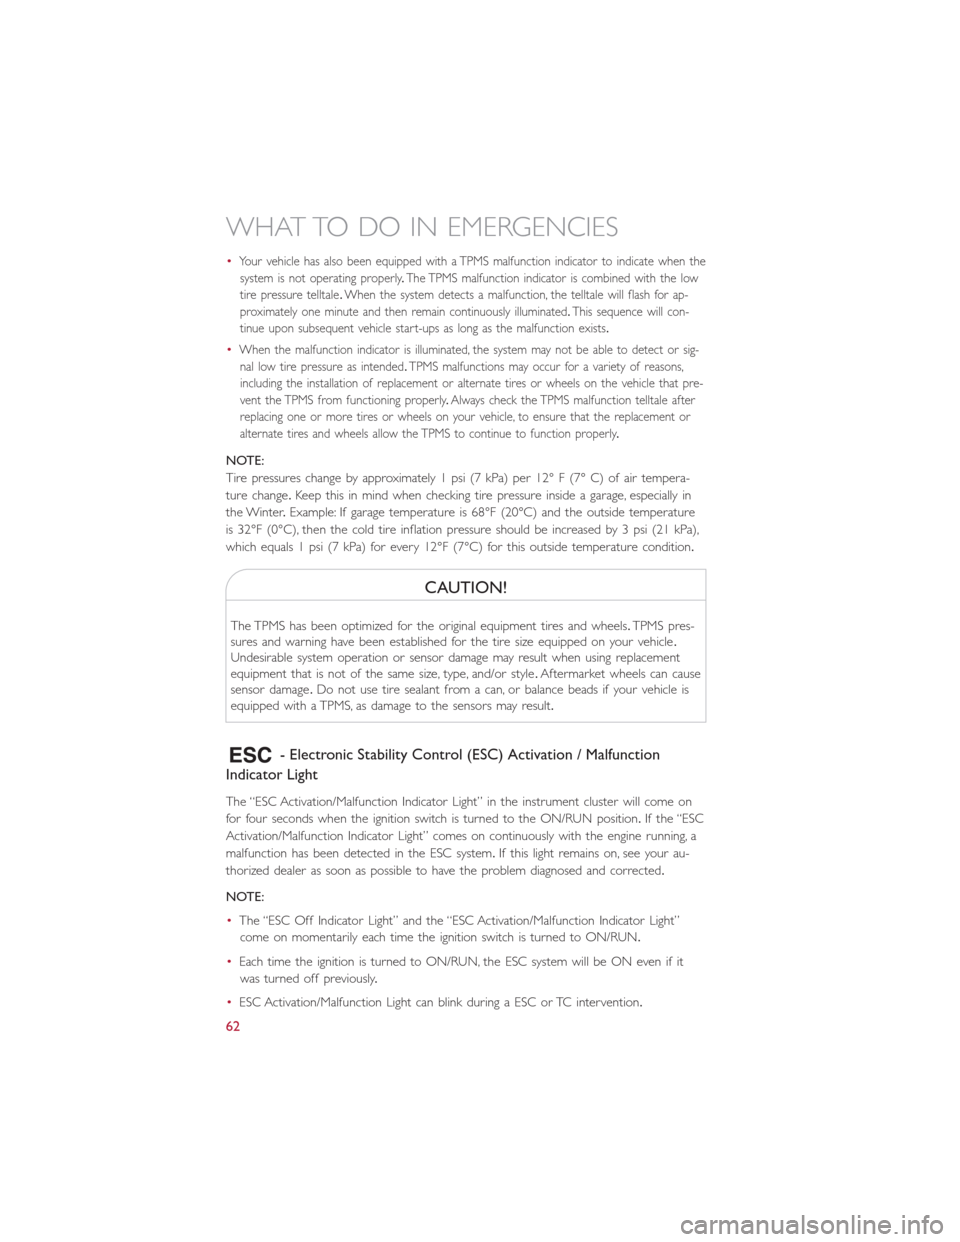
•Your vehicle has also been equipped with a TPMS malfunction indicator to indicate when the
system is not operating properly.The TPMS malfunction indicator is combined with the low
tire pressure telltale.When the system detects a malfunction, the telltale will flash for ap-
proximately one minute and then remain continuously illuminated.This sequence will con-
tinue upon subsequent vehicle start-ups as long as the malfunction exists.
•When the malfunction indicator is illuminated, the system may not be able to detect or sig-
nal low tire pressure as intended.TPMS malfunctions may occur for a variety of reasons,
including the installation of replacement or alternate tires or wheels on the vehicle that pre-
vent the TPMS from functioning properly.Always check the TPMS malfunction telltale after
replacing one or more tires or wheels on your vehicle, to ensure that the replacement or
alternate tires and wheels allow the TPMS to continue to function properly.
NOTE:
Tire pressures change by approximately 1 psi (7 kPa) per 12° F (7° C) of air tempera-
ture change.Keep this in mind when checking tire pressure inside a garage, especially in
the Winter.Example: If garage temperature is 68°F (20°C) and the outside temperature
is 32°F (0°C), then the cold tire inflation pressure should be increased by 3 psi (21 kPa),
which equals 1 psi (7 kPa) for every 12°F (7°C) for this outside temperature condition.
CAUTION!
The TPMS has been optimized for the original equipment tires and wheels.TPMS pres-
sures and warning have been established for the tire size equipped on your vehicle.
Undesirable system operation or sensor damage may result when using replacement
equipment that is not of the same size, type, and/or style.Aftermarket wheels can cause
sensor damage.Do not use tire sealant from a can, or balance beads if your vehicle is
equipped with a TPMS, as damage to the sensors may result.
- Electronic Stability Control (ESC) Activation / Malfunction
Indicator Light
The “ESC Activation/Malfunction Indicator Light” in the instrument cluster will come on
for four seconds when the ignition switch is turned to the ON/RUN position.If the “ESC
Activation/Malfunction Indicator Light” comes on continuously with the engine running, a
malfunction has been detected in the ESC system.If this light remains on, see your au-
thorized dealer as soon as possible to have the problem diagnosed and corrected.
NOTE:
•The “ESC Off Indicator Light” and the “ESC Activation/Malfunction Indicator Light”
come on momentarily each time the ignition switch is turned to ON/RUN.
•Each time the ignition is turned to ON/RUN, the ESC system will be ON even if it
was turned off previously.
•ESC Activation/Malfunction Light can blink during a ESC or TC intervention.
WHAT TO DO IN EMERGENCIES
62
Page 95 of 100
FREQUENTLY ASKED QUESTIONS
GETTING STARTED
•How do I charge my vehicle? pg.16
•How do I install my LATCH Equipped Child Seat? pg.24
•How do I fold down my rear seat? pg.32
ELECTRONICS
•What Sound System do I have? pg.44
•How do I set the general settings? pg.54
•How do I set the presets on my radio? pg.47
•How do I connect my portable media player/iPod/MP3? pg.53
•How do I pair my cell phone via Bluetooth® with the BLUE&ME™ Hands-Free Com-
munication System? pg.51
WHAT TO DO IN EMERGENCIES
•What do I do if my TPMS warning light is blinking? pg.61
•How do I Jump-Start my vehicle? pg.70
MAINTAINING YOUR VEHICLE
•Where is my underhood fuse block located? pg.83
•Where is my interior fuse block located? pg.83
•What should my tire pressure be set at? pg.85
FAQ’s
93
Page 96 of 100
Adding Engine Coolant (Antifreeze)....79Adding Washer Fluid.............79Air BagAdvanced Front Air Bag.........22Advance Front Air Bag.........21Air Bags.................21Air Bag Warning Light..........21Driver Knee Air Bag...........23Front Air Bag..............21Passenger Knee Air Bag.........23Rollover.................21Side Impacts...............21Air bag Light.................59Air Cleaner, Engine (Engine Air CleanerFilter)...................79Air Conditioner Maintenance........79Air Conditioning Refrigerant........79Air Conditioning System...........79AlarmDisarm The System...........20Vehicle Security Alarm.........20Alarm (Security Alarm).........20, 63Antifreeze (Engine Coolant).........79Disposal.................79Anti-Lock Warning Light...........59Appearance Care..............79Automatic Temperature Control (ATC)...41Auxiliary Electrical Outlet(Power Outlet)..............57
Battery..................70, 79Body Mechanism Lubrication........79Brake Fluid..................78Brakes....................79Brake System................79Master Cylinder.............79Warning Light..............60Bulb Replacement..............89Bulbs, Light..................89
Capacities, Fluid...............78Caps, FillerOil (Engine)...............79Car Washes.................79Charging...................16Child Restraint................24
Child RestraintsInstalling Child Restraints Using TheVehicle Seat Belt.............26Lower Anchors And Tethers ForChildren.................26Using The Top Tether Anchorage....26CleaningWheels.................79Windshield Wiper Blades........79Climate ControlAutomatic................41Cluster Warning/Indicator LightsAnti-Lock Brake (ABS) Light......59Brake Warning Light...........60Electronic Speed Control SETIndicator.................63Front Fog Light Indicator........63High Beam Indicator..........63Park/Headlight ON Indicator......63Turn Signal Indicator..........63Vehicle Security Light..........63Clutch....................79Clutch Fluid.................79Compact Spare Tire.............87Cooling System...............79Adding Coolant (Antifreeze)......79Coolant Capacity............78Coolant Level..............79Disposal of Used Coolant.......79Drain, Flush, and Refill..........79Inspection................79Points to Remember..........79Pressure Cap..............79Selection of Coolant(Antifreeze).............78, 79Corrosion Protection............79Cruise Control (Speed Control)......38Customer Assistance............90
Defects, Reporting..............91Disarming, Security System.........20DisposalAntifreeze (Engine Coolant)......79Door Locks.................19
Electrical Outlet, Auxiliary(Power Outlet)..............57
INDEX
94
Page 97 of 100
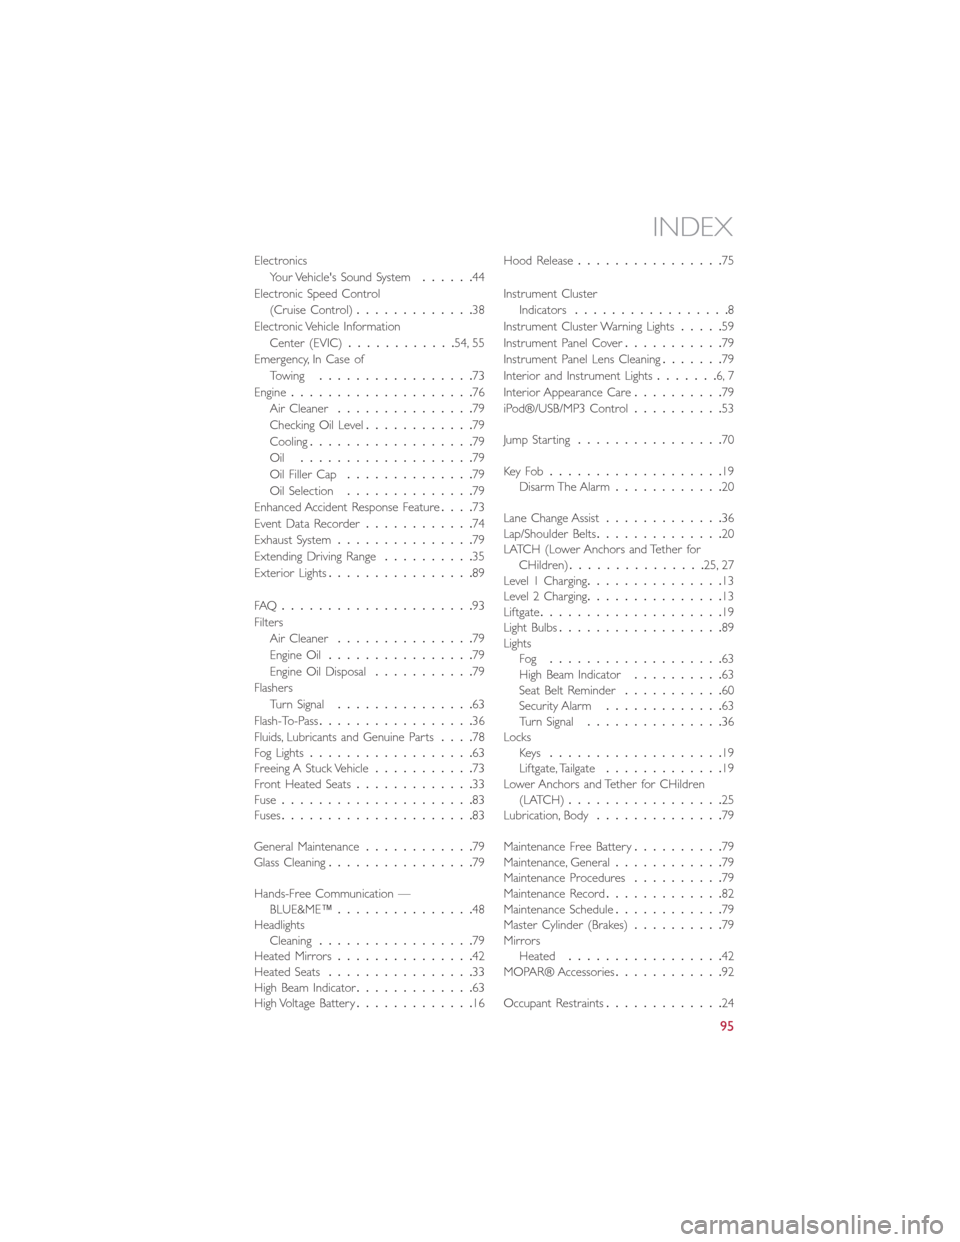
Electronics
Your Vehicle's Sound System......44
Electronic Speed Control
(Cruise Control).............38
Electronic Vehicle Information
Center (EVIC)............54, 55
Emergency, In Case of
Towing.................73
Engine....................76
Air Cleaner...............79
Checking Oil Level............79
Cooling..................79
Oil...................79
Oil Filler Cap..............79
Oil Selection..............79
Enhanced Accident Response Feature....73
Event Data Recorder............74
Exhaust System...............79
Extending Driving Range..........35
Exterior Lights................89
FAQ.....................93
Filters
Air Cleaner...............79
Engine Oil................79
Engine Oil Disposal...........79
Flashers
Turn Signal...............63
Flash-To-Pass.................36
Fluids, Lubricants and Genuine Parts....78Fog Lights..................63Freeing A Stuck Vehicle...........73Front Heated Seats.............33Fuse.....................83Fuses.....................83
General Maintenance............79Glass Cleaning................79
Hands-Free Communication —BLUE&ME™...............48HeadlightsCleaning.................79Heated Mirrors...............42Heated Seats................33High Beam Indicator.............63High Voltage Battery.............16
Hood Release................75
Instrument Cluster
Indicators.................8
Instrument Cluster Warning Lights.....59
Instrument Panel Cover...........79
Instrument Panel Lens Cleaning.......79
Interior and Instrument Lights.......6, 7
Interior Appearance Care..........79
iPod®/USB/MP3 Control..........53
Jump Starting................70
Key Fob...................19Disarm The Alarm............20
Lane Change Assist.............36Lap/Shoulder Belts..............20LATCH (Lower Anchors and Tether forCHildren)...............25, 27Level 1 Charging...............13Level 2 Charging...............13Liftgate....................19Light Bulbs..................89LightsFog...................63High Beam Indicator..........63Seat Belt Reminder...........60Security Alarm.............63Turn Signal...............36LocksKeys...................19Liftgate, Tailgate.............19Lower Anchors and Tether for CHildren(LATCH).................25Lubrication, Body..............79
Maintenance Free Battery..........79Maintenance, General............79Maintenance Procedures..........79Maintenance Record.............82Maintenance Schedule............79Master Cylinder (Brakes)..........79MirrorsHeated.................42MOPAR® Accessories............92
Occupant Restraints.............24
INDEX
95
Page 98 of 100
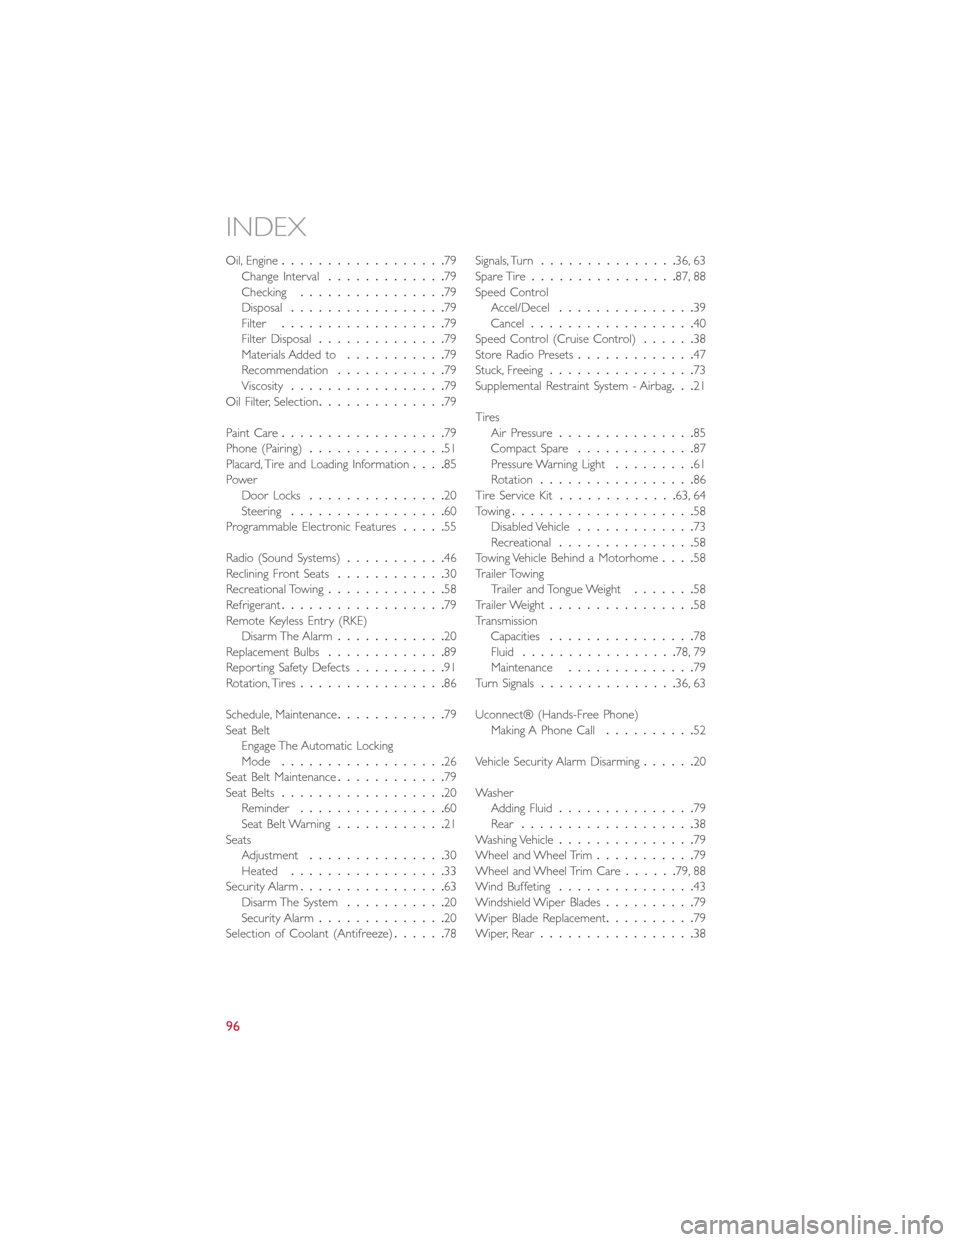
Oil, Engine..................79Change Interval.............79Checking................79Disposal.................79Filter..................79Filter Disposal..............79Materials Added to...........79Recommendation............79Viscosity.................79Oil Filter, Selection..............79
Paint Care..................79Phone (Pairing)...............51Placard, Tire and Loading Information....85PowerDoor Locks...............20Steering.................60Programmable Electronic Features.....55
Radio (Sound Systems)...........46Reclining Front Seats............30Recreational Towing.............58Refrigerant..................79Remote Keyless Entry (RKE)Disarm The Alarm............20Replacement Bulbs.............89Reporting Safety Defects..........91Rotation, Tires................86
Schedule, Maintenance............79Seat BeltEngage The Automatic LockingMode..................26Seat Belt Maintenance............79Seat Belts..................20Reminder................60Seat Belt Warning............21SeatsAdjustment...............30Heated.................33Security Alarm................63Disarm The System...........20Security Alarm..............20Selection of Coolant (Antifreeze)......78
Signals, Turn...............36, 63Spare Tire................87, 88Speed ControlAccel/Decel...............39Cancel..................40Speed Control (Cruise Control)......38Store Radio Presets.............47Stuck, Freeing................73Supplemental Restraint System - Airbag...21
TiresAir Pressure...............85Compact Spare.............87Pressure Warning Light.........61Rotation.................86Tire Service Kit.............63, 64Towing....................58Disabled Vehicle.............73Recreational...............58Towing Vehicle Behind a Motorhome....58Trailer TowingTrailer and Tongue Weight.......58Trailer Weight................58TransmissionCapacities................78Fluid.................78, 79Maintenance..............79Turn Signals...............36, 63
Uconnect® (Hands-Free Phone)Making A Phone Call..........52
Vehicle Security Alarm Disarming......20
WasherAdding Fluid...............79Rear...................38Washing Vehicle...............79Wheel and Wheel Trim...........79Wheel and Wheel Trim Care......79, 88Wind Buffeting...............43Windshield Wiper Blades..........79Wiper Blade Replacement..........79Wiper, Rear.................38
INDEX
96