wheel FIAT 500E 2015 2.G Owner's Manual
[x] Cancel search | Manufacturer: FIAT, Model Year: 2015, Model line: 500E, Model: FIAT 500E 2015 2.GPages: 100, PDF Size: 2.97 MB
Page 75 of 100
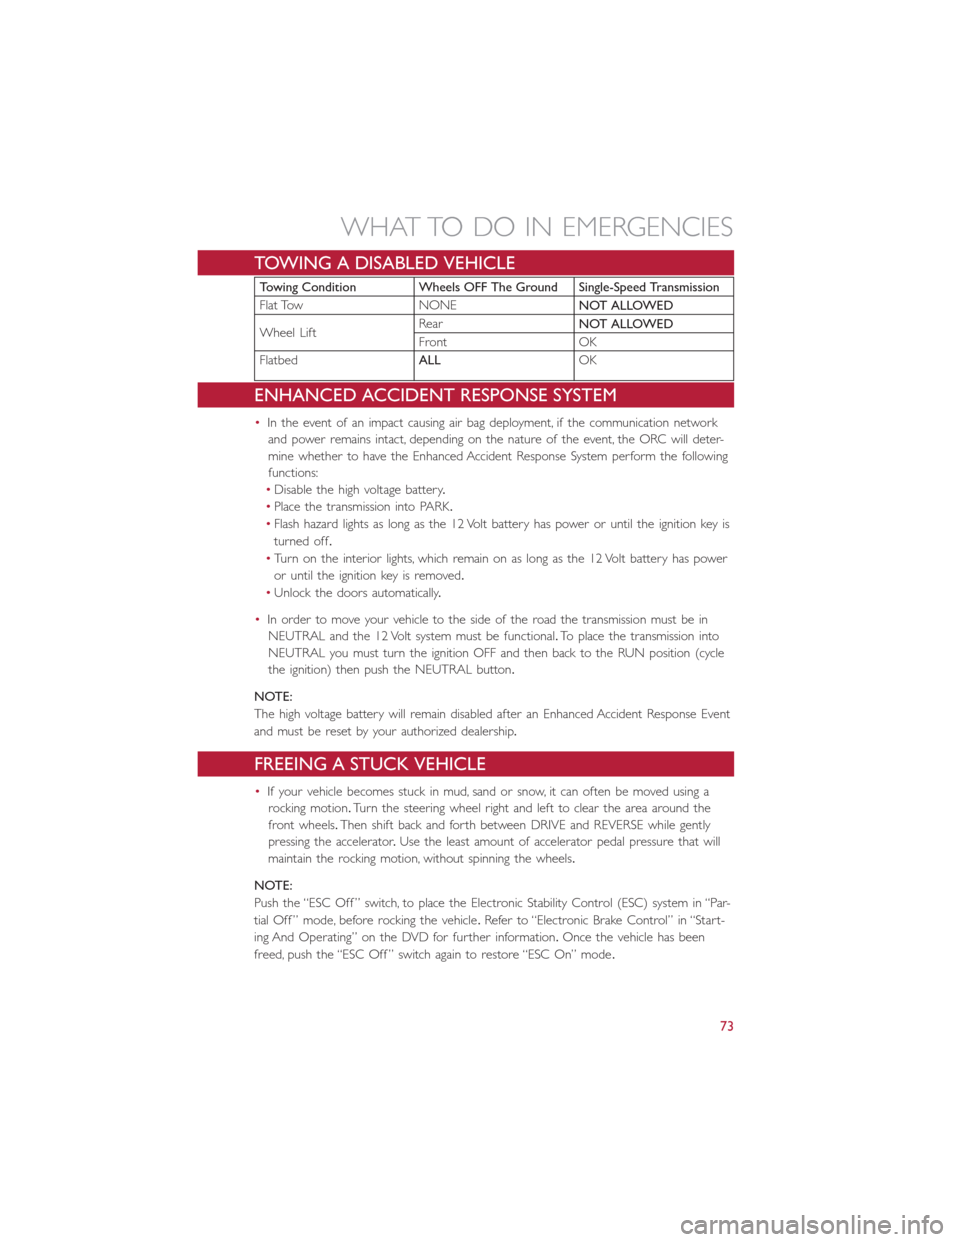
TOWING A DISABLED VEHICLE
Towing Condition Wheels OFF The Ground Single-Speed Transmission
Flat Tow NONENOT ALLOWED
Wheel LiftRearNOT ALLOWED
Front OK
FlatbedALLOK
ENHANCED ACCIDENT RESPONSE SYSTEM
•In the event of an impact causing air bag deployment, if the communication network
and power remains intact, depending on the nature of the event, the ORC will deter-
mine whether to have the Enhanced Accident Response System perform the following
functions:
•Disable the high voltage battery.
•Place the transmission into PARK.
•Flash hazard lights as long as the 12 Volt battery has power or until the ignition key is
turned off.
•Turn on the interior lights, which remain on as long as the 12 Volt battery has power
or until the ignition key is removed.
•Unlock the doors automatically.
•In order to move your vehicle to the side of the road the transmission must be in
NEUTRAL and the 12 Volt system must be functional.To place the transmission into
NEUTRAL you must turn the ignition OFF and then back to the RUN position (cycle
the ignition) then push the NEUTRAL button.
NOTE:
The high voltage battery will remain disabled after an Enhanced Accident Response Event
and must be reset by your authorized dealership.
FREEING A STUCK VEHICLE
•If your vehicle becomes stuck in mud, sand or snow, it can often be moved using a
rocking motion.Turn the steering wheel right and left to clear the area around the
front wheels.Then shift back and forth between DRIVE and REVERSE while gently
pressing the accelerator.Use the least amount of accelerator pedal pressure that will
maintain the rocking motion, without spinning the wheels.
NOTE:
Push the “ESC Off ” switch, to place the Electronic Stability Control (ESC) system in “Par-
tial Off ” mode, before rocking the vehicle.Refer to “Electronic Brake Control” in “Start-
ing And Operating” on the DVD for further information.Once the vehicle has been
freed, push the “ESC Off ” switch again to restore “ESC On” mode.
WHAT TO DO IN EMERGENCIES
73
Page 76 of 100
CAUTION!
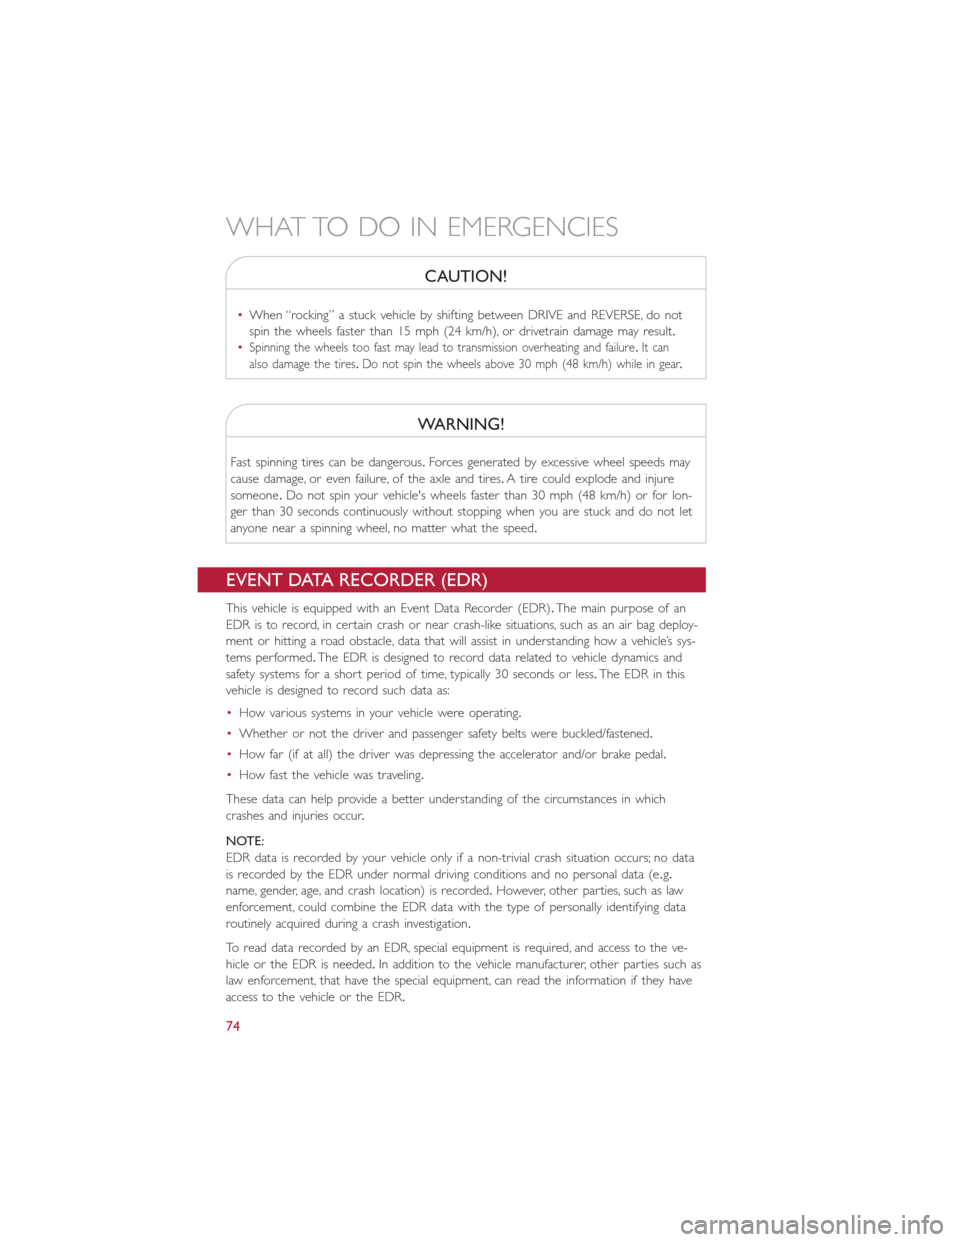
•When “rocking” a stuck vehicle by shifting between DRIVE and REVERSE, do not
spin the wheels faster than 15 mph (24 km/h), or drivetrain damage may result.
•Spinning the wheels too fast may lead to transmission overheating and failure.It can
also damage the tires.Do not spin the wheels above 30 mph (48 km/h) while in gear.
WARNING!
Fast spinning tires can be dangerous.Forces generated by excessive wheel speeds may
cause damage, or even failure, of the axle and tires.A tire could explode and injure
someone.Do not spin your vehicle's wheels faster than 30 mph (48 km/h) or for lon-
ger than 30 seconds continuously without stopping when you are stuck and do not let
anyone near a spinning wheel, no matter what the speed.
EVENT DATA RECORDER (EDR)
This vehicle is equipped with an Event Data Recorder (EDR).The main purpose of an
EDR is to record, in certain crash or near crash-like situations, such as an air bag deploy-
ment or hitting a road obstacle, data that will assist in understanding how a vehicle’s sys-
tems performed.The EDR is designed to record data related to vehicle dynamics and
safety systems for a short period of time, typically 30 seconds or less.The EDR in this
vehicle is designed to record such data as:
•How various systems in your vehicle were operating.
•Whether or not the driver and passenger safety belts were buckled/fastened.
•How far (if at all) the driver was depressing the accelerator and/or brake pedal.
•How fast the vehicle was traveling.
These data can help provide a better understanding of the circumstances in which
crashes and injuries occur.
NOTE:
EDR data is recorded by your vehicle only if a non-trivial crash situation occurs; no data
is recorded by the EDR under normal driving conditions and no personal data (e.g.
name, gender, age, and crash location) is recorded.However, other parties, such as law
enforcement, could combine the EDR data with the type of personally identifying data
routinely acquired during a crash investigation.
To read data recorded by an EDR, special equipment is required, and access to the ve-
hicle or the EDR is needed.In addition to the vehicle manufacturer, other parties such as
law enforcement, that have the special equipment, can read the information if they have
access to the vehicle or the EDR.
WHAT TO DO IN EMERGENCIES
74
Page 81 of 100
MAINTENANCE PROCEDURES
For information on the maintenance procedures for your vehicle, please refer to “Mainte-
nance Procedures” in “Maintaining Your Vehicle” in your Owner’s Manual or applicable
supplement on the DVD for further details.
MAINTENANCE SCHEDULE
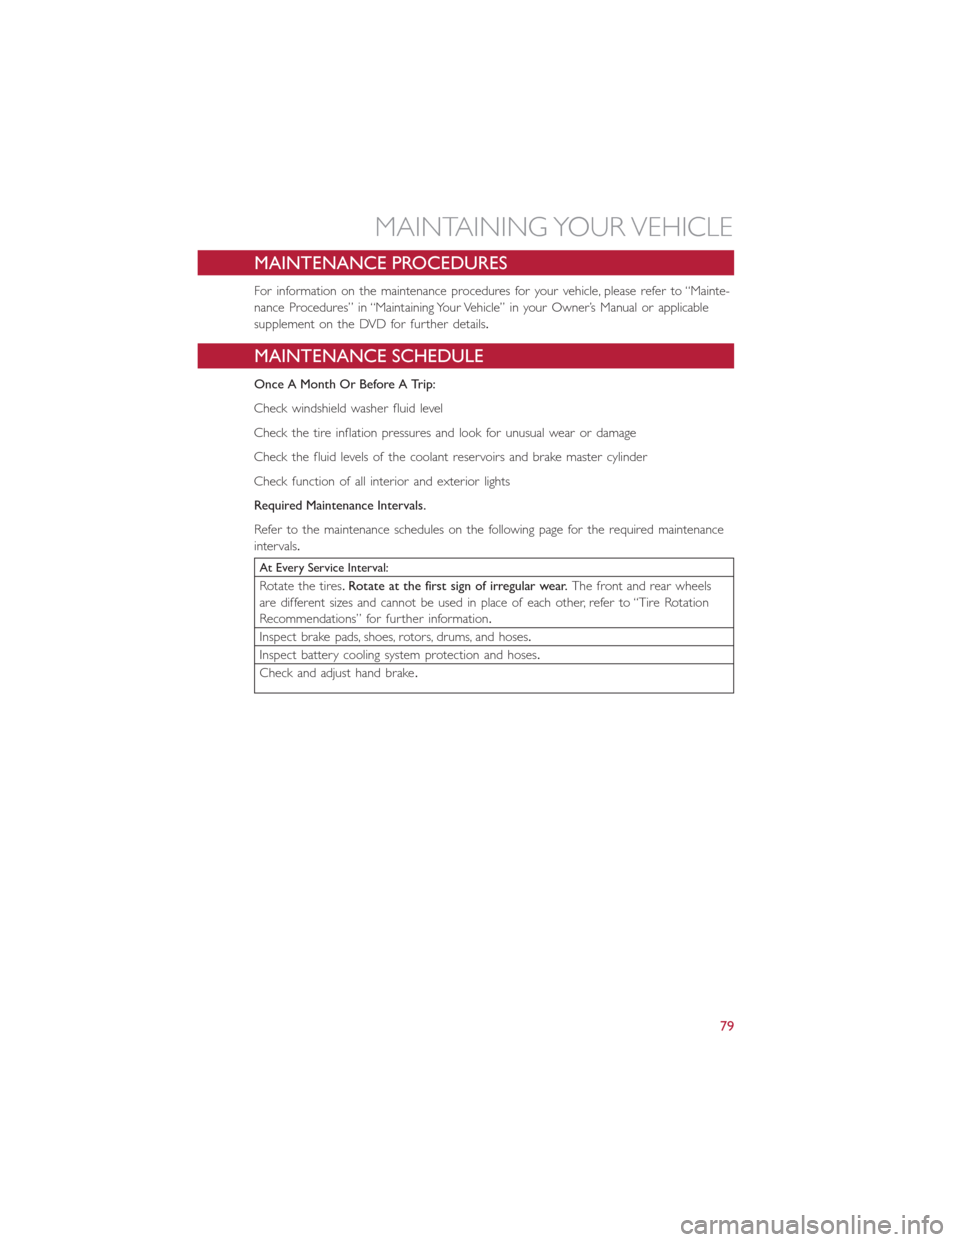
Once A Month Or Before A Trip:
Check windshield washer fluid level
Check the tire inflation pressures and look for unusual wear or damage
Check the fluid levels of the coolant reservoirs and brake master cylinder
Check function of all interior and exterior lights
Required Maintenance Intervals.
Refer to the maintenance schedules on the following page for the required maintenance
intervals.
At Every Service Interval:
Rotate the tires.Rotate at the first sign of irregular wear.The front and rear wheels
are different sizes and cannot be used in place of each other, refer to “Tire Rotation
Recommendations” for further information.
Inspect brake pads, shoes, rotors, drums, and hoses.
Inspect battery cooling system protection and hoses.
Check and adjust hand brake.
MAINTAINING YOUR VEHICLE
79
Page 88 of 100
WARNING!
•Overloading of your tires is dangerous.Overloading can cause tire failure, affect
vehicle handling, and increase your stopping distance.Use tires of the recom-
mended load capacity for your vehicle.Never overload them.
•Improperly inflated tires are dangerous and can cause collisions.Under-inflation is
the leading cause of tire failure and may result in severe cracking, component sepa-
ration, or “blow out”.Over-inflation reduces a tire’s ability to cushion shock.Ob-
jects on the road and chuck holes can cause damage that results in tire failure.
Unequal tire pressures can cause steering problems.You could lose control of your
vehicle.Over-inflated or under-inflated tires can affect vehicle handling and can fail
suddenly, resulting in loss of vehicle control.
TIRE ROTATION RECOMMENDATIONS
NOTE:
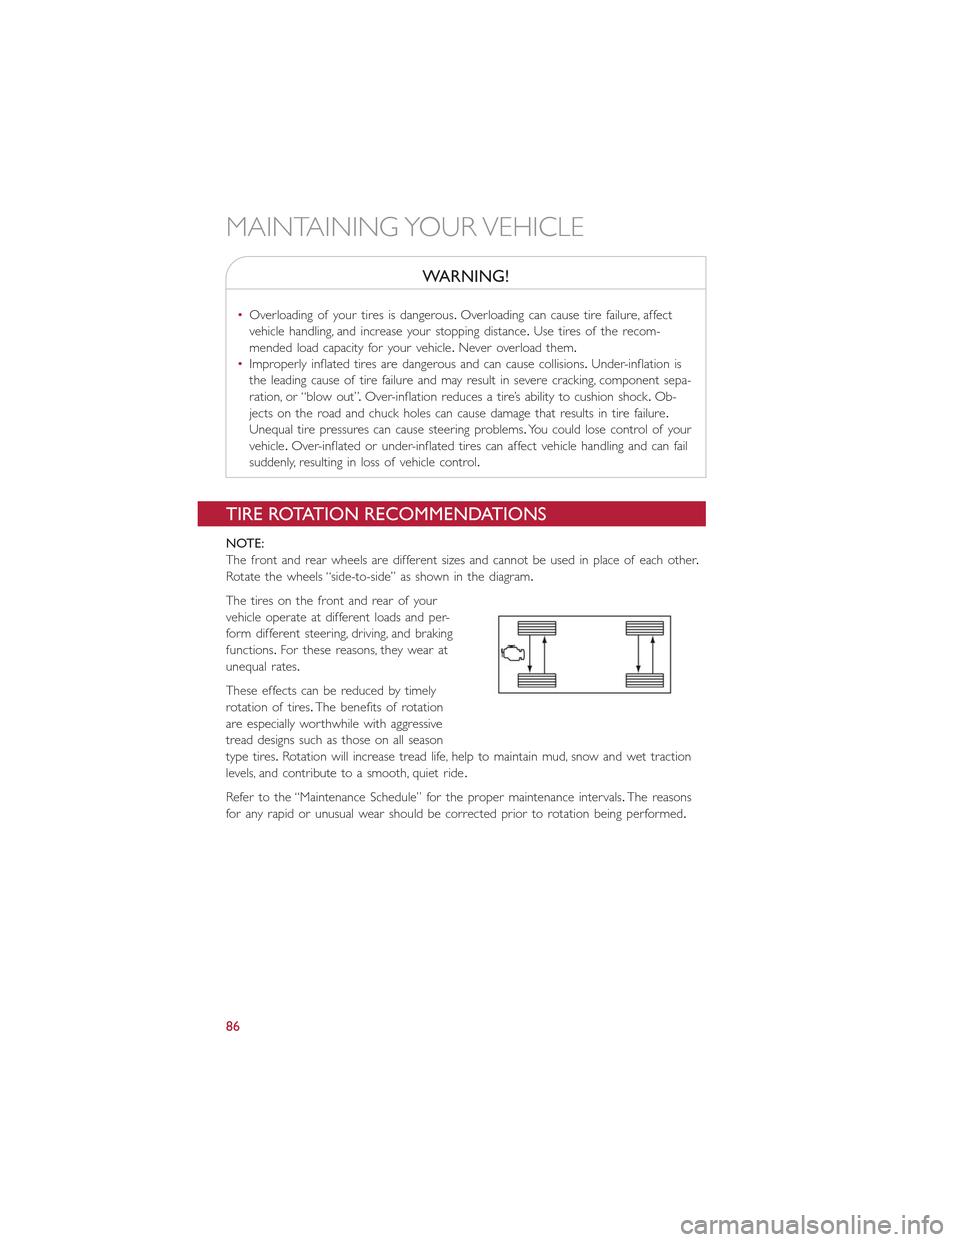
The front and rear wheels are different sizes and cannot be used in place of each other.
Rotate the wheels “side-to-side” as shown in the diagram.
The tires on the front and rear of your
vehicle operate at different loads and per-
form different steering, driving, and braking
functions.For these reasons, they wear at
unequal rates.
These effects can be reduced by timely
rotation of tires.The benefits of rotation
are especially worthwhile with aggressive
tread designs such as those on all season
type tires.Rotation will increase tread life, help to maintain mud, snow and wet traction
levels, and contribute to a smooth, quiet ride.
Refer to the “Maintenance Schedule” for the proper maintenance intervals.The reasons
for any rapid or unusual wear should be corrected prior to rotation being performed.
MAINTAINING YOUR VEHICLE
86
Page 89 of 100
SPARE TIRES — IF EQUIPPED
NOTE:
For vehicles equipped with Tire Service Kit instead of a spare tire, please refer to “Tire
Service Kit” in “What To Do In Emergencies” on your DVD for further information.
CAUTION!
Because of the reduced ground clearance, do not take your vehicle through an auto-
matic car wash with a compact or limited-use temporary spare installed.Damage to the
vehicle may result.
Spare Tire Matching Original Equipped Tire And Wheel — If Equipped
Your vehicle may be equipped with a spare tire and wheel equivalent in look and func-
tion to the original equipment tire and wheel found on the front or rear axle of your
vehicle.This spare tire may be used in the tire rotation for your vehicle.If your vehicle
has this option, refer to an authorized tire dealer for the recommended tire rotation
pattern.
Compact Spare Tire — If Equipped
The compact spare is for temporary emergency use only.You can identify if your vehicle
is equipped with a compact spare by looking at the spare tire description on the Tire and
Loading Information Placard located on the driver’s side door opening or on the sidewall
of the tire.Compact spare tire descriptions begin with the letter “T” or “S” preceding
the size designation.Example: T145/80D18 103M.
T, S = Temporary Spare Tire
Since this tire has limited tread life, the original equipment tire should be repaired
(or replaced) and reinstalled on your vehicle at the first opportunity.
Do not install a wheel cover or attempt to mount a conventional tire on the compact
spare wheel, since the wheel is designed specifically for the compact spare tire.Do not
install more than one compact spare tire and wheel on the vehicle at any given time.
WARNING!
Compact spares are for temporary emergency use only.With these spares, do not drive
more than 50 mph (80 km/h).Temporary use spares have limited tread life.When the
tread is worn to the tread wear indicators, the temporary use spare tire needs to be
replaced.Be sure to follow the warnings, which apply to your spare.Failure to do so
could result in spare tire failure and loss of vehicle control.
MAINTAINING YOUR VEHICLE
87
Page 90 of 100
Full Size Spare — If Equipped
The full size spare is for temporary emergency use only.This tire may look like the origi-
nally equipped tire on the front or rear axle of your vehicle, but it is not.This spare tire
may have limited tread life.When the tread is worn to the tread wear indicators, the
temporary use full size spare tire needs to be replaced.Since it is not the same as your
original equipment tire, replace (or repair) the original equipment tire and reinstall on the
vehicle at the first opportunity.
Limited-Use Spare — If Equipped
The limited-use spare tire is for temporary emergency use only.This tire is identified by a
label located on the limited-use spare wheel.This label contains the driving limitations for
this spare.This tire may look like the original equipped tire on the front or rear axle of
your vehicle, but it is not.Installation of this limited-use spare tire affects vehicle handling.
Since it is not the same as your original equipment tire, replace (or repair) the original
equipment tire and reinstall on the vehicle at the first opportunity.
WARNING!
Limited-use spares are for emergency use only.Installation of this limited-use spare tire
affects vehicle handling.With this tire, do not drive more than the speed listed on the
limit-use spare wheel.Keep inflated to the cold tire inflation pressures listed on your
Tire and Loading Information Placard located on the driver’s side B-Pillar or the rear
edge of the driver’s side door.Replace (or repair) the original equipment tire at the
first opportunity and reinstall it on your vehicle.Failure to do so could result in loss of
vehicle control.
WHEEL AND WHEEL TRIM CARE
All wheels and wheel trim, especially aluminum and chrome plated wheels, should be
cleaned regularly with a mild soap and water to prevent corrosion.
To remove heavy soil and/or excessive brake dust, use a wheel cleaner or equivalent or
select a non-abrasive, non-acidic cleaner.
CAUTION!
Do not use scouring pads, steel wool, a bristle brush, or metal polishes.Do not use
oven cleaner.These products may damage the wheel's protective finish.Avoid automatic
car washes that use acidic solutions or harsh brushes that may damage the wheel's pro-
tective finish.
MAINTAINING YOUR VEHICLE
88
Page 94 of 100
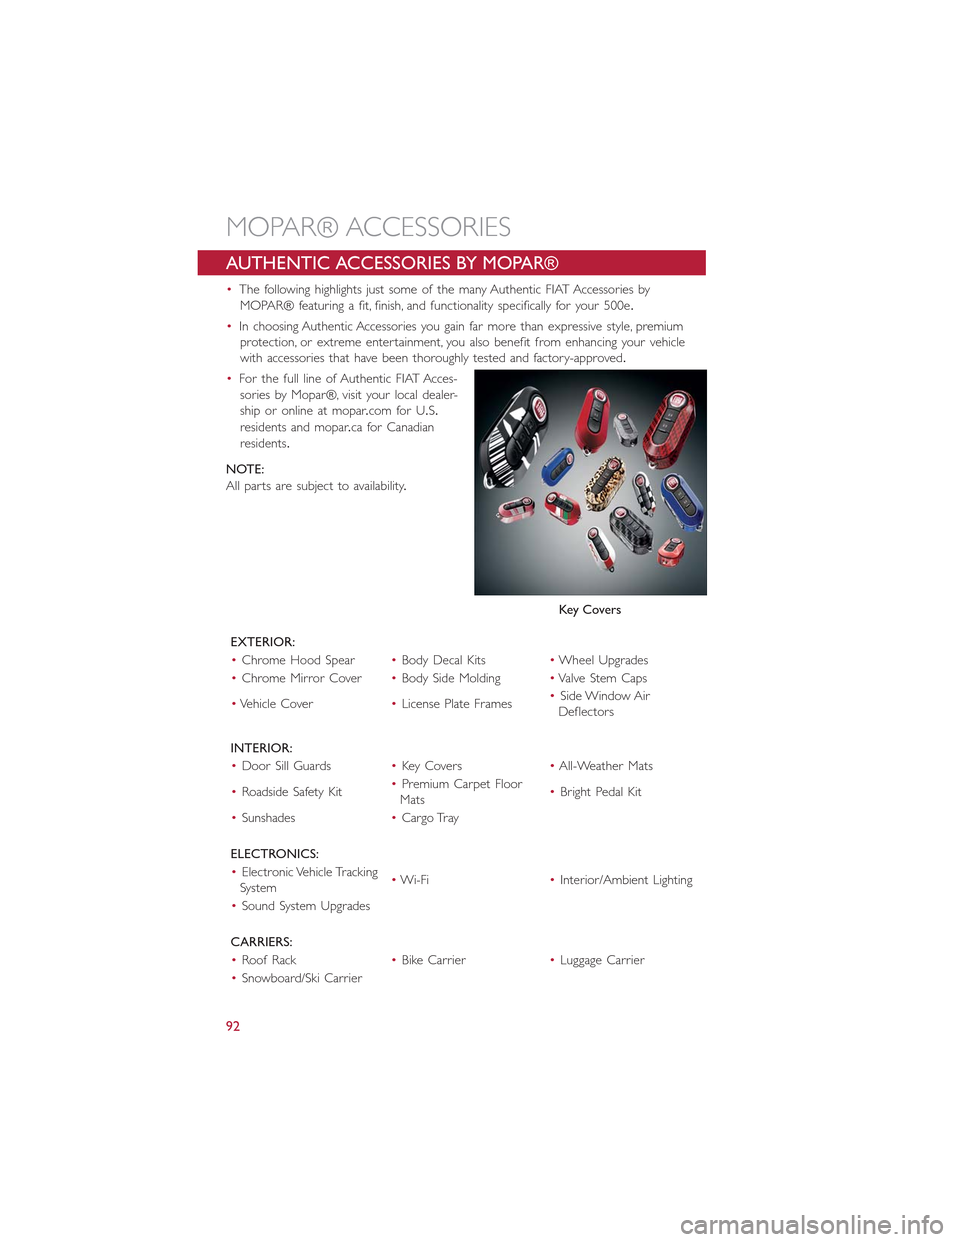
AUTHENTIC ACCESSORIES BY MOPAR®
•The following highlights just some of the many Authentic FIAT Accessories by
MOPAR® featuring a fit, finish, and functionality specifically for your 500e.
•In choosing Authentic Accessories you gain far more than expressive style, premium
protection, or extreme entertainment, you also benefit from enhancing your vehicle
with accessories that have been thoroughly tested and factory-approved.
•For the full line of Authentic FIAT Acces-
sories by Mopar®, visit your local dealer-
ship or online at mopar.com for U.S.
residents and mopar.ca for Canadian
residents.
NOTE:
All parts are subject to availability.
EXTERIOR:
•Chrome Hood Spear•Body Decal Kits•Wheel Upgrades
•Chrome Mirror Cover•Body Side Molding•Valve Stem Caps
•Vehicle Cover•License Plate Frames•Side Window AirDeflectors
INTERIOR:
•Door Sill Guards•Key Covers•All-Weather Mats
•Roadside Safety Kit•Premium Carpet FloorMats•Bright Pedal Kit
•Sunshades•Cargo Tray
ELECTRONICS:
•Electronic Vehicle TrackingSystem•Wi-Fi•Interior/Ambient Lighting
•Sound System Upgrades
CARRIERS:
•Roof Rack•Bike Carrier•Luggage Carrier
•Snowboard/Ski Carrier
Key Covers
MOPAR® ACCESSORIES
92
Page 96 of 100
Adding Engine Coolant (Antifreeze)....79Adding Washer Fluid.............79Air BagAdvanced Front Air Bag.........22Advance Front Air Bag.........21Air Bags.................21Air Bag Warning Light..........21Driver Knee Air Bag...........23Front Air Bag..............21Passenger Knee Air Bag.........23Rollover.................21Side Impacts...............21Air bag Light.................59Air Cleaner, Engine (Engine Air CleanerFilter)...................79Air Conditioner Maintenance........79Air Conditioning Refrigerant........79Air Conditioning System...........79AlarmDisarm The System...........20Vehicle Security Alarm.........20Alarm (Security Alarm).........20, 63Antifreeze (Engine Coolant).........79Disposal.................79Anti-Lock Warning Light...........59Appearance Care..............79Automatic Temperature Control (ATC)...41Auxiliary Electrical Outlet(Power Outlet)..............57
Battery..................70, 79Body Mechanism Lubrication........79Brake Fluid..................78Brakes....................79Brake System................79Master Cylinder.............79Warning Light..............60Bulb Replacement..............89Bulbs, Light..................89
Capacities, Fluid...............78Caps, FillerOil (Engine)...............79Car Washes.................79Charging...................16Child Restraint................24
Child RestraintsInstalling Child Restraints Using TheVehicle Seat Belt.............26Lower Anchors And Tethers ForChildren.................26Using The Top Tether Anchorage....26CleaningWheels.................79Windshield Wiper Blades........79Climate ControlAutomatic................41Cluster Warning/Indicator LightsAnti-Lock Brake (ABS) Light......59Brake Warning Light...........60Electronic Speed Control SETIndicator.................63Front Fog Light Indicator........63High Beam Indicator..........63Park/Headlight ON Indicator......63Turn Signal Indicator..........63Vehicle Security Light..........63Clutch....................79Clutch Fluid.................79Compact Spare Tire.............87Cooling System...............79Adding Coolant (Antifreeze)......79Coolant Capacity............78Coolant Level..............79Disposal of Used Coolant.......79Drain, Flush, and Refill..........79Inspection................79Points to Remember..........79Pressure Cap..............79Selection of Coolant(Antifreeze).............78, 79Corrosion Protection............79Cruise Control (Speed Control)......38Customer Assistance............90
Defects, Reporting..............91Disarming, Security System.........20DisposalAntifreeze (Engine Coolant)......79Door Locks.................19
Electrical Outlet, Auxiliary(Power Outlet)..............57
INDEX
94
Page 98 of 100
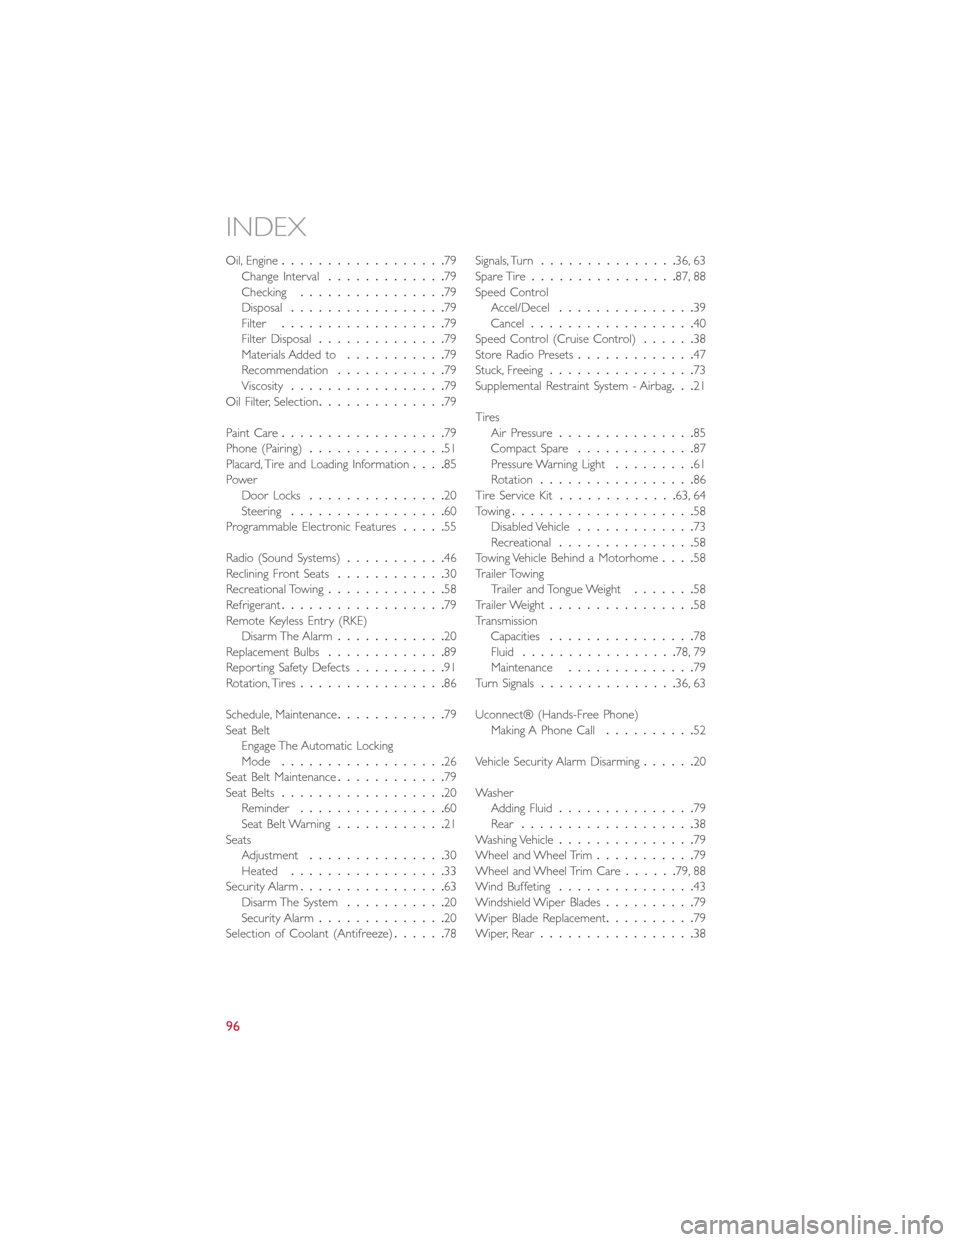
Oil, Engine..................79Change Interval.............79Checking................79Disposal.................79Filter..................79Filter Disposal..............79Materials Added to...........79Recommendation............79Viscosity.................79Oil Filter, Selection..............79
Paint Care..................79Phone (Pairing)...............51Placard, Tire and Loading Information....85PowerDoor Locks...............20Steering.................60Programmable Electronic Features.....55
Radio (Sound Systems)...........46Reclining Front Seats............30Recreational Towing.............58Refrigerant..................79Remote Keyless Entry (RKE)Disarm The Alarm............20Replacement Bulbs.............89Reporting Safety Defects..........91Rotation, Tires................86
Schedule, Maintenance............79Seat BeltEngage The Automatic LockingMode..................26Seat Belt Maintenance............79Seat Belts..................20Reminder................60Seat Belt Warning............21SeatsAdjustment...............30Heated.................33Security Alarm................63Disarm The System...........20Security Alarm..............20Selection of Coolant (Antifreeze)......78
Signals, Turn...............36, 63Spare Tire................87, 88Speed ControlAccel/Decel...............39Cancel..................40Speed Control (Cruise Control)......38Store Radio Presets.............47Stuck, Freeing................73Supplemental Restraint System - Airbag...21
TiresAir Pressure...............85Compact Spare.............87Pressure Warning Light.........61Rotation.................86Tire Service Kit.............63, 64Towing....................58Disabled Vehicle.............73Recreational...............58Towing Vehicle Behind a Motorhome....58Trailer TowingTrailer and Tongue Weight.......58Trailer Weight................58TransmissionCapacities................78Fluid.................78, 79Maintenance..............79Turn Signals...............36, 63
Uconnect® (Hands-Free Phone)Making A Phone Call..........52
Vehicle Security Alarm Disarming......20
WasherAdding Fluid...............79Rear...................38Washing Vehicle...............79Wheel and Wheel Trim...........79Wheel and Wheel Trim Care......79, 88Wind Buffeting...............43Windshield Wiper Blades..........79Wiper Blade Replacement..........79Wiper, Rear.................38
INDEX
96