ECO mode FIAT 500E 2017 2.G Owners Manual
[x] Cancel search | Manufacturer: FIAT, Model Year: 2017, Model line: 500E, Model: FIAT 500E 2017 2.GPages: 300, PDF Size: 2.58 MB
Page 27 of 300
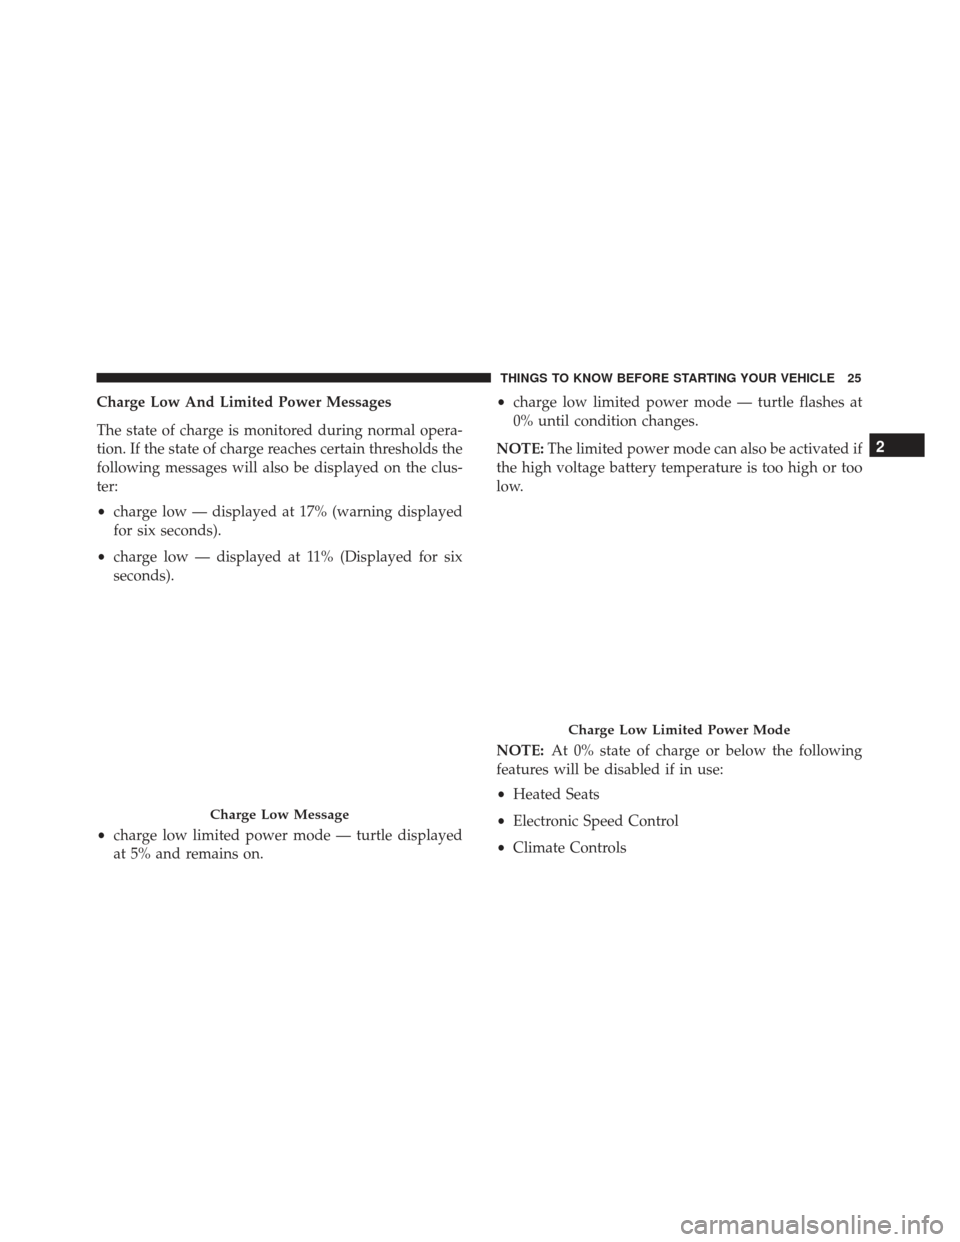
Charge Low And Limited Power Messages
The state of charge is monitored during normal opera-
tion. If the state of charge reaches certain thresholds the
following messages will also be displayed on the clus-
ter:
•charge low — displayed at 17% (warning displayed
for six seconds).
• charge low — displayed at 11% (Displayed for six
seconds).
• charge low limited power mode — turtle displayed
at 5% and remains on. •
charge low limited power mode — turtle flashes at
0% until condition changes.
NOTE: The limited power mode can also be activated if
the high voltage battery temperature is too high or too
low.
NOTE: At 0% state of charge or below the following
features will be disabled if in use:
• Heated Seats
• Electronic Speed Control
• Climate Controls
Charge Low Message
Charge Low Limited Power Mode
2
THINGS TO KNOW BEFORE STARTING YOUR VEHICLE 25
Page 91 of 300
Memory Feature
Both front seats have a memory feature, which can
operate in two ways:
Memory Function Option 1 — Full Seat Back
And Track Fore/Aft Position Memory:
After using the EZ entry function, the seatback angle
and the track fore/aft adjuster can both re-lock into the
position they were most recently adjusted to. This is
accomplished if the seat is moved fully rearward to its
last fore/aft position on the tracks before the seat back
is returned upright.
Memory Function Option 2 — Seat Back Only
Memory:
After using the EZ entry function, the seat back may
first be returned upright prior to going back to the last
fore/aft (memory) position on the tracks. This results in
the seat back memory being set only – The track will
then be locked forward of its last set fore/aft memory
position. To then reset the fore/aft track memory fea-
ture (to reestablish Memory Function Option 1), the seat
has to be returned fully rearward to its last fore/aft
memory track position as described in Memory Func-
tion Option 1.
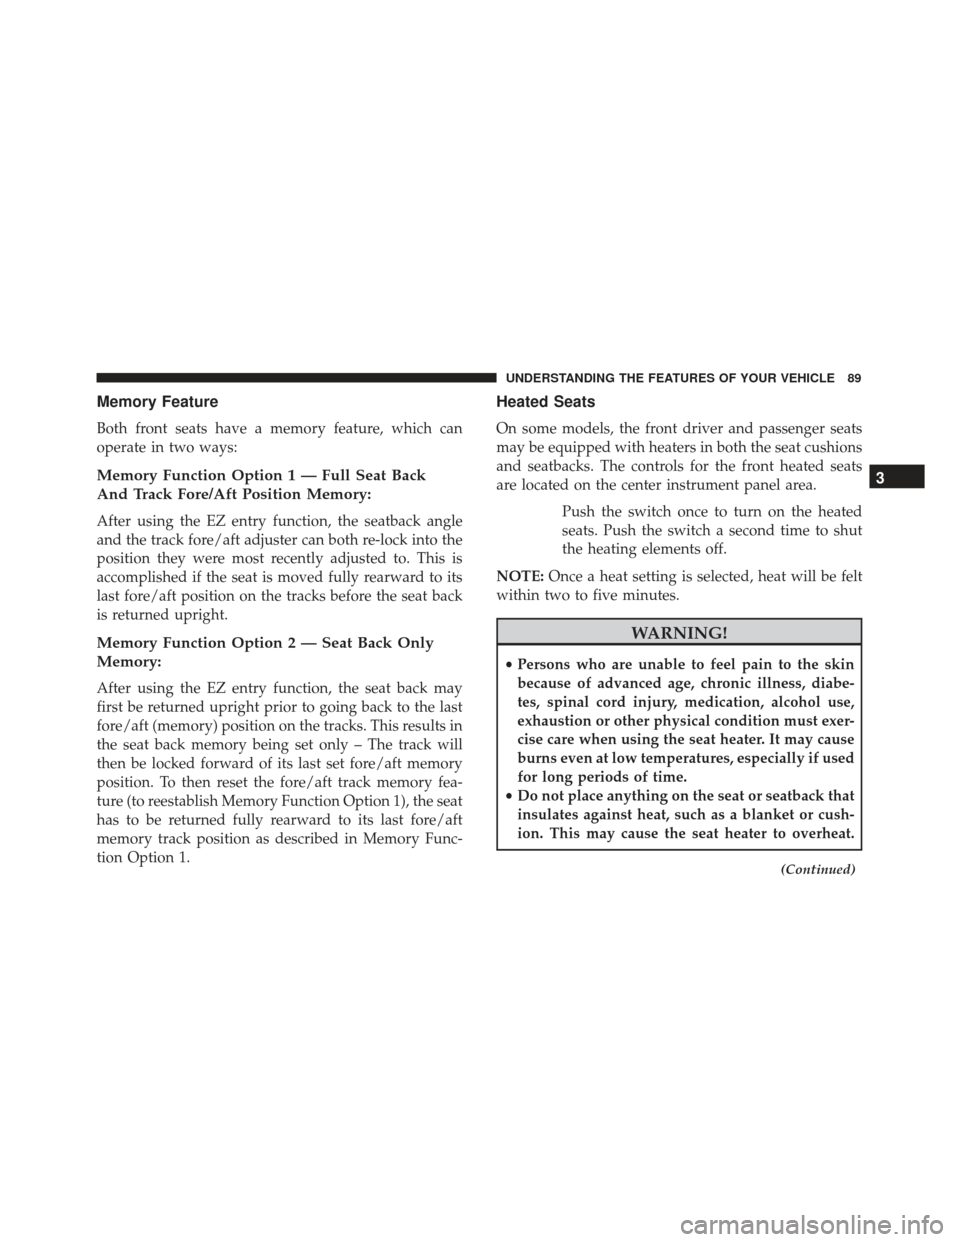
Heated Seats
On some models, the front driver and passenger seats
may be equipped with heaters in both the seat cushions
and seatbacks. The controls for the front heated seats
are located on the center instrument panel area.Push the switch once to turn on the heated
seats. Push the switch a second time to shut
the heating elements off.
NOTE: Once a heat setting is selected, heat will be felt
within two to five minutes.
WARNING!
• Persons who are unable to feel pain to the skin
because of advanced age, chronic illness, diabe-
tes, spinal cord injury, medication, alcohol use,
exhaustion or other physical condition must exer-
cise care when using the seat heater. It may cause
burns even at low temperatures, especially if used
for long periods of time.
• Do not place anything on the seat or seatback that
insulates against heat, such as a blanket or cush-
ion. This may cause the seat heater to overheat.
(Continued)
3
UNDERSTANDING THE FEATURES OF YOUR VEHICLE 89
Page 98 of 300
Follow Me Home/Headlight Delay
When this feature is selected, the driver can choose to
have the headlights remain on for a preset period of
time.
Activation
Remove the key or turn the ignition to the STOP
(OFF/LOCK) position, and pull the multifunction lever
toward the steering wheel within two minutes. Each
time the lever is pulled, the activation of the lights will
be extended by 30 seconds. The activation of the lights
can be extended to a maximum of 210 seconds.
Deactivation
Pull the multifunction lever toward the steering wheel
and hold it for more than two seconds.
Interior Lights
The interior light switches are located in the overhead
console. The interior lights can be set to three different
positions (Off/Left Position, Center Position, On/Right
Position).
Using the switch on the left overhead, push the switch
to the right from its center position and the lights are
always on. Push the switch to the left from its centerposition and the lights are always off. Leave the switch
in the center position, and the lights are turned on and
off when the doors are opened or closed. The switch on
the right side of the overhead console controls the map
or reading function of the lights. Push the switch to the
right to turn on the right light and push the switch to
the left to turn on the left light.
CAUTION!
Before getting out of the vehicle be sure that the
switch is in the center position or that the lights are
off to avoid draining the battery.
Interior Light Timing (Center Position)
There are four different modes of operation that can be
activated in this position:
•
When one door is opened, a three minute timer is
activated.
• When the key is removed from the ignition (within
two minutes of the ignition being turned OFF), a 10
second timer is activated.
• When the doors are unlocked with the key fob, a 10
second timer is activated.
96 UNDERSTANDING THE FEATURES OF YOUR VEHICLE
Page 100 of 300
Ambient Light
The vehicle is equipped with ambient light on the
center stack. The ambient light will be on when the
headlights are turned on by rotating the end of the
multifunction lever.
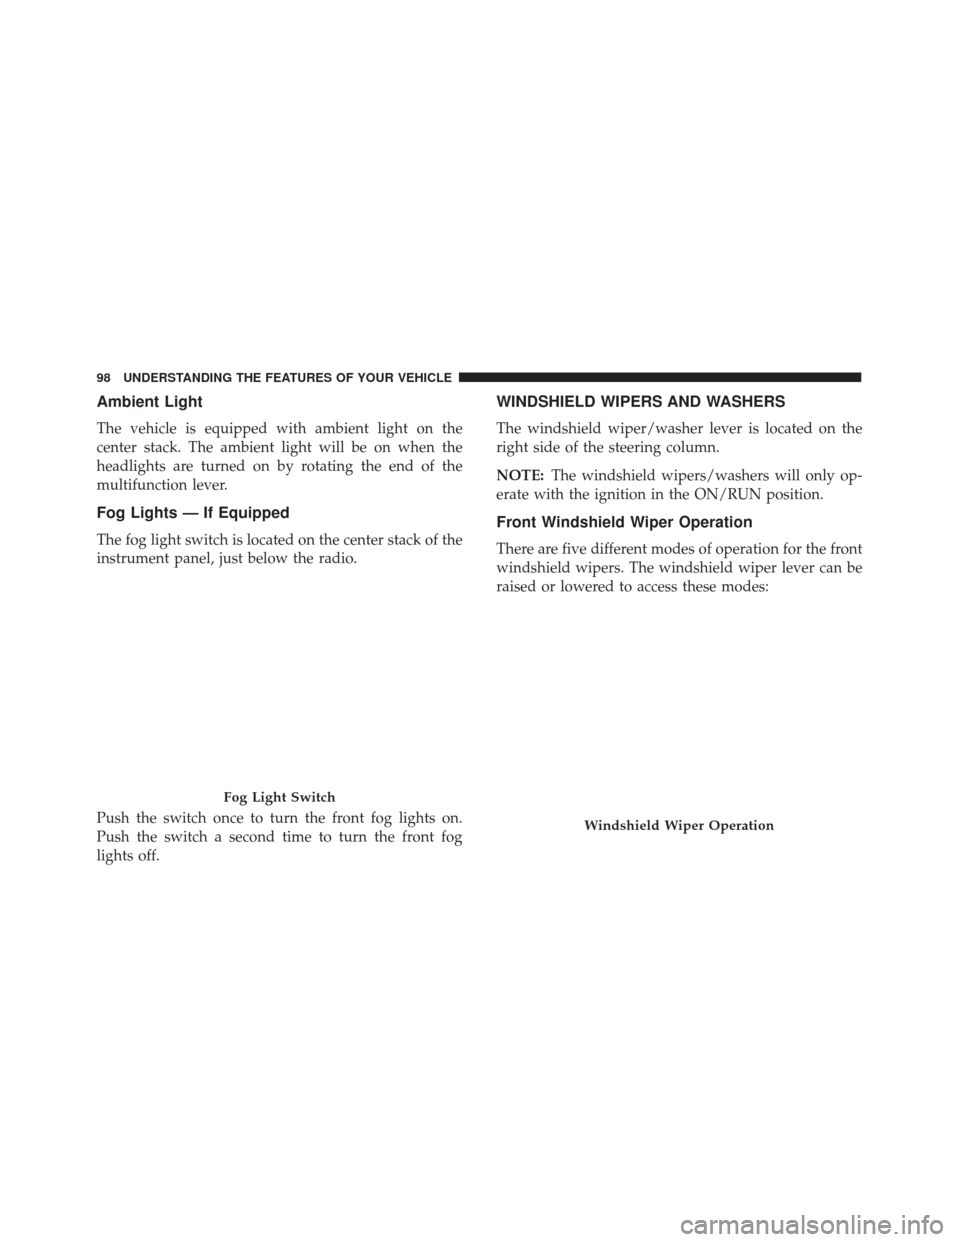
Fog Lights — If Equipped
The fog light switch is located on the center stack of the
instrument panel, just below the radio.
Push the switch once to turn the front fog lights on.
Push the switch a second time to turn the front fog
lights off.
WINDSHIELD WIPERS AND WASHERS
The windshield wiper/washer lever is located on the
right side of the steering column.
NOTE:The windshield wipers/washers will only op-
erate with the ignition in the ON/RUN position.
Front Windshield Wiper Operation
There are five different modes of operation for the front
windshield wipers. The windshield wiper lever can be
raised or lowered to access these modes:
Fog Light Switch
Windshield Wiper Operation
98 UNDERSTANDING THE FEATURES OF YOUR VEHICLE
Page 102 of 300
CAUTION!(Continued)
to the off position. If the windshield wiper con-
trol is turned off and the blades cannot return to
the off position, damage to the wiper motor may
occur.
Rear Windshield Wiper
Rotate the end of the windshield wiper/washer lever
upward to the first detent past the intermittent settings
for intermittent wipe operation. With the front wind-
shield wiper active, rotate the end of the windshield
wiper/washer lever upward. The rear wiper will oper-
ate in the same mode as the front windshield wipers,
but at half the frequency. When the transmission is
placed into REVERSE, the rear wiper will automatically
operate at Low Speed and return to normal operation
when the transmission is placed out of REVERSE. NOTE:
The windshield wipers/washers will only op-
erate with the ignition in the ON/RUN position.
Rear Windshield Washer Operation
Push the windshield wiper/washer lever toward the
instrument panel to activate the rear washer. Push and
hold the lever for more than a half second and the
wipers will activate automatically for three cycles after
the lever is released.
Rear Wiper Operation
100 UNDERSTANDING THE FEATURES OF YOUR VEHICLE
Page 106 of 300
•If the button is continually pushed, the set speed will
continue to decrease until the button is released, then
the new set speed will be established.
Metric Speed (km/h)
• Pushing the SET (-) button once will result in a
1 km/h decrease in set speed. Each subsequent tap of
the button results in a decrease of 1 km/h.
• If the button is continually pushed, the set speed will
continue to decrease until the button is released, then
the new set speed will be established.
To Accelerate For Passing
Press the accelerator as you would normally. When the
pedal is released, the vehicle will return to the set speed.
Using Speed Control On Hills
NOTE: The Speed Control system maintains speed up
and down hills. A slight speed change on moderate hills
is normal.
On steep hills, a greater speed loss or gain may occur so
it may be preferable to drive without Speed Control.
WARNING!
Speed Control can be dangerous where the system
cannot maintain a constant speed. Your vehicle
could go too fast for the conditions, and you could
lose control and have an accident. Do not use Speed
Control in heavy traffic or on roads that are wind-
ing, icy, snow-covered or slippery.
REAR PARK ASSIST
The Rear Park Assist system provides audible indica-
tions of the distance between the rear fascia/bumper
and a detected obstacle when backing up, e.g. during a
parking maneuver. Refer to the “Park Assist System
Usage Precautions” for the limitations of this system
and recommendations.
The Rear Park Assist is automatically activated when
the transmission is placed into REVERSE.
Rear Park Assist Sensors
The four Rear Park Assist sensors, located in the rear
fascia/bumper, monitor the area behind the vehicle that
is within the sensors’ field of view. The sensors can
104 UNDERSTANDING THE FEATURES OF YOUR VEHICLE
Page 123 of 300
Instrument Cluster Descriptions
1.Battery Charge Gauge
• This gauge indicates the charge level of the battery.
2. Speedometer
• Indicates vehicle speed.
3. Instrument Cluster Display
• The instrument cluster display shows messages,
when the appropriate conditions exist. Refer to
“Instrument Cluster Display” in “Understanding
Your Instrument Panel” for further information.
4. Power Flow Gauge
This gauge indicates how battery energy is being used
by the vehicle: •ECO Mode (Green): The vehicle is conserving en-
ergy.
• POWER Mode (Red): The vehicle is utilizing en-
ergy.
• CHARGE Mode (Purple): The vehicle is regenerat-
ing energy.
WARNING AND INDICATOR LIGHTS
The warning/indicator lights switch on in the instru-
ment panel together with a dedicated message and/or
acoustic signal when applicable. These indications are
indicative and precautionary and as such must not be
considered as exhaustive and/or alternative to the
information contained in the Owner ’s Manual, which
you are advised to read carefully in all cases. Always
refer to the information in this chapter in the event of a
failure indication.
All active telltales will display first if applicable. The
system check menu may appear different based upon
equipment options and current vehicle status. Some
telltales are optional and may not appear.
4
UNDERSTANDING YOUR INSTRUMENT PANEL 121
Page 162 of 300
The right-hand control is a rocker-type switch with a
pushbutton in the center and controls the volume and
mode of the sound system. Pushing the top of the
rocker switch will increase the volume, and pushing the
bottom of the rocker switch will decrease the volume.
Pushing the center button will make the radio switch
between the various modes available (AM/FM/SAT/
AUX/Media Player, etc.) and can also be used to
select/enter an item while scrolling through menu.
The left-hand control is a rocker-type switch with a
push-button in the center. The function of the left-hand
control is different depending on which mode you are in.
The following describes the left-hand control operation
in each mode.
Radio Operation
Pushing the top of the switch will “Seek” up for the next
listenable station and pushing the bottom of the switch
will “Seek” down for the next listenable station.
The button located in the center of the left-hand control
will tune to the next preset station that you have
programmed in the radio preset button.
RADIO OPERATION AND MOBILE PHONES
Under certain conditions, the mobile phone being on in
your vehicle can cause erratic or noisy performance
from your radio. This condition may be lessened or
eliminated by relocating the mobile phone antenna.
This condition is not harmful to the radio. If your radio
performance does not satisfactorily “clear” by the repo-
sitioning of the antenna, it is recommended that the
radio volume be turned down or off during mobile
phone operation.
Remote Sound System Controls (Back View OfSteering Wheel)
160 UNDERSTANDING YOUR INSTRUMENT PANEL
Page 164 of 300
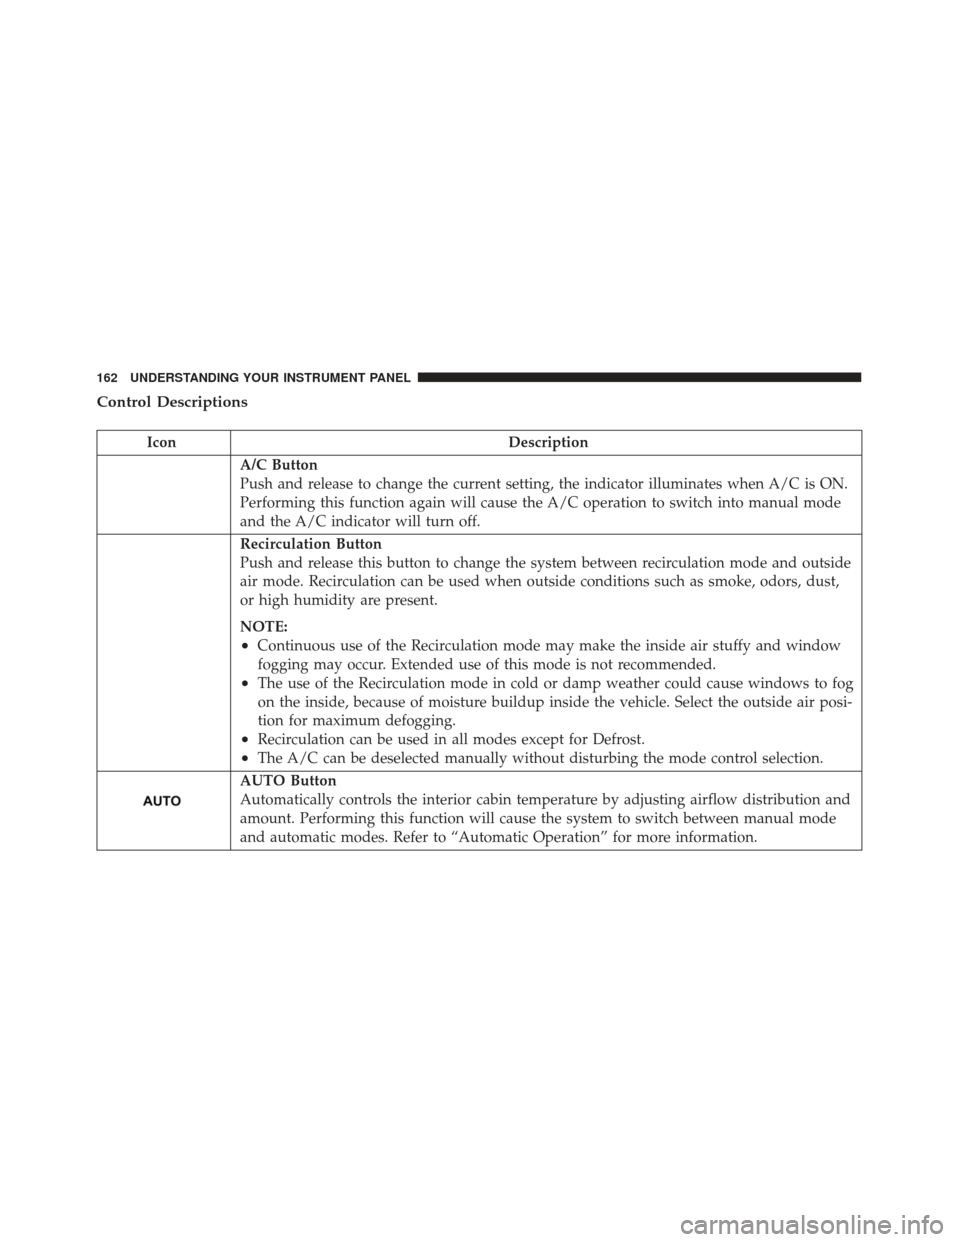
Control Descriptions
IconDescription
A/C Button
Push and release to change the current setting, the indicator illuminates when A/C is ON.
Performing this function again will cause the A/C operation to switch into manual mode
and the A/C indicator will turn off.
Recirculation Button
Push and release this button to change the system between recirculation mode and outside
air mode. Recirculation can be used when outside conditions such as smoke, odors, dust,
or high humidity are present.
NOTE:
•Continuous use of the Recirculation mode may make the inside air stuffy and window
fogging may occur. Extended use of this mode is not recommended.
•The use of the Recirculation mode in cold or damp weather could cause windows to fog
on the inside, because of moisture buildup inside the vehicle. Select the outside air posi-
tion for maximum defogging.
•Recirculation can be used in all modes except for Defrost.
•The A/C can be deselected manually without disturbing the mode control selection.
AUTO Button
Automatically controls the interior cabin temperature by adjusting airflow distribution and
amount. Performing this function will cause the system to switch between manual mode
and automatic modes. Refer to “Automatic Operation” for more information.
162 UNDERSTANDING YOUR INSTRUMENT PANEL
Page 167 of 300
IconDescription
Temperature Up And Down Button
Provides the passengers with temperature control. Push the Up button on the faceplate for
warmer temperature settings. Push the Down button on the faceplate for cooler tempera-
ture settings.
CAUTION!
Failure to follow these cautions can cause damage
to the heating elements:
•Use care when washing the inside of the rear
window. Do not use abrasive window cleaners on
the interior surface of the window. Use a soft
cloth and a mild washing solution, wiping paral-
lel to the heating elements. Labels can be peeled
off after soaking with warm water.
• Do not use scrapers, sharp instruments, or abra-
sive window cleaners on the interior surface of
the window.
• Keep all objects a safe distance from the window.
Climate Control Functions
A/C (Air Conditioning)
The Air Conditioning (A/C) button allows the operator
to manually activate or deactivate the air conditioning
system. When the air conditioning system is turned on,
cool dehumidified air will flow through the outlets into
the cabin. For improved fuel economy, push the A/C
button to turn off the air conditioning and manually
adjust the blower and airflow mode settings. Also,
make sure to select only Panel, Bi-Level or Floor modes.
4
UNDERSTANDING YOUR INSTRUMENT PANEL 165