FIAT 500X 2014 2.G Manual PDF
Manufacturer: FIAT, Model Year: 2014, Model line: 500X, Model: FIAT 500X 2014 2.GPages: 476, PDF Size: 5.32 MB
Page 71 of 476
turn off the headlights within two minutes. The delay
interval begins when the headlight switch is turned off.
Headlight Delay Disable
The feature is disabled by turning on the headlights, the
parking lights or by placing the ignition in RUN mode.
If you shut off the lights before the ignition is turned on,
they will turn off in the normal manner.
NOTE:The lights must be turned off within two
minutes of placing the ignition in STOP mode to
activate this feature.
High Beams
To turn on the high beam headlights, push the turn
signal lever forward (toward the front of the vehicle)
and an indicator will illuminate in the cluster. To turn
off the high beams, pull the turn signal lever rearward
(toward the rear of the vehicle). NOTE:
The headlights must be on for the high beams to
activate.
High Beam And Turn Signal Controls
4
GETTING TO KNOW YOUR VEHICLE 69
Page 72 of 476
Turn Signals
Move the multifunction lever up or down and the
arrows on each side of the instrument cluster flash to
show proper operation of the front and rear turn signal
lights.
When the Daytime Running Lights are on and a turn
signal is activated, the Daytime Running Lamp will
turn off on the side of the vehicle in which the turn
signal is flashing. The Daytime Running Lamp will turn
back on when the turn signal is turned off.
INTERIOR LIGHTS
Front Courtesy Light
The courtesy lights will automatically turn on when the
door is open or closed. The light switches in the
overhead console are for reading lamps.Push the driver or passenger light switch to operate the
reading lamps individually.
Front Courtesy/Reading Lights
1 — Left Courtesy/Reading Light
2 — Left Light Switch
3 — Right Light Switch
4 — Right Courtesy/Reading Light
70 GETTING TO KNOW YOUR VEHICLE
Page 73 of 476
NOTE:
•Before exiting the vehicle, make sure that the interior
lights are turned off. This will prevent the battery
from discharging once the doors are closed.
• If a light is left on it will automatically be turned off
after approximately 15 minutes after the ignition is in
STOP mode.
Dome Light Timing
The Dome Light will automatically illuminate when the
doors are unlocked, the doors are opened or after the
doors are closed.
Timing Entering The Vehicle
The dome lights illuminate in the following ways:
• When the doors are unlocked, the dome light will
illuminate for approximately 27 seconds.
• When one of the doors is opened, the dome light will
illuminate for approximately three minutes.
• When the doors are closed, the dome light will
automatically shut off after approximately 27 sec-
onds. NOTE:
The timing stops once the ignition is placed in
the RUN or START mode.
The dome light will turn off under any of the following
conditions:
• The dome light is disabled when the ignition is
placed in the RUN or START mode.
• The dome lights will turn off automatically when the
doors are locked.
• The dome lights will automatically turn off after
approximately fifteen minutes of inactivity to pre-
serve the battery.
Timing Exiting The Vehicle
The dome light will illuminate under the following
conditions when the ignition is turned to the STOP
mode:
• The dome light will illuminate for 27 seconds after
the key is removed from the vehicle.
• The opening of one of the doors (approximately three
minutes).
• After closing a door (approximately 27 seconds).
4
GETTING TO KNOW YOUR VEHICLE 71
Page 74 of 476
The dome light timing is disabled when the doors are
locked.
Illuminated Vanity Mirrors — If Equipped
An illuminated vanity mirror is located on each sun
visor. To use the mirror, rotate the sun visor down and
swing the mirror cover upward. The lights will turn on
automatically. Closing the mirror cover will turn the
light off.
Lower Glove Compartment Light
An interior light is located is the lower glove compart-
ment.
This light automatically turn on/off when the glove
compartment is opened and closed, regardless of the
position of the ignition.
NOTE:In order to preserve the life of the battery, the
light will turn off after 15 minutes.
Vanity Mirror Light
Lower Glove Compartment Light
72 GETTING TO KNOW YOUR VEHICLE
Page 75 of 476
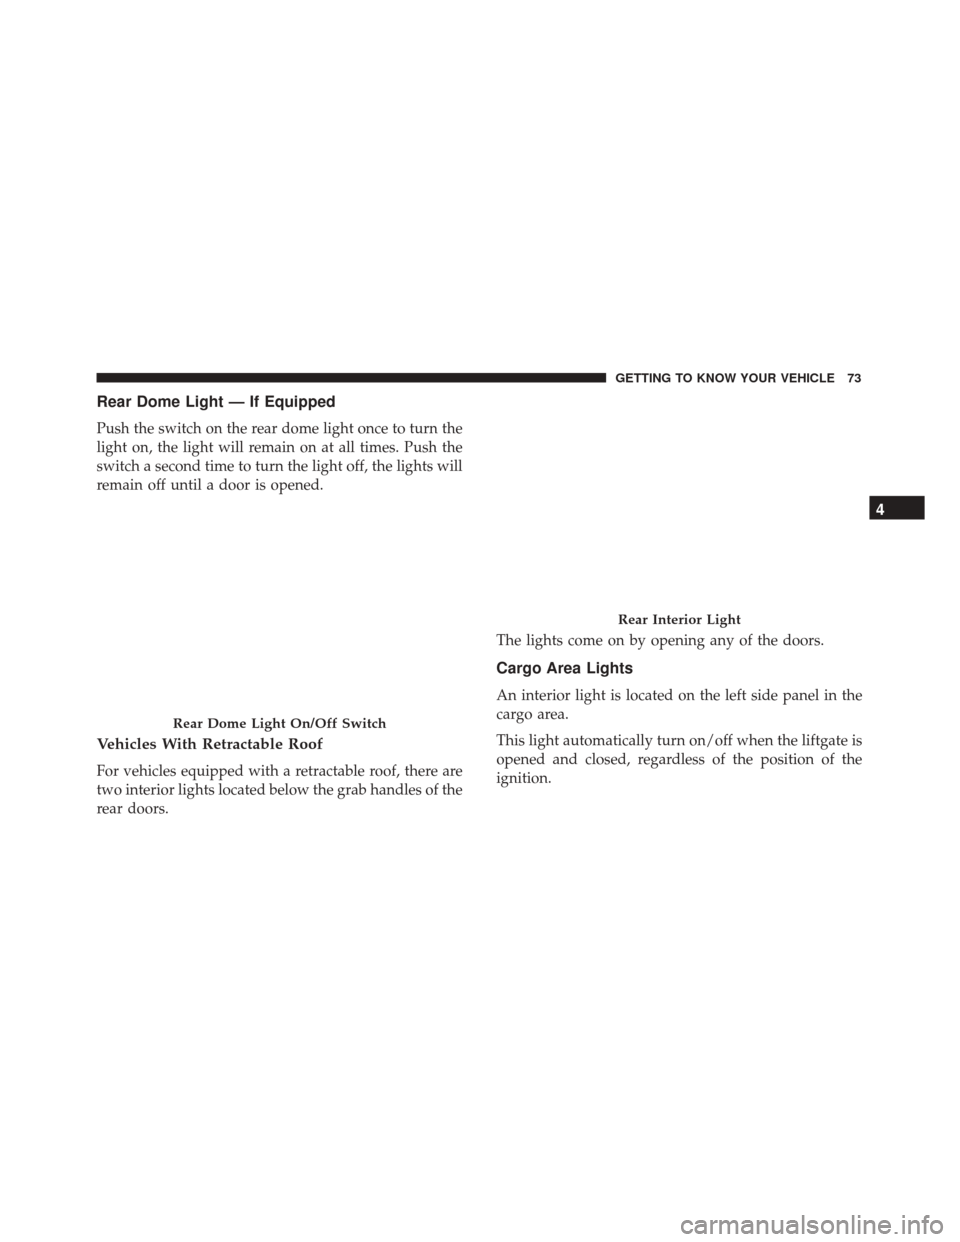
Rear Dome Light — If Equipped
Push the switch on the rear dome light once to turn the
light on, the light will remain on at all times. Push the
switch a second time to turn the light off, the lights will
remain off until a door is opened.
Vehicles With Retractable Roof
For vehicles equipped with a retractable roof, there are
two interior lights located below the grab handles of the
rear doors.The lights come on by opening any of the doors.
Cargo Area Lights
An interior light is located on the left side panel in the
cargo area.
This light automatically turn on/off when the liftgate is
opened and closed, regardless of the position of the
ignition.
Rear Dome Light On/Off Switch
Rear Interior Light
4
GETTING TO KNOW YOUR VEHICLE 73
Page 76 of 476
NOTE:In order to preserve the life of the battery, the
light will turn off after 15 minutes.
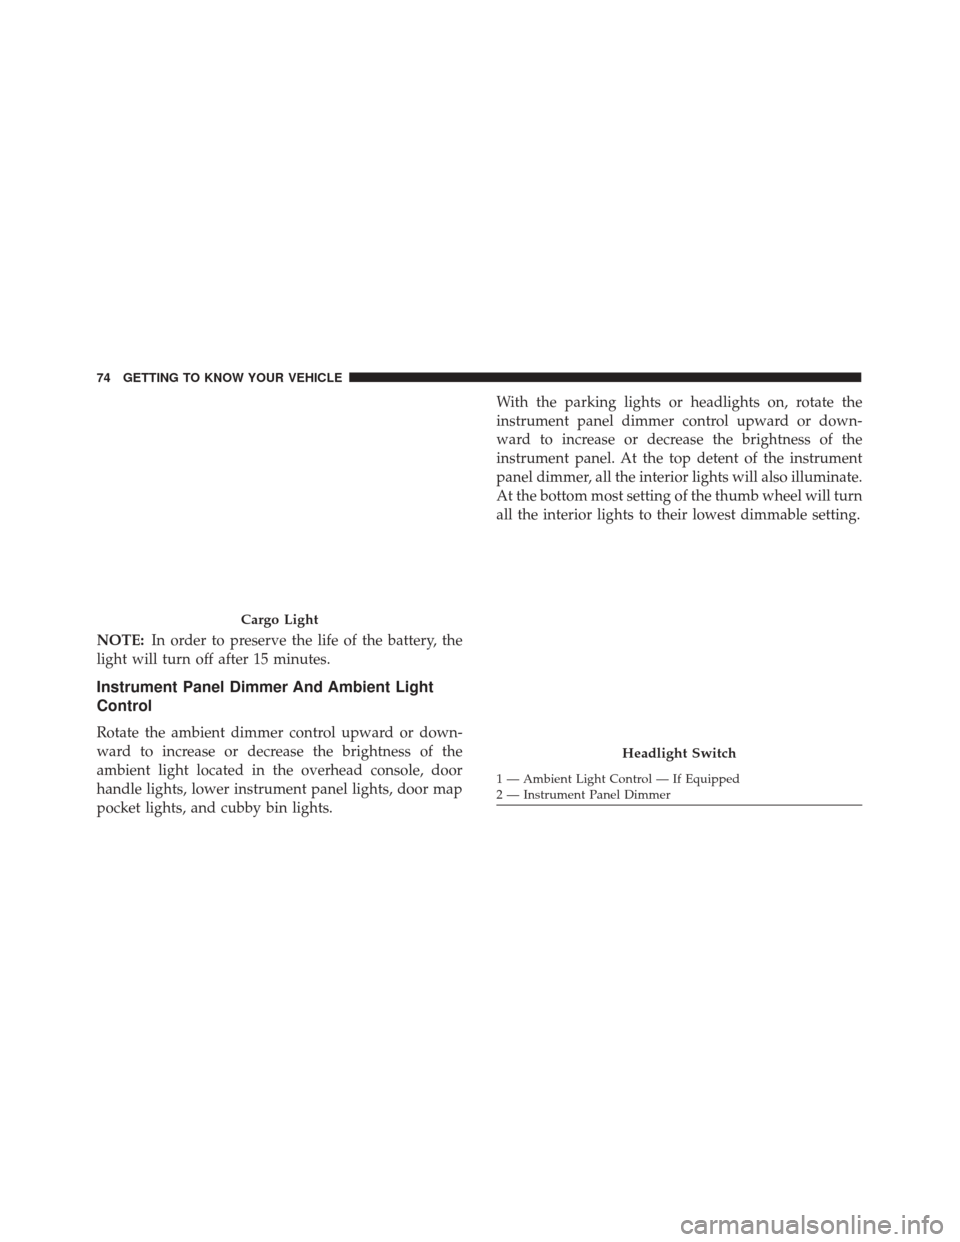
Instrument Panel Dimmer And Ambient Light
Control
Rotate the ambient dimmer control upward or down-
ward to increase or decrease the brightness of the
ambient light located in the overhead console, door
handle lights, lower instrument panel lights, door map
pocket lights, and cubby bin lights. With the parking lights or headlights on, rotate the
instrument panel dimmer control upward or down-
ward to increase or decrease the brightness of the
instrument panel. At the top detent of the instrument
panel dimmer, all the interior lights will also illuminate.
At the bottom most setting of the thumb wheel will turn
all the interior lights to their lowest dimmable setting.
Cargo Light
Headlight Switch
1 — Ambient Light Control — If Equipped
2 — Instrument Panel Dimmer
74 GETTING TO KNOW YOUR VEHICLE
Page 77 of 476
WIPERS AND WASHERS
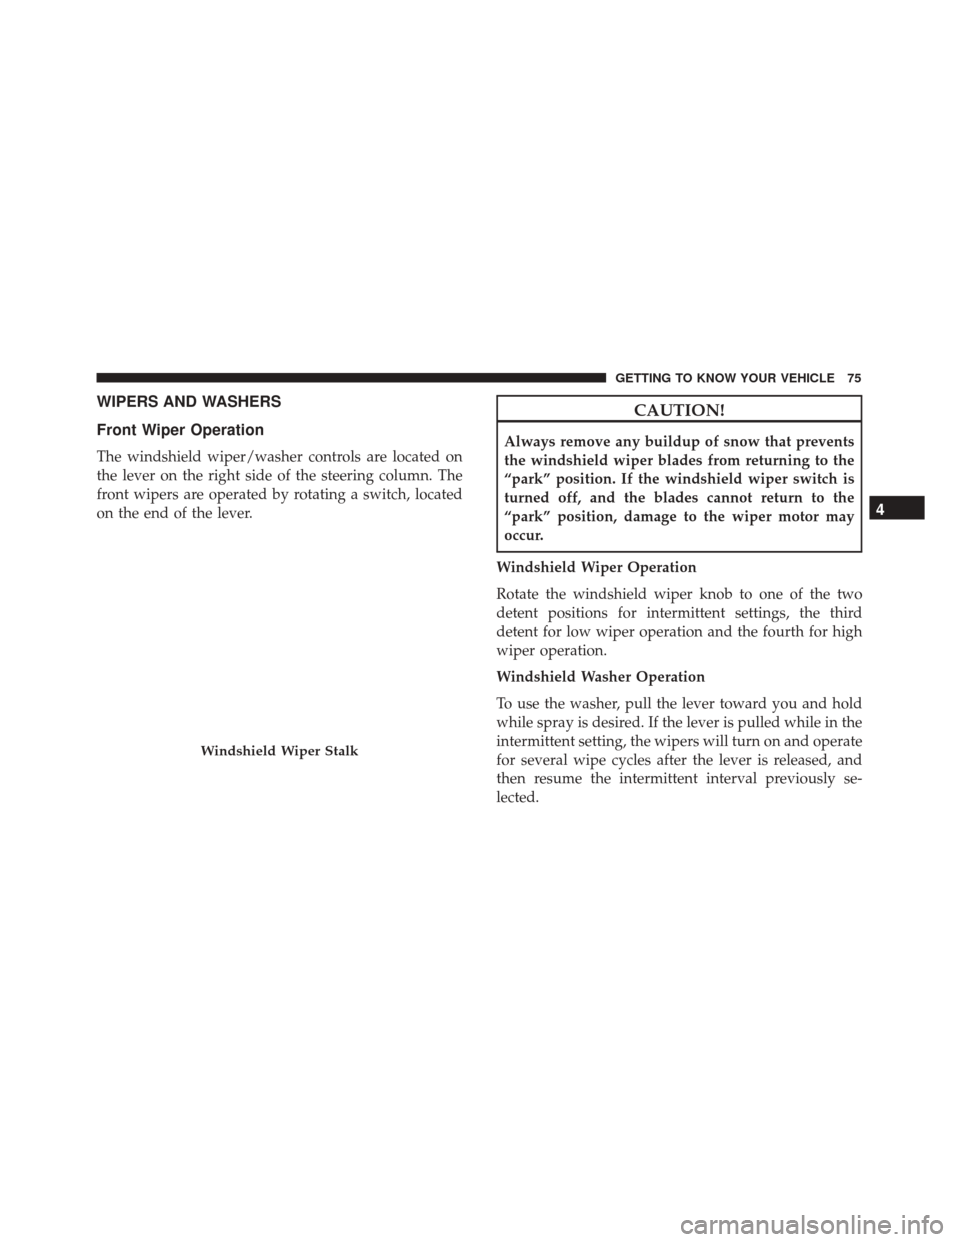
Front Wiper Operation
The windshield wiper/washer controls are located on
the lever on the right side of the steering column. The
front wipers are operated by rotating a switch, located
on the end of the lever.
CAUTION!
Always remove any buildup of snow that prevents
the windshield wiper blades from returning to the
“park” position. If the windshield wiper switch is
turned off, and the blades cannot return to the
“park” position, damage to the wiper motor may
occur.
Windshield Wiper Operation
Rotate the windshield wiper knob to one of the two
detent positions for intermittent settings, the third
detent for low wiper operation and the fourth for high
wiper operation.
Windshield Washer Operation
To use the washer, pull the lever toward you and hold
while spray is desired. If the lever is pulled while in the
intermittent setting, the wipers will turn on and operate
for several wipe cycles after the lever is released, and
then resume the intermittent interval previously se-
lected.
Windshield Wiper Stalk
4
GETTING TO KNOW YOUR VEHICLE 75
Page 78 of 476
If the lever is pulled while the wipers are in the off
position, the wipers will operate for several wipe cycles,
then turn off.
WARNING!
Sudden loss of visibility through the windshield
could lead to a collision. You might not see other
vehicles or other obstacles. To avoid sudden icing of
the windshield during freezing weather, warm the
windshield with the defroster before and during
windshield washer use.
Mist
Use this feature when weather conditions make occa-
sional usage of the wipers necessary. Push the lever
upward to the MIST position and release for a single
wiping cycle.
NOTE: The mist feature does not activate the washer
pump; therefore, no washer fluid will be sprayed on the
windshield. The wash function must be used in order to
spray the windshield with washer fluid.
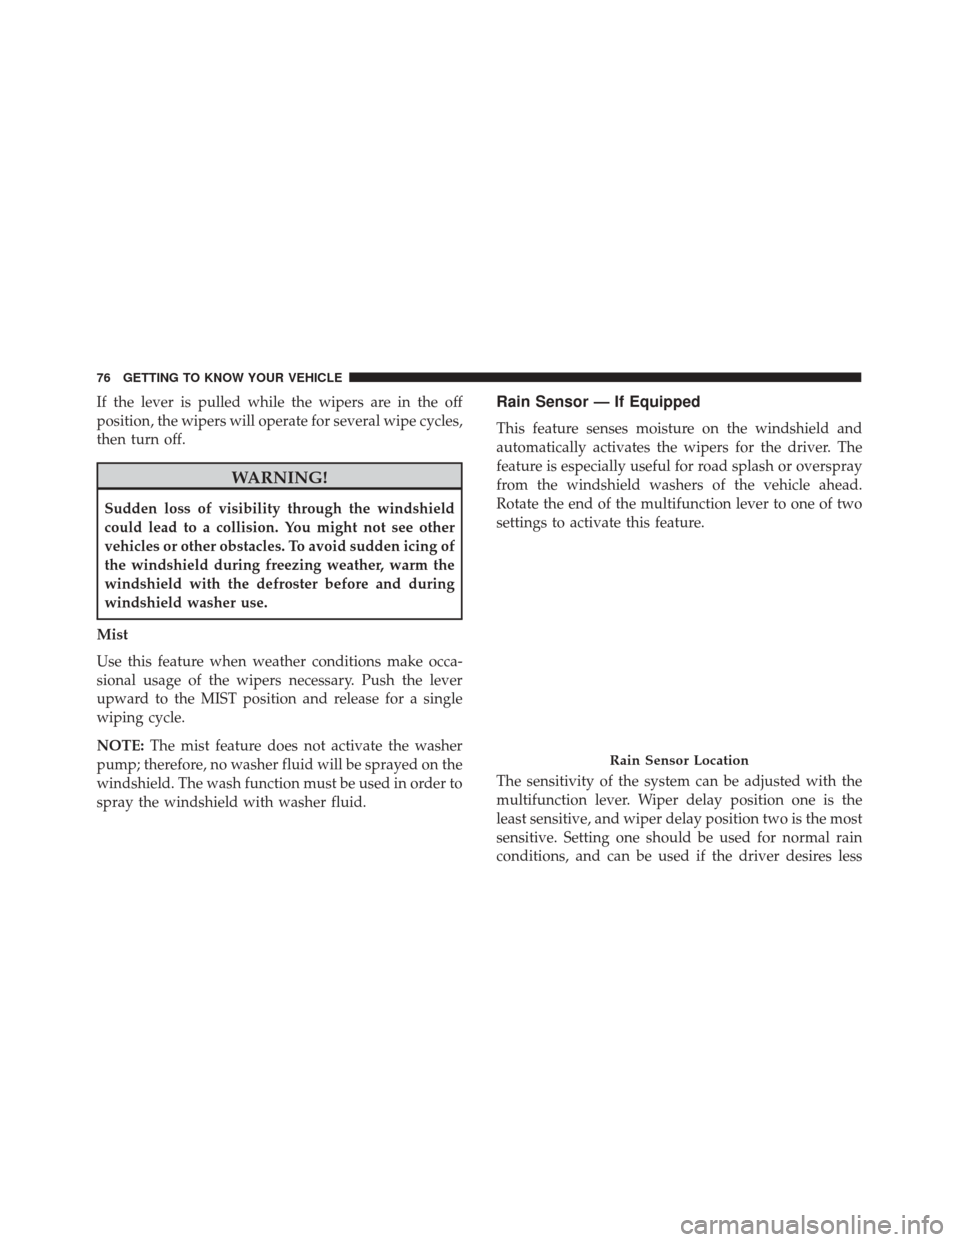
Rain Sensor — If Equipped
This feature senses moisture on the windshield and
automatically activates the wipers for the driver. The
feature is especially useful for road splash or overspray
from the windshield washers of the vehicle ahead.
Rotate the end of the multifunction lever to one of two
settings to activate this feature.
The sensitivity of the system can be adjusted with the
multifunction lever. Wiper delay position one is the
least sensitive, and wiper delay position two is the most
sensitive. Setting one should be used for normal rain
conditions, and can be used if the driver desires less
Rain Sensor Location
76 GETTING TO KNOW YOUR VEHICLE
Page 79 of 476
wiper sensitivity. Setting two can be used if the driver
desires more sensitivity. Place the wiper switch in the
off (O) position when not using the system.
NOTE:
•The Rain Sensing feature will not operate when the
wiper switch is in the low or high-speed position.
• The Rain Sensing feature may not function properly
when ice, or dried salt water is present on the
windshield.
• Use of Rain-X or products containing wax or silicone
may reduce Rain Sensing performance.
• The Rain Sensing feature can be turned on and off
using the Uconnect System, refer to “Uconnect Set-
tings” in “Multimedia” for further information.
The Rain Sensing system has protection features for the
wiper blades and arms, and will not operate under the
following conditions: •
Low Ambient Temperature — When the ignition is
first turned to RUN, the Rain Sensing system will not
operate until the wiper switch is moved, vehicle
speed is greater than 0 mph (0 km/h), or the outside
temperature is greater than 32°F (0°C).
• Transmission In NEUTRAL Position — When the
ignition is in RUN mode, and the automatic trans-
mission is in the NEUTRAL position, the Rain Sens-
ing system will not operate until the wiper switch is
moved, vehicle speed is greater than 5 mph (8 km/h),
or the gear selector is moved out of the NEUTRAL
position.
Remote Start Mode Inhibit — On vehicles equipped
with Remote Starting system, Rain Sensing wipers are
not operational when the vehicle is in the remote start
mode. Once the operator is in the vehicle and has
placed the ignition switch in RUN mode, rain sensing
wiper operation can resume, if it has been selected, and
no other inhibit conditions (mentioned previously) ex-
ist.
4
GETTING TO KNOW YOUR VEHICLE 77
Page 80 of 476
Rear Window Wiper/Washer
The rear wiper/washer controls are located on the lever
on the right side of the steering column. The rear
wiper/washer is operated by rotating a switch, located
at the middle of the lever.Rotate the center portion of the lever upward to
the first detent for intermittent operation and to
the second detent for continuous rear wiper operation.
To use the washer, push the lever forward
and hold while spray is desired. If the lever is
pushed while in the intermittent setting, the
wiper will turn on and operate for several
wipe cycles after the end of the lever is released, and
then resume the intermittent interval previously se-
lected. NOTE:
•
As a protective measure, the pump will stop if the
switch is held for more than 30 seconds. Once the
lever is released, the pump will resume normal
operation.
• When front wipers are continuous and the vehicle is
shifted in REVERSE, the rear wiper will perform one
round up to clean the rear window.
If the lever is pushed while the wiper is in the off
position, the wiper will operate for several wipe cycles,
then turn off.
If the rear wiper is operating when the ignition is
turned to the STOP mode, the wiper will automatically
return to the “park” position.
Rear Window Defroster The rear window defroster button is located
with the Climate Controls on the instrument
panel. Push this button to turn on the rear window
defroster. An indicator in the button will illuminate
when the rear window defroster is on. The rear window
defroster automatically turns off after approximately 20
78 GETTING TO KNOW YOUR VEHICLE