clock setting FIAT CROMA 2007 2.G Connect NavPlus Manual
[x] Cancel search | Manufacturer: FIAT, Model Year: 2007, Model line: CROMA, Model: FIAT CROMA 2007 2.GPages: 166, PDF Size: 4.82 MB
Page 153 of 166

152
CONNECT Nav+
VEHICLE
To display the relevant screen page,
press one of the keypad keys 16-
fig. 1under VEHICLE.
Choosing this Setup option two dif-
ferent setting menus are displayed, ac-
cording to the car version.
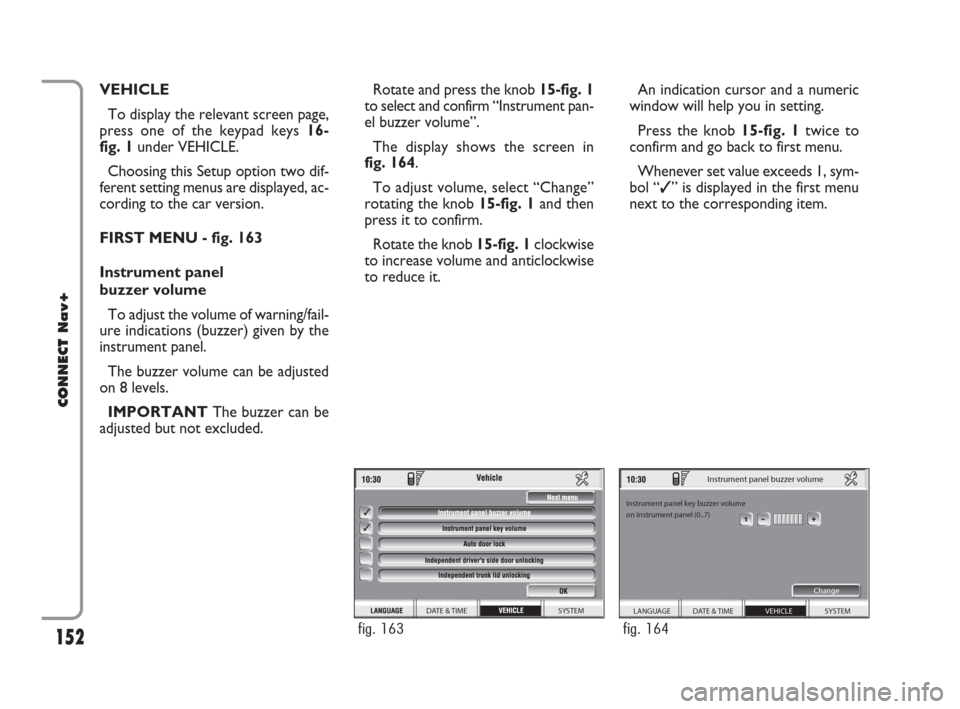
FIRST MENU - fig. 163
Instrument panel
buzzer volume
To adjust the volume of warning/fail-
ure indications (buzzer) given by the
instrument panel.
The buzzer volume can be adjusted
on 8 levels.
IMPORTANT The buzzer can be
adjusted but not excluded.Rotate and press the knob 15-fig. 1
to select and confirm “Instrument pan-
el buzzer volume”.
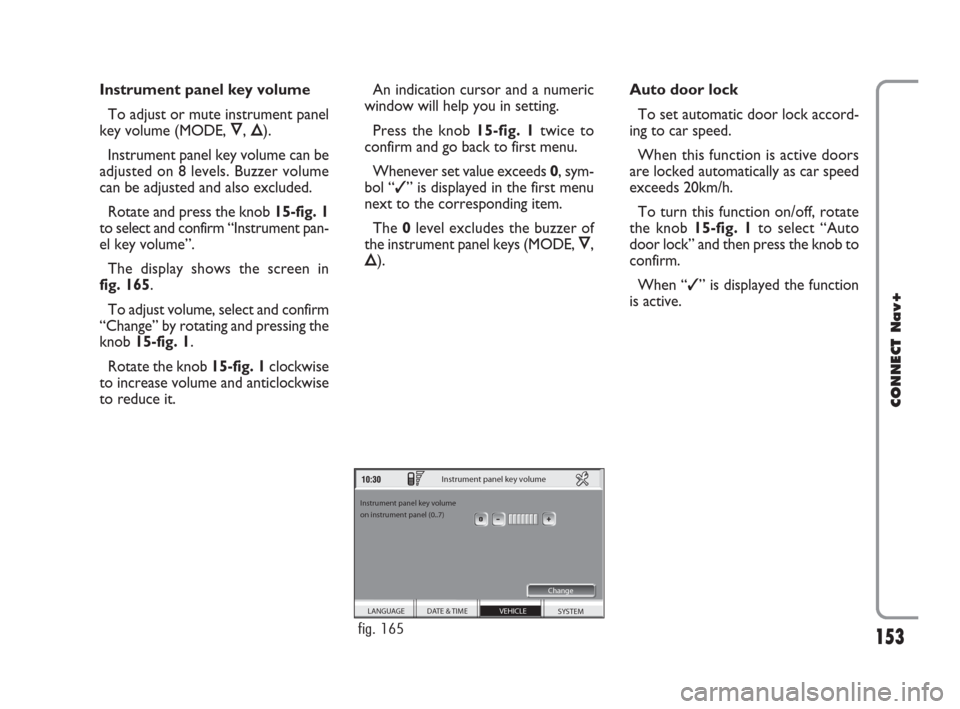
The display shows the screen in
fig. 164.
To adjust volume, select “Change”
rotating the knob 15-fig. 1and then
press it to confirm.
Rotate the knob 15-fig. 1clockwise
to increase volume and anticlockwise
to reduce it.An indication cursor and a numeric
window will help you in setting.
Press the knob 15-fig. 1twice to
confirm and go back to first menu.
Whenever set value exceeds 1, sym-
bol “✓” is displayed in the first menu
next to the corresponding item.
SYSTEM DATE & TIME
fig. 163
SYSTEM
Instrument panel buzzer volume
Instrument panel key buzzer volume
on instrument panel (0..7)
Change
VEHICLE DATE & TIME LANGUAGE
fig. 164
148-158 Connect CROMA GB 2-07-2007 15:47 Pagina 152
Page 154 of 166

153
CONNECT Nav+
Instrument panel key volume
To adjust or mute instrument panel
key volume (MODE, Ô, Õ).
Instrument panel key volume can be
adjusted on 8 levels. Buzzer volume
can be adjusted and also excluded.
Rotate and press the knob 15-fig. 1
to select and confirm “Instrument pan-
el key volume”.
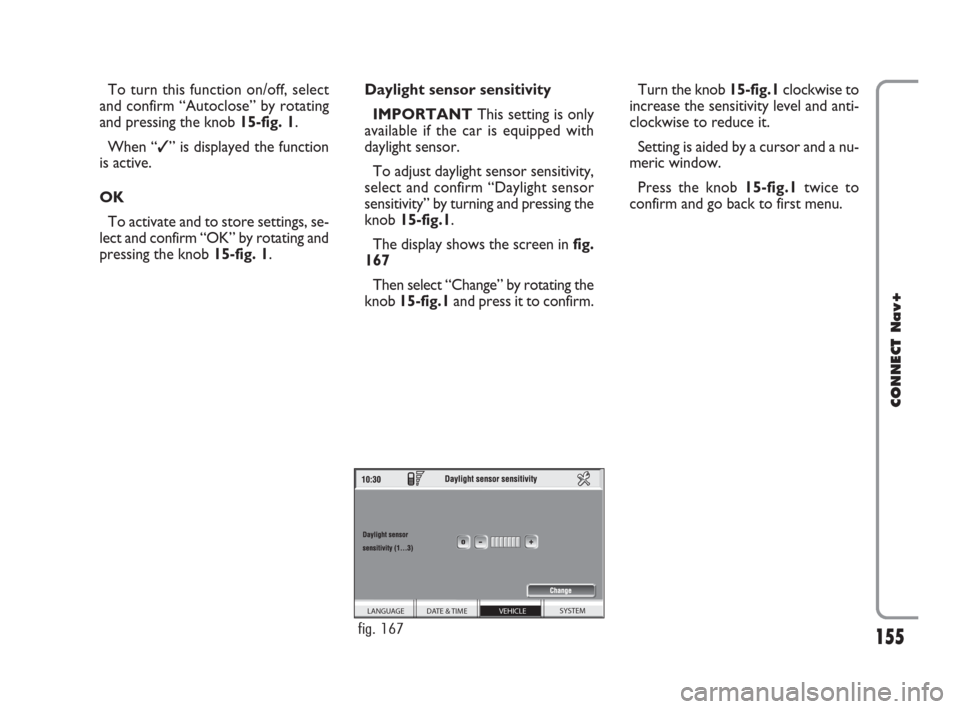
The display shows the screen in
fig. 165.
To adjust volume, select and confirm
“Change” by rotating and pressing the
knob 15-fig. 1.
Rotate the knob 15-fig. 1clockwise
to increase volume and anticlockwise
to reduce it.An indication cursor and a numeric
window will help you in setting.
Press the knob 15-fig. 1twice to
confirm and go back to first menu.
Whenever set value exceeds 0, sym-
bol “✓” is displayed in the first menu
next to the corresponding item.
The 0level excludes the buzzer of
the instrument panel keys (MODE, Ô,
Õ).Auto door lock
To set automatic door lock accord-
ing to car speed.
When this function is active doors
are locked automatically as car speed
exceeds 20km/h.
To turn this function on/off, rotate
the knob 15-fig. 1to select “Auto
door lock” and then press the knob to
confirm.
When “✓” is displayed the function
is active.
SYSTEM
Instrument panel key volume
Instrument panel key volume
on instrument panel (0..7)
Change
VEHICLE DATE & TIME LANGUAGE
fig. 165
148-158 Connect CROMA GB 2-07-2007 15:47 Pagina 153
Page 156 of 166

155
CONNECT Nav+
To turn this function on/off, select
and confirm “Autoclose” by rotating
and pressing the knob 15-fig. 1.
When “✓” is displayed the function
is active.
OK
To activate and to store settings, se-
lect and confirm “OK” by rotating and
pressing the knob 15-fig. 1.Daylight sensor sensitivity
IMPORTANTThis setting is only
available if the car is equipped with
daylight sensor.
To adjust daylight sensor sensitivity,
select and confirm “Daylight sensor
sensitivity” by turning and pressing the
knob 15-fig.1.
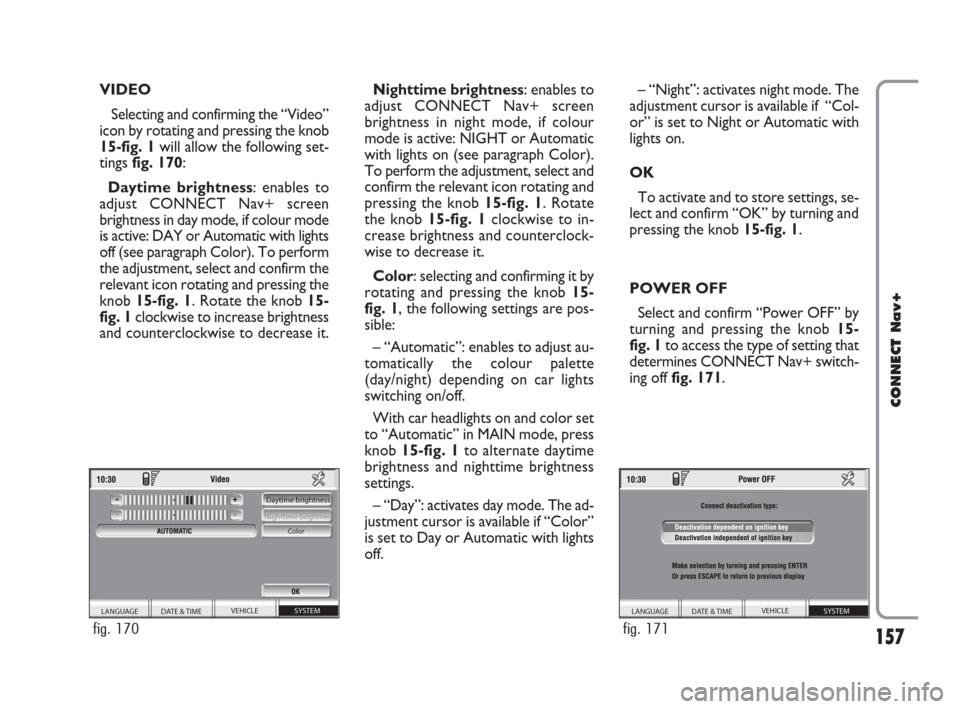
The display shows the screen in fig.
167
Then select “Change” by rotating the
knob 15-fig.1and press it to confirm.Turn the knob 15-fig.1clockwise to
increase the sensitivity level and anti-
clockwise to reduce it.
Setting is aided by a cursor and a nu-
meric window.
Press the knob 15-fig.1twice to
confirm and go back to first menu.
SYSTEM VEHICLE DATE & TIME LANGUAGE
fig. 167
148-158 Connect CROMA GB 2-07-2007 15:47 Pagina 155
Page 158 of 166

157
CONNECT Nav+
VIDEO
Selecting and confirming the “Video”
icon by rotating and pressing the knob
15-fig. 1will allow the following set-
tings fig. 170:
Daytime brightness: enables to
adjust CONNECT Nav+ screen
brightness in day mode, if colour mode
is active: DAY or Automatic with lights
off (see paragraph Color). To perform
the adjustment, select and confirm the
relevant icon rotating and pressing the
knob 15-fig. 1. Rotate the knob 15-
fig. 1clockwise to increase brightness
and counterclockwise to decrease it.Nighttime brightness: enables to
adjust CONNECT Nav+ screen
brightness in night mode, if colour
mode is active: NIGHT or Automatic
with lights on (see paragraph Color).
To perform the adjustment, select and
confirm the relevant icon rotating and
pressing the knob 15-fig. 1. Rotate
the knob 15-fig. 1clockwise to in-
crease brightness and counterclock-
wise to decrease it.
Color: selecting and confirming it by
rotating and pressing the knob 15-
fig. 1, the following settings are pos-
sible:
– “Automatic”: enables to adjust au-
tomatically the colour palette
(day/night) depending on car lights
switching on/off.
With car headlights on and color set
to “Automatic” in MAIN mode, press
knob 15-fig. 1to alternate daytime
brightness and nighttime brightness
settings.
– “Day”: activates day mode. The ad-
justment cursor is available if “Color”
is set to Day or Automatic with lights
off.– “Night”: activates night mode. The
adjustment cursor is available if “Col-
or” is set to Night or Automatic with
lights on.
OK
To activate and to store settings, se-
lect and confirm “OK” by turning and
pressing the knob 15-fig. 1.
POWER OFF
Select and confirm “Power OFF” by
turning and pressing the knob 15-
fig. 1to access the type of setting that
determines CONNECT Nav+ switch-
ing off fig. 171.
SYSTEM VEHICLE
DATE & TIME LANGUAGE Daytime brightness
Nighttime brightness
Color
fig. 170
SYSTEM VEHICLE
DATE & TIME LANGUAGE
fig. 171
148-158 Connect CROMA GB 2-07-2007 15:47 Pagina 157