lock FIAT DOBLO COMBI 2016 2.G Owner's Manual
[x] Cancel search | Manufacturer: FIAT, Model Year: 2016, Model line: DOBLO COMBI, Model: FIAT DOBLO COMBI 2016 2.GPages: 298, PDF Size: 25.92 MB
Page 71 of 298
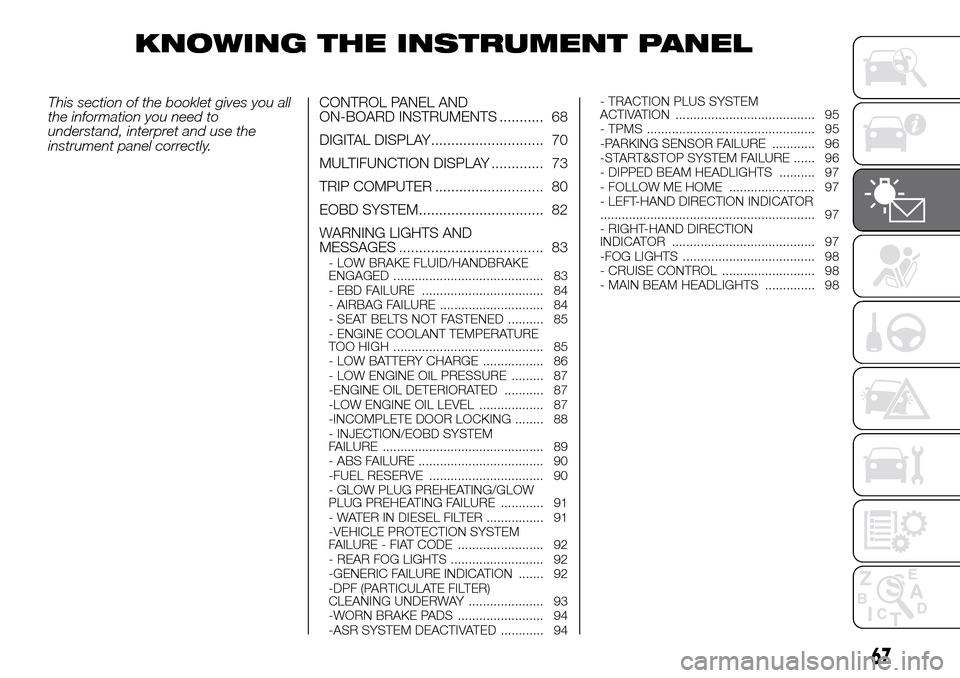
KNOWING THE INSTRUMENT PANEL
This section of the booklet gives you all
the information you need to
understand, interpret and use the
instrument panel correctly.CONTROL PANEL AND
ON-BOARD INSTRUMENTS ........... 68
DIGITAL DISPLAY............................ 70
MULTIFUNCTION DISPLAY ............. 73
TRIP COMPUTER ........................... 80
EOBD SYSTEM............................... 82
WARNING LIGHTS AND
MESSAGES .................................... 83
- LOW BRAKE FLUID/HANDBRAKE
ENGAGED .......................................... 83
- EBD FAILURE .................................. 84
- AIRBAG FAILURE ............................. 84
- SEAT BELTS NOT FASTENED .......... 85
- ENGINE COOLANT TEMPERATURE
TOO HIGH .......................................... 85
- LOW BATTERY CHARGE ................. 86
- LOW ENGINE OIL PRESSURE ......... 87
-ENGINE OIL DETERIORATED ........... 87
-LOW ENGINE OIL LEVEL .................. 87
-INCOMPLETE DOOR LOCKING ........ 88
- INJECTION/EOBD SYSTEM
FAILURE ............................................. 89
- ABS FAILURE ................................... 90
-FUEL RESERVE ................................ 90
- GLOW PLUG PREHEATING/GLOW
PLUG PREHEATING FAILURE ............ 91
- WATER IN DIESEL FILTER ................ 91
-VEHICLE PROTECTION SYSTEM
FAILURE - FIAT CODE ........................ 92
- REAR FOG LIGHTS .......................... 92
-GENERIC FAILURE INDICATION ....... 92
-DPF (PARTICULATE FILTER)
CLEANING UNDERWAY ..................... 93
-WORN BRAKE PADS ........................ 94
-ASR SYSTEM DEACTIVATED ............ 94- TRACTION PLUS SYSTEM
ACTIVATION ....................................... 95
- TPMS ............................................... 95
-PARKING SENSOR FAILURE ............ 96
-START&STOP SYSTEM FAILURE ...... 96
- DIPPED BEAM HEADLIGHTS .......... 97
- FOLLOW ME HOME ........................ 97
- LEFT-HAND DIRECTION INDICATOR
............................................................ 97
- RIGHT-HAND DIRECTION
INDICATOR ........................................ 97
-FOG LIGHTS ..................................... 98
- CRUISE CONTROL .......................... 98
- MAIN BEAM HEADLIGHTS .............. 98
67
Page 75 of 298
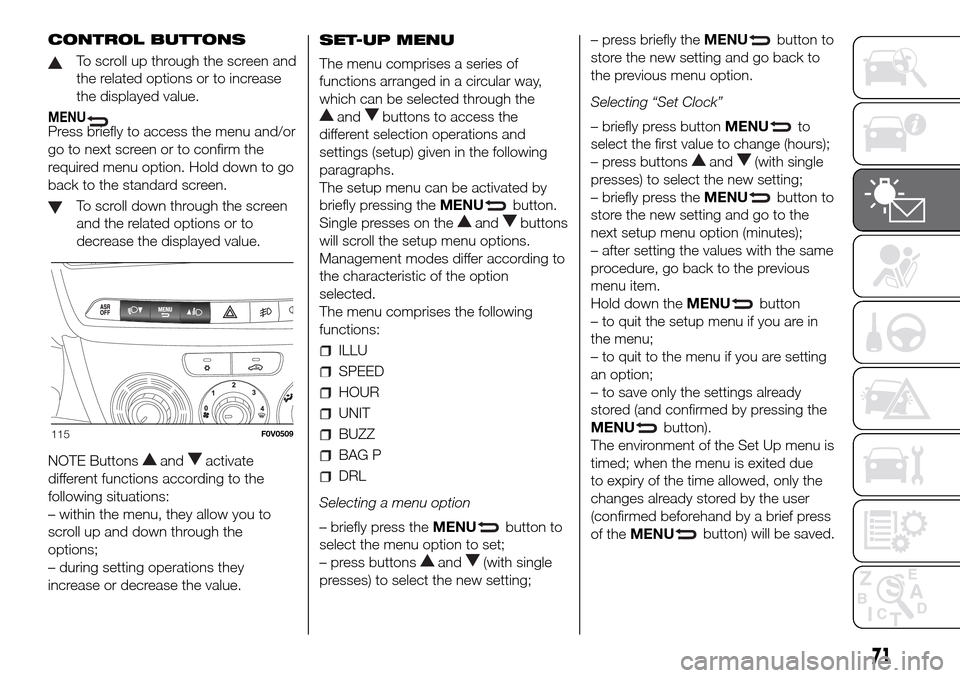
CONTROL BUTTONS
To scroll up through the screen and
the related options or to increase
the displayed value.
MENUPress briefly to access the menu and/or
go to next screen or to confirm the
required menu option. Hold down to go
back to the standard screen.
To scroll down through the screen
and the related options or to
decrease the displayed value.
NOTE Buttons
andactivate
different functions according to the
following situations:
– within the menu, they allow you to
scroll up and down through the
options;
– during setting operations they
increase or decrease the value.SET-UP MENU
The menu comprises a series of
functions arranged in a circular way,
which can be selected through the
andbuttons to access the
different selection operations and
settings (setup) given in the following
paragraphs.
The setup menu can be activated by
briefly pressing theMENU
button.
Single presses on the
andbuttons
will scroll the setup menu options.
Management modes differ according to
the characteristic of the option
selected.
The menu comprises the following
functions:
ILLU
SPEED
HOUR
UNIT
BUZZ
BAG P
DRL
Selecting a menu option
– briefly press theMENU
button to
select the menu option to set;
– press buttons
and(with single
presses) to select the new setting;– press briefly theMENU
button to
store the new setting and go back to
the previous menu option.
Selecting “Set Clock”
– briefly press buttonMENU
to
select the first value to change (hours);
– press buttons
and(with single
presses) to select the new setting;
– briefly press theMENU
button to
store the new setting and go to the
next setup menu option (minutes);
– after setting the values with the same
procedure, go back to the previous
menu item.
Hold down theMENU
button
– to quit the setup menu if you are in
the menu;
– to quit to the menu if you are setting
an option;
– to save only the settings already
stored (and confirmed by pressing the
MENU
button).
The environment of the Set Up menu is
timed; when the menu is exited due
to expiry of the time allowed, only the
changes already stored by the user
(confirmed beforehand by a brief press
of theMENU
button) will be saved.
115F0V0509
71
Page 76 of 298
Adjusting the vehicle
interior lighting (ILLU)
This function is available, with the
dipped headlamps on and at night, to
adjust the brightness of the instrument
panel, buttons, sound system display
and automatic climate control display.
During the daytime, and with the
dipped headlamps on, the instrument
panel, buttons and sound system
and automatic climate control displays
are set to maximum brightness.
press theMENUbutton briefly:
the display will show the wording ILLU;
press buttonandto set the
required brightness level;
press theMENUbutton briefly
to return to the menu screen or hold
the button down to return to the
standard screen without storing.
Setting a speed limit
(SPEEd)
This function is used to set a speed
limit (km/h or mph); the driver is alerted
when this limit is exceeded (see
“Warning lights and messages”).
To set the desired speed limit, proceed
as follows:
- press theMENU
button briefly:
the display will show the wording
(SPEED) and the unit (km/h) or (mph)
previously set;- press
orto select speed limit
activation (On) or deactivation (Off);
- if the function is on, press
orto
select the required speed limit and then
pressMENU
to confirm;
NOTE The speed may be set in the
range from 30 to 200 km/h, or from 20
to 125 mph according to the previously
chosen unit (see “Setting the distance
unit”) described below. The setting
will increase/decrease by five units each
time the
/button is pressed. Hold
down the
/button to automatically
increase/decrease the setting rapidly.
Complete the adjustment with single
presses of the button when you
approach the desired value.
- press theMENU
button briefly to
return to the menu screen or hold the
button down to return to the standard
screen without storing.
To cancel the setting, proceed as
follows:
- briefly the pressMENU
button;
(On) will flash on the display;
- press the
button; (Off) will flash on
the display;
- press theMENU
button briefly to
return to the menu screen or hold the
button down to return to the standard
screen without storing.Setting the clock (Hour)
With this function, it is possible to set
the time.
To adjust, proceed as follows:
- briefly press theMENU
button;
the “hours” will flash on the display;
- press the
orbutton to adjust;
- briefly press theMENU ESC
button; the “minutes” will flash on
the display;
- press the
orbutton to adjust;
- press theMENU
button briefly to
return to the menu screen or hold the
button down to return to the standard
screen without storing.
Setting the distance unit
(Unit)
With this function it is possible to set
the unit.
To adjust, proceed as follows:
- press theMENU
button briefly:
the display will show the wording (Unit)
and the previously set unit (km) or (mi);
- press
orto select the required
unit.
- press theMENU
button briefly to
return to the menu screen or hold the
button down to return to the standard
screen without storing.
72
KNOWING THE INSTRUMENT PANEL
Page 78 of 298
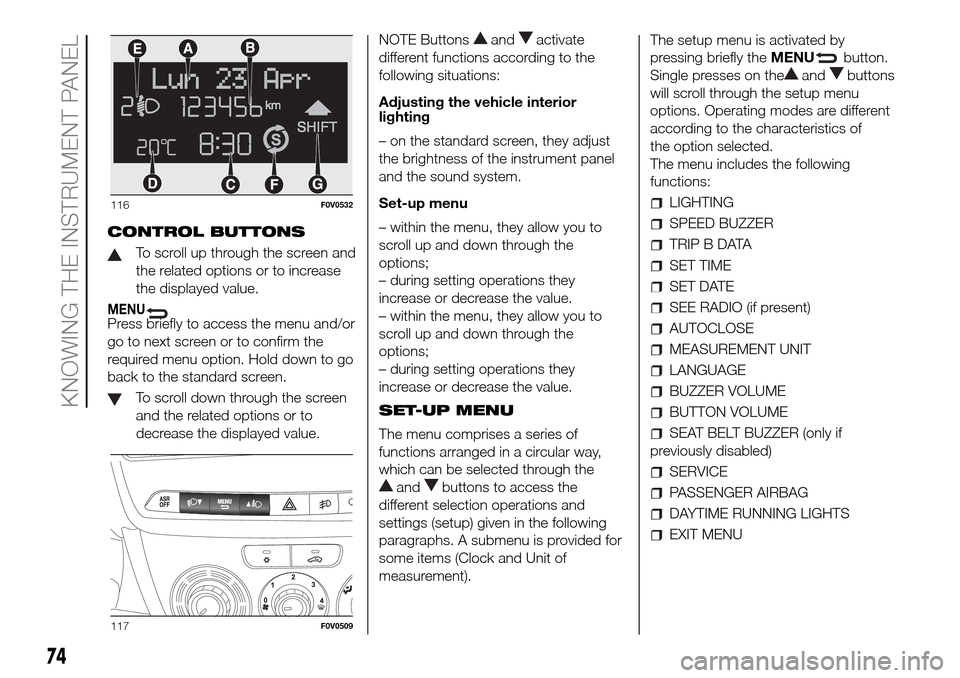
CONTROL BUTTONS
To scroll up through the screen and
the related options or to increase
the displayed value.
MENUPress briefly to access the menu and/or
go to next screen or to confirm the
required menu option. Hold down to go
back to the standard screen.
To scroll down through the screen
and the related options or to
decrease the displayed value.NOTE Buttons
andactivate
different functions according to the
following situations:
Adjusting the vehicle interior
lighting
– on the standard screen, they adjust
the brightness of the instrument panel
and the sound system.
Set-up menu
– within the menu, they allow you to
scroll up and down through the
options;
– during setting operations they
increase or decrease the value.
– within the menu, they allow you to
scroll up and down through the
options;
– during setting operations they
increase or decrease the value.
SET-UP MENU
The menu comprises a series of
functions arranged in a circular way,
which can be selected through the
andbuttons to access the
different selection operations and
settings (setup) given in the following
paragraphs. A submenu is provided for
some items (Clock and Unit of
measurement).The setup menu is activated by
pressing briefly theMENU
button.
Single presses on the
andbuttons
will scroll through the setup menu
options. Operating modes are different
according to the characteristics of
the option selected.
The menu includes the following
functions:
LIGHTING
SPEED BUZZER
TRIP B DATA
SET TIME
SET DATE
SEE RADIO (if present)
AUTOCLOSE
MEASUREMENT UNIT
LANGUAGE
BUZZER VOLUME
BUTTON VOLUME
SEAT BELT BUZZER (only if
previously disabled)
SERVICE
PASSENGER AIRBAG
DAYTIME RUNNING LIGHTS
EXIT MENU
116F0V0532
117F0V0509
74
KNOWING THE INSTRUMENT PANEL
Page 80 of 298
– press buttonMENUbriefly to
return to the menu screen or hold the
button down to return to the standard
screen without storing.
Trip B data (Activating
Trip B)
This function can be used to activate
(On) or deactivate (Off) the Trip B
display (partial trip).
For more information see the "Trip
computer" section.
Proceed as follows to switch the
function on/off:
– press theMENU
button briefly to
make the display flash On or Off
according to the previous setting;
– press the
orbutton to select;
– press theMENU
button briefly to
return to the menu screen or hold the
button down to return to the standard
screen without storing.
Set Time (Setting the
clock)
This function enables the clock to be
set through two submenus: "Time" and
"Format".
To carry out the adjustment, proceed as
follows:
– briefly pressMENU
; the display
will show the two sub-menus “Time”
and “Mode”;
– press the
orbutton to switch
between the two submenus;– select the required option and then
pressMENU
briefly;
– if selecting the “Time” submenu,
briefly pressMENU
, the “hours”
will flash on the display;
– press the
orbutton to make the
adjustment;
– briefly press theMENU
button;
the “minutes” will flash on the display;
– press the
orbutton for setting.
NOTE The setting will increase or
decrease by one unit each time the
orbutton is pressed. Hold down
the button to increase/decrease the
setting rapidly and automatically.
Complete the adjustment with single
presses of the button when you
approach the desired value.
– when you select “Mode”, pressing the
MENU
button makes the mode
flash on the display;
– press the
orbutton to select
"24h" or "12h".
When you have made the required
settings, press theMENU
button
briefly to go back to the submenu
screen or hold the button down to go
back to the main menu screen without
saving.
– hold theMENU
button down
again to return to the standard screen
or to the main menu according to
where you are in the menu.Set Date (Setting the
date)
Using this function you can update the
date (day - month - year).
Proceed as follows to update:
– briefly press theMENU
button:
“year” will flash on the display;
– press the
orbutton to make the
adjustment;
– briefly press theMENU
button:
"month" will flash on the display;
– press the
orbutton to make the
adjustment;
– briefly press theMENU
button:
“day” will flash on the display;
– press the
orbutton for setting.
NOTE The setting will increase or
decrease by one unit each time the
orbutton is pressed. Hold down
the button to increase/decrease the
setting rapidly and automatically.
Complete the adjustment with single
presses of the button when you
approach the desired value.
– press theMENU
button briefly to
return to the menu screen or hold the
button down to return to the standard
screen without storing.
76
KNOWING THE INSTRUMENT PANEL
Page 81 of 298
See radio (audio
information repetition)
(for versions/markets, where provided)
With this function the display shows
information about the radio.
– Radio: selected radio station
frequency or RDS message, automatic
tuning activation or AutoSTore;
– Audio CD, MP3 CDs: track number;
To show the sound system information
on the display (On) or clear it (Off),
proceed as follows:
– briefly press theMENU
button,
making the display flash On or Off
depending on the previous setting;
– press the
orbutton to select;
– press theMENU
button briefly to
return to the menu screen or hold the
button down to return to the standard
screen without storing.
Autoclose (Automatic
central locking with the
vehicle moving)
(for versions/markets, where provided)
When activated (On), this function locks
the doors automatically when the
vehicle speed exceeds 20 km/h.
Proceed as follows to activate or
deactivate this function:
– press theMENU
button briefly to
display a submenu;
– press theMENU
button briefly to
make the display flash On or Off
according to the previous setting;– press the
orbutton to select;
– press theMENU
button briefly to
return to the submenu screen or hold
the button down to return to the main
menu screen without saving;
– hold theMENU
button down
again to return to the standard screen
or to the main menu according to
where you are in the menu.
Unit of measurement
(Setting the unit of
measurement)
With this function is possible to set the
unit of measurement in three
submenus: “Distance”, “Consumption”
and “Temperature”.
To set the required unit of measurement
proceed as follows:
– briefly press theMENU
button to
display the three submenus;
– press the
orbutton to navigate
through the three submenus;
– select the required option and then
pressMENU
briefly;
– if selecting the "Distance" submenu:
briefly press theMENU
button and
the display will show "km" or "mi"
depending on the previous setting;
– press the
orbutton to select;when you select the “Consumption”
submenu: briefly pressing theMENU
button makes “km/l”, “l/100km” or
“mpg” appear on the display,
depending on the previous setting;
If the set distance unit of measurement
is "km", the fuel consumption unit will
be displayed in km/l or l/100 km.
If the set distance unit of measurement
is "mi" the fuel consumption unit will
be displayed in "mpg".
– press the
orbutton to select;
– if selecting the "Temperature"
submenu: briefly press theMENU
button and the display will show
"°C" or "°F" depending on the previous
setting;
– press the
orbutton to select;
When you have made the required
settings, press theMENU
button
briefly to go back to the submenu
screen or hold the button down to go
back to the main menu screen without
saving.
– hold theMENU
button down
again to return to the standard screen
or to the main menu according to
where you are in the menu.
77
Page 88 of 298
Warning lights on
panelWhat it means What to do
red
amber
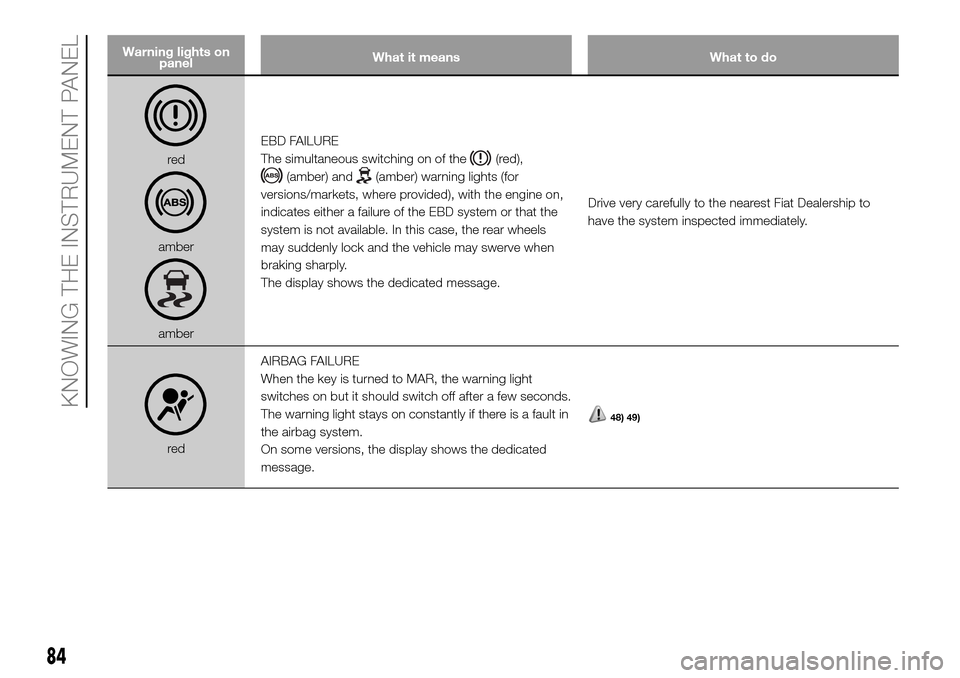
amberEBD FAILURE
The simultaneous switching on of the
(red),
(amber) and(amber) warning lights (for
versions/markets, where provided), with the engine on,
indicates either a failure of the EBD system or that the
system is not available. In this case, the rear wheels
may suddenly lock and the vehicle may swerve when
braking sharply.
The display shows the dedicated message.Drive very carefully to the nearest Fiat Dealership to
have the system inspected immediately.
redAIRBAG FAILURE
When the key is turned to MAR, the warning light
switches on but it should switch off after a few seconds.
The warning light stays on constantly if there is a fault in
the airbag system.
On some versions, the display shows the dedicated
message.
48) 49)
84
KNOWING THE INSTRUMENT PANEL
Page 92 of 298
Warning lights on
panelWhat it means What to do
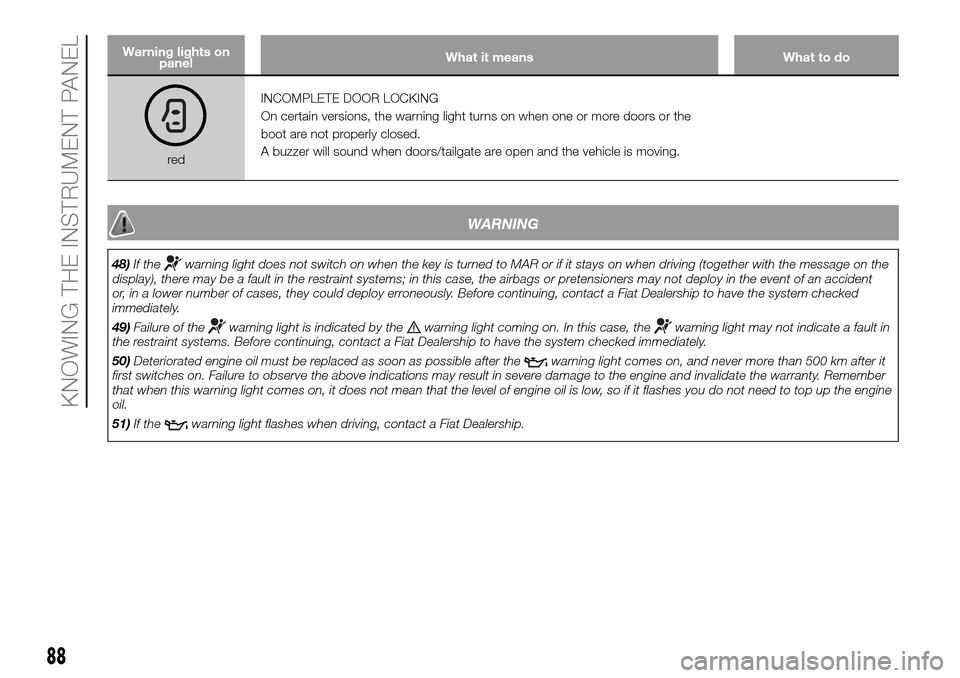
redINCOMPLETE DOOR LOCKING
On certain versions, the warning light turns on when one or more doors or the
boot are not properly closed.
A buzzer will sound when doors/tailgate are open and the vehicle is moving.
WARNING
48)If thewarning light does not switch on when the key is turned to MAR or if it stays on when driving (together with the message on the
display), there may be a fault in the restraint systems; in this case, the airbags or pretensioners may not deploy in the event of an accident
or, in a lower number of cases, they could deploy erroneously. Before continuing, contact a Fiat Dealership to have the system checked
immediately.
49)Failure of the
warning light is indicated by thewarning light coming on. In this case, thewarning light may not indicate a fault in
the restraint systems. Before continuing, contact a Fiat Dealership to have the system checked immediately.
50)Deteriorated engine oil must be replaced as soon as possible after the
warning light comes on, and never more than 500 km after it
first switches on. Failure to observe the above indications may result in severe damage to the engine and invalidate the warranty. Remember
that when this warning light comes on, it does not mean that the level of engine oil is low, so if it flashes you do not need to top up the engine
oil.
51)If the
warning light flashes when driving, contact a Fiat Dealership.
88
KNOWING THE INSTRUMENT PANEL
Page 104 of 298
ACTIVE SAFETY
SYSTEMS
The vehicle has the following active
safety systems:
ABS;
EBD system;
Brake Assist system;
ESC system;
ASR system;
Hill Holder system;
MSR system;
For the operation of the systems, see
the following pages.
ABS SYSTEM
This is an integral part of the braking
system, which prevents one or more
wheels from locking and slipping
regardless of the road surface
conditions and braking intensity,
ensuring control of the vehicle even
during emergency braking.
The EBD system (Electronic Braking
Force Distribution) completes the
system allowing the brake force to be
distributed between the front and
rear wheels.
IMPORTANT To get the maximum
efficiency of the braking system,
a bedding-in period of about 500 km is
needed: during this period it is better
to avoid sharp, repeated and prolonged
braking.
SYSTEM INTERVENTION
The driver can feel that the ABS has
come into action because the brake
pedal pulsates slightly and the system
gets noisier: it means that the vehicle
speed should be altered to suit the type
of road surface.
53) 54) 55)
FAULT INDICATIONS
ABS fault
ABS failure is indicated by the
warning light on the instrument
panel coming on (together with the
appropriate message on the
multifunction display on some versions)
(see “Warning lights and messages”).
In this case, the braking system will still
be effective, although without the
extra capacity offered by the ABS.
Drive carefully to the nearest Fiat
Dealership to have the system
checked.
EBD failure
ABS failure is indicated by the
and
warning lights on the instrument
panel coming on (together with the
appropriate message on the
multifunction display on some versions)
(see “Warning lights and messages”).
In this case, the rear wheels may
suddenly lock and the vehicle may
swerve when braking sharply. Drive
carefully to the nearest Fiat Dealership
to have the system checked.
56)
100
SAFETY
Page 105 of 298
BRAKE ASSIST
(integrated ESP
emergency braking
assistance)
(for versions/markets, where provided)
This system (which cannot be
deactivated) recognises emergency
braking conditions according to the
speed of operation of the brake pedal
and provides an additional hydraulic
braking pressure to support that
provided by the driver. This allows
faster and more powerful operation of
the braking system.
Brake Assist is deactivated on the
versions equipped with ESP, in the
event of ESC system failure (indicated
by the
warning light coming on
together with a message in the
multifunction display, where provided).
WARNING
53)When the ABS cuts in and you feel the
brake pedal pulsating, do not remove
your foot, but keep the pedal pushed
down; in doing so you, will stop in the
shortest distance possible under the road
conditions at the time.
54)If the ABS system intervenes, this
indicates that the traction of the tyres on
the road is nearing its limit. You must slow
down to a speed compatible with the
available traction.55)The ABS gets the most from the
available grip, but it cannot improve it; you
should therefore take every care when
driving on slippery surfaces and not take
unnecessary risks.
56)If only the
instrument panel
warning light comes on (with a message in
the multifunction display on some
versions), stop the vehicle immediately and
contact the nearest Fiat Dealership. Any
loss of fluid will affect the brake system
functionality, both conventional and
ant-lock wheels.
ESC (Electronic
Stability Control)
SYSTEM
(for versions/markets, where provided)
IN BRIEF
This is an electronic system that
controls vehicle stability in the event
of tyre grip loss, helping to maintain
directional control.
The ESC system is therefore
particularly useful when grip
conditions of road surfaces change.
The MSR system (adjustment of
the engine braking torque during gear
changes) and the HBA system
(automatic increase in the braking
pressure during emergency braking)
are present with ESC, ASR and
Hill Holder systems (for
versions/markets where provided).
SYSTEM INTERVENTION
This is signalled by the flashing of the
warning light in the instrument panel,
to inform the driver that the vehicle is
in critical stability and grip conditions.
101