towing FIAT FREEMONT 2012 Owner handbook (in English)
[x] Cancel search | Manufacturer: FIAT, Model Year: 2012, Model line: FREEMONT, Model: FIAT FREEMONT 2012Pages: 332, PDF Size: 5.61 MB
Page 14 of 332
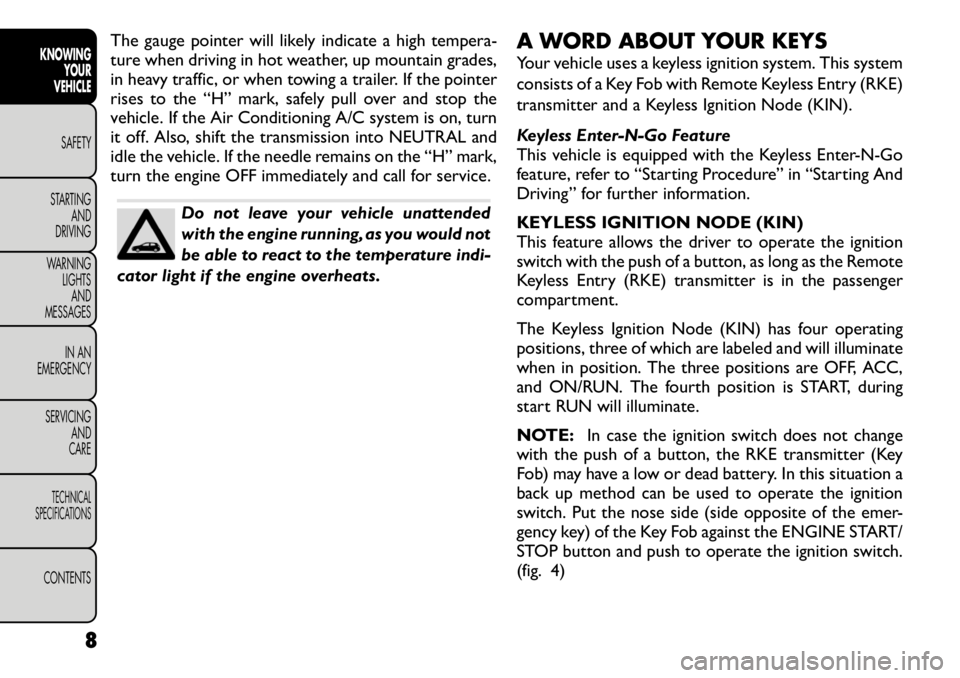
The gauge pointer will likely indicate a high tempera-
ture when driving in hot weather, up mountain grades,
in heavy traffic, or when towing a trailer. If the pointer
rises to the “H” mark, safely pull over and stop the
vehicle. If the Air Conditioning A/C system is on, turn
it off. Also, shift the transmission into NEUTRAL and
idle the vehicle. If the needle remains on the “H” mark,
turn the engine OFF immediately and call for service.
Do not leave your vehicle unattended
with the engine running, as you would not
be able to react to the temperature indi-
cator light if the engine overheats. A WORD ABOUT YOUR KEYS
Your vehicle uses a keyless ignition system. This system
consists of a Key Fob with Remote Keyless Entry (RKE)
transmitter and a Keyless Ignition Node (KIN).
Keyless Enter-N-Go Feature
This vehicle is equipped with the Keyless Enter-N-Go
feature, refer to “Starting Procedure” in “Starting And
Driving” for further information.
KEYLESS IGNITION NODE (KIN)
This feature allows the driver to operate the ignition
switch with the push of a button, as long as the Remote
Keyless Entry (RKE) transmitter is in the passenger
compartment.
The Keyless Ignition Node (KIN) has four operating
positions, three of which are labeled and will illuminate
when in position. The three positions are OFF, ACC,
and ON/RUN. The fourth position is START, during
start RUN will illuminate.
NOTE:
In case the ignition switch does not change
with the push of a button, the RKE transmitter (Key
Fob) may have a low or dead battery. In this situation a
back up method can be used to operate the ignition
switch. Put the nose side (side opposite of the emer-
gency key) of the Key Fob against the ENGINE START/
STOP button and push to operate the ignition switch.
(fig. 4)
8
KNOWING YOUR
VEHICLE
SAFETY
STARTING AND
DRIVING
WARNING LIGHTSAND
MESSAGES
IN AN
EMERGENCY
SERVICING AND
CARETECHNICAL
SPECIFICATIONSCONTENTS
Page 28 of 332
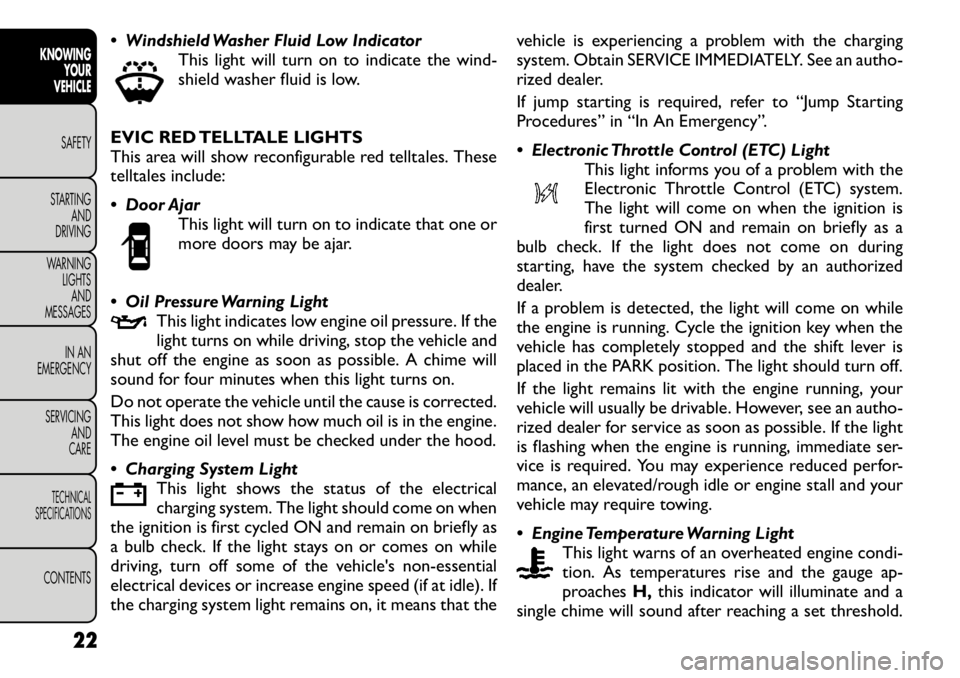
Windshield Washer Fluid Low IndicatorThis light will turn on to indicate the wind-
shield washer fluid is low.
EVIC RED TELLTALE LIGHTS
This area will show reconfigurable red telltales. These
telltales include:
Door Ajar This light will turn on to indicate that one or
more doors may be ajar.
Oil Pressure Warning Light This light indicates low engine oil pressure. If the
light turns on while driving, stop the vehicle and
shut off the engine as soon as possible. A chime will
sound for four minutes when this light turns on.
Do not operate the vehicle until the cause is corrected.
This light does not show how much oil is in the engine.
The engine oil level must be checked under the hood.
Charging System Light
This light shows the status of the electrical
charging system. The light should come on when
the ignition is first cycled ON and remain on briefly as
a bulb check. If the light stays on or comes on while
driving, turn off some of the vehicle's non-essential
electrical devices or increase engine speed (if at idle). If
the charging system light remains on, it means that the vehicle is experiencing a problem with the charging
system. Obtain SERVICE IMMEDIATELY. See an autho-
rized dealer.
If jump starting is required, refer to “Jump Starting
Procedures” in “In An Emergency”.
Electronic Throttle Control (ETC) Light
This light informs you of a problem with the
Electronic Throttle Control (ETC) system.
The light will come on when the ignition is
first turned ON and remain on briefly as a
bulb check. If the light does not come on during
starting, have the system checked by an authorized
dealer.
If a problem is detected, the light will come on while
the engine is running. Cycle the ignition key when the
vehicle has completely stopped and the shift lever is
placed in the PARK position. The light should turn off.
If the light remains lit with the engine running, your
vehicle will usually be drivable. However, see an autho-
rized dealer for service as soon as possible. If the light
is flashing when the engine is running, immediate ser-
vice is required. You may experience reduced perfor-
mance, an elevated/rough idle or engine stall and your
vehicle may require towing.
Engine Temperature Warning Light
This light warns of an overheated engine condi-
tion. As temperatures rise and the gauge ap-
proaches H,this indicator will illuminate and a
single chime will sound after reaching a set threshold.
22
KNOWING YOUR
VEHICLE
SAFETY
STARTING AND
DRIVING
WARNING LIGHTSAND
MESSAGES
IN AN
EMERGENCY
SERVICING AND
CARETECHNICAL
SPECIFICATIONSCONTENTS
Page 29 of 332
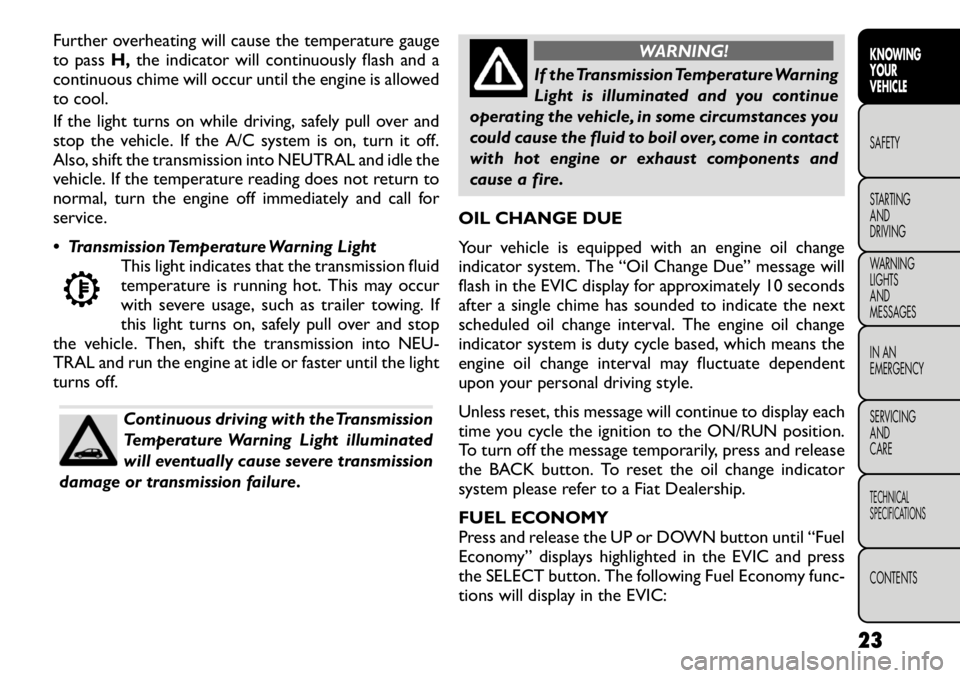
Further overheating will cause the temperature gauge
to passH,the indicator will continuously flash and a
continuous chime will occur until the engine is allowed
to cool.
If the light turns on while driving, safely pull over and
stop the vehicle. If the A/C system is on, turn it off.
Also, shift the transmission into NEUTRAL and idle the
vehicle. If the temperature reading does not return to
normal, turn the engine off immediately and call for
service.
Transmission Temperature Warning Light This light indicates that the transmission fluid
temperature is running hot. This may occur
with severe usage, such as trailer towing. If
this light turns on, safely pull over and stop
the vehicle. Then, shift the transmission into NEU-
TRAL and run the engine at idle or faster until the light
turns off.
Continuous driving with the Transmission
Temperature Warning Light illuminated
will eventually cause severe transmission
damage or transmission failure.
WARNING!
If the Transmission Temperature Warning
Light is illuminated and you continue
operating the vehicle, in some circumstances you
could cause the fluid to boil over, come in contact
with hot engine or exhaust components and
cause a fire.
OIL CHANGE DUE
Your vehicle is equipped with an engine oil change
indicator system. The “Oil Change Due” message will
flash in the EVIC display for approximately 10 seconds
after a single chime has sounded to indicate the next
scheduled oil change interval. The engine oil change
indicator system is duty cycle based, which means the
engine oil change interval may fluctuate dependent
upon your personal driving style.
Unless reset, this message will continue to display each
time you cycle the ignition to the ON/RUN position.
To turn off the message temporarily, press and release
the BACK button. To reset the oil change indicator
system please refer to a Fiat Dealership.
FUEL ECONOMY
Press and release the UP or DOWN button until “Fuel
Economy” displays highlighted in the EVIC and press
the SELECT button. The following Fuel Economy func-
tions will display in the EVIC:
23KNOWING
YOURVEHICLESAFETY
STARTING ANDDRIVING
WARNING LIGHTSAND
MESSAGES
IN AN
EMERGENCY
SERVICING AND
CARETECHNICAL
SPECIFICATIONSCONTENTS
Page 126 of 332
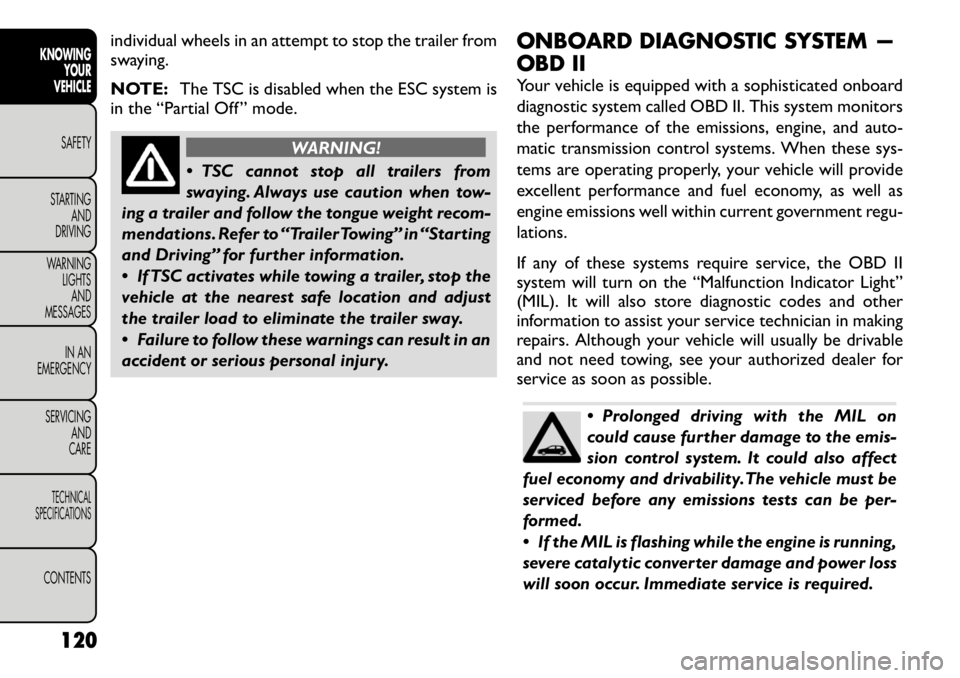
individual wheels in an attempt to stop the trailer from
swaying.
NOTE:The TSC is disabled when the ESC system is
in the “Partial Off ” mode.
WARNING!
TSC cannot stop all trailers from
swaying. Always use caution when tow-
ing a trailer and follow the tongue weight recom-
mendations. Refer to “Trailer Towing” in “Starting
and Driving” for further information.
If TSC activates while towing a trailer, stop the
vehicle at the nearest safe location and adjust
the trailer load to eliminate the trailer sway.
Failure to follow these warnings can result in an
accident or serious personal injury. ONBOARD DIAGNOSTIC SYSTEM —
OBD II
Your vehicle is equipped with a sophisticated onboard
diagnostic system called OBD II. This system monitors
the performance of the emissions, engine, and auto-
matic transmission control systems. When these sys-
tems are operating properly, your vehicle will provide
excellent performance and fuel economy, as well as
engine emissions well within current government regu-lations.
If any of these systems require service, the OBD II
system will turn on the “Malfunction Indicator Light”
(MIL). It will also store diagnostic codes and other
information to assist your service technician in making
repairs. Although your vehicle will usually be drivable
and not need towing, see your authorized dealer for
service as soon as possible.
Prolonged driving with the MIL on
could cause further damage to the emis-
sion control system. It could also affect
fuel economy and drivability.The vehicle must be
serviced before any emissions tests can be per-
formed.
If the MIL is flashing while the engine is running,
severe catalytic converter damage and power loss
will soon occur. Immediate service is required.
120
KNOWING YOUR
VEHICLE
SAFETY
STARTING AND
DRIVING
WARNING LIGHTSAND
MESSAGES
IN AN
EMERGENCY
SERVICING AND
CARETECHNICAL
SPECIFICATIONSCONTENTS
Page 140 of 332
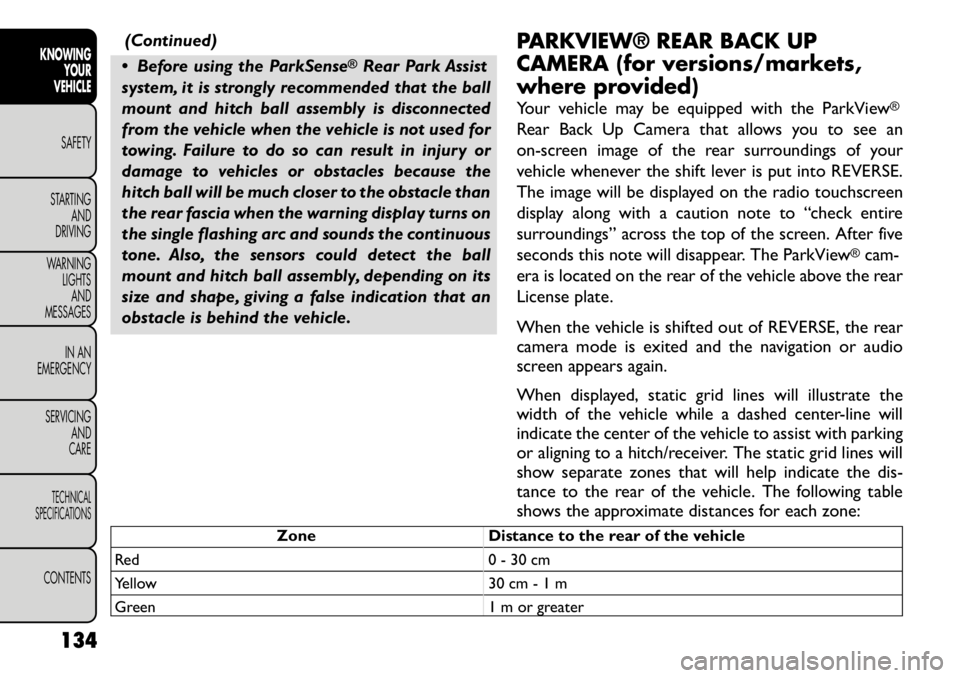
(Continued)
Before using the ParkSense
®Rear Park Assist
system, it is strongly recommended that the ball
mount and hitch ball assembly is disconnected
from the vehicle when the vehicle is not used for
towing. Failure to do so can result in injury or
damage to vehicles or obstacles because the
hitch ball will be much closer to the obstacle than
the rear fascia when the warning display turns on
the single flashing arc and sounds the continuous
tone. Also, the sensors could detect the ball
mount and hitch ball assembly, depending on its
size and shape, giving a false indication that an
obstacle is behind the vehicle. PARKVIEW® REAR BACK UP
CAMERA (for versions/markets,
where provided)
Your vehicle may be equipped with the ParkView
®
Rear Back Up Camera that allows you to see an
on-screen image of the rear surroundings of your
vehicle whenever the shift lever is put into REVERSE.
The image will be displayed on the radio touchscreen
display along with a caution note to “check entire
surroundings” across the top of the screen. After five
seconds this note will disappear. The ParkView
®cam-
era is located on the rear of the vehicle above the rear
License plate.
When the vehicle is shifted out of REVERSE, the rear
camera mode is exited and the navigation or audio
screen appears again.
When displayed, static grid lines will illustrate the
width of the vehicle while a dashed center-line will
indicate the center of the vehicle to assist with parking
or aligning to a hitch/receiver. The static grid lines will
show separate zones that will help indicate the dis-
tance to the rear of the vehicle. The following table
shows the approximate distances for each zone:
Zone Distance to the rear of the vehicle
Red 0 - 30 cm
Yellow 30 cm - 1 m
Green 1 m or greater
134
KNOWING YOUR
VEHICLE
SAFETY
STARTING AND
DRIVING
WARNING LIGHTSAND
MESSAGES
IN AN
EMERGENCY
SERVICING AND
CARETECHNICAL
SPECIFICATIONSCONTENTS
Page 213 of 332
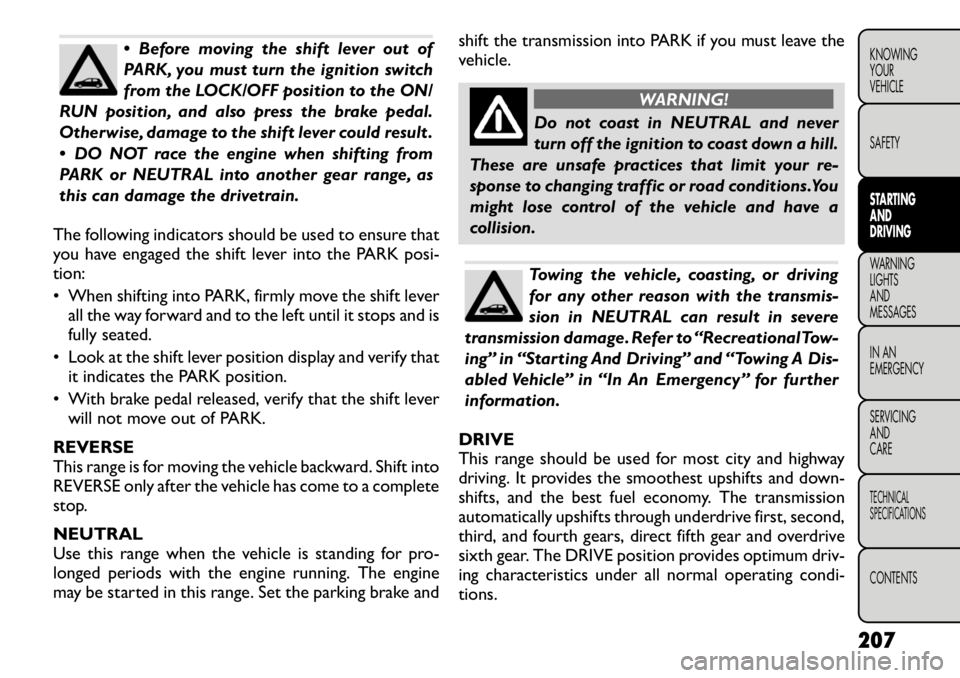
Before moving the shift lever out of
PARK, you must turn the ignition switch
from the LOCK/OFF position to the ON/
RUN position, and also press the brake pedal.
Otherwise, damage to the shift lever could result .
DO NOT race the engine when shifting from
PARK or NEUTRAL into another gear range, as
this can damage the drivetrain.
The following indicators should be used to ensure that
you have engaged the shift lever into the PARK posi-tion:
• When shifting into PARK, firmly move the shift lever all the way forward and to the left until it stops and is
fully seated.
• Look at the shift lever position display and verify that it indicates the PARK position.
• With brake pedal released, verify that the shift lever will not move out of PARK.
REVERSE
This range is for moving the vehicle backward. Shift into
REVERSE only after the vehicle has come to a complete
stop. NEUTRAL
Use this range when the vehicle is standing for pro-
longed periods with the engine running. The engine
may be started in this range. Set the parking brake and shift the transmission into PARK if you must leave the
vehicle.
WARNING!
Do not coast in NEUTRAL and never
turn off the ignition to coast down a hill.
These are unsafe practices that limit your re-
sponse to changing traffic or road conditions.You
might lose control of the vehicle and have a
collision.Towing the vehicle, coasting, or driving
for any other reason with the transmis-
sion in NEUTRAL can result in severe
transmission damage. Refer to “Recreational Tow-
ing” in “Starting And Driving” and “Towing A Dis-
abled Vehicle” in “In An Emergency” for further
information.
DRIVE
This range should be used for most city and highway
driving. It provides the smoothest upshifts and down-
shifts, and the best fuel economy. The transmission
automatically upshifts through underdrive first, second,
third, and fourth gears, direct fifth gear and overdrive
sixth gear. The DRIVE position provides optimum driv-
ing characteristics under all normal operating condi-tions.
207
KNOWING
YOURVEHICLE SAFETYSTARTING ANDDRIVINGWARNING LIGHTSAND
MESSAGES
IN AN
EMERGENCY
SERVICING AND
CARETECHNICAL
SPECIFICATIONSCONTENTS
Page 214 of 332
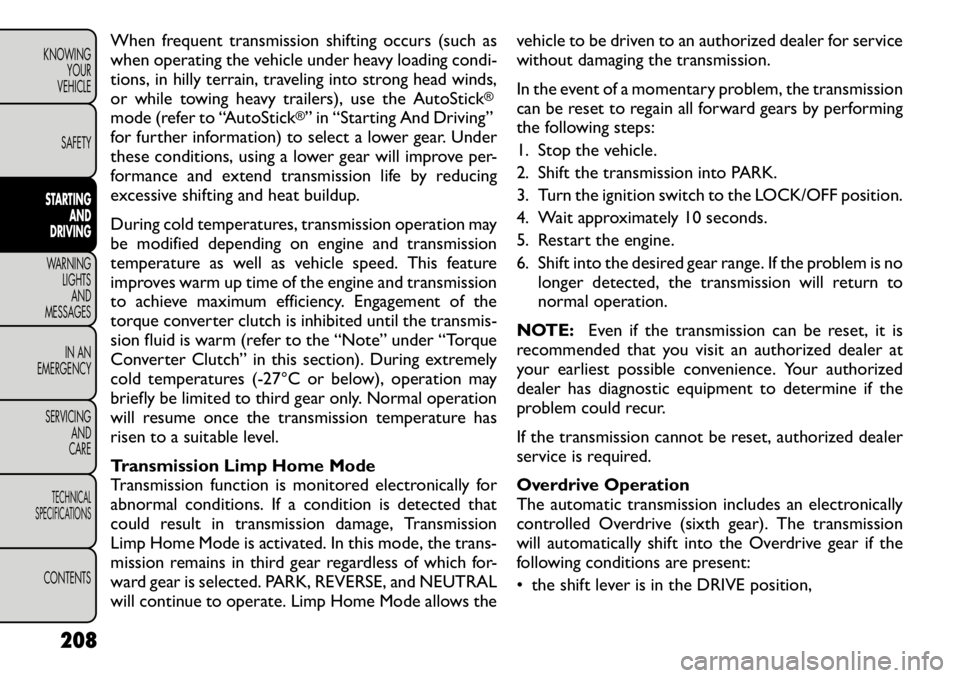
When frequent transmission shifting occurs (such as
when operating the vehicle under heavy loading condi-
tions, in hilly terrain, traveling into strong head winds,
or while towing heavy trailers), use the AutoStick
®
mode (refer to “AutoStick
®” in “Starting And Driving”
for further information) to select a lower gear. Under
these conditions, using a lower gear will improve per-
formance and extend transmission life by reducing
excessive shifting and heat buildup.
During cold temperatures, transmission operation may
be modified depending on engine and transmission
temperature as well as vehicle speed. This feature
improves warm up time of the engine and transmission
to achieve maximum efficiency. Engagement of the
torque converter clutch is inhibited until the transmis-
sion fluid is warm (refer to the “Note” under “Torque
Converter Clutch” in this section). During extremely
cold temperatures (
Page 219 of 332
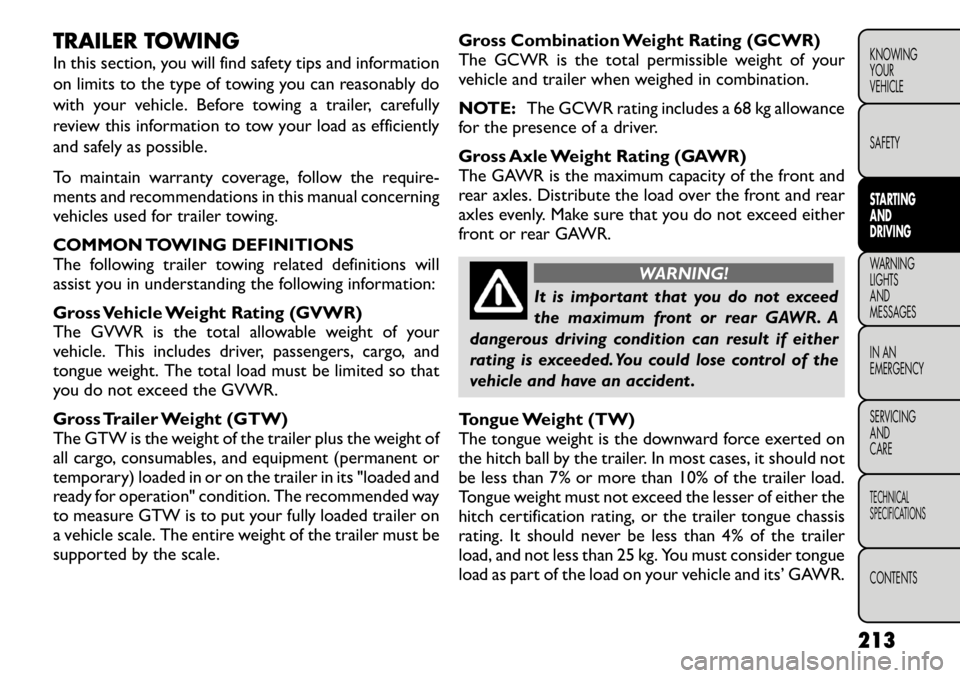
TRAILER TOWING
In this section, you will find safety tips and information
on limits to the type of towing you can reasonably do
with your vehicle. Before towing a trailer, carefully
review this information to tow your load as efficiently
and safely as possible.
To maintain warranty coverage, follow the require-
ments and recommendations in this manual concerning
vehicles used for trailer towing.
COMMON TOWING DEFINITIONS
The following trailer towing related definitions will
assist you in understanding the following information:
Gross Vehicle Weight Rating (GVWR)
The GVWR is the total allowable weight of your
vehicle. This includes driver, passengers, cargo, and
tongue weight. The total load must be limited so that
you do not exceed the GVWR.
Gross Trailer Weight (GTW)
The GTW is the weight of the trailer plus the weight of
all cargo, consumables, and equipment (permanent or
temporary) loaded in or on the trailer in its "loaded and
ready for operation" condition. The recommended way
to measure GTW is to put your fully loaded trailer on
a vehicle scale. The entire weight of the trailer must be
supported by the scale.Gross Combination Weight Rating (GCWR)
The GCWR is the total permissible weight of your
vehicle and trailer when weighed in combination.
NOTE:
The GCWR rating includes a 68 kg allowance
for the presence of a driver.
Gross Axle Weight Rating (GAWR)
The GAWR is the maximum capacity of the front and
rear axles. Distribute the load over the front and rear
axles evenly. Make sure that you do not exceed either
front or rear GAWR.
WARNING!
It is important that you do not exceed
the maximum front or rear GAWR. A
dangerous driving condition can result if either
rating is exceeded. You could lose control of the
vehicle and have an accident .
Tongue Weight (TW)
The tongue weight is the downward force exerted on
the hitch ball by the trailer. In most cases, it should not
be less than 7% or more than 10% of the trailer load.
Tongue weight must not exceed the lesser of either the
hitch certification rating, or the trailer tongue chassis
rating. It should never be less than 4% of the trailer
load, and not less than 25 kg. You must consider tongue
load as part of the load on your vehicle and its’ GAWR.
213
KNOWING
YOURVEHICLE SAFETYSTARTING ANDDRIVINGWARNING LIGHTSAND
MESSAGES
IN AN
EMERGENCY
SERVICING AND
CARETECHNICAL
SPECIFICATIONSCONTENTS
Page 222 of 332
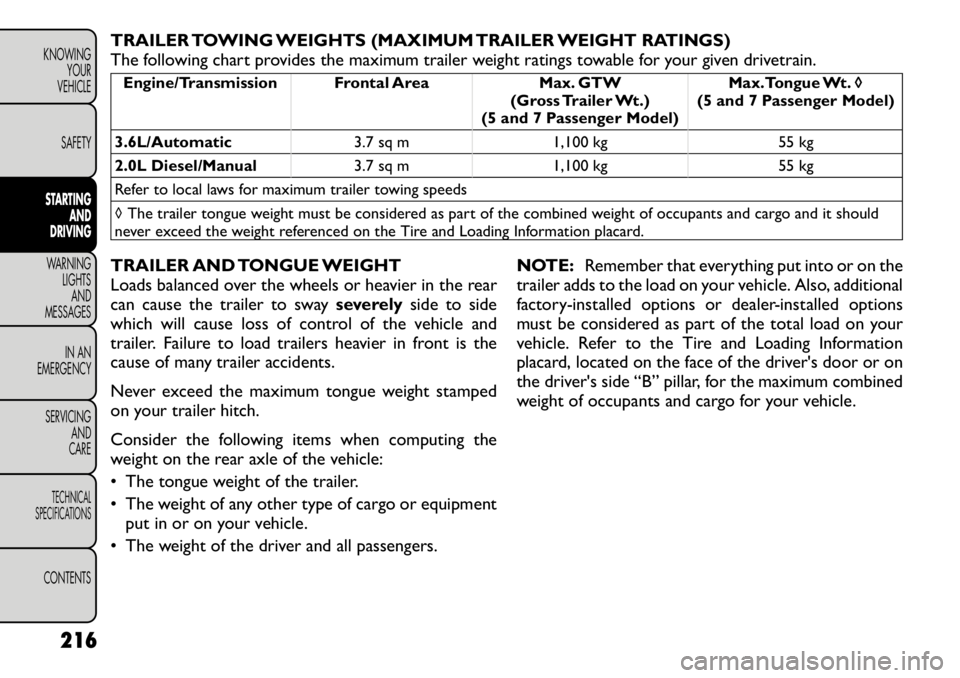
TRAILER TOWING WEIGHTS (MAXIMUM TRAILER WEIGHT RATINGS)
The following chart provides the maximum trailer weight ratings towable for your given drivetrain.Engine/Transmission Frontal Area Max. GTW(Gross Trailer Wt.)
(5 and 7 Passenger Model) Max.Tongue Wt. �
(5 and 7 Passenger Model)
3.6L/Automatic 3.7 sq m 1,100 kg 55 kg
2.0L Diesel/Manual 3.7 sq m 1,100 kg 55 kg
Refer to local laws for maximum trailer towing speeds
◊ The trailer tongue weight must be considered as part of the combined weight of occupants and cargo and it should
never exceed the weight referenced on the Tire and Loading Information placard.
TRAILER AND TONGUE WEIGHT
Loads balanced over the wheels or heavier in the rear
can cause the trailer to sway severelyside to side
which will cause loss of control of the vehicle and
trailer. Failure to load trailers heavier in front is the
cause of many trailer accidents.
Never exceed the maximum tongue weight stamped
on your trailer hitch.
Consider the following items when computing the
weight on the rear axle of the vehicle:
• The tongue weight of the trailer.
• The weight of any other type of cargo or equipment put in or on your vehicle.
• The weight of the driver and all passengers. NOTE:
Remember that everything put into or on the
trailer adds to the load on your vehicle. Also, additional
factory-installed options or dealer-installed options
must be considered as part of the total load on your
vehicle. Refer to the Tire and Loading Information
placard, located on the face of the driver's door or on
the driver's side “B” pillar, for the maximum combined
weight of occupants and cargo for your vehicle.
216
KNOWING YOUR
VEHICLE
SAFETYSTARTING AND
DRIVINGWARNING LIGHTSAND
MESSAGES
IN AN
EMERGENCY
SERVICING AND
CARETECHNICAL
SPECIFICATIONSCONTENTS
Page 223 of 332
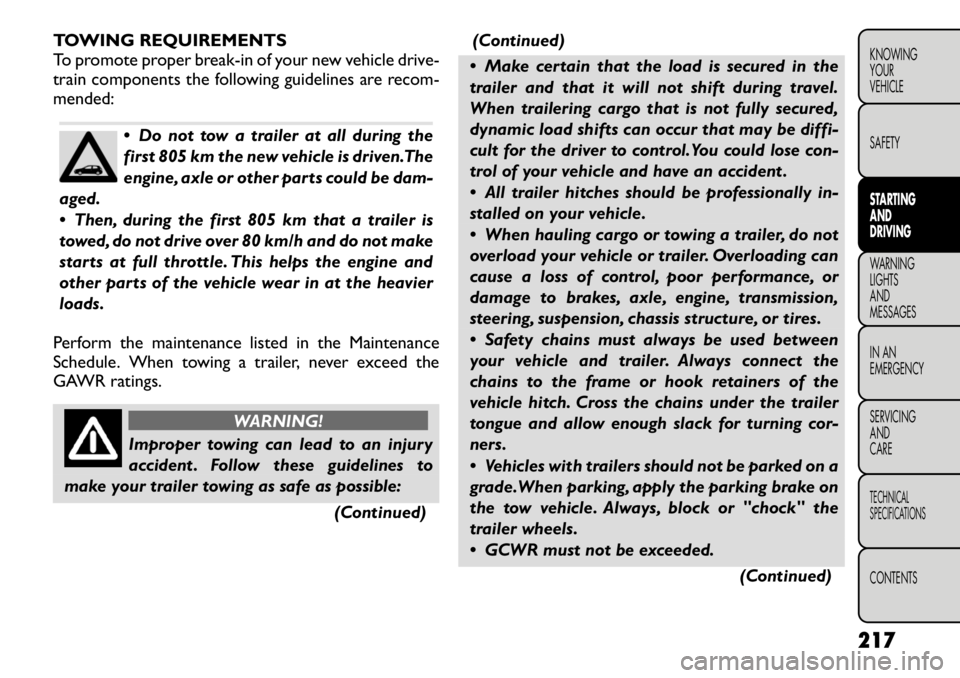
TOWING REQUIREMENTS
To promote proper break-in of your new vehicle drive-
train components the following guidelines are recom-mended:
Do not tow a trailer at all during the
first 805 km the new vehicle is driven.The
engine, axle or other parts could be dam-
aged.
Then, during the first 805 km that a trailer is
towed, do not drive over 80 km/h and do not make
starts at full throttle. This helps the engine and
other parts of the vehicle wear in at the heavier
loads.
Perform the maintenance listed in the Maintenance
Schedule. When towing a trailer, never exceed the
GAWR ratings.
WARNING!
Improper towing can lead to an injury
accident . Follow these guidelines to
make your trailer towing as safe as possible:
(Continued)(Continued)
Make certain that the load is secured in the
trailer and that it will not shift during travel.
When trailering cargo that is not fully secured,
dynamic load shifts can occur that may be diffi-
cult for the driver to control.You could lose con-
trol of your vehicle and have an accident .
All trailer hitches should be professionally in-
stalled on your vehicle.
When hauling cargo or towing a trailer, do not
overload your vehicle or trailer. Overloading can
cause a loss of control, poor performance, or
damage to brakes, axle, engine, transmission,
steering, suspension, chassis structure, or tires.
Safety chains must always be used between
your vehicle and trailer. Always connect the
chains to the frame or hook retainers of the
vehicle hitch. Cross the chains under the trailer
tongue and allow enough slack for turning cor-
ners.
Vehicles with trailers should not be parked on a
grade.When parking, apply the parking brake on
the tow vehicle. Always, block or "chock" the
trailer wheels.
GCWR must not be exceeded.
(Continued)
217
KNOWING
YOURVEHICLE SAFETYSTARTING ANDDRIVINGWARNING LIGHTSAND
MESSAGES
IN AN
EMERGENCY
SERVICING AND
CARETECHNICAL
SPECIFICATIONSCONTENTS