buttons FIAT IDEA 2007 1.G Owner's Guide
[x] Cancel search | Manufacturer: FIAT, Model Year: 2007, Model line: IDEA, Model: FIAT IDEA 2007 1.GPages: 314, PDF Size: 4.78 MB
Page 94 of 314
To switch the function off, simply turn the
temperature knob counterclockwise and set the
required temperature.
❒LO function (highest cooling power):
this is activated by turning the temperature knob
counterclockwise below the min. value (16 °C). It can
be activated independently from the driver’s or
passenger’s side or both (also selecting the MONO
function).
This function can be engaged when requiring to cool
the passenger compartment as quickly as possible,
exploiting the maximum potential of the system. This
function engages inside air recirculation and climate
control compressor, while air distribution and fan
speed are controlled according to environmental
conditions. All manual settings are however possible
with this function on.
To switch the function off, simply turn the
temperature knob clockwise and set the required
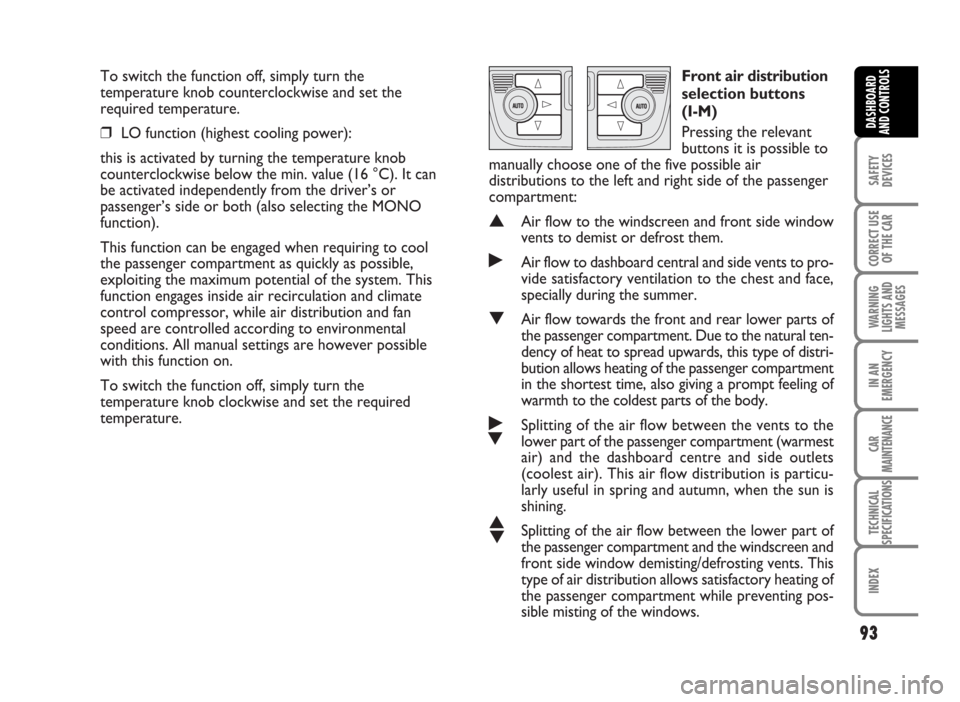
temperature.Front air distribution
selection buttons
(I-M)
Pressing the relevant
buttons it is possible to
manually choose one of the five possible air
distributions to the left and right side of the passenger
compartment:
▲Air flow to the windscreen and front side window
vents to demist or defrost them.
˙Air flow to dashboard central and side vents to pro-
vide satisfactory ventilation to the chest and face,
specially during the summer.
▼Air flow towards the front and rear lower parts of
the passenger compartment. Due to the natural ten-
dency of heat to spread upwards, this type of distri-
bution allows heating of the passenger compartment
in the shortest time, also giving a prompt feeling of
warmth to the coldest parts of the body.
˙
▼Splitting of the air flow between the vents to the
lower part of the passenger compartment (warmest
air) and the dashboard centre and side outlets
(coolest air). This air flow distribution is particu-
larly useful in spring and autumn, when the sun is
shining.
▲
▼Splitting of the air flow between the lower part of
the passenger compartment and the windscreen and
front side window demisting/defrosting vents. This
type of air distribution allows satisfactory heating of
the passenger compartment while preventing pos-
sible misting of the windows.
93
SAFETY
DEVICES
CORRECT USE
OF THE CAR
WARNING
LIGHTS AND
MESSAGES
IN AN
EMERGENCY
CAR
MAINTENANCE
TECHNICAL
SPECIFICATIONS
INDEX
DASHBOARD
AND CONTROLS
Page 95 of 314
Set air flow distribution is indicated by the
corresponding button led switching on.
With a combined function set, pressing a button will
turn on the main function of the button pressed,
together with the functions set yet. Pressing the
button of the active function will turn the function off
(led off).
To restore automatic air distribution control after a
manual selection, press button AUTO.
When the driver selects air distribution towards the
windscreen, also the air distribution on passenger’s
side will automatically be directed to the windscreen.
The passenger can however select a different air
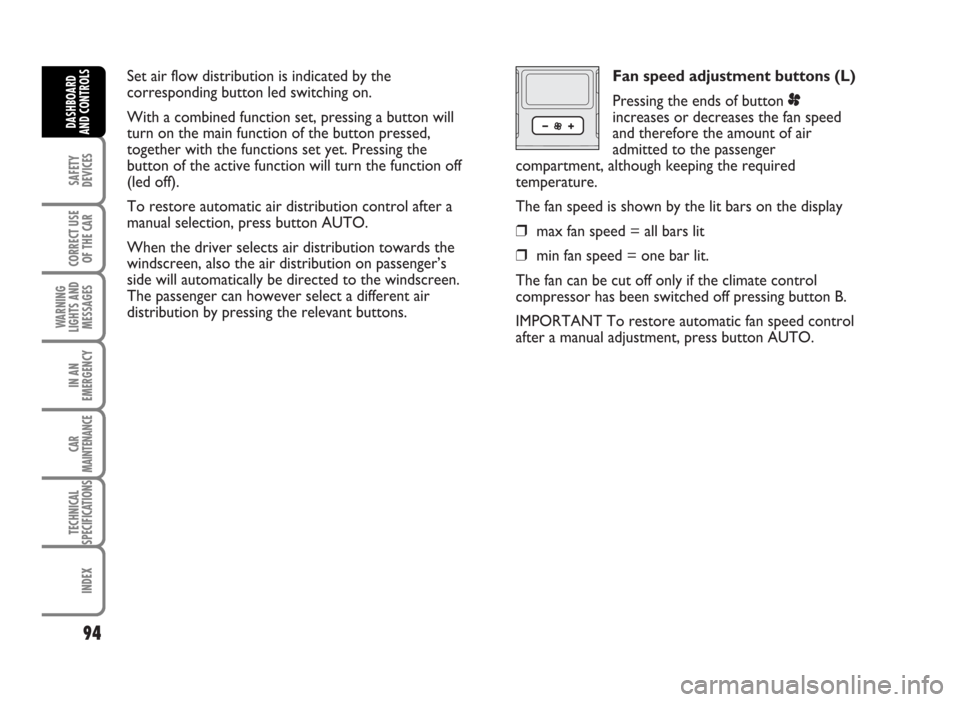
distribution by pressing the relevant buttons.Fan speed adjustment buttons (L)
Pressing the ends of button p
increases or decreases the fan speed
and therefore the amount of air
admitted to the passenger
compartment, although keeping the required
temperature.
The fan speed is shown by the lit bars on the display
❒max fan speed = all bars lit
❒min fan speed = one bar lit.
The fan can be cut off only if the climate control
compressor has been switched off pressing button B.
IMPORTANT To restore automatic fan speed control
after a manual adjustment, press button AUTO.
94
SAFETY
DEVICES
CORRECT USE
OF THE CAR
WARNING
LIGHTS AND
MESSAGES
IN AN
EMERGENCY
CAR
MAINTENANCE
TECHNICAL
SPECIFICATIONS
INDEX
DASHBOARD
AND CONTROLS
Page 96 of 314
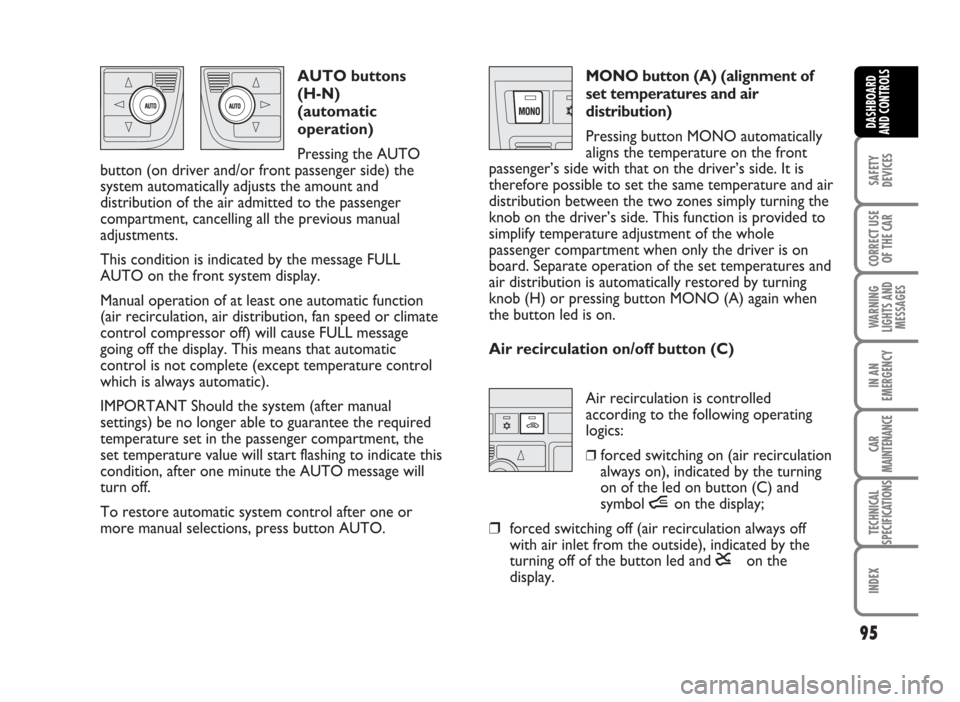
Air recirculation is controlled
according to the following operating
logics:
❒forced switching on (air recirculation
always on), indicated by the turning
on of the led on button (C) and
symbol íon the display;
❒forced switching off (air recirculation always off
with air inlet from the outside), indicated by the
turning off of the button led and êon the
display. AUTO buttons
(H-N)
(automatic
operation)
Pressing the AUTO
button (on driver and/or front passenger side) the
system automatically adjusts the amount and
distribution of the air admitted to the passenger
compartment, cancelling all the previous manual
adjustments.
This condition is indicated by the message FULL
AUTO on the front system display.
Manual operation of at least one automatic function
(air recirculation, air distribution, fan speed or climate
control compressor off) will cause FULL message
going off the display. This means that automatic
control is not complete (except temperature control
which is always automatic).
IMPORTANT Should the system (after manual
settings) be no longer able to guarantee the required
temperature set in the passenger compartment, the
set temperature value will start flashing to indicate this
condition, after one minute the AUTO message will
turn off.
To restore automatic system control after one or
more manual selections, press button AUTO.MONO button (A) (alignment of
set temperatures and air
distribution)
Pressing button MONO automatically
aligns the temperature on the front
passenger’s side with that on the driver’s side. It is
therefore possible to set the same temperature and air
distribution between the two zones simply turning the
knob on the driver’s side. This function is provided to
simplify temperature adjustment of the whole
passenger compartment when only the driver is on
board. Separate operation of the set temperatures and
air distribution is automatically restored by turning
knob (H) or pressing button MONO (A) again when
the button led is on.
Air recirculation on/off button (C)
95
SAFETY
DEVICES
CORRECT USE
OF THE CAR
WARNING
LIGHTS AND
MESSAGES
IN AN
EMERGENCY
CAR
MAINTENANCE
TECHNICAL
SPECIFICATIONS
INDEX
DASHBOARD
AND CONTROLS
Page 99 of 314
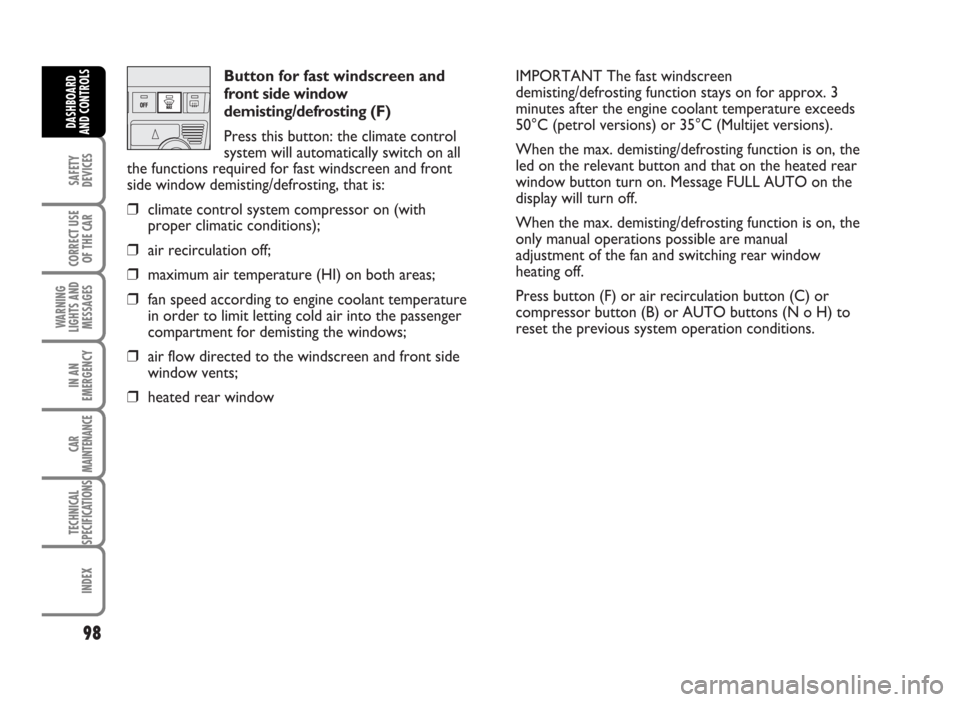
Button for fast windscreen and
front side window
demisting/defrosting (F)
Press this button: the climate control
system will automatically switch on all
the functions required for fast windscreen and front
side window demisting/defrosting, that is:
❒climate control system compressor on (with
proper climatic conditions);
❒air recirculation off;
❒maximum air temperature (HI) on both areas;
❒fan speed according to engine coolant temperature
in order to limit letting cold air into the passenger
compartment for demisting the windows;
❒air flow directed to the windscreen and front side
window vents;
❒heated rear windowIMPORTANT The fast windscreen
demisting/defrosting function stays on for approx. 3
minutes after the engine coolant temperature exceeds
50°C (petrol versions) or 35°C (Multijet versions).
When the max. demisting/defrosting function is on, the
led on the relevant button and that on the heated rear
window button turn on. Message FULL AUTO on the
display will turn off.
When the max. demisting/defrosting function is on, the
only manual operations possible are manual
adjustment of the fan and switching rear window
heating off.
Press button (F) or air recirculation button (C) or
compressor button (B) or AUTO buttons (N o H) to
reset the previous system operation conditions.
98
SAFETY
DEVICES
CORRECT USE
OF THE CAR
WARNING
LIGHTS AND
MESSAGES
IN AN
EMERGENCY
CAR
MAINTENANCE
TECHNICAL
SPECIFICATIONS
INDEX
DASHBOARD
AND CONTROLS
Page 104 of 314
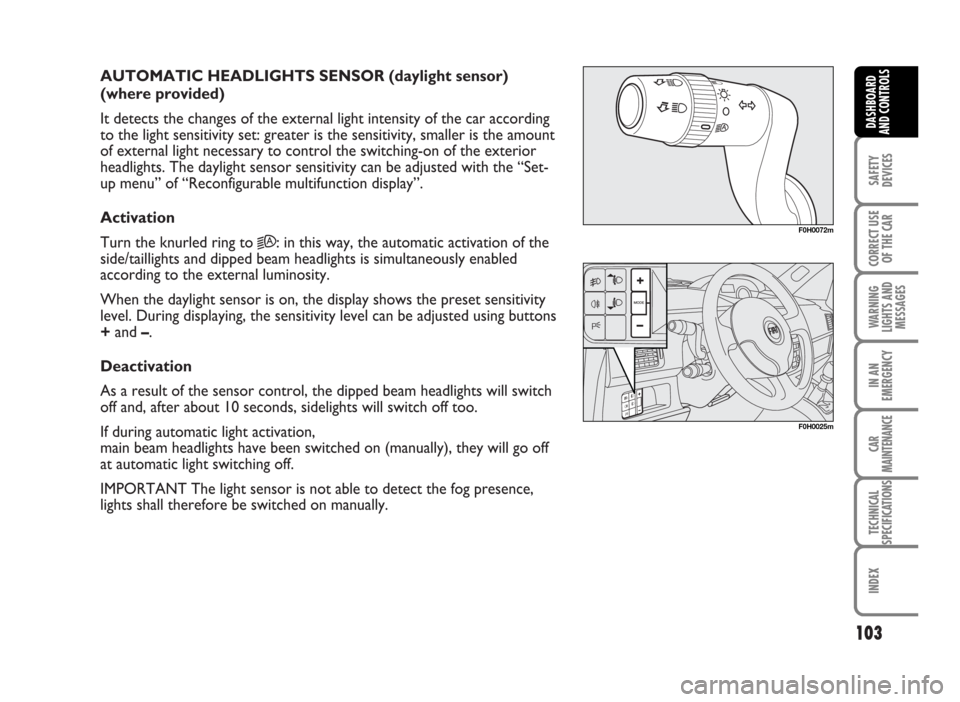
AUTOMATIC HEADLIGHTS SENSOR (daylight sensor)
(where provided)
It detects the changes of the external light intensity of the car according
to the light sensitivity set: greater is the sensitivity, smaller is the amount
of external light necessary to control the switching-on of the exterior
headlights. The daylight sensor sensitivity can be adjusted with the “Set-
up menu” of “Reconfigurable multifunction display”.
Activation
Turn the knurled ring to
2A: in this way, the automatic activation of the
side/taillights and dipped beam headlights is simultaneously enabled
according to the external luminosity.
When the daylight sensor is on, the display shows the preset sensitivity
level. During displaying, the sensitivity level can be adjusted using buttons
+and –.
Deactivation
As a result of the sensor control, the dipped beam headlights will switch
off and, after about 10 seconds, sidelights will switch off too.
If during automatic light activation,
main beam headlights have been switched on (manually), they will go off
at automatic light switching off.
IMPORTANT The light sensor is not able to detect the fog presence,
lights shall therefore be switched on manually.
103
SAFETY
DEVICES
CORRECT USE
OF THE CAR
WARNING
LIGHTS AND
MESSAGES
IN AN
EMERGENCY
CAR
MAINTENANCE
TECHNICAL
SPECIFICATIONS
INDEX
DASHBOARD
AND CONTROLS
F0H0072m
F0H0025m
Page 118 of 314
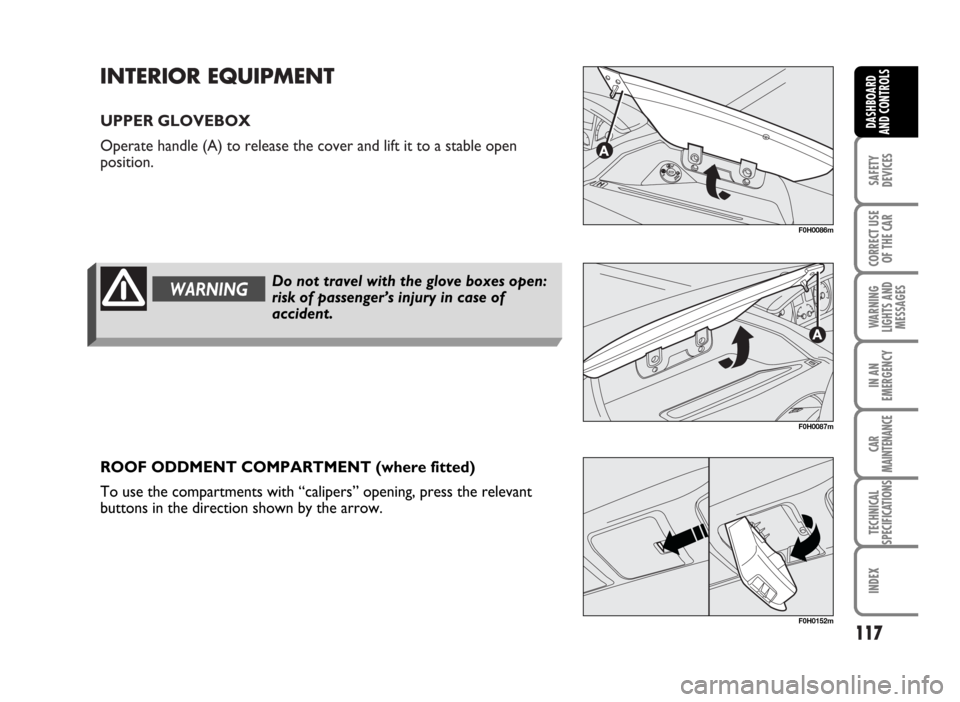
INTERIOR EQUIPMENT
UPPER GLOVEBOX
Operate handle (A) to release the cover and lift it to a stable open
position.
117
SAFETY
DEVICES
CORRECT USE
OF THE CAR
WARNING
LIGHTS AND
MESSAGES
IN AN
EMERGENCY
CAR
MAINTENANCE
TECHNICAL
SPECIFICATIONS
INDEX
DASHBOARD
AND CONTROLS
F0H0086m
F0H0087m
F0H0152m
WARNINGDo not travel with the glove boxes open:
risk of passenger’s injury in case of
accident.
ROOF ODDMENT COMPARTMENT (where fitted)
To use the compartments with “calipers” opening, press the relevant
buttons in the direction shown by the arrow.
Page 128 of 314
127
SAFETY
DEVICES
CORRECT USE
OF THE CAR
WARNING
LIGHTS AND
MESSAGES
IN AN
EMERGENCY
CAR
MAINTENANCE
TECHNICAL
SPECIFICATIONS
INDEX
DASHBOARD
AND CONTROLS
Continuous automatic operation
(only for front windows, where provided)
Certain versions with four power windows with
automatic opening/closing for front (where fitted)
windows and automatic opening only for rear windows
are fitted – just on front (where fitted) doors - with
crush-prevention seal safety system capable of
reversing the window motion when detecting the
contact between an obstacle and the window seal.
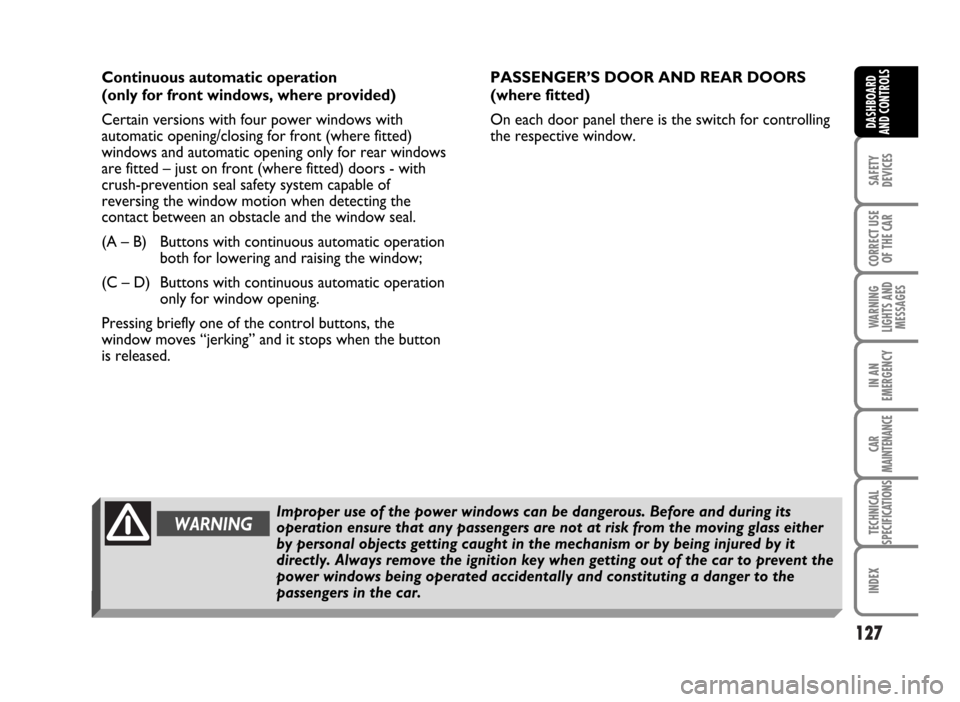
(A – B) Buttons with continuous automatic operation
both for lowering and raising the window;
(C – D) Buttons with continuous automatic operation
only for window opening.
Pressing briefly one of the control buttons, the
window moves “jerking” and it stops when the button
is released.PASSENGER’S DOOR AND REAR DOORS
(where fitted)
On each door panel there is the switch for controlling
the respective window.
WARNINGImproper use of the power windows can be dangerous. Before and during its
operation ensure that any passengers are not at risk from the moving glass either
by personal objects getting caught in the mechanism or by being injured by it
directly. Always remove the ignition key when getting out of the car to prevent the
power windows being operated accidentally and constituting a danger to the
passengers in the car.
Page 138 of 314
137
SAFETY
DEVICES
CORRECT USE
OF THE CAR
WARNING
LIGHTS AND
MESSAGES
IN AN
EMERGENCY
CAR
MAINTENANCE
TECHNICAL
SPECIFICATIONS
INDEX
DASHBOARD
AND CONTROLS
F0H0117m
F0H0118m
F0H0119m
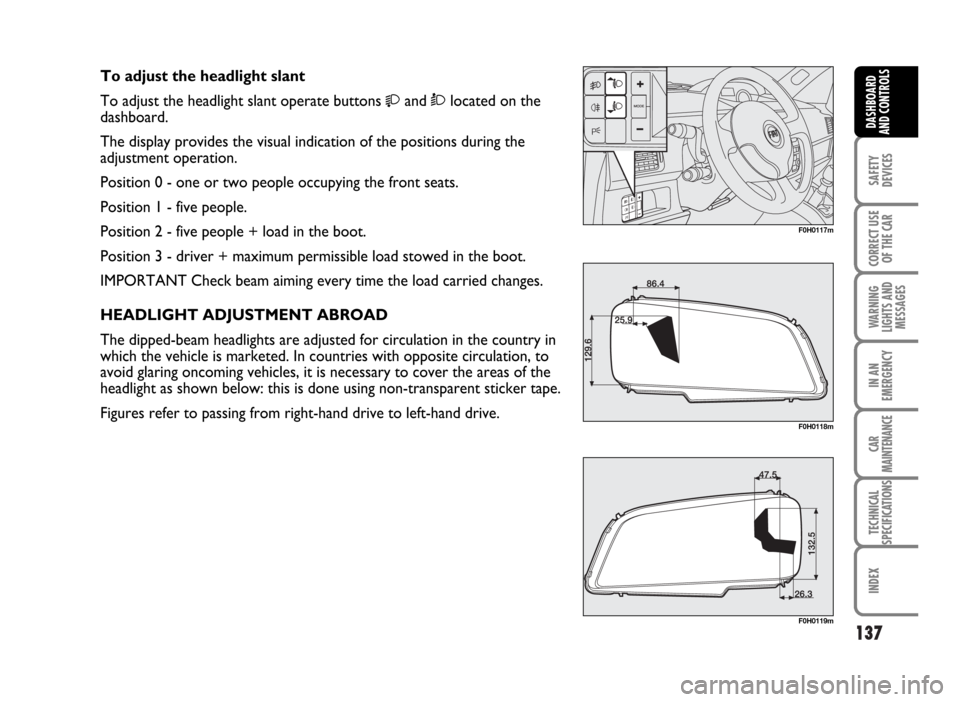
To adjust the headlight slant
To adjust the headlight slant operate buttons
and Òlocated on the
dashboard.
The display provides the visual indication of the positions during the
adjustment operation.
Position 0 - one or two people occupying the front seats.
Position 1 - five people.
Position 2 - five people + load in the boot.
Position 3 - driver + maximum permissible load stowed in the boot.
IMPORTANT Check beam aiming every time the load carried changes.
HEADLIGHT ADJUSTMENT ABROAD
The dipped-beam headlights are adjusted for circulation in the country in
which the vehicle is marketed. In countries with opposite circulation, to
avoid glaring oncoming vehicles, it is necessary to cover the areas of the
headlight as shown below: this is done using non-transparent sticker tape.
Figures refer to passing from right-hand drive to left-hand drive.
Page 307 of 314

306
SAFETY
DEVICES
CORRECT USE
OF THE CAR
WARNING
LIGHTS AND
MESSAGES
IN AN
EMERGENCY
CAR
MAINTENANCE
TECHNICAL
SPECIFICATIONS
DASHBOARD
AND CONTROLS
INDEX
EBD (electronic brake force
distributor) ................................. 137
Emergency device for locking
doors from the outside 12-221
Engine
– fuel feed ................................. 292
– identification code ............... 289
– injection/ignition ................. 178
– technical data ....................... 290
Engine compartment ................ 265
Engine coolant gauge................. 26
Engine coolant level ................ 269
Engine oil
– checking level........................ 267
– consumption ......................... 268
– technical specifications ....... 301
Environment (protection)........ 150
EOBD (system) ......................... 140
External lights ............................. 100
Fiat CODE (system) ............... 5
Fix &Go (tyre repair kit) ......... 225
Flashing the headlights ............. 101
Fluids and lubricants ................ 301
Follow me home (device) ....... 102
FPS (fuel cut-off switch) .......... 116Front fog lights
– bulb replacement ................. 243
– control button ...................... 114
Fuel
– consumption ......................... 303
– fuel cut-off switch ................ 116
– level gauge ............................ 25
Fuel cut-off switch ..................... 116
Fuel filler cap............................... 149
Fuses ............................................. 248
Gearbox (use). .......................... 182
Glass/can holders ....................... 119
Handbrake ................................. 181
Hazard lights
– control .................................. 114
Head restraints ......................... 76
Headlights ................................... 136
(electric adjusting device) ..... 136
Heated rear window ............... 87
Heating and ventilation............. 82
Identification data .................... 287
Ignition switch ........................... 20
In an emergency ........................ 220
Instrument panel ....................... 24Instruments ................................. 25
Interior equipment ................... 117
Interior fittings
– current socket ...................... 121
– glass / can holder ................. 119
– magnetic card/ticket slots .. 120
– oddment compartments .... 118
– rear CD compartment
with glass/can holder .......... 120
– roof bracket .......................... 120
– roof console.......................... 119
– upper oddment
compartments ...................... 117
Interiors ...................................... 284
Isofix ............................................. 166
Jack .............................................. 232
Jacking the car ............................ 255
Key kit and door locking ........ 7
Light control buttons ............. 11
Load limiters ............................... 157
Lubricants (specifications)........ 301
Magnetic card/ticket slots ...... 120
Main beam headlights
– bulb replacement ................. 241