display FIAT IDEA 2007 1.G Workshop Manual
[x] Cancel search | Manufacturer: FIAT, Model Year: 2007, Model line: IDEA, Model: FIAT IDEA 2007 1.GPages: 314, PDF Size: 4.78 MB
Page 100 of 314
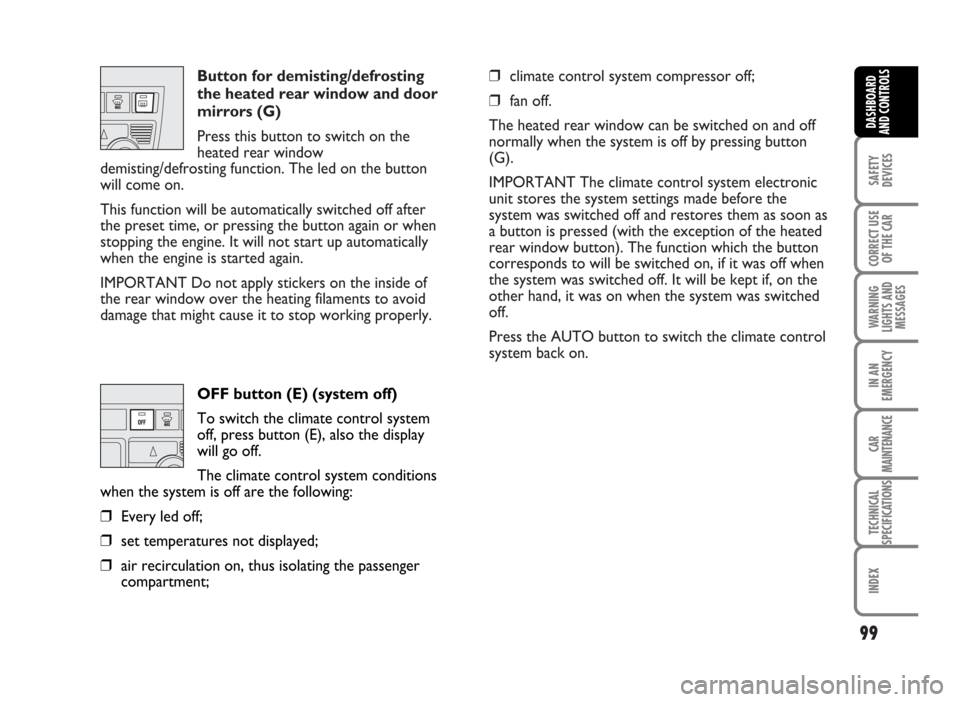
Button for demisting/defrosting
the heated rear window and door
mirrors (G)
Press this button to switch on the
heated rear window
demisting/defrosting function. The led on the button
will come on.
This function will be automatically switched off after
the preset time, or pressing the button again or when
stopping the engine. It will not start up automatically
when the engine is started again.
IMPORTANT Do not apply stickers on the inside of
the rear window over the heating filaments to avoid
damage that might cause it to stop working properly.❒climate control system compressor off;
❒fan off.
The heated rear window can be switched on and off
normally when the system is off by pressing button
(G).
IMPORTANT The climate control system electronic
unit stores the system settings made before the
system was switched off and restores them as soon as
a button is pressed (with the exception of the heated
rear window button). The function which the button
corresponds to will be switched on, if it was off when
the system was switched off. It will be kept if, on the
other hand, it was on when the system was switched
off.
Press the AUTO button to switch the climate control
system back on.
99
SAFETY
DEVICES
CORRECT USE
OF THE CAR
WARNING
LIGHTS AND
MESSAGES
IN AN
EMERGENCY
CAR
MAINTENANCE
TECHNICAL
SPECIFICATIONS
INDEX
DASHBOARD
AND CONTROLS
OFF button (E) (system off)
To switch the climate control system
off, press button (E), also the display
will go off.
The climate control system conditions
when the system is off are the following:
❒Every led off;
❒set temperatures not displayed;
❒air recirculation on, thus isolating the passenger
compartment;
Page 102 of 314
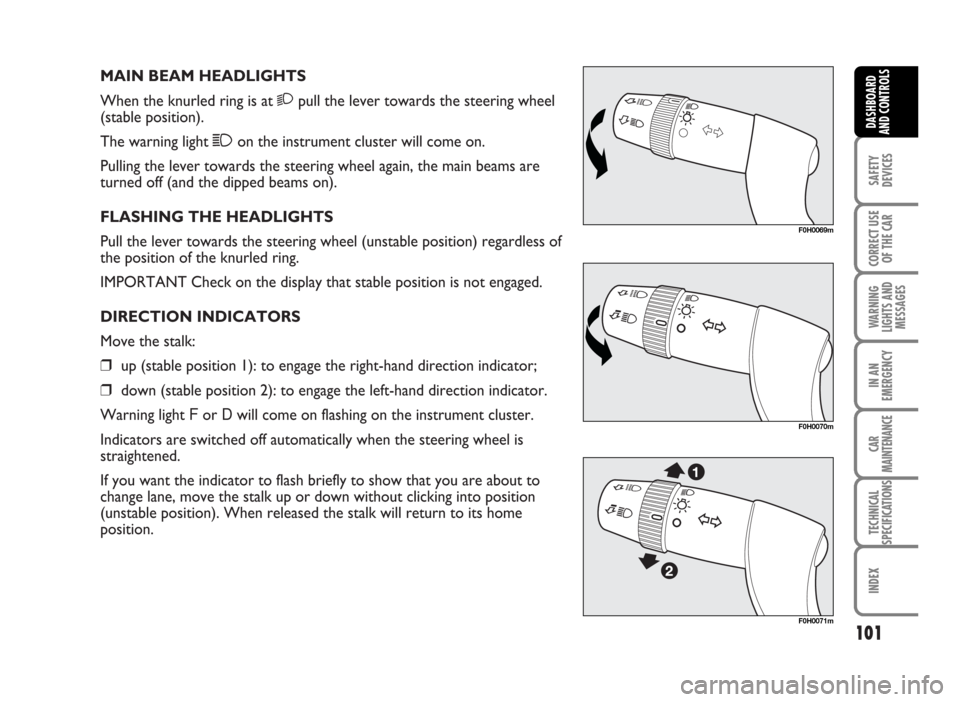
MAIN BEAM HEADLIGHTS
When the knurled ring is at 2pull the lever towards the steering wheel
(stable position).
The warning light 1on the instrument cluster will come on.
Pulling the lever towards the steering wheel again, the main beams are
turned off (and the dipped beams on).
FLASHING THE HEADLIGHTS
Pull the lever towards the steering wheel (unstable position) regardless of
the position of the knurled ring.
IMPORTANT Check on the display that stable position is not engaged.
DIRECTION INDICATORS
Move the stalk:
❒up (stable position 1): to engage the right-hand direction indicator;
❒down (stable position 2): to engage the left-hand direction indicator.
Warning light For Dwill come on flashing on the instrument cluster.
Indicators are switched off automatically when the steering wheel is
straightened.
If you want the indicator to flash briefly to show that you are about to
change lane, move the stalk up or down without clicking into position
(unstable position). When released the stalk will return to its home
position.
101
SAFETY
DEVICES
CORRECT USE
OF THE CAR
WARNING
LIGHTS AND
MESSAGES
IN AN
EMERGENCY
CAR
MAINTENANCE
TECHNICAL
SPECIFICATIONS
INDEX
DASHBOARD
AND CONTROLS
F0H0069m
F0H0070m
F0H0071m
Page 103 of 314
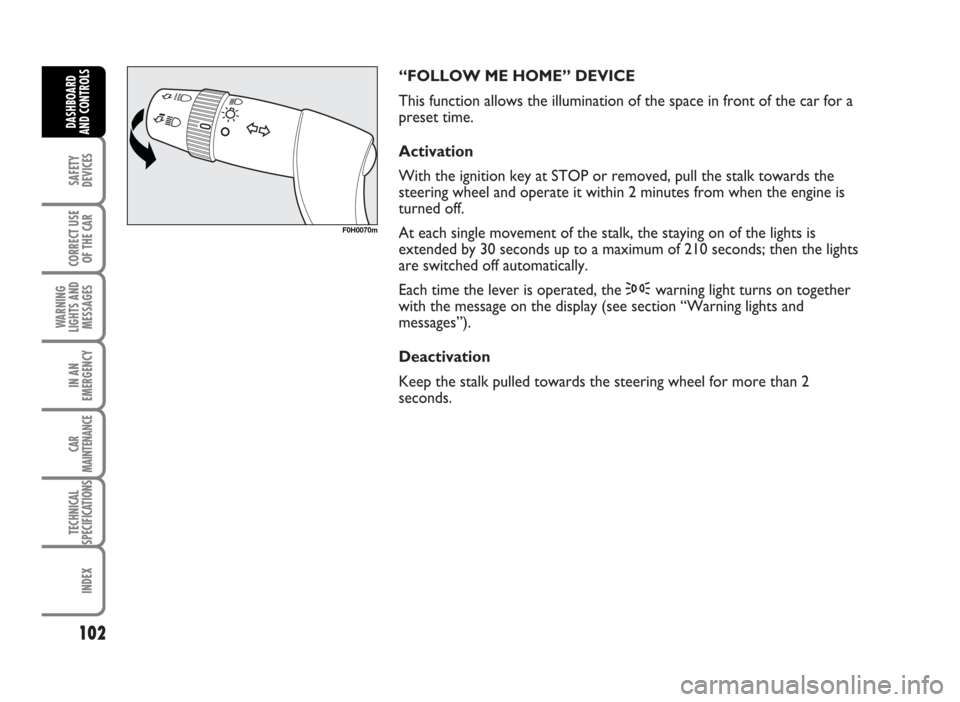
“FOLLOW ME HOME” DEVICE
This function allows the illumination of the space in front of the car for a
preset time.
Activation
With the ignition key at STOP or removed, pull the stalk towards the
steering wheel and operate it within 2 minutes from when the engine is
turned off.
At each single movement of the stalk, the staying on of the lights is
extended by 30 seconds up to a maximum of 210 seconds; then the lights
are switched off automatically.
Each time the lever is operated, the 3warning light turns on together
with the message on the display (see section “Warning lights and
messages”).
Deactivation
Keep the stalk pulled towards the steering wheel for more than 2
seconds.
102
SAFETY
DEVICES
CORRECT USE
OF THE CAR
WARNING
LIGHTS AND
MESSAGES
IN AN
EMERGENCY
CAR
MAINTENANCE
TECHNICAL
SPECIFICATIONS
INDEX
DASHBOARD
AND CONTROLS
F0H0070m
Page 104 of 314
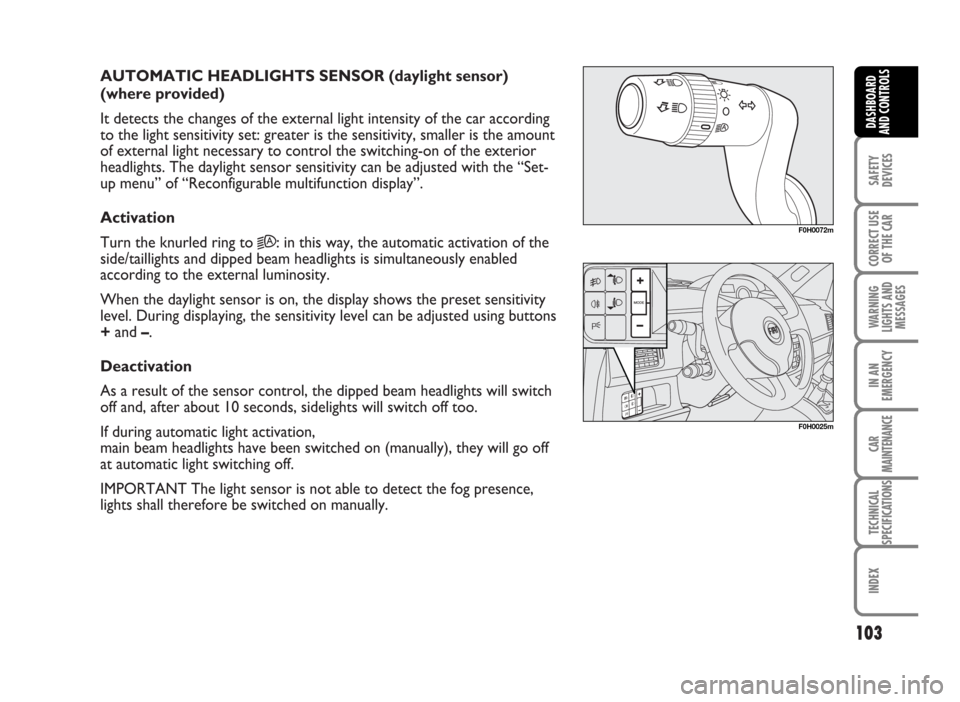
AUTOMATIC HEADLIGHTS SENSOR (daylight sensor)
(where provided)
It detects the changes of the external light intensity of the car according
to the light sensitivity set: greater is the sensitivity, smaller is the amount
of external light necessary to control the switching-on of the exterior
headlights. The daylight sensor sensitivity can be adjusted with the “Set-
up menu” of “Reconfigurable multifunction display”.
Activation
Turn the knurled ring to
2A: in this way, the automatic activation of the
side/taillights and dipped beam headlights is simultaneously enabled
according to the external luminosity.
When the daylight sensor is on, the display shows the preset sensitivity
level. During displaying, the sensitivity level can be adjusted using buttons
+and –.
Deactivation
As a result of the sensor control, the dipped beam headlights will switch
off and, after about 10 seconds, sidelights will switch off too.
If during automatic light activation,
main beam headlights have been switched on (manually), they will go off
at automatic light switching off.
IMPORTANT The light sensor is not able to detect the fog presence,
lights shall therefore be switched on manually.
103
SAFETY
DEVICES
CORRECT USE
OF THE CAR
WARNING
LIGHTS AND
MESSAGES
IN AN
EMERGENCY
CAR
MAINTENANCE
TECHNICAL
SPECIFICATIONS
INDEX
DASHBOARD
AND CONTROLS
F0H0072m
F0H0025m
Page 109 of 314
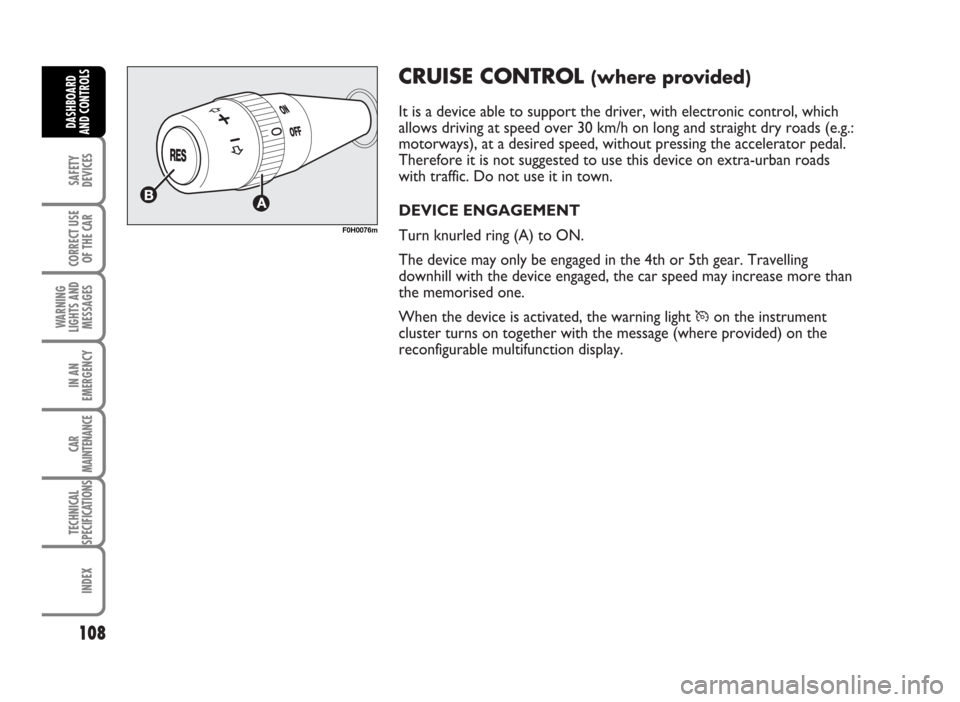
CRUISE CONTROL (where provided)
It is a device able to support the driver, with electronic control, which
allows driving at speed over 30 km/h on long and straight dry roads (e.g.:
motorways), at a desired speed, without pressing the accelerator pedal.
Therefore it is not suggested to use this device on extra-urban roads
with traffic. Do not use it in town.
DEVICE ENGAGEMENT
Turn knurled ring (A) to ON.
The device may only be engaged in the 4th or 5th gear. Travelling
downhill with the device engaged, the car speed may increase more than
the memorised one.
When the device is activated, the warning light
Üon the instrument
cluster turns on together with the message (where provided) on the
reconfigurable multifunction display.
108
SAFETY
DEVICES
CORRECT USE
OF THE CAR
WARNING
LIGHTS AND
MESSAGES
IN AN
EMERGENCY
CAR
MAINTENANCE
TECHNICAL
SPECIFICATIONS
INDEX
DASHBOARD
AND CONTROLS
F0H0076m
Page 117 of 314
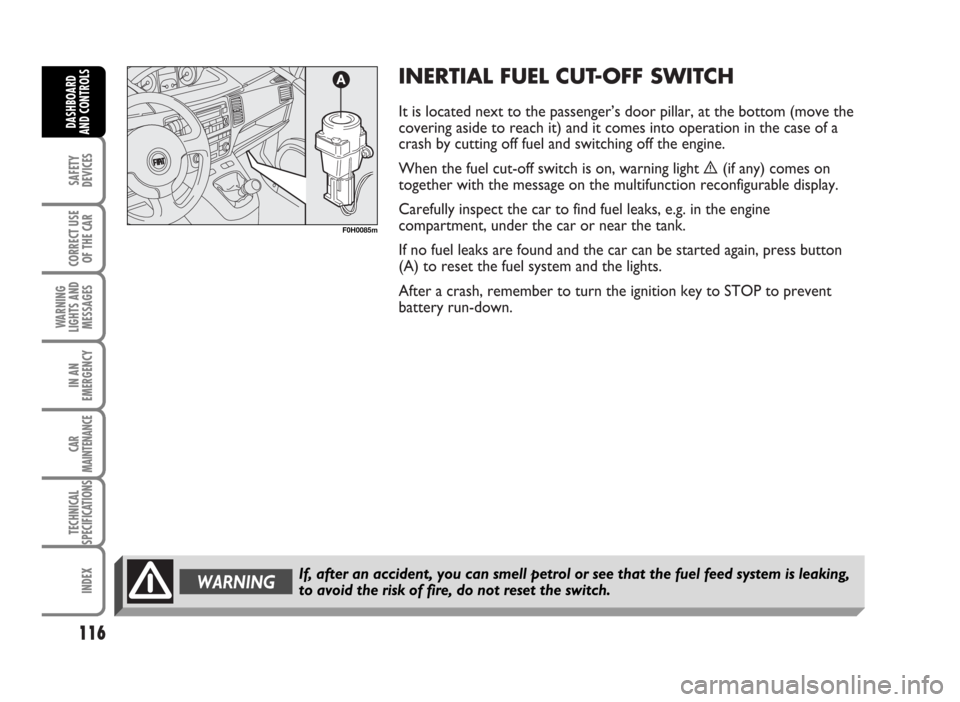
INERTIAL FUEL CUT-OFF SWITCH
It is located next to the passenger’s door pillar, at the bottom (move the
covering aside to reach it) and it comes into operation in the case of a
crash by cutting off fuel and switching off the engine.
When the fuel cut-off switch is on, warning light è(if any) comes on
together with the message on the multifunction reconfigurable display.
Carefully inspect the car to find fuel leaks, e.g. in the engine
compartment, under the car or near the tank.
If no fuel leaks are found and the car can be started again, press button
(A) to reset the fuel system and the lights.
After a crash, remember to turn the ignition key to STOP to prevent
battery run-down.
116
SAFETY
DEVICES
CORRECT USE
OF THE CAR
WARNING
LIGHTS AND
MESSAGES
IN AN
EMERGENCY
CAR
MAINTENANCE
TECHNICAL
SPECIFICATIONS
INDEX
DASHBOARD
AND CONTROLS
WARNINGIf, after an accident, you can smell petrol or see that the fuel feed system is leaking,
to avoid the risk of fire, do not reset the switch.
F0H0085m
Page 129 of 314
128
SAFETY
DEVICES
CORRECT USE
OF THE CAR
WARNING
LIGHTS AND
MESSAGES
IN AN
EMERGENCY
CAR
MAINTENANCE
TECHNICAL
SPECIFICATIONS
INDEX
DASHBOARD
AND CONTROLS
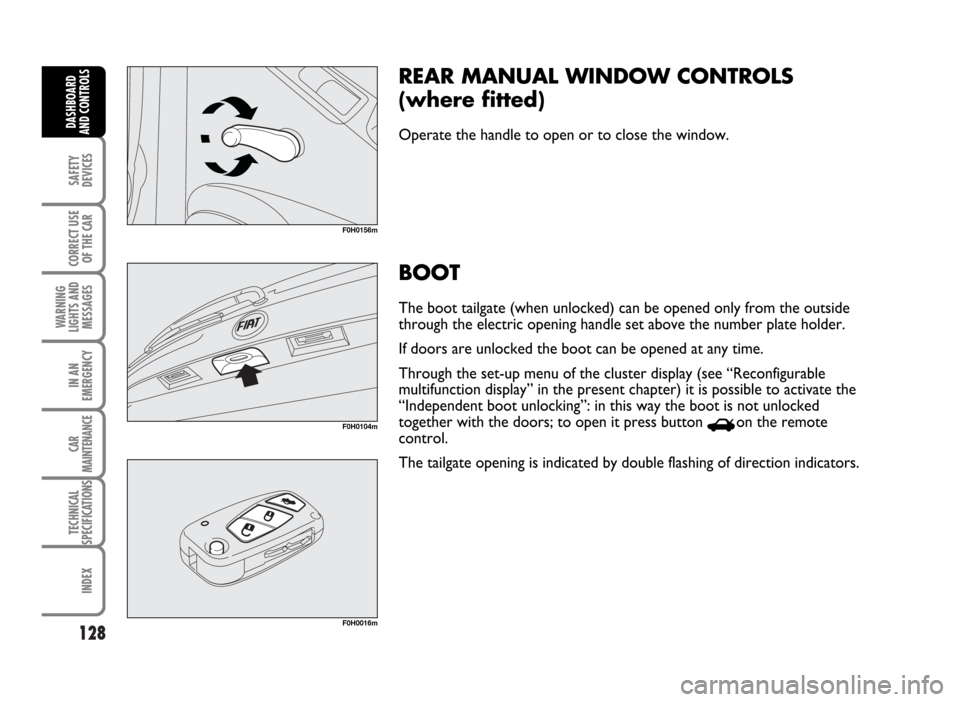
BOOT
The boot tailgate (when unlocked) can be opened only from the outside
through the electric opening handle set above the number plate holder.
If doors are unlocked the boot can be opened at any time.
Through the set-up menu of the cluster display (see “Reconfigurable
multifunction display” in the present chapter) it is possible to activate the
“Independent boot unlocking”: in this way the boot is not unlocked
together with the doors; to open it press button
Ron the remote
control.
The tailgate opening is indicated by double flashing of direction indicators.F0H0104m
F0H0016m
REAR MANUAL WINDOW CONTROLS
(where fitted)
Operate the handle to open or to close the window.
F0H0156m
Page 138 of 314
137
SAFETY
DEVICES
CORRECT USE
OF THE CAR
WARNING
LIGHTS AND
MESSAGES
IN AN
EMERGENCY
CAR
MAINTENANCE
TECHNICAL
SPECIFICATIONS
INDEX
DASHBOARD
AND CONTROLS
F0H0117m
F0H0118m
F0H0119m
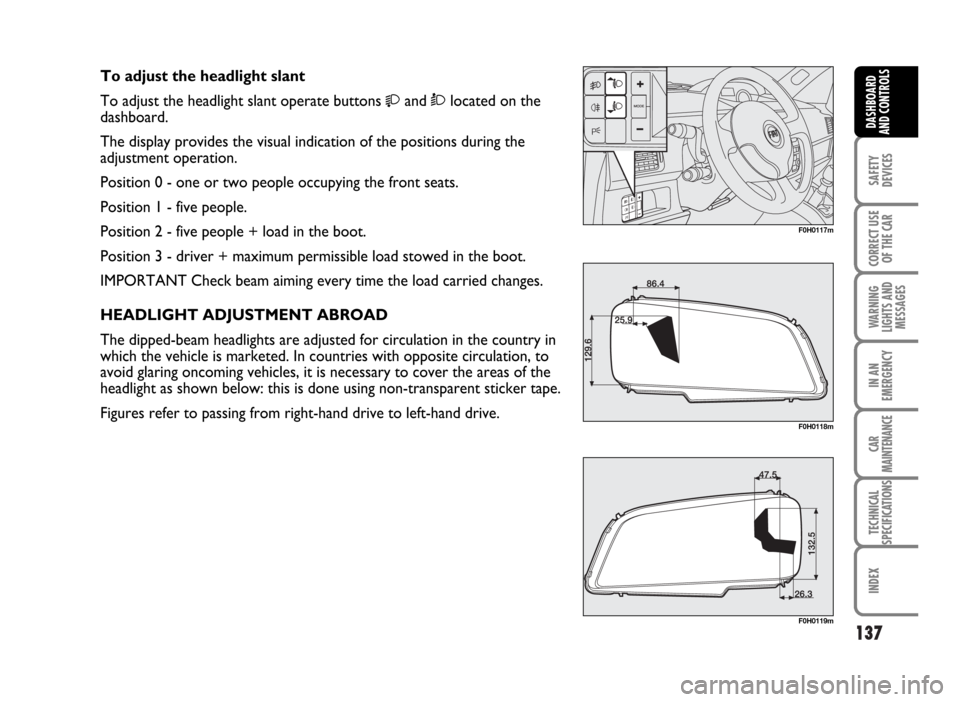
To adjust the headlight slant
To adjust the headlight slant operate buttons
and Òlocated on the
dashboard.
The display provides the visual indication of the positions during the
adjustment operation.
Position 0 - one or two people occupying the front seats.
Position 1 - five people.
Position 2 - five people + load in the boot.
Position 3 - driver + maximum permissible load stowed in the boot.
IMPORTANT Check beam aiming every time the load carried changes.
HEADLIGHT ADJUSTMENT ABROAD
The dipped-beam headlights are adjusted for circulation in the country in
which the vehicle is marketed. In countries with opposite circulation, to
avoid glaring oncoming vehicles, it is necessary to cover the areas of the
headlight as shown below: this is done using non-transparent sticker tape.
Figures refer to passing from right-hand drive to left-hand drive.
Page 139 of 314
138
SAFETY
DEVICES
CORRECT USE
OF THE CAR
WARNING
LIGHTS AND
MESSAGES
IN AN
EMERGENCY
CAR
MAINTENANCE
TECHNICAL
SPECIFICATIONS
INDEX
DASHBOARD
AND CONTROLS
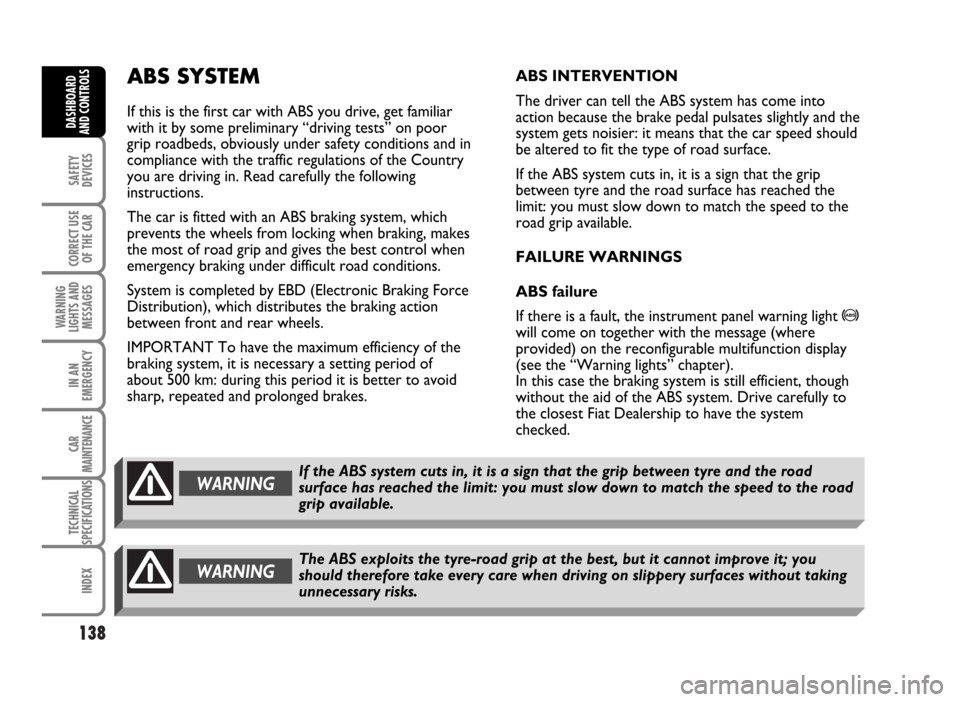
ABS SYSTEM
If this is the first car with ABS you drive, get familiar
with it by some preliminary “driving tests” on poor
grip roadbeds, obviously under safety conditions and in
compliance with the traffic regulations of the Country
you are driving in. Read carefully the following
instructions.
The car is fitted with an ABS braking system, which
prevents the wheels from locking when braking, makes
the most of road grip and gives the best control when
emergency braking under difficult road conditions.
System is completed by EBD (Electronic Braking Force
Distribution), which distributes the braking action
between front and rear wheels.
IMPORTANT To have the maximum efficiency of the
braking system, it is necessary a setting period of
about 500 km: during this period it is better to avoid
sharp, repeated and prolonged brakes.ABS INTERVENTION
The driver can tell the ABS system has come into
action because the brake pedal pulsates slightly and the
system gets noisier: it means that the car speed should
be altered to fit the type of road surface.
If the ABS system cuts in, it is a sign that the grip
between tyre and the road surface has reached the
limit: you must slow down to match the speed to the
road grip available.
FAILURE WARNINGS
ABS failure
If there is a fault, the instrument panel warning light
>
will come on together with the message (where
provided) on the reconfigurable multifunction display
(see the “Warning lights” chapter).
In this case the braking system is still efficient, though
without the aid of the ABS system. Drive carefully to
the closest Fiat Dealership to have the system
checked.
If the ABS system cuts in, it is a sign that the grip between tyre and the road
surface has reached the limit: you must slow down to match the speed to the road
grip available.WARNING
The ABS exploits the tyre-road grip at the best, but it cannot improve it; you
should therefore take every care when driving on slippery surfaces without taking
unnecessary risks.WARNING
Page 140 of 314
139
SAFETY
DEVICES
CORRECT USE
OF THE CAR
WARNING
LIGHTS AND
MESSAGES
IN AN
EMERGENCY
CAR
MAINTENANCE
TECHNICAL
SPECIFICATIONS
INDEX
DASHBOARD
AND CONTROLS
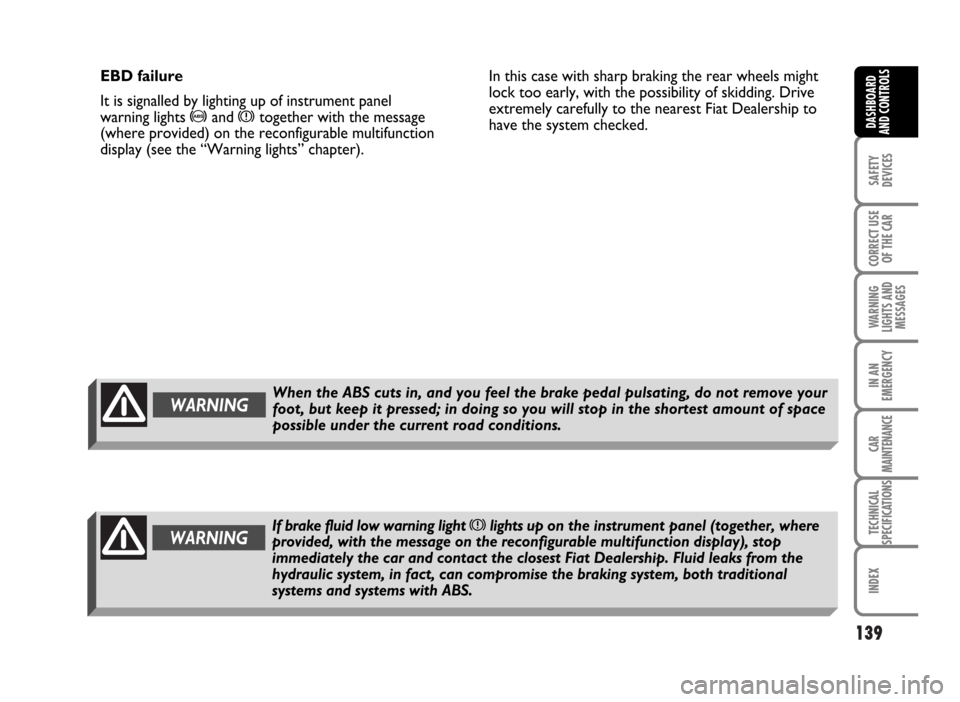
EBD failure
It is signalled by lighting up of instrument panel
warning lights
>and xtogether with the message
(where provided) on the reconfigurable multifunction
display (see the “Warning lights” chapter).In this case with sharp braking the rear wheels might
lock too early, with the possibility of skidding. Drive
extremely carefully to the nearest Fiat Dealership to
have the system checked.
WARNINGIf brake fluid low warning light xlights up on the instrument panel (together, where
provided, with the message on the reconfigurable multifunction display), stop
immediately the car and contact the closest Fiat Dealership. Fluid leaks from the
hydraulic system, in fact, can compromise the braking system, both traditional
systems and systems with ABS.
When the ABS cuts in, and you feel the brake pedal pulsating, do not remove your
foot, but keep it pressed; in doing so you will stop in the shortest amount of space
possible under the current road conditions.WARNING