Alternator FIAT PUNTO 1996 176 / 1.G User Guide
[x] Cancel search | Manufacturer: FIAT, Model Year: 1996, Model line: PUNTO, Model: FIAT PUNTO 1996 176 / 1.GPages: 225, PDF Size: 18.54 MB
Page 151 of 225

5A«2 Starting and charging systems
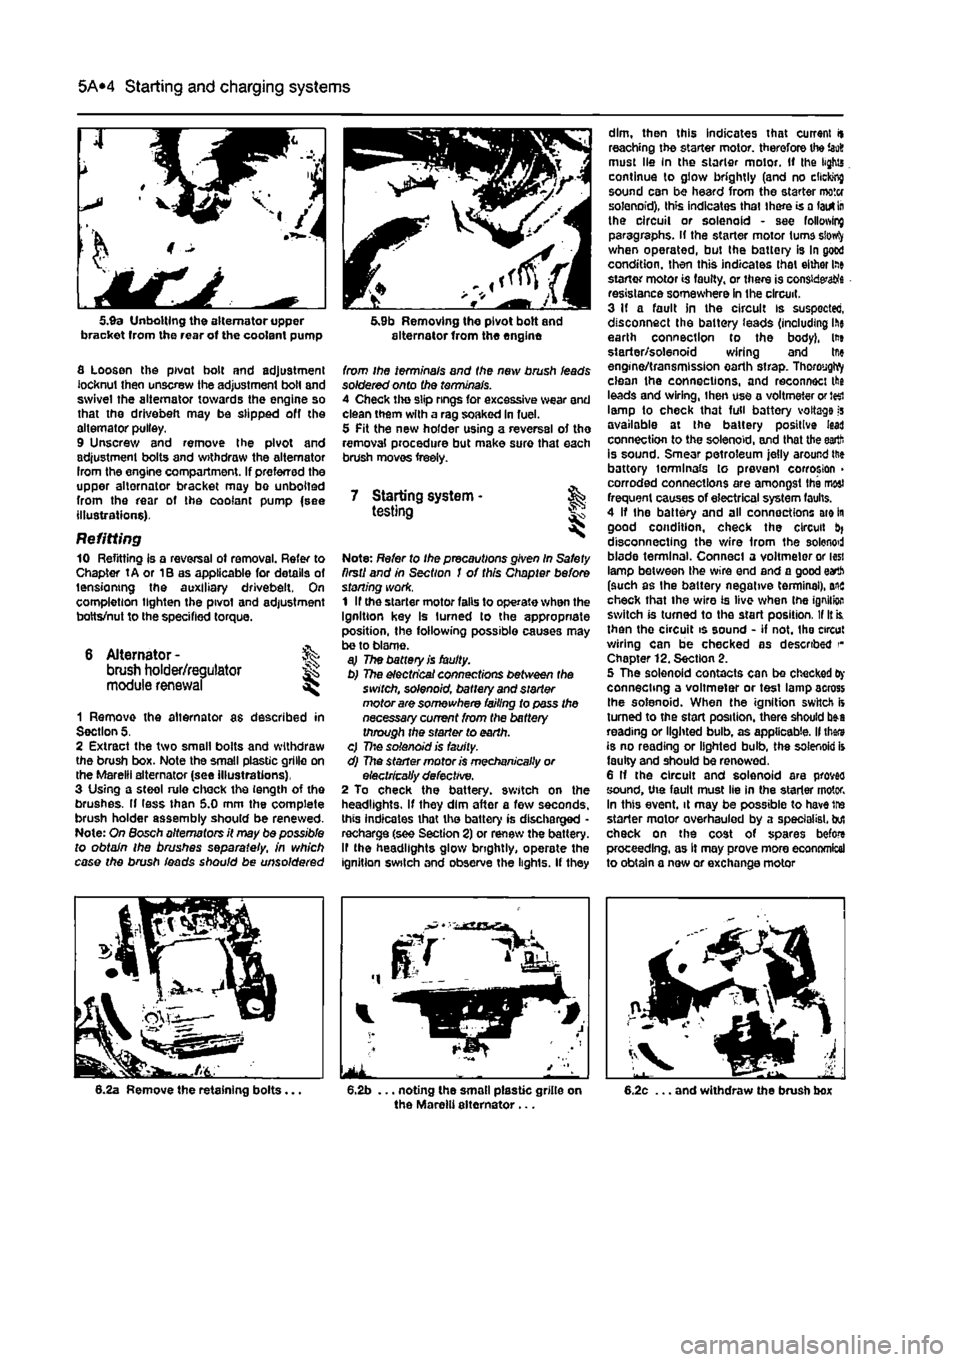
5.9a Unbolting the alternator upper bracket from the rear of the coolant pump
fl Loosen the pivot bolt and adjustment locknut then unscrew the adjustment bolt and swivel the alternator towards the engine so that the drivebefi may be slipped off the alternator pulley. 9 Unscrew and remove the pivot and adjustment bolts and withdraw the alternator Irom the engine compartment. If preferred the upper alternator bracket may bo unbolted from the rear of the coolant pump {see illustrations).
Refitting 10 Refitting is a reversal ot removal. Refer to Chapter tA or 1B as applicable for details of tensioning the auxiliary drivebeit. On completion lighten the pivot and adjustment botts/nut to the specified torque.
6 Alternator -brush holder/regulator module renewal
%
1 Remove the alternator as described in Section 5. 2 Extract the two small bolts and withdraw the brush box. Note the small plastic grille on the Marelli alternator (see illustrations), 3 Using a steol rule chock the length of the brushes. If less than 5.0 mm the complete brush holder assembly should be renewed. Note: On Bosch alternators it may be possible to obtain the brushes separate//, in which case the brush ieads should be unsoldered
5.9b Removing the pivot bolt and alternator from the engine
from ihe terminals and the new brush leads soldered onto the terminals. 4 Check the slip rings for excessive wear and clean them with a rag soaked in fuel. 5 Pit the new holder using a reversal of the removal procedure but make sure that each brush moves freely.
7 Starting system • & testing
Note: Refer to Ihe precautions given In Safety firstI and in Section I of this Chapter before stoning work. 1 If the starter motor falls to operate when the Ignition key Is turned to the appropriate position, the following possible causes may be to blame. aj The battery is faulty. b) The electrical connections between the switch, solenoid, battery and starter motor are somewhere failing to pass the necessary current from the battery through the starter to earth. c) 77:© solenoid is faulty. d) The starter motor is mechanically or electrically defective. 2 To check the battery, switch on the headlights. If they dim after a few seconds, this indicates that the battery is discharged -recharge (see Section 2) or renew the battery. If the headlights glow brightly, operate the ignition switch and observe the lights. If they
dim, then this indicates that current it reaching the starter motor, therefore the iao8 must lie In the starter motor. If the lights continue to glow brightly (and no clicking sound can be heard from the starter motor solenoid), this indicates that there is a lairt
In
the circuit or solenoid - see following paragraphs, if the starter motor turns siowfy when operated, but the battery is In good condition, then this indicates that either lae starter motor is faulty, or there is considers resistance somewhere in the circuit. 3 If a fault in the circuit is suspected, disconnect the battery ieads (including ihe earth connection to the body), lt» starter/solenoid wiring and tne engine/transmission earth strap. ThoroygWy clean the connections, and reconnect the leads and wiring, ihen use a voltmeter or J«i lamp to check that full battery voltage is available at the battery positive lead connection to the solenoid, and that the earth is sound. Smear petroleum jelly around ttie battory terminals to prevent corrosion > corroded connections are amongst the most frequent causes of electrical system faults. 4 If the battery and all connections are in good condition, check the circuit disconnecting the wire from the solenod blade terminal. Connect a voltmeter or less lamp between the wire end and a good earth (such as the battery negative terminal), ais check that the wire is live when tne ignition switch is turned to the start position. If It is. then the circuit is sound - if not. the circut wiring can be checked as described Chapter 12. Section 2. 5 The solenoid contacts can be checked
Oy
connecting a voltmeter or test lamp across Ihe solenoid. When the ignition switch is turned to the start position, there should b»a reading or lighted bulb, as applicable. II thars is no reading or lighted bulb, the solenoid is faulty and should be renewed. 6 If the circuit and solenoid are proves sound, the fault must lie in the starter motor. In this event, it may be possible to have tre starter motor overhauled by a specialist, but check on the cost of spares before proceeding, as It may prove more economical to obtain a new or exchange motor
Page 159 of 225

6*2 Clutch
3 Clutch cable -removal and refitting
Note: This procedure applies to models fitted with a cabfe-opemted dutch
release mechanism.
Removal 1 Remove the battery and tray as described In Chapter SA. If necessary, also remove the Inlet air ducting for Improved access as described In the relevant part of Chapter 4. 2 Unscrew the adjustment locknut and adjuster nut from the end of the cable fitting, (hen release the inner and outer cables from the transmission housing. Note the position of the damper biock. 3 Working Inside the vehicle, unhook the inner cable from the top of the clutch pedaL 4 Returning to the engine compartment, unscrew the nuts securing the outer cable to the bulkhead, then withdraw the cable assembly from the engine compartment. Refitting 5 Apply a smear of multi-purpose grease to the cable end fittings, then pass the cable through the bulkhead. Refit and tighten the nuts. 6 Inside the vehicle hook the inner cable onto the top of the clutch pedal. 7 in the engine compartment, attach the outer cable to the transmission housing and refit the damper block and nuts lo Ihe inner cable end. fi Adjust the cable as described in Section 2. 9 Refit the air ducting and battery with reference to Chapters 4 and 5A
4 Clutch hydraulic system -
i
Note: This procedure applies to models fitted with the hydraulicalty-operated clutch release mechanism.
A
Warning: Hydraulic fluid Is poisonous; thoroughly wash off spllfs from bare skin without delay. Seek Immediate medical advice If any fluid is swallowed or gets into the eyes. Certain types of hydraulic fluid are Inflammable and may ignite when brought into contact with hot components; when servicing any hydraulic system, It is safest to assume that the fluid IS Inflammable, and to take precautions against the risk of fire as though ft were petrof that was being handled. Hydraulic fluid Is an effective paint stripper and will also attack many plastics. If spillage occurs onto painted bodywork or fittings, ft should be washed off Immediately, using copious quantities of fresh water. It Is also hygroscopic - It can absorb moisture from the air, which then renders it useless. Old fluid may have
suffered contamination, and should never be re-used. When topping-up or renewing tho fluid, always use tha recommended grade, and ensure that It comes from a new seated container. General information 1 Whenever the clutch hydraulic lines are disconnected for service or repair, a certain amount of air will enter the system. The presence of air In any hydraulic system will Introduce a degree of elasticity, and in the clutch system this will translate into poor pedal feel and reduced travel, leading to inefficient gear changes and even clutch system failure. For this reason, the hydraulic lines must be sealed using hose clamps before any work la carried out and then on completion, topped up and bled to remove any air bubbles. 2 To seal off Ihe hydraulic supply to tha clutch slave cylinder, fit a proprietary brake hose clamp to the flexible section of the hose located over the transmission and tighten it securely. It will be necessary to remove the battery and battery tray to access the hose. 3 The most effective way of bleeding the clutch hydraulic system is to use a pressure brake bleeding kit. These are readily available in motor accessories shops and are extremely effective: the following sub-section describes bleeding the clutch system using such a kit. The alternative method is to bleed the system by depressing tho clutch pedal • refer to Chapter 9. Section 11, for details of this method.
Bleeding 4 Remove the protective cap from Ihe bleed nipple on the slave cylinder. Access can be improved by removing the battery and tray with reference to Chapter 5A. 5 Fit a ring spanner over the bleed nipple head, but do not slacken it at this point. Connect a length of dear plastic hose over the nipple and insert the other end into a clean container. Pour hydraulic fluid into the container, such that the end of the hose is covered. 6 Following the manufacturer's instructions, pour hydraulic fluid into the bleeding kit vessel 7 Unscrew the vehicle's fluid reservoir cap, then connect Ihe bleeding kit fluid supply hose to the reservoir. 8 Connect the pressure hose to a supply of compressed air - a spare tyre is a convenient source. Caution: Check that the pressure In the tyre does not exceed the maximum supply pressure quoted by the kit manufacturer, let soma sir escape to reduce the pressure, if necessary. Gently open the air valve and allow the air and fluid pressures to equalise. Check that there ere no teaks before proceeding. 9 Using the spanner, slacken the bleed pipe nipple until fluid and air bubbles can be seen to flow through the tube, into the container.
Maintain a steady flow until the emerging fluid la free of air bubbles; keep a watchful eye on the level of fluid in the bleeding kit vessel and the vehicle's fluid reservoir • if it Is allowed to drop too low, air may be forced into the system, defeating the object of the exercise. To refill the vessel, turn off the compressed air supply, remove the lid and pour In en appropriate quantity of clean fluid from a new container - do not re-use the fluid collected in the receiving container. Repeat as necessary until the ejected fluid is bubble-free. 10 On completion, pump the olutch pedal several times to assess its feel and travel. If firm, constant pedal resistance is not felt throughout the pedal stroke, it i6 probable that air Is still present in the system - repeat the bleeding procedure untii the pedal feel is restored. 11 Depressurise the bleeding kit and remove it from the vehicle. At this point, the fluid reservoir may be over-full; the excess should be removed using a clean pipette to reduce the level to the MAX mark. 12 Tighten the bleed pipe nipple using the spanner and remove the receiving container. Refit the protective cap. 13 On completion, assess the feel of the clutch pedal; if it exhibits any sponginess or looseness, further bleeding may be required. 14 Where removed, refit the battery and tray. 15 Finally, road test the vehicle and check the operation of the clutch system whilst changing up and down through the gsar9. whilst pulling away from a standstill and from a hill start.
5 Clutch master cylinder - & removal
and
refitting 5 S Note: This procedure applies to models
fitted
with the hydraulically-operated dutch
release
mechanism. Note: Refer to the warning at Ihe beginning
of
Section 4 regarding the hazards of
working
with hydraulic fluid.
Removal 1 Disconnect the battery negative terminal (refer lo Disconnecting the battery in the Reference Section of this manual). 2 Remove the air cleaner and air ducting as described in the relevant Part of Chapter 4. 3 For improved access on petrol engine models, remove the alternator as described In Chapter 5A. 4 Fit a brake hose clamp to the hose between the hydraulic fluid reservoir and the clutch master cylinder. Alternatively syphon ail the fluid from the reservoir. 5 Disconnect the fluid supply hose at the master cylinder, then unscrew the union nut and disconnect the hydraulic pipe from the cylinder outlet. Be prepared for some fluid loss by placing some rags beneath the master cylinder.
Page 160 of 225

Clutch 6*3
6 WorWng inside the vehicle, extract the split pin and remove the washer securing the master cylinder pushrod to the clutch pedal. Dsoonnect the pushrod from the pivot. 7 Have an assistant support the master cylinder In the engine compartment, then unscrew the mounting bolts. Withdraw the master cylinder from the engine compartment, 8 II is not possible to obtain an overhaul kit from Flat however some motor factors may be abls to supply one. Follow the Instructions with the repair kit if obtained.
Refitting 9 Refit the clutch master cylinder by following ihe removal procedure In reverse, noting the following. a) Apply a
Utile
high-melting point grease to the clutch pedal pivot. b) Tighten the mounting bolts and union nut securely. cj Fit a new split pin to the pushrod. d) Where removed, refit the alternator
as
described In Chapter 5A e) On completion bleed the clutch hydraulic system as descnbed in Section
A.
7 Clutch assembly -
removal,
inspection
and
refitting
S Clutch slave cylinder-removal and refitting
Note: This procedure applies to models fitted
ivrth
the hydraulically-operated clutch release mechanism. Note: Refer to the warning at the beginning
of
Section A regarding the hazards of working
with
hydraulic fluid.
Removal 1 Remove the battery and battery tray as described in Chapter 5A. 2 Fit a brake hose clamp to tha hose leading to the clutch slave cylinder. 3 Unscrew the union nut and disconnect the hydraulic pipe from the slave cylinder. Be prepared for some fluid loss by placing rags beneath the cylinder. 4 Unscrew the mounting bolts and release the slave cylinder pushrod from the release am on the transmission, then remove the unit from the engine compartment (see Illustration). 5 It is not possible to obtain an overhaul kit from Flat however some motor factors may be able to supply one. Follow tha instructions with the repair kit if obtained.
Refitting 6 Refit the clutch slave cylinder by following the removal procedure In reverse, noting the following. a) Apply a little high-melting point grease to the tip of the slave cylinder pushrod. b) Tighten the mounting bolts and union nut securely. c) On completion bleed the dutch hydraulic system as described in Section A.
A
Warning: Dust created by clutch wear and deposited on the clutch components may contain asbestos, which Is a health hazard. DO NOT blow it out with compressed air, or inhale any of it. DO NOT use petrol or petroleum-based solvents to clean off the dust. Brake system cleaner or methylated spirit should be used to flush the dust Into a suitable receptacle. After the clutch components are wiped clean with rags, dispose of the confam/nafed rags and cleaner In a sealed, marked container. Note: Although some friction materials may no longer contain asbestos, it is safest to assume that they DO. and to take precautions accordingly.
Removal 1 Unless the complete engine/transmission is to be removed from the car and separated for major overhaul (see Chapter 2D), Ihe clutch can be reached by removing the transmission as descnbed in Chapter 7A, 2 Before disturbing the clutch, use chalk or a marker pen to mark the relationship of the pressure plate assembly to the flywheel. 3 Working In a diagonal sequence, slacken the pressure plate bolts by half a turn at a time, until spring pressure Is released and the bolls can be unscrewed by hand (see Illustration). 4 Prise the pressure piate assembly off its locating dowels, and collect the friction plate, noting which way round the friction plate is fitted (see Illustration).
Inspection Note: Due to the amount of work necessary to remove and refit clutch components, It is usually considered good practice to renew the clutch friction plate, pressure plate assembly and release bearing as a matched set. even if only one of these is actually worn enough to require renewal. It Is also worth considering the renewal of the clutch components on a preventative basis if the engine and/or
6.4 Removing the clutch slave cylinder from the transmission fransmj'ss/on have been removed for some other reason. 5 Separate the pressure plate and friction plate and place them on the bench. 6 When cleaning clutch components, read first the warning at the beginning of this Section; remove dust using a clean, dry cloth, and working in a well-ventilated atmosphere. 7 Check the friction plats facings for signs Of wear, damage or oil contamination. If the friction material is cracked, burnt, scored or damaged, or if It is contaminated with oil or grease (shown by shiny black patches), the friction plate must be renewed. 8 If tho friction material Is still serviceable, check that the centre boss splines are unworn, that the torsion springs are In good condition and securely fastened, and that all the rivets are tight. If any wear or damage is found, the friction plate must be renewed. 9 If the friction material is fouled with oil, this must be duo to an oil leak from the crankshaft rear (left-hand) oil seal, from the sump-to-cytinder block joint, or from the transmission Input shaft. Renew tha soal or repair the Joint, as appropriate, before Installing the new friction plate. 10 Check tha pressure plate assembly for obvious signs of wear or damage; shake it to check for looss rivets or worn or damaged fulcrum rings, and check thai the drive straps securing the pressure plate to the cover do not show signs (such as a deep yellow or blue discoloration) of overheating. If the diaphragm spring is worn or damaged, or if its pressure is In any way suspect, the pressure plate assembly should be renewed.
7.3 Removing the clutch pressure plate bolts 7.4 Removing the clutch pressure plate and friction plate
expert22 {
a http://rutracker.org
Page 214 of 225

10*1
Chapter 12
Body electrical systems
Contents
Bulbs (exterior lights) - renewal 4 Bulbs (interior lights) - renewal 5 Electrical fault finding - general information 2 Exterior light units - removal and refitting 6 Fuses and relays - general Information 3 General information and precautions 1 Headlight beam alignment • general Information 6 Horn • removal and refitting 9 Instrument panel - removal and refitting 7 Loudspeakers - removal and refitting 10
Degrees of difficulty
Radio aerial - removal and refitting 11 Radio/cassette player • removal and refitting 12 Speedometer drive cable - removal and refitting 13 Switches - removal end refitting 14 Tailgate wiper motor - removal and refitting 15 Windscreen wiper motor - removal and refitting 17 Windscreen/tailgate washer system components • removal and refitting 16 Wiper arm • removal and refitting 18
Easy,
statable for ^
novice with liffle
|| experience ^
Fairly
easy,
suitable for beginner with ^ some experience ^
Fabtycffficiit,
suitable
for competent ^
DIY
mechanic ^
Difficult, suitable for
^ experienced DIY JR mechanic
Very difficult,
A,
suitable
for
expert DIY
Sj or professional ^
Specifications
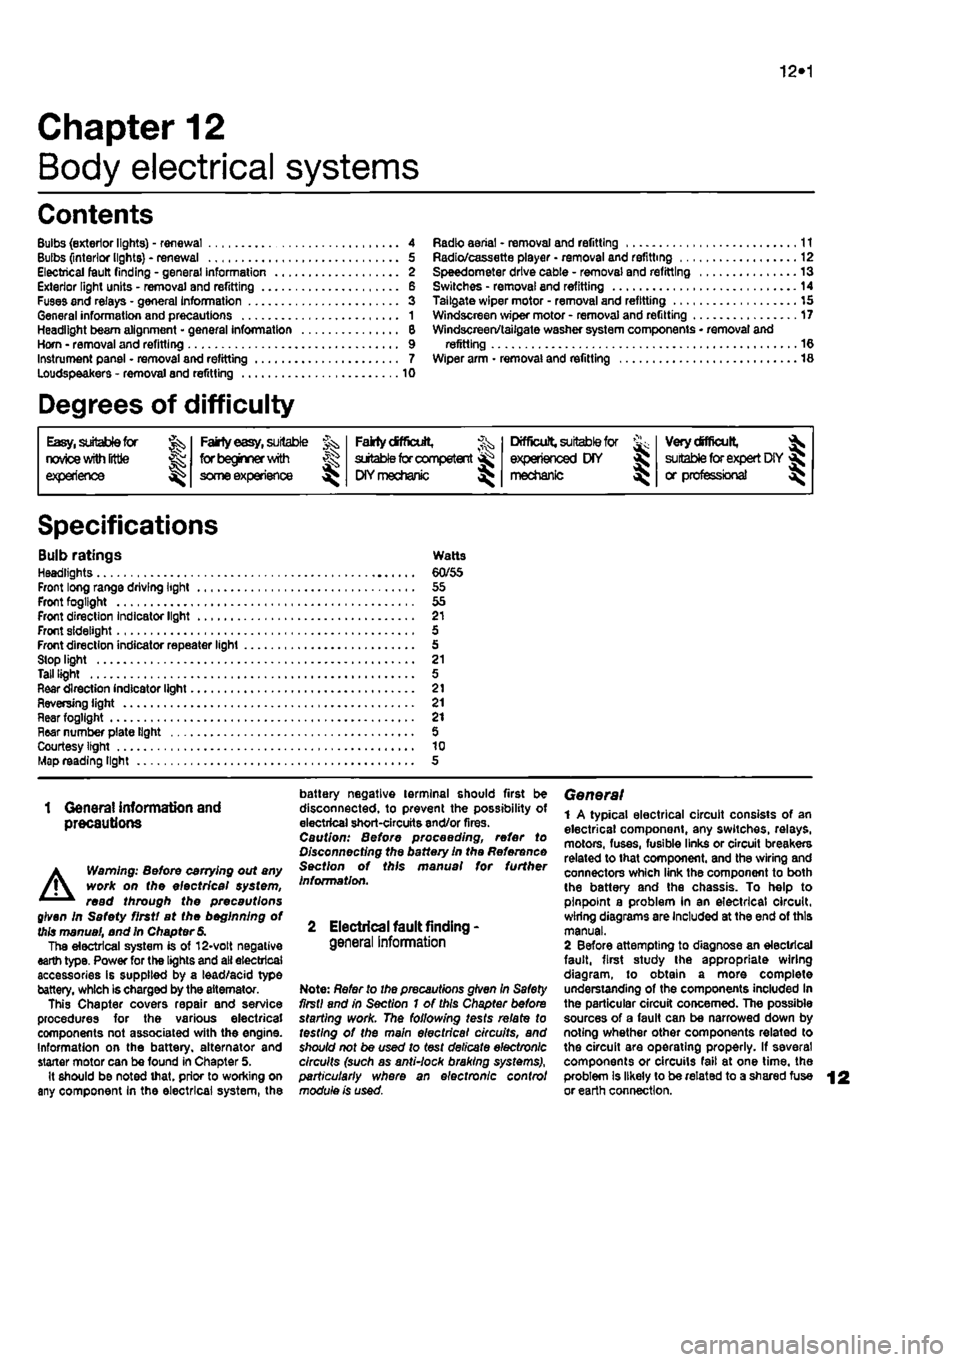
Bulb ratings Watts Headlights 60/55 Front long range driving light 55 Front fogllght 55 Front direction Indicator light 21 Front sidelight 5 Front direction indicator repeater light 5 Stop light 21 Tall light 5 Rear direction indicator light 21 Reversing light 21 near fogllght 21 Hear number plate light 5 Courtesy light 10 Map reading light 5
1 Genera! information and precautions
A
Warning: fie/Ore carrying out any work on the electrical system, read through the precautions given in Safety first! at the beginning of this manual, and in Chapter 8. The electrical system is of 12-volt negative earth type. Power for the lights and all electrical accessories is supplied by a lead/acid type battery, which is charged by the alternator. This Chapter covers repair and service procedures for the various electrical components not associated with the engine. Information on the battery, alternator and starter motor can be found in Chapter 5. It should be noted that, prior to working on any component In the electrical system, the
battery negative terminal should first be disconnected, to prevent the possibility of electrical short-circuits and/or fires. Caution: Before proceeding, refer to Disconnecting the battery In the Reference Section of this manual for further information.
2 Electrical fault finding-general information
Note: Refer to the precautions given In Safety first! and in Section 1 of this Chapter before starting work. The following tests relate to testing ot the main electrical circuits, and should not be used to test delicate electronic circuits (such as antHock braking systems), particularly where an electronic con fro/ module is used.
General 1 A typical electrical circuit consists of an electrical component, any switches, relays, motors, fuses, fusible links or circuit breakers related to that component, and the wiring and connectors which link the component to both the battery and the chassis. To help to pinpoint a problem in an electrical circuit, wiring diagrams are Included at the end of this manual. 2 Before attempting to diagnose an electrical fault, first study the appropriate wiring diagram, to obtain a more complete understanding of the components included In the particular circuit concerned. The possible sources of a fault can be narrowed down by noting whether other components related to the circuit are operating properly. If several components or circuits fait at one time, the problem Is likely to be related to a shared fuse or earth connection.