tow FIAT PUNTO 1997 176 / 1.G Owner's Guide
[x] Cancel search | Manufacturer: FIAT, Model Year: 1997, Model line: PUNTO, Model: FIAT PUNTO 1997 176 / 1.GPages: 225, PDF Size: 18.54 MB
Page 217 of 225

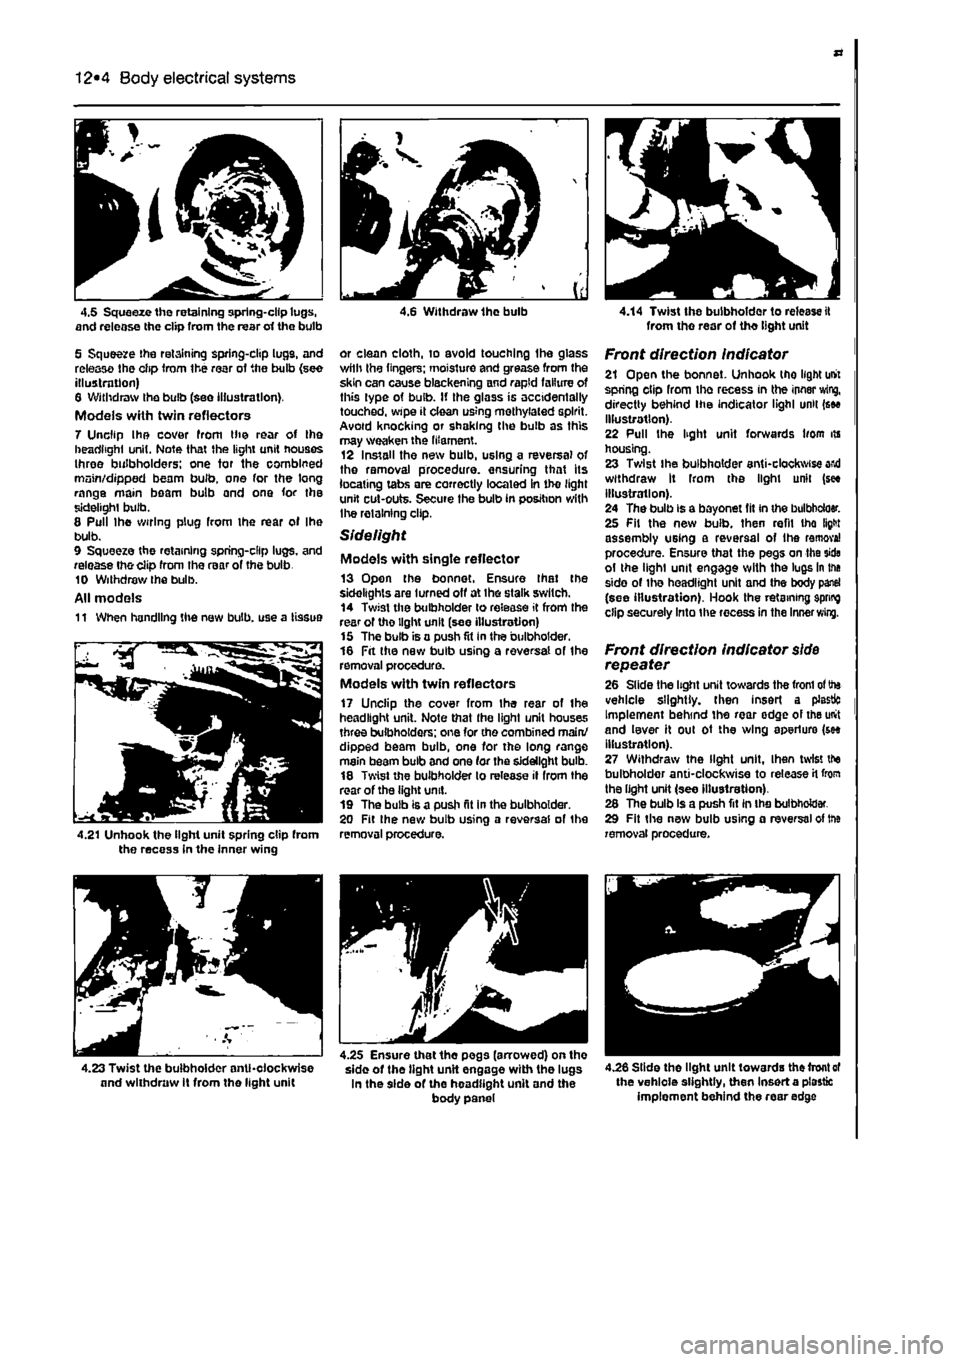
12*4 Body electrical systems
4.5 Squeeze the retaining spring-clip lugs, and release the clip from the rear erf the bulb
5 Squeeze the retaining spring-clip lugs, and release Ihe clip Irom the rear of the bulb {see illustration) 6 Withdraw the bulb (see illustration). Models with twin reflectors 7 Unclip Ihe cover from the rear of the headlight unit. Note that the light unit houses three bulbholders; one tor the combined main/dipped beam bulb, one for the long range main beam bulb and one for the sidelight bulb. 8 Pull Ihe wiring plug from the rear ol Ihe bulb. 9 Squeeze the retaining spring-clip lugs, and release tho clip from the rear of the bulb 10 Withdraw Ihe bulb. All models 11 When handling the new bulb, use a tissue
4.21 Unhook the light unit spring clip from the recess in the inner wing
4 6 Withdraw Ihe bulb
or clean cloth, to avoid touching Ihe glass wilh Ihe lingers; moisture and grease from the skin can cause blackening and rapid failure of this type of bulb. If the glass is accidentally touched, wipe it clean using methylated spirit. Avoid knocking or shaking the bulb as this may weaken the filament. 12 Install the new bulb, using a reversal of the removal procedure, ensuring that its locating tabs are correctly located in tho light unit cut-outs. Secure the bulb in position with Ihe retaining clip.
Sidelight
Models with single reflector 13 Open the bonnet. Ensure Ihat the sidelights are turned off at ihe stalk switch. 14 Twist the bulbholder lo release it from the rear of tho light unit (see illustration) 15 The bulb is a push fit in the bulbholder. 16 Fit the new bulb using a reversal of the removal procedure. Models with twin reflectors 17 Unclip the cover from Ihe rear of Ihe headlight unit. Note that Ihe light unit houses three bulbholders; one for the combined main/ dipped beam bulb, one for the long range main beam bulb and one (or the sidelight bulb. 18 Twist the bulbholder to release il from the rear of the light unit. 19 The bulb is a push fit in the bulbholder. 20 Fit Ihe new bulb using a reversal of the removal procedure.
4.14 Twist the bulbholder to release it from tho rear of tho light unit
Front direction indicator 21 Open the bonnet. Unhook tho light unit spring clip from the recess in the innsr wing, directly behind ihe indicator lighl unit (see illustration). 22 Pull the light unit forwards liom its housing. 23 Twist ihe bulbholder anti-clockwise and withdraw It from the light unit (see illustration). 24 The bulb is a bayonet fit in the bulbbdoer. 25 Fit the new bulb, then refil tho fight assembly using a reversal of Ihe remove! procedure. Ensure that the pegs on the side ol the lighl unit engage with the lugs in the side of the headlight unit and the body panel (see illustration). Hook the retaining spring clip securely Into the recess in the Inner
wing.
Front direction indicator
side
repeater 26 Slide the light unit towards the from
ol
the vehicle slightly, then insert a plastic Implement behind the rear edge of the unit and lever it oul ot the wing aperture (see illustration). 27 Withdraw the light unit. Ihen twist the bulbholder anti-clockwise to release
H
from the light unit (see illustration). 28 The bulb is a push fit in the bulbholder. 29 Fit the new bulb using a reversal of trie removal procedure.
4.26 Slide the light unit towards the front
of
the vehicle slightly, then Insert a plastic implement behind the rear edge
4.23 Twist the bulbholder anticlockwise and withdraw It from the light unit
4.25 Ensure that the pegs (arrowed) on tho sido of tho tight unit engage with the lugs In the side of the headlight unit and the body panel