recommended oil FIAT PUNTO 1998 176 / 1.G User Guide
[x] Cancel search | Manufacturer: FIAT, Model Year: 1998, Model line: PUNTO, Model: FIAT PUNTO 1998 176 / 1.GPages: 225, PDF Size: 18.54 MB
Page 74 of 225
2C*2 Diesel engine in-car repair procedures
1 General information
Using this Chapter Chapter 2 is divided Into four Parts; A. 8, C and 0. Repair operations that cart be carried out with the engine in the vehicle are described In Part A, SOHC (B-valve) petrol engines. Part B, DOHC (16-valve) petrol engines and Part C. diesel engines, Part D covers the removal of the engine/transmission as a unit, and describes the engine dismantling and overhaul procedures. In Parts A. 8 and C. the assumption Is made that the engine is installed in Ihe vehicle, with all anciliaries connected If the engine has been removed for overhaul, the preliminary dismantling information which precedes each operation may be ignored.
Engine description Both normally aspirated (non-turbo) and turbocharged diesel engines are fitted to the Punto range. The engines together with their codes are given in the Specifications at the start of lhis Chapter. The engines are water-cooled, single-overhead camshaft. In-line lour cylinder units with cast-iron cylinder blocks and aluminium-alloy cylinder heads. The engine is mounted transversely at the front of the vehicle, with the transmission bolted to the left-hand side of the engine. The cylinder head carries the camshaft which is driven by a toothed timing belt. It also houses the inlet and exhaust valves which are closed by single coll valve springs and run in valve guides pressed into the cylinder head. The valves are operated by cam followers fitted over each valve, and the clearances are adjusted by shims positioned between the followers and the camshaft lobes. The camshaft is supported by four bearings • the end bearings are machined in the cylinder head and the remaining bearings have caps bolted to the cylinder head. The cylinder head contains integral oiiways which supply and lubricate the camshaft and followers and it also Incorporates renewable swirl chambers. The crankshaft Is supported by five main bearings, and endfloat Is controlled by a thrust bearing fitted on the rear main bearing. All diesel engines are fitted with a brake servo vacuum pump dnven from the left-hBnd end of the camshaft. Engine coolant is circulated by a pump, driven by the auxiliary drivebeit. For details of the cooling system refer to Chapter 3. Lubricant is circulated under pressure by a pump, driven from the front of the crankshaft. Oil is drawn from the sump through a strainer, and then forced through an externally-mounted, replaceable screw-on filter. From there, it is distributed to the cylinder head.
where il lubncates the camshaft journals and followers, and also to the crankcase, where it lubricates the main bearings, connecting rod big- and small-ends, gudgeon pins and cylinder bores. Oil jets are fitted to the base of each cylinder bore - these spray oil onto the underside of the pistons, lo Improve cooling. An oil cooler is also fitted to reduce the temp-erature of oil before it re-enters the engine.
Repair operations possible with the engine in the car The following work can be carried out with the engine in the can a) Compression pressure - testing b) Auxiliary drivebeit - removal and refitting (refer to Chapter rej c) Valve clearances • checking and adjustment (refer to Chapter 1B) d) Camshaft cover - removal and refitting e) Tim/ng belt and covers • removal and refitting 0 Timing belt tensioner and sprockets -removal and refitting g) Cylinder head - removal and refitting' h) Camshaft and cam followers - removal end refitting' I) Camshaft oil seal - renewal j) Crankshaft oil seals - renewal k) Flywheel • removal, inspection and refitting I) Engine mountings - inspection and renewal m)Sump • removal and refitting n) Oil pump and pick-up tube assembly -removal, inspection and refitting 'Cylinder head dismantling procedures are detalfed In Chapter 2D, with details of camshaft and cam follower removal. Note: It ts possible to remove the pistons and connecting rods (after removing the cylinder nead and sump) without removing the engine. However, this is not recommended. Work of this nature is more easily and thoroughly completed with the engine on tho bench as described in Chapter 2D.
2 Location of
TDC
on ^ No
1
cylinder ||
General information 1 The camshaft and fuel Injection pump are driven by the crankshaft, by means of sprockets and a timing belt. All three sprockets rotate in phase with each other and this provides the correct valve and injection pump timing as the engine rotates. When the timing bell is removed during servicing or repair, it is possible for the camshaft, injection pump and crankshaft to rotate independently of each other and the correct timing Is then lost.
2 It
Location of TDC on cylinder No
1
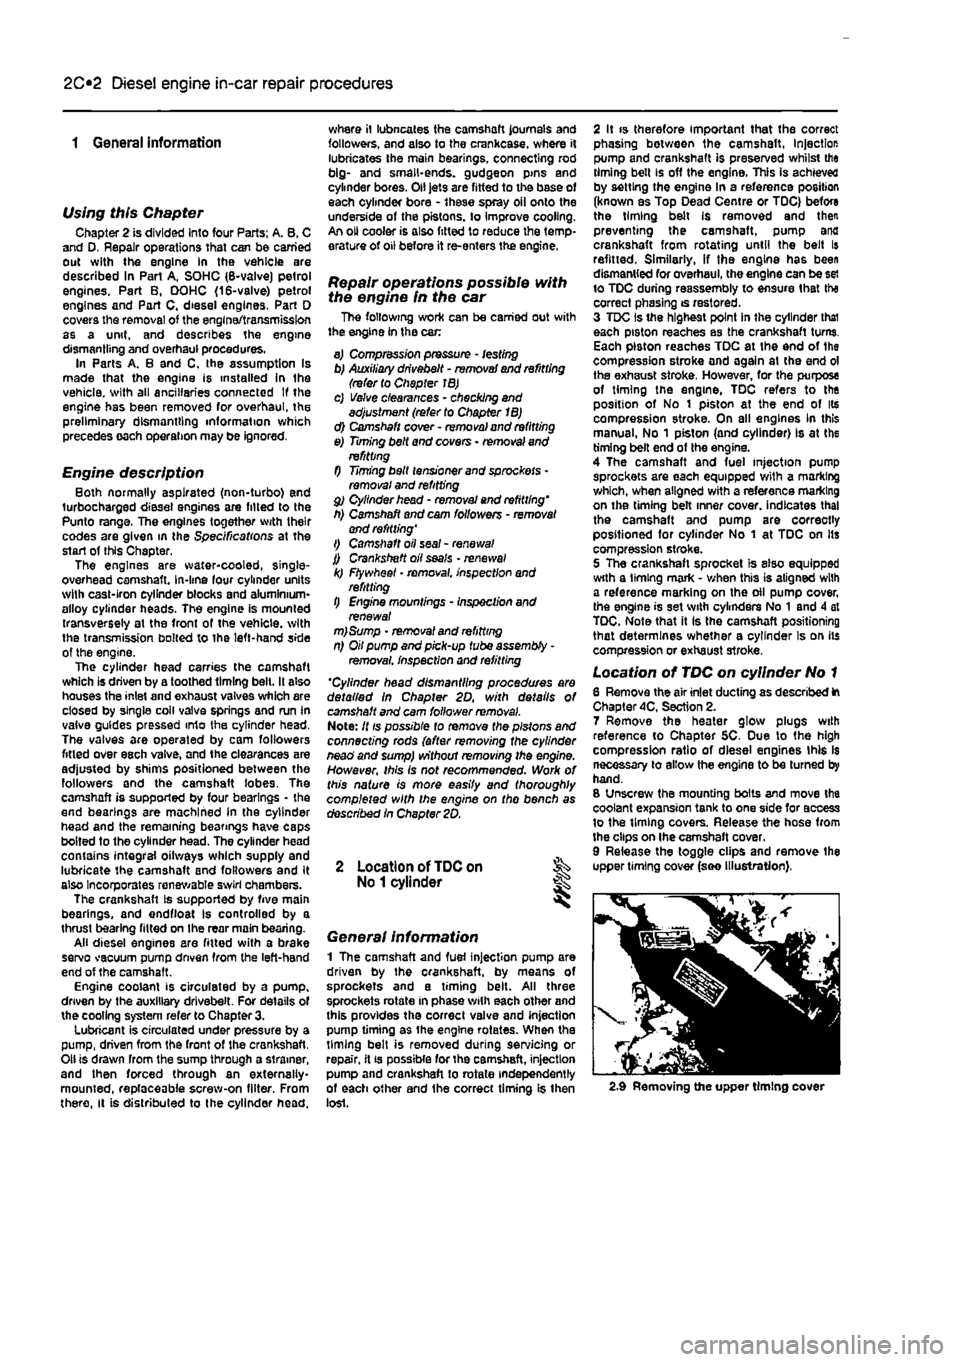
6 Remove the air inlet ducting as described ft Chapter 4C, Section 2. 7 Remove the heater glow plugs with reference to Chapter 5C. Due to the high compression ratio of diesel engines this Is necessary to allow the engine to be turned by hand. 8 Unscrew the mounting bolts and move the coolant expansion tank to one side for access to the timing covers. Release the hose from the clips on Ihe camshaft cover. 9 Release the toggle clips and remove the upper timing cover (see illustration),
2.9 Removing the upper timing cover
Page 82 of 225
2C*2 Diesel engine in-car repair procedures
9.31c Removing the inner timing cover
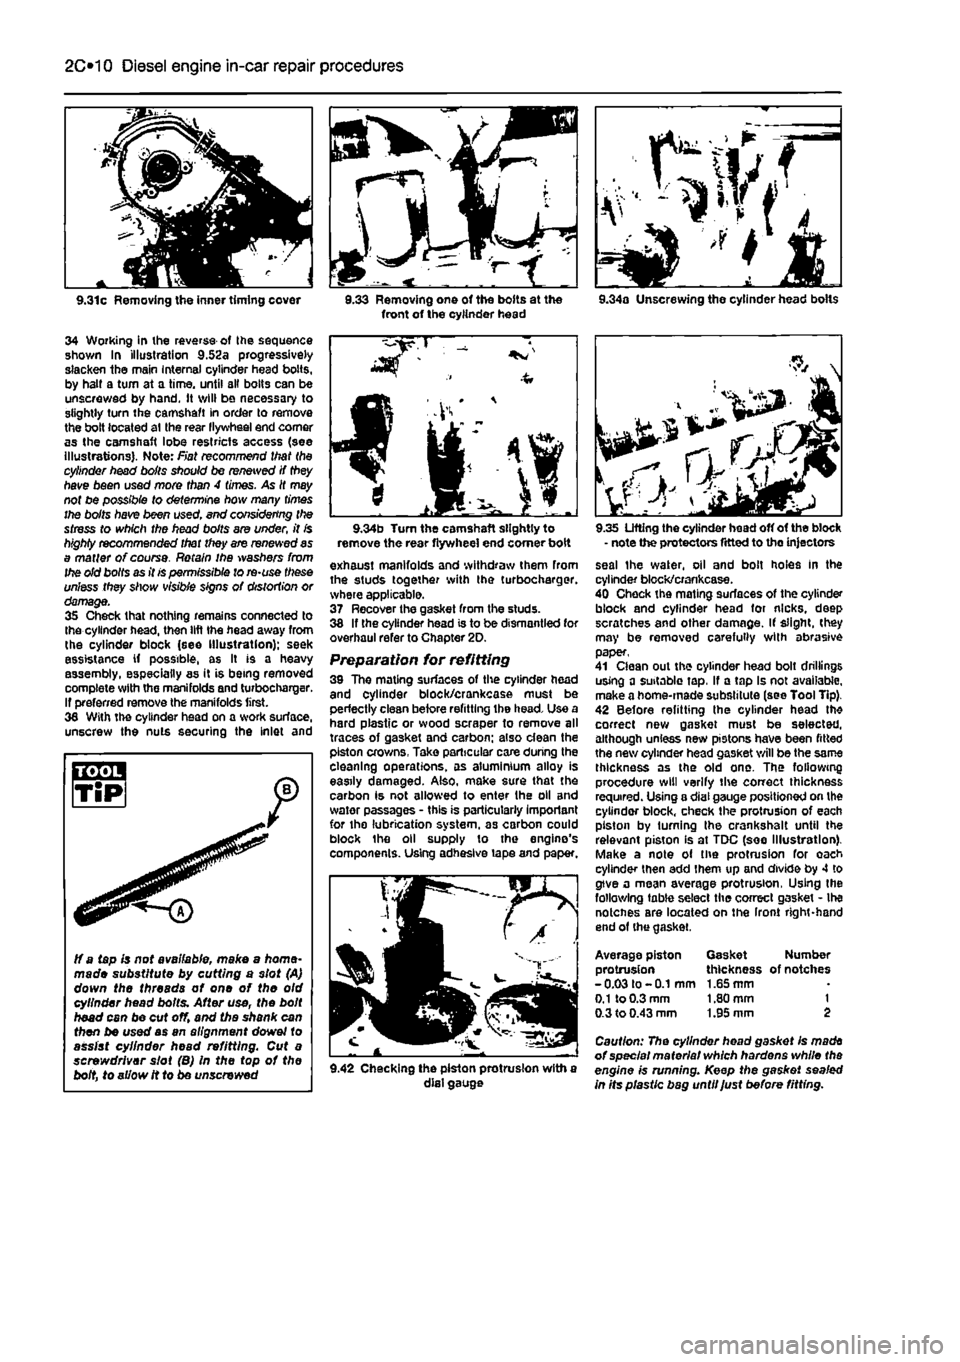
34 Working in ihe reverse of Ihe sequence shown In illustration 9.52a progressively slacken the main Internal cylinder head bolts, by halt a turn at a time, until all bolts can be unscrewed by hand. It will be necessary to slightly turn the camshaft in order to remove the bolt located at the rear llywheel end comer as the camshaft lobe restricts access (see illustrations). Note: Fiat recommend that the cylinder head boils should be renewed if they have been used more than 4 times. As It may not be possible to determine how many times the bolts have been used. end considering the stress to which the head bolts are under, it is highly recommended that they are renewed as a matter of course. Retain ihe washers from the old bolts as it is permissible to re-use these unless they show visible signs of distortion or damage. 35 Check that nothing remains connected to the cylinder head, then lift the head away from the cylinder block (see Illustration); seek assistance if possible, as It is a heavy assembly, especially as it is being removed complete with the manifolds and turbochargar. If preferred remove the manifolds first. 36 With the cylinder head on a work surface, unscrew the nuts securing the inlet and
3.33 Removing one of the bolts at the front of the cylinder head 9.34a Unscrewing the cylinder head bolts
ff a tapis not available, make a home-made substitute by cutting a slot (A) down the threads of one of the old cylinder head bolts. After use, the bolt head can be cut off, and the shank can then be used as an alignment dowel to assist cylinder head refitting. Cut a screwdriver slot (B) In the top of the bolt, to allow it to be unscrewed
9.34b Turn the camshaft slightly to remove the rear flywheel end comer boit exhaust manifolds and withdraw them from the studs together with the turbocharger. where applicable. 37 Recover the gasket from the studs. 38 If the cylinder head is to be dismantled for overhaul refer to Chapter 2D. Preparation for refitting 39 The mating surfaces of the cylinder head and cylinder block/crankcase must be perfectly clean before refitting the head. Use a hard plastic or wood scraper to remove all traces of gasket and carbon; also dean the piston crowns, Take particular care during the cleaning operations, as aluminium alloy is easily damaged. Also, make sure that the carbon is not allowed to enter the oil and water passages - this is particularly important for the lubrication system, as carbon could block the oil supply to the engine's components. Using adhesive tape and paper.
9.42 Checking the piston protrusion with a dial gauge
9.35 Lifting the cylinder head off of the block - note the protectors fitted to the injectors seal the water, oil and bolt holes In the cylinder block/crankcase. 40 Check the mating surfaces of the cylinder block and cylinder head for nicks, deep scratches and other damage. If slight, (hey may be removed carefully with abrasive paper, 41 Clean out the cylinder head bolt drillings using a suitable tap, If a tap Is not available, make a home-made substitute (see Tool Tip). 42 Before refitting the cylinder head th* correct new gasket must be selected, although unless new pistons have been fitted the new cylinder head gasket will be the same thickness as the old one. The following procedure will verify the correct thickness required. Using a dial gauge positioned on the cylinder block, check the protrusion of each piston by turning the crankshalt until the relevant piston Is at TDC (see Illustration). Make a note of the protrusion for oach cylinder then add them up and divide by 4 to give a mean average protrusion, Using the following table select the correct gasket - Ihe notcnes are located on the Iront right-hand end of (he gasket.
Average piston Gasket Number protrusion thickness of notches -0.03 to -0.1 mm 1.65 mm
0.1
to 0.3 mm 1.80 mm 1 0.3 to 0.43 mm 1.95 mm 2
Caution: The cylinder head gasket Is made of special material which hardens while the engine is running. Keep the gasket sealed in Its plastic bag until Just before fitting.
Page 83 of 225
Diesel engine in-car repair procedures 2C*11
r
<3^
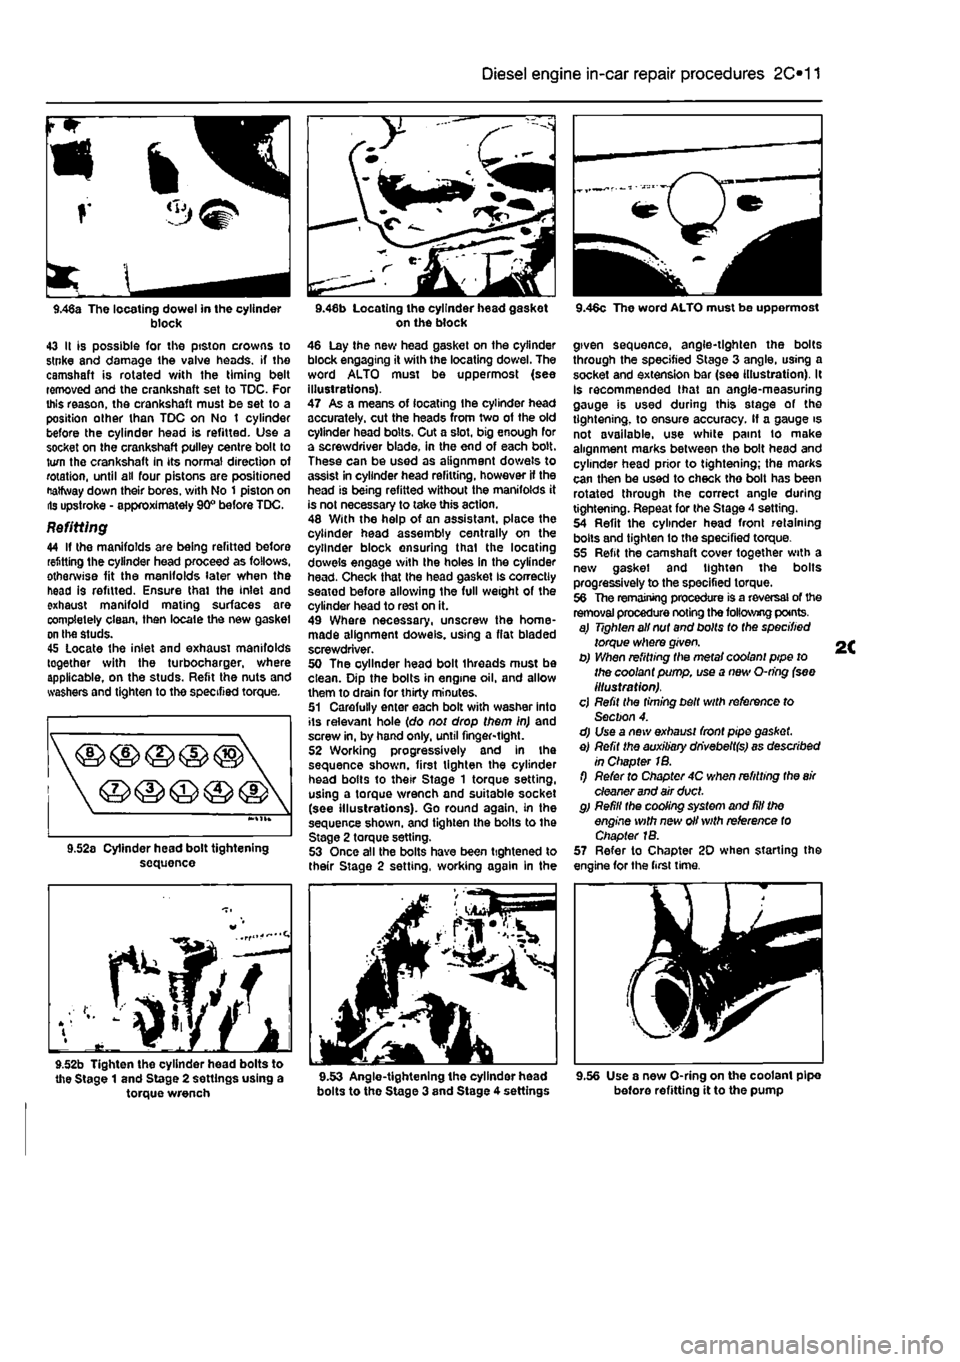
9.46a The locating dowel in the cylinder block 43 It is possible for the ptston crowns to stnke and damage the valve heads, if the camshaft is rotated v/ith the timing belt removed and the crankshaft set to TDC. For this reason, the crankshaft must be set to a position other than TDC on No t cylinder before the cylinder head is refitted. Use a socket on the crankshaft pulley centre bolt to turn the crankshaft in its normal direction of rotation, until all four pistons are positioned Halfway down their bores, v/ith No 1 piston on lis upstroke - approximately 90° before TDC.
Refitting 44 If the manifolds are being refitted before refitting the cylinder head proceed as follows, otherwise fit the manifolds later when the head is refitted. Ensure thai the inlet and exhaust manifold mating surfaces are completely clean, then locale the new gasket on the studs. 45 Locate the inlet and exhaust manifolds together with the turbocharger, where applicable, on the studs. Refit the nuts and washers and tighten to the specified torque.
sequence
f^/f
9.52b Tighten the cylinder head bolts to the Stage 1 and Stage 2 settings using a torque wrench
on the block 46 Lay the new head gasket on the cylinder block engaging it with the locating dowel. The word ALTO must be uppermost (see illustrations). 47 As a means of locating Ihe cylinder head accurately, cut the heads from two of the old cylinder head bolts. Cut a slot, big enough for a screwdriver blade, in the end of each bolt. These can be used as alignment dowels to assist in cylinder head refitting, however If the head is being refitted without the manifolds it is not necessary to take this action. 48 With the help of an assistant, place the cylinder head assembly centrally on the cylinder block ensuring thai the locating dowels engage with Ihe holes in the cylinder head. Check that the head gasket Is correctly seatod before allowing the full weight of the cylinder head to rest on it. 49 Where necessary, unscrew the home-made alignment dowels, using a flat bladed screwdriver. 50 The oyllnder head bolt threads must be clean. Dip the bolts in engine oil. and allow them to drain for thirty minutes. 51 Carefully enter each bolt with washer into its relevant hole (do not drop them in) and screw in, by hand only, until finger-tight. 52 Working progressively and In the sequence shown, first tighten the cylinder head bolts to their Stage 1 torque setting, using a torque wrench and suitable socket (see illustrations). Go round again, in the sequence shown, and tighten the bolls to the Stage 2 torque setting. 53 Once all the bolts have been tightened to their Stage 2 setting, working again in the
bolts to the Stage 3 and Stage 4 settings
9.46c The word ALTO must be uppermost
given sequence, angle-tighten the bolts through the specified Stage 3 angle, using a socket and extension bar (see illustration). It Is recommended that an angle-measuring gauge is used during this stage of the tightening, to ensure accuracy. If a gauge is not available, use white paint to make alignment marks between the bolt head and cylinder head prior to tightening; the marks can then be used to check tho bolt has been rotated through the correct angle during tightening. Repeat for the Stage 4 setting. 54 Refit the cylinder head front retaining bolts and tighten lo the specified torque. 55 Refit the camshaft cover together with a new gasket and tighten the bolts progressively to the specified torque. 56 The remaining procedure is a reversal of the removal procedure noting the following points. a) Tighten all nut and bolts to the specified torque where given. b) When refitting the metal coolant pipe to the coolant pump, use a new O-ring (see illustration). cj Refit the timing belt with reference to Section 4. d) Use a new exhaust front pipe gasket. e) Refit the auxiliary dhvebeltfs) as described in Chapter 1B. f) Refer to Chapter 4C when refitting the
air
cleaner and air duct. g) Refill the cooling system and fill the engine with new oil with reference to Chapter 1B. 57 Refer to Chapter 20 when starting the engine for the first time.
9.56 Use a new O-ring on the coolant pipe before refitting it to the pump
Page 105 of 225
2D*10 Engine removal and overhaul procedures
7.13 Positioning of piston rings (petrol engine) 11 Scrape away all traces of carbon from the top of the piston. A hand-held wire brush (or a piece of fine emery cloth) can be used, once the majority ot the deposits have been scraped away. 12 Remove the carbon from the ring grooves In the piston, using an old ring. Break the ring in half to do this (be careful not to cut your fingers - piston rings are sharp). Be careful to remove only the carbon deposits • do not remove any metal, end do not nick or scratch the sides of the ring grooves. 13 Once the deposits have been removed, clean the piston/connecting rod assembly with paraffin or o suitable solvent, and dry thoroughly. Make sure that the oil return holes In the ring grooves are clear. Fit the rings to their respective grooves meking sure they are positioned the correct way round where applicable (see illustration). 14 If the pistons and cylinder bores are not
7.22 Prising out the gudgeon pin retaining circilps damagea or worn excessively, and if the cylinder block does not need to be rebored. the original pistons can be refitted. Normal piston wear shows up as even vertical wear on the piston thrust surfaces, and slight looseness of the top ring In its groove. New piston rings should always be used when the engine is reassembled. 15 Carefully inspect each piston for cracks around the skirt, around the gudgeon pin holes, and at the piston nng lands (between the ring grooves). 16 Look for scoring and scuffing on the ptston skirt, holes in the piston crown, and burned areas at the edge of the crown. If the skirt is scored or scuffed, the engine may have been suffering from overheating, end/or abnormal combustion which caused excessively high operating temperatures. The cooling and lubrication systems should be checked thoroughly. Scorch marks on the sides of the pistons show that blow-by has occurred. A hole in the piston crown, or burned areas at the edge of the piston crown, Indicates that abnormal combustion has been occurring. If any of the above problems exist, the causes must be investigated and corrected, or the
7.26a Piston to connecting rod assembly (petrol engine) 1 Piston grade (A) end directional arrow on piston crown (towards timing belt end) 2 Connecting rod/cap matching numbers 3 Gudgeon pin offset in piston (0.9 to 1.1 mm) Arrow indicates direction of crankshaft rotation
7.26b Piston to connecting rod assembly (diesel engine) 1 Piston crown
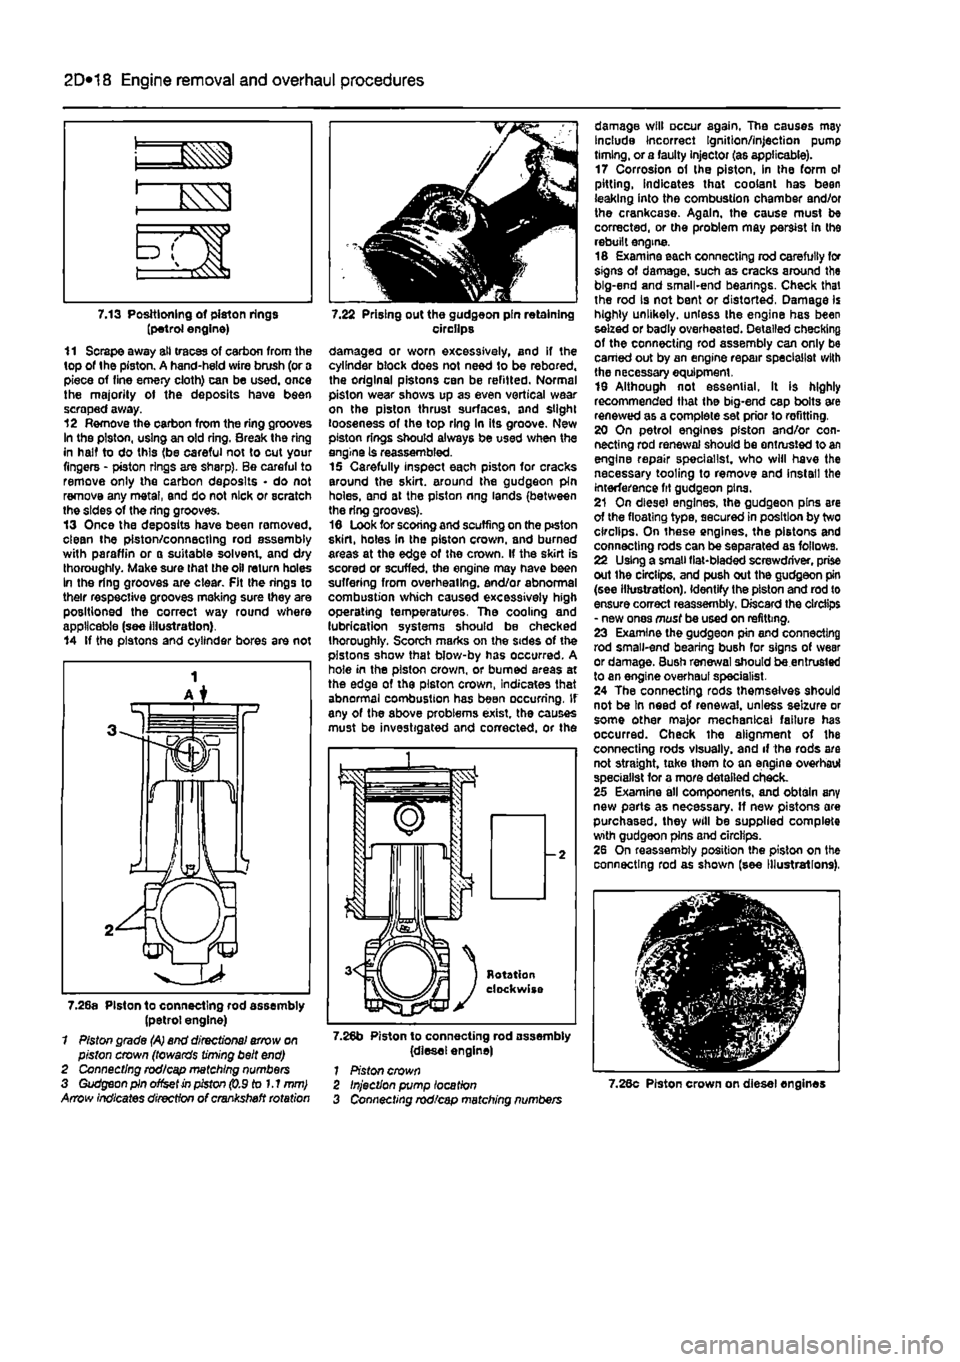
damage will occur again. The causes may Include Incorrect Ignition/injection pump timing, or a faulty injector (as applicable). 17 Corrosion of the piston, in the form ol pitting, indicates that coolant has been leaking into the combustion chamber and/or the crankcase. Again, the cause must be corrected, or the problem may persist In the rebuilt engine. 16 Examine each connecting rod carefully for signs of damage, such as cracks around the big-end and small-end bearings. Check that the rod is not bent or distorted, Damage is highly unlikely, unless the engine has been seized or badly overheated. Detailed checking of the connecting rod assembly can only be earned out by an engine repair specialist with the necessary equipment. 19 Although not essential. It is highly recommended that the big-end cap bolts are renewed as a complete set prior lo refitting. 20 On petrol engines piston and/or con-necting rod renewal should be entrusted to an engine repair specialist, who will have the necessary tooling to remove and install the interference fit gudgeon pins. 21 On diesel engines, the gudgeon pins are of the floating type, secured in position by two circlips. On these engines, the pistons and connecting rods can be separated as follows. 22 Using a small fiat-bladed screwdriver, prise out ihe circlips, and push out the gudgeon pin (see illustration). Identify the piston and rod to ensure correct reassembly. Discard the circlips - new ones must be used on refitting. 23 Examine the gudgeon pin and connecting rod small-end bearing bush for signs of wear or damage. Bush renewal should be entrusted to an engine overhaul specialist. 24 The connecting rods themselves should not be In need of renewal, unless seizure or some other major mechanical failure has occurred. Check the alignment of the connecting rods visually, and if the rods are not straight, take ihem to an engine overhaul specialist for a more detailed check. 25 Examine all components, and obtain any new parts as necessary. If new pistons are purchased, they will be supplied complete with gudgeon pins and circlips. 26 On reassembly position the piston on the connecting rod as shown (see Illustrations),
Injection pump location Connecting rod/cap matching numbers 7.28c Piston crown on diesel engines
Page 106 of 225
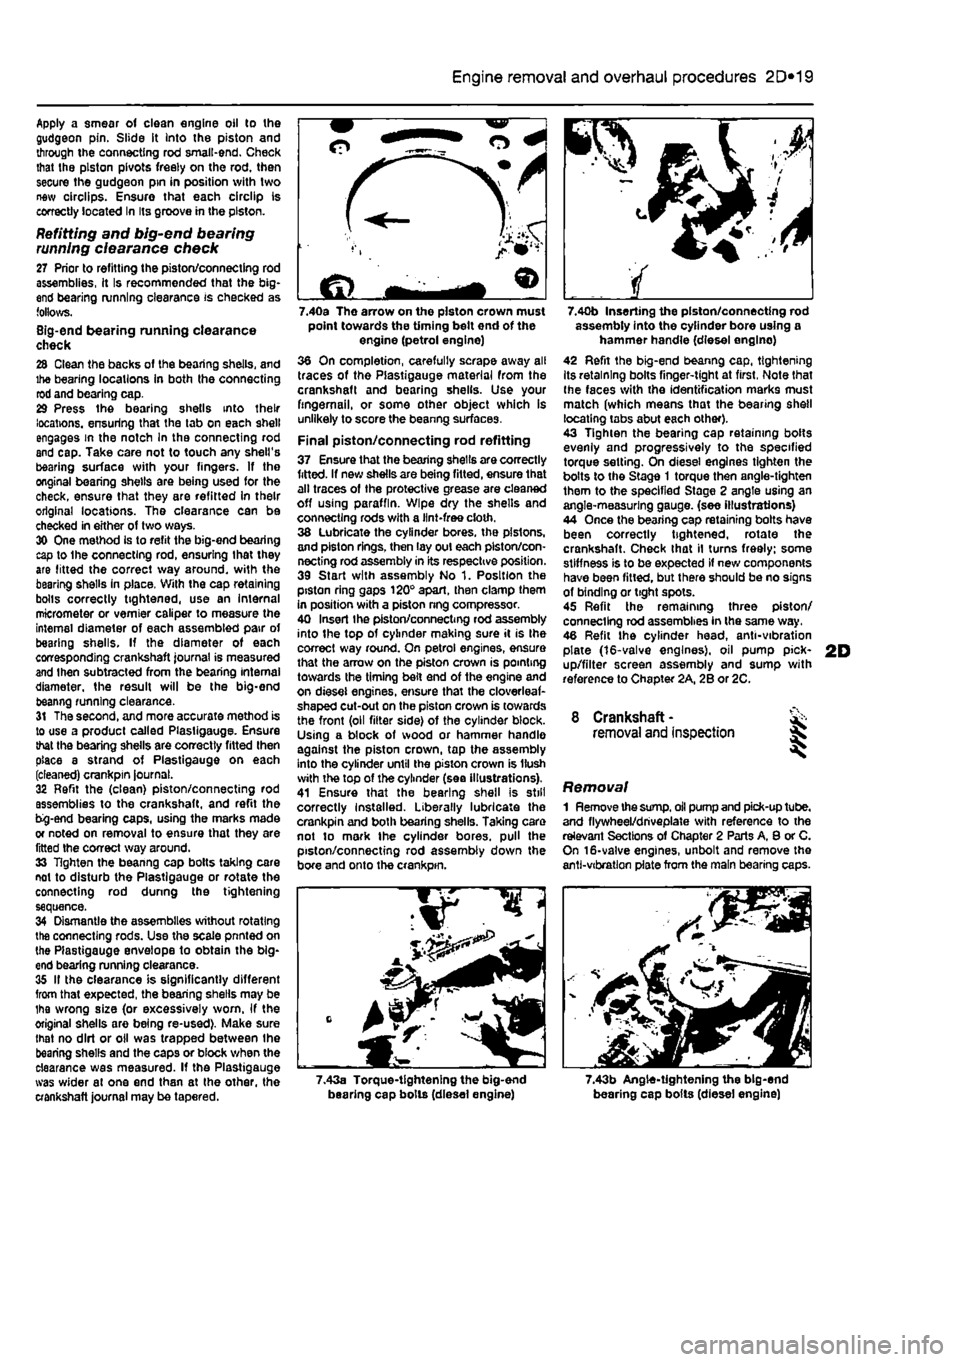
Apply a smear of clean engine oil to the gudgeon pin. Slide it Into the piston and through the connecting rod small-end. Check that the piston pivots freely on the rod. then secure the gudgeon pin in position with two new circlips. Ensure that each circlip is correctly located In Its groove in the piston.
Refitting and big-end bearing running ciearance check 27 Prior to refitting the piston/connecting rod assemblies, it Is recommended that the big-end bearing running clearance is checked as follows. Big-end bearing running clearance check 28 Clean the backs of the bearing shells, and the bearing locations in both the connecting rod and bearing cap. 29 Press the bearing shells into their locations, ensuring that the tab on each shell engages in the notch In the connecting rod and cap. Take care not to touch any shell's bearing surface with your fingers. If the onginal bearing shells are being used for the check, ensure that they are refitted in their original locations. The clearance can be checked in either of two ways. 30 One method is to refit the big-end bearing cap to Ihe connecting rod, ensuring that they are litted the correct way around, with the bearing shells in place. Wilh the cap retaining bolls correctly tightened, use an internal micrometer or vernier caliper to measure the internal diameter of each assembled pair of bearing shells. If the diameter of each corresponding crankshaft journal is measured and Ihen subtracted from the bearing internal diameter, the result will be the big-end beanng running clearance. 31 The second, and more accurate method is to use a product called Plasligauge. Ensure that the bearing shells are correctly fitted then place a strand of Plastlgauge on each (cleaned) crankpin journal. 32 Refit the (clean) piston/connecting rod assemblies to the crankshaft, and refit the bg-end bearing caps, using the marks made or noted on removal to ensure that they are fitted the correct way around. 33 Tighten the beanng cap bolts taking care not to disturb the Plastlgauge or rotate the connecting rod dunng the tightening sequence. 34 Dismantle the assemblies without rotating the connecting rods. Use the scale pnnted on the Plastigauge envelope to obtain the big-end bearing running clearance. 35 If the clearance is significantly different from that expected, the bearing shells may be Ihe wrong size (or excessively worn. If the original shells are being re-used). Make sure mat no dirt or oil was trapped between Ihe bearing shells and the caps or block when the clearance was measured. If the Plastigauge was wider al one end than at the other, the crankshaft journal may be tapered.
2D*10 Engine removal and overhaul procedures
7.40a The arrow on the piston crown must point towards the timing belt end of the engine (petrol engine) 36 On completion, carefully scrape away all traces of the Plastigauge material from the crankshaft and bearing shells. Use your fingernail, or some other object which is unlikely to score the beanng surfaces.
Final piston/connecting rod refitting 37 Ensure that the bearing shells are correctly fitted. If new shells are being fitted, ensure that alt traces of the protective grease are cleaned off using paraffin. Wipe dry the shells and connecting rods with a lint-free cloth. 38 Lubricate the cylinder bores, the pistons, and piston rings, then lay out each piston/con-necting rod assembly in its respective position. 39 Start with assembly No 1. Position the piston ring gaps 120° apart, then clamp them in position with a piston nng compressor. 40 Insert Ihe piston/connecting rod assembly into the top of cylinder making sure it is Ihe correct way round. On petrol engines, ensure that the arrow on the piston crown is pointing towards the timing belt end of the engine and on diesel engines, ensure that the cloverleaf-shaped cut-out on the piston crown is towards the front (oil filter side) of the cylinder block. Using a block of wood or hammer handle against the piston crown, tap the assembly into the cylinder until the piston crown is Hush with the top of the cylinder (sea illustrations). 41 Ensure that the bearing shell is still correctly Installed. Liberally lubricate the crankpin and both bearing shells. Taking care not to mark the cylinder bores, pull the piston/connecting rod assembly down the bore and onto the crankpin.
7.40b Inserting the piston/connecting rod assembly into the cylinder bore using a hammer handle (diesel englno) 42 Refit the big-end beanng cap, tightening Its retaining bolts finger-tight at first, Note that Ihe faces with the identification marks must match (which means that the bearing shell locating tabs abut each other). 43 Tighten the bearing cap retaining bolts evenly and progressively to the specified torque setting. On diesel engines tighten the bolts to the Stage 1 torque then angle-tighten them to the specified Stage 2 angle using an angle-measuring gauge, (see illustrations) 44 Once the bearing cap retaining bolts have been correctly tightened, rotate the crankshaft. Check that il turns freely; some stiffness is to be expected if new components have been fitted, but there should be no signs of binding or tight spots. 45 Refit the remaining three piston/ connecting rod assemblies in the same way. 46 Refit the cylinder head, anti-vibration plate (16-valve engines), oil pump pick-up/filter screen assembly and sump with reference to Chapter 2A, 2B or 2C.
8 Crankshaft -removal and inspection 35
Removal 1 Remove the
sump,
oil pump and pick-up tube, and flywheel/driveplate with reference to the relevant Sections of Chapter 2 Parts A, 8 or C. On 16-valve engines, unbolt and remove the anti-vibration plate from the main bearing caps.
7.43a Torque-tightening the big-end bearing cap bolls (diesel engine) 7.43b Angle-tightening the big-end bearing cap bolts (diesel engine)
Page 109 of 225
2D*10 Engine removal and overhaul procedures
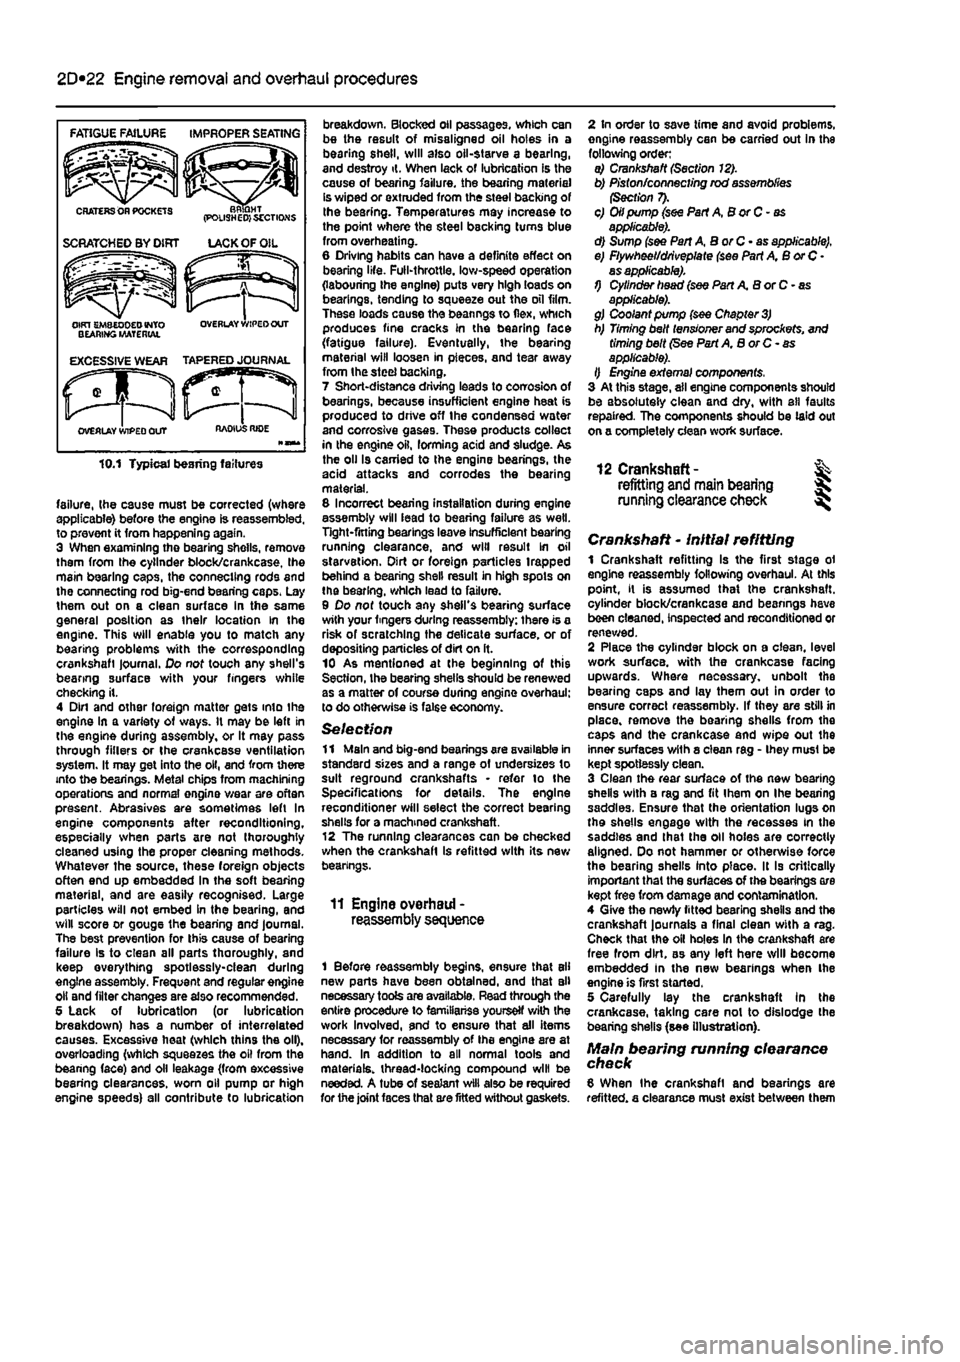
failure, (he cause must be corrected (where applicable) before the engine is reassembled, to prevent it from happening again. 3 When examining the bearing shells, remove them from the cylinder block/crankcase, Ihe main bearing caps, the connecting rods and the connecting rod big-end bearing caps. Lay them out on a clean surface in the same general position as their location in the engine. This will enable you to match any bearing problems with the corresponding crankshaft journal. Do not touch any shell's bearing surface with your fingers while checking it. 4 Din and other foreign matter gets into the engine in a variety of ways. It may be left in the engine during assembly, or It may pass through fillers or the crankcase ventilation system. It may get into the oil, and from there into the bearings. Metal chips from machining operations and normal engine wear are often present. Abrasives are sometimes left In engine components after reconditioning, especially when parts are not thoroughly cleaned using the proper cleaning methods. Whatever the source, these foreign objects often end up embedded In the soft bearing material, and are easily recognised. Large particles will not embed in the bearing, and will score or gouge the bearing and journal. The best prevention for this cause of bearing failure Is to clean all parts thoroughly, and keep everything spotlessly-clean during engine assembly. Frequent and regular engine oil and filter changes are also recommended. 5 Lack of lubrication (or lubrication breakdown) has a number of interrelated causes. Excessive heat (which thins the oil), overloading (which squeezes the oil from the bearing face) and oil leakage (from excessive bearing clearances, worn oil pump or high engine speeds) all contribute to lubrication
breakdown. Blocked oil passages, which can be the result of misaligned oil holes in a bearing shell, will also oil-starve a bearing, and destroy it. When lack of lubrication is the cause of bearing failure, the bearing materiel is wiped or extruded from the steel backing of Ihe bearing. Temperatures may increase to the point where the steel backing turns blue from overheating. 6 Driving habits can have a definite effect on bearing life. Full-throttle, low-speed operation (labouring ihe engine) puts very high loads on bearings, tending to squeeze out the oil film. These loads cause the beanngs to flex, which produces fine cracks in the bearing face (fatigue failure). Eventually, the bearing material will loosen in pieces, and tear away from Ihe steel backing. 7 Short-distance driving leads to corrosion of bearings, because insufficient engine heat is produced to drive off the condensed water and corrosive gases. These products collect in the engine oil, forming acid and sludge. As the oil Is carried to the engine bearings, the acid attacks and corrodes the bearing material. 8 Incorrect bearing installation during engine assembly will lead to bearing failure as well. Tight-fitting bearings leave insufficient bearing running clearance, and will result in oil starvation. Dirt or foreign particles trapped behind a bearing shell result in high spots on the bearing, which lead to failure. 9 Do not touch any shell's bearing surface with your fingers during reassembly: there is a risk of scratching the delicate surface, or of depositing particles of dirt on ft. 10 As mentioned at the beginning of this Section, the bearing shells should be renewed as a matter of course during engine overhaul; to do otherwise is false economy.
Selection 11 Main and big-end bearings are available in standard sizes and a range of undersizes to suit reground crankshafts • refer to the Specifications for details. The engine reconditioner will select the correct bearing shells for a machined crankshaft. 12 The running clearances can be checked when the crankshaft is refitted with its new bearings.
11 Engine overhaul -reassembly sequence
1 Before reassembly begins, ensure that all new parts have been obtained, and that all necessary tools are available. Read through the entire procedure to familiariss yourself with the work Involved, and to ensure that ail items necessary for reassembly of the engine are at hand. In addition to all normal tools and materials, thread-locking compound will be needed. A tube of sealant will also be required for the joint faces that are fitted without gaskets.
2 In order to save time and avoid problems, engine reassembly can be carried out in the following order: a) Crankshaft (Section 12). b) Piston/connecting rod assemblies (Section 7). c) Oil pump (see Part A, B or C - as applicable). d) Sump (see Pan A, BorC-as applicable). e) Flywheel/driveplate (see Part A, B or C • as applicable). 1) Cylinder head (see Part A B or C - as applicable). g) Coolant pump (see Chapter
3)
h) Timing belt tensioner and sprockets, and timing belt (See Part A, B or C- as applicable). I) Engine external components, 3 At this stage, ail engine components should be absolutely clean and dry, with all faults repaired. The components should be laid out on a completely clean work surface.
12 Crankshaft- % refitting and main bearing S running clearance check ^
Crankshaft - initial refitting 1 Crankshaft refitting Is the first stage ol engine reassembly following overhaul. At this point, it is assumed that the crankshaft, cylinder block/crankcase and beanngs have been cleaned, inspected and reconditioned or renewed. 2 Place the cylinder block on a clean, level work surface, with the crankcase facing upwards. Where necessary, unbolt the bearing caps and lay them out in order to ensure correct reassembly. If they are still in place, remove the bearing shells from the caps and the crankcase and wipe out the inner surfaces wilh a clean rag - they musl be kept spotlessly clean. 3 Clean the rear surface of the new bearing shells with a rag and fit ihem on Ihe bearing saddles. Ensure that the orientation lugs on the shells engage with the recesses in the saddles and lhat the oil holes are correctly aligned. Do not hammer or otherwise force the bearing shells into place. It Is critically important that the surfaces of the bearings ore kept free from damage and contamination. 4 Give the newly fitted bearing shells and the crankshaft journals a final clean with a rag. Check that the oil holes In the crankshaft are free from dirt, as any left here will become embedded In the new bearings when Ihe engine is first started. 5 Carefully lay the crankshaft In the crankcase, taking care not to dislodge the bearing shells (see illustration}.
Main bearing running clearance check 8 When Ihe crankshaft and bearings are refitted, a clearance must exist between them
Page 112 of 225
2D*10 Engine removal and overhaul procedures
7 While the engine is idling, check for fuel, water and oil leaks. Don't be alarmed if there are some odd smells and smoke from parts getting hot and burning off oil deposits, ft Assuming alt is well, keep the engine idling until hot water is felt circulating through the bp hose, then switch off the engine.
9 Recheck the oil and coolant levels as described in Chapter 1A or 16, and top-up as necessary. 10 There is no need to re-tighten the cylinder head bolts once the engine has first run after reassembly. 11 If new pistons, rings or crankshaft
bearings have been fitted, the engine must be treated as new. and run-in for the first 500 miles (800 km). Do net operate the engine al full-throttle, or allow it to labour at low engine speeds in any gear. It is recommended that the oil and filter be changed at the end of this period.
2D
Page 114 of 225
3*2 Cooling, heating and ventilation systems
1 General information and precautions
Genera/ Information The engine cooling/cabin heating system is ol pressurised type, comprising a coolant pump driven by the camshaft timing belt (petrol engine models) or auxiliary drlvebelt (diesel engine models), a crossllow radiator, a coolant expansion tank, an electric cooling fan, a thermostat, heater matrix, and all associated hoses and switches. The system functions as follows: Ihe coolant pump circulates cold water around the cylinder block and head passages, and through the Inlet manifold, heater matrix and throttle body to the thermostat housing. When the engine Is cold, the thermostat remains closed and prevents coolant from circulating through the radiator. When the coolant reaches a predetermined temperature, the thermostat opens, and the coolant passes through the top hose to the radiator. As the coolant circulates through the radiator, it is cooled by the in-rush of air when the car is in forward motion. The airllow is supplemented by the action of the electric cooling fan. when necessary, As the temperature of the coolant in the radiator drops, it flows to the bottom of the radiator by convection, and passes out through the bottom hose to the coolant pump - the cycle is then repeatod, When the engine is at normal operating temperature, the coolant expands, and some of It is displaced into the expansion tank. Coolant collects In the tank, and ts returned to Ihe radiator when the system cools. On petrol engine models, the expansion tank is integrated into the side of the radiator. On diesel engine models, and certain petrol engine models with air conditioning, the tank is a separate unit, mounted on the right hand side of the engine compartment. On turbo diesel engine models, the coolant is also passed through a supplementary engine oil cooler, to assist In controlling the engine lubricant temperature. Tho electric cooling fan mounted in front of the radiator is controlled by a thermostatic switch. At a predetermined coolant temperature, the swilch/sensor actuates the tan lo provide additional airflow through the radiator, The switch cuts the electrical supply to the Ion when the coolant temperature has dropped below a preset threshold (see Specifications).
Precautions
A
Warning: Do not attempt to remove the expansion tank pressure cap, or to disturb any part of the cooling system, whlio the engine is hot, as then is a high risk of scalding, tf the expansion tank pressure cap must be removed before the
engine and radiator have fulty cooled (even though this is not recommended?, the pressure in the cooling system must first be relieved. Cover the cap with a thick layer of cloth, to avoid scalding, and slowly unscrew the pressuro cap until a hissing sound Is heard. When the hissing stops, indicating that the pressure has reduced, slowly unscrew the pressure cap until it can be removed; If more hissing sounds are heard, wait until they have stopped before unscrewing the cap completely. At all times, keep your face well away from the pressure cap opening, and protect your hands.
A
Warning: Do not allow antifreeze to come into contact with your skin, or with the painted surfaces of the vehicle. Rinse off spills immediately, with plenty of water. Never leave antifreeze lying around in an open container, or In a puddle In the driveway or on the garage floor. Children and pets are attracted by its sweet smell, but antifreeze can be fatal tf ingested.
A
Warning: If the engine is hot, the electric cooling fan may start rotating even if the engine and ignition are switched off. Be careful to keep your hands, hair, and any loose clothing well clear when working In the engine compartment.
2 Cooling system hoses - f&> disconnection and renewal ^
1 The number, routing and pattern of hoses will vary according to model, but the same basic procedure applies. Before commencing work, make sure that the new hoses are to hand, along wilh new hose clips if needed, it is good practice to renew the hose clips at the same time as the hoses. 2 Drain the cooling system, as described in Chapter 1A or 18, saving the coolant if it is fit for re-use. Apply a little penetrating oil onto the hose clips if they are corroded. 3 Release the hose clips from the hose concerned. Three types of clip are used; worm-drive. spring and 'sardine-can'. The worm-drive clip is released by turning its screw anti-clockwise. The spring clip Is released by squeezing Its tags together with pliers, at the same time working the cbp away from the hose stub. The sardine-can clips are not re-usable, and are best cut off with snips or side cutters. 4 Unclip any wires, cables or other hoses which may be attached to the hose being removed. Make notes for reference when reassembling If necessary. 5 Release the hose from its stubs with a twisting motion. Be careful not to damage the stubs on deltcate components such as the radiator, or thermostat housings. If the hose Is stuck fast, the best course is often to cut it off using a sharp knife, but again be careful not to damage the stubs.
6 Before fitting the new hose, smear the stubs with washing-up liquid or a suitable rubber lubricant to aid fitting. Do not use oil or grease, which may attack the rubber. 7 Fit the hose clips over the ends of the hose, then fit the hose over its stubs. Work the hose Into position. When satisfied, locate and tighten the hose dips. 6 Refill the cooling system as described In Chapter 1A or 1B. Run the engine, and chock that there are no leaks. 9 Recheck the tightness of Ihe hose clips on any new hoses after a few hundred miles. 10 Top-up the coolant level if necessary.
3 Radiator -
removal,
inspection and refitting
Removal Note: If leakage is the reason for removing
the
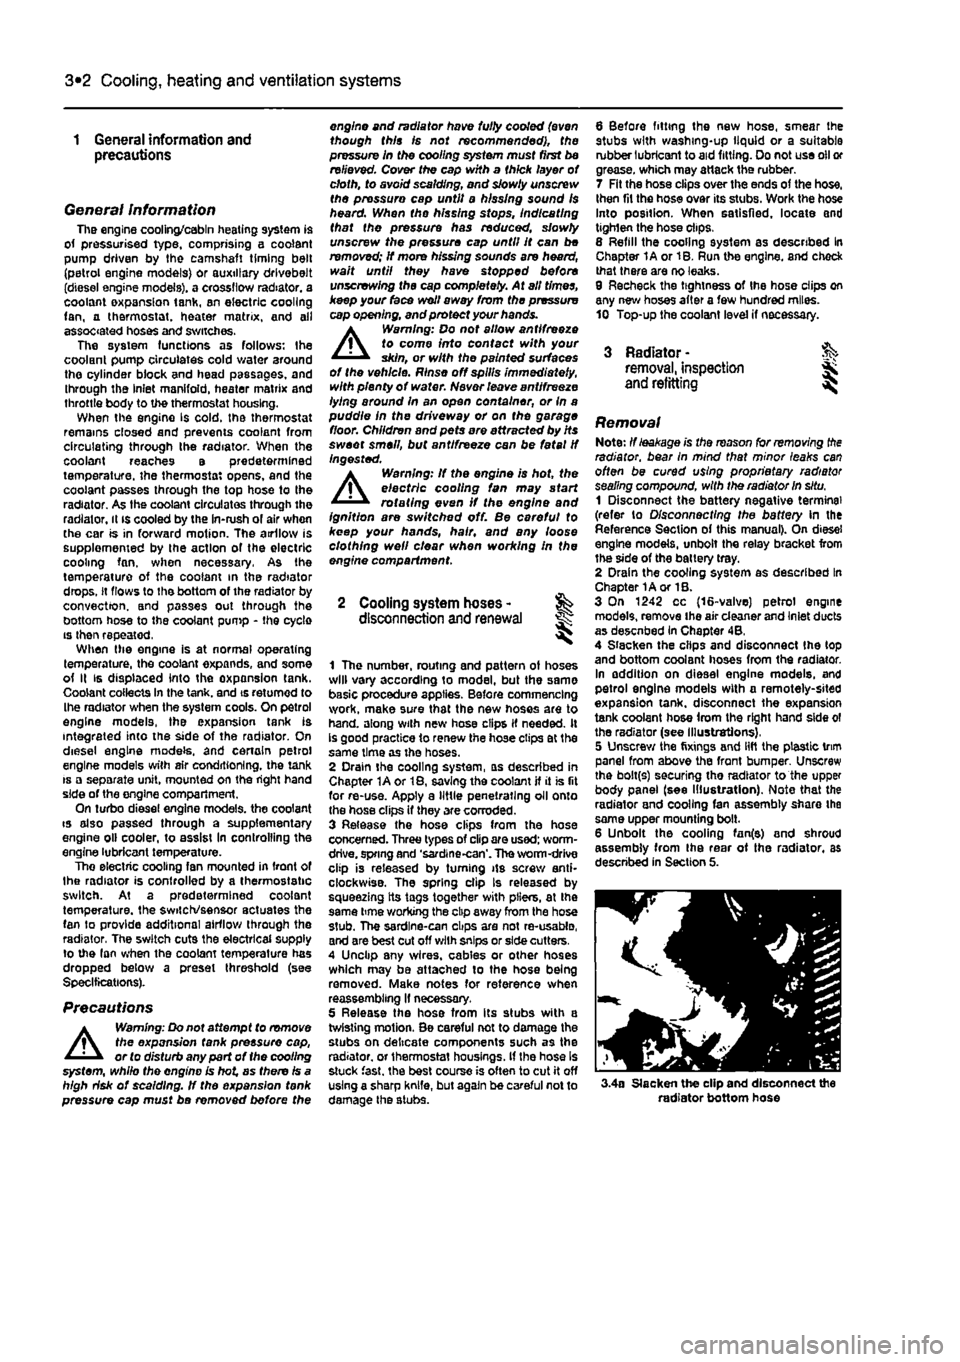
radiator, bear In mind that minor leaks can often be cured using proprietary radiator sealing compound, with the radiator in situ. 1 Disconnect the battery negative terminal (refer to Disconnecting the battery In the Reference Section of this manual). On diesel engine models, unbolt the relay bracket from the side of the battery tray. 2 Drain the cooling system as described In Chapter 1A or 1B. 3 On 1242 cc (16-valve) petrol engine models, remove the air cleaner and Inlet ducts as desenbed In Chapter 4B, 4 Slacken the clips and disconnect Ihe (op and bottom coolant hoses from the radiator. In addition on diesel engine models, and petrol engine models with a remotely-sited expansion tank, disconnect the expansion tank coolant hose from the right hand side ol the radiator (see Illustrations), 5 Unscrew the fixings and lift the plastic trim panel from above the front bumper Unscrew the bolt(s) securing tho radiator to the upper body panel (see Illustration). Note that the radiator and cooling fan assembly share the same upper mounting bolt. 6 Unbolt the cooling fan(e) and shroud assembly from Ihe rear ot the radiator, as described in Section 5.
3.4a Slacken the clip and disconnect the radiator bottom hose
Page 143 of 225
Fuel system - diesel models 4C*3
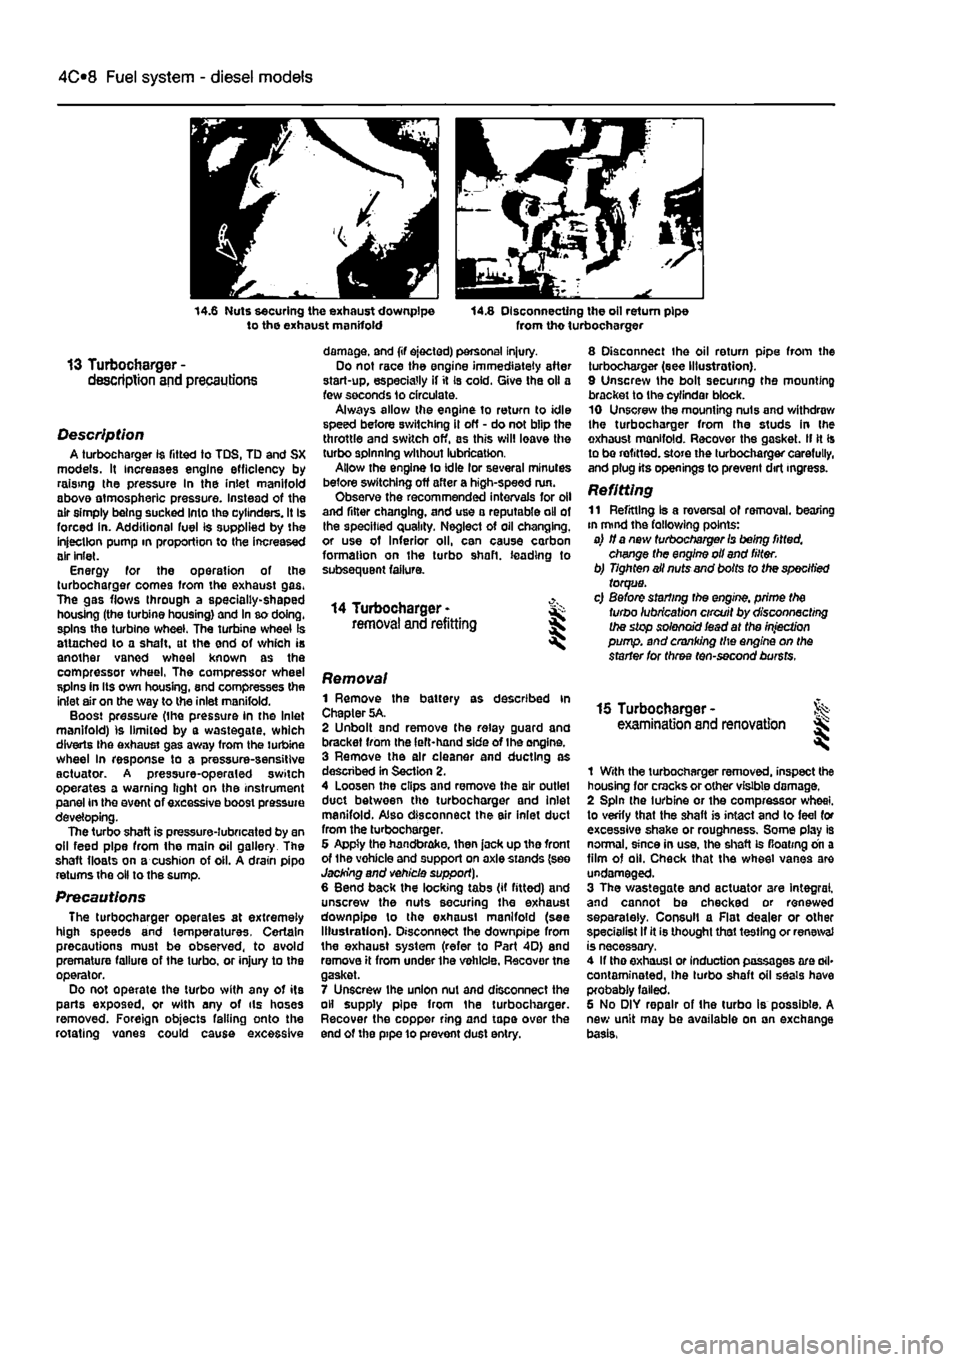
14.6 Nuts securing the exhaust downpipe to the exhaust manifold 14.8 Disconnecting the oil return pipe from tho turbocharger
13 Turbocharger -description and precautions
Description A turbocharger 1$ fitted to TDS, TD and SX models. It increases engine efficiency by raising the pressure In the inlet manifold above atmospheric pressure. Instead of the air simply being sucked Into the cylinders. It Is forced in. Additional fuel is supplied by the injection pump in proportion to the increased air inlet. Energy for the operation of the turbocharger comes from the exhaust gas. The gas flows through a specially-shaped housing (the turbine housing) and In so doing, spins the turbine wheel. The turbine wheel is attached lo a shaft, at the end of which is another vaned wheel known as the compressor wheel, The compressor wheel spins in Its own housing, snd compresses the inlet air on the way to the inlet manifold. Boost pressure (the pressure in the Inlet manifold) is limited by a wastegate, which diverts Ihe exhaust gas away from the turbine wheel In response to a pressure-sensitive actuator. A pressure-operaled switch operates a warning light on the instrument panel in the event of excessive boost pressure developing. The turbo shaft is pressure-lubricated by an oil feed pipe from the main oil gallery The shaft floats on a cushion of oil. A drain pipo returns the oil to the sump.
Precautions The turbocharger operates at extremely high speeds and temperatures. Certain precautions must be observed, to avoid premature failure of the turbo, or injury to the operator. Do not operate the turbo with any of its parts exposed, or with any of ils hoses removed. Foreign objects falling onto the rotating vanes could cause excessive
damage, and (if ejected) personal injury. Do not race the engine immediately after start-up, especially if it Is cold. Give the oil a few seconds lo circulate. Always allow the engine to return to idle speed before switching il off - do not blip the throttle and switch off, as this will leave the turbo spinning without lubrication. Allow the engine to idle lor several minutes before switching off after a high-speed run. Observe the recommended intervals for oil and filter changing, and use a reputable oil of the specified quality. Neglect of oil changing, or use of Inferior oil, can cause carbon formation on the turbo shaft, leading to subsequent failure.
14 Turbocharger -removal and refitting
8 Disconnect the oil return pipe from the turbocharger (see Illustration). 9 Unscrew the bolt securing the mounting bracket to the cyfindar block. 10 Unscrew the mounting nuts and withdraw the turbocharger from the studs in Ihe exhaust manifold. Recover the gasket. II It Is to be refitted, store the turbocharger carefully, and plug its openings to prevent dirt ingress.
Refitting 11 Refitting Is a reversal of removal, bearing in mind the fallowing points: a) if a new turbocharger Is being fitted, change the engine oil and filter. b) Tighten ail nuts and bolts to the specified torque. c) Before starting the engine, prime the turbo lubrication circuit by disconnecting the stop solenoid iead at the injection pump, and cranking the engine on the starter for three ten-second bursts.
Removal 1 Remove the battery as described in Chapter 5A. 2 Unbolt and remove the relay guard and bracket from the left-hand side of Ihe engine. 3 Remove the air cleaner and ducting as descnbed in Section 2. 4 Loosen the clips and remove the air outlet duct between tho turbocharger and inlet manifold. Also disconnect the air inlet duct from the turbocharger. 6 Appty the handbrake, then jack up tho front of the vohicle and support on axle stands (see Jacking and vehicle support). 6 Bend back the locking tabs (if fitted) and unscrew the nuts securing the exhaust downpipe lo the exhaust manifold (see Illustration). Disconnect the downpipe from the exhaust system (refer to Part 4D) end remove it from under the vehicle. Recover tne gasket. 7 Unscrew ihe union nut and disconnect the oil supply pipe from the turbocharger. Recover the copper ring and tape over the end of the pipe 10 prevent dust entry.
15 Turbocharger -examination and renovation l
1 With the turbocharger removed, inspect the housing for cracks or other visible damage. 2 Spin the turbine or the compressor wheel, to verify that the shaft is intact and to feel for excessive shake or roughness. Some play is normal, since in use, the shaft is floating on a film of oil. Check that the wheel vanes are undamaged. 3 The wastegate and actuator are Integral, and cannot be checked or renewed separately. Consul! a Flat dealer or other specialist If it is thought that testing or renewal is necessary. 4 If tho exhaust or induction passages are ail* contaminated, Ihe turbo shaft oil seals have probably failed. 6 No DIY repair of the turbo is possible. A new unit may be available on an exchange basis,
Page 155 of 225
Ignition system - petrol models 5B®3
Chapter 1A tor further information. Also check tnat tha accelerator cable is correctly adjusted
as
described in the relevant part of Chapter 4. If the engine is running very roughly, check the compression pressures and the valve clearances as descnbed In the relevant parts of Chapters 1 and 2. 2
H
these checks fall to reveal the cause of the problem, the vehicle should be taken to a suitably equipped Fiat dealer for testing. A wiring block connector Is Incorporated in the engine management circuit Into which a special electronic diagnostic tester can be plugged. The tester will locate the fault quickly and simply alleviating the need to test all the system components Individually which is a time consuming operation that carries a high risk of damaging the ECU. 3 The only Ignition system checks which can
oe
earned out by the home mechanic are those cescribed in Chapter 1A, relating to the spark plugs, and the ignition coll test descnbed In this Chapter. If necessary, the system wiring and wiring connectors can oe checked as descnbed in Chapter 12, Section 2, ensuring that the ECU wiring connector(s) have first
been
disconnected.
3 Ignition HT coil - ^ removal, testing and refitting
Removal 1 On 6-valve engines, unscrew the boll and remove the plastic cover from the left-hand
end
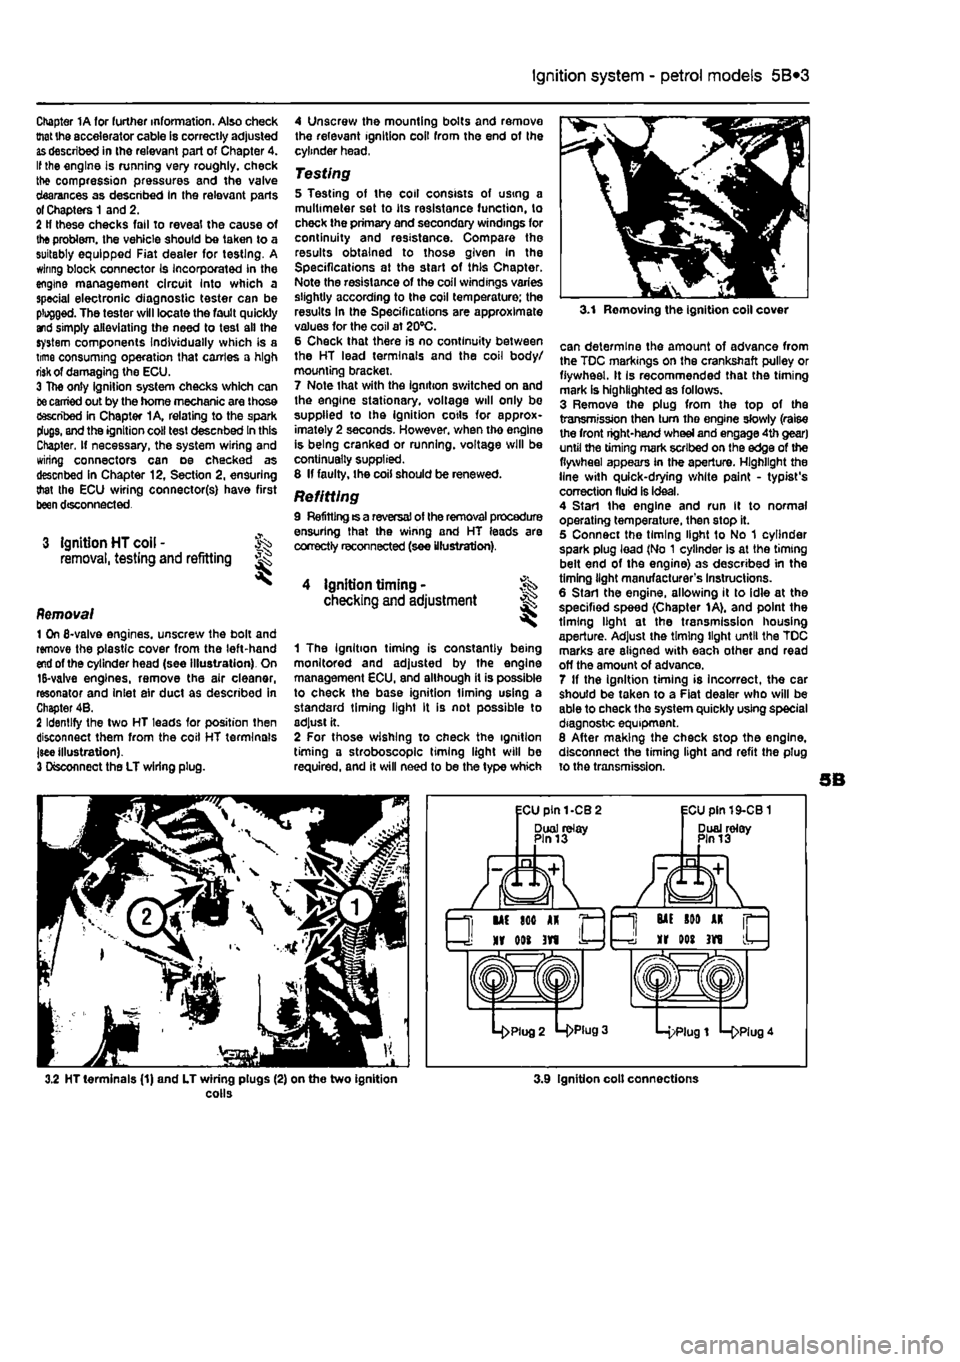
of the cylinder head (see Illustration). On 15-valve engines, remove the air cleaner, resonator and Inlet air duct as described in Chapter 4B. 2 Identify the two HT leads for position then disconnect them from the coil HT terminals jsee illustration). 3 Disconnect the LT wiring plug.
4 Unscrew the mounting bolts and remove the relevant ignition coil from the end of the cylinder head,
Testing 5 Testing of the coil consists of using a multimeter set to its resistance function, to check the primary and secondary windings for continuity and resistance. Compare the results obtained to those given In the Specifications at the start of this Chapter. Note the resistance of the coil windings varies slightly according to the coil temperature; the results In the Specifications are approximate values for the coil at 20°C. 6 Check that there is no continuity between the HT lead terminals and the coil body/ mourning bracket. 7 Note that with the ignition switched on and the engine stationary, voltage will only be supplied to the ignition cotls for approx-imately 2 seconds. However, when tho engine is being cranked or running, voltage will be continually supplied. 8 If faulty, the coil should be renewed.
Refitting 9 Refitting ts a reversal of the removal procedure ensuring that the winng and HT leads are correctly reconnected (see illustration).
4 ignition timing • checking and adjustment
1 The Ignition timing is constantly being monitored and adjusted by the engine management ECU, and although it is possible to check the base ignition liming using a standard timing light It is not possible to adjust it. 2 For those wishing to check the ignition timing a stroboscope timing light will be required, and it will need to be the type which
3.1 Removing the ignition coll cover
can determine the amount of advance from the TDC markings on the crankshaft pulley or flywheel. It Is recommended that the timing mark is highlighted as follows. 3 Remove the plug from the top of the transmission then turn tho engine slowly (raise the front right-hand wheel and engage 4th gear) until the timing mark scribed on the edge of the flywheel appears in the aperture. Highlight the line with quick-drying white paint - typist's correction fluid is ideal. 4 Start the engine and run It to normal operating temperature, then stop it. 5 Connect the timing light to No 1 cylinder spark plug lead (No 1 cylinder Is at the timing belt end of the engine) as described in the timing light manufacturer's Instructions. 6 Start the engine, allowing it to idle at the specified speed (Chapter 1A), and point the timing light at the transmission housing aperture. Adjust the timing light until the TDC marks are aligned with each other and read off the amount of advance. 7 If the ignition timing is incorrect, the car should be taken to a Fiat dealer who will be able to check the system quickly using special diagnostic equipment. 8 After making the check stop the engine, disconnect the timing light and refit the plug to the transmission.
3.2 HT terminals (1) and LT wiring plugs (2) on the two ignition colls 3.9 Ignition colt connections