Instrument FIAT PUNTO 1998 176 / 1.G Owner's Manual
[x] Cancel search | Manufacturer: FIAT, Model Year: 1998, Model line: PUNTO, Model: FIAT PUNTO 1998 176 / 1.GPages: 225, PDF Size: 18.54 MB
Page 220 of 225

Body electrical systems 12*7
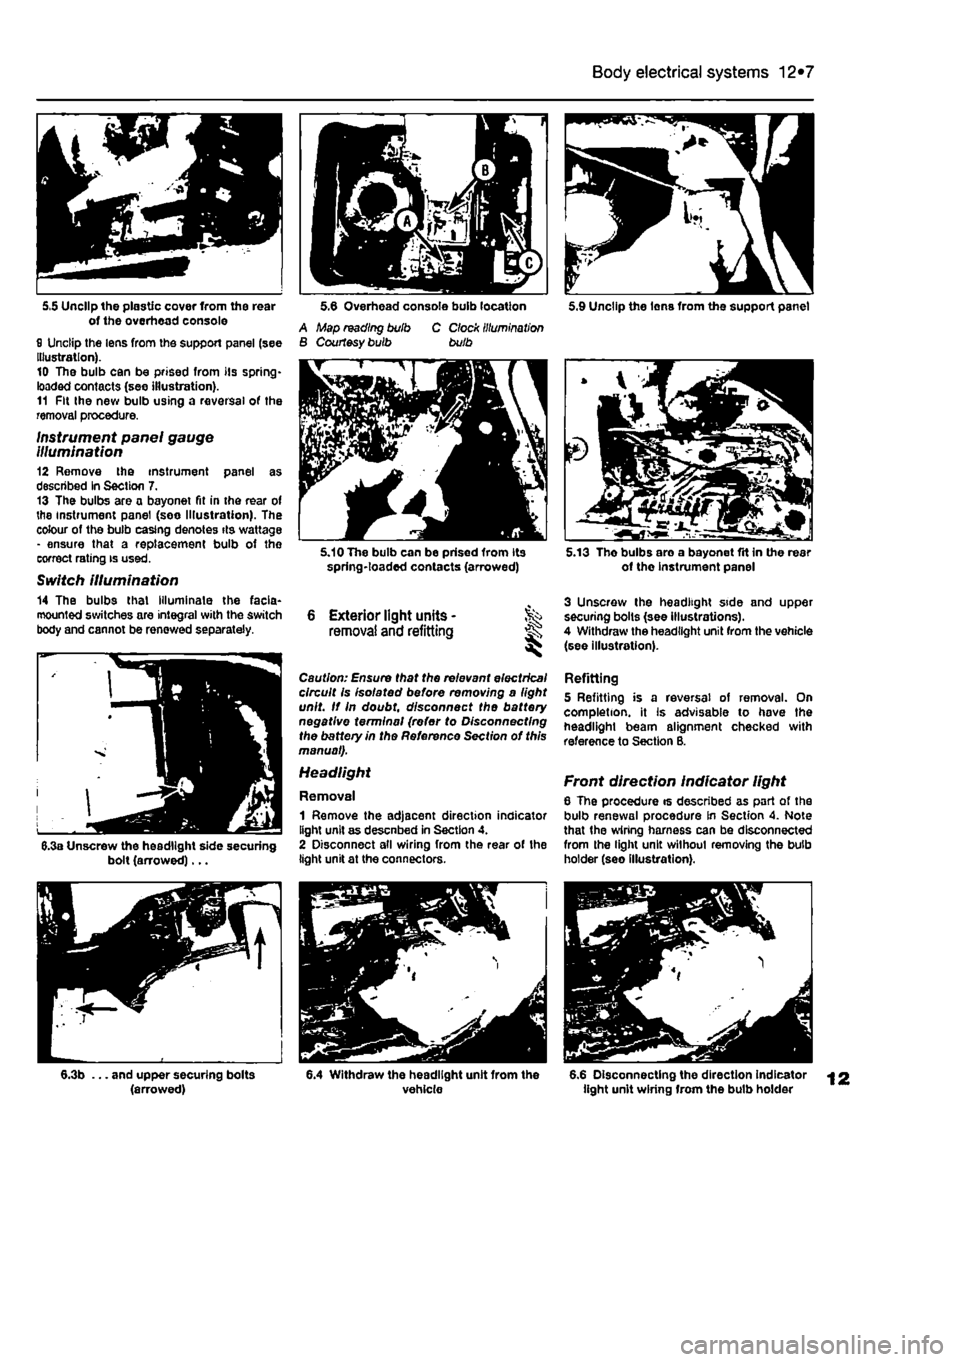
5,5 Unclip the plastic cover from the rear of the overhead console 0 Unclip the lens from the support panel (see Illustration). 10 The bulb can be prised from its spring-loaded contacts (see illustration). 11 Fit the new bulb using a reversal of the removal procedure.
Instrument panel gauge Illumination 12 Remove the instrument panel as described In Section 7. 13 The bulbs are a bayonet fit in the rear of the instrument panel (see Illustration). The colour of the bulb casing denotes its wattage - ensure that a replacement bulb of the correct rating is used.
Switch illumination 14 The bulbs that Illuminate the facia-mounted switches are integral with the switch body and cannot be renewed separately.
5.6 Overhead console bulb location 5.9 Unclip the Ions from the support panel A Map reading bulb B Courtesy bulb C Clock illumination bulb
6.3a Unscrew the headlight side securing bolt (arrowed)...
5.10 The bulb can be prised from its spring-loaded contacts (arrowed)
6 Exterior light units • removal and refitting ^ ^
Caution: Ensure that the relevant electrical circuit is isolated be/ore removing a light unit. If In doubt, disconnect the battery negative terminal (refer to Disconnecting the battery in the Reference Section of this manual).
1 Remove the adjacent direction indicator light unit as descnbed in Section 4. 2 Disconnect all wiring from the rear of the light unit at the connectors.
5.13 Tho bulbs are a bayonet fit in the rear of the instrument panel
3 Unscrew the headlight side and upper securing bolts (see illustrations). 4 Withdraw the headlight unit from the vehicle (see illustration).
Refitting 5 Refitting is a reversal of removal. On completion, it Is advisable to hove the headlight beam alignment checked with reference to Section B.
Front direction indicator light 6 The procedure is described as part of the bulb renewal procedure In Section 4. Note that the wiring harness can be disconnected from the light unit without removing the bulb holder (seo illustration).
6.3b ... and upper securing bolts (arrowed) 6.4 Withdraw the headlight unit from the vehicle 6.6 Disconnecting the direction indicator light unit wiring from the bulb holder
Page 221 of 225

12*8 Body electrical systems
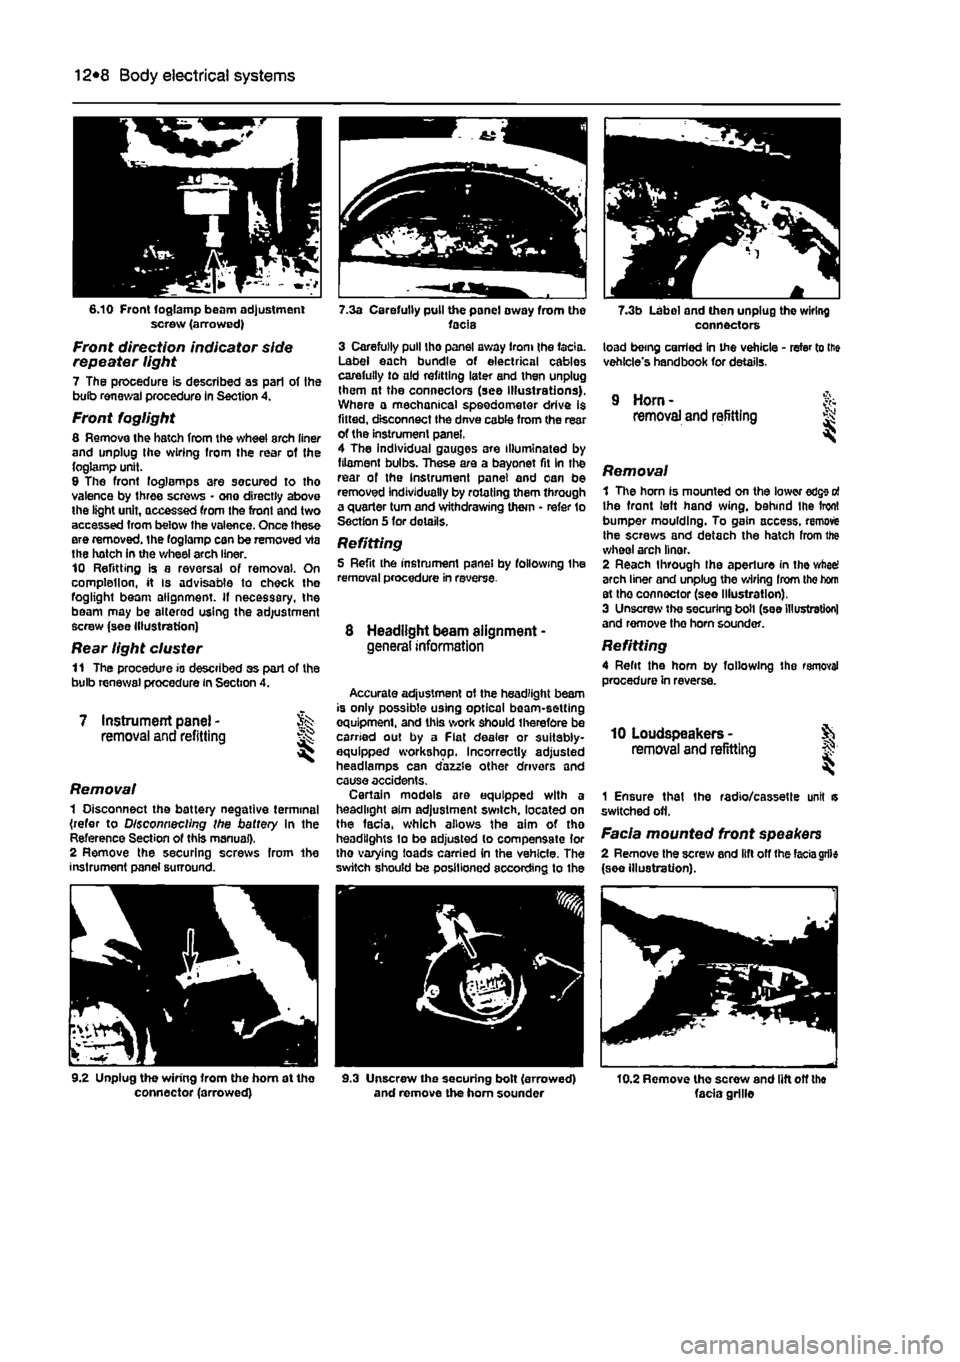
6.10 Front foglamp beam adjustment screw (arrowed)
Front direction indicator side repeater light 7 The procedure is described as pari of the bulb renewal procedure In Section 4.
Front foglight 8 Remove the hatch from the wheel arch liner and unplug Ihe wiring Irom the rear of the foglamp unit. 9 The front foglamps are secured to tho valence by three screws • one directly above the light unit, accessed from the front and two accessed Irom below the valence. Once these ere removed, the foglamp can be removed via the hatch in the wheel arch liner. 10 Refitting is a reversal of removal. On complellon, it Is advisable to check the foglight beam alignment. If necessary, the beam may be altered using the adjustment screw (see Illustration)
Rear light cluster 11 The procedure is described as part of the bulb renewal procedure in Section 4.
7 Instrument panel -removal and refitting
Removal 1 Disconnect the battery negative terminal (refer to Disconnecting the battery in the Reference Section of this manual). 2 Remove the securing screws from 1he instrument panel surround.
9.2 Unplug the wiring from the hom at tho connector (arrowed)
7.3a Carefully pull the panel oway from the facia 3 Carefully pull tho panel away from (he facia. Label each bundle of electrical cables carefully to old refitting later end then unplug them nt the connectors (see illustrations). Where a mechanical speedometer drive is fitted, disconnect the dnve coble from the rear of the instrument panel, 4 The individual gauges are Illuminated by filament bulbs. These are a bayonet fit In the rear of the Instrument panel and can be removed individually by rotating them through a quarter turn and withdrawing them • refer to Section 5 for details.
Refitting 5 Refit the instrument panel by following the removal procedure in reverse
8 Headlight beam alignment -general information
Accurate adjustment ot the headlight beam is only possible using optical beam-setting equipment, and this work should therefore be carried out by a Fiat dealer or suitably-equipped workshop. Incorrectly adjusted headlamps can dazzle other drivers and cause accidents. Certain models are equipped with a headlight aim adjustment switch, located on the facia, which allows the aim of tho headlights lo be adjusted to compensate lor tho varying loads carried in the vehicle. The switch should be positioned according to Ihe
9.3 Unscrew the securing bolt (arrowed) and remove the horn sounder
7.3b Label and then unplug the wiring connectors load being carried in the vehicle - refer to lie vehicle's handbook for details.
9 Horn -removal and refitting
Removal 1 The horn is mounted on the lower edge o! the front left hand wing, behind Ihe front bumper moulding. To gain access, remove the screws and detach the hatch from the wheel arch linor. 2 Reach through the aperture in the wheel arch liner and unplug the wiring Irom the hom st the connector (see Illustration). 3 Unscrew the securing boll (see Illustration) and remove the horn sounder.
Refitting 4 Refit the hom by following the removal procedure in reverse.
10 Loudspeakers -removal and refitting §;
1 Ensure that the radio/cassette unit is switched off.
Facia mounted front speakers 2 Remove the screw and lift off the
facia
grfle (see illustration).
10.2 Remove tho screw and lift off the facia grille
Page 222 of 225

Body electrical systems 12*9
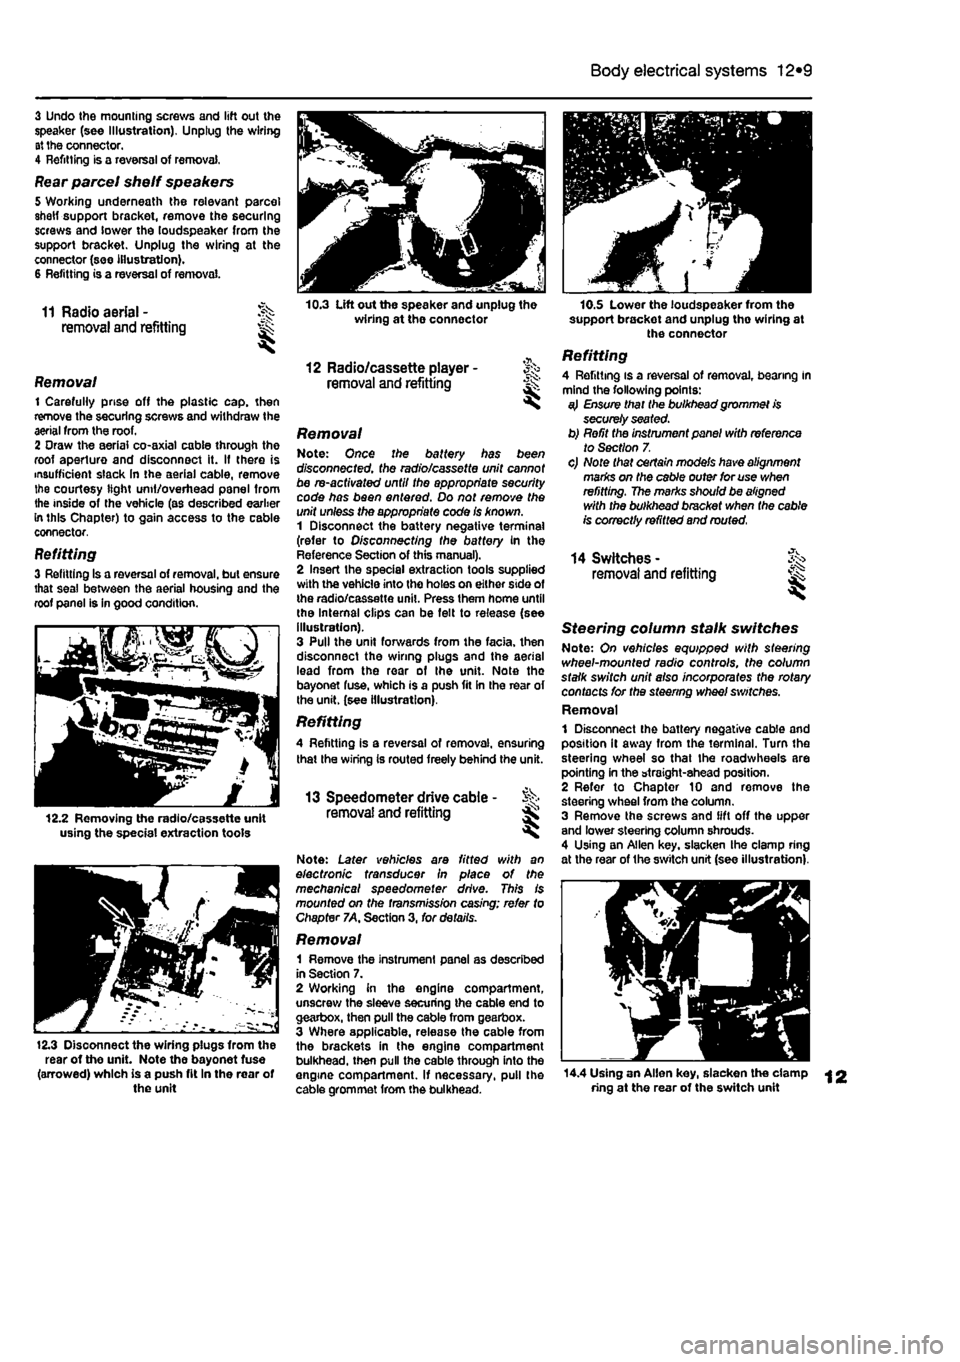
3 Undo the mounting screws and lift out the speaker (see Illustration). Unplug the wiring at the connector. 4 Refitting is a reversal of removal,
Rear parcel shelf speakers 5 Working underneath the relevant parcel shetf support bracket, remove the securing screws and lower the loudspeaker from the support bracket. Unplug the wiring at the connector (see illustration). 6 Refitting is a reversal of removal.
11 Radio aerial - J^s removal and refitting ^
Removal 1 Carefully prise off the plastic cap. then remove the securing screws and withdraw the aerial from the roof. 2 Oraw the aerial co-axial cable through the roof aperture and disconnect it. If there is insufficient slack In the aerial cable, remove the courtesy light unit/overhead panel from the inside of the vehicle (as described earlier in this Chapter) to gain access to the cable connector,
Refitting 3 Refitting Is a reversal of removal, but ensure that seal between the aerial housing and the roof panel is in good condition.
12.2 Removing the radio/cassette unit using the special extraction tools
12.3 Disoonnect the wiring plugs from the rear of the unit. Note the bayonet fuse (arrowed) which is a push fit In the rear of the unit
10.3 Lift out the speaker and unplug the wiring at the connector
12 Radio/cassette player -removal and refitting ^
Removal Note: Once the battery has been disconnected, the radio/cassette unit cannot be re-activated until the appropriate security code has been entered. Do not remove the unit unless the appropriate code Is known. 1 Disconnect the battery negative terminal (refer to Disconnecting the battery in the Reference Section of this manual). 2 Insert the special extraction tools supplied with the vehicle into the holes on either side of the radio/cassette unit. Press them home until the Internal clips can be felt to release (see illustration). 3 Pull the unit forwards from the facia, then disconnect the wiring plugs and the aerial lead from the rear of the unit. Note the bayonet fuse, which is a push fit in the rear of the unit, (see illustration).
Refitting A Refitting is a reversal of removal, ensuring that the wiring Is routed freely behind the unit.
13 Speedometer drive cable - % removal and refitting Ss ^
Note: Later vehicles are fitted with an electronic transducer in place of the mechanical speedometer drive. This is mounted on the fransm/ss/on casing; refer to Chapter 7A, Section 3, for details.
Removal 1 Remove the instrument panel as described in Section 7. 2 Working in the engine compartment, unscrew the sleeve securing the cable end to gearbox, then pull the cable from gearbox. 3 Where applicable, release the cable from the brackets in the engine compartment bulkhead, then pull the cable through into the engine compartment. If necessary, pull the cable grommet from the bulkhead.
10.S Lower the loudspeaker from the support brackot and unplug tho wiring at the connector
Refitting 4 Refitting is a reversal of removal, bearing in mind the following points: a} Ensure that the bulkhead grommet is securely seated. b) Refit the instrument panel with reference to Section 7. c) Note that certain models have alignment marks on the cable outer for use when refitting. The marks should be aligned with the bulkhead bracket when the cable is correctly refitted and routed.
14 Switches -removal and refitting ^
Steering column stalk switches Note: On vehicles equipped with sfeezing wheel-mounted radio controls, the column stalk switch unit also incorporates the rotary contacts for the steering wheel switches. Removal 1 Disconnect the battery negative cable and position it away from the terminal. Turn the steering wheel so that the roadwheeis are pointing in the straight-ahead position. 2 Refer to Chapter 10 and remove the steering wheel from the column. 3 Remove the screws and lift off the upper and lower steering column shrouds. 4 Using an Allen key. slacken Ihe clamp ring at the rear of the switch unit (see illustration),
14.4 Using an Allen key, slacken the clamp ring at the rear of the switch unit
Page 223 of 225

12*10 Body electrical systems
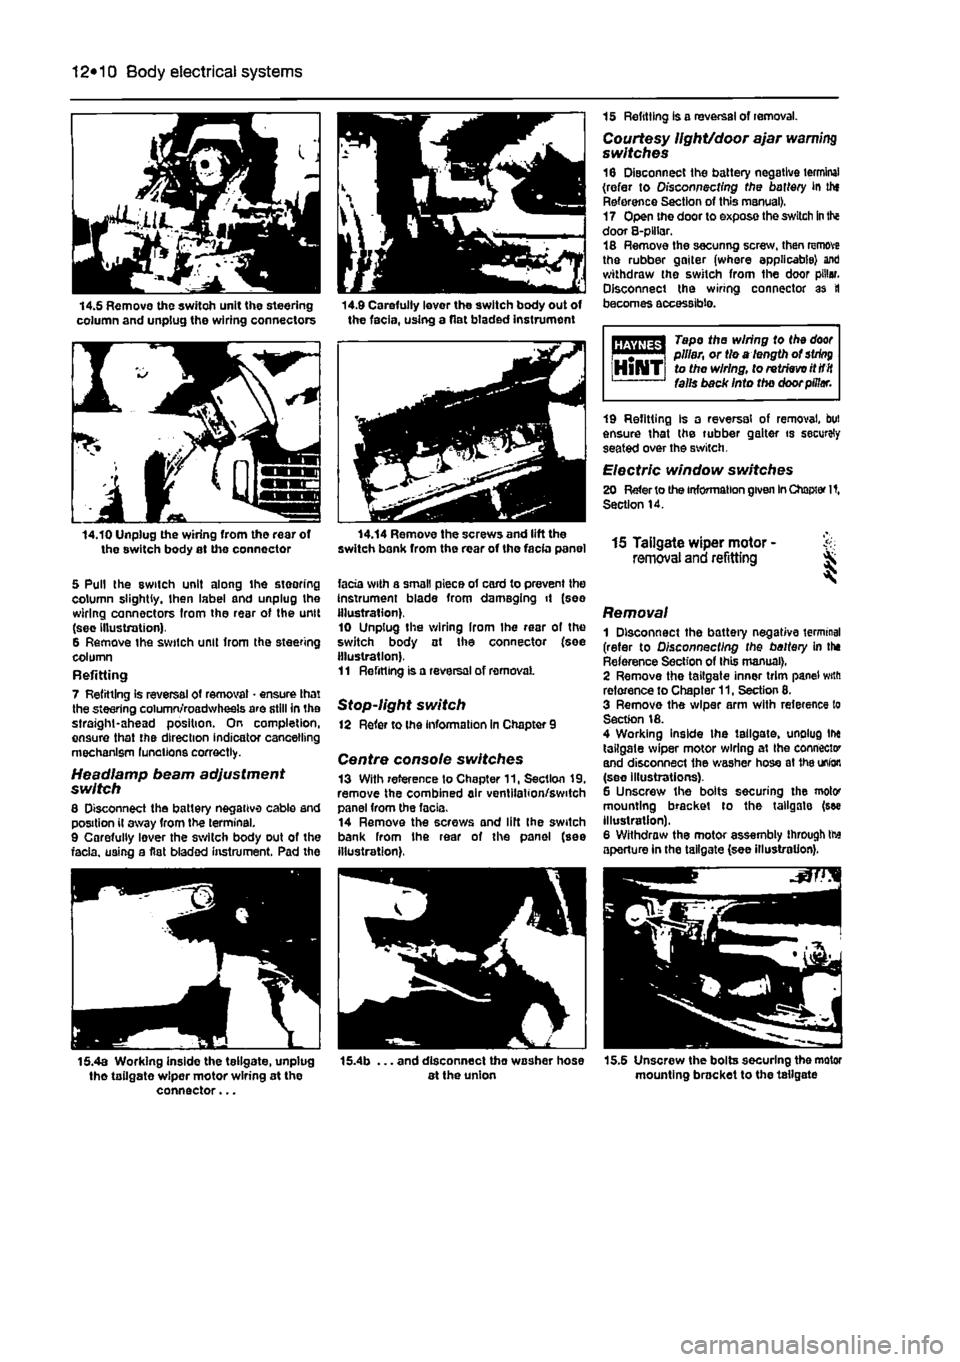
14.5 Remove the switch unit the steering column and unplug the wiring connectors 14.9 Carefully lever the switch body out of the facia, using a flat btaded instrument
14.10 Unplug the wiring from tho rear of the switch body at the connector
5 Pull the switch unit along ihe steering column slightly, then label and unplug the wiring connectors from the rear of the unit (sec Illustration). 6 Remove the switch unit from the steering column Refitting 7 Refitting is reversal of removal • ensure that the steering column/roadwheels are still in the straight-ahead position. On completion, ensure that the direction indicator cancelling mechanism lunations correctly.
Headlamp beam adjustment switch 8 Disconnect the battery negative cable and position il away from the terminal. 9 Carefully lever the switch body out of the facia, using a flat bladed instrument. Pad the
15 Refitting is a reversal of removal. Courtesy light/door ajar warning switches 16 Disconnect the battery negative terminal (refer to Disconnecting the battery in thf Reference Section of this manual). 17 Open the door to expose the switch
in
the door 8-plHar. 18 Remove the secunng screw, then remove the rubber gaiter (where applicable) ant) withdraw the switch from the door pillar. Disconnect the wiring connector as tl becomes accessible.
Tape the wiring to the
door
i m | pillar, or tie a length of
string
HlNTi to the wiring, to retrieve itttit falls back Into the door pillar.
14.14 Remove the screws and lift the switch bank from the rear of the facia panel
facia with a small piece of card to prevent the Instrument blade from damaging it (see illustration). 10 Unplug the wiring Irom Ihe rear of the switch body at Ihe connector (see illustration). 11 Refitting is a reversal of removal
Stop-light switch 12 Refer to the information in Chapter 9
Centre console switches 13 With reference to Chapter 11, Section 19, remove the combined air ventilation/switch panel from the facia. 14 Remove the screws and lift Ihe switch bank from Ihe rear of the panel (see illustration),
19 Refitting Is a reversal of removal, but ensure that the rubber gaiter is securely seated over the switch.
Electric window switches 20 Refer to the information given
In
Chapter It, Section 14.
15 Tailgate wiper motor - & removal and refitting ^
Removal 1 Disconnect the battery negative terminal (refer to Disconnecting the battery in the Reference Section of this manual), 2 Remove the tailgate inner trim panel with reference to Chapter 11, Section 8. 3 Remove the wiper arm with reference to Section 18. 4 Working inside the tailgate, unplug tlx tailgate wiper motor wiring at Ihe connector and disconnect the washer hose at
1he
union (see illustrations). 6 Unscrew the bolts securing the motor mounting bracket to the tailgate (see illustration). 6 Withdraw the motor assembly through tte aperture in the tailgate (see illustration).
15.4a Working inside the tellgate, unplug tho tailgate wiper motor wiring at the connector...
. and disconnect tho washer hose at the union 15.5 Unscrew the bolts securing the motor mounting bracket to the tailgate