light FIAT PUNTO 1999 176 / 1.G Service Manual
[x] Cancel search | Manufacturer: FIAT, Model Year: 1999, Model line: PUNTO, Model: FIAT PUNTO 1999 176 / 1.GPages: 225, PDF Size: 18.54 MB
Page 79 of 225
Diesel engine in-car repair procedures
2C*11
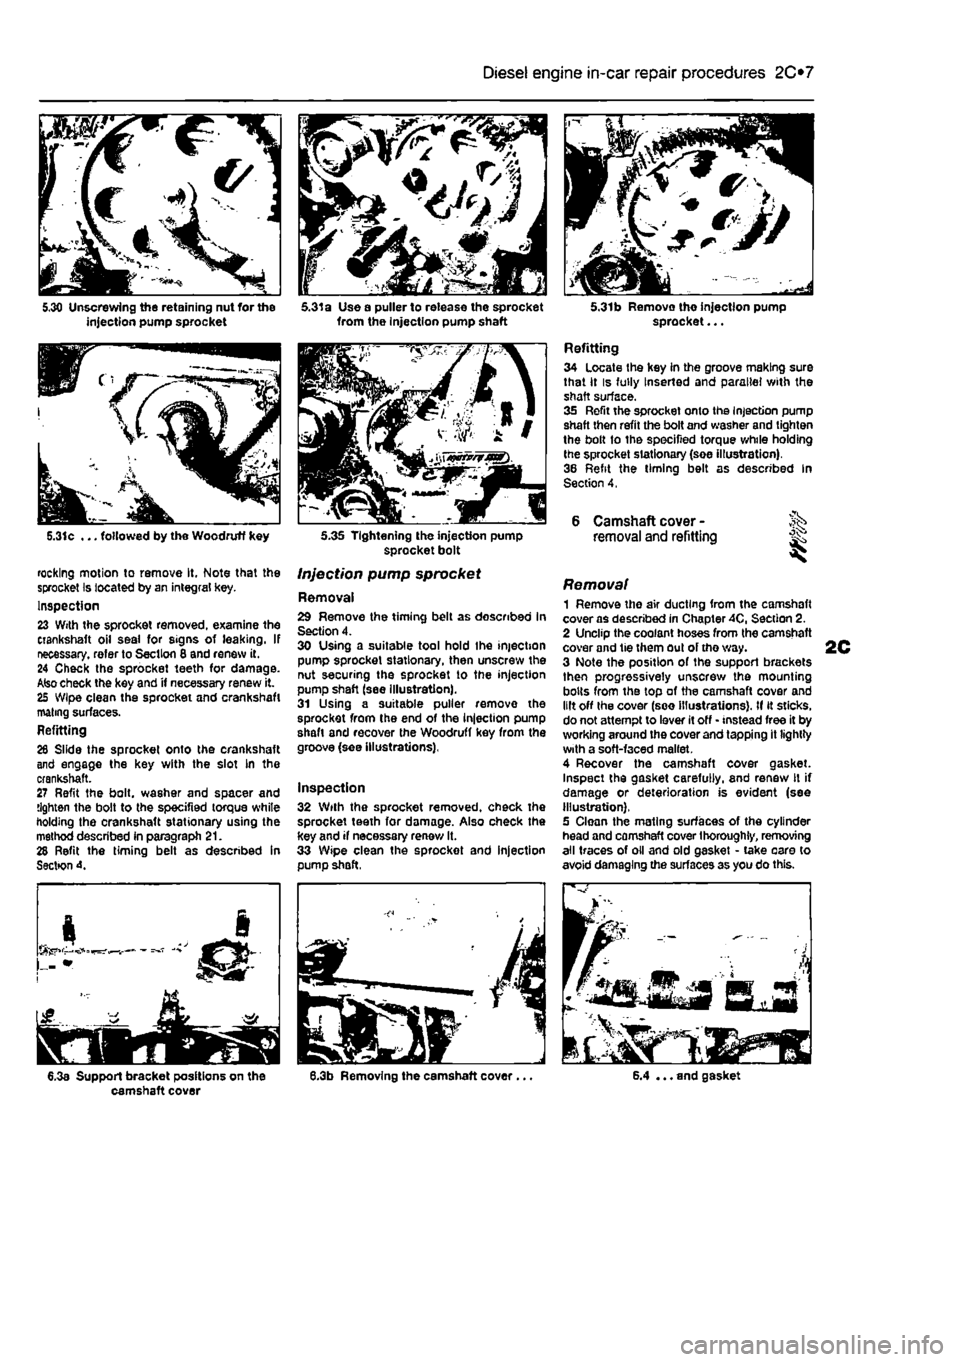
5.31c ... followed by the Woodruff key
rocking motion to remove It, Note that the sprocket Is located by an integral key. Inspection 23 With the sprocket removed, examine the crankshaft oil seal for signs of leaking. If necessary, refer to Section 8 and renew it. 24 Check the sprocket teeth for damage. Also check the key and if necessary renew it. 25 Wipe clean the sprocket and crankshaft mating surfaces. Refitting 26 Slide the sprocket onto the crankshaft and engage the key with the slot In the crankshaft. 27 Refit the bolt, washer and spacer and tighten the bolt to the specified torque white holding the crankshaft stationary using the method described in paragraph 21. 28 Refit the timing belt as described in Sectton 4.
6.3a Support bracket positions on the camshaft cover
5.31a Use a puller to release the sprocket from the injection pump shaft
5.35 Tightening the injection pump sprocket bolt
Injection pump sprocket
Removal 29 Remove the timing belt as described In Section 4. 30 Using a suitable tool hold Ihe injection pump sprocket stationary, then unscrew the nut securing the sprocket to the injection pump shaft (see illustration). 31 Using a suitable puller remove the sprocket from the end of the injection pump shaft and recover the Woodruff key from the groove (see illustrations),
Inspection 32 With the sprocket removed, check the sprocket teeth for damage. Also check the key and if necessary renew It. 33 Wipe clean the sprocket and injection pump shaft,
5.31b Removo tho injection pump sprocket...
Refitting 34 Locate the key in the groove making sure that it is fully Inserted and parallel with the shaft surface. 35 Refit the sprocket onto the Injection pump shaft then refit the bolt and washer and tighten the bolt to the specified torque while holding the sprocket stationary (soe illustration). 36 Refit the timing belt as described In Section 4,
6 Camshaft cover -removal and refitting ^
Removal 1 Remove the air ducting from the camshaft cover as described in Chapter 40, Section 2. 2 Unclip the coolant hoses from the camshaft cover and tie them out of tho way. 3 Note the position of the support brackets then progressively unscrew the mounting bolts from the top of the camshaft cover and lilt off the cover (see illustrations). If it sticks, do not attempt to lever it off • instead free it by working around the cover and tapping it lightly with a soft-faced mallet. 4 Recover the camshaft cover gasket. Inspect the gasket carefully, and renew It if damage or deterioration is evident (see illustration). 5 Clean the mating surfaces of the cylinder head and camshaft cover thoroughly, removing all traces of oil and old gasket • take oaro to avoid damaging the surfaces as you do this.
6.4 ... and gasket
Page 80 of 225
2C*2 Diesel engine in-car repair procedures
Refitting 6 Locate a new gasket on the cylinder head and make sure tt Is correctly seated. 7 Lower the cover onto the gasket making sure the gasket Is not displaced, 8 Insert the mounting bolts and tighten them securely In a progressive sequence. Position Ihe support brackets as noted during removal. 9 Clip ihe coolant hoses in position then refil the air ducting.
7 Camshaft oil seal -renewal
8 Crankshaft oil seals -renswal I
9 Cylinder head -
removal
and refitting
1 Remove the timing belt and camshaft sprocket as descnbed in Sections 4 and 5. 2 Using a suitable hooked instrument, remove tho oil seal from the cylinder head taking care nol to damage the surface of the camshafl. Alternatively drill a small hole In tho oil seal and Insert a self-topping screw - the seal can then be removed by pulling on the screw with a pair of pliers. 3 Clean the seating In the cylinder head and tho end of the camshaft To prevent damage to the new oil seal as It is being fitted, wrap some adhesive tape around the end ol the camshaft and lightJy oil it. 4 Dip tho new ail s«al In oil then locate it over Ihe camshaft making sure that the sealing lips are facing inwards. 5 Using a suitable tubular drift, drive the oil seal squarely into the cylinder h*ad. Remove the adhesive tap© 6 Refit the camshaft sprocket and timing belt with reference to Sections 6 and 4.
Front (right-hand side) oil seal t The front oil seal is located in the oil pump casing on the front of the crankshaft. Remove the timing belt as described in Section 4 and the crankshaft sprocket as described in Section 5, 2 Using a suitable hooked instrument, remove the oil seal from the oil pump casing taking care not to damage the surface of the crankshaft. Alternatively drill a small hole In the oil soal and insert a self-tapping screw - the seal can then be removed by pulling on the screw with a pair of pliers. 3 Clean the seating in the oH pump and the surface of the crankshaft. To prevent damage to the new off seal as It Is being fitted, wrap some adhesive tape around the end of tha crankshaft and lightly oil it. 4 Oip the new oii seal In oil then otter it up to the oil pump casing making sure that the sealing Hps are facing inwards,
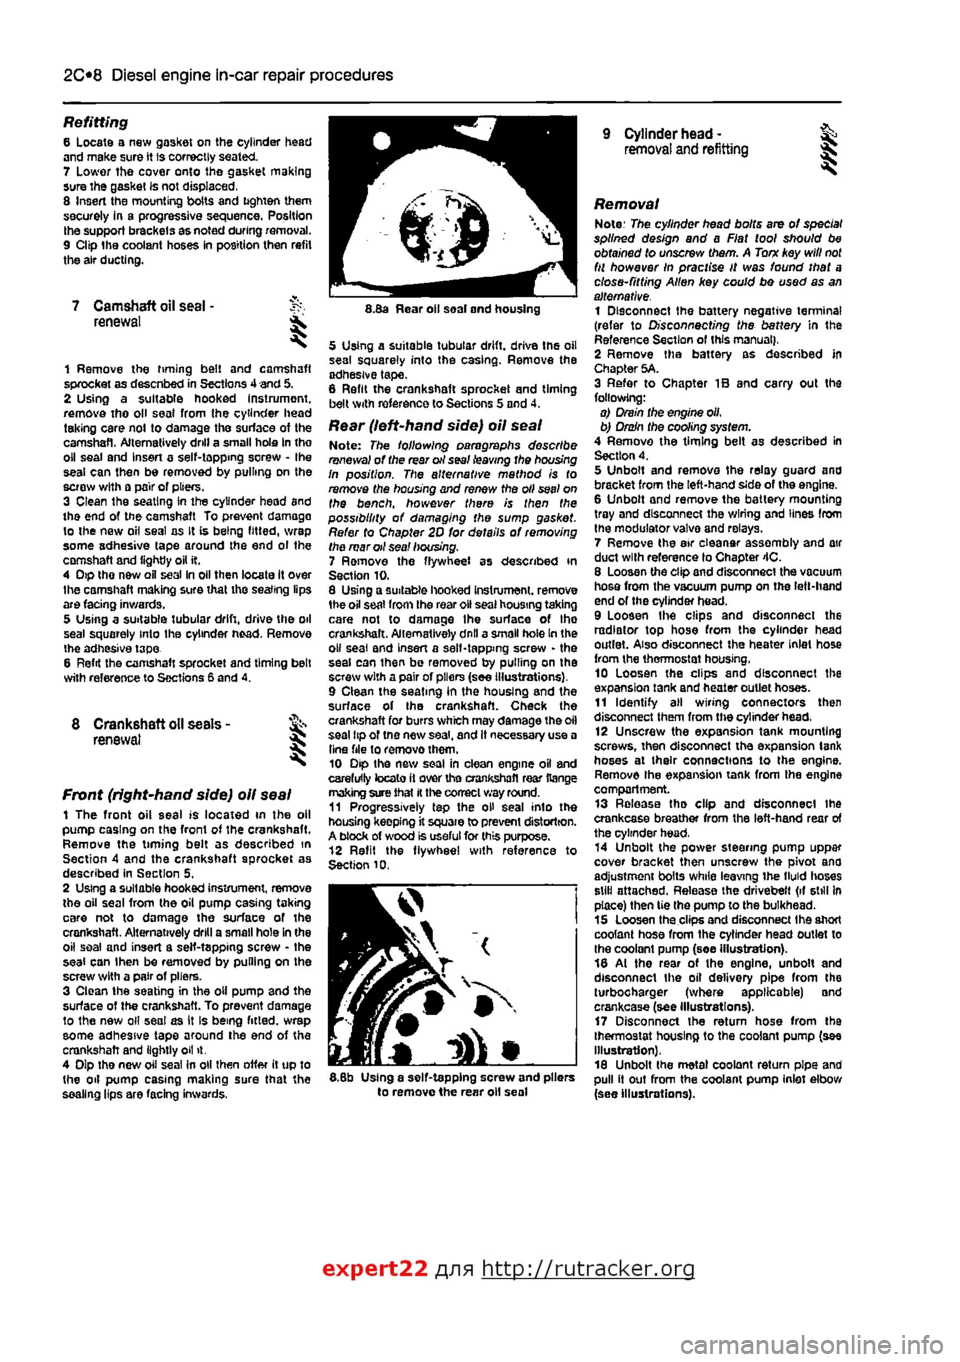
8.Ba Rear oil soal and housing
5 Using a suitable tubular drift, driva the oil sea! squarely into the casing. Remove the adhesive tape. 6 Refit the crankshaft sprocket and timing belt with reference to Sections 5 and 4.
Rear (left-hand side) oil seal Note: The following paragraphs describe renewal of the rear oil seal leaving the housing In position. The alternative mathod is to remove the housing and renew the oil seel on the bench, however there is then the possibility of damaging the sump gasket. Refer to Chapter 2D for details of removing the mar oil sea! housing. 7 Ramove the flywheel as described in Section 10. 8 Using a suitable hooked Instrument. remove 1he oil seat from the roar oil seal housing taking care not to damage Ihe surface of Ihe crankshaft. Alternatively dnll a small hole In the o» seal and insert a self-tapping screw - the seal can ihan be removed by pulling on the screw with a pair of pliers (see Illustrations), 9 Clean the seating in the housing and the surface of the crankshaft. Check the crankshaft for burrs which may damage the oil seal tip of tno new saal, and It necessary use a Una file to removothem. 10 Dip the new soal in clean engine oil and carefully tocato it over tho crankshafl rear Range making sure that
H
the correct way round. 11 Progressively tap the oH seal into the housing keepfng it square to prevent distortion. A block of wood is useful for this purpose. 12 Refit the flywheel with reference to Section 10.
I
5.8b Using a self-tapping screw and pliers to remove the rear oil seal
Removal Note: The cylinder head bolts are of special splined design and a Fiat tool should be obtained to unscrew them. A Torn key will
not
fit however In practise It was found that a close-fitting Allen key could bo used as an alternative. 1 Disconnect the battery negative terminal (refer to Disconnecting the battery in the Reference Section of this manual), 2 Remove tha battery as described In Chapter 5A. 3 Refer to Chapter IB and carry out the following: o) Drain the engine oil, b) Drain the cooling system. 4 Remove the timing belt as described in Section 4. 5 Unbolt and remova the relay guard and bracket from the left-hand side of the engine. 6 Unbolt and remove the battery mounting tray and disconnect the wiring and lines from the modulator valva and relays. 7 Remove the air eleanar assembly and air duct with reference lo Chapter 4C. 8 Loosen the clip and disconnect the vacuum hosa from the vacuum pump on the left-hand end of the cylinder head. 9 Loosen Ihe clips and disconnect the radiator top hose from the cylinder head outlet. Also disconnect the heater inlet hose from the thermostat housing, 10 Loosen the clips and disconnect the expansion tank and heater outlet hoses. 11 Identify all wiring connectors then disconnect them from the cylinder head, 12 Unscrew the expansion tank mounting screws, then disconnect tha expansion tank hoses at their connections to the engine. Remove the expansion tank from tha engine compartment. 13 Release tha clip and disconnect ihe crankcase breather from the left-hand rear of the cylinder head. 14 Unbolt the power steering pump uppar cover bracket then unscrew the pivot ana adjustment bolts while leaving ihe tMd lioses still attached. Release the drivebelt (if still In place) then tie the pump to the bulkhead. 15 Loosen tha clips and disconnect Ihe short coolant hose from the cylinder head outlet to the coolant pump (soe illustration). 18 At the rear of the engine, unbolt and disconnect the oil delivery pipe from the turbocharger (where applicable) and crankcase (see Illustrations). 17 Disconnect the return hose from tha thermostat housing to the coolant pump (see Illustration), 18 Unbolt the metal coolant return pipe and pull it out from the coolant pump inlet elbow (see Illustrations).
expert22 flna http://rutracker.org
Page 82 of 225
2C*2 Diesel engine in-car repair procedures
9.31c Removing the inner timing cover
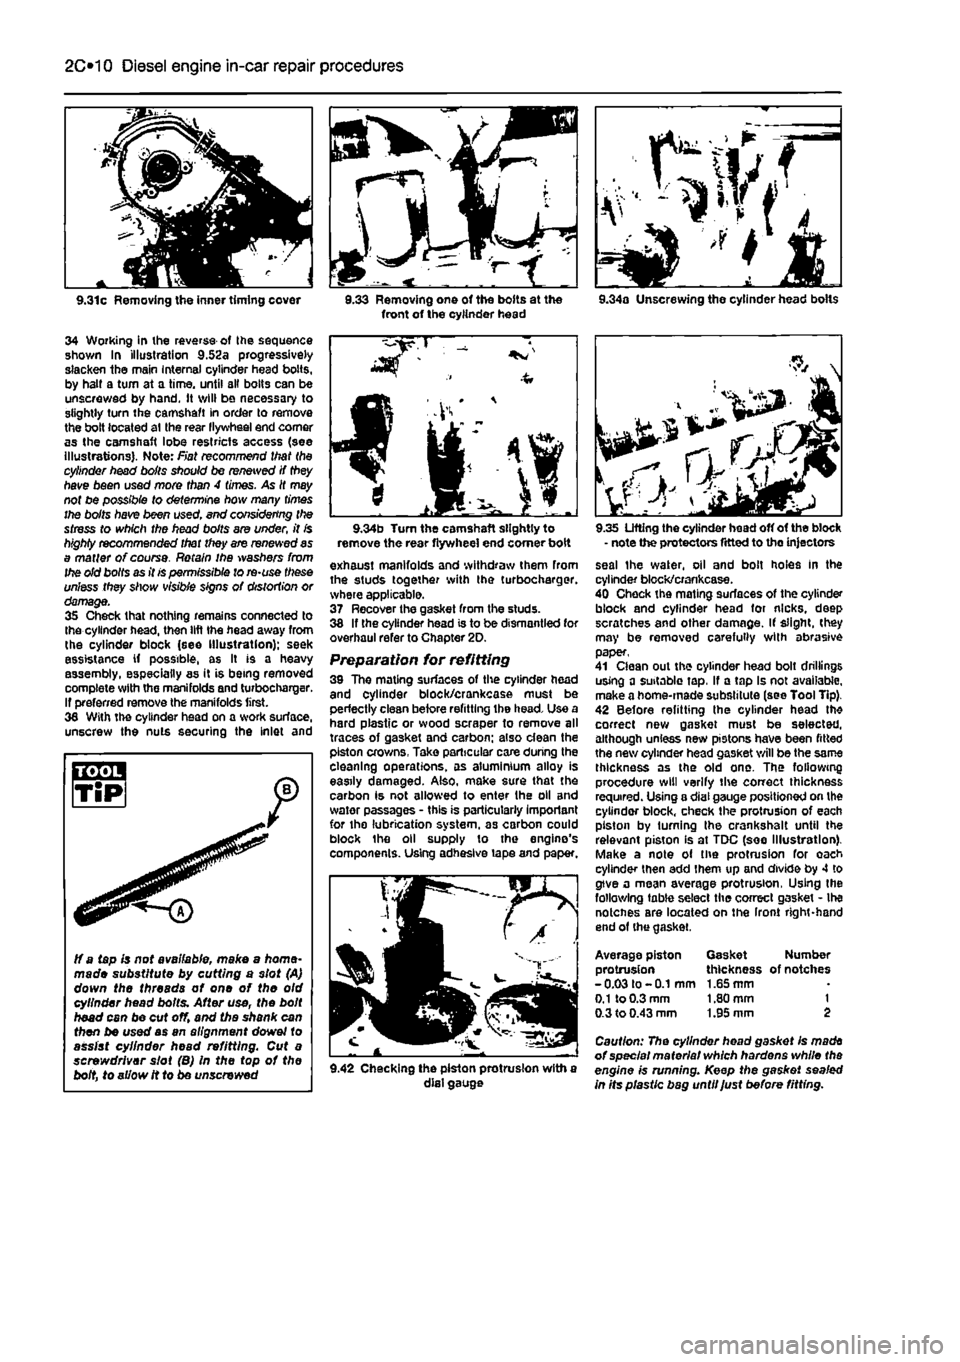
34 Working in ihe reverse of Ihe sequence shown In illustration 9.52a progressively slacken the main Internal cylinder head bolts, by halt a turn at a time, until all bolts can be unscrewed by hand. It will be necessary to slightly turn the camshaft in order to remove the bolt located at the rear llywheel end comer as the camshaft lobe restricts access (see illustrations). Note: Fiat recommend that the cylinder head boils should be renewed if they have been used more than 4 times. As It may not be possible to determine how many times the bolts have been used. end considering the stress to which the head bolts are under, it is highly recommended that they are renewed as a matter of course. Retain ihe washers from the old bolts as it is permissible to re-use these unless they show visible signs of distortion or damage. 35 Check that nothing remains connected to the cylinder head, then lift the head away from the cylinder block (see Illustration); seek assistance if possible, as It is a heavy assembly, especially as it is being removed complete with the manifolds and turbochargar. If preferred remove the manifolds first. 36 With the cylinder head on a work surface, unscrew the nuts securing the inlet and
3.33 Removing one of the bolts at the front of the cylinder head 9.34a Unscrewing the cylinder head bolts
ff a tapis not available, make a home-made substitute by cutting a slot (A) down the threads of one of the old cylinder head bolts. After use, the bolt head can be cut off, and the shank can then be used as an alignment dowel to assist cylinder head refitting. Cut a screwdriver slot (B) In the top of the bolt, to allow it to be unscrewed
9.34b Turn the camshaft slightly to remove the rear flywheel end comer boit exhaust manifolds and withdraw them from the studs together with the turbocharger. where applicable. 37 Recover the gasket from the studs. 38 If the cylinder head is to be dismantled for overhaul refer to Chapter 2D. Preparation for refitting 39 The mating surfaces of the cylinder head and cylinder block/crankcase must be perfectly clean before refitting the head. Use a hard plastic or wood scraper to remove all traces of gasket and carbon; also dean the piston crowns, Take particular care during the cleaning operations, as aluminium alloy is easily damaged. Also, make sure that the carbon is not allowed to enter the oil and water passages - this is particularly important for the lubrication system, as carbon could block the oil supply to the engine's components. Using adhesive tape and paper.
9.42 Checking the piston protrusion with a dial gauge
9.35 Lifting the cylinder head off of the block - note the protectors fitted to the injectors seal the water, oil and bolt holes In the cylinder block/crankcase. 40 Check the mating surfaces of the cylinder block and cylinder head for nicks, deep scratches and other damage. If slight, (hey may be removed carefully with abrasive paper, 41 Clean out the cylinder head bolt drillings using a suitable tap, If a tap Is not available, make a home-made substitute (see Tool Tip). 42 Before refitting the cylinder head th* correct new gasket must be selected, although unless new pistons have been fitted the new cylinder head gasket will be the same thickness as the old one. The following procedure will verify the correct thickness required. Using a dial gauge positioned on the cylinder block, check the protrusion of each piston by turning the crankshalt until the relevant piston Is at TDC (see Illustration). Make a note of the protrusion for oach cylinder then add them up and divide by 4 to give a mean average protrusion, Using the following table select the correct gasket - Ihe notcnes are located on the Iront right-hand end of (he gasket.
Average piston Gasket Number protrusion thickness of notches -0.03 to -0.1 mm 1.65 mm
0.1
to 0.3 mm 1.80 mm 1 0.3 to 0.43 mm 1.95 mm 2
Caution: The cylinder head gasket Is made of special material which hardens while the engine is running. Keep the gasket sealed in Its plastic bag until Just before fitting.
Page 87 of 225
Diesel engine in-car repair procedures 2C*11
X
a 13.14 Fitting the new oil seal to the oil pump casing
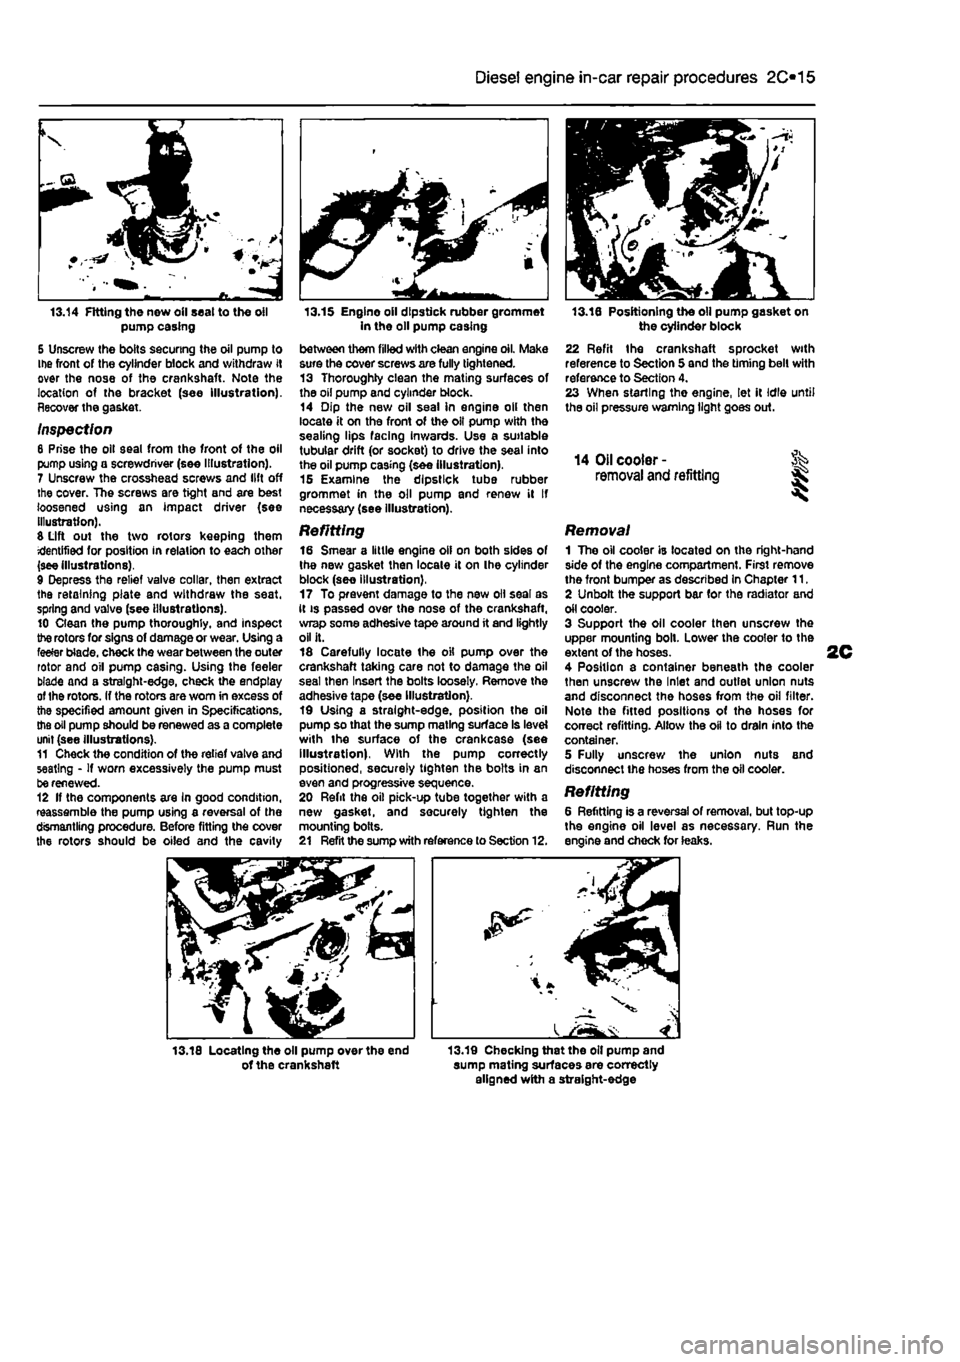
S Unscrew the bolts securing the oil pump to Ihe front of the cylinder block and withdraw it over the nose of the crankshaft. Note the location of the bracket (see Illustration). Recover the gasket.
Inspection 8 Prise the oil seal from the front of the oil pump using a screwdriver (see Illustration). 7 Unscrew the crosshead screws and lift off the cover. The screws are tight and are best loosened using an impact driver (see illustration). S Lift out the two rotors keeping them identified for position in relation to each other (see illustrations). 9 Depress the relief valve collar, then extract the retaining plate and withdraw the seat, spring and valve (see illustrations). 10 Clean the pump thoroughly, and Inspect the rotors for signs of damage or wear. Using a feeler blade, check the wear between the outer rotor and oil pump casing. Using the feeler blade and a straight-edge, check the endptay of Ihe rotors. If the rotors are worn in excess of the specified amount given in Specifications, the oil pump should be renewed as a complete unit (see Illustrations). 11 Check the condition of the relief valve and seating - If worn excessively the pump must be renewed. 12 If the components are In good condition, reassemble the pump using a reversal of the dismantling procedure. Before fitting the cover the rotors should be oiled and the cavity
13.15 Engine oil dipstick rubber grommet in the oil pump casing between them filled with clean engine oil. Make sure the cover screws are fully tightened. 13 Thoroughly clean the mating surfaces of the oil pump and cylinder block. 14 Dip the new oil seal in engine oil then locate it on the front of the oil pump with the sealing lips facing Inwards. Use a suitable tubular drift (or socket) to drive the seal into the oil pump casing (see illustration). 16 Examine the dipstick tube rubber grommet in the oil pump and renew il If necessary (see illustration).
Refitting 16 Smear a little engine oil on both sides of the new gasket then locate it on the cylinder block (see illustration), 17 To prevent damage to the new oil seal as it is passed over the nose of the crankshaft, wrap some adhesive tape around it and lightly oil it. 18 Carefully locate the oil pump over the crankshaft taking care not to damage the oil seal then Insert the bolts loosely. Remove the adhesive tape (see Illustration). 19 Using a straight-edge, position the oil pump so that the sump mating surface Is level with the surface of the crankcase (see illustration). With the pump correctly positioned, securely tighten the bolts in an even and progressive sequence. 20 Refit the oil pick-up tube together with a new gasket, and securely tighten the mounting bolts. 21 Refit the sump with reference to Section 12.
13.16 Positioning the oil pump gasket on the cylinder block 22 Refit the crankshaft sprocket with reference to Section 5 and the timing belt with reference to Section 4. 23 When starling the engine, let it Idle until the oil pressure warning light goes out.
14 Oil cooler -removal and refitting I I
Removal 1 The oil cooler is located on the right-hand side of the engine compartment. First remove the front bumper as described In Chapter 11. 2 Unbolt the support bar for the radiator and oil cooler. 3 Support the oil cooler then unscrew the upper mounting boll. Lower the cooler to the extent of the hoses. 4 Position a container beneath the cooler then unscrew the Inlet and outlet union nuts and disconnect the hoses from the oil filter. Note the fitted positions of the hoses for correct refitting. Allow the oil to drain into the container. 5 Fully unscrew the union nuts and disconnect the hoses from the oil cooler.
Refitting 6 Refitting is a reversal of removal, but top-up the engine oil level as necessary. Run the engine and check for leaks.
13.18 Locating the oil pump over the end of the crankshaft 13.19 Checking that the oil pump and sump mating surfaces are correctly aligned with a straight-edge
Page 92 of 225
2D*10 Engine removal and overhaul procedures
Engine and transmission -removal, separation, connection and refitting
Note: The engine Is lowered from the engine compartment as a complete unit with the transmission; tho two are then separated for overhaul.
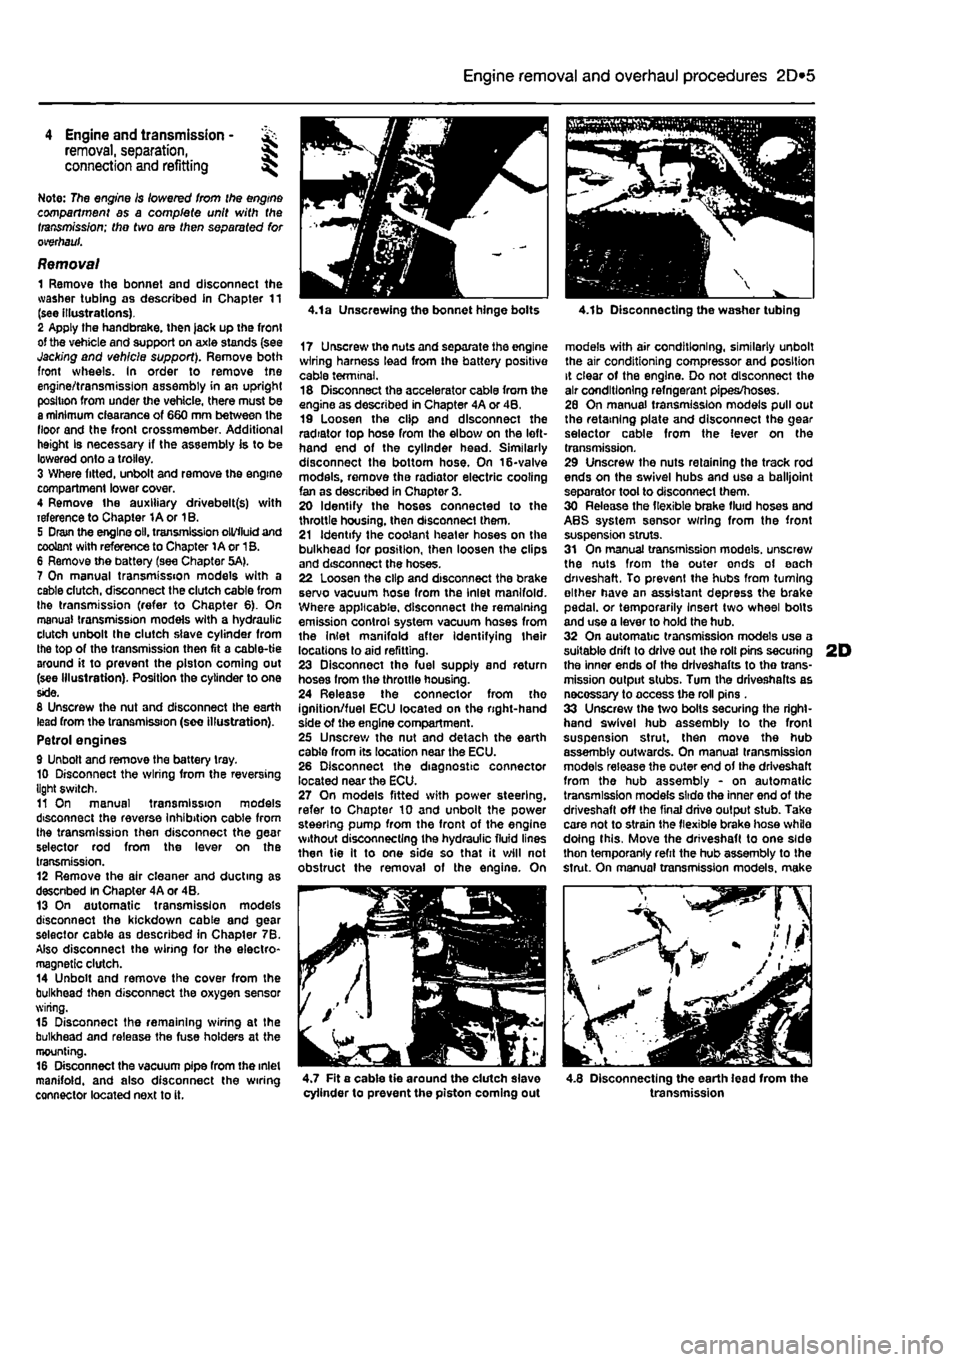
Removal 1 Remove the bonnet and disconnect the washer tubing as described in Chapter 11 (see illustrations). 2 Apply the handbrake, then jack up the front of the vehicle and support on axle stands (see Jacking and vehicle support). Remove both front wheels. In order to remove tne engine/transmission assembly in an upright position from under the vehicle, there must be a minimum clearance of 660 mm between the floor and the front crossmember. Additional height Is necessary if the assembly is to be lowered onto a trolley. 3 Where fitted, unbolt and remove the engine compartment lower cover. 4 Remove the auxiliary drivebelt(s) with reference to Chapter 1A or 1B. 5 Dram the engine oil. transmission oil/fluid and coolant with reference to Chapter 1A or 1B. 6 Remove the battery (see Chapter 5A). 7 On manual transmission models with a cable dutch, disconnect the clutch cable from the transmission (refer to Chapter 6). On manual transmission models with a hydraulic clutch unbolt the clutch slave cylinder from the top of the transmission then fit a cable-tie around it to prevent the piston coming out (see Illustration). Position the cylinder to one side. 8 Unscrew the nut and disconnect the earth lead from the transmission (see illustration). Petrol engines 9 Unbolt and remove the battery tray. 10 Disconnect the wiring from the reversing light switch. 11 On manual transmission models disconnect the reverse Inhibition cable from the transmission then disconnect the gear selector rod from the lever on the transmission. 12 Remove the air cleaner and ducting as descnbed In Chapter 4A or 4B. 13 On automatic transmission models disconnect the kickdown cable and gear selector cable as described in Chapter 7B. Also disconnect the wiring for the electro-magnetic clutch. 14 Unbolt and remove the cover from the bulkhead then disconnect the oxygen sensor wiring. 15 Disconnect the remaining wiring at the bulkhead and release the fuse holders at the mounting. 16 Disconnect the vacuum pipe from the inlet manifold, and also disconnect the wiring connector located next to it.
4.1a Unscrewing the bonnet hinge bolts
17 Unscrewthenutsandseparatetheengine wiring harness lead from the battery positive cable terminal. 18 Disconnect the accelerator cable from the engine as described in Chapter 4A or 4B, 19 Loosen the clip and disconnect the radiator top hose from the elbow on the left-hand end of the cylinder head. Similarly disconnect the bottom hose. On 16-valve models, remove the radiator electric cooling fan as described in Chapter 3. 20 Identify the hoses connected to the throttle housing, then disconnect them. 21 Identify the coolant heater hoses on the bulkhead for position, then loosen the clips and disconnect the hoses. 22 Loosen the clip and disconnect the brake servo vacuum hose from the Inlet manifold. Where applicable, disconnect the remaining emission control system vacuum hoses from the Inlet manifold after Identifying their locations to aid refitting. 23 Disconnect tho fuel supply and return hoses from the throttle housing. 24 Release the connector from the ignition/fuel ECU located on the right-hand side of the engine compartment. 25 Unscrew the nut and detach the earth cable from its location near the ECU. 26 Disconnect the diagnostic connector located near the ECU. 27 On models fitted with power steering, refer to Chapter 10 and unbolt the power steering pump from the front of the engine without disconnecting the hydraulic fluid lines then tie It to one side so that it will not obstruct the removal of the engine. On
4.1b Disconnecting the washer tubing
models with air conditioning, similarly unbolt the air conditioning compressor and position it clear of the engine. Do not disconnect the air conditioning refngerant pipes/hoses. 26 On manual transmission models pull out the retaining plate and disconnect the gear selector cable from the lever on the transmission. 29 Unscrew the nuts retaining the track rod ends on the swivel hubs and use a balljoint separator tool to disconnect them. 30 Release the flexible brake fluid hoses and ABS system sensor wrring from the front suspension struts. 31 On manual transmission models, unscrew the nuts from the outer ends of each driveshaft. To prevent the hubs from turning either have an assistant depress the brake pedal, or temporarily Insert two wheel bolts and use a lever to hold the hub. 32 On automatic transmission models use a suitable drift to drive out Ihe roll pins securing 2D the inner ends of the drlveshafts to tho trans-mission output stubs. Turn the driveshalts as necossary to access the roll pins . 33 Unscrew the two bolts securing the right-hand swivel hub assembly to the front suspension strut, then move the hub assembly outwards. On manual transmission models release the outer end of the driveshaft from the hub assembly - on automatic transmission models slide the inner end of the driveshaft off the final drive output stub. Take care not to strain the flexible brake hose while doing this. Move the driveshaft to one side thon temporanly refit the hub assembly to the strut. On manual transmission models, make
^ - / //
4.7 Fit a cable tie around the dutch slave cylinder to prevent the piston coming out 4.8 Disconnecting the earth lead from the transmission
Page 95 of 225
2D*10 Engine removal and overhaul procedures
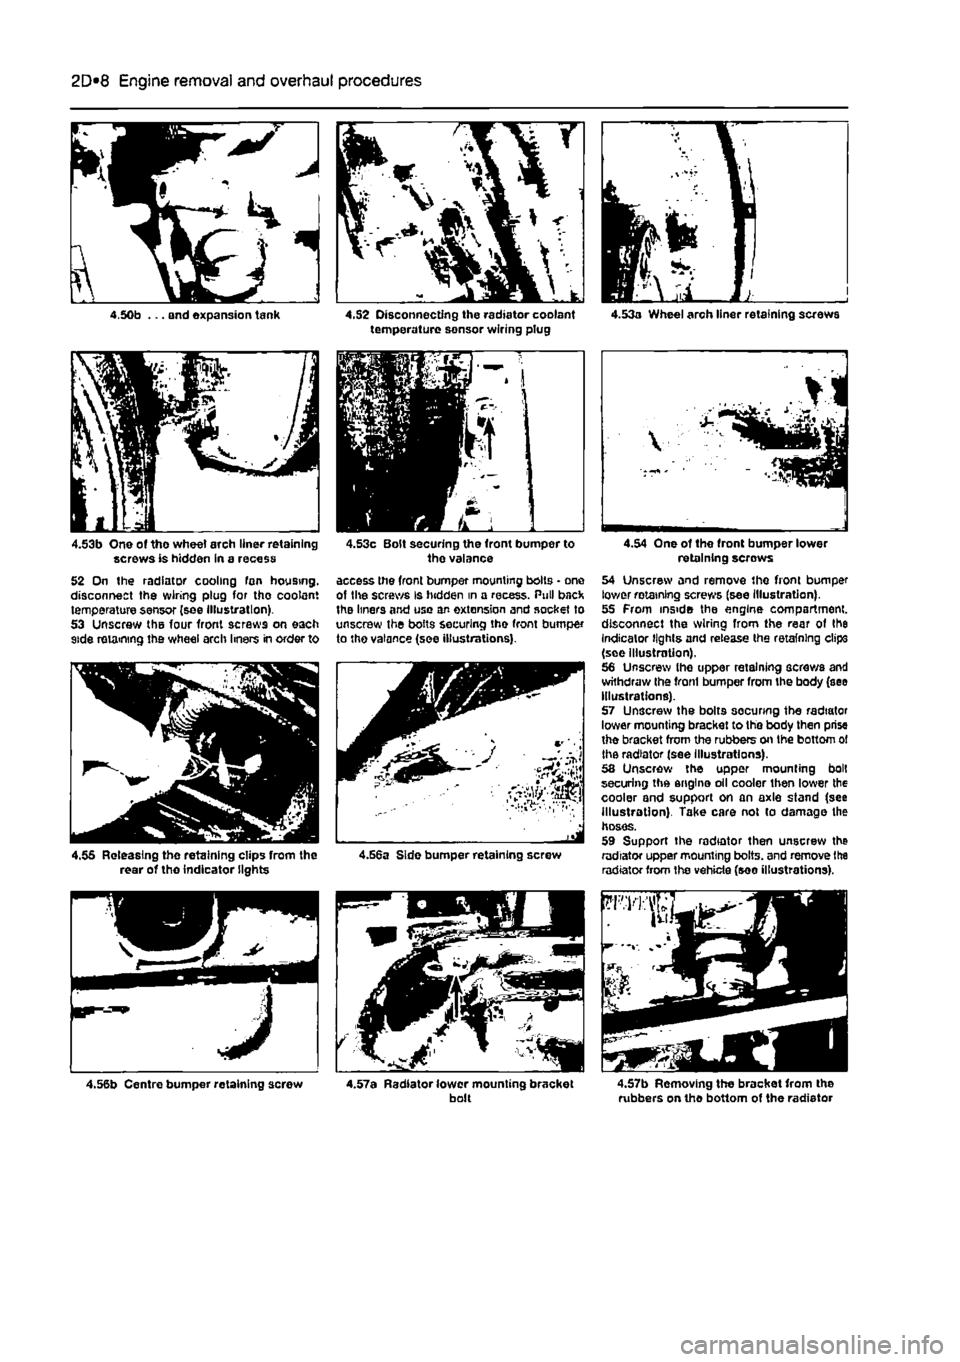
4.50b ... and expansion tank 4.S2 Disconnecting the radiator coolant temperature sensor wiring plug
4.53b One of tho wheel arch liner retaining screws is hidden in a recess 52 On the radiator cooling fan housing, disconnect the wiring plug for tho coolant temperature sensor (see illustration). 53 Unscrew the four front screws on each side retaining the wheel arch liners in order to
4.53c Bolt securing the front bumper to the valance access the front bumper mounting bolts • one of lite screws is hidden in a recess. Pull back the liners and use an extension and socket to unscrew the bolts securing the front bumper to tho valance (see illustrations).
4.55 Releasing the retaining clips from the rear of tho indicator lights 4.56a Side bumper retaining screw
4.56b Centre bumper retaining screw 4.57a Radiator lower mounting bracket bolt
4.54 One of the front bumper lower retaining screws 54 Unscrew and remove the front bumper lower retaining screws (see Illustration). 55 From inside the engine compartment, disconnect the wiring from the rear of the Indicator lights and release the retaining clips (see illustration). 56 Unscrew the upper retaining screws and withdraw the front bumper from the body (see Illustrations). 57 Unscrew the bolts socunng the radiator lower mounting bracket to the body then prise the bracket from the rubbers on the bottom ol the radiator (see Illustrations). 58 Unscrew the upper mounting bolt securing the engine oil cooler then lower the cooler and support on an axle stand (see illustrotion). Take care not to damage the hoses. 59 Support the radiator then unscrew the radiator upper mounting bolts, and remove the radiator from the vehicle (see illustrations).
4.57b Removing the bracket from the rubbers on the bottom of the radiator
Page 96 of 225
2D*10 Engine removal and overhaul procedures
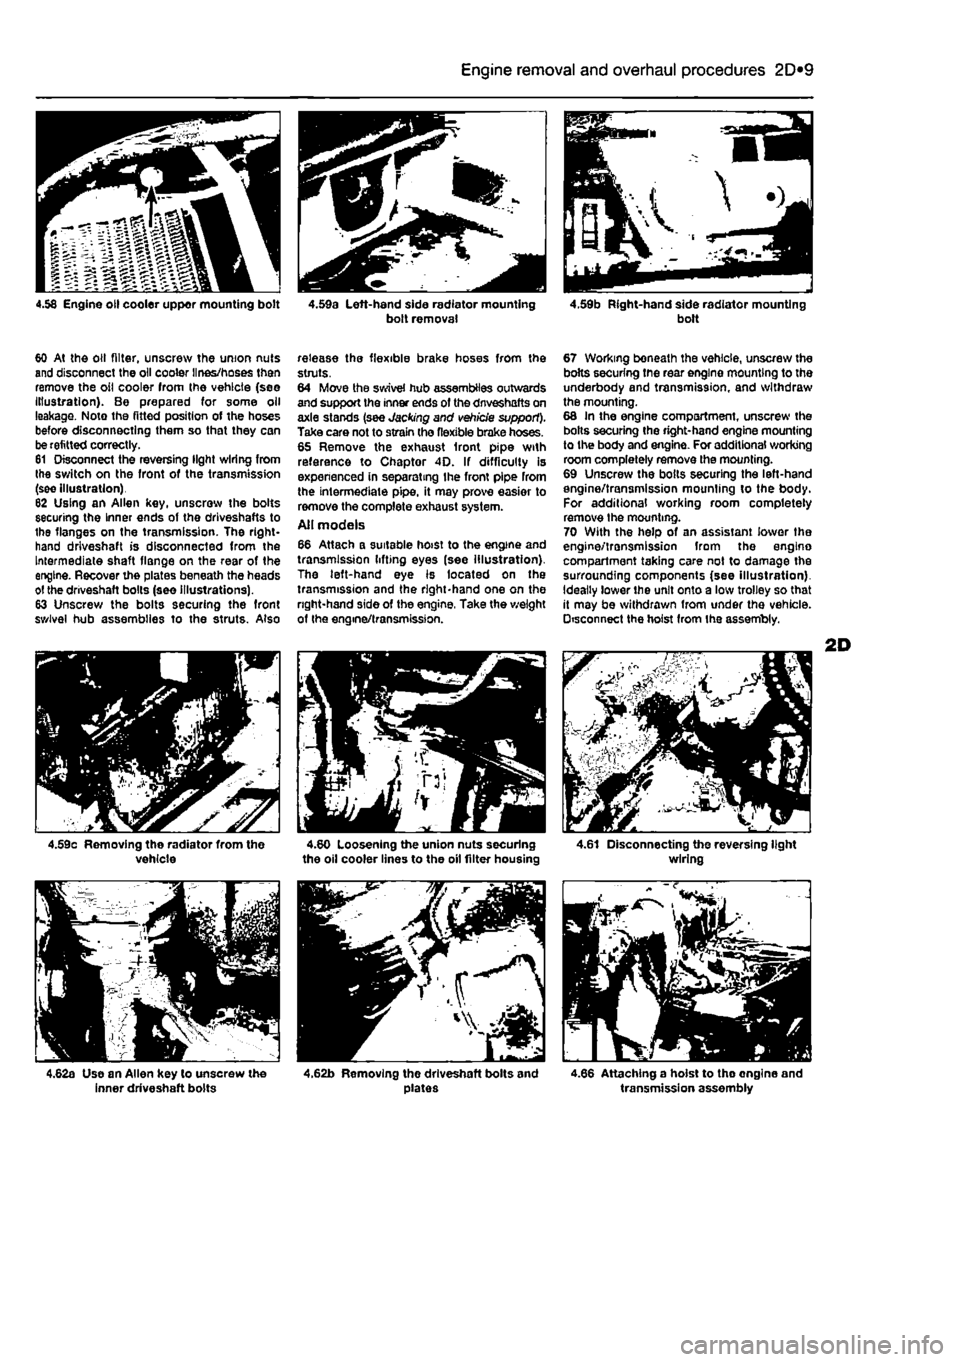
60 At the otl filter, unscrew the union nuts and disconnect the oil cooler lines/hoses then remove the oil cooler from the vehicle (see Illustration). Be prepared for some oil leakage. Note the fitted position of the hoses before disconnecting them so that they can be refitted correctly. 61 Disconnect the reversing light wiring from Ihe switch on the front of the transmission (see illustration) 82 Using an Allen key, unscrew the bolts securing the inner ends of the driveshafts to the flanges on the transmission. The right-hand driveshaft is disconnected from the Intermediate shaft flange on the rear of the engine. Recover the plates beneath the heads ol the driveshaft bolls (see illustrations). 63 Unscrew the bolts securing the front sv/lvel hub assemblies to the struts. Also
4.59c Removing the radiator from the vehicle
4.62a Use an Allen key to unscrew the inner driveshaft bolts
release the flexible brake hoses from the struts. 64 Move the swivel hub assemblies outwards and support the inner ends of the dnveshafts on axle stands (see Jacking and vehicle support). Take care not to strain the flexible brake hoses. 65 Remove the exhaust front pipe with reference to Chaptor 4D. If difficulty is expenenced in separating Ihe front pipe from the intermediate pipe, it may prove easier to remove the complete exhaust system. Ail models 66 Attach a suitable hoist to the engine and transmission lifting eyes (see illustration). The left-hand eye is located on the transmission and the right-hand one on the right-hand side of the engine, Take the weight of the engine/transmission.
4.60 Loosening the union nuts securing the oil cooler lines to the oil filter housing
4.62b Removing the driveshaft bolts and plates
67 Working boneath the vehicle, unscrew the bolts securing tne rear engine mounting to the underbody and transmission, and withdraw the mounting. 68 In the engine compartment, unscrew the bolts securing the right-hand engine mounting to the body and engine. For additional working room completely remove the mounting. 69 Unscrew the boils securing the left-hand engine/transmission mounting to the body. For additional working room completely remove Ihe mounting. 70 With the help of an assistant lower the engine/transmission from the engino compartment taking care not to damage the surrounding components (see illustration). Ideally lower the unit onto a low trolley so that it may be withdrawn from under the vehicle. Disconnect the hoist from ihe assembly.
4.61 Disconnecting the reversing light wiring
4.66 Attaching a hoist to tho ongine and transmission assembly
Page 101 of 225
2D*10 Engine removal and overhaul procedures
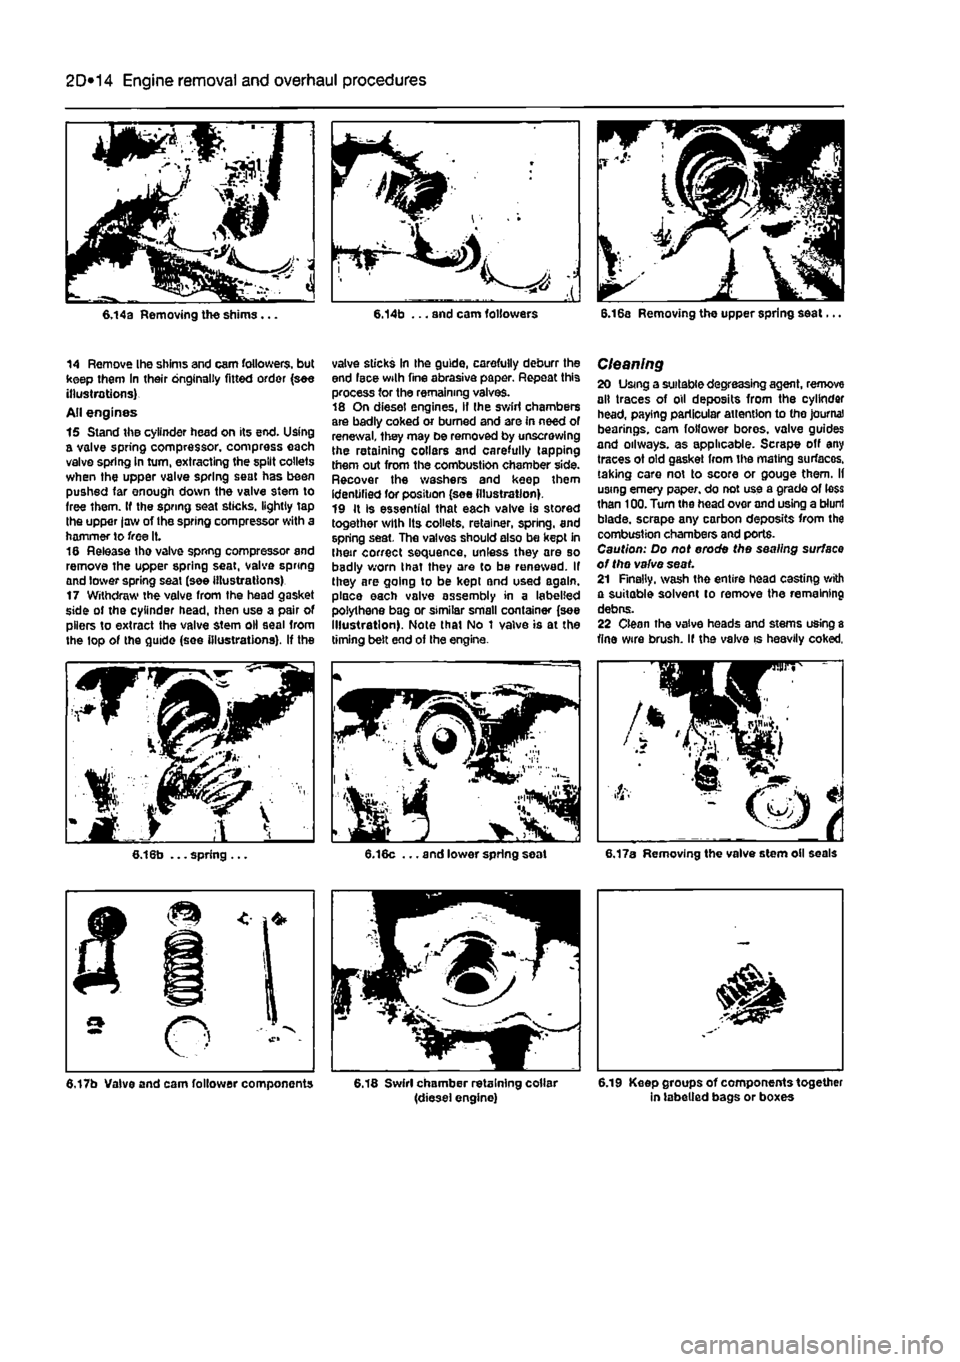
6,14a Removing the shims... 6.14b ... and cam followers 6.16a Removing the upper spring seat...
14 Remove Ihe shims and cam followers, but keep them In their onginally fitted order (see illustrations) All engines 15 Stand the cylinder head on its end. Using a valve spring compressor, compress each valve spring in turn, extracting the split collets when the upper valve spring seat has been pushed far enough down the valve stem to free them. If the spring seat sticks, lightly lap Ihe upper |aw of the spring compressor with a hammer to free It. 16 Release tho valve spnng compressor and remove the upper spring seat, valve spring and lower spring seat (see illustrations) 17 Withdraw the valve from the head gasket side of the cylinder head, then use a pair of pliers to extract the valve stem oil seal from the top of the guide (see illustrations). If the
valve slicks In the guide, carefully deburr the end face wilh fine abrasive paper. Repeat this process for the remaining valves. 18 On diesel engines, if Ihe swiri chambers are badly coked or burned and are in need of renewal, they may be removed by unscrewing the retaining collars and carefully tapping them out from the combustion chamber side. Recover the washers and keep them identified for position (see illustration). 19 It is essential that each valve is stored together with Its collets, retainer, spring, and spring seat. The valves should also be kept in (heir correct sequence, unless they are so badly worn that they are to be renewed. If they are going to be kepi and used again, place each valve assembly in a labelled polythene bag or similar small container (see Illustration). Note that No 1 valve is at the timing belt end of Ihe engine.
Cleaning 20 Using a suitable degreasing agent, remove all traces of oil deposits from the cylinder head, paying particular attention to tho journal bearings, cam follower bores, valve guides and oilways. as applicable. Scrape off any traces ot old gasket from the mating surfaces, taking care not to score or gouge them. If using emery paper, do not use a grade of (ess than 100. Turn the head over and using a blunt blade, scrape any carbon deposits from the combustion chambers and ports. Caution: Do not erode the seeling surface of tho valve seat. 21 Finally, wash the entire head casting with a suitable solvent to remove the remaining debns. 22 Clean the valve heads and stems using 8 fine wire brush. If the valve is heavily coked,
5.18 Swirl chamber retaining collar (diesel engine) 6.19 Keep groups of components together in labelled bags or boxes
Page 102 of 225
2D*10 Engine removal and overhaul procedures
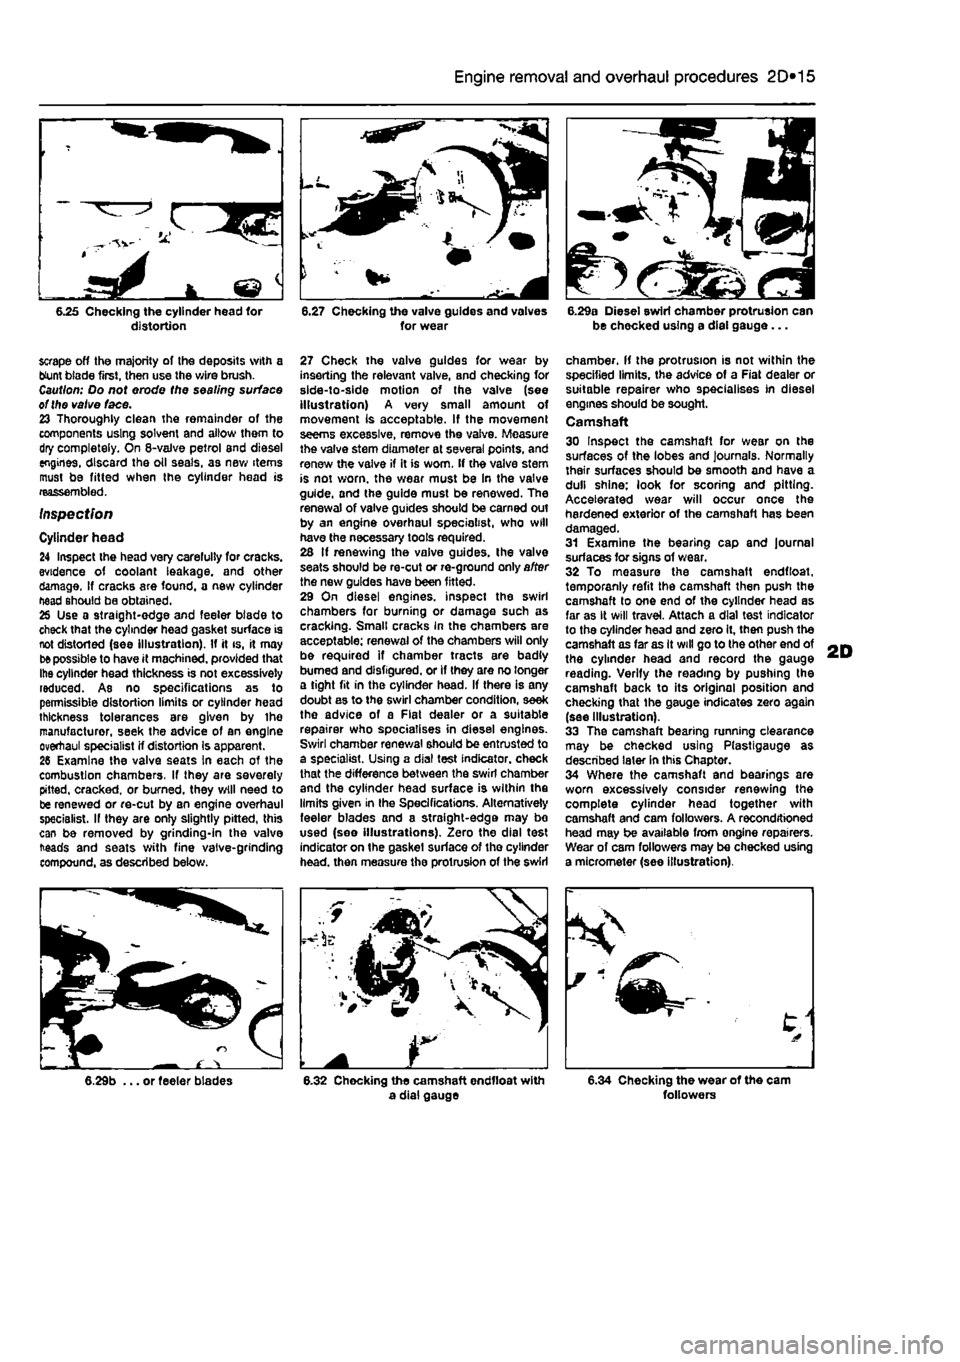
6.25 Checking the cylinder head for distortion 6.27 Checking the valve guides and valves for wear B.29a Diesel swirl chamber protrusion can be checked using a dial gauge...
scrape off the majority of the deposits with a blunt biade first, then use the wire brush. Caution: Do not erode the sealing surface ot the valve face. 23 Thoroughly clean the remainder of the components using solvent and allow them to dry completely. On 6-valve petrol and diesel engines, discard the oil seals, as new items must be fitted when the cylinder head is reassembled.
Inspection
Cylinder head 24 Inspect the head very carelully for cracks, evidence of coolant leakage, and other damage. If cracks are found, a new cylinder head should be obtained. 25 Use a straight-edge and feeler blade to check that the cylinder head gasket surface is not distorted (see illustration). If it is, it may
be
possible to have it machined, provided that Ihe cylinder head thickness is not excessively reduced. As no specifications as to permissible distortion limits or cylinder head thickness tolerances are given by ihe manufacturer, seek the advice of an engine overhaul specialist if distortion Is apparent. 26 Examine the valve seats In each of the combustion chambers, If they are severely pitted, cracked, or burned, they will need to be renewed or re-cut by an engine overhaul specialist. If they are only slightly pitted, this can be removed by grinding-in the valve heads and seats with fine valve-grinding compound, as described below.
27 Check the valve guides for wear by inserting the relevant valve, and checking for side-to-side motion of the valve (see illustration) A very small amount of movement Is acceptable. If the movement seems excessive, remove the valve. Measure the valve stem diameter at several points, and renew the valve if it is worn. If the valve stem is not worn, the wear must be In the valve guide, and the guide must be renewed. The renewal of valve guides should be earned out by an engine overhaul specialist, who will have the necessary tools required. 26 If renewing the vaive guides, the valve seats should be re-cut or re-ground only after the new guides have been fitted. 29 On diesel engines, inspect the swirl chambers for burning or damage such as cracking. Smalt cracks in the chambers are acceptable: renewal of the chambers will only be required if chamber tracts are badly burned and disfigured, or if they are no longer a tight fit in the cylinder head. If there is any doubt as to the swirl chamber condition, seek the advice of a Flat dealer or a suitable repairer who specialises in diesel engines. Swirl chamber renewal should be entrusted to a specialist. Using a dial test indicator, check that the difference between the swirl chamber and the cylinder head surface is within the limits given in Ihe Specifications. Alternatively feeler blades and a straight-edge may bo used (see illustrations). Zero the dial test indicator on the gaskel surface of tho cylinder head, then measure the protrusion of the swirl
chamber, if the protrusion is not within the specified limits, the advice of a Fiat dealer or suitable repairer who specialises in diesel engines should be sought. Camshaft 30 Inspect the camshaft for wear on the surfaces of the lobes and journals. Normally their surfaces should be smooth and have a dull shine: look for scoring and pitting. Accelerated wear will occur once the hardened exterior of the camshaft has been damaged. 31 Examine the bearing cap and journal surfaces for signs of wear. 32 To measure the camshaft endfloat, temporanly refit the camshaft then push the camshaft lo one end of the cylinder head as far as It will travel. Attach a dial test indicator to the cylinder head and zero it, then push the camshaft as far as It will go to the other end of the cylinder head and record the gauge reading. Verify the reading by pushing the camshaft back to its original position and checking that the gauge indicates zero again (see Illustration). 33 The camshaft bearing running clearance may be checked using Plastigauge as described later in this Chapter. 34 Where the camshaft and bearings are worn excessively consider renewing the complete cylinder head together with camshaft and cam followers. A reconditioned head may be available from ongine repairers. Wear of cam followers may be checked using a micrometer (see illustration).
6.29b ... or feeler blades 6.32 Chocking the camshaft endfloat with a dial gauge 6.34 Checking the wear of the cam followers
Page 103 of 225
2D*10 Engine removal and overhaul procedures
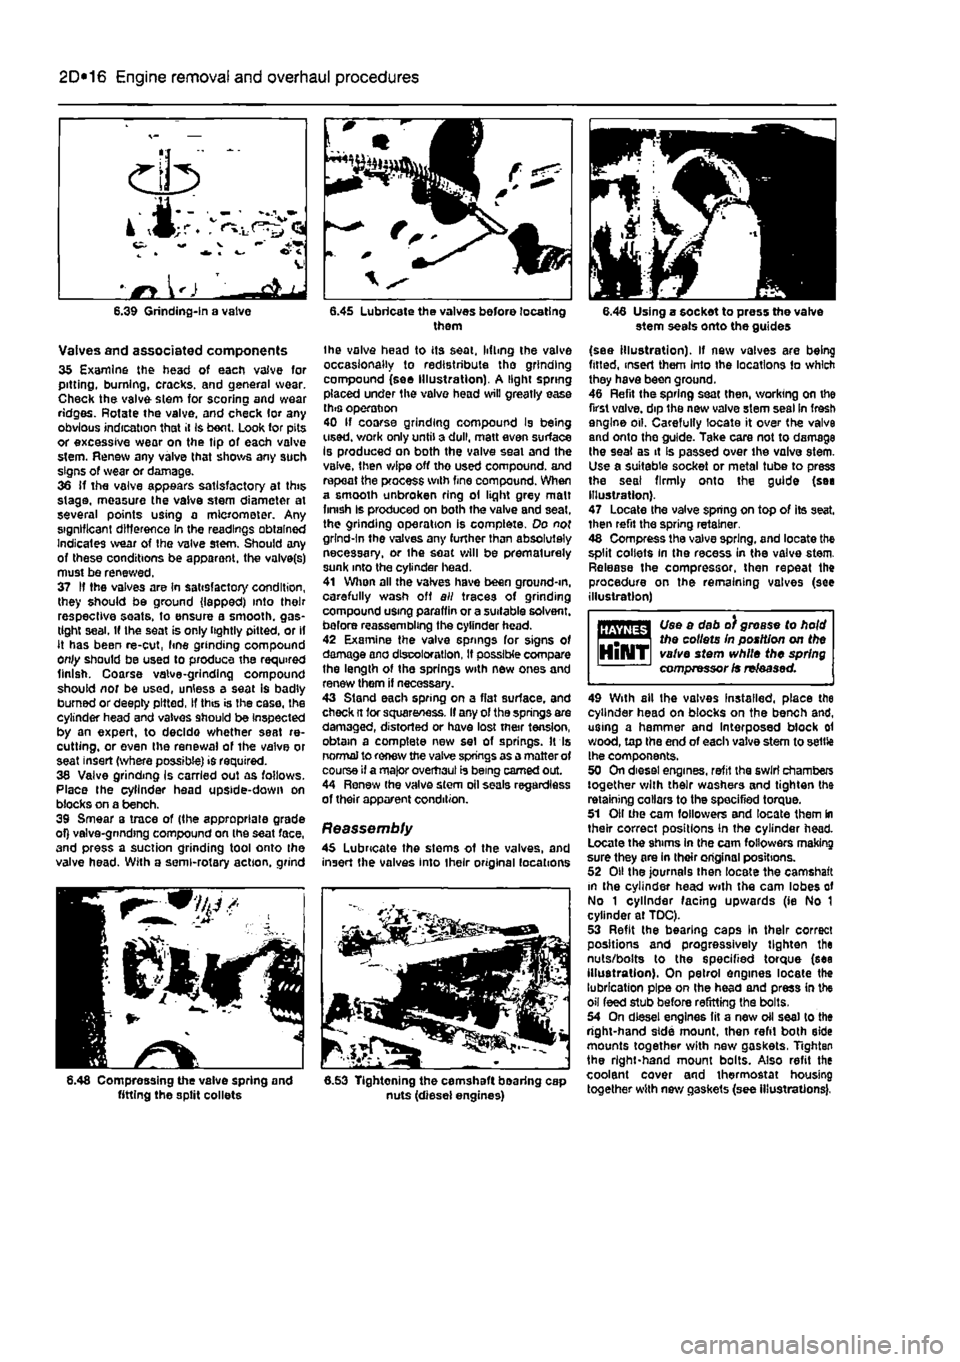
Valves and associated components 35 Examine the head of each vaive for pitting, burning, cracks, and general wear. Check the valve stem for scoring and wear ridges. Rotate the valve, and check lor any obvious indication that it Is bent. Look tor pits or excessive wear on the tip of each valve stem. Renew any valve that shows any such signs of wear or damage. 36 if the valve appears satisfactory at this stage, measure the vaive stem diameter at several points using a micrometer. Any significant difference in the readings obtained Indicates wear of the valve stem. Should any of these conditions be apparent, the valve(s) must be renewed. 37 If the valves are In satisfactory condition, they should be ground (lapped) into their respective seats, to ensure a smooth, gas-tight seal. If the seat is only tightly pitted, or if it has been re-cut, fine grinding compound only should be used to produce the required finish. Coarse valve-grinding compound should nor be used, unless a seat is badly bumed or deeply pitted, If this is the case, the cylinder head and valves should be Inspected by an expert, to decldo whether seat re-cutting, or even the renewal of the valve or seat insert (where possible) is required. 38 Valve grinding Is carried out as follows. Place the cylinder head upside-down on blocks on a bench. 39 Smear a trace of (the appropriate grade of) valve-gnndtng compound on the seat face, and press a suction grinding tool onto the valve head. With a semi-rotary action, grind
6.48 Compressing the vaive spring and fitting the split collets
them
the valve head to its seat, lifting the valve occasionally to redistribute tho grinding compound (see Illustration). A light spring placed under the valve head will greatly ease this operation 40 If coarse grinding compound Is being used, v/ork only until a dull, matt even surface Is produced on both the valve seal and the valve, then wipe off tho used compound, and repeat the process with fine compound. When a smooth unbroken ring ol light grey malt finish Is produced on both the valve and seat, the grinding operation is complete. Do not grind-In the valves any further than absolutely necessary, or the seat will be prematurely sunk into the cylinder head. 41 When all the valves have been ground-m, carefully wash off all traces of grinding compound using paraffin or a suitable solvent, before reassembling the cylinder head. 42 Examine the valve springs for signs of damage ano discoloration, If possible compare the length of the springs with new ones and renew them if necessary. 43 Stand each spring on a flat surface, and check ft tor squareness. If any of the springs are damaged, distorted or have lost mar tension, obtain a complete new set of springs. It Is normal to renew the valve springs as a matter of course if a major overhaul is being earned out. 44 Renew (he valve stem oil seals regardless of their apparent condition.
Reassembly 45 Lubricate the stems of the valves, and insert the valves into their original locations
6.53 Tightening the camshaft bearing cap nuts (diesel engines)
6.46 Using a socket to press the valve stem seals onto the guides
(see illustration). If new valves are being fitted, insert them Into the locations to which they have been ground. 46 Refit the spring sea( then, working on the first valve, dip the new valve stem sesl in fresh engine oil. Carefully locate it over the valve and onto the guide. Take care not to damage the seal as it Is passed over the valve stem. Use a suitable socket or metal tube to press the seal firmly onto the guide (sea Illustration). 47 Locate the valve spring on top of its seat, then refit the spring retainer. 48 Compress the valve spring, and locate the split collets in the recess in the valve stem. Release the compressor, then repeat the procedure on the remaining valves (see illustration)
Use a dab o) grease to hold Uiejitts* the collets In position on the HlNT valve stem while the spring compressor is released.
49 With ail the valves Installed, place the cylinder head on blocks on the bench and, using a hammer and Interposed block ol wood, top the end of each valve stem to settle the components. 50 On diesel engines, refit the swirl chambers together with their washers and tighten the retaining collars to the specified torque. 51 Oil the cam followers and locate them In their correct positions in the cylinder head. Locate the shims In the cam followers making sure they are in their original positions. 52 Oil the journals then locate the camshaft m the cylinder head with the cam lobes of No 1 cylinder facing upwards (ie No 1 cylinder at TDC). 53 Refit the bearing caps In their correct positions and progressively tighten the nuts/bolts to the specified torque (sea illustration). On petrol engines locate the lubrication pipe on Ihe head and press in the oil feed stub before refitting the bolts. 54 On diesel engines fit a new oil sea) to the right-hand side mount, then refit both side mounts together with new gaskets, Tighten the right-hand mount bolts. Also refit the coolant cover and thermostat housing together with new gaskets (see illustrations).