lug pattern FIAT TEMPRA 1988 Service And Repair Manual
[x] Cancel search | Manufacturer: FIAT, Model Year: 1988, Model line: TEMPRA, Model: FIAT TEMPRA 1988Pages: 171, PDF Size: 18.05 MB
Page 115 of 171

Job 6. Accelerator cable, petrol
injection engines - replacement
and adjustment.
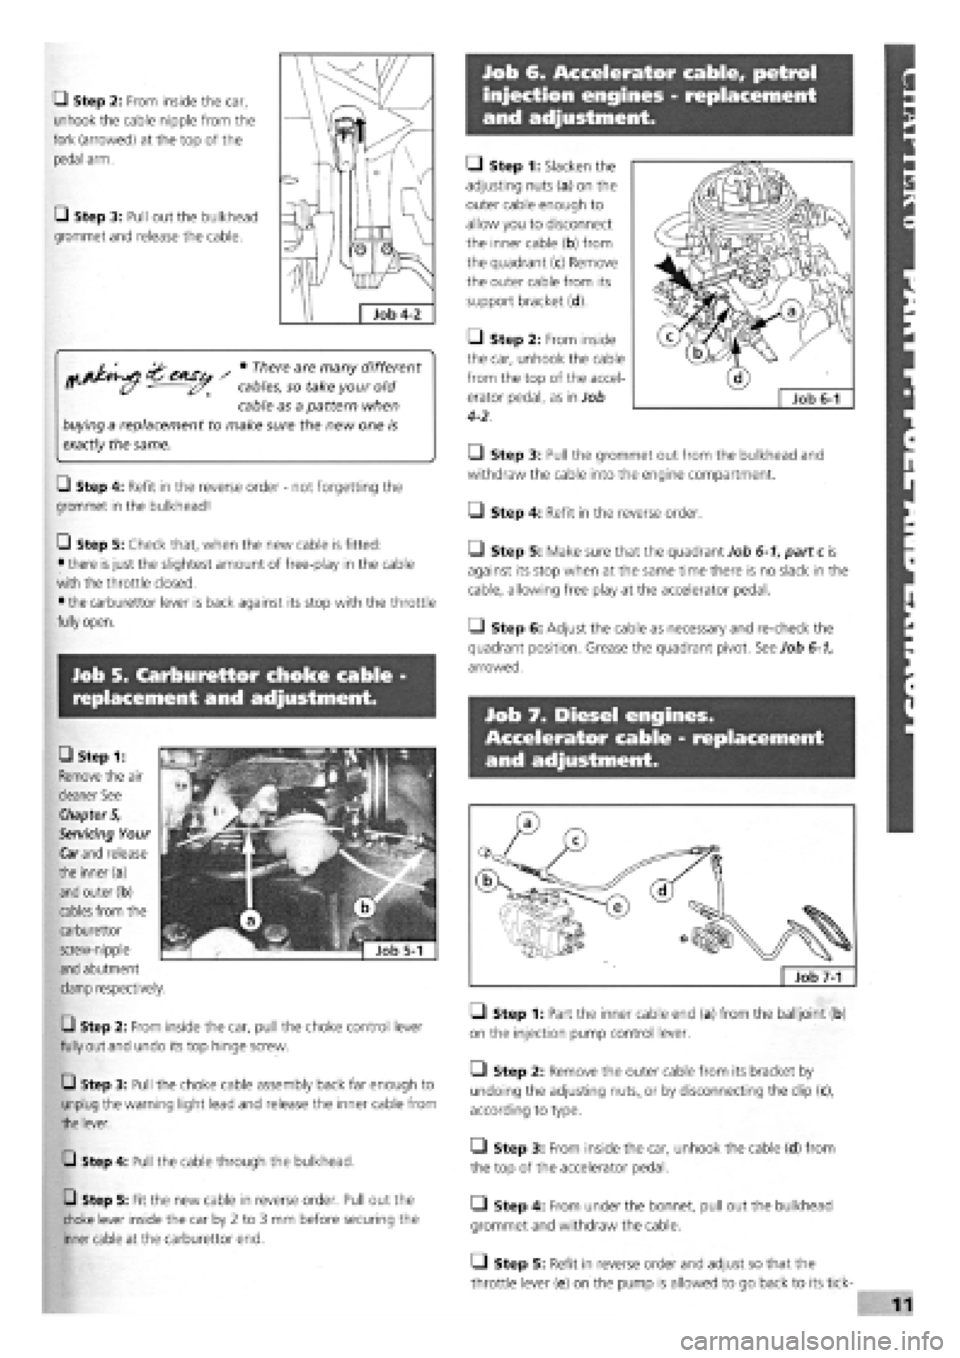
Q Step 2: From inside the car,
unhook the cable nipple from the
fork (arrowed) at the top of the
pedal arm.
• Step 3: Pull out the bulkhead
grommet and release the cable.
^ • There are many different
cables, so take your old
cable as a pattern when
buying a replacement to make sure the new one is
exactly
the same.
Q Step 4: Refit in the reverse order
-
not forgetting the
grommet in the bulkhead!
Q Step 5: Check that, when the new cable is fitted:
• there
is
just the slightest amount of free-play in the cable
with the throttle closed.
• the carburettor lever is back against its stop with the throttle
fully open.
• Step 1: Slacken the
adjusting nuts (a) on the
outer cable enough to
allow you to disconnect
the inner cable (b) from
the quadrant (c) Remove
the outer cable from its
support bracket (d).
Q Step 2: From inside
the car, unhook the cable
from the top of the accel-
erator pedal, as in Job
4-2.
• Step 3: Pull the grommet out from the bulkhead and
withdraw the cable into the engine compartment.
O Step 4: Refit in the reverse order.
• Step 5: Make sure that the quadrant Job 6-1, part c is
against its stop when at the same time there is no slack in the
cable, allowing free play at the accelerator pedal.
• Step 6: Adjust the cable as necessary and re-check the
quadrant position. Grease the quadrant pivot. See Job 6-1,
arrowed.
Job 7. Diesel engines.
Accelerator cable - replacement
and adjustment.
Job 5. Carburettor choke cable -
replacement and adjustment.
Q Step 2: From inside the car, pull the choke control lever
fully out and undo its top hinge screw.
Q Step 3: Pull the choke cable assembly back far enough to
unplug the warning light lead and release the inner cable from
the lever.
Q Step 4: Pull the cable through the bulkhead.
Q Step 5: Fit the new cable in reverse order. Pull out the
choke lever inside the car by 2 to 3 mm before securing the
inner cable at the carburettor end.
Q Step 1: Part the inner cable end (a) from the balljoint (b)
on the injection pump control lever.
• Step 2: Remove the outer cable from its bracket by
undoing the adjusting
nuts,,
or by disconnecting the clip (c),
according to type.
• Step 3: From inside the car, unhook the cable (d) from
the top of the accelerator pedal.
• Step 4: From under the bonnet, pull out the bulkhead
grommet and withdraw the cable.
Q Step 5: Refit in reverse order and adjust so that the
throttle lever (e) on the pump is allowed to go back to its tick-
CD Step 1:
Remove the air
cleaner See
Chapter 5,
Servicing Your
Car
and
release
the inner(a)
and outer (b)
cables from the
carburettor
screw-nipple
and abutment
clamp respectively.
Page 137 of 171

Job 15. Flexible hoses -
replacement.
• Step 8: Bleed the brakes, see Job
17
H INSIDE INFORMATION: When disconnecting brake
pipes or hoses, it is helpful to minimise brake fluid loss.
This can be done by unscrewing the master cylinder
reservoir cap, laying a sheet of plastic across the
opening, and refitting the cap. This will prevent atmos-
pheric pressure from pushing the fluid out of opened
lines. D
/ • If a rigid pipe starts to
twist with the union, grip
the pipe as lightly as
possible, and see if you can stop it from turning.
• If not, cut through the pipe with a junior hacksaw
and replace the length of rigid pipe.
Job 16. Metal pipes -
replacement.
B INSIDE INFORMATION: When disconnecting brake
pipes or hoses, it is helpful to minimise brake fluid loss.
This can be done by unscrewing the master cylinder
reservoir cap, laying a sheet of plastic across the
opening, and refitting the cap. This will prevent atmos-
pheric pressure from pushing the fluid out of opened
lines. A pipe spanner makes the job much easier! B
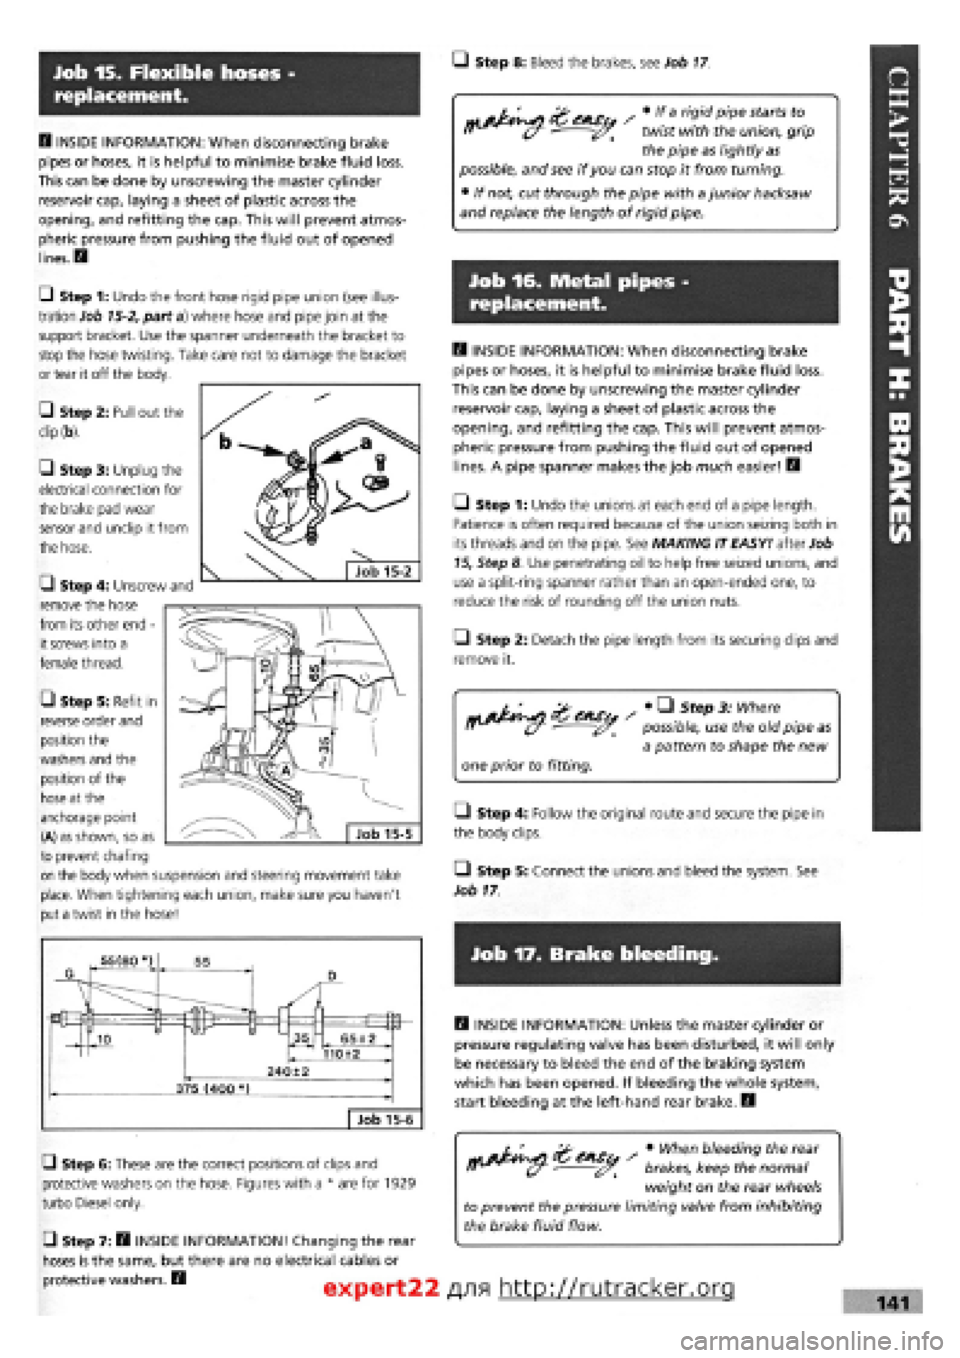
Step 1: Undo the unions at each end of a pipe length.
Patience is often required because of the union seizing both in
its threads and on the pipe. See MAKING IT EASY! after Job
15,
Step 8 Use penetrating oil to help free seized unions, and
use a split-ring spanner rather than an open-ended one, to
reduce the risk of rounding off the union nuts.
• Step 2: Detach the pipe length from its securing clips and
remove it.
i^vj ens s * ^ step 3: where possible, use the old pipe as
a pattern to shape the new
one prior to fitting.
• Step 4: Follow the original route and secure the pipe in
the body clips.
Q Step 5: Connect the unions and bleed the system. See
Job
17
Job 17. Brake bleeding.
B INSIDE INFORMATION: Unless the master cylinder or
pressure regulating valve has been disturbed, it will only
be necessary to bleed the end of the braking system
which has been opened. If bleeding the whole system,
start bleeding at the left-hand rear brake. B
G Step 6: These are the correct positions of clips and
protective washers on the hose. Figures with a * are for 1929
turbo Diesel only.
• Step 7: B INSIDE INFORMATION! Changing the rear
hoses is the same, but there are no electrical cables or
protective washers. B
s • When bleeding the rear
brakes, keep the normal
weight on the rear wheels
to prevent the pressure limiting valve from inhibiting
the brake fluid flow.
expert22 f
\9\ http://rutracker.org 141
Ul Step 1: Undo the front hose rigid pipe union (see illus-
tration Job
15-2,
part a) where hose and pipe join at the
support bracket. Use the spanner underneath the bracket to
stop the hose twisting. Take care not to damage the bracket
or tear it off the body.
• Step 2: Pull out the
dip (b).
G Step 3: Unplug the
electrical connection for
the brake pad wear
sensor and unclip it from
the hose.
G Step 4: Unscrew and
remove the hose
from its other end -
it screws into a
female thread.
• Step 5: Refit in
reverse order and
position the
washers and the
position of the
hose at the
anchorage point
(A) as shown, so as
to prevent chafing
on the body when suspension and steering movement take
place. When tightening each union, make sure you haven't
put a twist in the hose!