inflation pressure FORD B MAX 2013 1.G Owners Manual
[x] Cancel search | Manufacturer: FORD, Model Year: 2013, Model line: B MAX, Model: FORD B MAX 2013 1.GPages: 298, PDF Size: 20.63 MB
Page 177 of 298
Downloaded from www.Manualslib.com manuals search engine •Park your vehicle at the roadside sothat you do not obstruct the flow oftraffic and so that you are able to usethe kit without being in danger.
•Apply the parking brake, even if youhave parked on a level road, to makesure that your vehicle will not move.
•Do not attempt to remove foreignobjects like nails or screws penetratingthe tire.
•Leave the engine running while the kitis in use, but not if your vehicle is in anenclosed or poorly ventilated area (e.g,inside a building). In thesecircumstances, switch the compressoron with the engine switched off.
•You must replace the sealant bottlewith a new one before the expiry date(see top of bottle).
•Inform all other users of your vehiclethat the tire has been temporarilysealed with the kit. Make them awareof the special driving conditions thatmust be observed.
Inflating the Tire
WARNINGS
Check the sidewall of the tire prior toinflation. If there are any cracks,bumps or similar damage, do notattempt to inflate the tire.
Do not stand directly beside the tirewhile the compressor is operating.
Watch the sidewall of the tire. If anycracks, bumps or similar damageappears, switch off the compressorand let the air out by means of the pressurerelief valve I. Do not continue driving withthis tire.
The sealant contains natural rubberlatex. Avoid contact with skin andclothing. If this happens, rinse theaffected areas immediately with plenty ofwater and contact a Physician.
WARNINGS
If the tire inflation pressure does notreach 26 psi (1.8 bar) within 10minutes, the tire may have sufferedexcessive damage, making a temporaryrepair impossible. Do not continue drivingwith this tire.
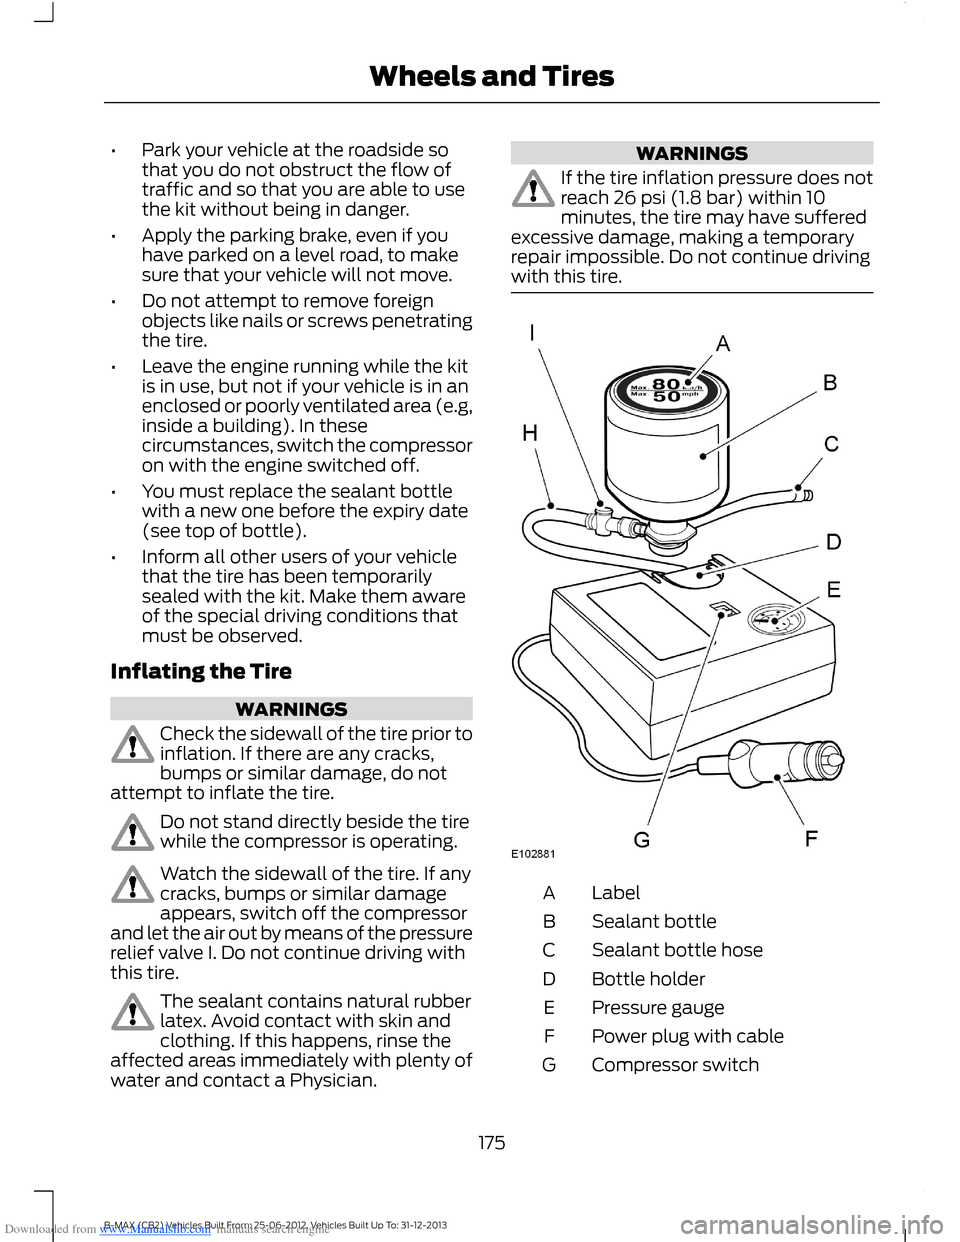
LabelA
Sealant bottleB
Sealant bottle hoseC
Bottle holderD
Pressure gaugeE
Power plug with cableF
Compressor switchG
175B-MAX (CB2) Vehicles Built From: 25-06-2012, Vehicles Built Up To: 31-12-2013Wheels and Tires
Page 178 of 298
Downloaded from www.Manualslib.com manuals search engine Repair kit hoseH
Pressure relief valveI
1.Remove the kit from the wrapping.
2.Peel off the label A showing themaximum permissible speed of50 mph (80 km/h) from the sealantbottle and attach it to the instrumentpanel in the driver’s field of view. Makesure the label does not obscureanything important.
3.Take the hose H with the pressure reliefvalve I and the power plug with cableF out of the kit.
4.Connect the hose H with the pressurerelief valve I to the sealant bottle B.
5.Engage the sealant bottle B into thebottle holder D.
6.Remove the valve cap from thedamaged tire.
7.Screw the sealant bottle hose C firmlyonto the valve of the damaged tire.
8.Make sure that the compressor switchG is in position 0.
9.Insert the power plug F into the cigarlighter socket or auxiliary power socket.See Auxiliary Power Points (page88). See Cigar Lighter (page 88).
10.Start the engine.
11.Move the compressor switch G toposition 1.
12.Inflate the tire for no longer than 10minutes to an inflation pressure ofminimum 26 psi (1.8 bar) and amaximum of 51 psi (3.5 bar). Movethe compressor switch G to position0 and check the current tire pressurewith pressure gauge E.
Note:If a tire pressure of 26 psi (1.8 bar) isnot reached do not continue.
Note:When pumping in the sealant throughthe tire valve, the pressure may rise up to87 psi (6 bar) but will drop again after about30 seconds.
Note:After you have switched thecompressor off, you may hear air escapingfrom the damaged tire. This is normal andcan be ignored provided that the specifiedminimum tire pressure has been reached.
13.Remove the power plug F from thecigar lighter socket or auxiliary powersocket.
14.Quickly unscrew the hose C from thetire valve. Fasten the valve cap again.
Note:Some residual sealant fluid may dripor spray out of hose C while you aredisconnecting it. This is normal.
15.Leave the sealant bottle B in thebottle holder D.
16.Make sure the kit is stored safely, butstill easily accessible in your vehicle.The kit will be required again whenyou check the tire pressure.
17.Immediately drive approximatelytwo miles (three kilometers) so thatthe sealant can seal the damagedarea.
WARNING
If you experience heavy vibrations,unsteady steering behaviour ornoises while driving, reduce yourspeed and drive with caution to a placewhere it is safe for you to stop your vehicle.Recheck the tire and its pressure. If the tirepressure is less than 14.7 psi (1 bar) or ifthere are any cracks, bumps or similardamage visible, do not continue drivingwith this tire.
18.Stop your vehicle after drivingapproximately two miles (threekilometers). Check, and wherenecessary, adjust the pressure of thedamaged tire.
176B-MAX (CB2) Vehicles Built From: 25-06-2012, Vehicles Built Up To: 31-12-2013Wheels and Tires
Page 179 of 298
Downloaded from www.Manualslib.com manuals search engine 19.Attach the kit and read the tirepressure from the pressure gauge E.
20.Adjust it to the specified pressure.See Technical Specifications(page 183).
21.Once you have inflated the tire to itscorrect tire pressure, move thecompressor switch G to position 0,remove the power plug F from thesocket, unscrew the hose C andfasten the valve cap.
22.Leave hose C and H connected to thesealant bottle B and store the kitaway safely.
23.Go to the nearest tire specialist to getthe damaged tire replaced. Beforethe tire is removed from the rim,inform your tire dealer that the tirecontains sealant. You must renew thesealant bottle B and hose C as soonas possible once used.
Note:Remember that the kit only providestemporary mobility. Regulations concerningtire repair after using the kit may differ fromcountry to country. You should consult a tirespecialist for advice.
WARNING
Before driving, make sure the tire isadjusted to the recommendedinflation pressure. See TechnicalSpecifications (page 183). You must,monitor the tire pressure until the sealedtire is replaced.
Empty sealant bottles can be disposed oftogether with normal household waste.Return remains of sealant to an authorizeddealer or dispose of it in compliance withlocal waste disposal regulations.
TIRE CARE
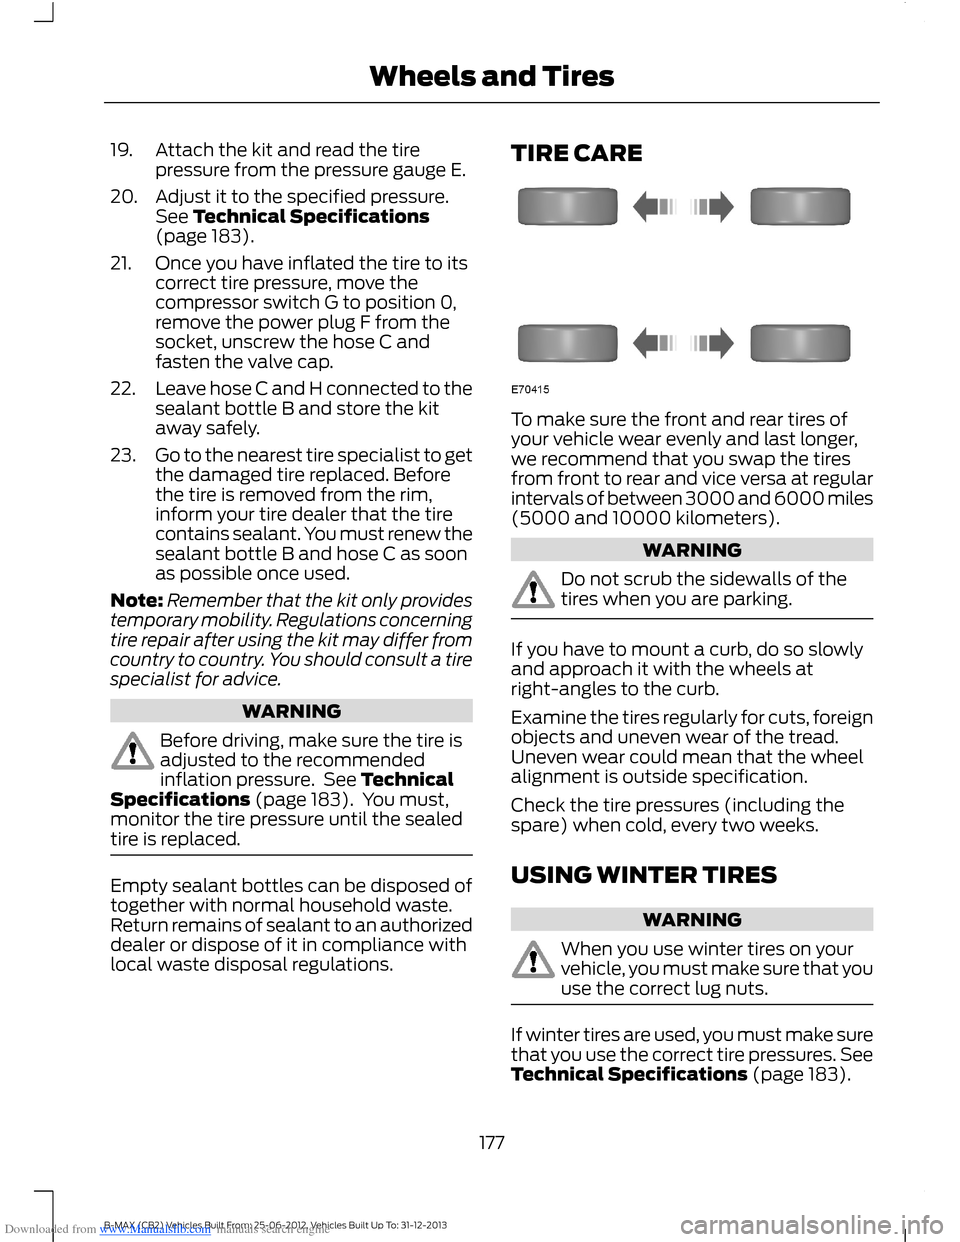
To make sure the front and rear tires ofyour vehicle wear evenly and last longer,we recommend that you swap the tiresfrom front to rear and vice versa at regularintervals of between 3000 and 6000 miles(5000 and 10000 kilometers).
WARNING
Do not scrub the sidewalls of thetires when you are parking.
If you have to mount a curb, do so slowlyand approach it with the wheels atright-angles to the curb.
Examine the tires regularly for cuts, foreignobjects and uneven wear of the tread.Uneven wear could mean that the wheelalignment is outside specification.
Check the tire pressures (including thespare) when cold, every two weeks.
USING WINTER TIRES
WARNING
When you use winter tires on yourvehicle, you must make sure that youuse the correct lug nuts.
If winter tires are used, you must make surethat you use the correct tire pressures. SeeTechnical Specifications (page 183).
177B-MAX (CB2) Vehicles Built From: 25-06-2012, Vehicles Built Up To: 31-12-2013Wheels and Tires
Page 180 of 298
Downloaded from www.Manualslib.com manuals search engine USING SNOW CHAINS
WARNINGS
Do not exceed 30 mph (50 km/h).
Do not use snow chains on snow-freeroads.
Only fit snow chains to specifiedtires. See Technical Specifications(page 183).
If your vehicle has wheel trims,remove them before fitting snowchains.
Note:The anti-lock braking system willcontinue to operate normally.
Only use small link snow chains.
Only use snow chains on the front wheels.
Vehicles with Stability Control
When stability control is on, your vehiclemay exhibit some unusual drivingcharacteristics. To reduce this, switchtraction control off. See Using StabilityControl (page 111).
TIRE PRESSURE MONITORING
SYSTEM
WARNINGS
The system does not relieve you ofyour responsibility to regularly checkthe tire pressures.
The system will only provide a lowtire pressure warning. It will notinflate the tires.
WARNINGS
Do not drive on significantlyunder-inflated tires. This may causethe tires to overheat and fail.Under-inflation reduces fuel efficiency, tiretread life and may also affect your abilityto drive your vehicle safely.
Do not bend or damage the valveswhen you are inflating the tires.
Have tires installed by an authorizeddealer.
The deflation detection system will alertyou if there is a change of air pressure inany tire. It does this by using the anti-lockbraking sensors to detect the rollingcircumference of the wheels. When thecircumference changes, this indicates lowtire pressure. A warning message isdisplayed in the information display andthe message indicator will illuminate. SeeInformation Messages (page 67).
If a low pressure warning message isdisplayed in the information display, checkthe tire pressures as soon as possible andinflate them to the recommendedpressure. See Technical Specifications(page 183).
If this happens frequently, have the causedetermined and rectified as soon aspossible.
Apart from a too low tire pressure or adamaged tire, the following situations canaffect the rolling circumference:
•Vehicle load is uneven.
•When using a trailer or traveling up anddown an incline.
•Using snow chains.
•Driving on soft surfaces such as snowor mud.
Note:The system will still functioncorrectly, but there may be an increaseddetection time.
178B-MAX (CB2) Vehicles Built From: 25-06-2012, Vehicles Built Up To: 31-12-2013Wheels and Tires
Page 294 of 298
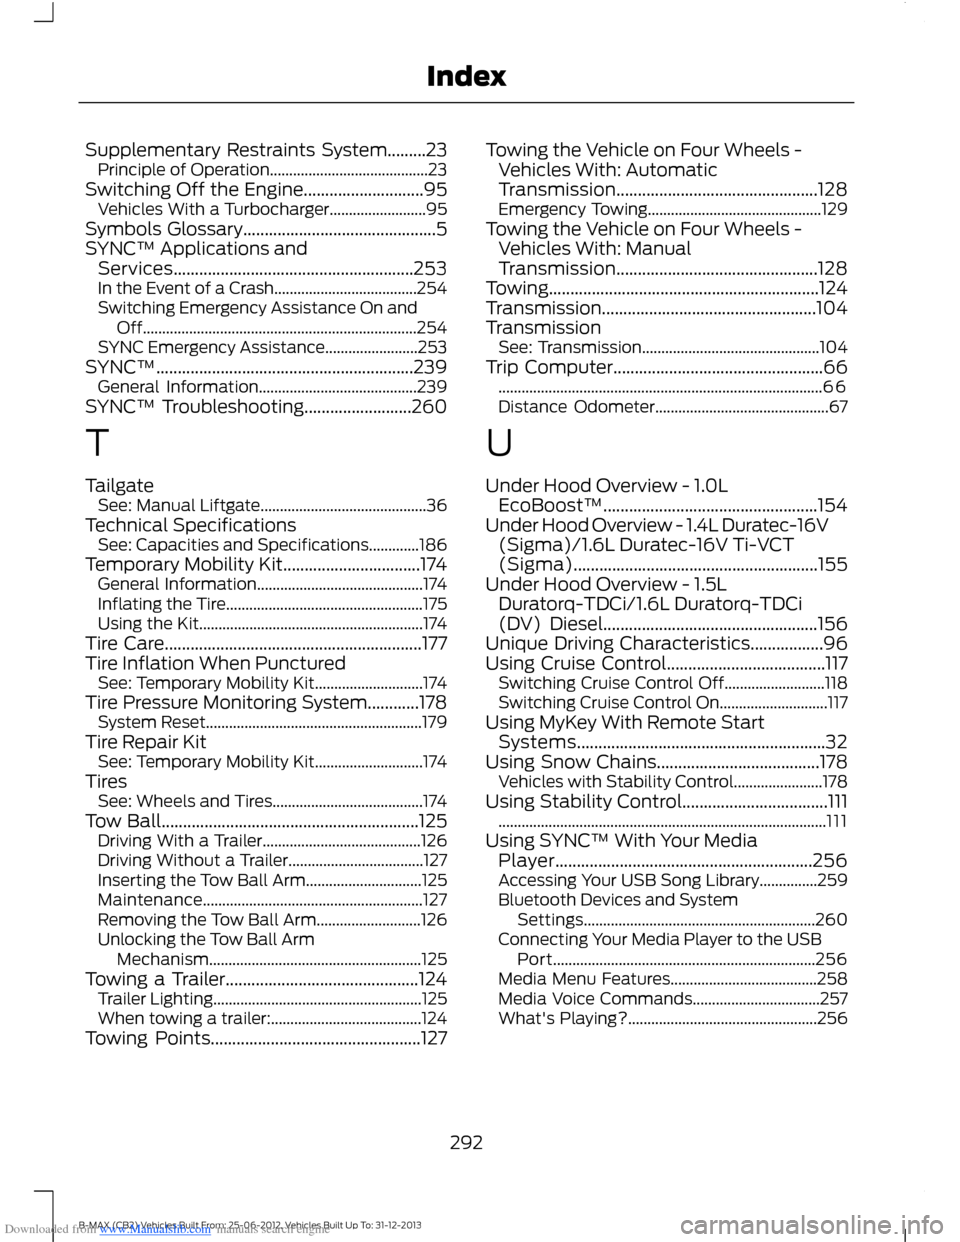
Downloaded from www.Manualslib.com manuals search engine Supplementary Restraints System.........23Principle of Operation.........................................23Switching Off the Engine............................95Vehicles With a Turbocharger.........................95Symbols Glossary.............................................5SYNC™ Applications andServices........................................................253In the Event of a Crash.....................................254Switching Emergency Assistance On andOff.......................................................................254SYNC Emergency Assistance........................253SYNC™............................................................239General Information.........................................239SYNC™ Troubleshooting.........................260
T
TailgateSee: Manual Liftgate...........................................36Technical SpecificationsSee: Capacities and Specifications.............186Temporary Mobility Kit................................174General Information...........................................174Inflating the Tire...................................................175Using the Kit..........................................................174Tire Care............................................................177Tire Inflation When PuncturedSee: Temporary Mobility Kit............................174Tire Pressure Monitoring System............178System Reset........................................................179Tire Repair KitSee: Temporary Mobility Kit............................174TiresSee: Wheels and Tires.......................................174Tow Ball............................................................125Driving With a Trailer.........................................126Driving Without a Trailer...................................127Inserting the Tow Ball Arm..............................125Maintenance.........................................................127Removing the Tow Ball Arm...........................126Unlocking the Tow Ball ArmMechanism.......................................................125Towing a Trailer.............................................124Trailer Lighting......................................................125When towing a trailer:.......................................124Towing Points.................................................127
Towing the Vehicle on Four Wheels -Vehicles With: AutomaticTransmission...............................................128Emergency Towing.............................................129Towing the Vehicle on Four Wheels -Vehicles With: ManualTransmission...............................................128Towing...............................................................124Transmission..................................................104TransmissionSee: Transmission..............................................104Trip Computer.................................................66....................................................................................66Distance Odometer.............................................67
U
Under Hood Overview - 1.0LEcoBoost™..................................................154Under Hood Overview - 1.4L Duratec-16V(Sigma)/1.6L Duratec-16V Ti-VCT(Sigma).........................................................155Under Hood Overview - 1.5LDuratorq-TDCi/1.6L Duratorq-TDCi(DV) Diesel..................................................156Unique Driving Characteristics.................96Using Cruise Control.....................................117Switching Cruise Control Off..........................118Switching Cruise Control On............................117Using MyKey With Remote StartSystems..........................................................32Using Snow Chains......................................178Vehicles with Stability Control.......................178Using Stability Control..................................111.....................................................................................111Using SYNC™ With Your MediaPlayer............................................................256Accessing Your USB Song Library...............259Bluetooth Devices and SystemSettings............................................................260Connecting Your Media Player to the USBPort....................................................................256Media Menu Features......................................258Media Voice Commands.................................257What's Playing?.................................................256
292B-MAX (CB2) Vehicles Built From: 25-06-2012, Vehicles Built Up To: 31-12-2013Index