clock FORD BRONCO 2021 Warranty Guide
[x] Cancel search | Manufacturer: FORD, Model Year: 2021, Model line: BRONCO, Model: FORD BRONCO 2021Pages: 106, PDF Size: 2.6 MB
Page 49 of 106
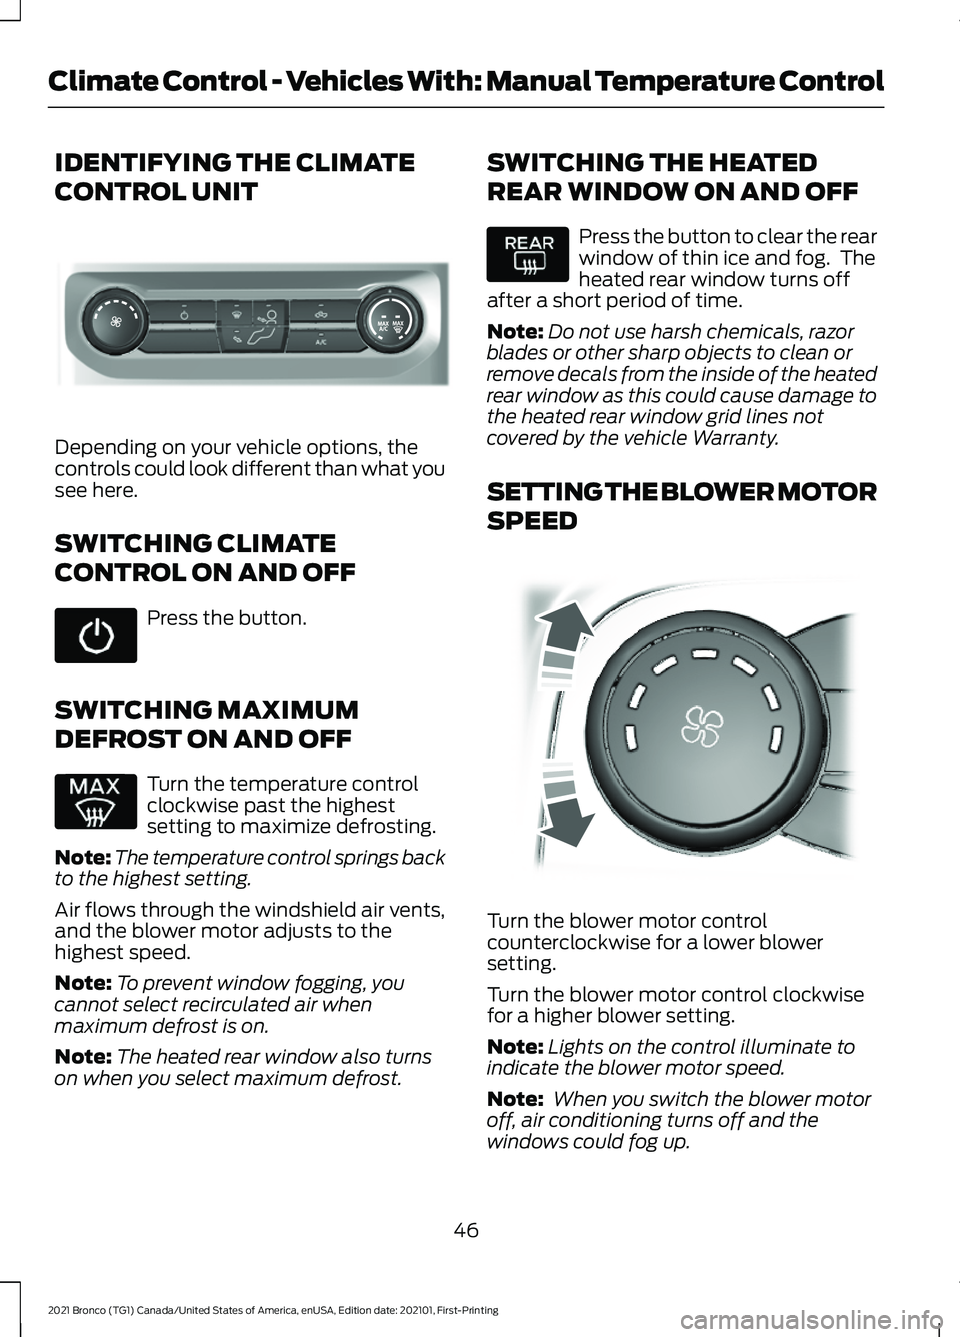
IDENTIFYING THE CLIMATE
CONTROL UNIT
Depending on your vehicle options, the
controls could look different than what you
see here.
SWITCHING CLIMATE
CONTROL ON AND OFF
Press the button.
SWITCHING MAXIMUM
DEFROST ON AND OFF Turn the temperature control
clockwise past the highest
setting to maximize defrosting.
Note: The temperature control springs back
to the highest setting.
Air flows through the windshield air vents,
and the blower motor adjusts to the
highest speed.
Note: To prevent window fogging, you
cannot select recirculated air when
maximum defrost is on.
Note: The heated rear window also turns
on when you select maximum defrost. SWITCHING THE HEATED
REAR WINDOW ON AND OFF Press the button to clear the rear
window of thin ice and fog. The
heated rear window turns off
after a short period of time.
Note: Do not use harsh chemicals, razor
blades or other sharp objects to clean or
remove decals from the inside of the heated
rear window as this could cause damage to
the heated rear window grid lines not
covered by the vehicle Warranty.
SETTING THE BLOWER MOTOR
SPEED Turn the blower motor control
counterclockwise for a lower blower
setting.
Turn the blower motor control clockwise
for a higher blower setting.
Note:
Lights on the control illuminate to
indicate the blower motor speed.
Note: When you switch the blower motor
off, air conditioning turns off and the
windows could fog up.
46
2021 Bronco (TG1) Canada/United States of America, enUSA, Edition date: 202101, First-Printing Climate Control - Vehicles With: Manual Temperature ControlE308141 E317606
Page 50 of 106
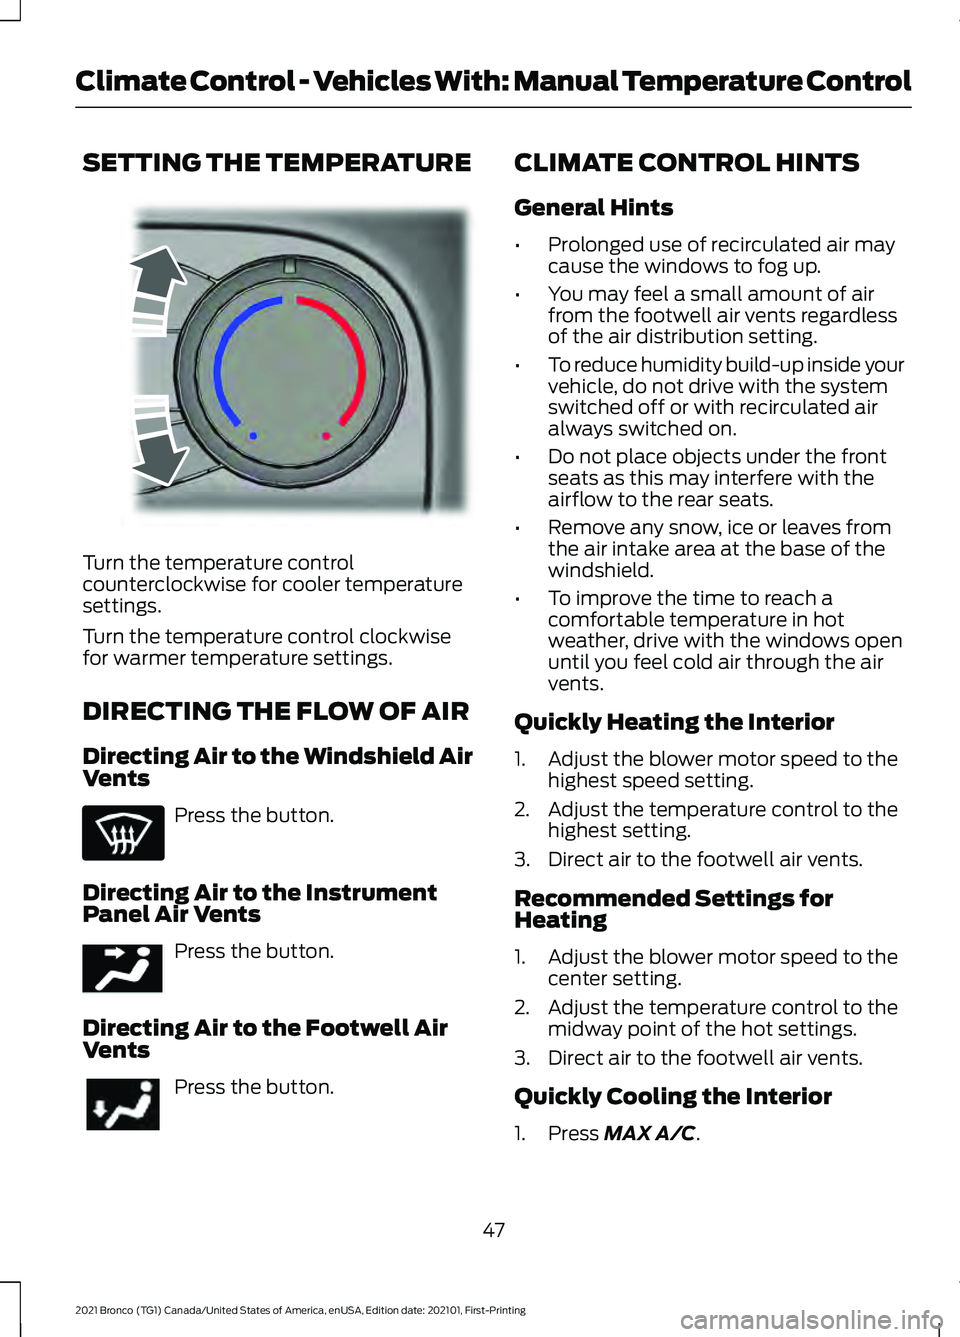
SETTING THE TEMPERATURE
Turn the temperature control
counterclockwise for cooler temperature
settings.
Turn the temperature control clockwise
for warmer temperature settings.
DIRECTING THE FLOW OF AIR
Directing Air to the Windshield Air
Vents
Press the button.
Directing Air to the Instrument
Panel Air Vents Press the button.
Directing Air to the Footwell Air
Vents Press the button. CLIMATE CONTROL HINTS
General Hints
•
Prolonged use of recirculated air may
cause the windows to fog up.
• You may feel a small amount of air
from the footwell air vents regardless
of the air distribution setting.
• To reduce humidity build-up inside your
vehicle, do not drive with the system
switched off or with recirculated air
always switched on.
• Do not place objects under the front
seats as this may interfere with the
airflow to the rear seats.
• Remove any snow, ice or leaves from
the air intake area at the base of the
windshield.
• To improve the time to reach a
comfortable temperature in hot
weather, drive with the windows open
until you feel cold air through the air
vents.
Quickly Heating the Interior
1. Adjust the blower motor speed to the highest speed setting.
2. Adjust the temperature control to the highest setting.
3. Direct air to the footwell air vents.
Recommended Settings for
Heating
1. Adjust the blower motor speed to the center setting.
2. Adjust the temperature control to the midway point of the hot settings.
3. Direct air to the footwell air vents.
Quickly Cooling the Interior
1. Press MAX A/C.
47
2021 Bronco (TG1) Canada/United States of America, enUSA, Edition date: 202101, First-Printing Climate Control - Vehicles With: Manual Temperature ControlE244106 E244097
Page 94 of 106
WARNING: Park your vehicle so
that you do not obstruct the flow of
traffic or place yourself in any danger and
set up a warning triangle. WARNING:
Do not attempt to
change a tire on the side of the vehicle
close to moving traffic. Pull far enough
off the road to avoid the danger of being
hit when operating the jack or changing
the wheel.
Note: Passengers should not remain in your
vehicle when the vehicle is being jacked.
Note: Jack at the specified locations to
avoid damage to the vehicle. Note:
No maintenance or additional
lubrication of your jack is required over the
service life of your vehicle.
1. Park the vehicle on a level firm ground and activate the hazard flashers.
2. Apply the parking brake, and place the
transmission in park (P) for an
automatic transmission or reverse (R)
for a manual transmission and turn the
engine off.
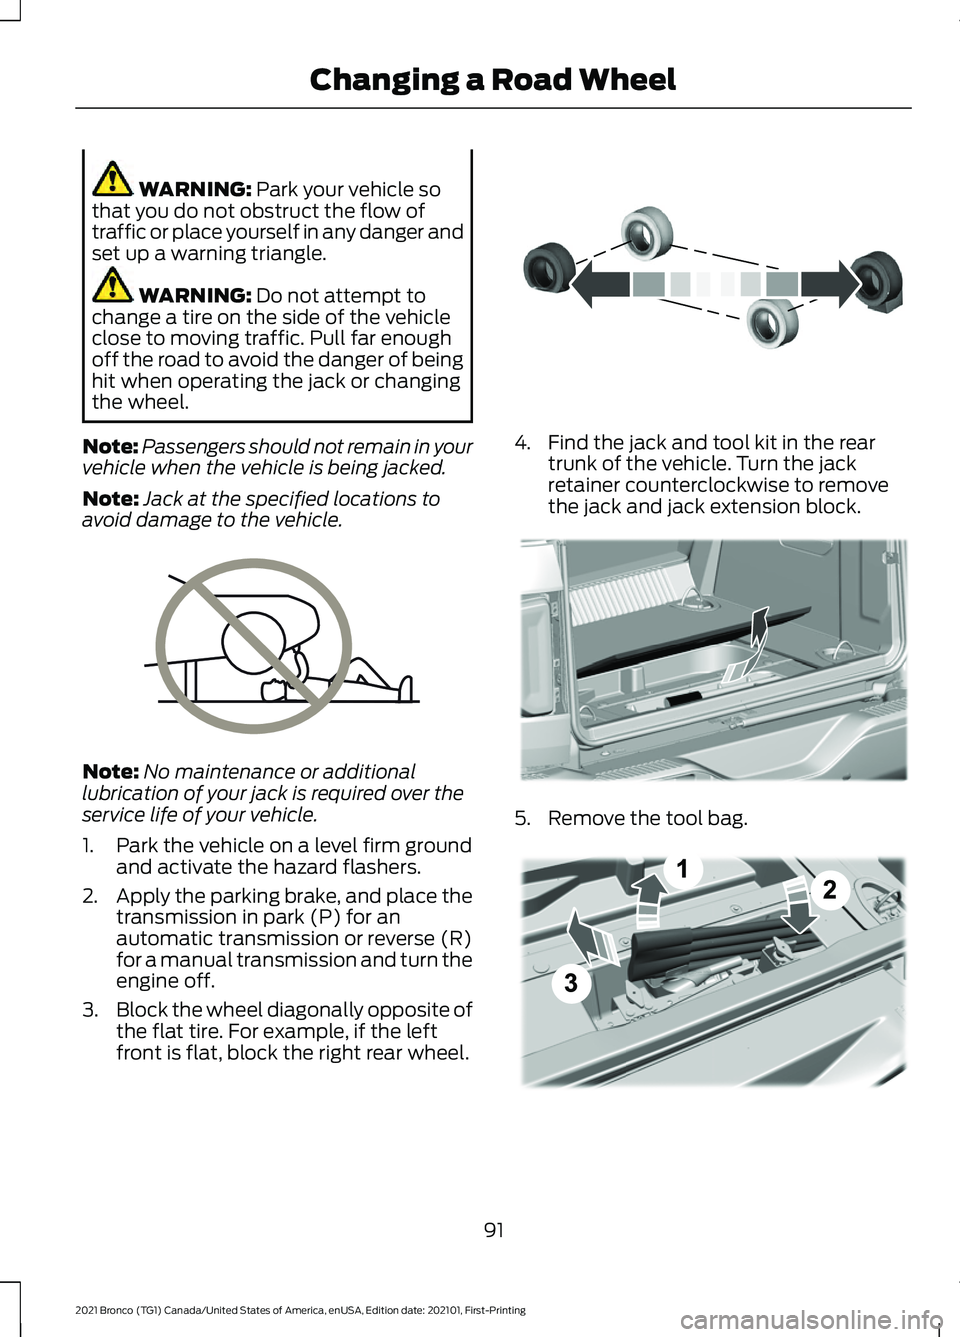
3. Block the wheel diagonally opposite of
the flat tire. For example, if the left
front is flat, block the right rear wheel. 4. Find the jack and tool kit in the rear
trunk of the vehicle. Turn the jack
retainer counterclockwise to remove
the jack and jack extension block. 5. Remove the tool bag.
91
2021 Bronco (TG1) Canada/United States of America, enUSA, Edition date: 202101, First-Printing Changing a Road WheelE166722 E142551 E324358 E343390
Page 95 of 106
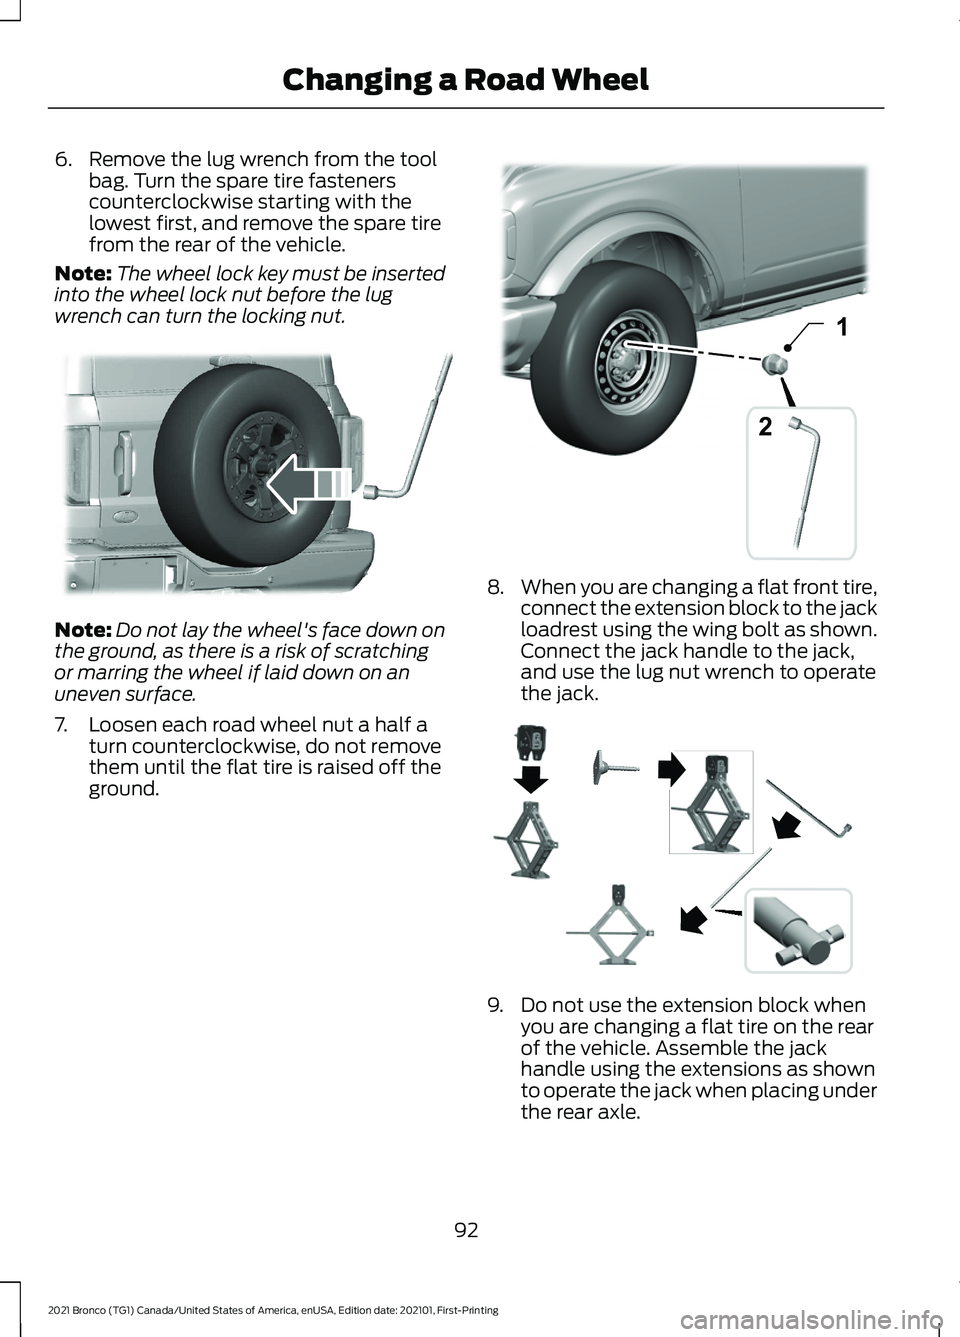
6. Remove the lug wrench from the tool
bag. Turn the spare tire fasteners
counterclockwise starting with the
lowest first, and remove the spare tire
from the rear of the vehicle.
Note: The wheel lock key must be inserted
into the wheel lock nut before the lug
wrench can turn the locking nut. Note:
Do not lay the wheel's face down on
the ground, as there is a risk of scratching
or marring the wheel if laid down on an
uneven surface.
7. Loosen each road wheel nut a half a turn counterclockwise, do not remove
them until the flat tire is raised off the
ground. 8.
When you are changing a flat front tire,
connect the extension block to the jack
loadrest using the wing bolt as shown.
Connect the jack handle to the jack,
and use the lug nut wrench to operate
the jack. 9. Do not use the extension block when
you are changing a flat tire on the rear
of the vehicle. Assemble the jack
handle using the extensions as shown
to operate the jack when placing under
the rear axle.
92
2021 Bronco (TG1) Canada/United States of America, enUSA, Edition date: 202101, First-Printing Changing a Road WheelE328591 1
2E328732 E330077
Page 96 of 106
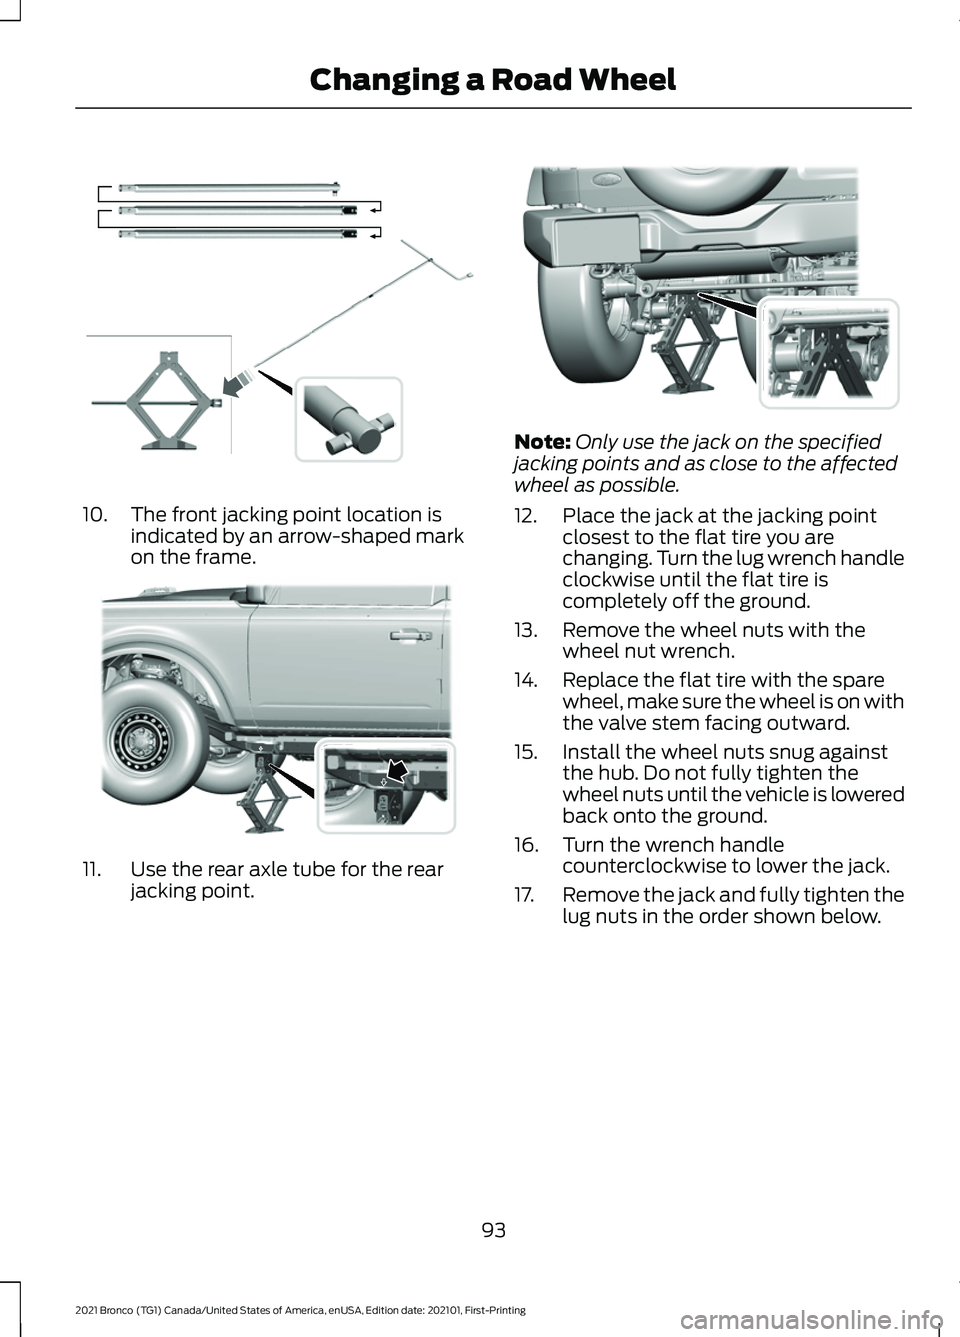
10. The front jacking point location is
indicated by an arrow-shaped mark
on the frame. 11. Use the rear axle tube for the rear
jacking point. Note:
Only use the jack on the specified
jacking points and as close to the affected
wheel as possible.
12. Place the jack at the jacking point closest to the flat tire you are
changing. Turn the lug wrench handle
clockwise until the flat tire is
completely off the ground.
13. Remove the wheel nuts with the wheel nut wrench.
14. Replace the flat tire with the spare wheel, make sure the wheel is on with
the valve stem facing outward.
15. Install the wheel nuts snug against the hub. Do not fully tighten the
wheel nuts until the vehicle is lowered
back onto the ground.
16. Turn the wrench handle counterclockwise to lower the jack.
17. Remove the jack and fully tighten the
lug nuts in the order shown below.
93
2021 Bronco (TG1) Canada/United States of America, enUSA, Edition date: 202101, First-Printing Changing a Road WheelE330076 E343635 E330074
Page 97 of 106
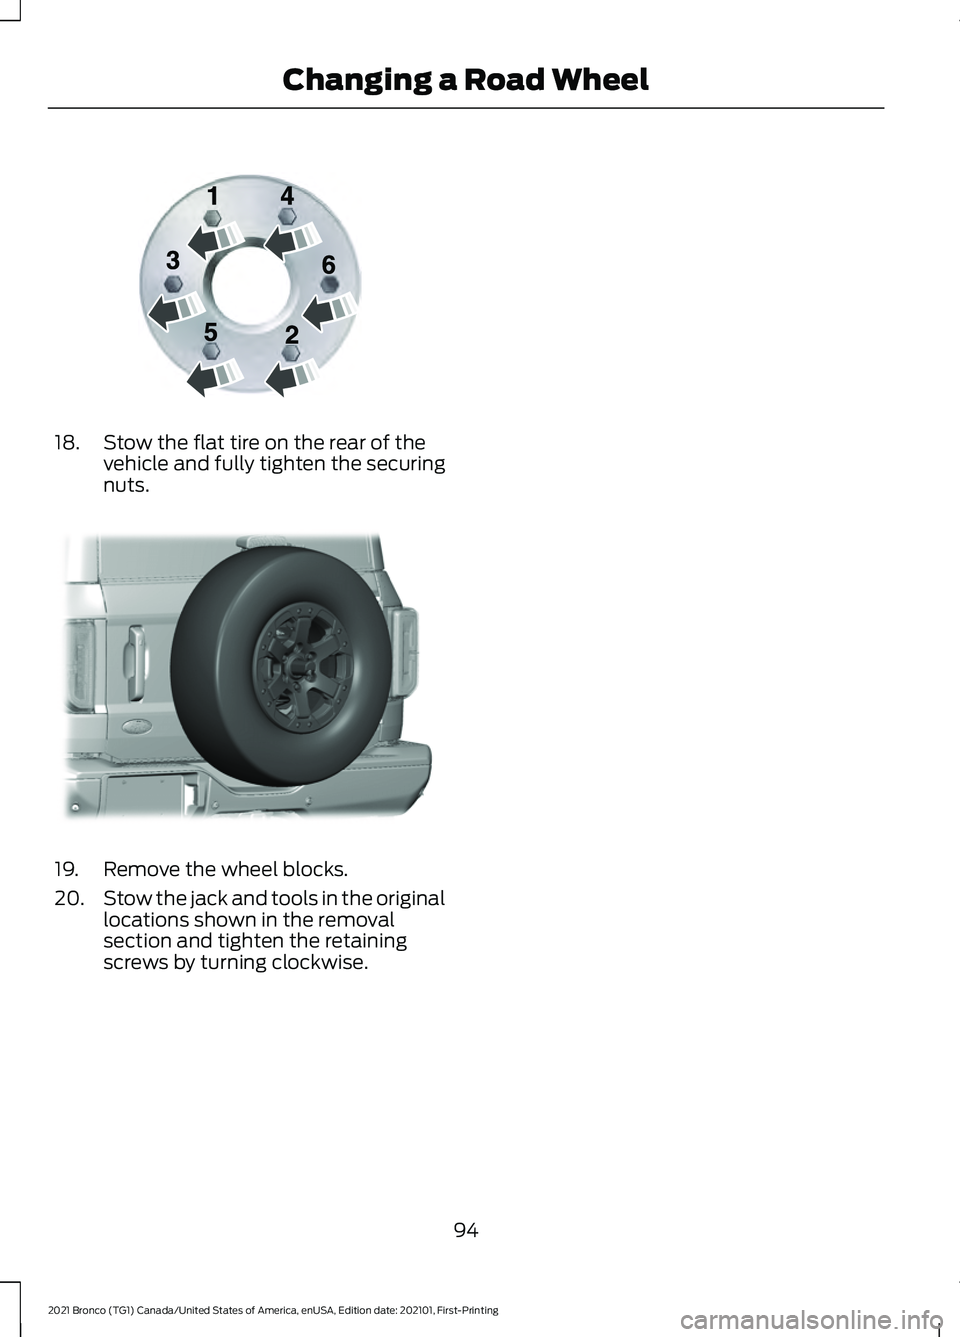
18. Stow the flat tire on the rear of the
vehicle and fully tighten the securing
nuts.19. Remove the wheel blocks.
20.
Stow the jack and tools in the original
locations shown in the removal
section and tighten the retaining
screws by turning clockwise.
94
2021 Bronco (TG1) Canada/United States of America, enUSA, Edition date: 202101, First-Printing Changing a Road WheelE166719 E324079