navigation FORD C MAX 2008 1.G Owners Manual
[x] Cancel search | Manufacturer: FORD, Model Year: 2008, Model line: C MAX, Model: FORD C MAX 2008 1.GPages: 278, PDF Size: 17.5 MB
Page 7 of 278
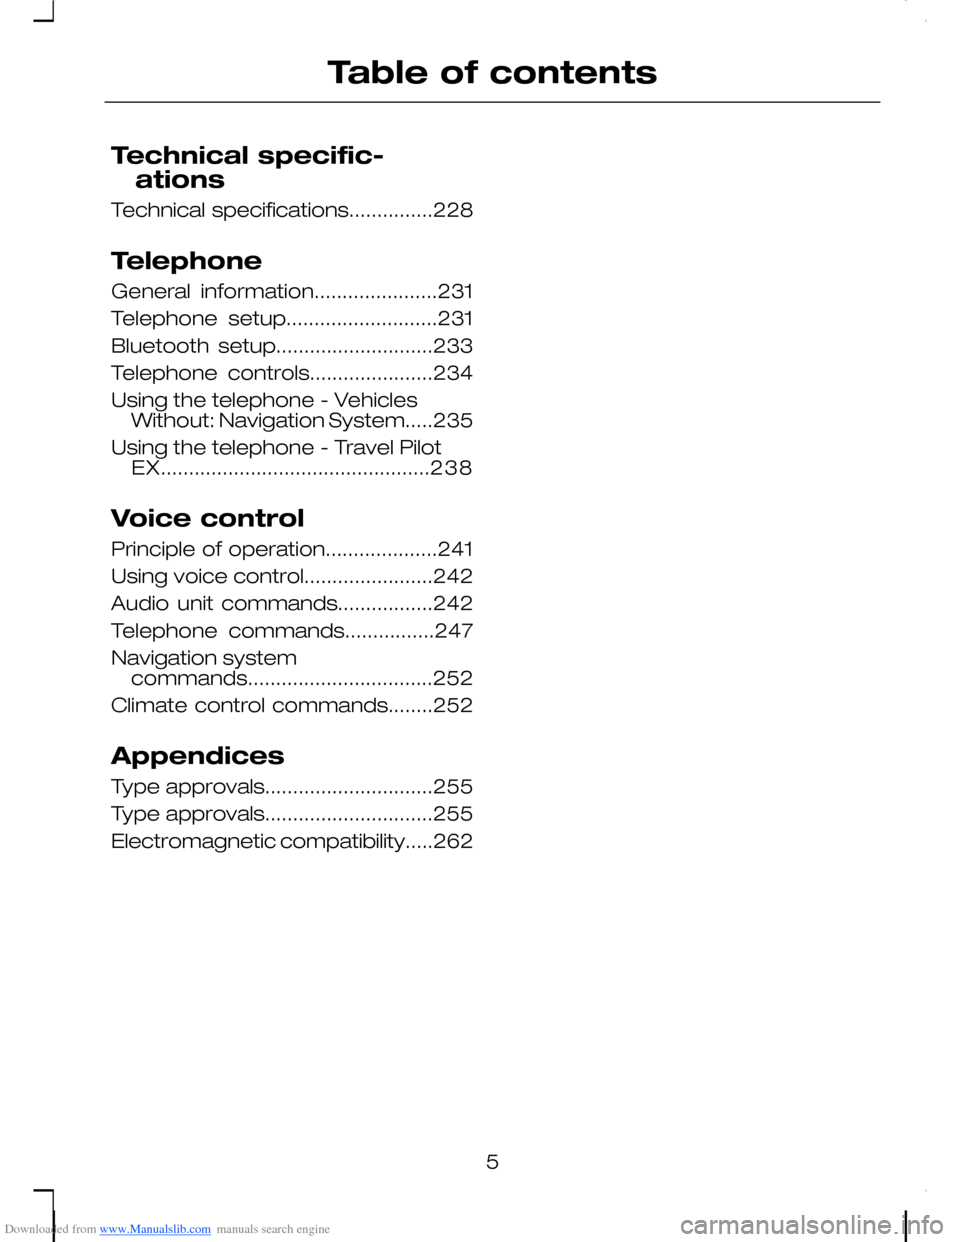
Downloaded from www.Manualslib.com manuals search engine Technical specific-
ations
Technical specifications...............228
Telephone
General information......................231
Telephone setup...........................231
Bluetooth setup............................233
Telephone controls......................234
Using the telephone - VehiclesWithout: Navigation System.....235
Using the telephone - Travel PilotEX................................................238
Voice control
Principle of operation....................241
Using voice control.......................242
Audio unit commands.................242
Telephone commands................247
Navigation systemcommands.................................252
Climate control commands........252
Appendices
Type approvals..............................255
Type approvals..............................255
Electromagnetic compatibility.....262
5
Table of contents
Page 13 of 278
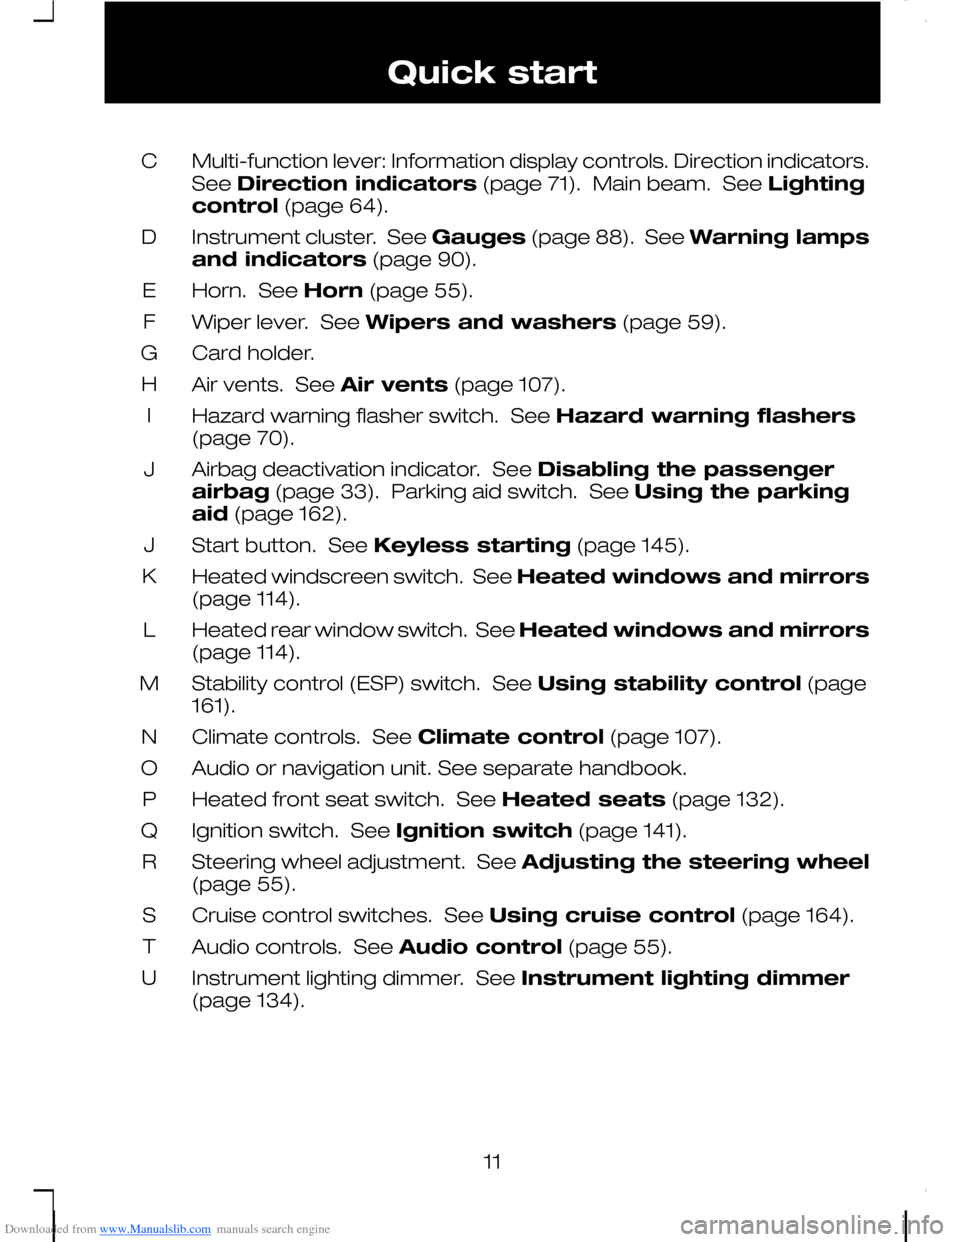
Downloaded from www.Manualslib.com manuals search engine Multi-function lever: Information display controls. Direction indicators.See Direction indicators (page 71). Main beam. See Lightingcontrol (page 64).
C
Instrument cluster. See Gauges (page 88). See Warning lampsand indicators (page 90).
D
Horn. See Horn (page 55).E
Wiper lever. See Wipers and washers (page 59).F
Card holder.G
Air vents. See Air vents (page 107).H
Hazard warning flasher switch. See Hazard warning flashers(page 70).I
Airbag deactivation indicator. See Disabling the passengerairbag (page 33). Parking aid switch. See Using the parkingaid (page 162).
J
Start button. See Keyless starting (page 145).J
Heated windscreen switch. See Heated windows and mirrors(page 114).K
Heated rear window switch. See Heated windows and mirrors(page 114).L
Stability control (ESP) switch. See Using stability control (page161).M
Climate controls. See Climate control (page 107).N
Audio or navigation unit. See separate handbook.O
Heated front seat switch. See Heated seats (page 132).P
Ignition switch. See Ignition switch (page 141).Q
Steering wheel adjustment. See Adjusting the steering wheel(page 55).R
Cruise control switches. See Using cruise control (page 164).S
Audio controls. See Audio control (page 55).T
Instrument lighting dimmer. See Instrument lighting dimmer(page 134).U
11
Quick start
Page 15 of 278
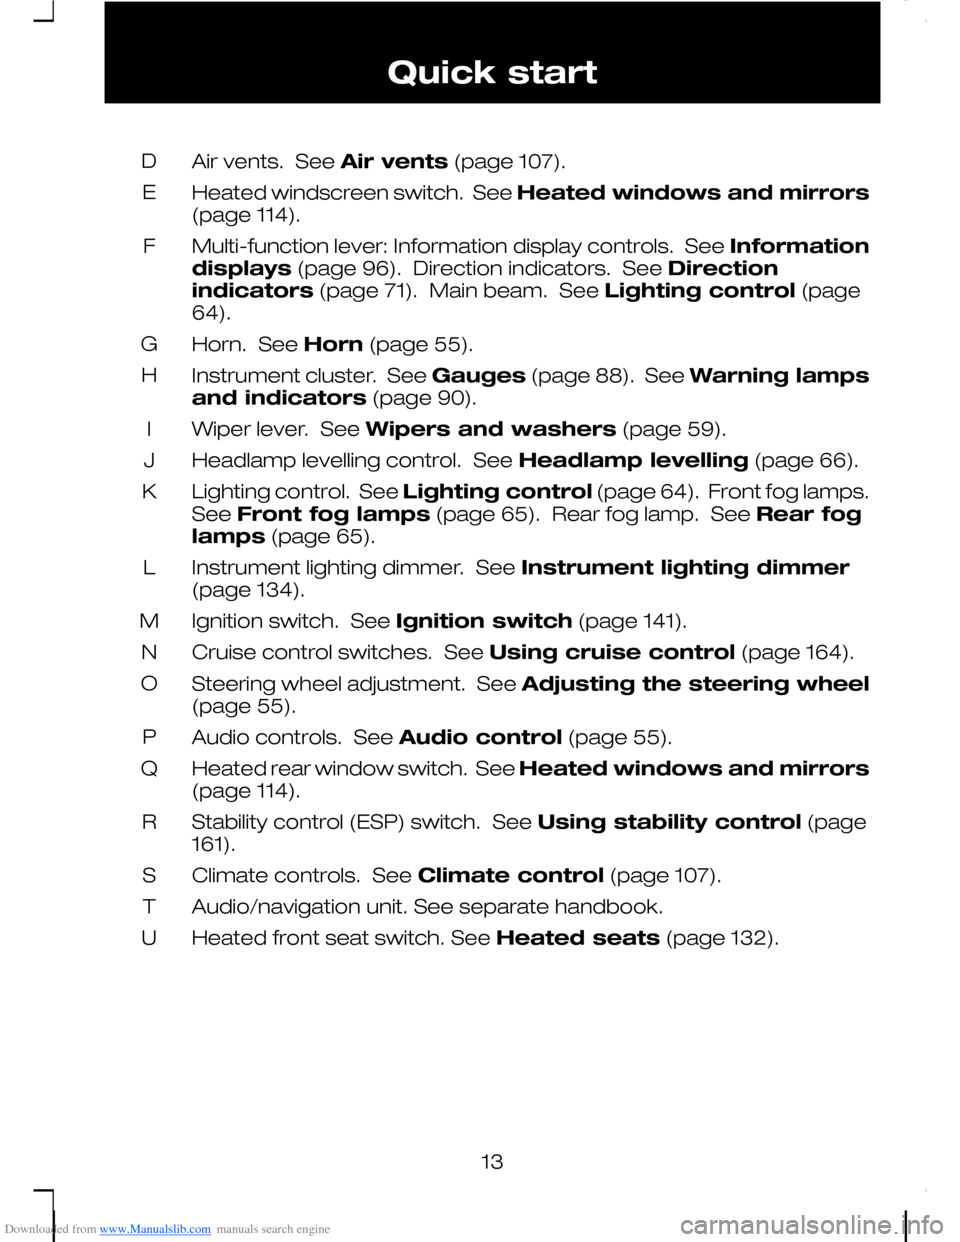
Downloaded from www.Manualslib.com manuals search engine Air vents. See Air vents (page 107).D
Heated windscreen switch. See Heated windows and mirrors(page 114).E
Multi-function lever: Information display controls. See Informationdisplays (page 96). Direction indicators. See Directionindicators (page 71). Main beam. See Lighting control (page64).
F
Horn. See Horn (page 55).G
Instrument cluster. See Gauges (page 88). See Warning lampsand indicators (page 90).
H
Wiper lever. See Wipers and washers (page 59).I
Headlamp levelling control. See Headlamp levelling (page 66).J
Lighting control. See Lighting control (page 64). Front fog lamps.See Front fog lamps (page 65). Rear fog lamp. See Rear foglamps (page 65).
K
Instrument lighting dimmer. See Instrument lighting dimmer(page 134).L
Ignition switch. See Ignition switch (page 141).M
Cruise control switches. See Using cruise control (page 164).N
Steering wheel adjustment. See Adjusting the steering wheel(page 55).O
Audio controls. See Audio control (page 55).P
Heated rear window switch. See Heated windows and mirrors(page 114).Q
Stability control (ESP) switch. See Using stability control (page161).R
Climate controls. See Climate control (page 107).S
Audio/navigation unit. See separate handbook.T
Heated front seat switch. See Heated seats (page 132).U
13
Quick start
Page 102 of 278
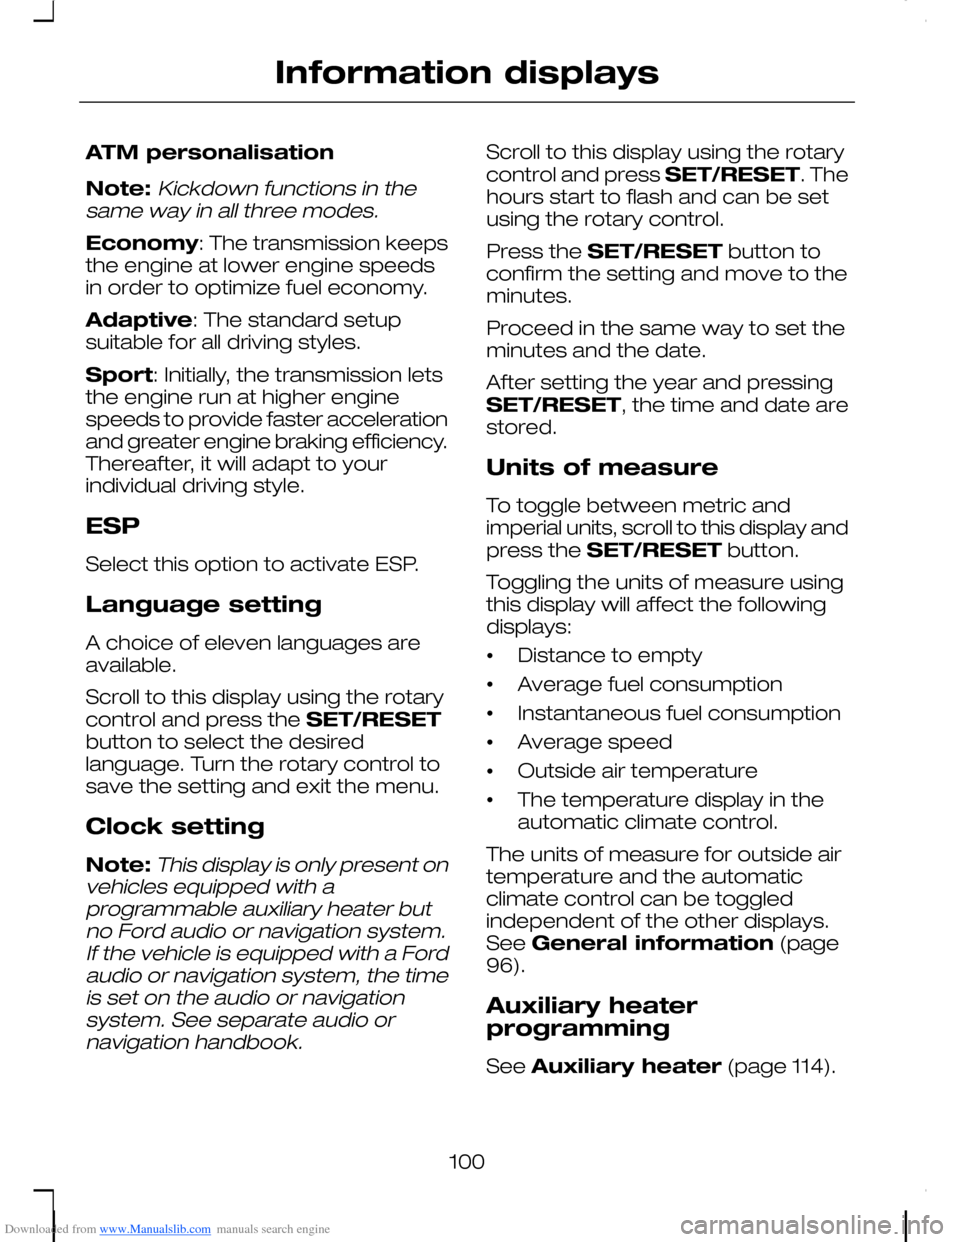
Downloaded from www.Manualslib.com manuals search engine ATM personalisation
Note:Kickdown functions in thesame way in all three modes.
Economy: The transmission keepsthe engine at lower engine speedsin order to optimize fuel economy.
Adaptive: The standard setupsuitable for all driving styles.
Sport: Initially, the transmission letsthe engine run at higher enginespeeds to provide faster accelerationand greater engine braking efficiency.Thereafter, it will adapt to yourindividual driving style.
ESP
Select this option to activate ESP.
Language setting
A choice of eleven languages areavailable.
Scroll to this display using the rotarycontrol and press the SET/RESETbutton to select the desiredlanguage. Turn the rotary control tosave the setting and exit the menu.
Clock setting
Note:This display is only present onvehicles equipped with aprogrammable auxiliary heater butno Ford audio or navigation system.If the vehicle is equipped with a Fordaudio or navigation system, the timeis set on the audio or navigationsystem. See separate audio ornavigation handbook.
Scroll to this display using the rotarycontrol and press SET/RESET. Thehours start to flash and can be setusing the rotary control.
Press the SET/RESET button toconfirm the setting and move to theminutes.
Proceed in the same way to set theminutes and the date.
After setting the year and pressingSET/RESET, the time and date arestored.
Units of measure
To toggle between metric andimperial units, scroll to this display andpress the SET/RESET button.
Toggling the units of measure usingthis display will affect the followingdisplays:
•Distance to empty
•Average fuel consumption
•Instantaneous fuel consumption
•Average speed
•Outside air temperature
•The temperature display in theautomatic climate control.
The units of measure for outside airtemperature and the automaticclimate control can be toggledindependent of the other displays.See General information (page96).
Auxiliary heaterprogramming
See Auxiliary heater (page 114).
100
Information displays
Page 103 of 278
Downloaded from www.Manualslib.com manuals search engine To programme the auxiliary heater,scroll to this display using the rotarycontrol and press the SET/RESETbutton.
Instant control
To switch on the programmableauxiliary heater or fuel operatedheater, scroll to this display and pressSET/RESET. The cursor will changeto a tick. The tick in this displayconfirms that the heater is nowactivated and will perform oneheating cycle.
AUX. HEATER ON will appear inthe display.
To switch off the programmableauxiliary heater or fuel operatedheater during a heating cycle, scrollto this display and pressSET/RESET. The cursor will changeto a tick. The tick in this displayconfirms that the heater is nowdeactivated.
AUX. HEATER OFF will appear inthe display.
Programme times
Note:The programmed time is thetime at which you wish the vehicle tobe warm and ready to drive, not thetime at which the heater switches on.
Note:Times must be programmedat least 70 minutes in advance of thetime you wish to set.
Note:The time and date must becorrectly set on the audio/ navigationsystem or on the information display.See Clock setting.
Four functions are available forsetting the times at which the vehicleshould be warmed up:
Seven days in the week
One or two times can beprogrammed for every day of theweek.
Five days in the week
One or two times can beprogrammed for the days Mondayto Friday.
Single day within week
One or two times can beprogrammed for one particular dayof the week.
Any time and date
One time can be programmed forone particular day in the next 12months from the date ofprogramming.
Programming procedure forSeven days in the week, Fivedays in the week, Single daywithin week:
In the Auxiliary heaterprogramming menu, scroll to therelevant display using the rotarycontrol and press the SET/RESETbutton.
When programming the functionSingle day within week, choosethe day using the rotary control andpress SET/RESET.
The first programme time will flash.
Press SET/RESET and the hourswill flash.
101
Information displays
Page 113 of 278
Downloaded from www.Manualslib.com manuals search engine AUTOMATIC CLIMATE CONTROL
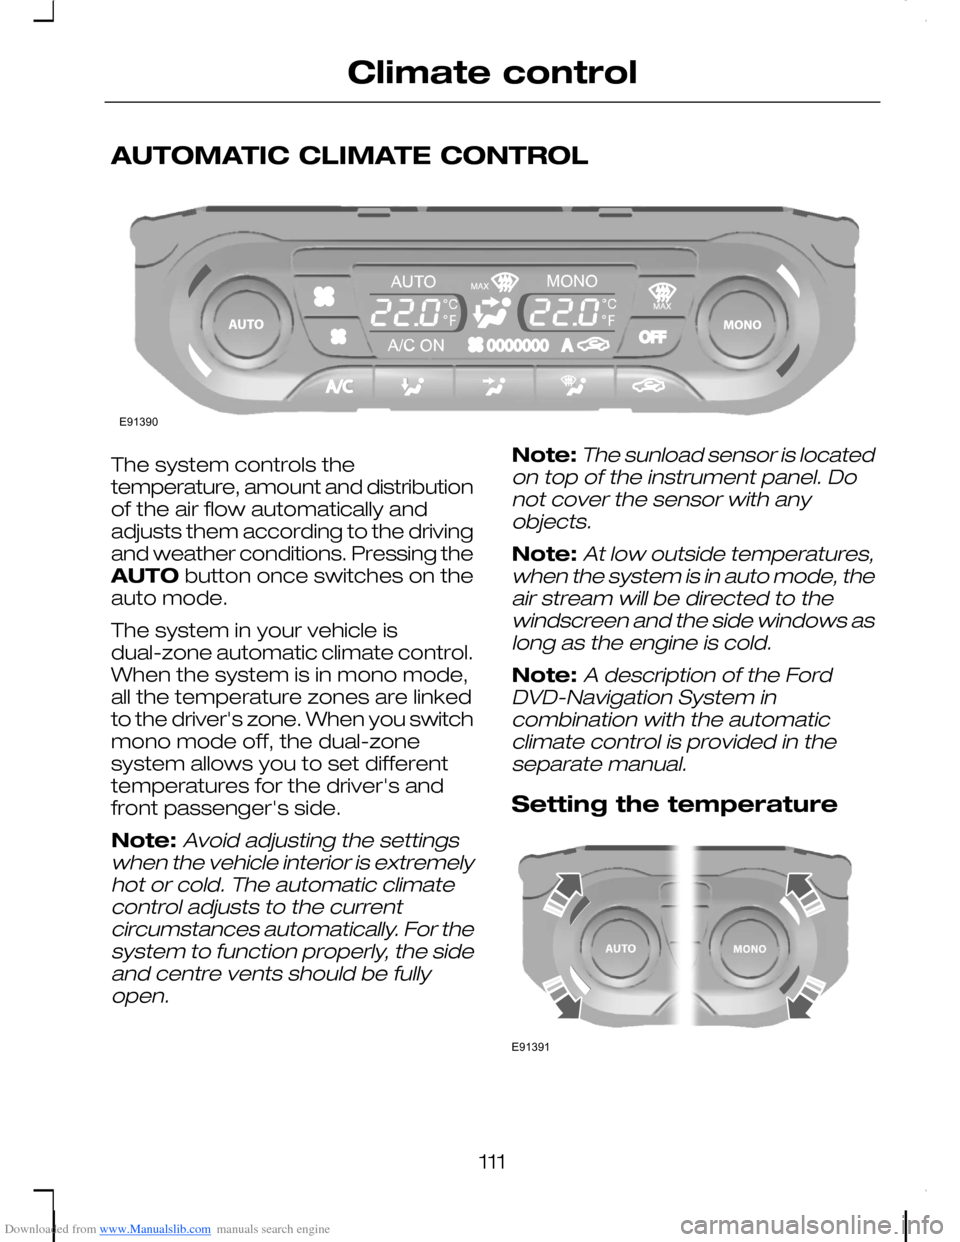
The system controls thetemperature, amount and distributionof the air flow automatically andadjusts them according to the drivingand weather conditions. Pressing theAUTO button once switches on theauto mode.
The system in your vehicle isdual-zone automatic climate control.When the system is in mono mode,all the temperature zones are linkedto the driver's zone. When you switchmono mode off, the dual-zonesystem allows you to set differenttemperatures for the driver's andfront passenger's side.
Note:Avoid adjusting the settingswhen the vehicle interior is extremelyhot or cold. The automatic climatecontrol adjusts to the currentcircumstances automatically. For thesystem to function properly, the sideand centre vents should be fullyopen.
Note:The sunload sensor is locatedon top of the instrument panel. Donot cover the sensor with anyobjects.
Note:At low outside temperatures,when the system is in auto mode, theair stream will be directed to thewindscreen and the side windows aslong as the engine is cold.
Note:A description of the FordDVD-Navigation System incombination with the automaticclimate control is provided in theseparate manual.
Setting the temperature
111
Climate controlE91390 E91391
Page 184 of 278
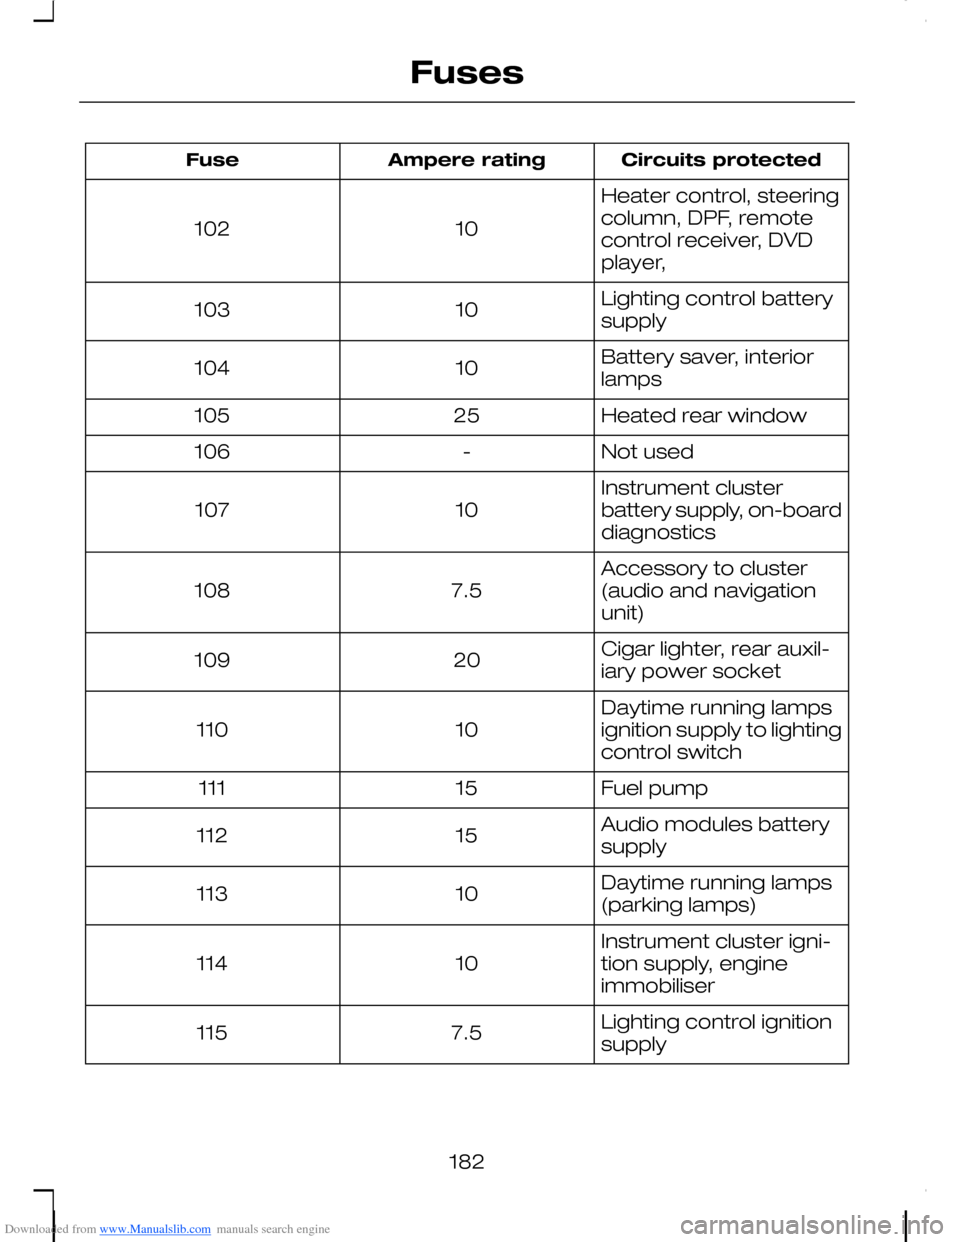
Downloaded from www.Manualslib.com manuals search engine Circuits protectedAmpere ratingFuse
Heater control, steeringcolumn, DPF, remotecontrol receiver, DVDplayer,
10102
Lighting control batterysupply10103
Battery saver, interiorlamps10104
Heated rear window25105
Not used-106
Instrument clusterbattery supply, on-boarddiagnostics10107
Accessory to cluster(audio and navigationunit)7.5108
Cigar lighter, rear auxil-iary power socket20109
Daytime running lampsignition supply to lightingcontrol switch10110
Fuel pump15111
Audio modules batterysupply15112
Daytime running lamps(parking lamps)10113
Instrument cluster igni-tion supply, engineimmobiliser10114
Lighting control ignitionsupply7.5115
182
Fuses
Page 233 of 278
Downloaded from www.Manualslib.com manuals search engine GENERAL INFORMATION
This section describes the functionsand features of the Bluetooth mobilephone and voice control system.
The section covers the followingvariations:
•a mobile phone with a mobilephone cradle without voicecontrol
•a Bluetooth and voice controlsystem with a mobile phonecradle
•a Bluetooth and voice controlsystem without a mobile phonecradle.
The Bluetooth mobile phone part ofthe system provides interaction withthe audio or navigation system andyour mobile phone. It allows you touse the audio or navigation systemto make and receive calls withouthaving to use your mobile phone.
The voice control part of the systemcan be used to control:
•mobile phone calls
•audio system functions
•vehicle climate control functions.
Note:The mobile phone does notswitch off immediately after theignition key is turned off: the powerdown delay is preset to 10 minutes.The time period can be adjusted tobetween 0 and 60 minutes. This,depending on your mobile phone,can be achieved by creating aphonebook entry on your mobilephone with the name Timer and therequired delay as it's number.
If the Bluetooth and voice control isused for an extended period of timewhen the vehicle is stationary, makesure that the engine is running toavoid draining the battery
TELEPHONE SETUP
Requirements for cradleconnection
Your phone must be fitted in a mobilephone holder before it can be usedas a cradle phone with yourhandsfree/voice control system. Youwill be able to purchase the correctholder for your phone from yourdealer.
Placing your phone in thecradle
Note:Your phone must be fitted ina mobile phone holder to allow youto connect the phone to the cradle.
Connect your phone to the cradle.
1.Place the base of the phone in thecradle connection.
Note:Make sure that the phone ispushed fully rearwards in the cradle.
231
Telephone
Page 234 of 278
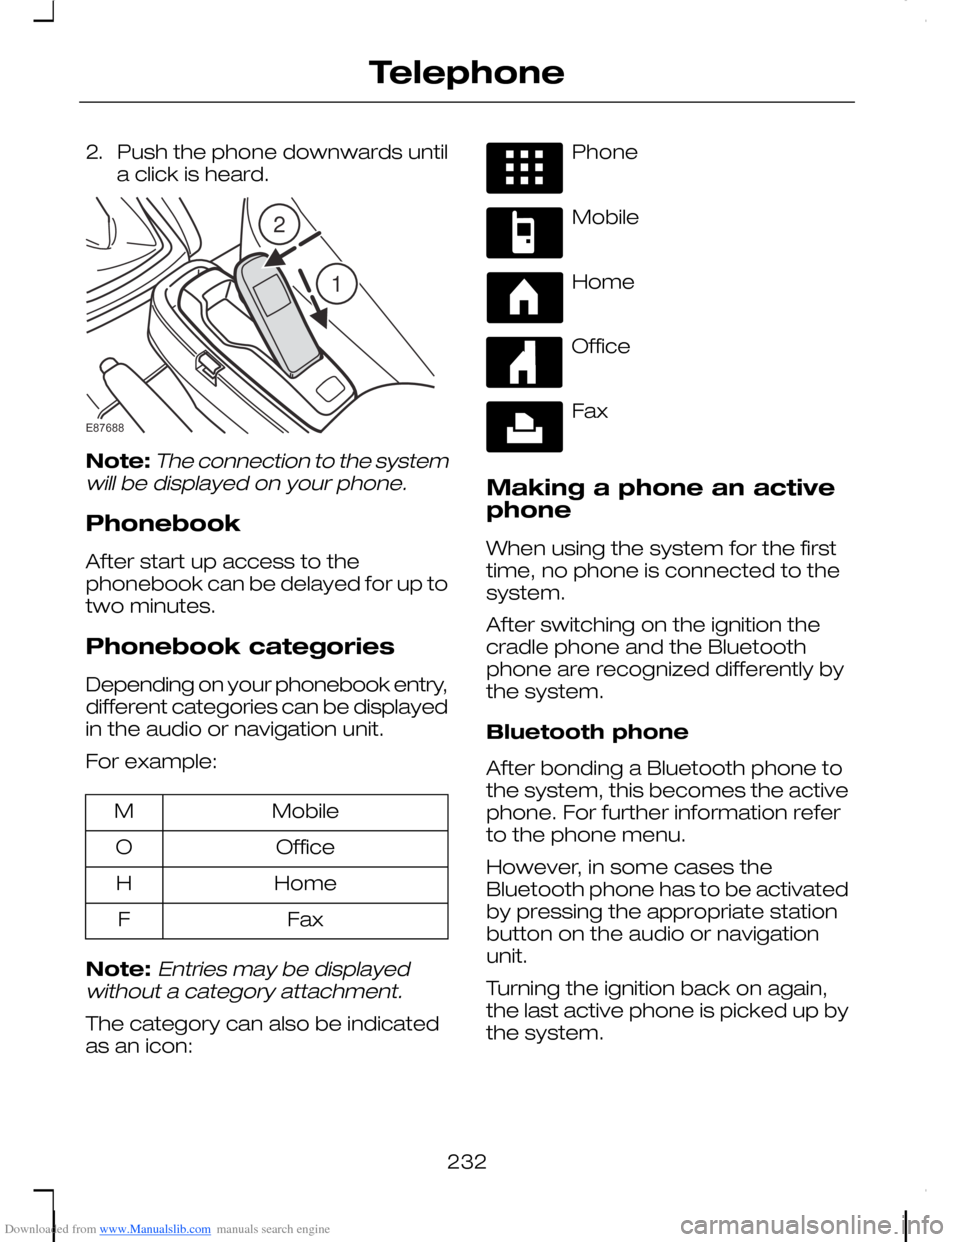
Downloaded from www.Manualslib.com manuals search engine 2.Push the phone downwards untila click is heard.
Note:The connection to the systemwill be displayed on your phone.
Phonebook
After start up access to thephonebook can be delayed for up totwo minutes.
Phonebook categories
Depending on your phonebook entry,different categories can be displayedin the audio or navigation unit.
For example:
MobileM
OfficeO
HomeH
FaxF
Note:Entries may be displayedwithout a category attachment.
The category can also be indicatedas an icon:
Phone
Mobile
Home
Office
Fax
Making a phone an activephone
When using the system for the firsttime, no phone is connected to thesystem.
After switching on the ignition thecradle phone and the Bluetoothphone are recognized differently bythe system.
Bluetooth phone
After bonding a Bluetooth phone tothe system, this becomes the activephone. For further information referto the phone menu.
However, in some cases theBluetooth phone has to be activatedby pressing the appropriate stationbutton on the audio or navigationunit.
Turning the ignition back on again,the last active phone is picked up bythe system.
232
Telephone21E87688
Page 235 of 278
Downloaded from www.Manualslib.com manuals search engine Bond another Bluetoothphone
Note:Before another Bluetoothphone can be bonded, the existingactive Bluetooth connection has tobe deactivated by the mobile phone.
Bond a new Bluetooth phone asdescribed in the requirements for aBluetooth connection.
Phones stored in the system areaccessible by using the phone list onthe audio or navigation unit.
Note:If six (five Bluetooth phonesfor cradle phone system) Bluetoothphones have been bonded, one ofthese has to be deleted in order tobond a new phone.
Cradle phone
With your phone fitted in the mobilephone cradle this does notautomatically become the activephone.
In these cases refer to Changingthe active phone in theappropriate section which describesthe system fitted to your vehicle.
BLUETOOTH SETUP
Before you can use your telephonewith your vehicle it must be bondedto the vehicle telephone system.
Handling of phones
A phone can be connected to thevehicle system by using either acradle connection or a Bluetoothconnection.
On vehicles with a mobile phonecradle, up to five Bluetooth phonescan be bonded to the vehicle system.
On vehicles without a mobile phonecradle, up to six Bluetooth phonescan be bonded to the vehicle system.
Note:If there is an ongoing callwhen the phone in use is selected asthe new active phone, the call istransferred to the vehicle audiosystem.
Note:Even if connected to the carsystem, your phone can still be usedin the usual way.
Requirements for Bluetoothconnection
The following are required before aBluetooth phone connection can bemade.
1.The Bluetooth feature must beactivated on the phone and onthe audio unit. For additionalinformation, refer to your phoneuser guide
2.The private mode must not beactivated on the Bluetooth phone.
3.Search for audio device.
4.Select Ford Audio.
5.The Bluetooth PIN number 0000must be entered on the phonekeypad.
233
Telephone