remove seats FORD CONTOUR 1998 2.G Owners Manual
[x] Cancel search | Manufacturer: FORD, Model Year: 1998, Model line: CONTOUR, Model: FORD CONTOUR 1998 2.GPages: 200, PDF Size: 2.7 MB
Page 52 of 200

Seating and safety restraints
52
Automatic locking mode
In this mode, the shoulder belt is
automatically prelocked; however,
the belt will react to remove any
slack in the shoulder belt.
The automatic locking mode is not
available on the driver’s safety belt.
When to use the automatic
locking mode
•When a tight lap and shoulder
belt fit is desired.
•Any time a child safety seat is
installed in the vehicle. For
information on the proper use of
a child safety seat, refer to
Child
safety seatslater in this chapter.
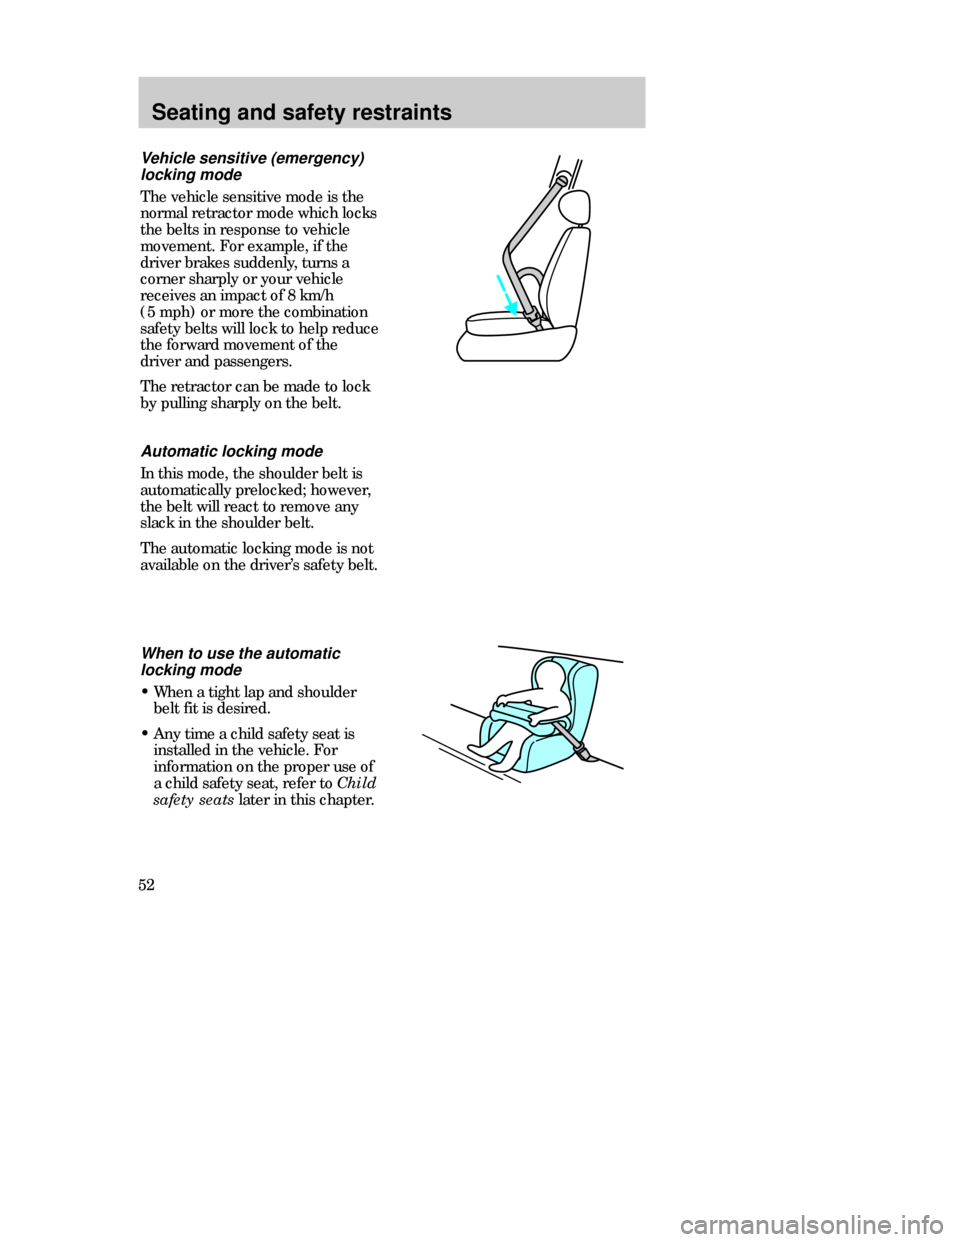
Vehicle sensitive (emergency)
locking mode
The vehicle sensitive mode is the
normal retractor mode which locks
the belts in response to vehicle
movement. For example, if the
driver brakes suddenly, turns a
corner sharply or your vehicle
receives an impact of 8 km/h
(5mph) or more the combination
safety belts will lock to help reduce
the forward movement of the
driver and passengers.
The retractor can be made to lock
by pulling sharply on the belt.
CDW IIID Seat en C 5/15/97 8:48 PM Page 52
Page 73 of 200

Seating and safety restraints
73
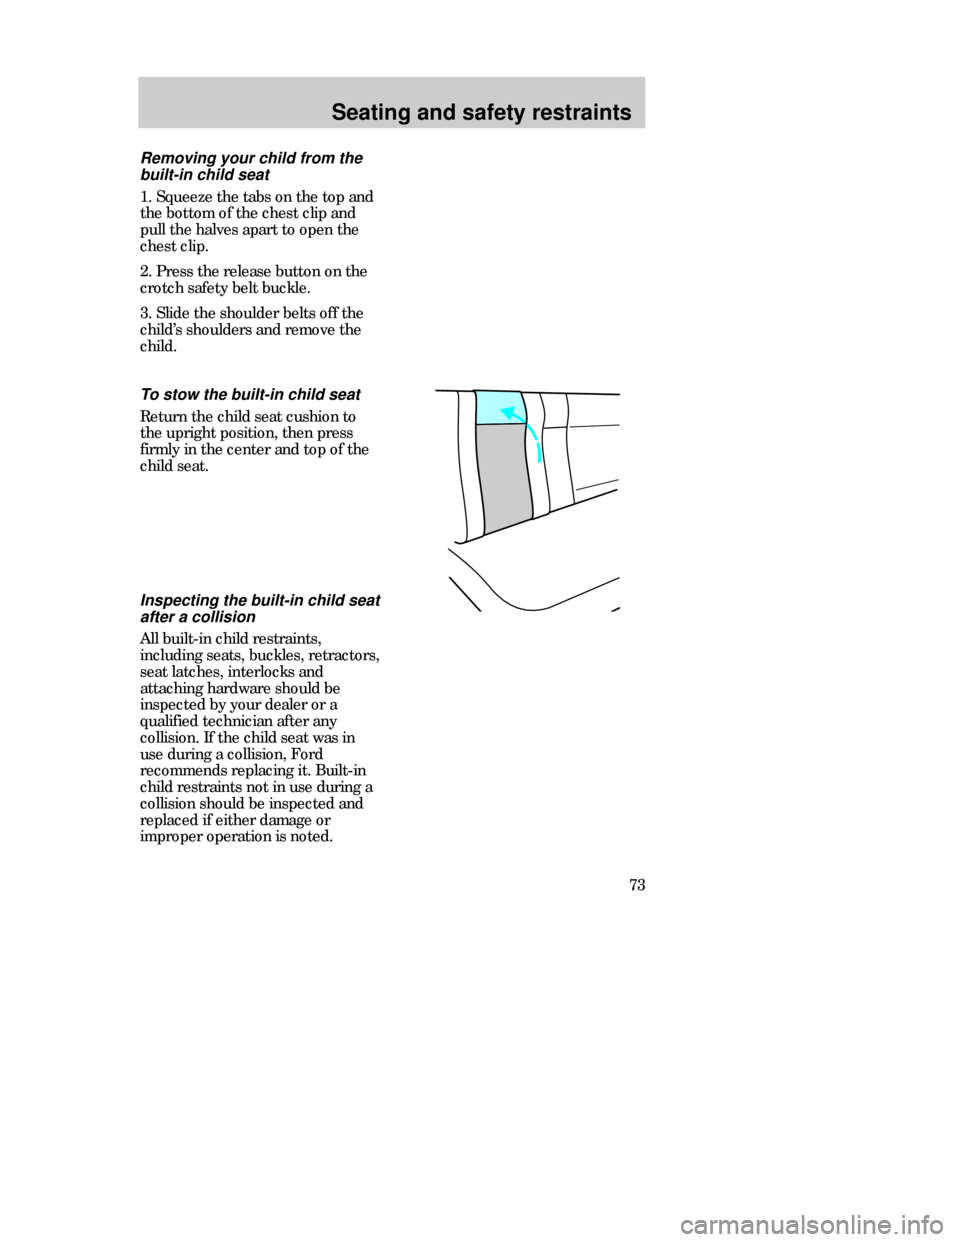
To stow the built-in child seat
Return the child seat cushion to
the upright position, then press
firmly in the center and top of the
child seat.
Removing your child from the
built-in child seat
1. Squeeze the tabs on the top and
the bottom of the chest clip and
pull the halves apart to open the
chest clip.
2. Press the release button on the
crotch safety belt buckle.
3. Slide the shoulder belts off the
child’s shoulders and remove the
child.
Inspecting the built-in child seat
after a collision
All built-in child restraints,
including seats, buckles, retractors,
seat latches, interlocks and
attaching hardware should be
inspected by your dealer or a
qualified technician after any
collision. If the child seat was in
use during a collision, Ford
recommends replacing it. Built-in
child restraints not in use during a
collision should be inspected and
replaced if either damage or
improper operation is noted.
CDW IIID Seat en C 5/15/97 8:48 PM Page 73
Page 77 of 200

Seating and safety restraints
77 8. Allow the safety belt to retract to
remove any slack in the belt.
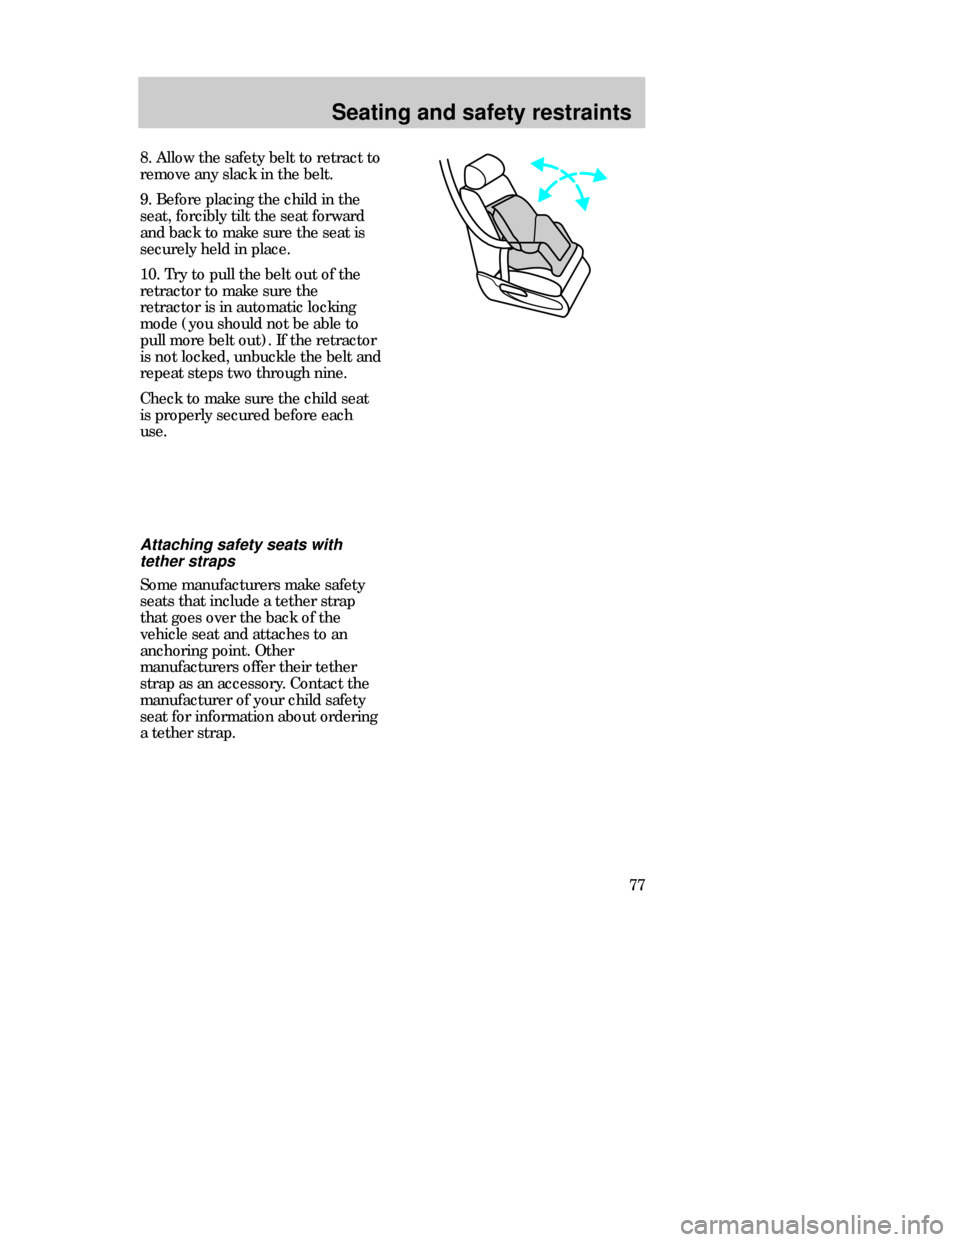
9. Before placing the child in the
seat, forcibly tilt the seat forward
and back to make sure the seat is
securely held in place.
10. Try to pull the belt out of the
retractor to make sure the
retractor is in automatic locking
mode (you should not be able to
pull more belt out). If the retractor
is not locked, unbuckle the belt and
repeat steps two through nine.
Check to make sure the child seat
is properly secured before each
use.
Attaching safety seats with
tether straps
Some manufacturers make safety
seats that include a tether strap
that goes over the back of the
vehicle seat and attaches to an
anchoring point. Other
manufacturers offer their tether
strap as an accessory. Contact the
manufacturer of your child safety
seat for information about ordering
a tether strap.
CDW IIID Seat en C 5/15/97 8:48 PM Page 77
Page 184 of 200

Maintenance and care
184Cleaning the interior fabric
Remove dust and loose dirt with a
whisk broom or a vacuum cleaner.
Remove fresh spots immediately.
Follow the directions that come
with the cleaner.
Cleaning leather seats
(if equipped)
For routine cleaning, wipe the
surface with a soft, damp cloth. For
more thorough cleaning, wipe the
surface with a leather and vinyl
cleaner or a mild soap.
Cleaning the instrument panel
HM:
I0 20OFF LOPNL/FLR
PANEL
A/CFLOOR
DEF FLR
DEF
MAX
A/C HI/
POWERAUDIOAM/FM
SCAN
SEEK 312645ANSSIDE1-2EJECTVOLUME
000123000010 20 3040506070
80
90
100
110
120
130MPH20 406055
80120 100
140
160
180
200EF 1
/
2UNLEADED FUEL ONLY12
03x 1000
4
5
6
7
8NORMALBRAKE
CHECK
ENGINE TRACTION
CONTROLO/D
OFF
MIRRORS
Clean the instrument panel with a
damp cloth, then dry with a dry
cloth.
Any cleaner or polish that
increases the gloss of the upper
portion of the instrument panel
should be avoided. The dull finish
in this area is to help protect the
driver from undesirable windshield
reflection.
CDW VA1-19Maint en C 5/15/97 8:56 PM Page 184