Seat FORD CROWN VICTORIA 1998 2.G Owners Manual
[x] Cancel search | Manufacturer: FORD, Model Year: 1998, Model line: CROWN VICTORIA, Model: FORD CROWN VICTORIA 1998 2.GPages: 160, PDF Size: 1.24 MB
Page 1 of 160
Before driving
Introduction 2
Instrumentation 3
Controls and features 23
Seating and safety restraints 58
Starting and driving
Starting 78
Driving 83
Roadside emergencies 95
Servicing
Maintenance and care 109
Capacities and specifications 145
Reporting safety defects 151
Index 152
All rights reserved. Reproduction by any means, electronic or mechanical
including photocopying, recording or by any information storage and retrieval
system or translation in whole or part is not permitted without written
authorization from Ford Motor Company.
Copyright
r1997 Ford Motor Company
Contents
1
Page 8 of 160
Light is blinking:
Engine misfire is occurring which could damage your catalytic converter.
You should drive in a moderate fashion (avoid heavy acceleration and
deceleration) and have your vehicle serviced at the first available
opportunity.
Under engine misfire conditions, excessive exhaust temperatures
could damage the catalytic converter, the fuel system, interior
floor coverings or other vehicle components, possibly causing a fire.
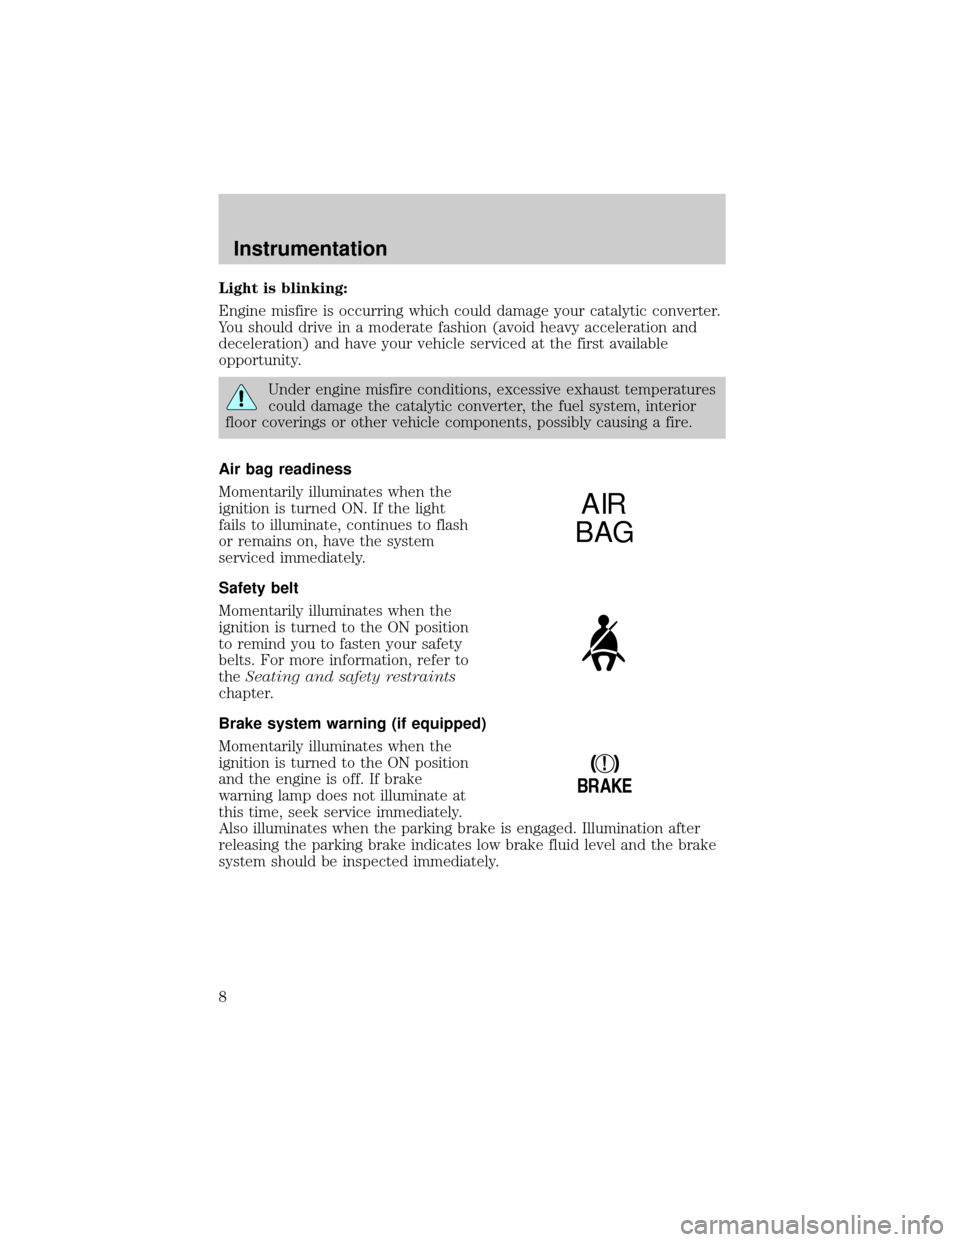
Air bag readiness
Momentarily illuminates when the
ignition is turned ON. If the light
fails to illuminate, continues to flash
or remains on, have the system
serviced immediately.
Safety belt
Momentarily illuminates when the
ignition is turned to the ON position
to remind you to fasten your safety
belts. For more information, refer to
theSeating and safety restraints
chapter.
Brake system warning (if equipped)
Momentarily illuminates when the
ignition is turned to the ON position
and the engine is off. If brake
warning lamp does not illuminate at
this time, seek service immediately.
Also illuminates when the parking brake is engaged. Illumination after
releasing the parking brake indicates low brake fluid level and the brake
system should be inspected immediately.
AIR
BAG
!
BRAKE
Instrumentation
8
Page 11 of 160

O/D off
Illuminates when the transmission
control switch has been pushed.
When the light is on, the
transmission does not shift into
overdrive. If the light does not come
on when the transmission control switch is depressed or if the light
flashes when you are driving, have your vehicle serviced.
Traction ControlYactive (if equipped)
Flashes when the Traction Controly
system begins applying and
releasing the brakes and adjusting
the engine characteristics to limit a
wheelspin condition. It will be lit for
a minimum of four seconds or for
the duration of the Traction
Controlyevent.
If the Traction Controlyindicator
comes on or stays lit, either:
²the Traction Controlysystem needs service, or
²the customer has disabled the system using the traction control
switch.
For more information, refer to theDrivingchapter.
Safety belt warning chime
Chimes to remind you to fasten your safety belts.
For information on the safety belt warning chime, refer to theSeating
and safety restraintschapter.
Supplemental restraint system (SRS) warning chime
For information on the SRS warning chime, refer to theSeating and
safety restraintschapter.
Key-in-ignition warning chime
Sounds when the key is left in the ignition in the OFF/LOCK or ACC
position and either front door is opened.
O/D
OFF
TRAC
CNTL
Instrumentation
11
Page 27 of 160
²To prevent humidity buildup inside the vehicle, don't drive with the
climate control system in the OFF position.
²Don't put objects under the front seat that will interfere with the
airflow to the back seats.
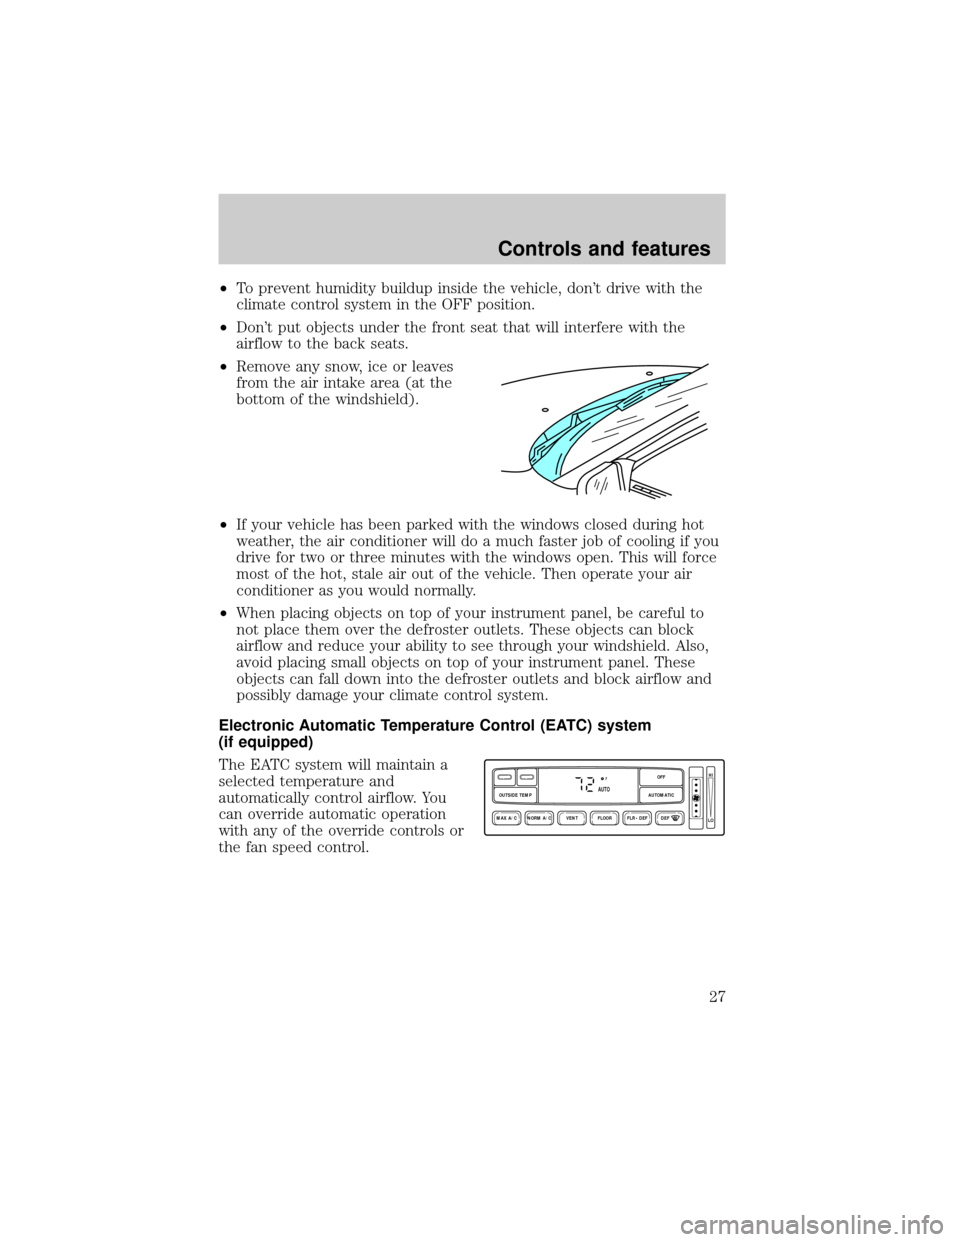
²Remove any snow, ice or leaves
from the air intake area (at the
bottom of the windshield).
²If your vehicle has been parked with the windows closed during hot
weather, the air conditioner will do a much faster job of cooling if you
drive for two or three minutes with the windows open. This will force
most of the hot, stale air out of the vehicle. Then operate your air
conditioner as you would normally.
²When placing objects on top of your instrument panel, be careful to
not place them over the defroster outlets. These objects can block
airflow and reduce your ability to see through your windshield. Also,
avoid placing small objects on top of your instrument panel. These
objects can fall down into the defroster outlets and block airflow and
possibly damage your climate control system.
Electronic Automatic Temperature Control (EATC) system
(if equipped)
The EATC system will maintain a
selected temperature and
automatically control airflow. You
can override automatic operation
with any of the override controls or
the fan speed control.
NORM A/CVENT FLOOR FLR • DEF DEF
HI
LO
MAX A/C
OUTSIDE TEMP AUTOMATICOFF
FAUTO
Controls and features
27
Page 32 of 160
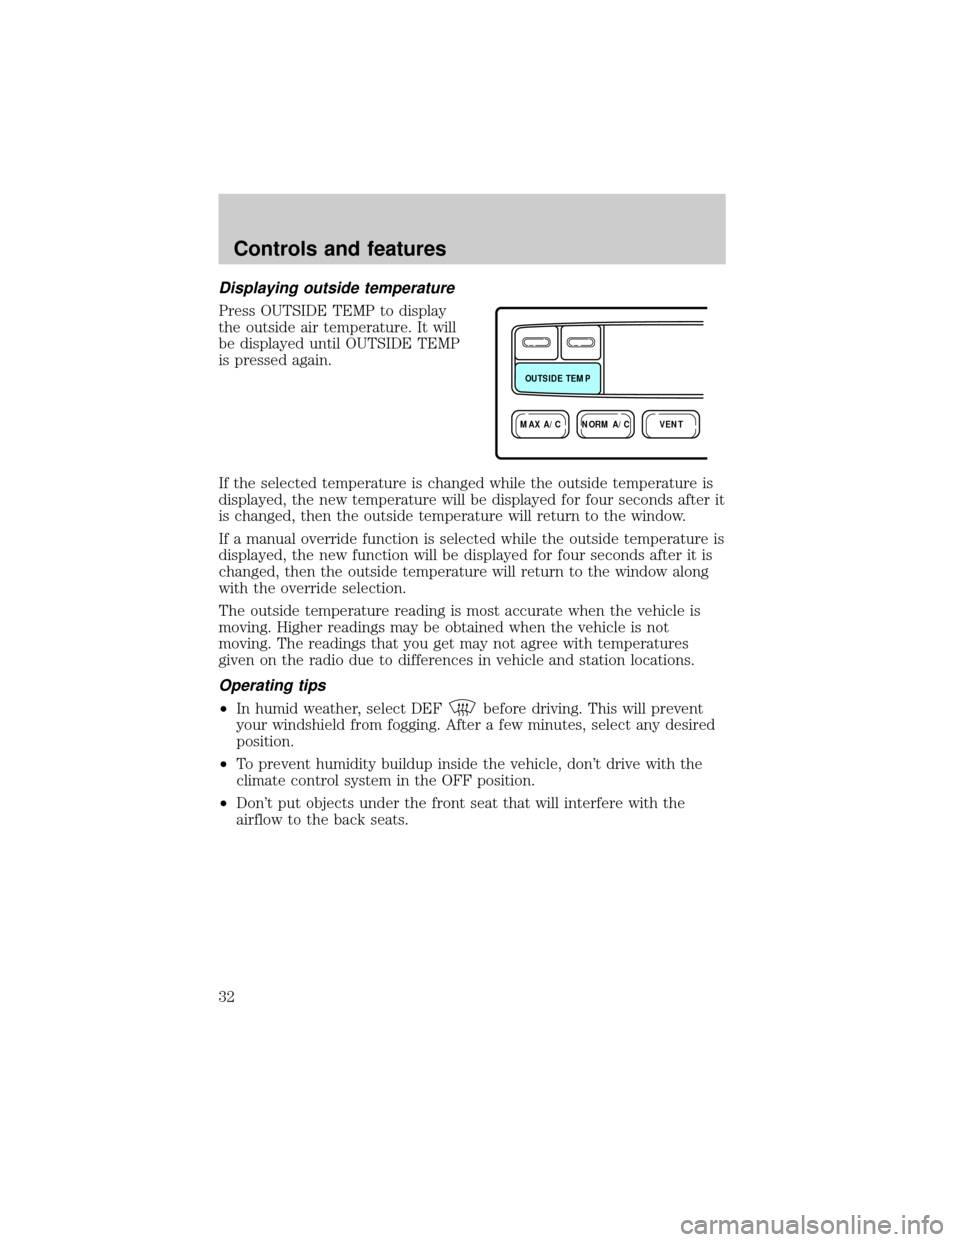
Displaying outside temperature
Press OUTSIDE TEMP to display
the outside air temperature. It will
be displayed until OUTSIDE TEMP
is pressed again.
If the selected temperature is changed while the outside temperature is
displayed, the new temperature will be displayed for four seconds after it
is changed, then the outside temperature will return to the window.
If a manual override function is selected while the outside temperature is
displayed, the new function will be displayed for four seconds after it is
changed, then the outside temperature will return to the window along
with the override selection.
The outside temperature reading is most accurate when the vehicle is
moving. Higher readings may be obtained when the vehicle is not
moving. The readings that you get may not agree with temperatures
given on the radio due to differences in vehicle and station locations.
Operating tips
²In humid weather, select DEFbefore driving. This will prevent
your windshield from fogging. After a few minutes, select any desired
position.
²To prevent humidity buildup inside the vehicle, don't drive with the
climate control system in the OFF position.
²Don't put objects under the front seat that will interfere with the
airflow to the back seats.
NORM A/CVENTMAX A/C
OUTSIDE TEMP
Controls and features
32
Page 58 of 160
SEATING
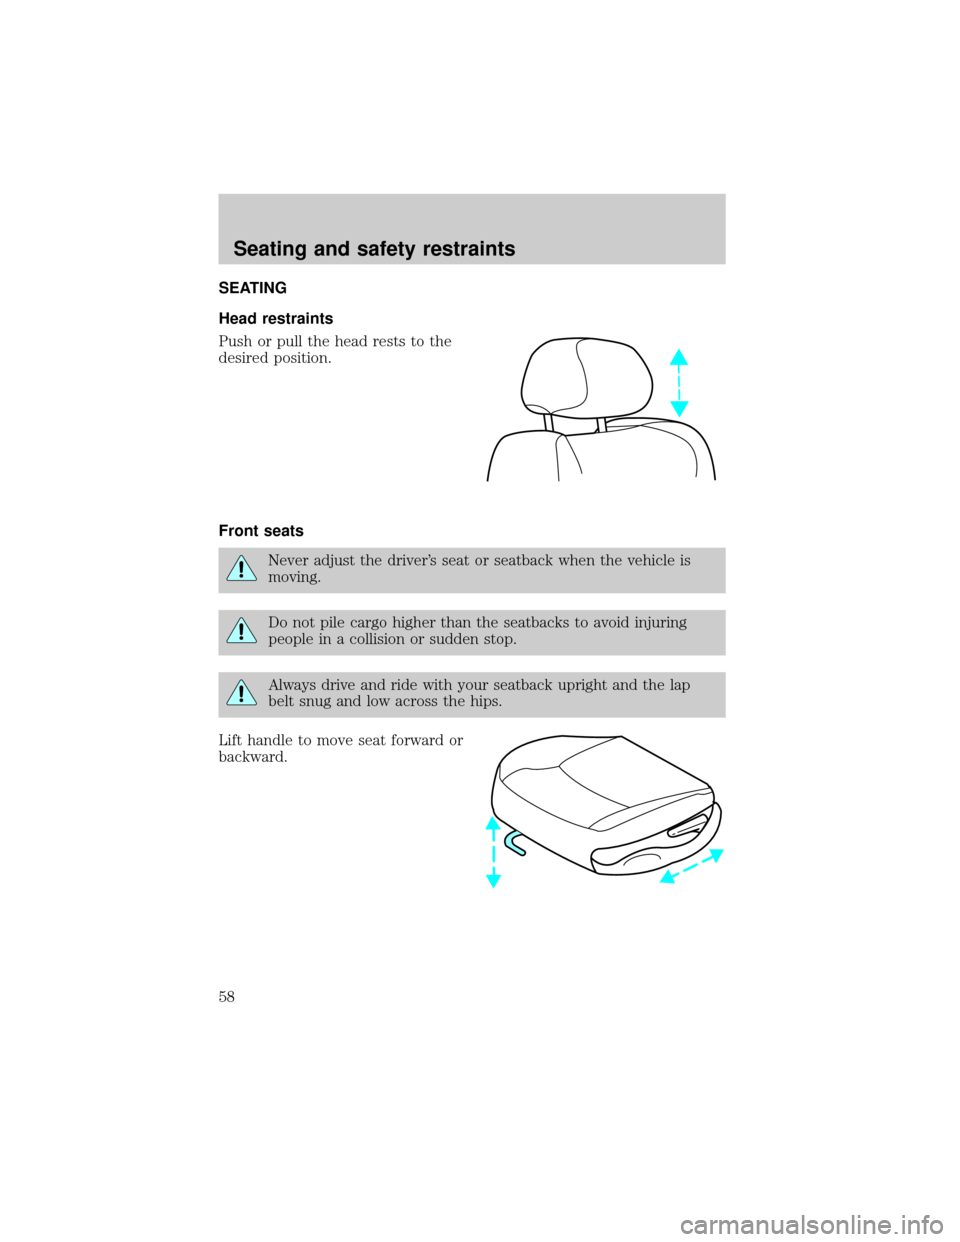
Head restraints
Push or pull the head rests to the
desired position.
Front seats
Never adjust the driver's seat or seatback when the vehicle is
moving.
Do not pile cargo higher than the seatbacks to avoid injuring
people in a collision or sudden stop.
Always drive and ride with your seatback upright and the lap
belt snug and low across the hips.
Lift handle to move seat forward or
backward.
Seating and safety restraints
58
Page 59 of 160
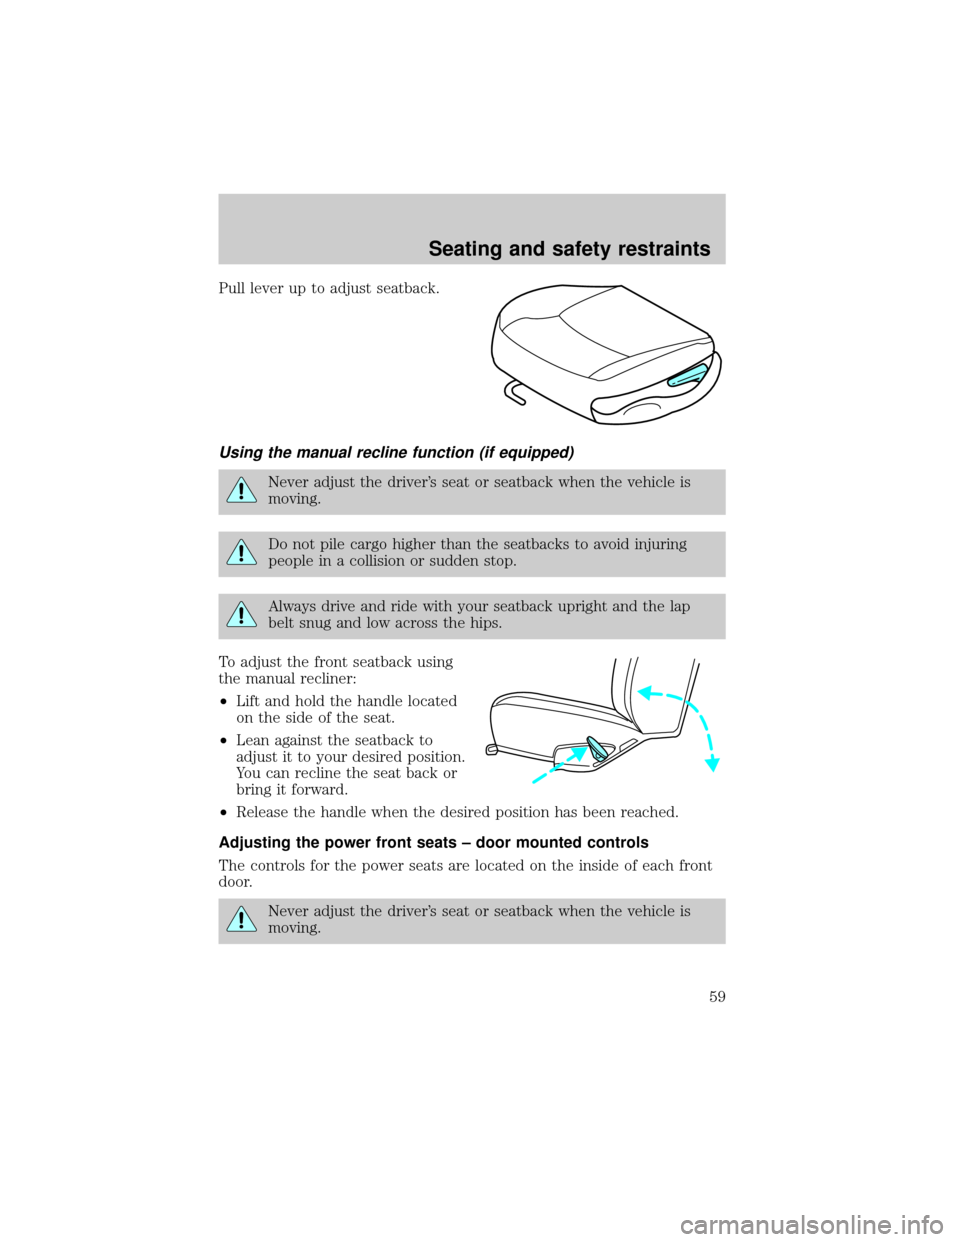
Pull lever up to adjust seatback.
Using the manual recline function (if equipped)
Never adjust the driver's seat or seatback when the vehicle is
moving.
Do not pile cargo higher than the seatbacks to avoid injuring
people in a collision or sudden stop.
Always drive and ride with your seatback upright and the lap
belt snug and low across the hips.
To adjust the front seatback using
the manual recliner:
²Lift and hold the handle located
on the side of the seat.
²Lean against the seatback to
adjust it to your desired position.
You can recline the seat back or
bring it forward.
²Release the handle when the desired position has been reached.
Adjusting the power front seats ± door mounted controls
The controls for the power seats are located on the inside of each front
door.
Never adjust the driver's seat or seatback when the vehicle is
moving.
Seating and safety restraints
59
Page 60 of 160
Do not pile cargo higher than the seatbacks to avoid injuring
people in a collision or sudden stop.
Always drive and ride with your seatback upright and the lap
belt snug and low across the hips.
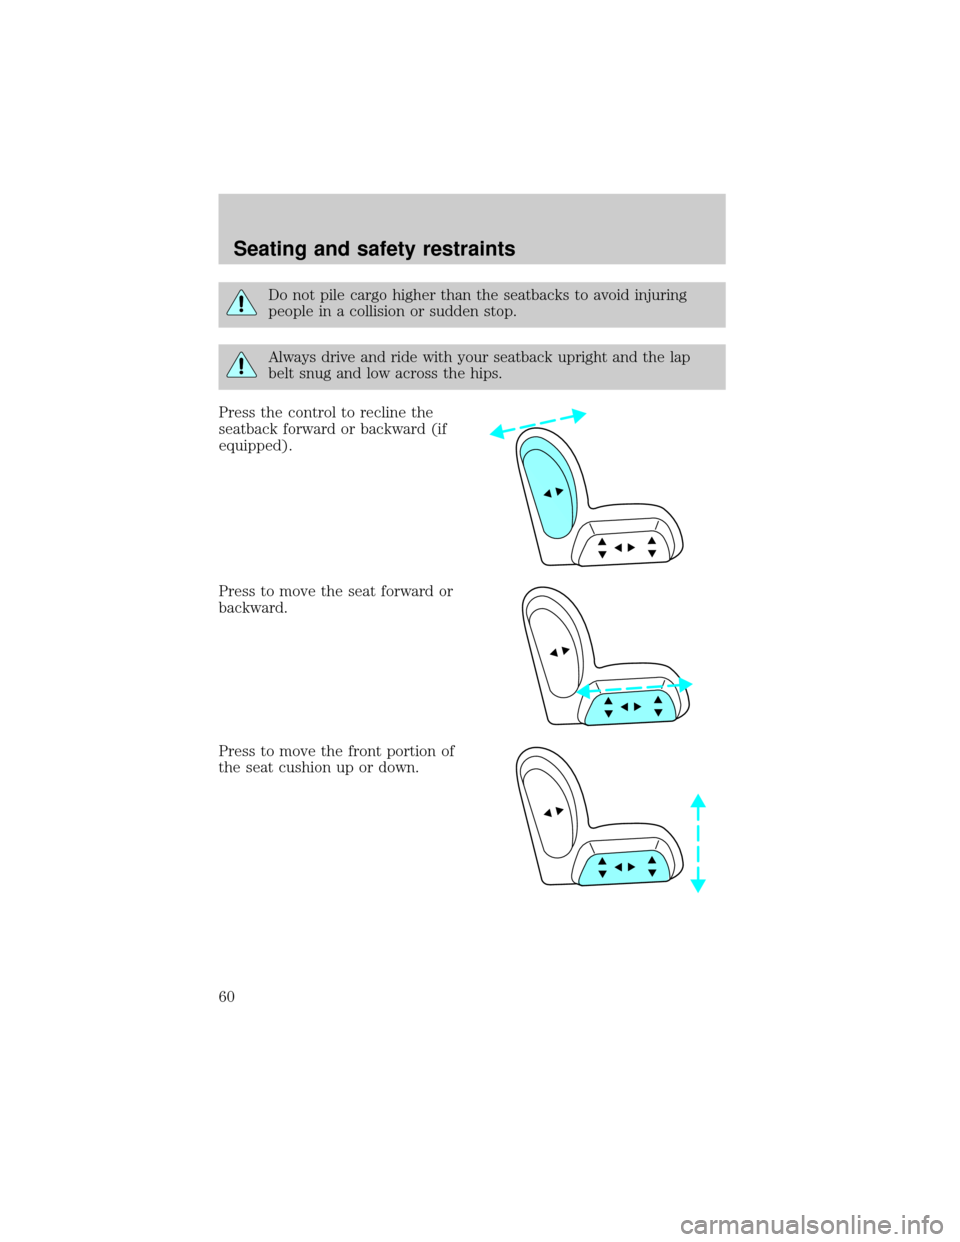
Press the control to recline the
seatback forward or backward (if
equipped).
Press to move the seat forward or
backward.
Press to move the front portion of
the seat cushion up or down.
Seating and safety restraints
60
Page 61 of 160
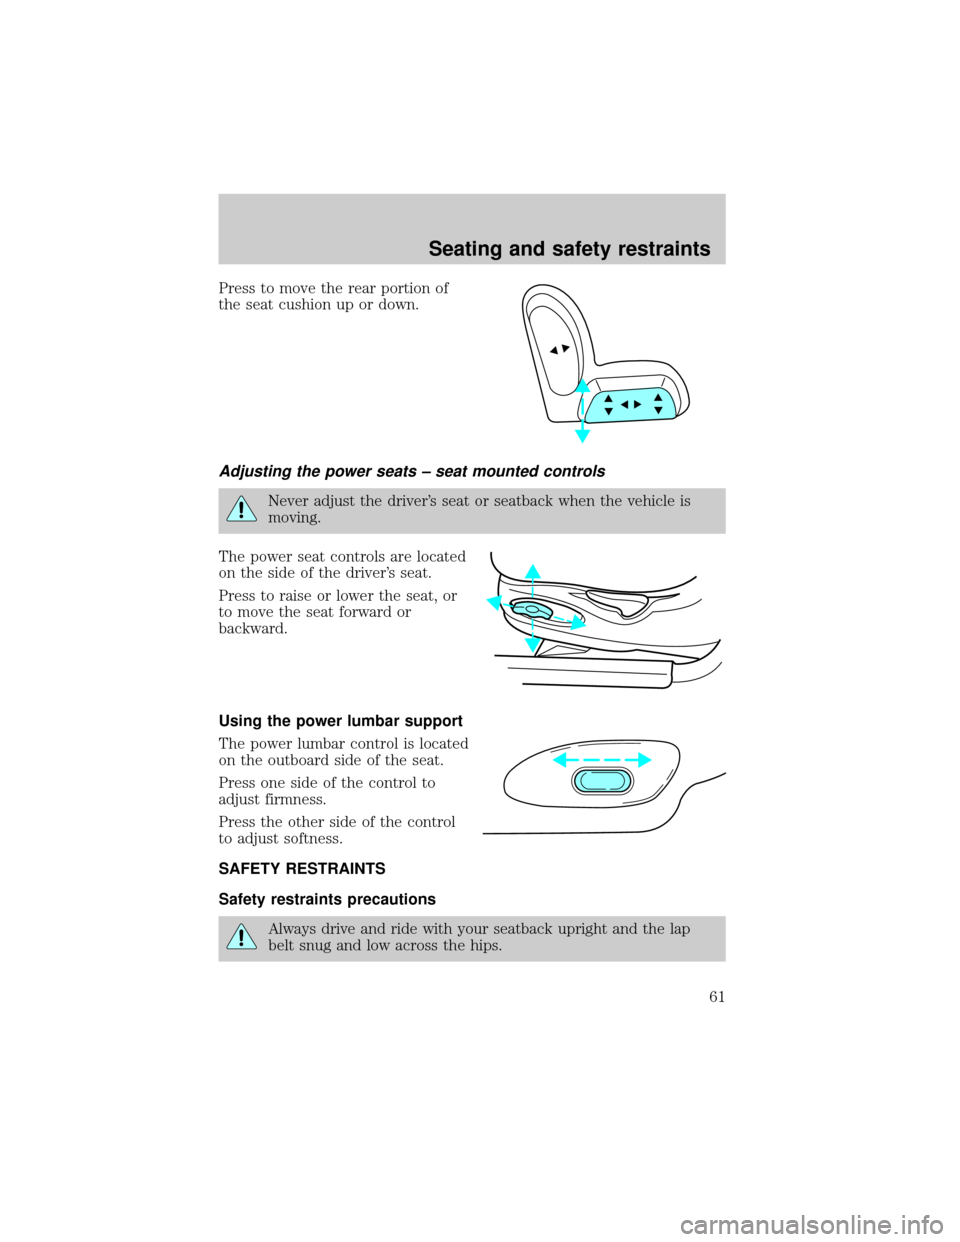
Press to move the rear portion of
the seat cushion up or down.
Adjusting the power seats ± seat mounted controls
Never adjust the driver's seat or seatback when the vehicle is
moving.
The power seat controls are located
on the side of the driver's seat.
Press to raise or lower the seat, or
to move the seat forward or
backward.
Using the power lumbar support
The power lumbar control is located
on the outboard side of the seat.
Press one side of the control to
adjust firmness.
Press the other side of the control
to adjust softness.
SAFETY RESTRAINTS
Safety restraints precautions
Always drive and ride with your seatback upright and the lap
belt snug and low across the hips.
Seating and safety restraints
61
Page 62 of 160
To prevent the risk of injury, make sure children sit where they
can be properly restrained.
Never let a passenger hold a child on his or her lap while the
vehicle is moving. The passenger cannot protect the child from
injury in a collision.
All occupants of the vehicle, including the driver, should always
properly wear their safety belts, even when an air bag SRS is
provided.
It is extremely dangerous to ride in a cargo area, inside or
outside of a vehicle. In a collision, people riding in these areas
are more likely to be seriously injured or killed. Do not allow people to
ride in any area of your vehicle that is not equipped with seats and
safety belts. Be sure everyone in your vehicle is in a seat and using a
safety belt properly.
Each seating position in your vehicle has a specific safety belt
assembly which is made up of one buckle and one tongue that
are designed to be used as a pair. 1) Use the shoulder belt on the
outside shoulder only. Never wear the shoulder belt under the arm. 2)
Never swing it around your neck over the inside shoulder. 3) Never use
a single belt for more than one person.
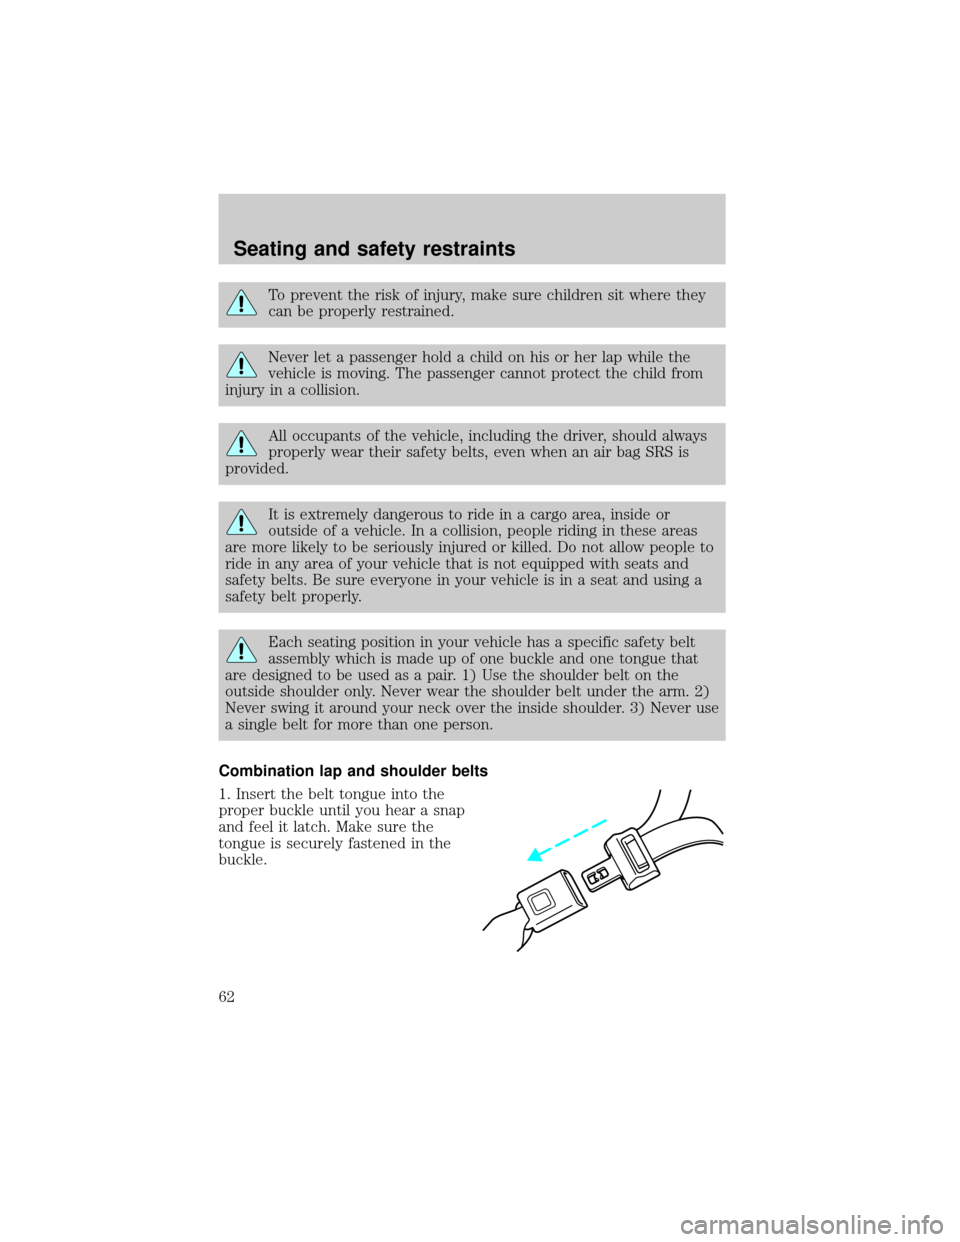
Combination lap and shoulder belts
1. Insert the belt tongue into the
proper buckle until you hear a snap
and feel it latch. Make sure the
tongue is securely fastened in the
buckle.
Seating and safety restraints
62