tow FORD E-350 2006 Owners Manual
[x] Cancel search | Manufacturer: FORD, Model Year: 2006, Model line: E-350, Model: FORD E-350 2006Pages: 256, PDF Size: 2.82 MB
Page 2 of 256
Tires, Wheels and Loading 101
Tire Information 103
Tire Inflation 105
Vehicle loading 120
Trailer towing 127
Recreational towing 138
Driving 139
Starting 139
Brakes 142
Traction control/AdvanceTrac 144
Transmission operation 150
Roadside Emergencies 160
Getting roadside assistance 160
Hazard flasher switch 162
Fuel pump shut-off switch 162
Fuses and relays 164
Changing tires 171
Lug Nut Torque 180
Jump starting 181
Wrecker towing 186
Customer Assistance 187
Reporting safety defects (U.S. only) 193
Cleaning 194
Underbody preservation 198
Table of Contents
2
2006 Econoline(eco)
Owners Guide (post-2002-fmt)
USA(fus)
ProCarManuals.com
Page 5 of 256
Warning symbols on your vehicle
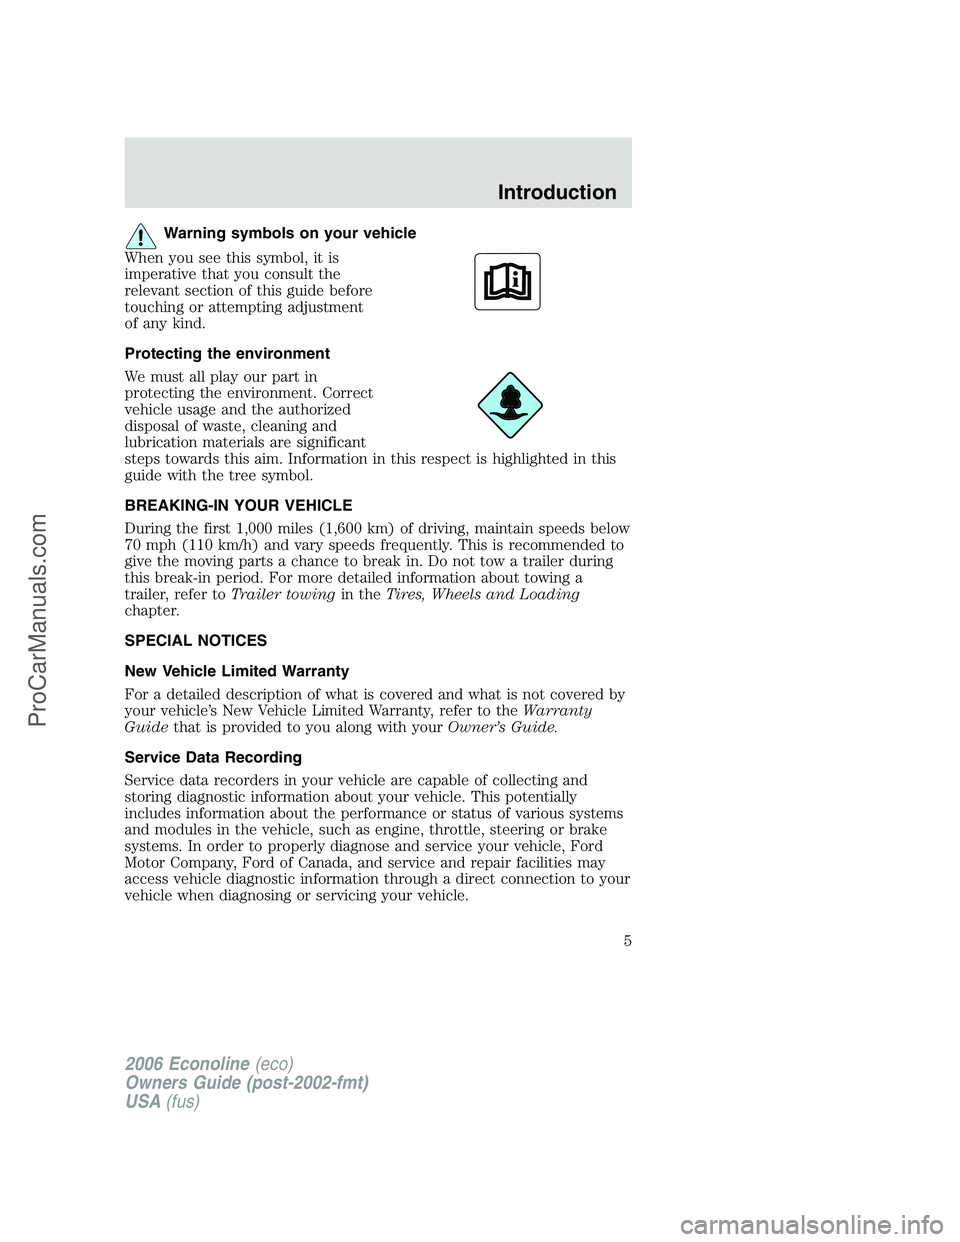
When you see this symbol, it is
imperative that you consult the
relevant section of this guide before
touching or attempting adjustment
of any kind.
Protecting the environment
We must all play our part in
protecting the environment. Correct
vehicle usage and the authorized
disposal of waste, cleaning and
lubrication materials are significant
steps towards this aim. Information in this respect is highlighted in this
guide with the tree symbol.
BREAKING-IN YOUR VEHICLE
During the first 1,000 miles (1,600 km) of driving, maintain speeds below
70 mph (110 km/h) and vary speeds frequently. This is recommended to
give the moving parts a chance to break in. Do not tow a trailer during
this break-in period. For more detailed information about towing a
trailer, refer toTrailer towingin theTires, Wheels and Loading
chapter.
SPECIAL NOTICES
New Vehicle Limited Warranty
For a detailed description of what is covered and what is not covered by
your vehicle’s New Vehicle Limited Warranty, refer to theWarranty
Guidethat is provided to you along with yourOwner’s Guide.
Service Data Recording
Service data recorders in your vehicle are capable of collecting and
storing diagnostic information about your vehicle. This potentially
includes information about the performance or status of various systems
and modules in the vehicle, such as engine, throttle, steering or brake
systems. In order to properly diagnose and service your vehicle, Ford
Motor Company, Ford of Canada, and service and repair facilities may
access vehicle diagnostic information through a direct connection to your
vehicle when diagnosing or servicing your vehicle.
2006 Econoline(eco)
Owners Guide (post-2002-fmt)
USA(fus)
Introduction
5
ProCarManuals.com
Page 15 of 256
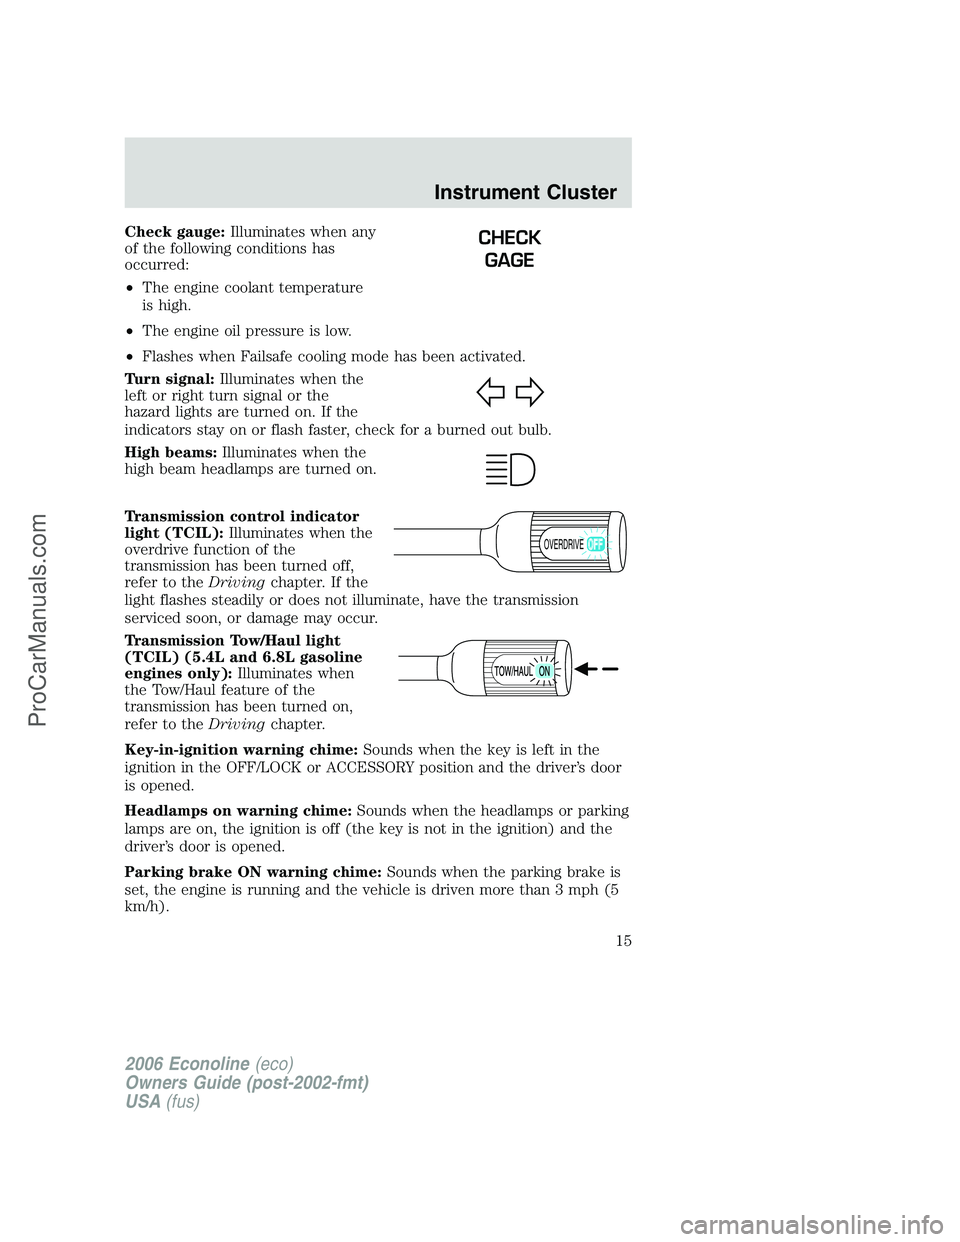
Check gauge:Illuminates when any
of the following conditions has
occurred:
•The engine coolant temperature
is high.
•The engine oil pressure is low.
•Flashes when Failsafe cooling mode has been activated.
Turn signal:Illuminates when the
left or right turn signal or the
hazard lights are turned on. If the
indicators stay on or flash faster, check for a burned out bulb.
High beams:Illuminates when the
high beam headlamps are turned on.
Transmission control indicator
light (TCIL):Illuminates when the
overdrive function of the
transmission has been turned off,
refer to theDrivingchapter. If the
light flashes steadily or does not illuminate, have the transmission
serviced soon, or damage may occur.
Transmission Tow/Haul light
(TCIL) (5.4L and 6.8L gasoline
engines only):Illuminates when
the Tow/Haul feature of the
transmission has been turned on,
refer to theDrivingchapter.
Key-in-ignition warning chime:Sounds when the key is left in the
ignition in the OFF/LOCK or ACCESSORY position and the driver’s door
is opened.
Headlamps on warning chime:Sounds when the headlamps or parking
lamps are on, the ignition is off (the key is not in the ignition) and the
driver’s door is opened.
Parking brake ON warning chime:Sounds when the parking brake is
set, the engine is running and the vehicle is driven more than 3 mph (5
km/h).CHECK
GAGE
OVERDRIVE
2006 Econoline(eco)
Owners Guide (post-2002-fmt)
USA(fus)
Instrument Cluster
15
ProCarManuals.com
Page 29 of 256
For information regarding SIRIUS Satellite Radio, please call toll-free
888-539-SIRIUS (888-539-7474) or visit the SIRIUS website at
www.siriusradio.com
24.CD slot:Insert a CD, label side up.
Accessory delay
With accessory delay, the window switches, moon roof (if equipped) and
audio system may be used for up to ten minutes after the ignition switch
is turned off or until any door is opened.
GENERAL AUDIO INFORMATION
Radio frequencies:
AM and FM frequencies are established by the Federal Communications
Commission (FCC) and the Canadian Radio and Telecommunications
Commission (CRTC). Those frequencies are:
AM: 530, 540–1700, 1710 kHz
FM: 87.7, 87.9–107.7, 107.9 MHz
Radio reception factors:
There are three factors that can affect radio reception:
•Distance/strength: The further you travel from an FM station, the
weaker the signal and the weaker the reception.
•Terrain: Hills, mountains, tall buildings, power lines, electric fences,
traffic lights and thunderstorms can interfere with your reception.
•Station overload: When you pass a broadcast tower, a stronger signal
may overtake a weaker one and play while the weak station frequency
is displayed.
CD/CD player care
Do:
•Handle discs by their edges only. Never touch the playing surface.
•Inspect discs before playing. Clean only with an approved CD cleaner
and wipe from the center out.
Don’t:
•Expose discs to direct sunlight or heat sources for extended periods
of time.
•Clean using a circular motion.
2006 Econoline(eco)
Owners Guide (post-2002-fmt)
USA(fus)
Entertainment Systems
29
ProCarManuals.com
Page 35 of 256
Daytime running lamps (DRL) (if equipped)
Turns the headlamps on with a reduced output.
To activate:
•the ignition must be in the ON position,
•the headlamp control is in the OFF or parking lamp position and
•the parking brake must be disengaged.
Always remember to turn on your headlamps at dusk or during
inclement weather. The Daytime Running Lamp (DRL) system
does not activate the tail lamps and generally may not provide
adequate lighting during these conditions. Failure to activate your
headlamps under these conditions may result in a collision.
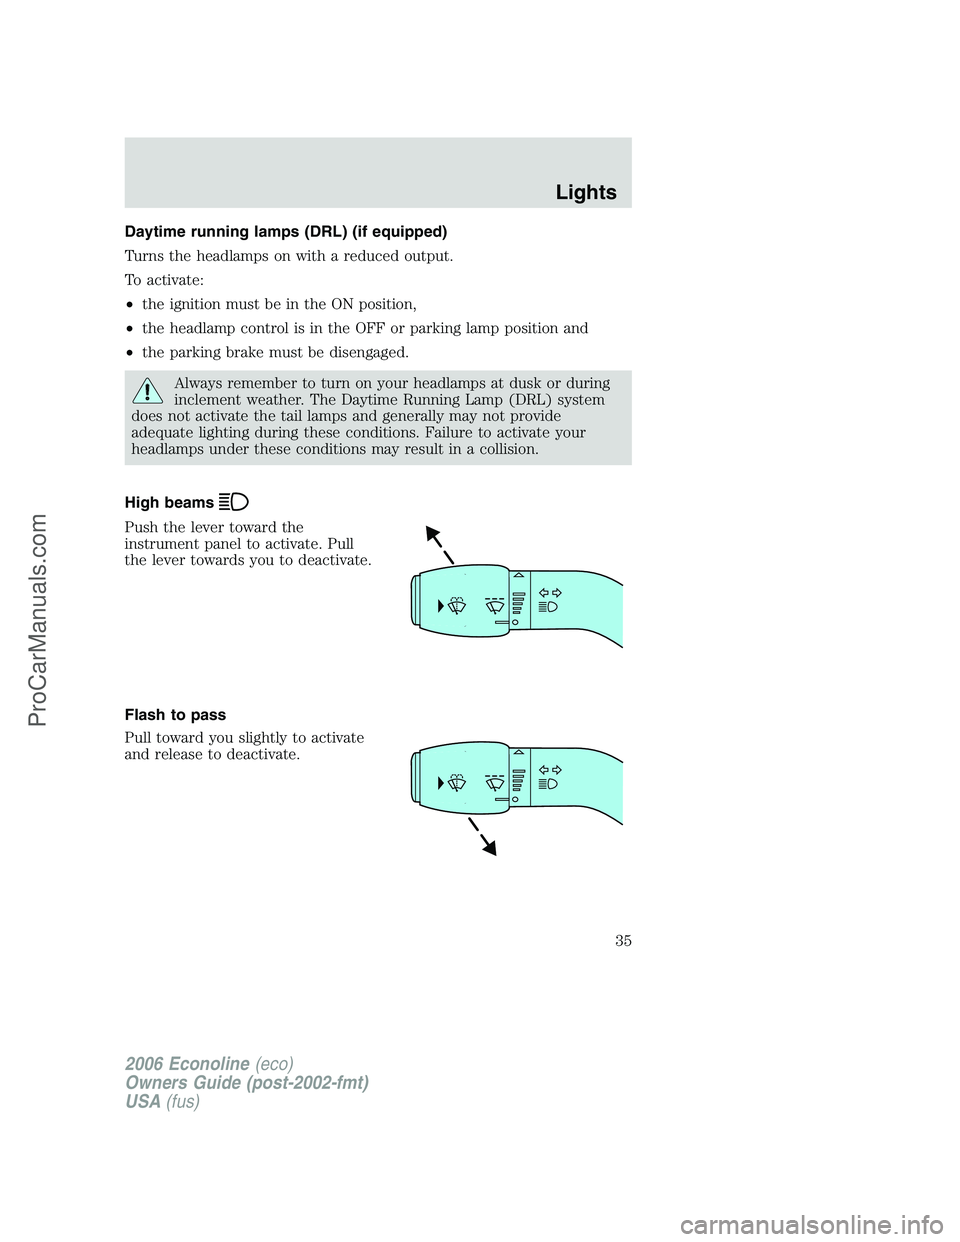
High beams
Push the lever toward the
instrument panel to activate. Pull
the lever towards you to deactivate.
Flash to pass
Pull toward you slightly to activate
and release to deactivate.
2006 Econoline(eco)
Owners Guide (post-2002-fmt)
USA(fus)
Lights
35
ProCarManuals.com
Page 40 of 256
Function Number of
bulbsTrade number
Headlamps (sealed
beam)2 H5054
Headlamps
(aerodynamic)2 9007
Park lamp and turn
signal (front)2 4157K or 3157K
Back-up lamps 2 3156K or 3156
License plate lamp 1 168
Stop/tail/turn/side
marker lamp2 3457K or 3357K
High-mount brakelamp 2 912
Cargo lamp 1 211-2
Dome lamp (standard) 1 912
Map/reading lamp 2 211-2
All replacement bulbs are clear in color except where noted.
To replace all instrument panel lights - see your authorized dealer
Replacing headlamp bulbs (aerodynamic)
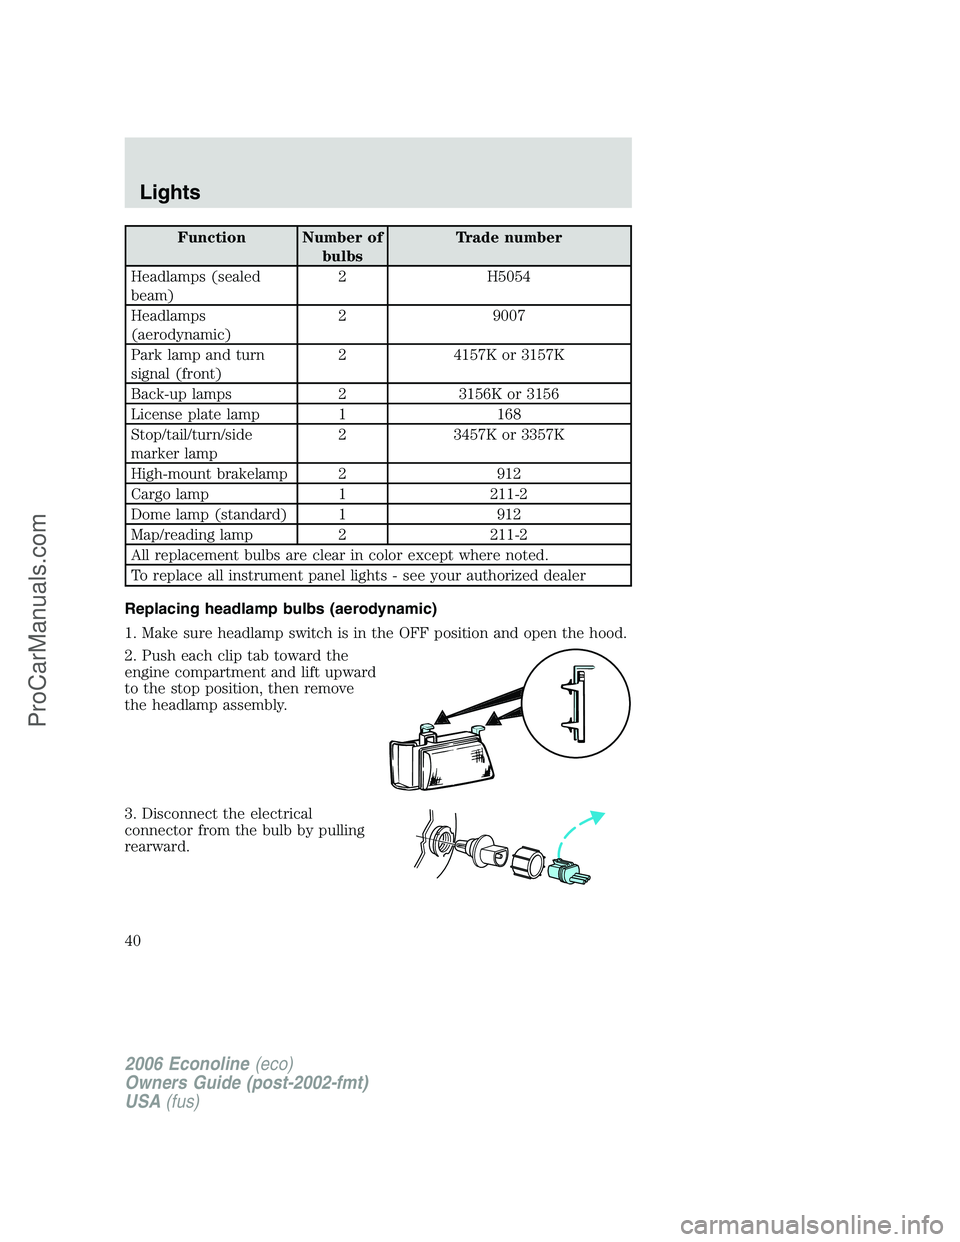
1. Make sure headlamp switch is in the OFF position and open the hood.
2. Push each clip tab toward the
engine compartment and lift upward
to the stop position, then remove
the headlamp assembly.
3. Disconnect the electrical
connector from the bulb by pulling
rearward.
2006 Econoline(eco)
Owners Guide (post-2002-fmt)
USA(fus)
Lights
40
ProCarManuals.com
Page 44 of 256
MULTI-FUNCTION LEVER
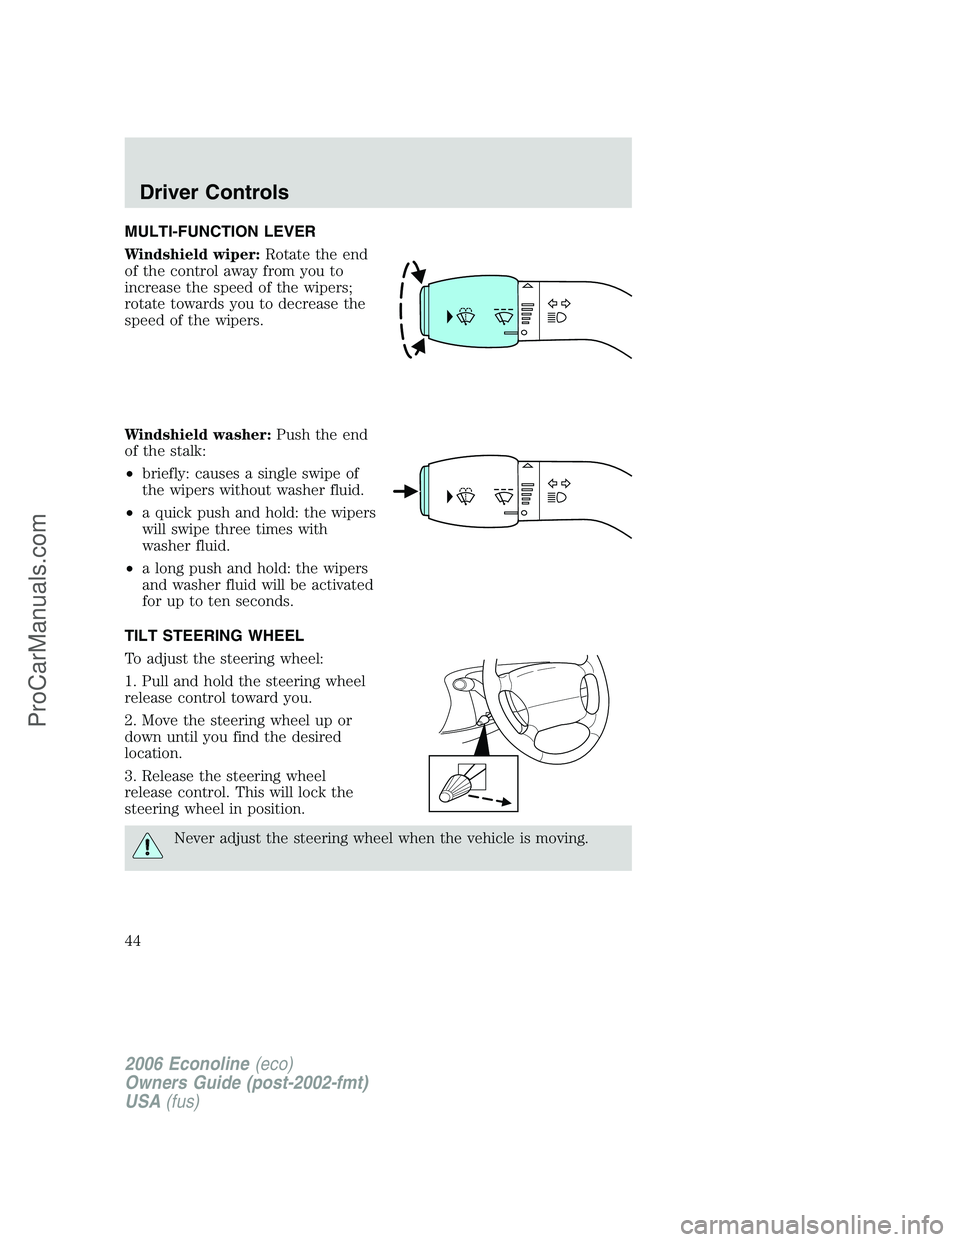
Windshield wiper:Rotate the end
of the control away from you to
increase the speed of the wipers;
rotate towards you to decrease the
speed of the wipers.
Windshield washer:Push the end
of the stalk:
•briefly: causes a single swipe of
the wipers without washer fluid.
•a quick push and hold: the wipers
will swipe three times with
washer fluid.
•a long push and hold: the wipers
and washer fluid will be activated
for up to ten seconds.
TILT STEERING WHEEL
To adjust the steering wheel:
1. Pull and hold the steering wheel
release control toward you.
2. Move the steering wheel up or
down until you find the desired
location.
3. Release the steering wheel
release control. This will lock the
steering wheel in position.
Never adjust the steering wheel when the vehicle is moving.
2006 Econoline(eco)
Owners Guide (post-2002-fmt)
USA(fus)
Driver Controls
44
ProCarManuals.com
Page 50 of 256
Fold-away mirrors
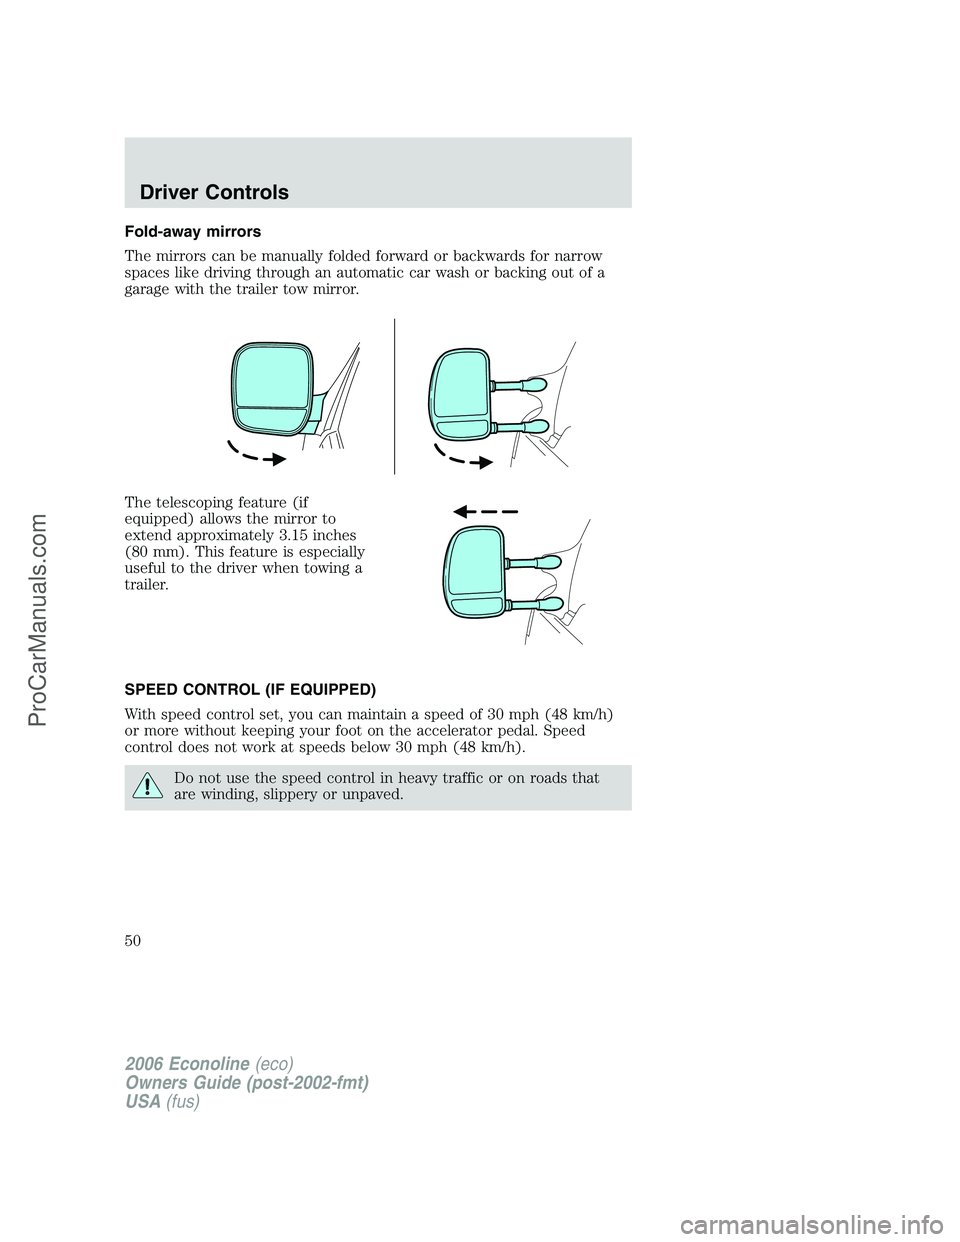
The mirrors can be manually folded forward or backwards for narrow
spaces like driving through an automatic car wash or backing out of a
garage with the trailer tow mirror.
The telescoping feature (if
equipped) allows the mirror to
extend approximately 3.15 inches
(80 mm). This feature is especially
useful to the driver when towing a
trailer.
SPEED CONTROL (IF EQUIPPED)
With speed control set, you can maintain a speed of 30 mph (48 km/h)
or more without keeping your foot on the accelerator pedal. Speed
control does not work at speeds below 30 mph (48 km/h).
Do not use the speed control in heavy traffic or on roads that
are winding, slippery or unpaved.
2006 Econoline(eco)
Owners Guide (post-2002-fmt)
USA(fus)
Driver Controls
50
ProCarManuals.com
Page 55 of 256
Changes or modifications not expressly approved by the party
responsible for compliance could void the user’s authority to
operate the equipment.
The typical operating range for your remote entry transmitter is
approximately 33 feet (10 meters). A decrease in operating range could
be caused by:
•weather conditions,
•nearby radio towers,
•structures around the vehicle, or
•other vehicles parked next to your vehicle.
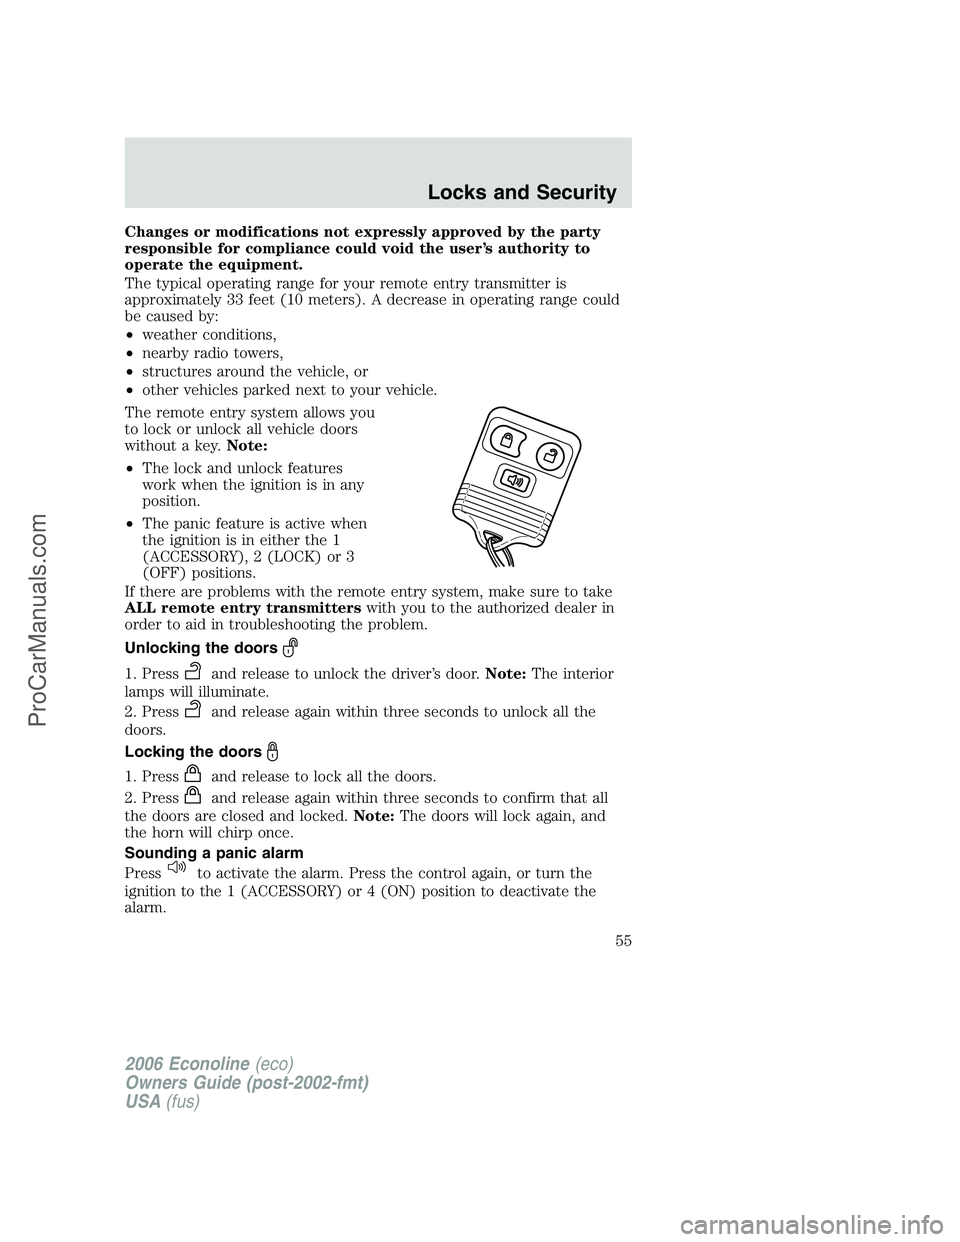
The remote entry system allows you
to lock or unlock all vehicle doors
without a key.Note:
•The lock and unlock features
work when the ignition is in any
position.
•The panic feature is active when
the ignition is in either the 1
(ACCESSORY), 2 (LOCK) or 3
(OFF) positions.
If there are problems with the remote entry system, make sure to take
ALL remote entry transmitterswith you to the authorized dealer in
order to aid in troubleshooting the problem.
Unlocking the doors
1. Pressand release to unlock the driver’s door.Note:The interior
lamps will illuminate.
2. Press
and release again within three seconds to unlock all the
doors.
Locking the doors
1. Pressand release to lock all the doors.
2. Press
and release again within three seconds to confirm that all
the doors are closed and locked.Note:The doors will lock again, and
the horn will chirp once.
Sounding a panic alarm
Press
to activate the alarm. Press the control again, or turn the
ignition to the 1 (ACCESSORY) or 4 (ON) position to deactivate the
alarm.
2006 Econoline(eco)
Owners Guide (post-2002-fmt)
USA(fus)
Locks and Security
55
ProCarManuals.com
Page 62 of 256
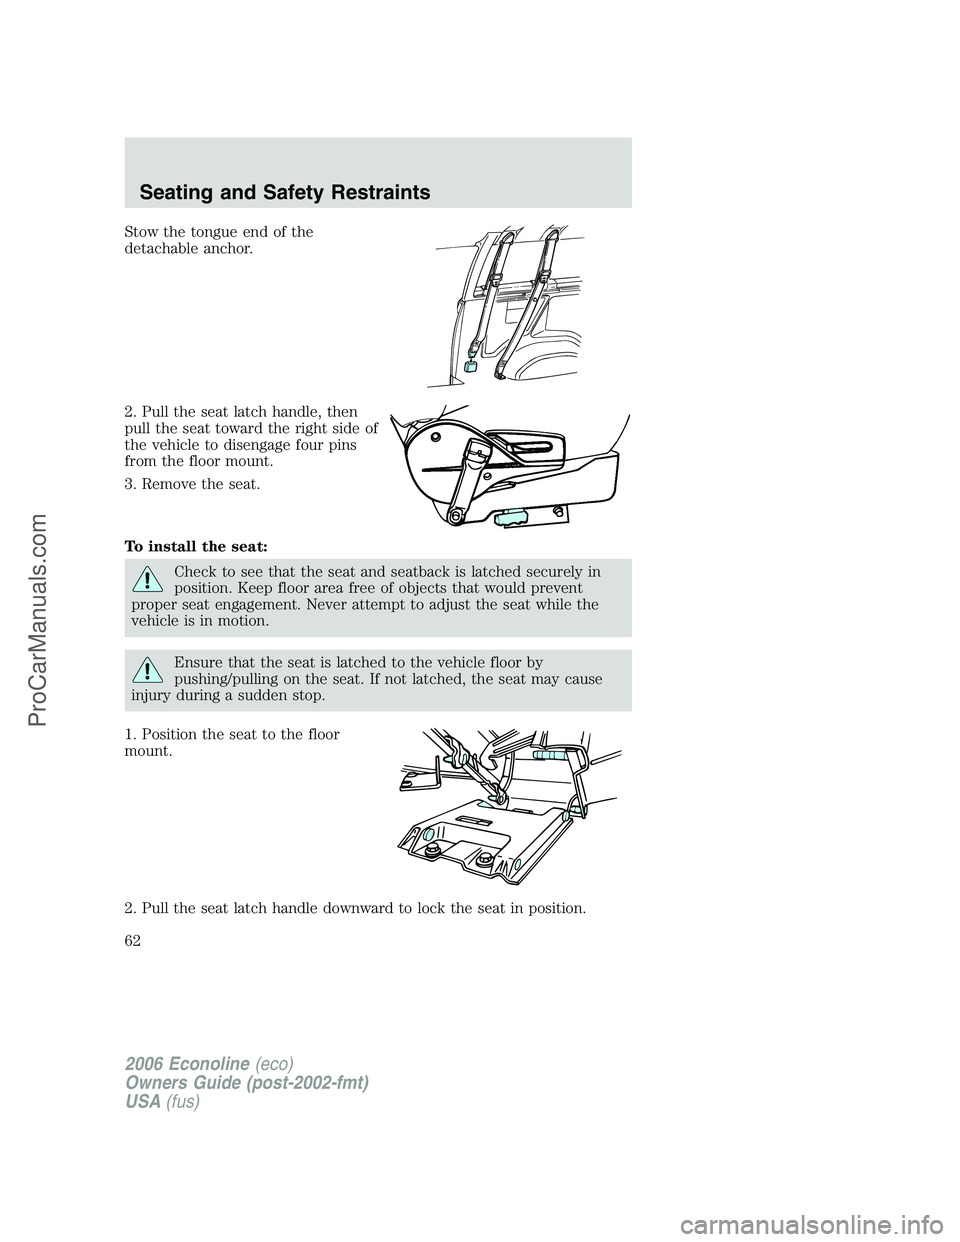
Stow the tongue end of the
detachable anchor.
2. Pull the seat latch handle, then
pull the seat toward the right side of
the vehicle to disengage four pins
from the floor mount.
3. Remove the seat.
To install the seat:
Check to see that the seat and seatback is latched securely in
position. Keep floor area free of objects that would prevent
proper seat engagement. Never attempt to adjust the seat while the
vehicle is in motion.
Ensure that the seat is latched to the vehicle floor by
pushing/pulling on the seat. If not latched, the seat may cause
injury during a sudden stop.
1. Position the seat to the floor
mount.
2. Pull the seat latch handle downward to lock the seat in position.
2006 Econoline(eco)
Owners Guide (post-2002-fmt)
USA(fus)
Seating and Safety Restraints
62
ProCarManuals.com