FORD E-450 2018 Workshop Manual
Manufacturer: FORD, Model Year: 2018, Model line: E-450, Model: FORD E-450 2018Pages: 323, PDF Size: 6.2 MB
Page 51 of 323
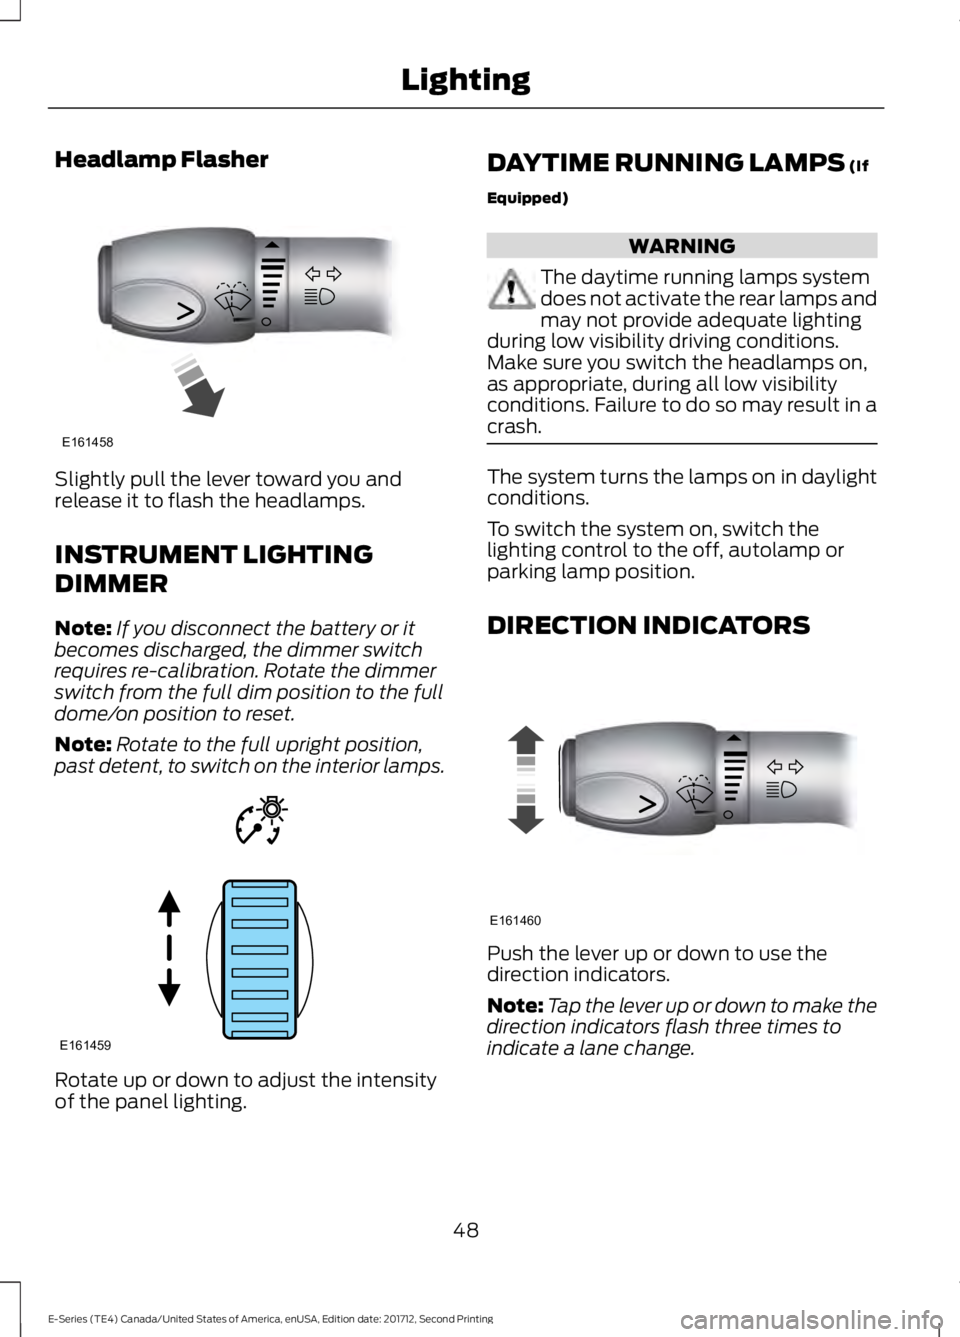
Headlamp Flasher
Slightly pull the lever toward you and
release it to flash the headlamps.
INSTRUMENT LIGHTING
DIMMER
Note:
If you disconnect the battery or it
becomes discharged, the dimmer switch
requires re-calibration. Rotate the dimmer
switch from the full dim position to the full
dome/on position to reset.
Note: Rotate to the full upright position,
past detent, to switch on the interior lamps. Rotate up or down to adjust the intensity
of the panel lighting. DAYTIME RUNNING LAMPS (If
Equipped) WARNING
The daytime running lamps system
does not activate the rear lamps and
may not provide adequate lighting
during low visibility driving conditions.
Make sure you switch the headlamps on,
as appropriate, during all low visibility
conditions. Failure to do so may result in a
crash. The system turns the lamps on in daylight
conditions.
To switch the system on, switch the
lighting control to the off, autolamp or
parking lamp position.
DIRECTION INDICATORS
Push the lever up or down to use the
direction indicators.
Note:
Tap the lever up or down to make the
direction indicators flash three times to
indicate a lane change.
48
E-Series (TE4) Canada/United States of America, enUSA, Edition date: 201712, Second Printing LightingE161458 E161459 E161460
Page 52 of 323
POWER WINDOWS (If Equipped)
WARNINGS
Do not leave children unattended in
your vehicle and do not let them play
with the power windows. They may
seriously injure themselves. When closing the power windows,
you should verify they are free of
obstructions and make sure that
children and pets are not in the proximity
of the window openings. Note:
You may hear a pulsing noise when
just one of the windows is open. Lower the
opposite window slightly to reduce this
noise.
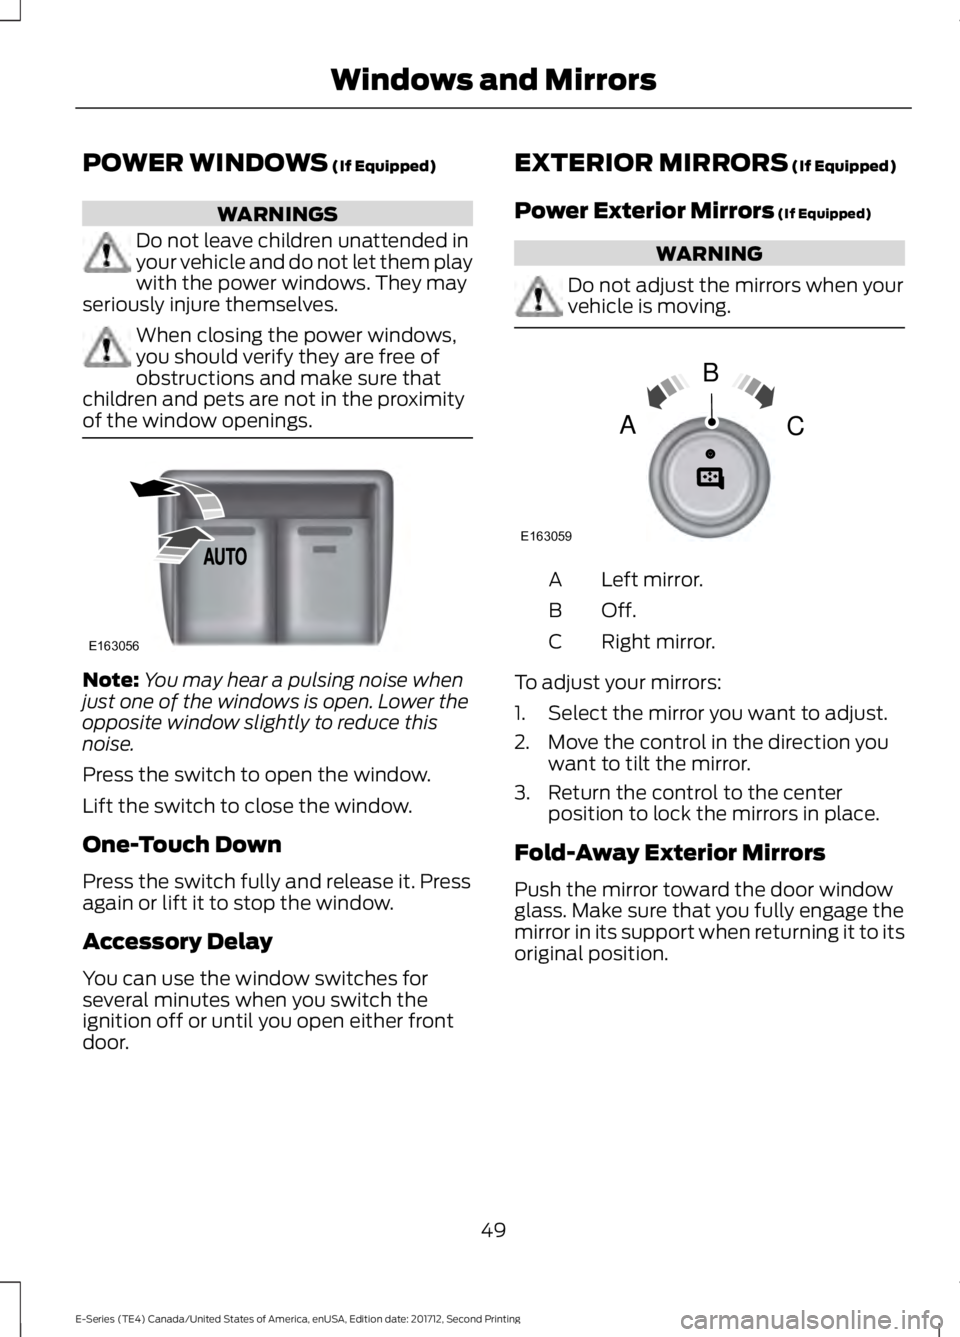
Press the switch to open the window.
Lift the switch to close the window.
One-Touch Down
Press the switch fully and release it. Press
again or lift it to stop the window.
Accessory Delay
You can use the window switches for
several minutes when you switch the
ignition off or until you open either front
door. EXTERIOR MIRRORS (If Equipped)
Power Exterior Mirrors
(If Equipped) WARNING
Do not adjust the mirrors when your
vehicle is moving.
Left mirror.
A
Off.B
Right mirror.
C
To adjust your mirrors:
1. Select the mirror you want to adjust.
2. Move the control in the direction you want to tilt the mirror.
3. Return the control to the center position to lock the mirrors in place.
Fold-Away Exterior Mirrors
Push the mirror toward the door window
glass. Make sure that you fully engage the
mirror in its support when returning it to its
original position.
49
E-Series (TE4) Canada/United States of America, enUSA, Edition date: 201712, Second Printing Windows and MirrorsE163056 E163059
B
AC
Page 53 of 323
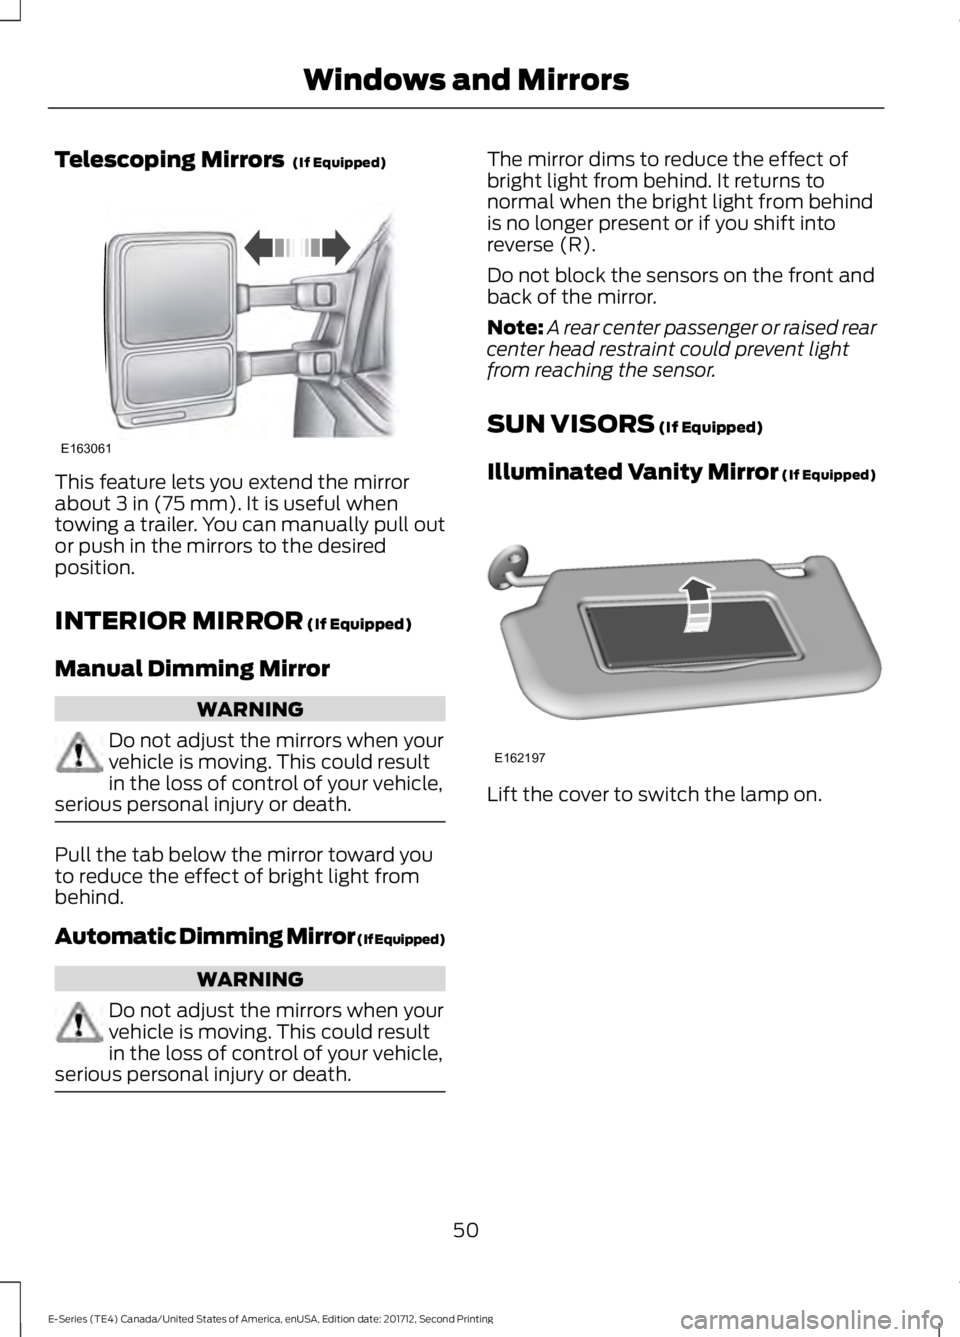
Telescoping Mirrors (If Equipped)
This feature lets you extend the mirror
about
3 in (75 mm). It is useful when
towing a trailer. You can manually pull out
or push in the mirrors to the desired
position.
INTERIOR MIRROR
(If Equipped)
Manual Dimming Mirror WARNING
Do not adjust the mirrors when your
vehicle is moving. This could result
in the loss of control of your vehicle,
serious personal injury or death. Pull the tab below the mirror toward you
to reduce the effect of bright light from
behind.
Automatic Dimming Mirror (If Equipped)
WARNING
Do not adjust the mirrors when your
vehicle is moving. This could result
in the loss of control of your vehicle,
serious personal injury or death. The mirror dims to reduce the effect of
bright light from behind. It returns to
normal when the bright light from behind
is no longer present or if you shift into
reverse (R).
Do not block the sensors on the front and
back of the mirror.
Note:
A rear center passenger or raised rear
center head restraint could prevent light
from reaching the sensor.
SUN VISORS
(If Equipped)
Illuminated Vanity Mirror
(If Equipped) Lift the cover to switch the lamp on.
50
E-Series (TE4) Canada/United States of America, enUSA, Edition date: 201712, Second Printing Windows and MirrorsE163061 E162197
Page 54 of 323
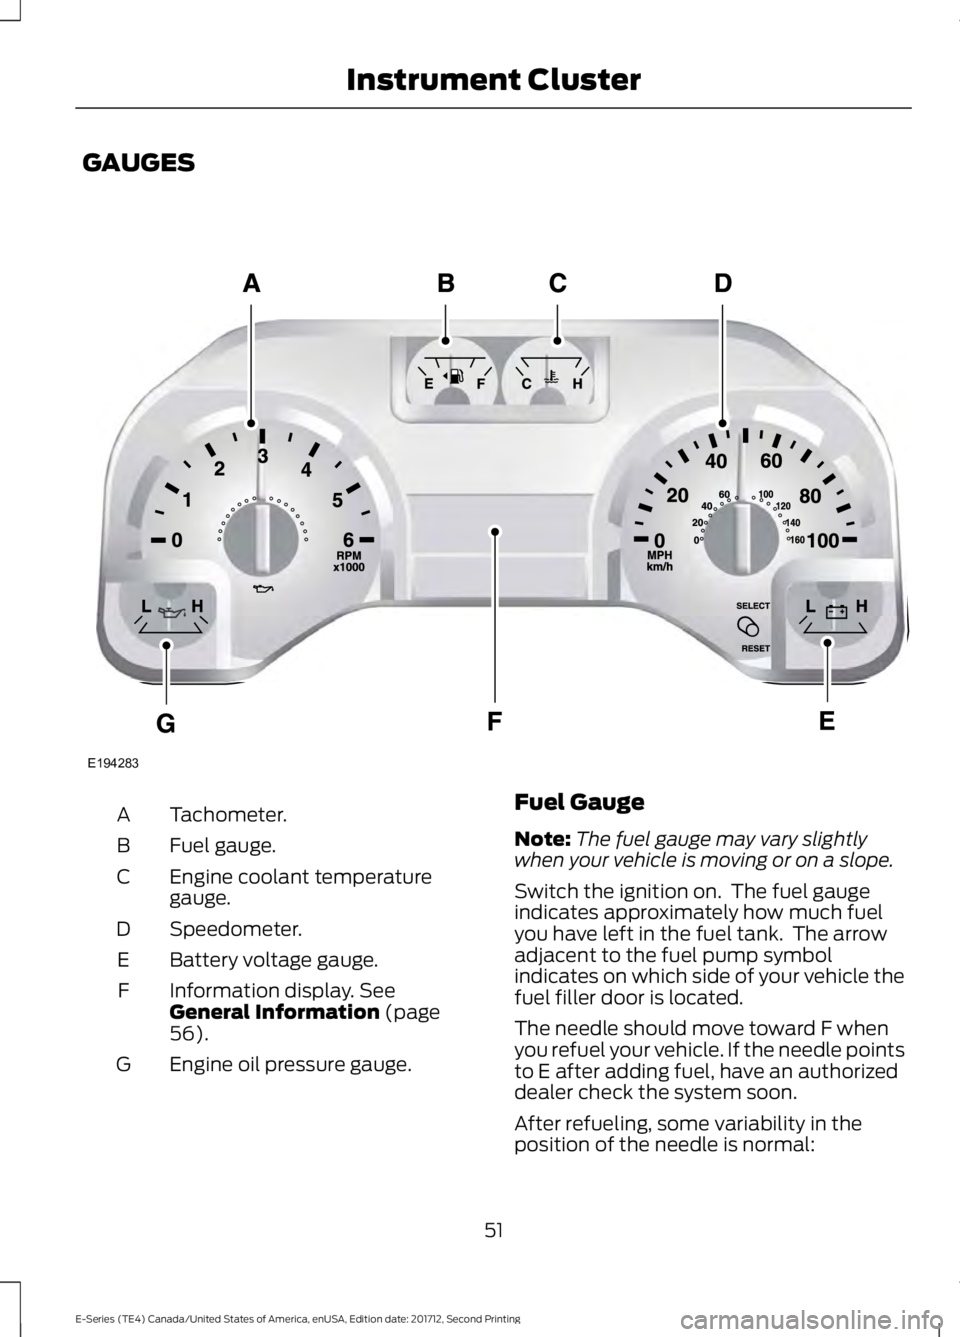
GAUGES
Tachometer.
A
Fuel gauge.
B
Engine coolant temperature
gauge.
C
Speedometer.
D
Battery voltage gauge.
E
Information display. See
General Information (page
56).
F
Engine oil pressure gauge.
G Fuel Gauge
Note:
The fuel gauge may vary slightly
when your vehicle is moving or on a slope.
Switch the ignition on. The fuel gauge
indicates approximately how much fuel
you have left in the fuel tank. The arrow
adjacent to the fuel pump symbol
indicates on which side of your vehicle the
fuel filler door is located.
The needle should move toward F when
you refuel your vehicle. If the needle points
to E after adding fuel, have an authorized
dealer check the system soon.
After refueling, some variability in the
position of the needle is normal:
51
E-Series (TE4) Canada/United States of America, enUSA, Edition date: 201712, Second Printing Instrument ClusterE194283
Page 55 of 323
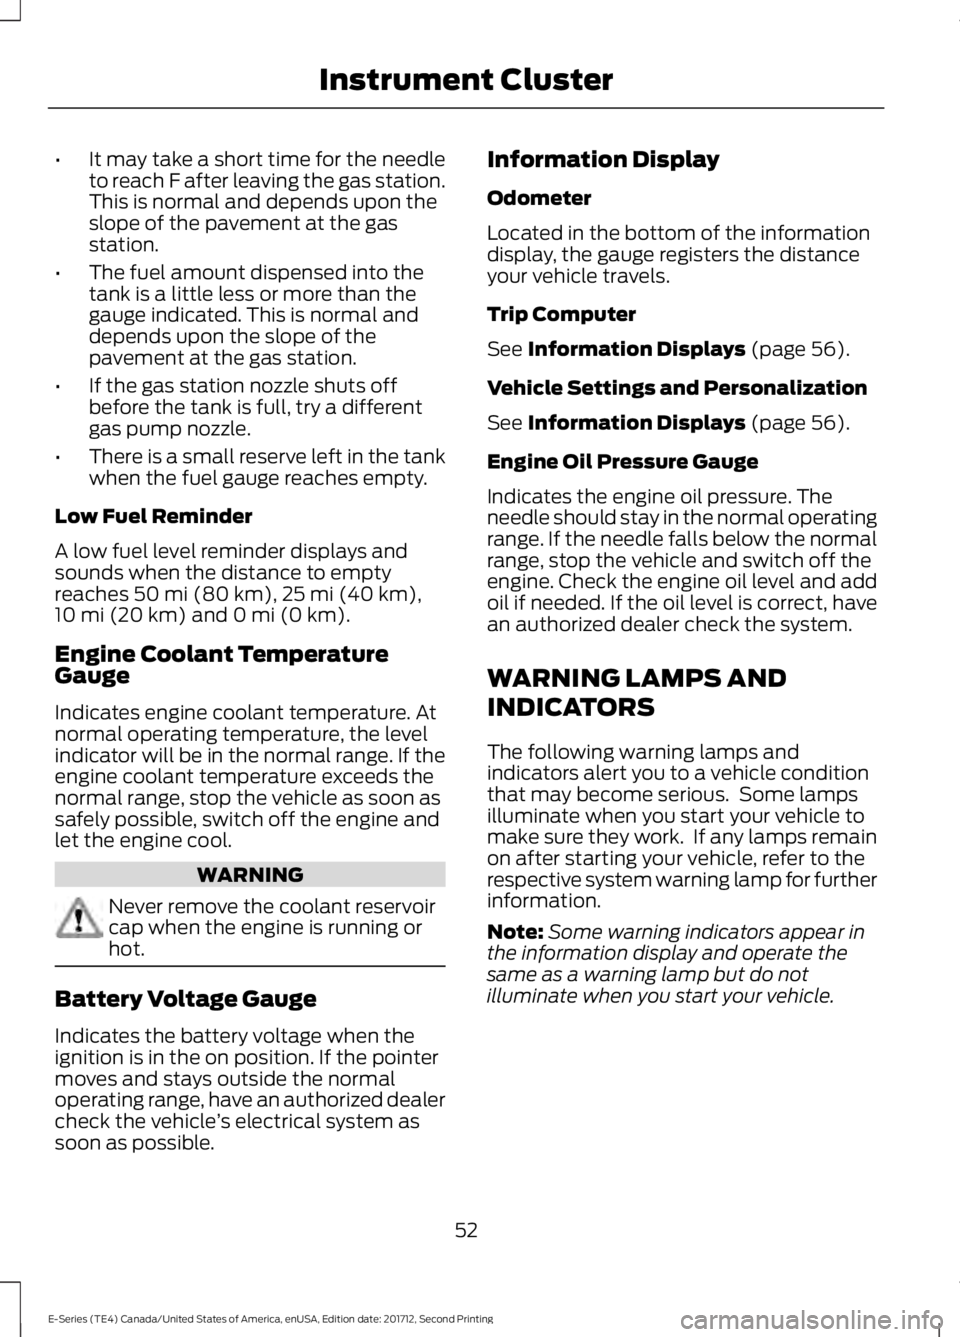
•
It may take a short time for the needle
to reach F after leaving the gas station.
This is normal and depends upon the
slope of the pavement at the gas
station.
• The fuel amount dispensed into the
tank is a little less or more than the
gauge indicated. This is normal and
depends upon the slope of the
pavement at the gas station.
• If the gas station nozzle shuts off
before the tank is full, try a different
gas pump nozzle.
• There is a small reserve left in the tank
when the fuel gauge reaches empty.
Low Fuel Reminder
A low fuel level reminder displays and
sounds when the distance to empty
reaches 50 mi (80 km), 25 mi (40 km),
10 mi (20 km) and 0 mi (0 km).
Engine Coolant Temperature
Gauge
Indicates engine coolant temperature. At
normal operating temperature, the level
indicator will be in the normal range. If the
engine coolant temperature exceeds the
normal range, stop the vehicle as soon as
safely possible, switch off the engine and
let the engine cool. WARNING
Never remove the coolant reservoir
cap when the engine is running or
hot.
Battery Voltage Gauge
Indicates the battery voltage when the
ignition is in the on position. If the pointer
moves and stays outside the normal
operating range, have an authorized dealer
check the vehicle
’s electrical system as
soon as possible. Information Display
Odometer
Located in the bottom of the information
display, the gauge registers the distance
your vehicle travels.
Trip Computer
See
Information Displays (page 56).
Vehicle Settings and Personalization
See
Information Displays (page 56).
Engine Oil Pressure Gauge
Indicates the engine oil pressure. The
needle should stay in the normal operating
range. If the needle falls below the normal
range, stop the vehicle and switch off the
engine. Check the engine oil level and add
oil if needed. If the oil level is correct, have
an authorized dealer check the system.
WARNING LAMPS AND
INDICATORS
The following warning lamps and
indicators alert you to a vehicle condition
that may become serious. Some lamps
illuminate when you start your vehicle to
make sure they work. If any lamps remain
on after starting your vehicle, refer to the
respective system warning lamp for further
information.
Note: Some warning indicators appear in
the information display and operate the
same as a warning lamp but do not
illuminate when you start your vehicle.
52
E-Series (TE4) Canada/United States of America, enUSA, Edition date: 201712, Second Printing Instrument Cluster
Page 56 of 323
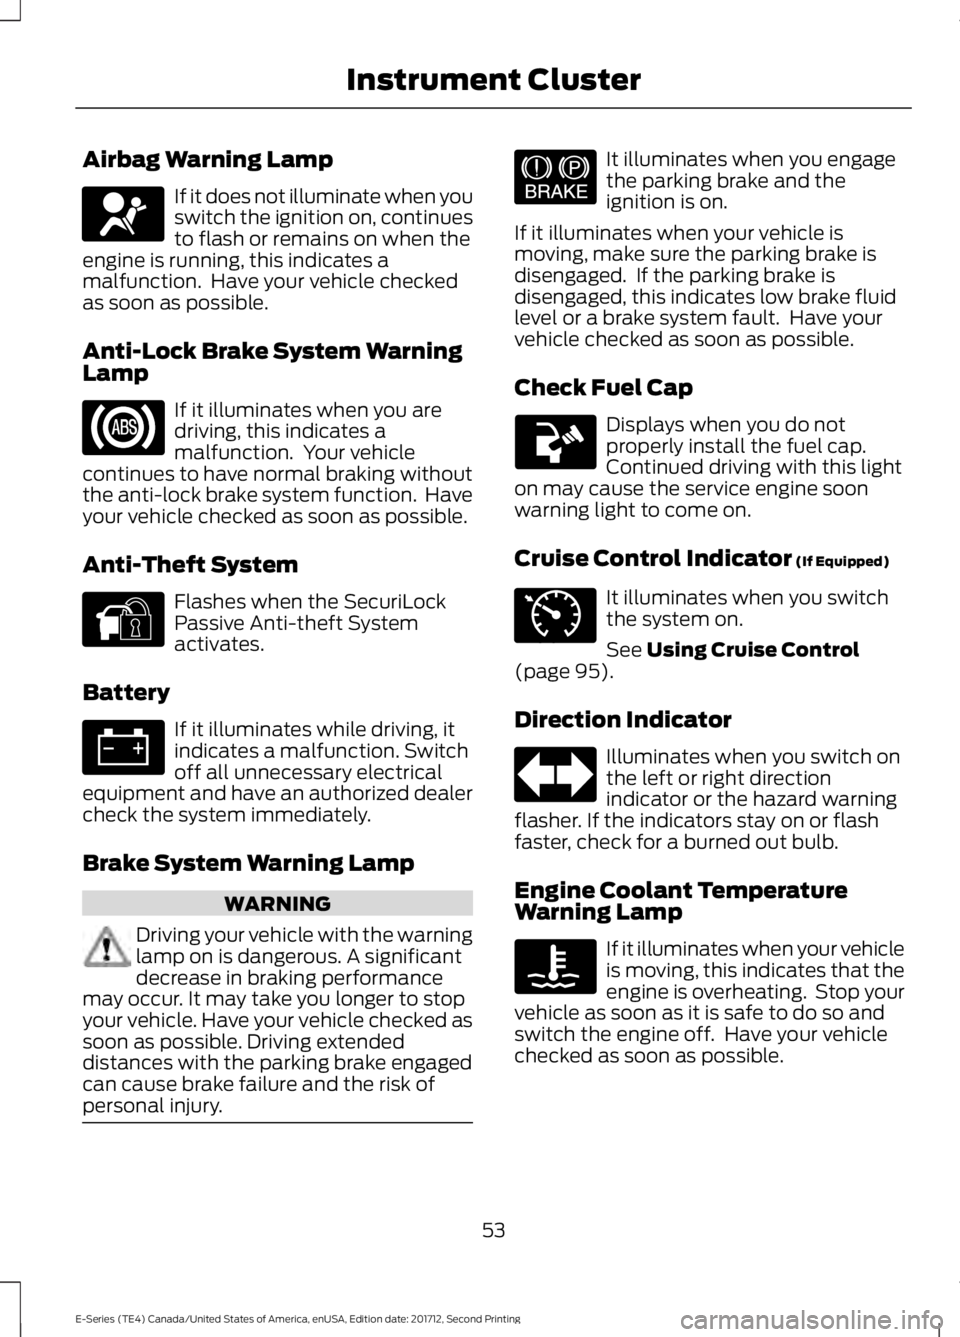
Airbag Warning Lamp
If it does not illuminate when you
switch the ignition on, continues
to flash or remains on when the
engine is running, this indicates a
malfunction. Have your vehicle checked
as soon as possible.
Anti-Lock Brake System Warning
Lamp If it illuminates when you are
driving, this indicates a
malfunction. Your vehicle
continues to have normal braking without
the anti-lock brake system function. Have
your vehicle checked as soon as possible.
Anti-Theft System Flashes when the SecuriLock
Passive Anti-theft System
activates.
Battery If it illuminates while driving, it
indicates a malfunction. Switch
off all unnecessary electrical
equipment and have an authorized dealer
check the system immediately.
Brake System Warning Lamp WARNING
Driving your vehicle with the warning
lamp on is dangerous. A significant
decrease in braking performance
may occur. It may take you longer to stop
your vehicle. Have your vehicle checked as
soon as possible. Driving extended
distances with the parking brake engaged
can cause brake failure and the risk of
personal injury. It illuminates when you engage
the parking brake and the
ignition is on.
If it illuminates when your vehicle is
moving, make sure the parking brake is
disengaged. If the parking brake is
disengaged, this indicates low brake fluid
level or a brake system fault. Have your
vehicle checked as soon as possible.
Check Fuel Cap Displays when you do not
properly install the fuel cap.
Continued driving with this light
on may cause the service engine soon
warning light to come on.
Cruise Control Indicator (If Equipped) It illuminates when you switch
the system on.
See
Using Cruise Control
(page 95).
Direction Indicator Illuminates when you switch on
the left or right direction
indicator or the hazard warning
flasher. If the indicators stay on or flash
faster, check for a burned out bulb.
Engine Coolant Temperature
Warning Lamp If it illuminates when your vehicle
is moving, this indicates that the
engine is overheating. Stop your
vehicle as soon as it is safe to do so and
switch the engine off. Have your vehicle
checked as soon as possible.
53
E-Series (TE4) Canada/United States of America, enUSA, Edition date: 201712, Second Printing Instrument ClusterE67017 E144845 E144522 E71340
Page 57 of 323
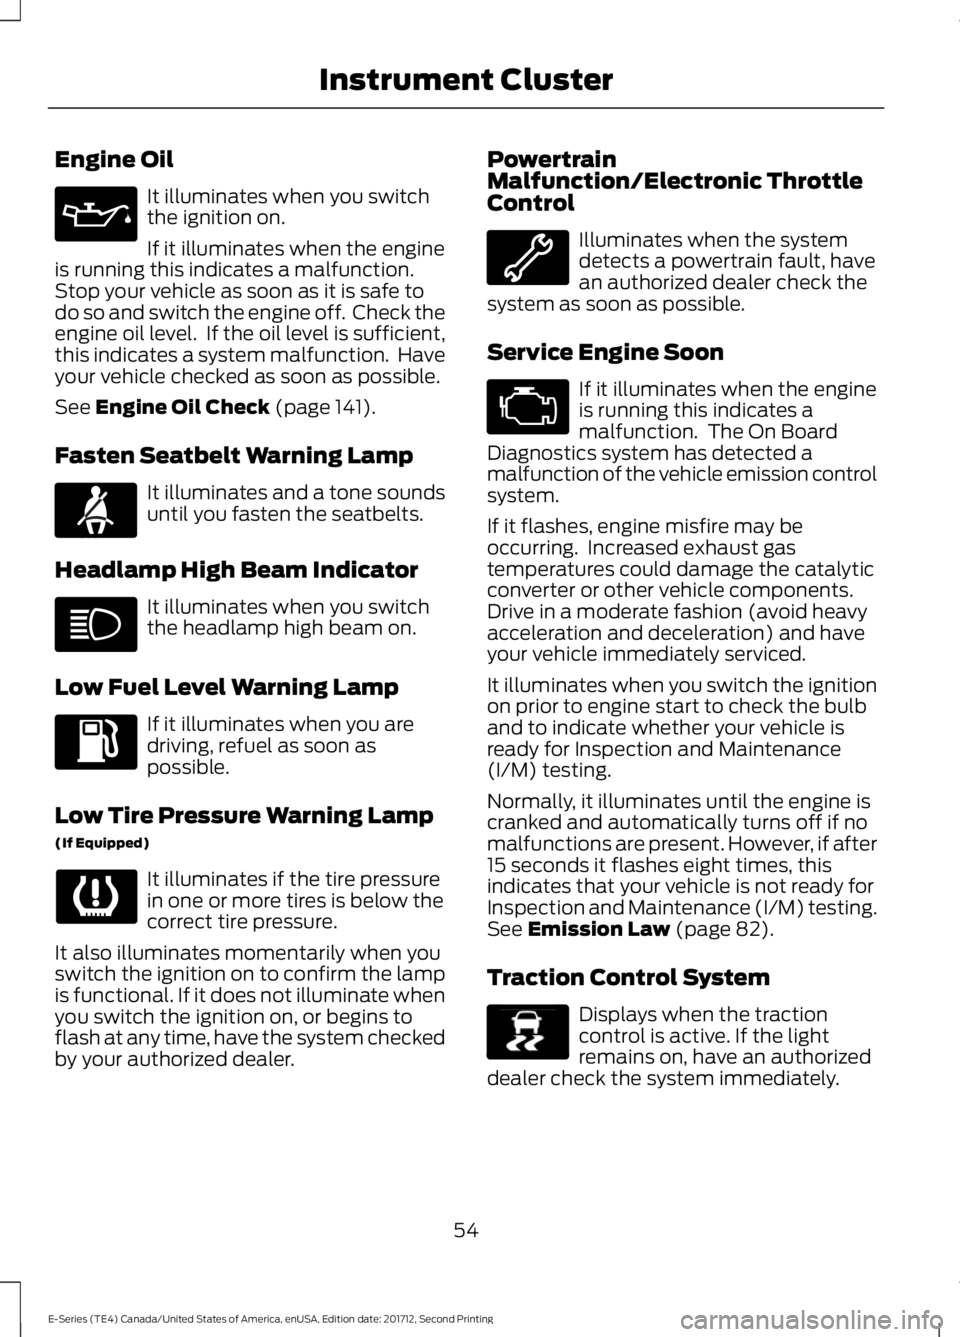
Engine Oil
It illuminates when you switch
the ignition on.
If it illuminates when the engine
is running this indicates a malfunction.
Stop your vehicle as soon as it is safe to
do so and switch the engine off. Check the
engine oil level. If the oil level is sufficient,
this indicates a system malfunction. Have
your vehicle checked as soon as possible.
See Engine Oil Check (page 141).
Fasten Seatbelt Warning Lamp It illuminates and a tone sounds
until you fasten the seatbelts.
Headlamp High Beam Indicator It illuminates when you switch
the headlamp high beam on.
Low Fuel Level Warning Lamp If it illuminates when you are
driving, refuel as soon as
possible.
Low Tire Pressure Warning Lamp
(If Equipped) It illuminates if the tire pressure
in one or more tires is below the
correct tire pressure.
It also illuminates momentarily when you
switch the ignition on to confirm the lamp
is functional. If it does not illuminate when
you switch the ignition on, or begins to
flash at any time, have the system checked
by your authorized dealer. Powertrain
Malfunction/Electronic Throttle
Control Illuminates when the system
detects a powertrain fault, have
an authorized dealer check the
system as soon as possible.
Service Engine Soon If it illuminates when the engine
is running this indicates a
malfunction. The On Board
Diagnostics system has detected a
malfunction of the vehicle emission control
system.
If it flashes, engine misfire may be
occurring. Increased exhaust gas
temperatures could damage the catalytic
converter or other vehicle components.
Drive in a moderate fashion (avoid heavy
acceleration and deceleration) and have
your vehicle immediately serviced.
It illuminates when you switch the ignition
on prior to engine start to check the bulb
and to indicate whether your vehicle is
ready for Inspection and Maintenance
(I/M) testing.
Normally, it illuminates until the engine is
cranked and automatically turns off if no
malfunctions are present. However, if after
15 seconds it flashes eight times, this
indicates that your vehicle is not ready for
Inspection and Maintenance (I/M) testing.
See
Emission Law (page 82).
Traction Control System Displays when the traction
control is active. If the light
remains on, have an authorized
dealer check the system immediately.
54
E-Series (TE4) Canada/United States of America, enUSA, Edition date: 201712, Second Printing Instrument Cluster E71880 E138639
Page 58 of 323
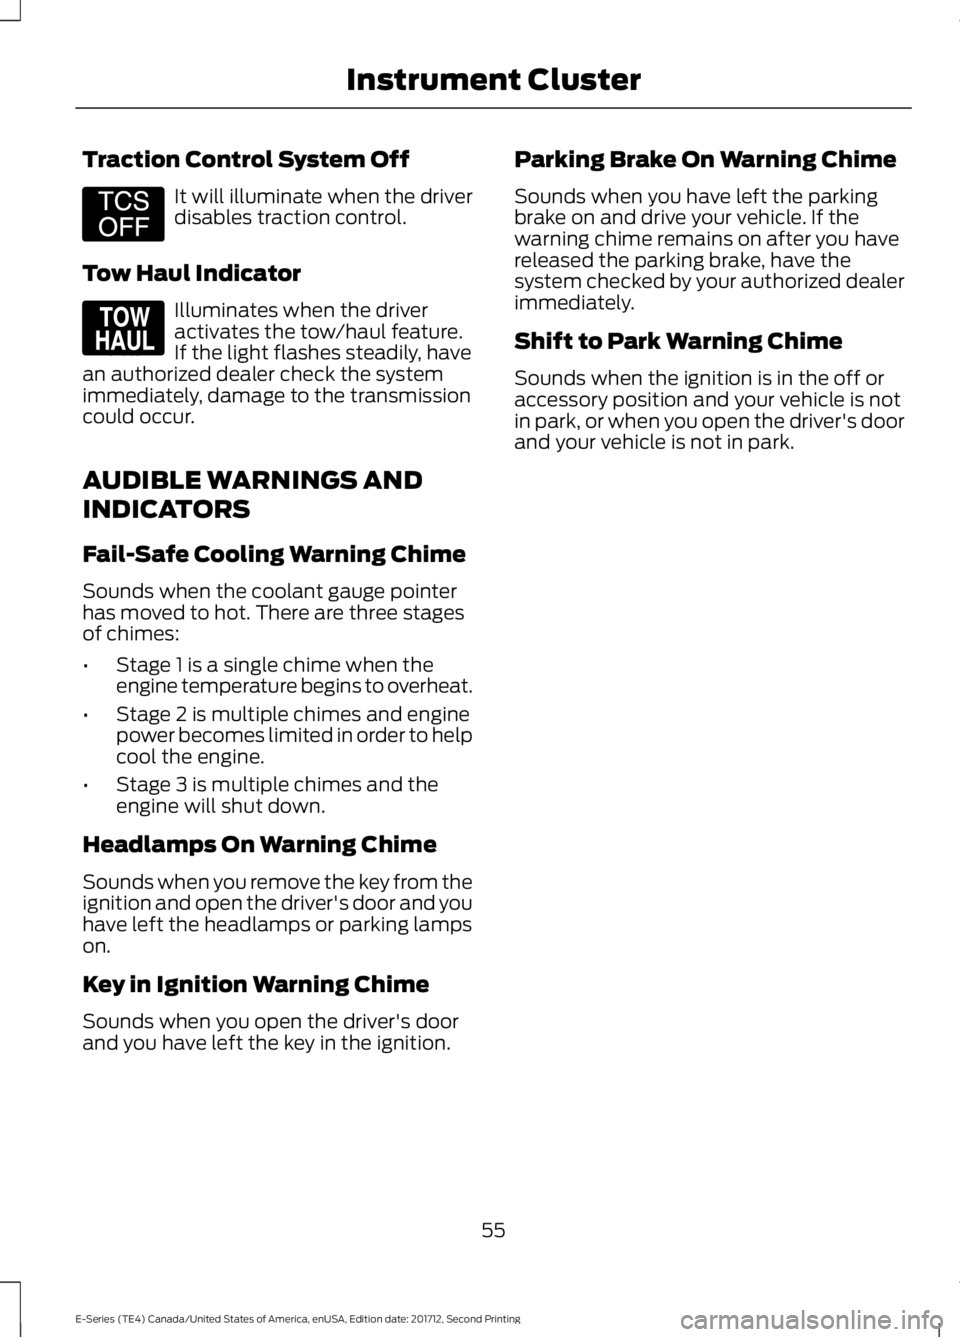
Traction Control System Off
It will illuminate when the driver
disables traction control.
Tow Haul Indicator Illuminates when the driver
activates the tow/haul feature.
If the light flashes steadily, have
an authorized dealer check the system
immediately, damage to the transmission
could occur.
AUDIBLE WARNINGS AND
INDICATORS
Fail-Safe Cooling Warning Chime
Sounds when the coolant gauge pointer
has moved to hot. There are three stages
of chimes:
• Stage 1 is a single chime when the
engine temperature begins to overheat.
• Stage 2 is multiple chimes and engine
power becomes limited in order to help
cool the engine.
• Stage 3 is multiple chimes and the
engine will shut down.
Headlamps On Warning Chime
Sounds when you remove the key from the
ignition and open the driver's door and you
have left the headlamps or parking lamps
on.
Key in Ignition Warning Chime
Sounds when you open the driver's door
and you have left the key in the ignition. Parking Brake On Warning Chime
Sounds when you have left the parking
brake on and drive your vehicle. If the
warning chime remains on after you have
released the parking brake, have the
system checked by your authorized dealer
immediately.
Shift to Park Warning Chime
Sounds when the ignition is in the off or
accessory position and your vehicle is not
in park, or when you open the driver's door
and your vehicle is not in park.
55
E-Series (TE4) Canada/United States of America, enUSA, Edition date: 201712, Second Printing Instrument ClusterE194301 E161509
Page 59 of 323
GENERAL INFORMATION
WARNING
Driving while distracted can result in
loss of vehicle control, crash and
injury. We strongly recommend that
you use extreme caution when using any
device that may take your focus off the
road. Your primary responsibility is the safe
operation of your vehicle. We recommend
against the use of any hand-held device
while driving and encourage the use of
voice-operated systems when possible.
Make sure you are aware of all applicable
local laws that may affect the use of
electronic devices while driving. You can control various systems on your
vehicle using the information display
control by the speedometer. The
corresponding information is appears in
the information display.
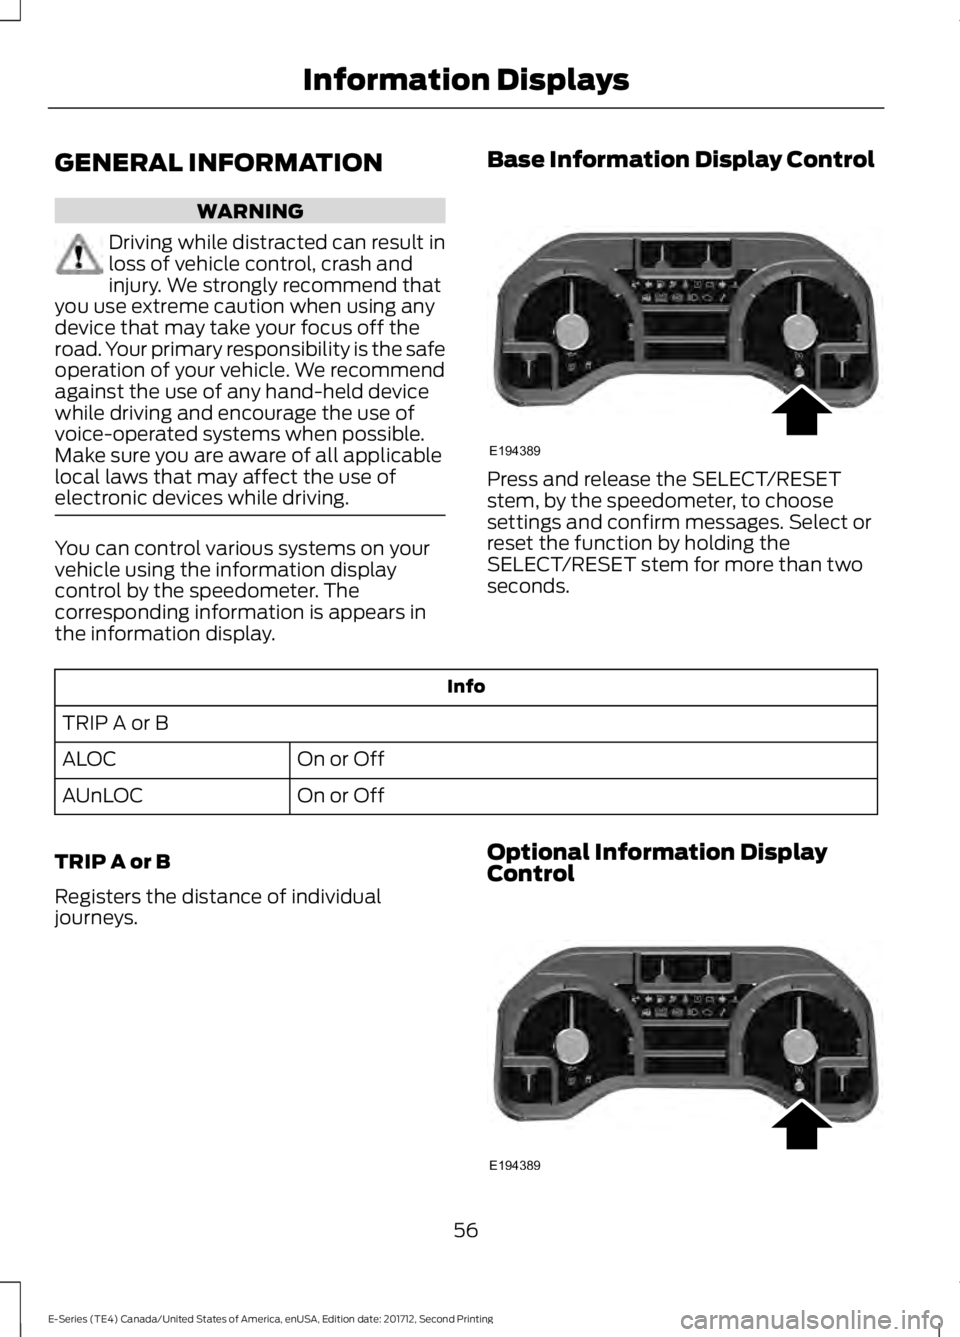
Base Information Display Control Press and release the SELECT/RESET
stem, by the speedometer, to choose
settings and confirm messages. Select or
reset the function by holding the
SELECT/RESET stem for more than two
seconds.
Info
TRIP A or B On or Off
ALOC
On or Off
AUnLOC
TRIP A or B
Registers the distance of individual
journeys. Optional Information Display
Control
56
E-Series (TE4) Canada/United States of America, enUSA, Edition date: 201712, Second Printing Information DisplaysE194389 E194389
Page 60 of 323
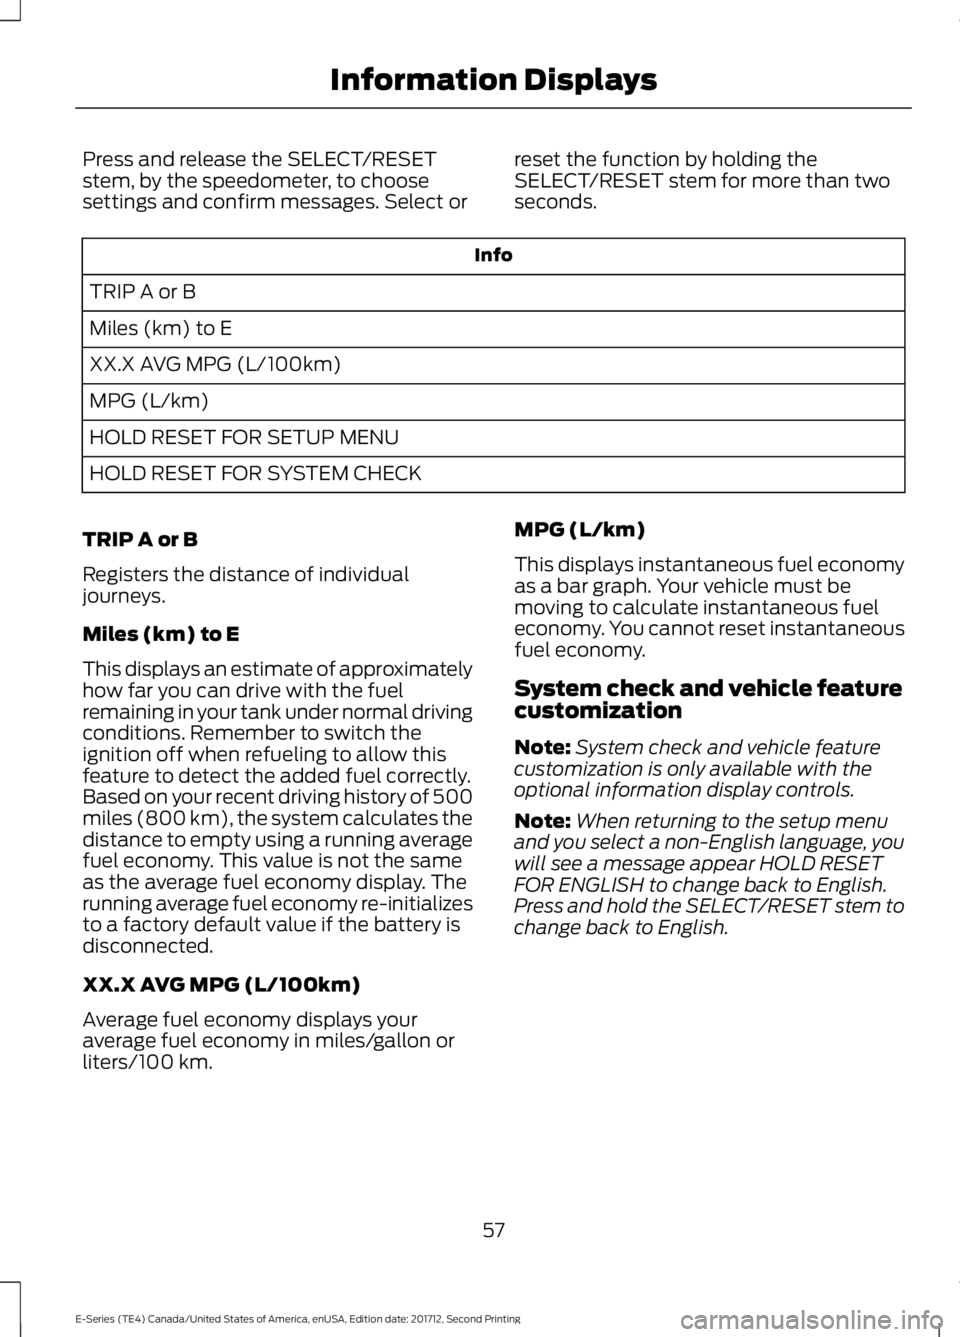
Press and release the SELECT/RESET
stem, by the speedometer, to choose
settings and confirm messages. Select or
reset the function by holding the
SELECT/RESET stem for more than two
seconds. Info
TRIP A or B
Miles (km) to E
XX.X AVG MPG (L/100km)
MPG (L/km)
HOLD RESET FOR SETUP MENU
HOLD RESET FOR SYSTEM CHECK
TRIP A or B
Registers the distance of individual
journeys.
Miles (km) to E
This displays an estimate of approximately
how far you can drive with the fuel
remaining in your tank under normal driving
conditions. Remember to switch the
ignition off when refueling to allow this
feature to detect the added fuel correctly.
Based on your recent driving history of 500
miles (800 km), the system calculates the
distance to empty using a running average
fuel economy. This value is not the same
as the average fuel economy display. The
running average fuel economy re-initializes
to a factory default value if the battery is
disconnected.
XX.X AVG MPG (L/100km)
Average fuel economy displays your
average fuel economy in miles/gallon or
liters/100 km. MPG (L/km)
This displays instantaneous fuel economy
as a bar graph. Your vehicle must be
moving to calculate instantaneous fuel
economy. You cannot reset instantaneous
fuel economy.
System check and vehicle feature
customization
Note:
System check and vehicle feature
customization is only available with the
optional information display controls.
Note: When returning to the setup menu
and you select a non-English language, you
will see a message appear HOLD RESET
FOR ENGLISH to change back to English.
Press and hold the SELECT/RESET stem to
change back to English.
57
E-Series (TE4) Canada/United States of America, enUSA, Edition date: 201712, Second Printing Information Displays