set clock FORD E SERIES 2000 4.G Owners Manual
[x] Cancel search | Manufacturer: FORD, Model Year: 2000, Model line: E SERIES, Model: FORD E SERIES 2000 4.GPages: 232, PDF Size: 2.58 MB
Page 28 of 232
Treble adjust
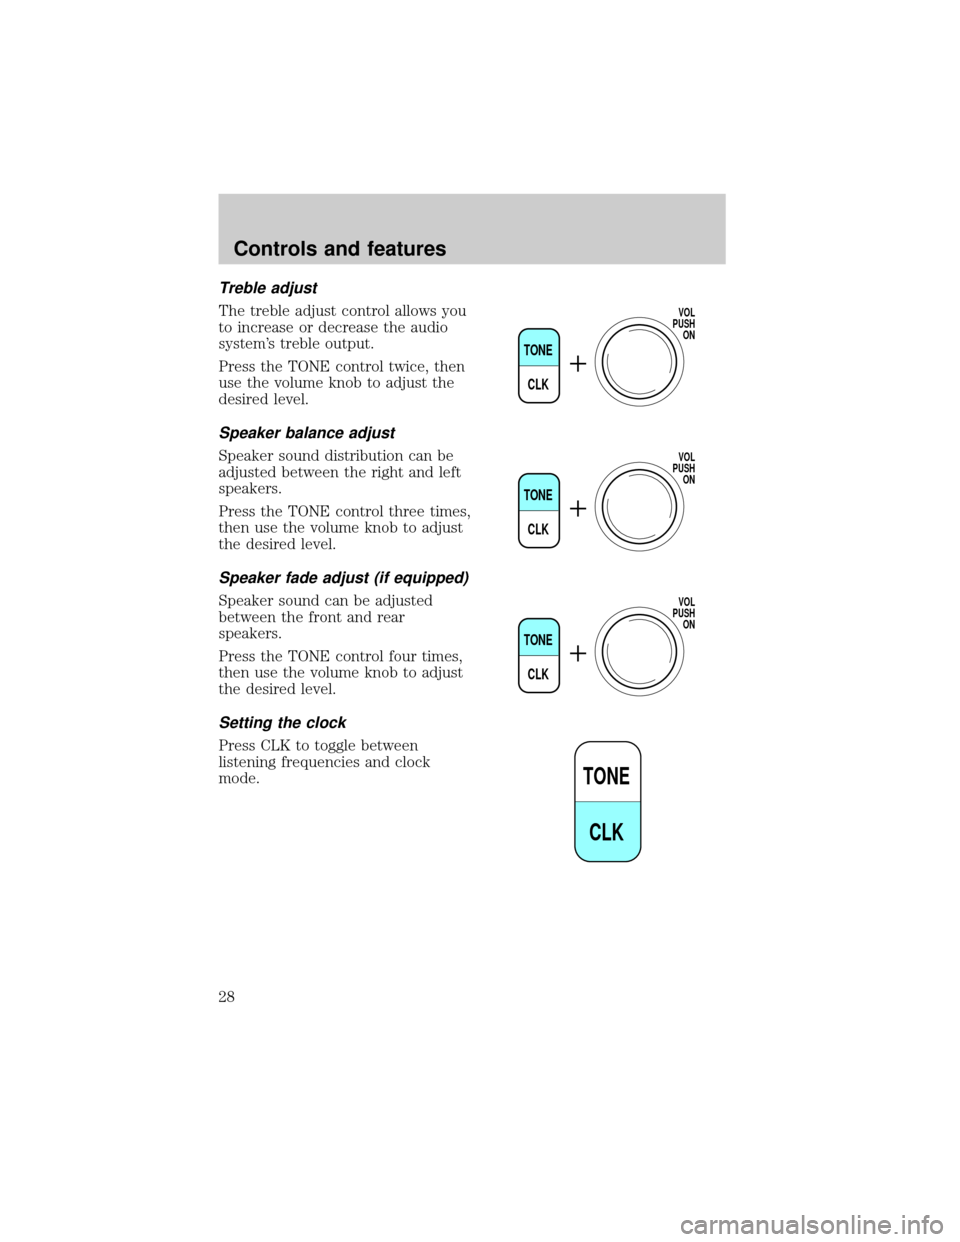
The treble adjust control allows you
to increase or decrease the audio
system's treble output.
Press the TONE control twice, then
use the volume knob to adjust the
desired level.
Speaker balance adjust
Speaker sound distribution can be
adjusted between the right and left
speakers.
Press the TONE control three times,
then use the volume knob to adjust
the desired level.
Speaker fade adjust (if equipped)
Speaker sound can be adjusted
between the front and rear
speakers.
Press the TONE control four times,
then use the volume knob to adjust
the desired level.
Setting the clock
Press CLK to toggle between
listening frequencies and clock
mode.
TONE
CLK
VOL
PUSH
ON
TONE
CLK
VOL
PUSH
ON
TONE
CLK
VOL
PUSH
ON
TONE
CLK
Controls and features
28
Page 29 of 232
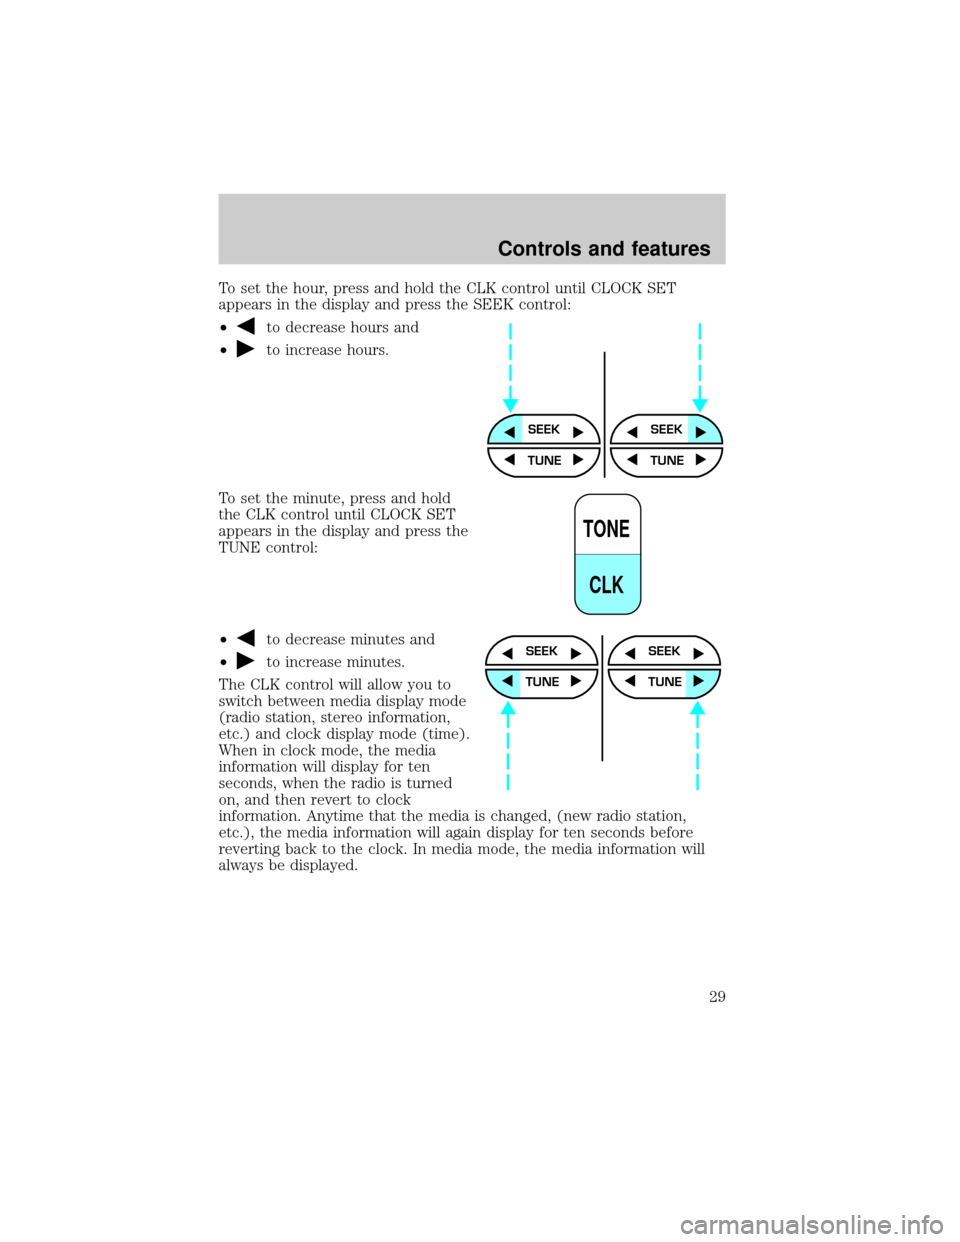
To set the hour, press and hold the CLK control until CLOCK SET
appears in the display and press the SEEK control:
²
to decrease hours and
²
to increase hours.
To set the minute, press and hold
the CLK control until CLOCK SET
appears in the display and press the
TUNE control:
²
to decrease minutes and
²
to increase minutes.
The CLK control will allow you to
switch between media display mode
(radio station, stereo information,
etc.) and clock display mode (time).
When in clock mode, the media
information will display for ten
seconds, when the radio is turned
on, and then revert to clock
information. Anytime that the media is changed, (new radio station,
etc.), the media information will again display for ten seconds before
reverting back to the clock. In media mode, the media information will
always be displayed.
SEEKSEEK
TUNE TUNE
TONE
CLK
SEEK
TUNE
SEEK
TUNE
Controls and features
29
Page 35 of 232
DolbyTnoise reduction
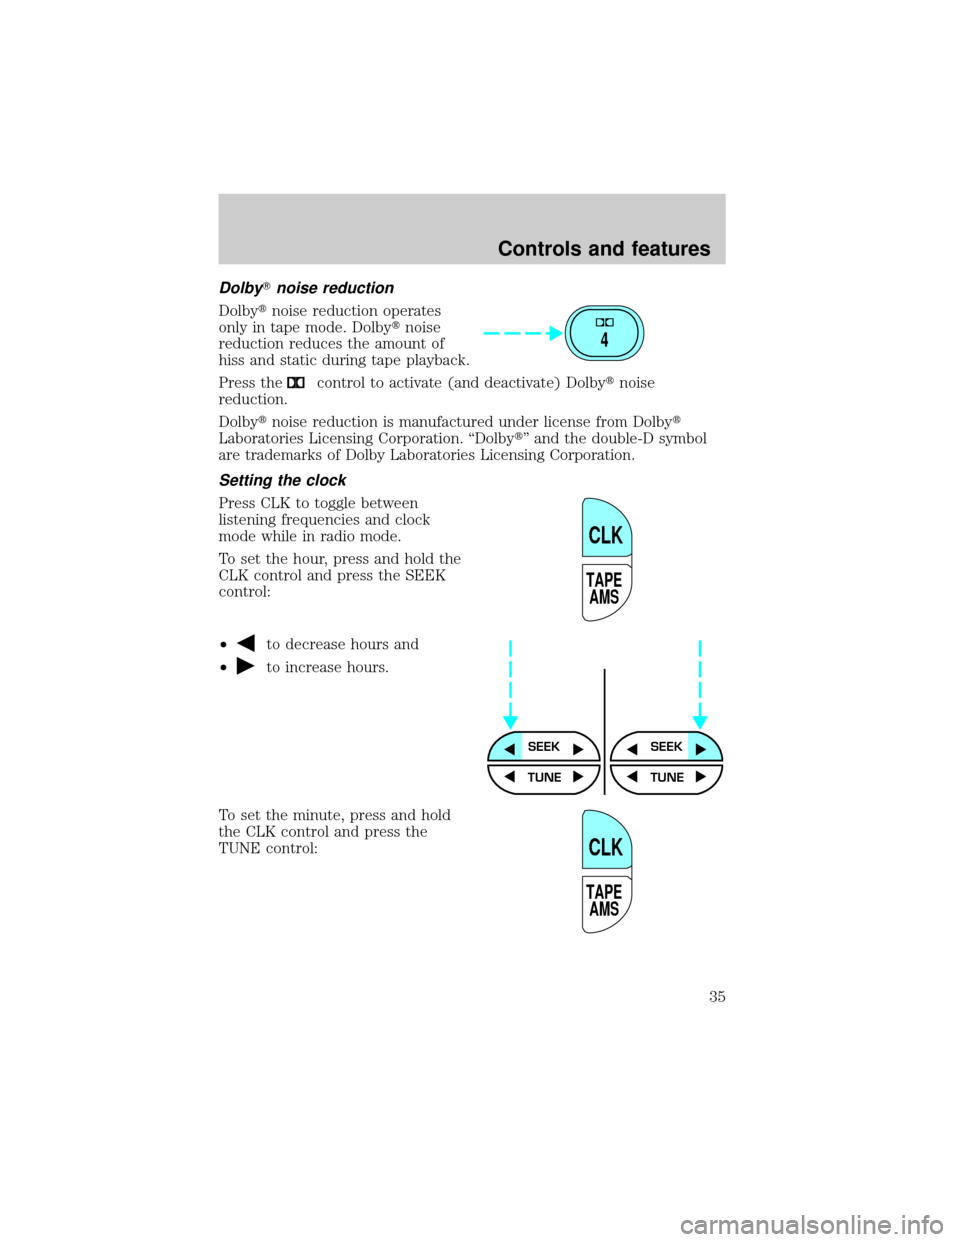
Dolbytnoise reduction operates
only in tape mode. Dolbytnoise
reduction reduces the amount of
hiss and static during tape playback.
Press the
control to activate (and deactivate) Dolbytnoise
reduction.
Dolbytnoise reduction is manufactured under license from Dolbyt
Laboratories Licensing Corporation. ªDolbytº and the double-D symbol
are trademarks of Dolby Laboratories Licensing Corporation.
Setting the clock
Press CLK to toggle between
listening frequencies and clock
mode while in radio mode.
To set the hour, press and hold the
CLK control and press the SEEK
control:
²
to decrease hours and
²
to increase hours.
To set the minute, press and hold
the CLK control and press the
TUNE control:
4
TAPE
AMS
CLK
SEEKSEEK
TUNE TUNE
TAPE
AMS
CLK
Controls and features
35
Page 36 of 232
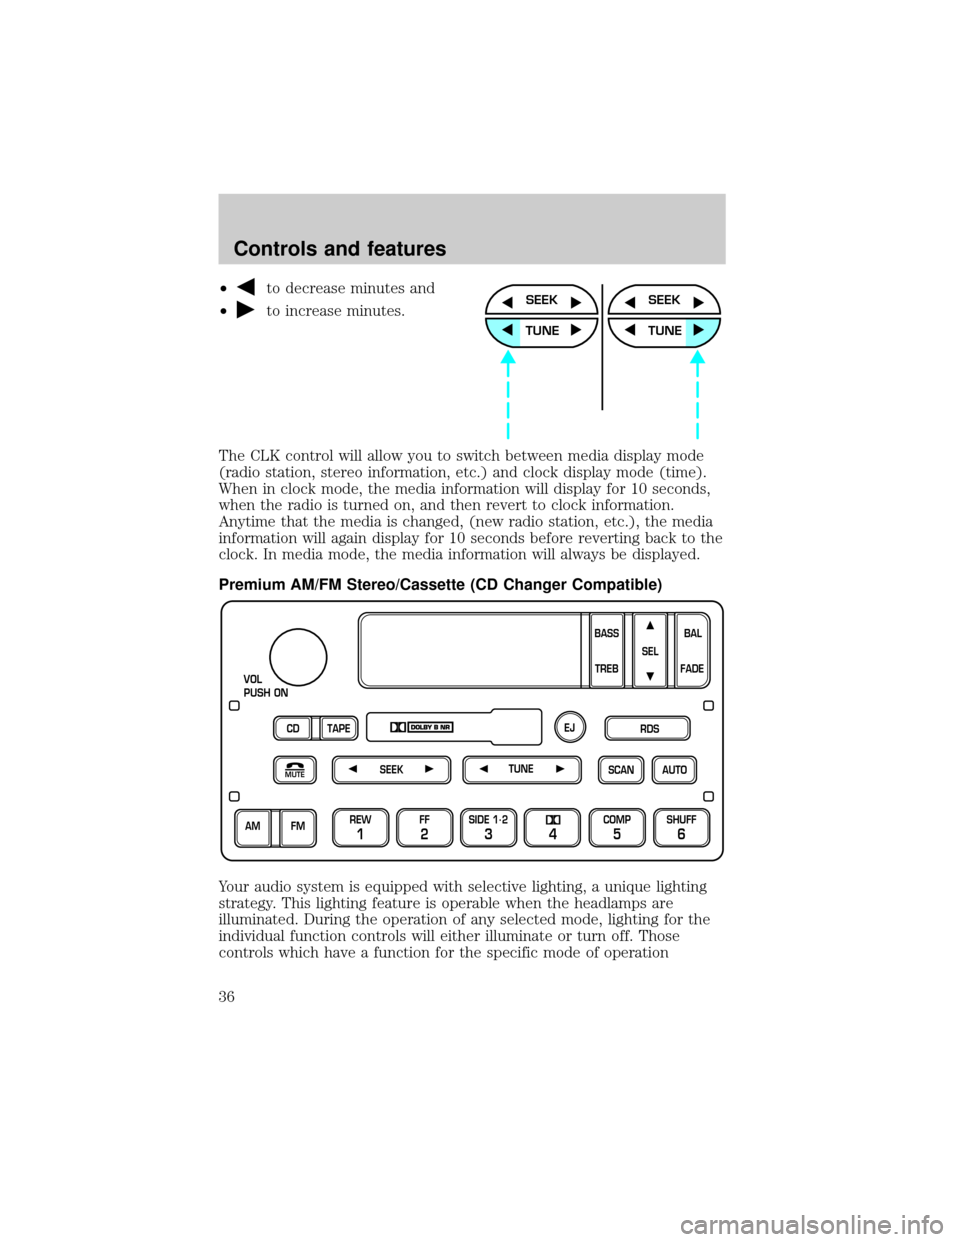
²to decrease minutes and
²
to increase minutes.
The CLK control will allow you to switch between media display mode
(radio station, stereo information, etc.) and clock display mode (time).
When in clock mode, the media information will display for 10 seconds,
when the radio is turned on, and then revert to clock information.
Anytime that the media is changed, (new radio station, etc.), the media
information will again display for 10 seconds before reverting back to the
clock. In media mode, the media information will always be displayed.
Premium AM/FM Stereo/Cassette (CD Changer Compatible)
Your audio system is equipped with selective lighting, a unique lighting
strategy. This lighting feature is operable when the headlamps are
illuminated. During the operation of any selected mode, lighting for the
individual function controls will either illuminate or turn off. Those
controls which have a function for the specific mode of operationSEEK
TUNE
SEEK
TUNE
SCAN
VOL
PUSH ON
REW
1
FF
2
SIDE 1.
2
34
COMP
5
SHUFF
6
AUTO TUNE
SEEK
SEL
BAL
FADE
MUTE
FM AM
EJ
BASS
TREB
CD TAPERDS
Controls and features
36
Page 45 of 232
²Classic
²Country
²Info
²Jazz
²Oldies
²R&B
²Religious
²Rock
²Soft
²To p 4 0
Show
²With RDS activated, press the
RDS control until SHOW is
displayed.
²Use the SEL control to select
TYPE (the display shows the
program type), NAME (the
display shows the call letters of
the station) or NONE.
RDS clock feature
Refer toSetting the clockfor information.
Mute mode
Press the control to mute the
playing media. Press the control
again to return to the playing media.
Setting the clock with radio data system (RDS) feature
Press the RDS control until SELECT
HOUR or SELECT MINS is
displayed.
RDS
SEL
MUTE
RDS
Controls and features
45
Page 55 of 232
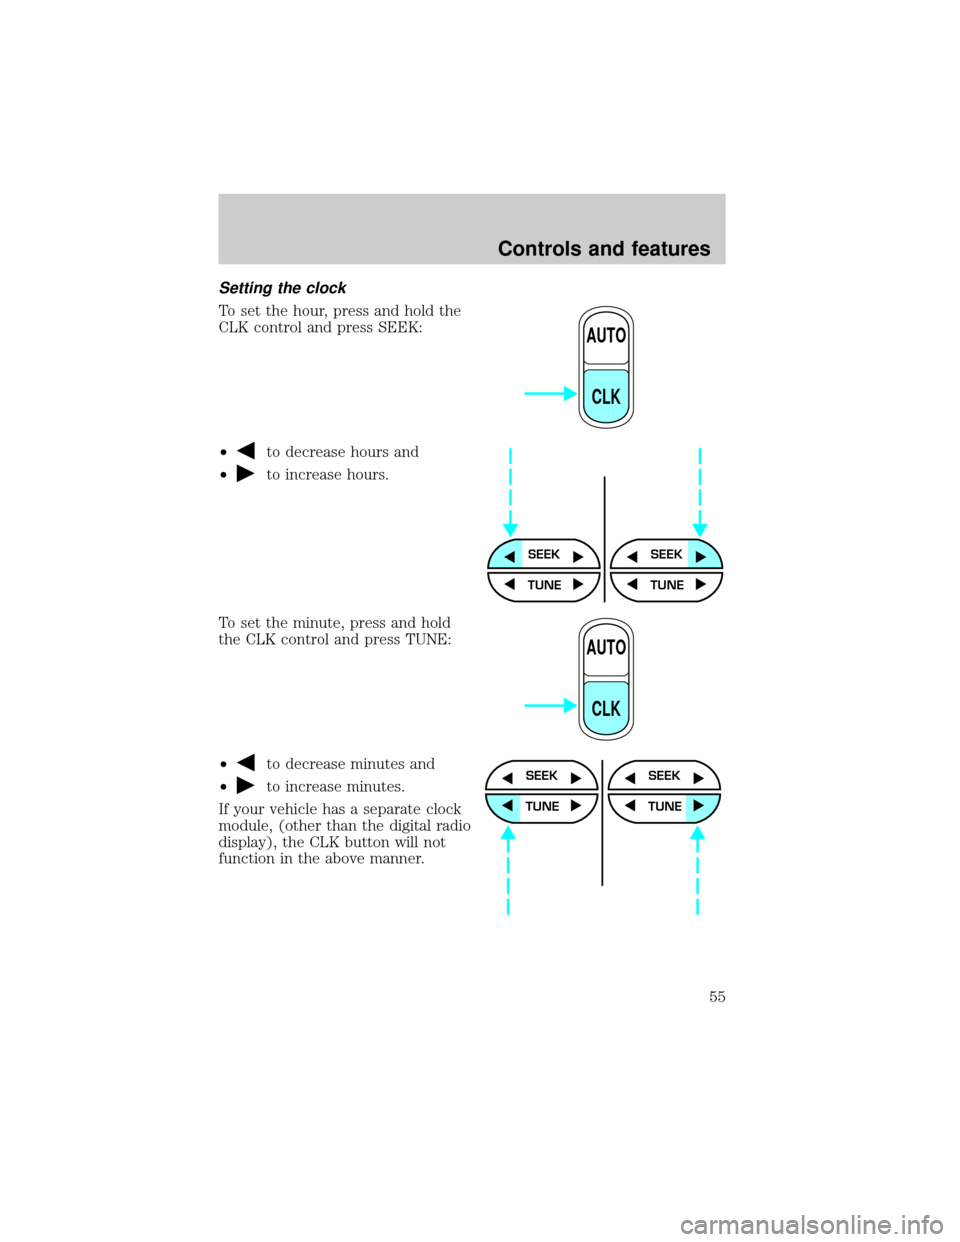
Setting the clock
To set the hour, press and hold the
CLK control and press SEEK:
²
to decrease hours and
²
to increase hours.
To set the minute, press and hold
the CLK control and press TUNE:
²
to decrease minutes and
²
to increase minutes.
If your vehicle has a separate clock
module, (other than the digital radio
display), the CLK button will not
function in the above manner.
AUTO
CLK
SEEKSEEK
TUNE TUNE
AUTO
CLK
SEEK
TUNE
SEEK
TUNE
Controls and features
55
Page 138 of 232
To stow the spare tire:
1. Lay the tire on the ground under the rear of the vehicle with the valve
stem facing up.
Stow aluminum wheels with valve stem facing down.
2. Install the retainer through the wheel center.
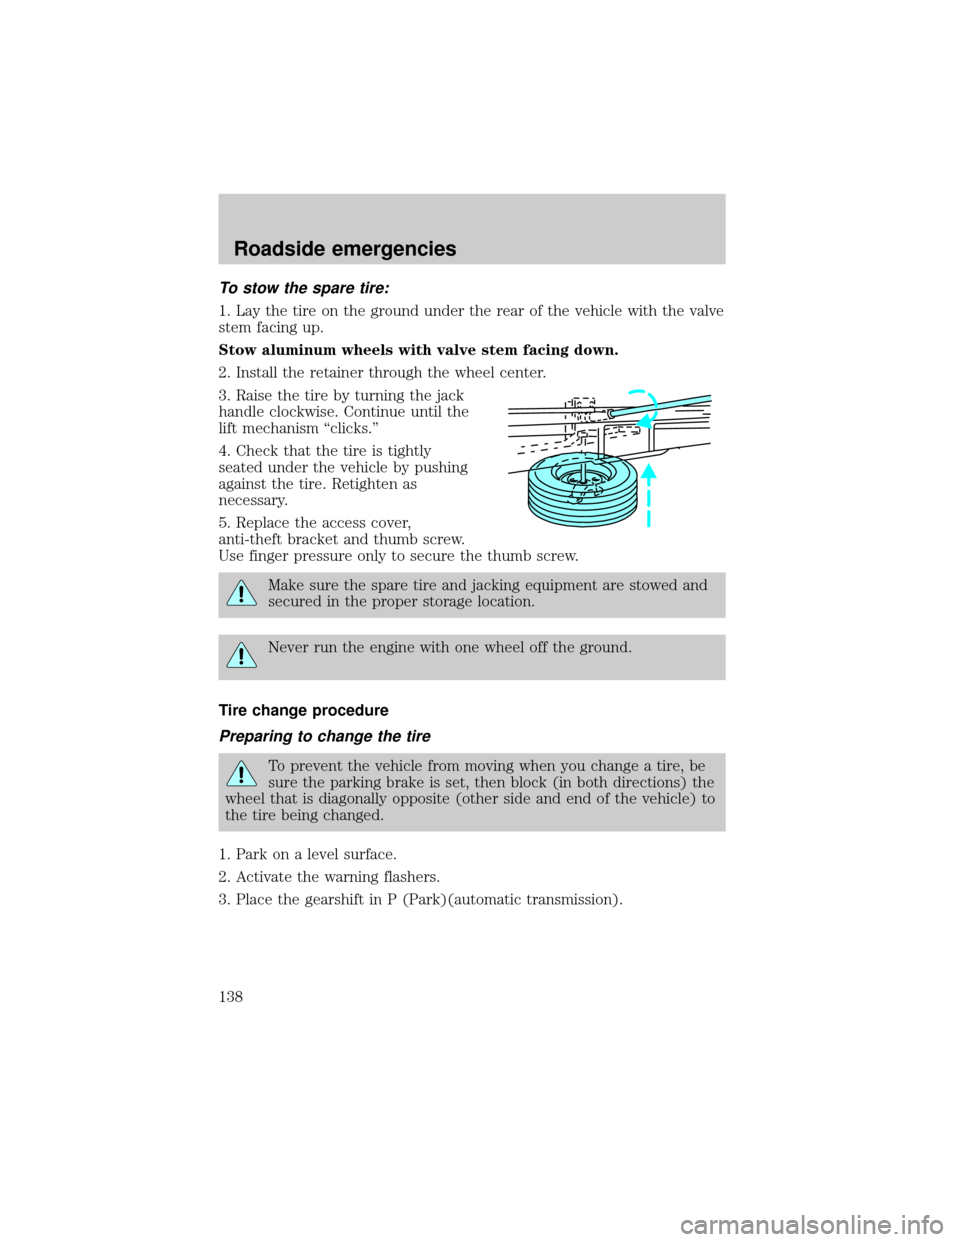
3. Raise the tire by turning the jack
handle clockwise. Continue until the
lift mechanism ªclicks.º
4. Check that the tire is tightly
seated under the vehicle by pushing
against the tire. Retighten as
necessary.
5. Replace the access cover,
anti-theft bracket and thumb screw.
Use finger pressure only to secure the thumb screw.
Make sure the spare tire and jacking equipment are stowed and
secured in the proper storage location.
Never run the engine with one wheel off the ground.
Tire change procedure
Preparing to change the tire
To prevent the vehicle from moving when you change a tire, be
sure the parking brake is set, then block (in both directions) the
wheel that is diagonally opposite (other side and end of the vehicle) to
the tire being changed.
1. Park on a level surface.
2. Activate the warning flashers.
3. Place the gearshift in P (Park)(automatic transmission).
Roadside emergencies
138
Page 169 of 232

3. Run the engine until it reaches normal operating temperature.
4. Allow the engine to idle for at least one minute.
5. Turn the A/C on and allow the engine to idle for at least one minute.
6. With your foot on the brake pedal and with the A/C on, put the
vehicle in D (Drive) and allow the engine to idle for at least one minute.
7. Drive the vehicle to complete the relearning process.
²The vehicle may need to be driven 16 km (10 miles) or more to
relearn the idle and fuel trim strategy.
²If you do not allow the engine to relearn its idle trim, the idle
quality of your vehicle may be adversely affected until the idle
trim is eventually relearned.
If the battery has been disconnected or a new battery has been installed,
the clock must be reset once the battery is reconnected.
²Always dispose of automotive
batteries in a responsible manner.
Follow your local authorized
standards for disposal. Call your
local authorized recycling center
to find out more about recycling
automotive batteries.
LEAD
RETURN
RECYCLE
Maintenance and care
169
Page 223 of 232

Air bag supplemental
restraint system ..........................88
and child safety seats ..............90
description ................................88
disposal ......................................93
driver air bag ............................90
indicator light ......................12,92
operation ...................................90
passenger air bag .....................90
Air cleaner filter ................155,199
Air conditioning ..........................18
Ambulance packages ....................4
Antifreeze
(see Engine coolant) ................158
Anti-lock brake system
(see Brakes) .......................109,110
Audio system (see Radio) .........25
Automatic transmission
driving an automatic
overdrive .................................115
fluid, adding ............................165
fluid, checking ........................165
fluid, refill capacities ..............200
fluid, specification ..................206
Auxiliary power point .................24
Axle
lubricant specifications ...203,206
refill capacities ........................200
traction lok ..............................113
Battery .......................................167
acid, treating emergencies .....167
charging system
warning light .............................12
disconnecting ..........................170
jumping a disabled battery ....144
maintenance-free ....................167
replacement, specifications ...199
servicing ..................................167
voltage gauge ............................16
Belt minder .................................84
Brakes ........................................109
anti-lock ............................109,110anti-lock brake system (ABS)
warning light ......................10,110
brake warning light ..................10
fluid, checking and adding ....156
fluid, refill capacities ..............200
fluid, specifications ..........203,206
lubricant specifications ...203,206
shift interlock ..........................114
Break-in period .............................3
Capacities for refilling fluids ....200
Cassette tape player ...................36
Child safety restraints ................94
child safety belts ......................94
Child safety seats ........................95
in front seat ..............................96
in rear seat ................................96
tether anchorage hardware .....99
Cleaning your vehicle ...............193
engine compartment ..............195
exterior .............................195,198
exterior lamps .........................196
instrument panel ....................197
instrument panel lens ............197
interior .....................................197
plastic parts ............................196
safety belts ..............................198
washing ....................................194
waxing .....................................194
wheels ......................................195
windows ..................................198
wiper blades ............................196
Climate control (see Air
conditioning or Heating) ............18
Clock .............................28,35,45,55
Controls
power seat .................................72
Coolant
checking and adding ..............158
refill capacities .................161,200
specifications ...................203,206
Cruise control
(see Speed control) ....................59
Index
223