seats FORD E SERIES 2001 4.G Owners Manual
[x] Cancel search | Manufacturer: FORD, Model Year: 2001, Model line: E SERIES, Model: FORD E SERIES 2001 4.GPages: 224, PDF Size: 1.82 MB
Page 21 of 224
²Under snowy or dirty weather conditions, your vehicle's climate
control system should be left in the OFF position when the vehicle is
parked. This allows the climate control system to be free from
contamination of outside pollutants.
²Do not place objects under the front seat that will interfere with the
airflow to the rear seats (if equipped).
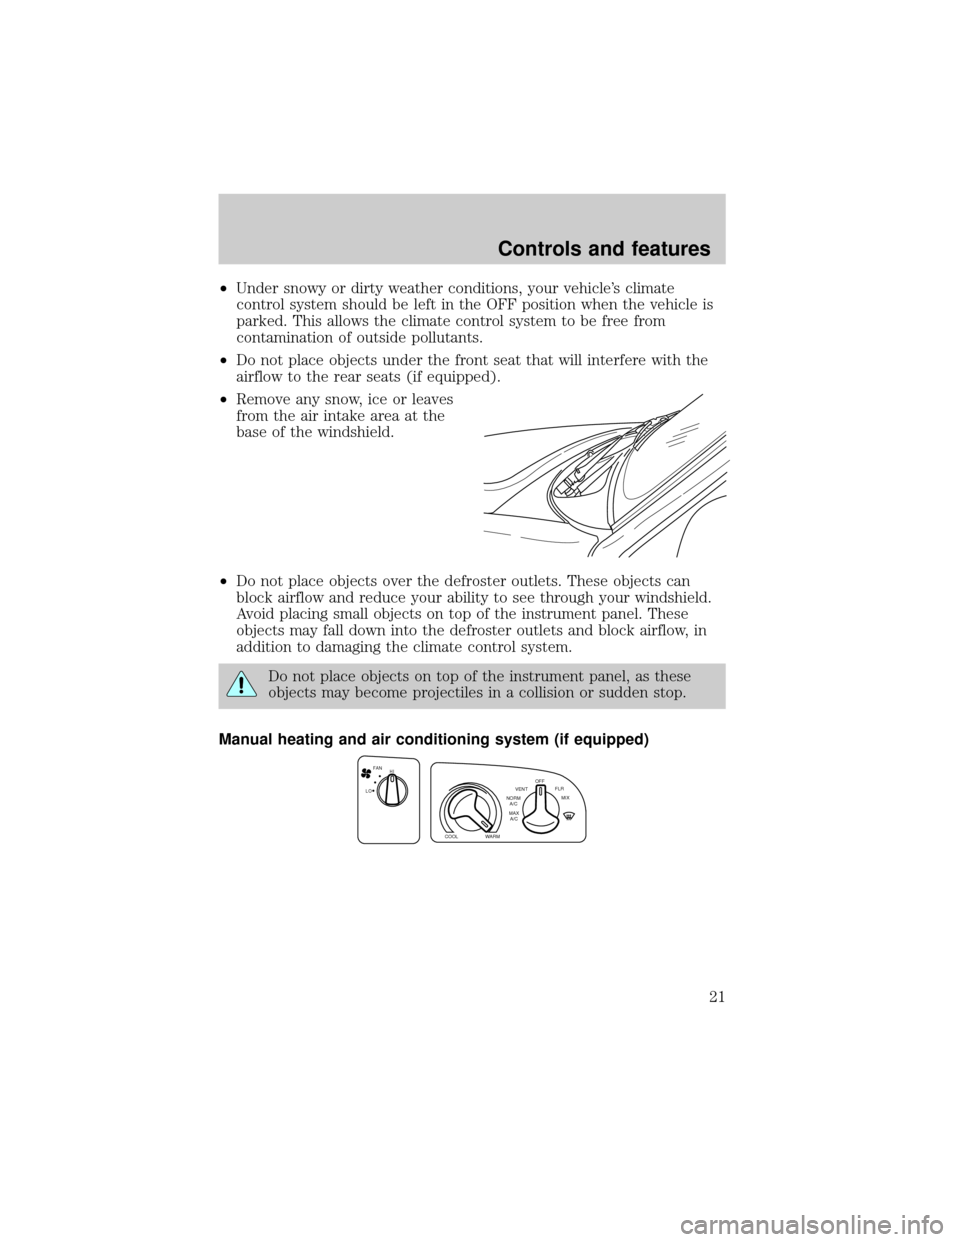
²Remove any snow, ice or leaves
from the air intake area at the
base of the windshield.
²Do not place objects over the defroster outlets. These objects can
block airflow and reduce your ability to see through your windshield.
Avoid placing small objects on top of the instrument panel. These
objects may fall down into the defroster outlets and block airflow, in
addition to damaging the climate control system.
Do not place objects on top of the instrument panel, as these
objects may become projectiles in a collision or sudden stop.
Manual heating and air conditioning system (if equipped)
FAN
LOHI
COOLWARM
MAX
A/C NORM
A/CVENTOFF
FLR
MIX
Controls and features
21
Page 24 of 224
²Under normal weather conditions, your vehicle's climate control
system should be left in any position other than MAX A/C or OFF
when the vehicle is parked. This allows the vehicle to ªbreatheº
through the outside air inlet duct.
²Under snowy or dirty weather conditions, your vehicle's climate
control system should be left in the OFF position when the vehicle is
parked. This allows the climate control system to be free from
contamination of outside pollutants.
²If your vehicle has been parked with the windows closed during warm
weather conditions, the air conditioner will perform more efficiently in
cooling the vehicle if driven for two or three minutes with the
windows open. This will force most of the hot, stale air out of the
vehicle. Once the vehicle has been ªaired outº, operate the climate
control system as desired.
²Do not put objects under the front seat that will interfere with the
airflow to the back seats.
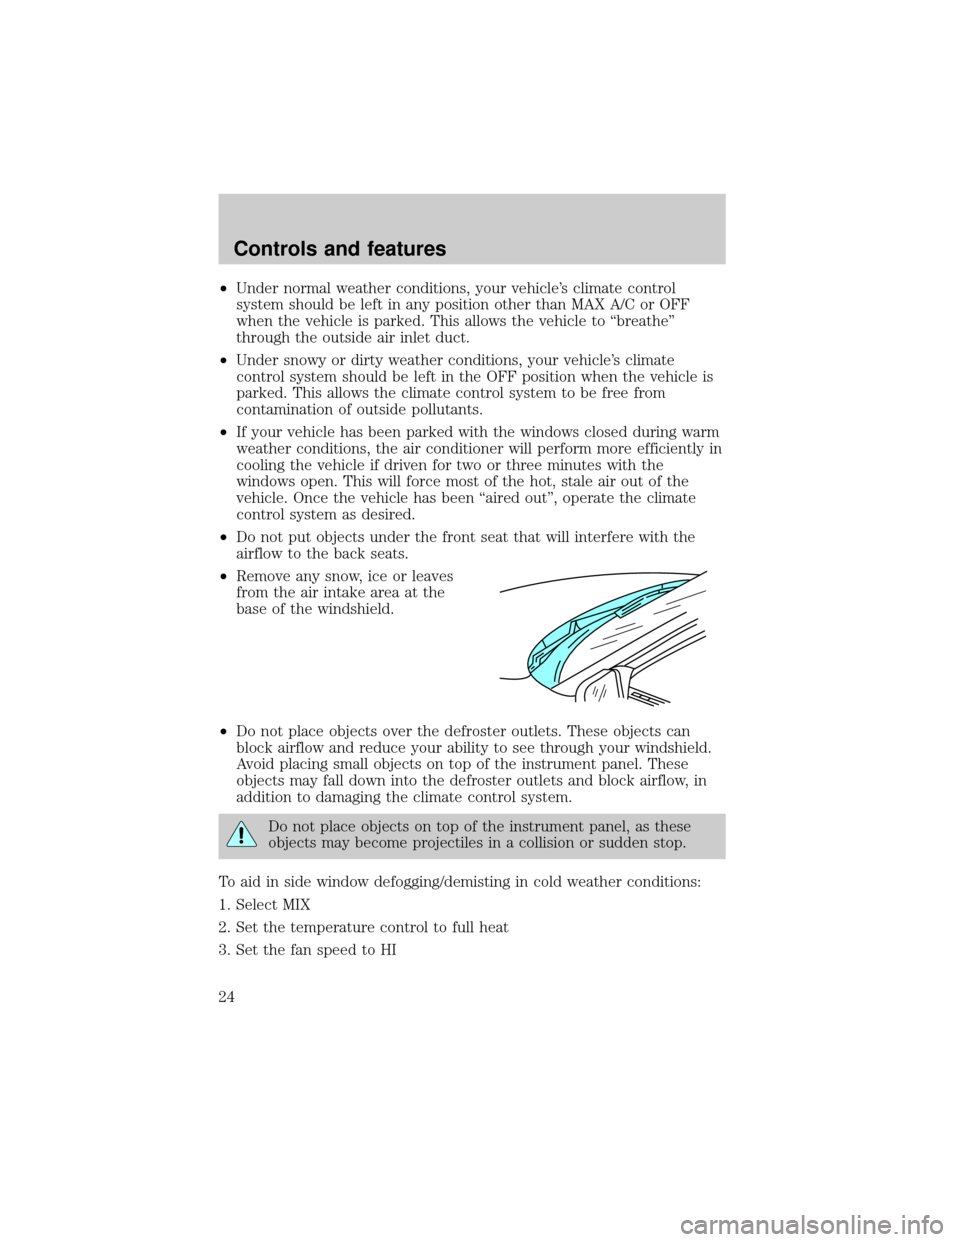
²Remove any snow, ice or leaves
from the air intake area at the
base of the windshield.
²Do not place objects over the defroster outlets. These objects can
block airflow and reduce your ability to see through your windshield.
Avoid placing small objects on top of the instrument panel. These
objects may fall down into the defroster outlets and block airflow, in
addition to damaging the climate control system.
Do not place objects on top of the instrument panel, as these
objects may become projectiles in a collision or sudden stop.
To aid in side window defogging/demisting in cold weather conditions:
1. Select MIX
2. Set the temperature control to full heat
3. Set the fan speed to HI
Controls and features
24
Page 68 of 224
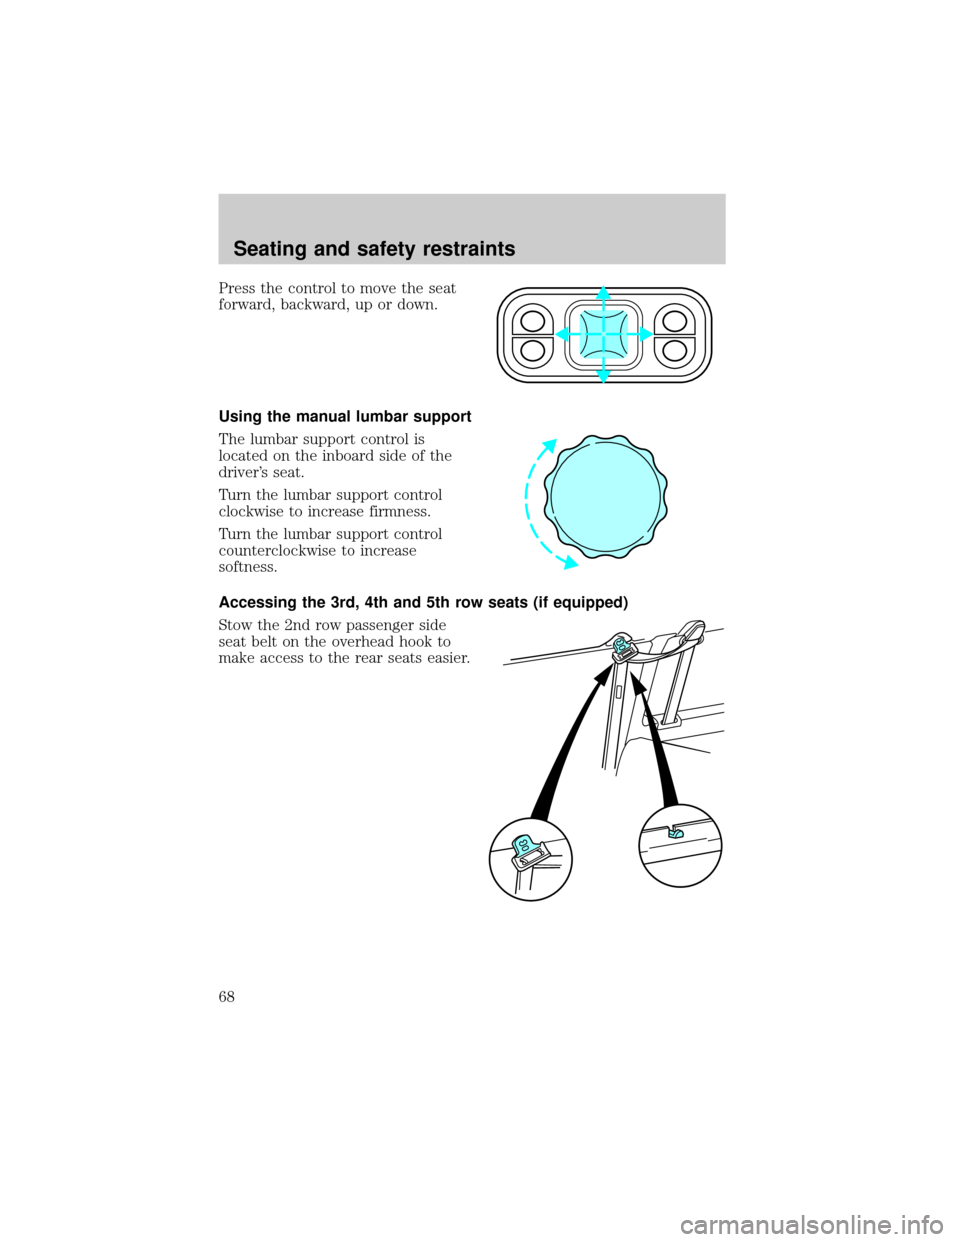
Press the control to move the seat
forward, backward, up or down.
Using the manual lumbar support
The lumbar support control is
located on the inboard side of the
driver's seat.
Turn the lumbar support control
clockwise to increase firmness.
Turn the lumbar support control
counterclockwise to increase
softness.
Accessing the 3rd, 4th and 5th row seats (if equipped)
Stow the 2nd row passenger side
seat belt on the overhead hook to
make access to the rear seats easier.
Seating and safety restraints
68
Page 69 of 224
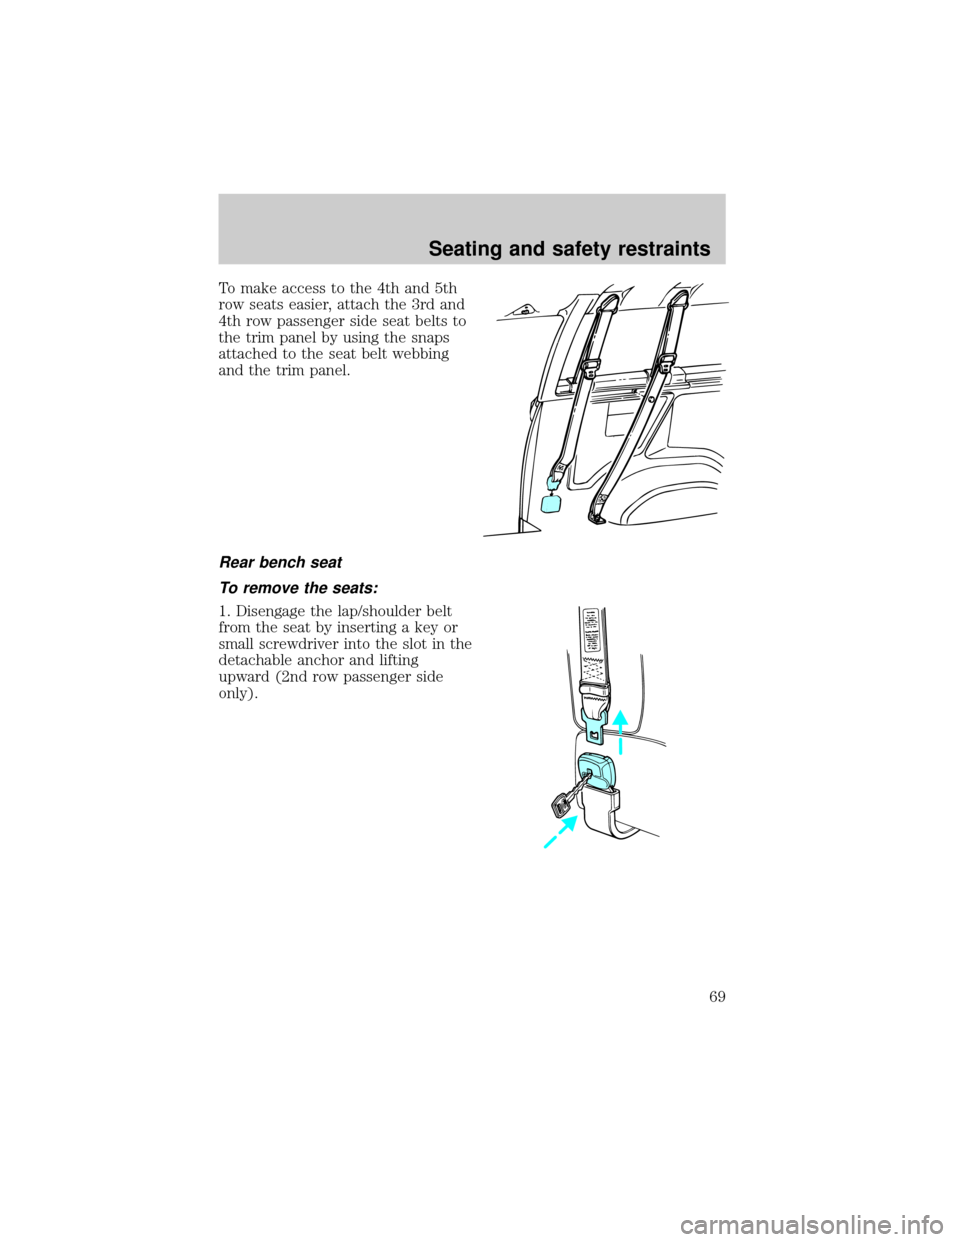
To make access to the 4th and 5th
row seats easier, attach the 3rd and
4th row passenger side seat belts to
the trim panel by using the snaps
attached to the seat belt webbing
and the trim panel.
Rear bench seat
To remove the seats:
1. Disengage the lap/shoulder belt
from the seat by inserting a key or
small screwdriver into the slot in the
detachable anchor and lifting
upward (2nd row passenger side
only).
Seating and safety restraints
69
Page 70 of 224
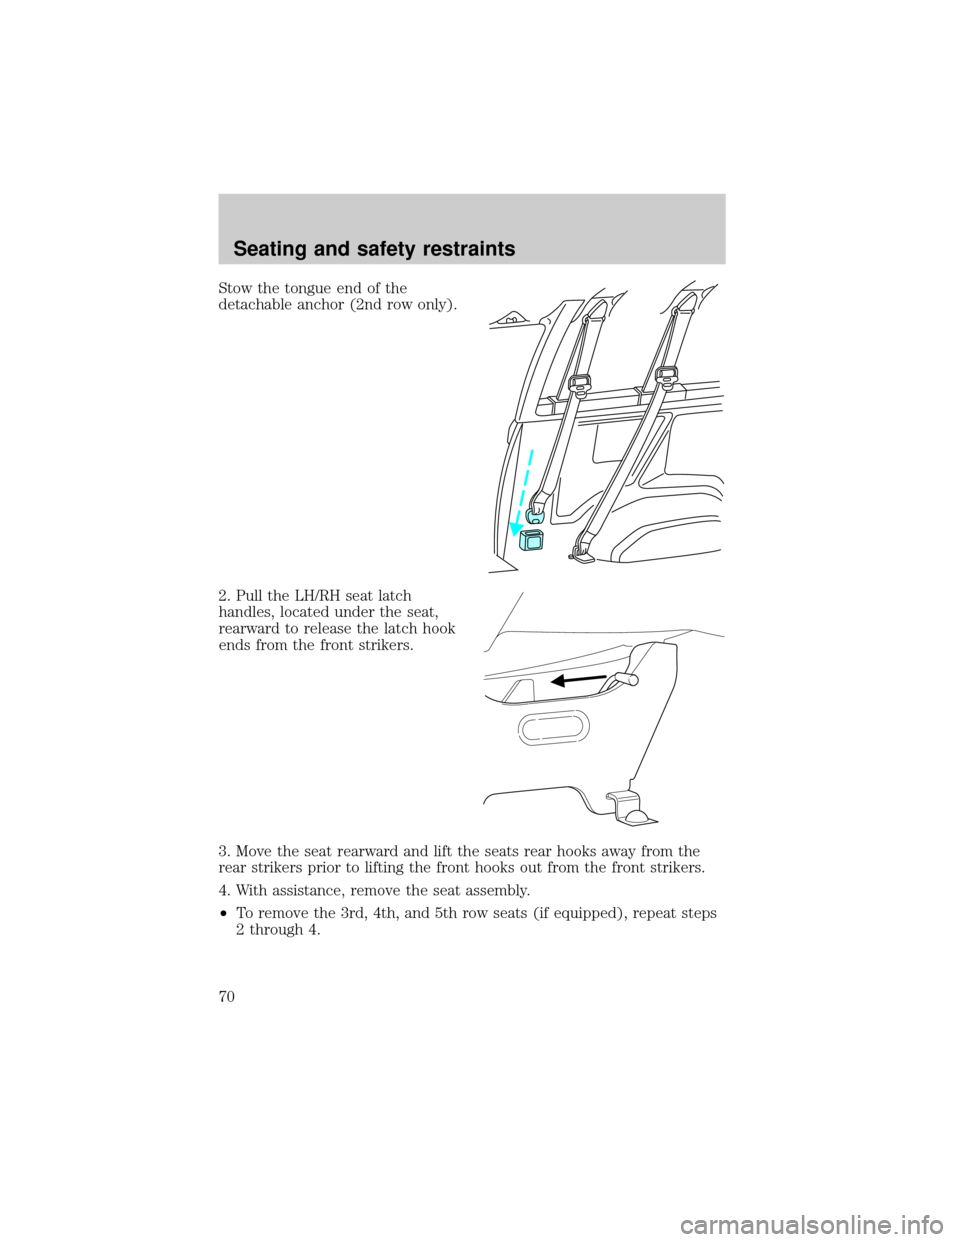
Stow the tongue end of the
detachable anchor (2nd row only).
2. Pull the LH/RH seat latch
handles, located under the seat,
rearward to release the latch hook
ends from the front strikers.
3. Move the seat rearward and lift the seats rear hooks away from the
rear strikers prior to lifting the front hooks out from the front strikers.
4. With assistance, remove the seat assembly.
²To remove the 3rd, 4th, and 5th row seats (if equipped), repeat steps
2 through 4.
Seating and safety restraints
70
Page 71 of 224
To install the seat:
1. Position the seat in the vehicle.
2. Align front hooks to front strikers, prior to lowering the rear hooks
and aligning them with the rear strikers.
3. Engage the LH/RH latch rod hook ends in the front striker locking
holes.
4. Rotate the LH/RH latch handles forward, and at the same time slide
the seat assembly forward to engage the strikers. Continue forward
movement until the seat reaches the end of its travel.
5. Make sure the safety belt is not twisted, then insert the seat belt
tongue into detachable anchor until you hear a ªclickº and feel the latch
engage (2nd row only).
Always latch the vehicle seat to the floor, whether the seat is
occupied or empty. If not latched, the seat may cause injury
during a sudden stop.
Quick release captains chair
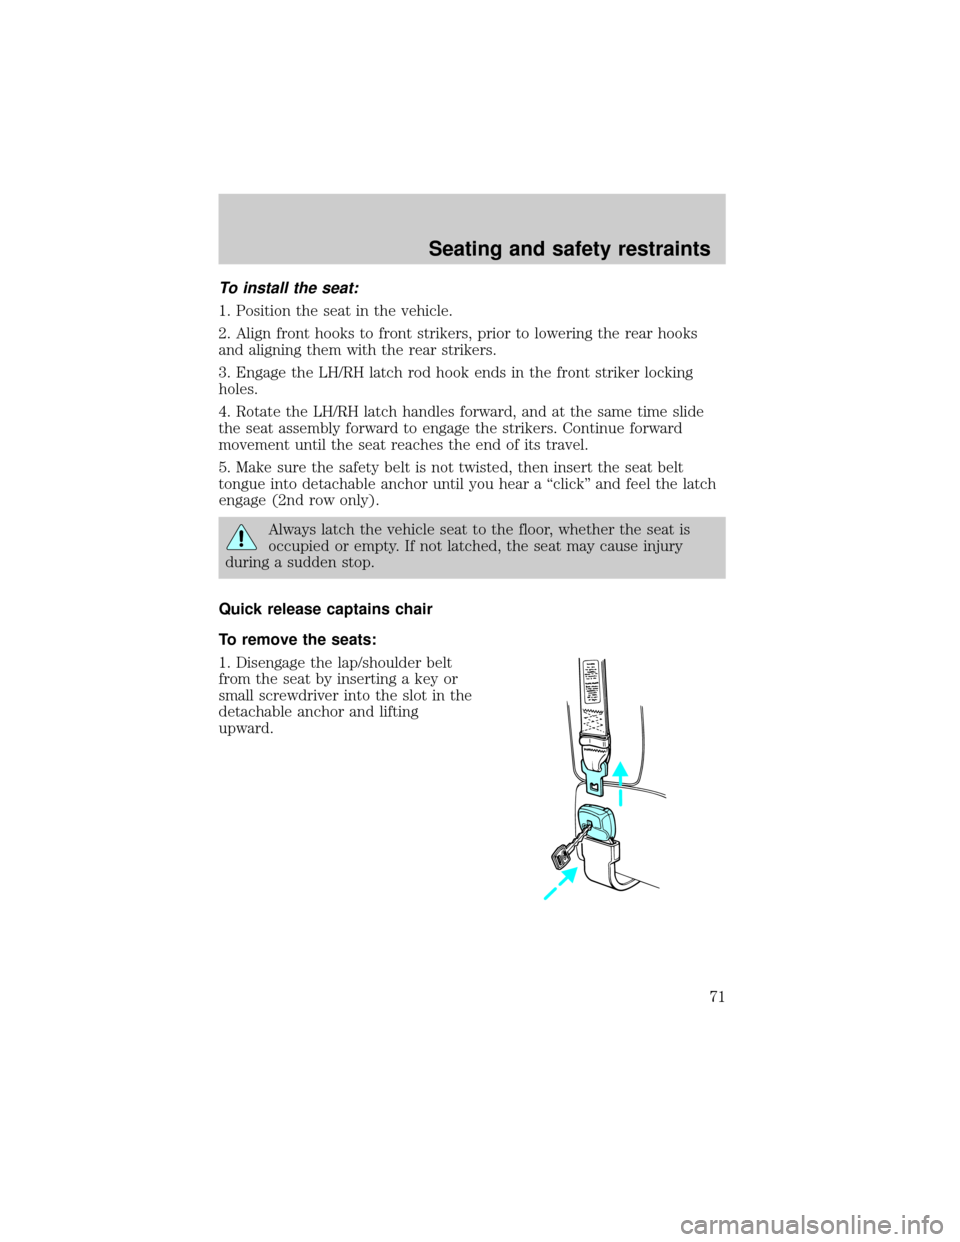
To remove the seats:
1. Disengage the lap/shoulder belt
from the seat by inserting a key or
small screwdriver into the slot in the
detachable anchor and lifting
upward.
Seating and safety restraints
71
Page 72 of 224
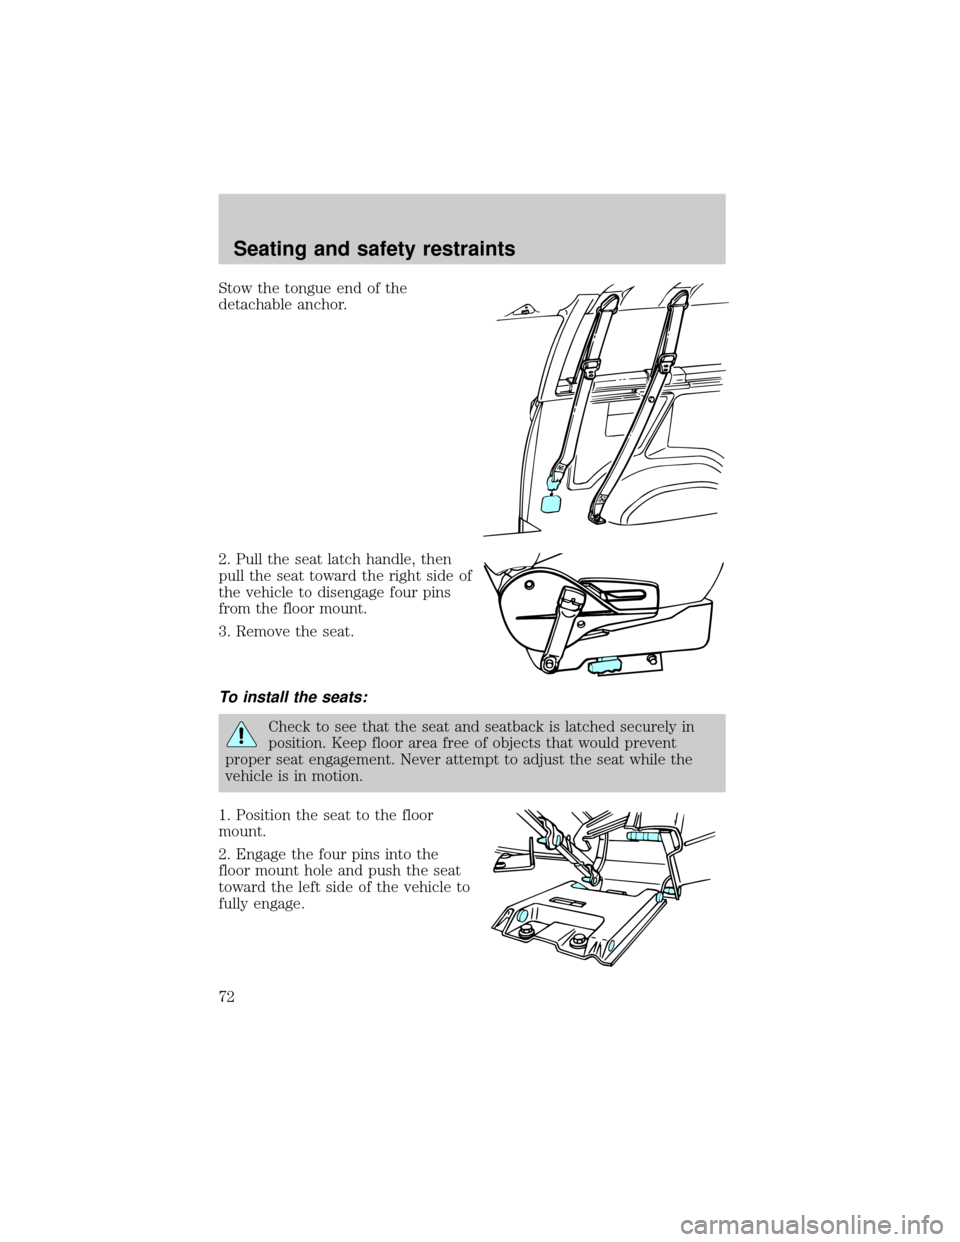
Stow the tongue end of the
detachable anchor.
2. Pull the seat latch handle, then
pull the seat toward the right side of
the vehicle to disengage four pins
from the floor mount.
3. Remove the seat.
To install the seats:
Check to see that the seat and seatback is latched securely in
position. Keep floor area free of objects that would prevent
proper seat engagement. Never attempt to adjust the seat while the
vehicle is in motion.
1. Position the seat to the floor
mount.
2. Engage the four pins into the
floor mount hole and push the seat
toward the left side of the vehicle to
fully engage.
Seating and safety restraints
72
Page 73 of 224
3. Pull the seat latch handle downward to lock the seat in position.
4. Make sure the safety belt is not twisted, then insert the seat belt
tongue into detachable anchor until you hear a ªclickº and feel the latch
engage.
SAFETY RESTRAINTS
Safety restraints precautions
Always drive and ride with your seatback upright and the lap
belt snug and low across the hips.
To reduce the risk of injury, make sure children sit where they
can be properly restrained.
Never let a passenger hold a child on his or her lap while the
vehicle is moving. The passenger cannot protect the child from
injury in a collision.
All occupants of the vehicle, including the driver, should always
properly wear their safety belts, even when an air bag SRS is
provided.
It is extremely dangerous to ride in a cargo area, inside or
outside of a vehicle. In a collision, people riding in these areas
are more likely to be seriously injured or killed. Do not allow people to
ride in any area of your vehicle that is not equipped with seats and
safety belts. Be sure everyone in your vehicle is in a seat and using a
safety belt properly.
In a rollover crash, an unbelted person is significantly more likely
to die than a person wearing a safety belt.
Seating and safety restraints
73
Page 75 of 224
Vehicle sensitive mode
The vehicle sensitive mode is the normal retractor mode, allowing free
shoulder belt length adjustment to your movements and locking in
response to vehicle movement. For example, if the driver brakes
suddenly or turns a corner sharply, or the vehicle receives an impact of
approximately 8 km/h (5 mph) or more, the combination safety belts will
lock to help reduce forward movement of the driver and passengers.
Automatic locking mode
In this mode, the shoulder belt is automatically pre-locked. The belt will
still retract to remove any slack in the shoulder belt.
The automatic locking mode is not available on the driver safety belt.
When to use the automatic locking mode
²Anytimea child safety seat is installed in a passenger front or
outboard rear seating position (if equipped). Children 12 years old and
under should be properly restrained in the rear seat whenever
possible. Refer toSafety Restraints for ChildrenorSafety Seats for
Childrenlater in this chapter.
How to use the automatic locking mode
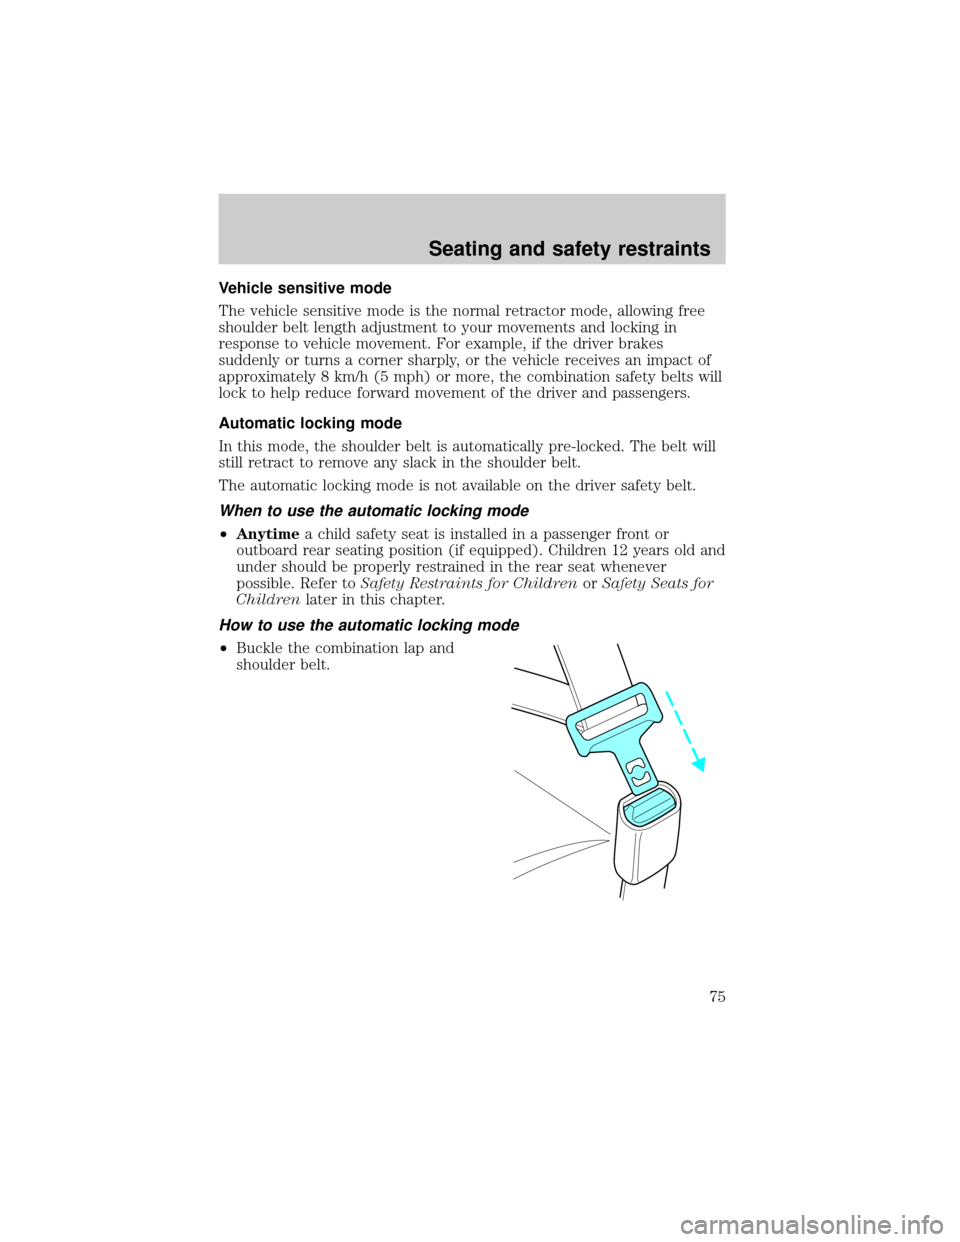
²Buckle the combination lap and
shoulder belt.
Seating and safety restraints
75
Page 76 of 224
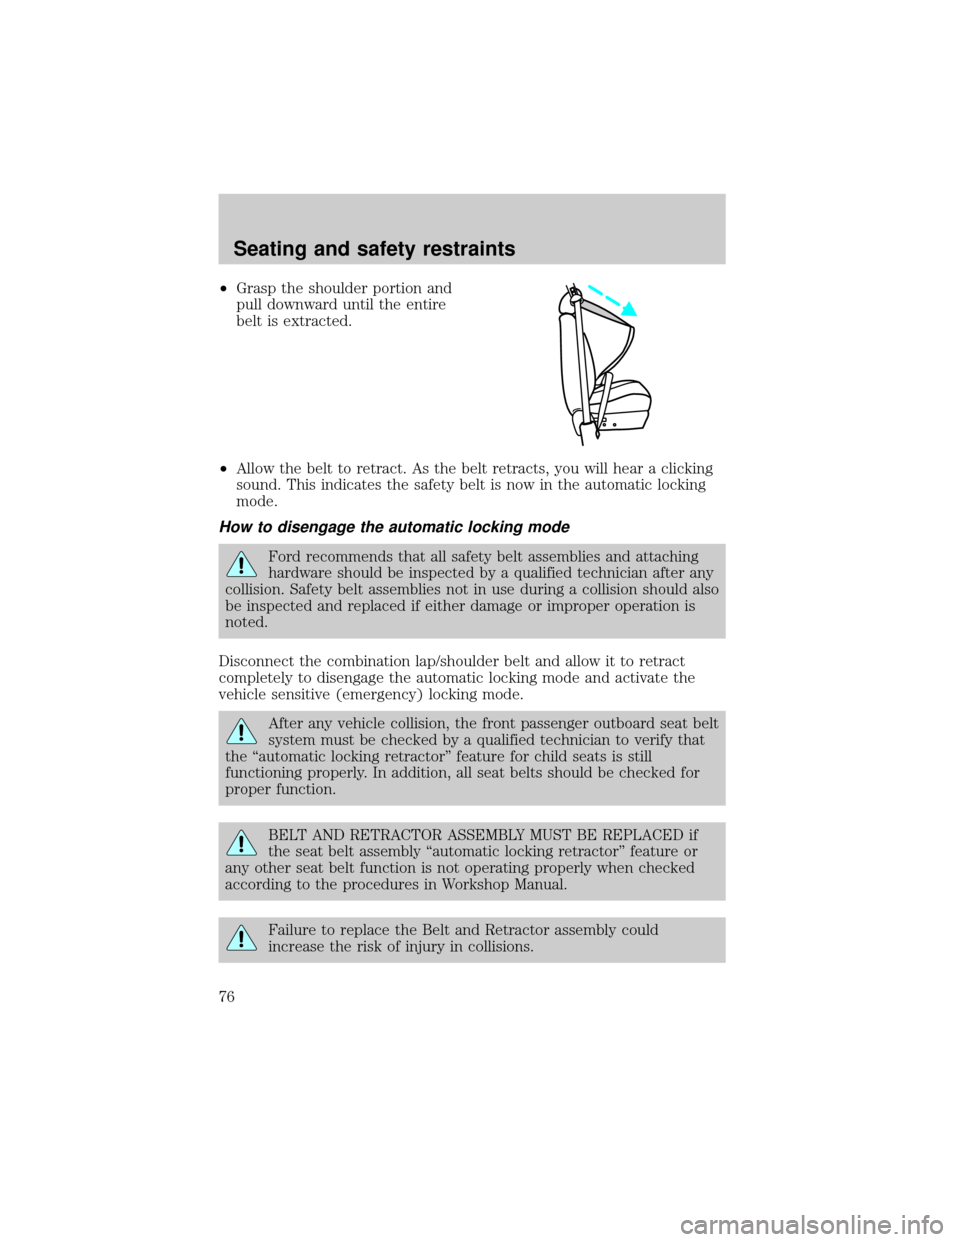
²Grasp the shoulder portion and
pull downward until the entire
belt is extracted.
²Allow the belt to retract. As the belt retracts, you will hear a clicking
sound. This indicates the safety belt is now in the automatic locking
mode.
How to disengage the automatic locking mode
Ford recommends that all safety belt assemblies and attaching
hardware should be inspected by a qualified technician after any
collision. Safety belt assemblies not in use during a collision should also
be inspected and replaced if either damage or improper operation is
noted.
Disconnect the combination lap/shoulder belt and allow it to retract
completely to disengage the automatic locking mode and activate the
vehicle sensitive (emergency) locking mode.
After any vehicle collision, the front passenger outboard seat belt
system must be checked by a qualified technician to verify that
the ªautomatic locking retractorº feature for child seats is still
functioning properly. In addition, all seat belts should be checked for
proper function.
BELT AND RETRACTOR ASSEMBLY MUST BE REPLACED if
the seat belt assembly ªautomatic locking retractorº feature or
any other seat belt function is not operating properly when checked
according to the procedures in Workshop Manual.
Failure to replace the Belt and Retractor assembly could
increase the risk of injury in collisions.
Seating and safety restraints
76