tow FORD E SERIES 2016 4.G User Guide
[x] Cancel search | Manufacturer: FORD, Model Year: 2016, Model line: E SERIES, Model: FORD E SERIES 2016 4.GPages: 319, PDF Size: 6.18 MB
Page 49 of 319
POWER WINDOWS (If Equipped)
WARNINGS
Do not leave children unattended in
your vehicle and do not let them play
with the power windows. They may
seriously injure themselves. When closing the power windows,
you should verify they are free of
obstructions and make sure that
children and pets are not in the proximity
of the window openings. Note:
You may hear a pulsing noise when
just one of the windows is open. Lower the
opposite window slightly to reduce this
noise.
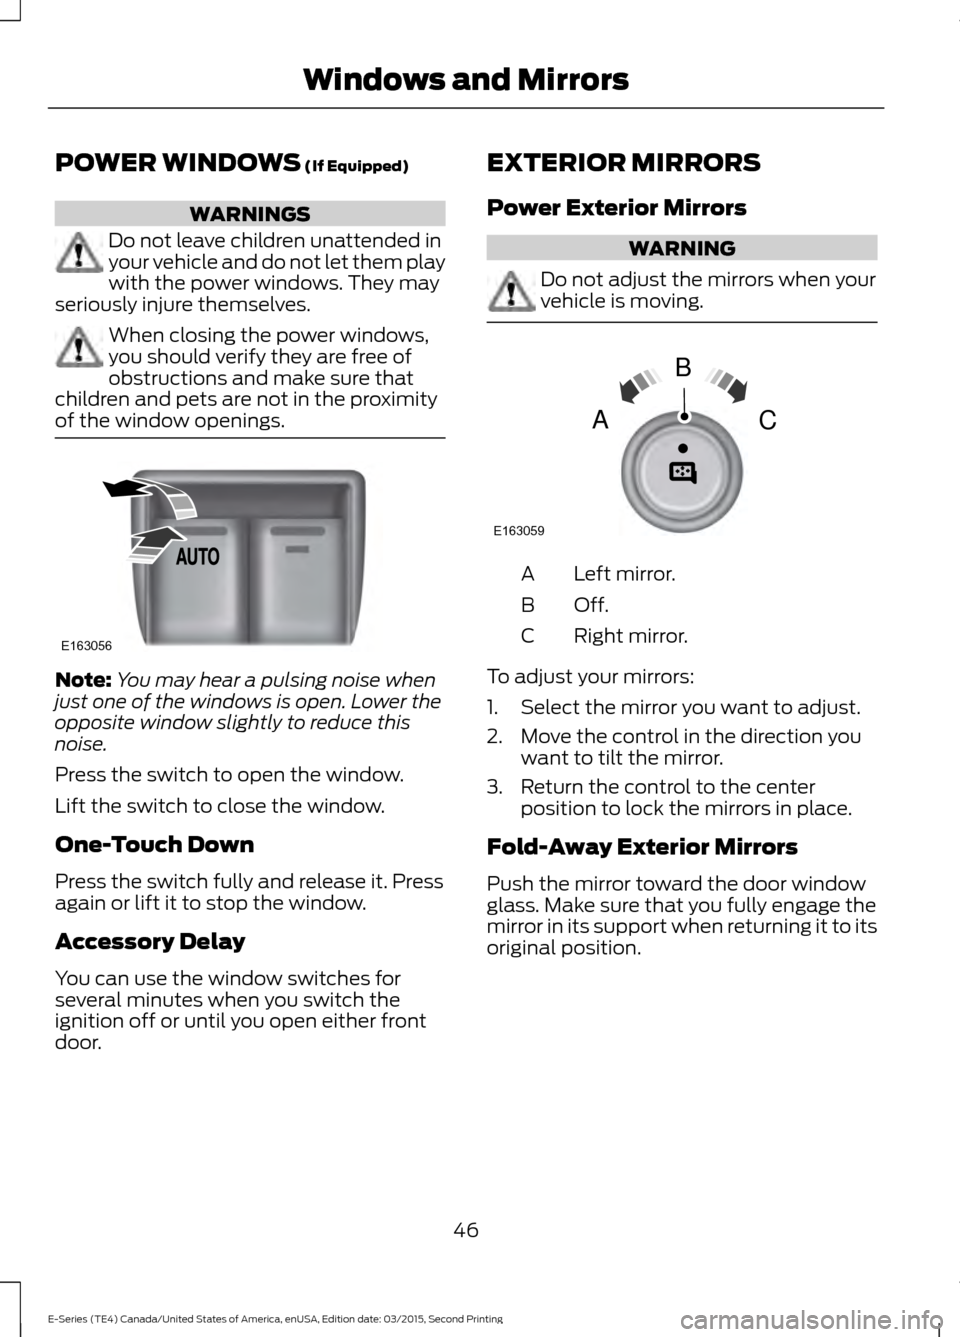
Press the switch to open the window.
Lift the switch to close the window.
One-Touch Down
Press the switch fully and release it. Press
again or lift it to stop the window.
Accessory Delay
You can use the window switches for
several minutes when you switch the
ignition off or until you open either front
door. EXTERIOR MIRRORS
Power Exterior Mirrors WARNING
Do not adjust the mirrors when your
vehicle is moving.
Left mirror.
A
Off.B
Right mirror.
C
To adjust your mirrors:
1. Select the mirror you want to adjust.
2. Move the control in the direction you want to tilt the mirror.
3. Return the control to the center position to lock the mirrors in place.
Fold-Away Exterior Mirrors
Push the mirror toward the door window
glass. Make sure that you fully engage the
mirror in its support when returning it to its
original position.
46
E-Series (TE4) Canada/United States of America, enUSA, Edition date: 03/2015, Second Printing Windows and MirrorsE163056 E163059
B
AC
Page 50 of 319
Telescoping Mirrors (If Equipped)
This feature lets you extend the mirror
about
3 in (75 mm). It is useful when
towing a trailer. You can manually pull out
or push in the mirrors to the desired
position.
Integrated Blind Spot Mirror
(If
Equipped) WARNING
Objects in the blind spot mirror are
closer than they appear.
Blind spot mirrors have an integrated
convex mirror built into the upper outboard
corner of the exterior mirrors. They can
assist you by increasing visibility along the
side of your vehicle. The blind spot mirror
is only on the driver exterior mirror.
Check the main mirror first before a lane
change, then check the blind spot mirror.
If no vehicles are present in the blind spot
mirror and the traffic in the adjacent lane
is at a safe distance, signal that you are
going to change lanes. Glance over your
shoulder to verify traffic is clear, and
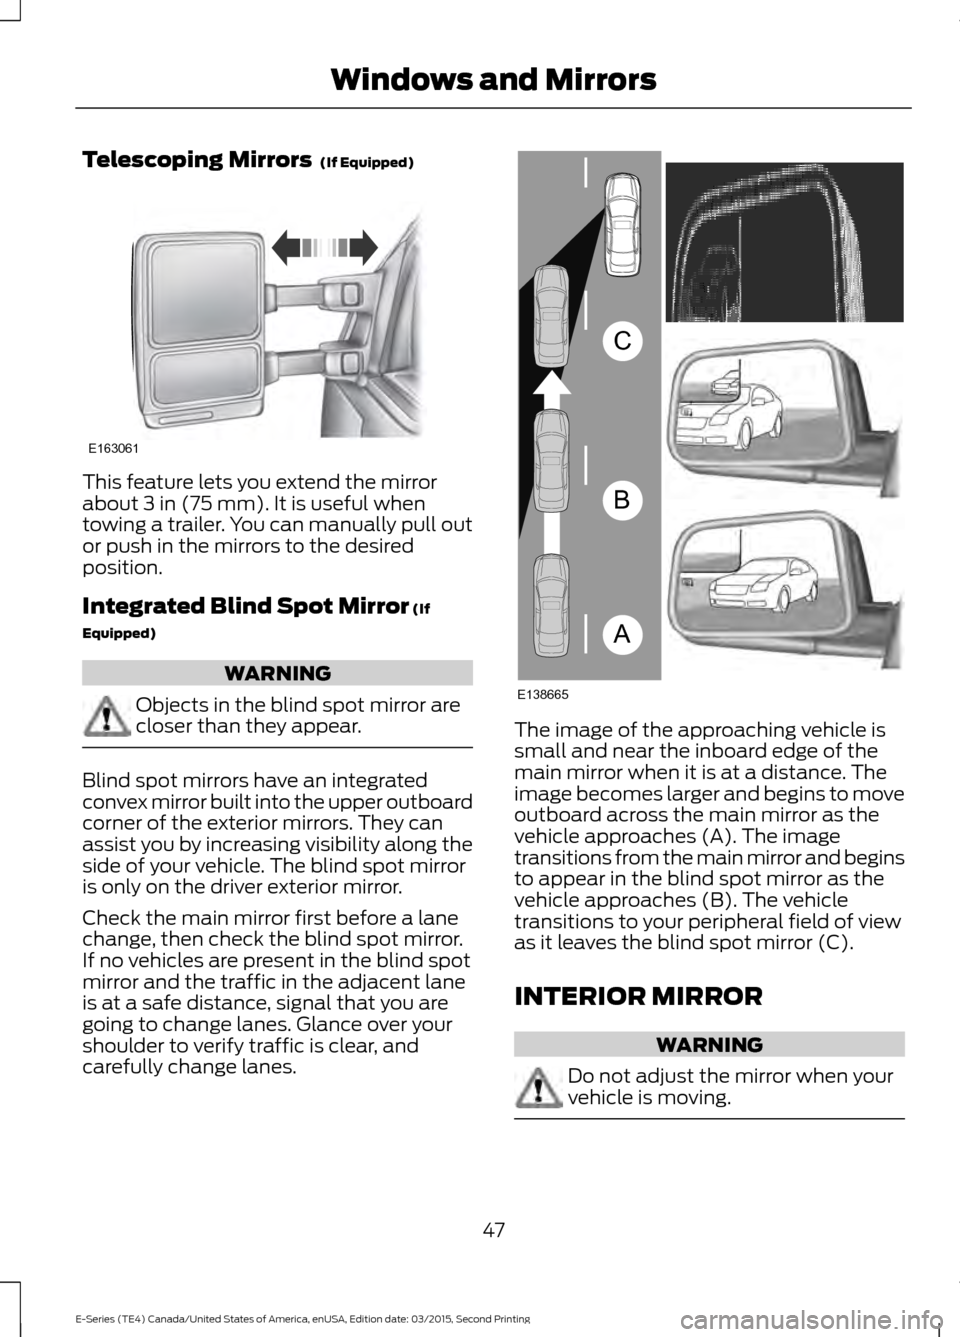
carefully change lanes. The image of the approaching vehicle is
small and near the inboard edge of the
main mirror when it is at a distance. The
image becomes larger and begins to move
outboard across the main mirror as the
vehicle approaches (A). The image
transitions from the main mirror and begins
to appear in the blind spot mirror as the
vehicle approaches (B). The vehicle
transitions to your peripheral field of view
as it leaves the blind spot mirror (C).
INTERIOR MIRROR
WARNING
Do not adjust the mirror when your
vehicle is moving.
47
E-Series (TE4) Canada/United States of America, enUSA, Edition date: 03/2015, Second Printing Windows and MirrorsE163061 A
B
C
E138665
Page 51 of 319
Note:
Do not clean the housing or glass of
any mirror with harsh abrasives, fuel or other
petroleum or ammonia-based cleaning
products.
You can adjust the interior mirror to your
preference. Some mirrors also have a
second pivot point. This lets you move the
mirror head up or down and from side to
side.
Pull the tab below the mirror toward you
to reduce glare at night.
Auto-Dimming Mirror (If Equipped)
Note: Do not block the sensors on the front
and back of the mirror. Mirror performance
may be affected. A rear center passenger or
raised rear center head restraint may also
block light from reaching the sensor.
The mirror will dim automatically to reduce
glare when bright lights are detected from
behind your vehicle. It will automatically
return to normal reflection when you select
reverse gear to make sure you have a clear
view when backing up.
SUN VISORS
Illuminated Vanity Mirror
(If Equipped) Lift the cover to switch the lamp on.
48
E-Series (TE4) Canada/United States of America, enUSA, Edition date: 03/2015, Second Printing Windows and MirrorsE162197
Page 53 of 319
The needle should move toward F when
you refuel your vehicle. If the needle points
to E after adding fuel, have an authorized
dealer check the system soon.
After refueling, some variability in the
position of the needle is normal:
•
It may take a short time for the needle
to reach F after leaving the gas station.
This is normal and depends upon the
slope of the pavement at the gas
station.
• The fuel amount dispensed into the
tank is a little less or more than the
gauge indicated. This is normal and
depends upon the slope of the
pavement at the gas station. •
If the gas station nozzle shuts off
before the tank is full, try a different
gas pump nozzle.
• There is a small reserve left in the tank
when the fuel gauge reaches empty.
Low Fuel Reminder
A low fuel reminder triggers when the fuel
gauge needle is at one-sixteenth or about
50 miles (80 km) to empty, whichever
occurs first.
Variations:
Note: The low fuel warning and distance-to-empty warning can appear at different fuel
gauge positions depending on fuel economy conditions. This variation is normal. Distance-to-empty
Fuel gauge position
Driving type (fuel economy
conditions)
30 miles to 80 miles (48 kmto 129 km)
1/16th
Highway driving
10 miles to 35 miles (16 kmto 56 km)
1/16th-1/4
Severe duty driving (trailer
towing, extended idle)
Engine Coolant Temperature
Gauge
Indicates engine coolant temperature. At
normal operating temperature, the level
indicator will be in the normal range. If the
engine coolant temperature exceeds the
normal range, stop the vehicle as soon as
safely possible, switch off the engine and
let the engine cool. WARNING
Never remove the coolant reservoir
cap while the engine is running or hot. Battery Voltage Gauge
Indicates the battery voltage when the
ignition is in the on position. If the pointer
moves and stays outside the normal
operating range, have an authorized dealer
check the vehicle
’s electrical system as
soon as possible.
Information Display
Odometer
Located in the bottom of the information
display, the gauge registers the distance
your vehicle travels.
50
E-Series (TE4) Canada/United States of America, enUSA, Edition date: 03/2015, Second Printing Instrument Cluster
Page 56 of 319
If the light is blinking, engine misfire is
occurring which could damage your
catalytic converter. Drive in a moderate
fashion (avoid heavy acceleration and
deceleration) and have an authorized
dealer check your vehicle immediately.
WARNING
Under engine misfire conditions,
excessive exhaust temperatures
could damage the catalytic
converter, the fuel system, interior floor
coverings or other vehicle components,
possibly causing a fire. Have your vehicle
serviced immediately. The service engine soon indicator light
illuminates when you first switch on the
ignition prior to engine start to check the
bulb and to indicate whether the vehicle
is ready for Inspection/Maintenance (I/M)
testing.
Normally, the service engine soon light will
stay on until you switch the engine on, and
then turn off if no malfunctions are
present. However, if after 15 seconds the
service engine soon light blinks eight times,
it means that the vehicle is not ready for
I/M testing. See Emission Control
System (page 80).
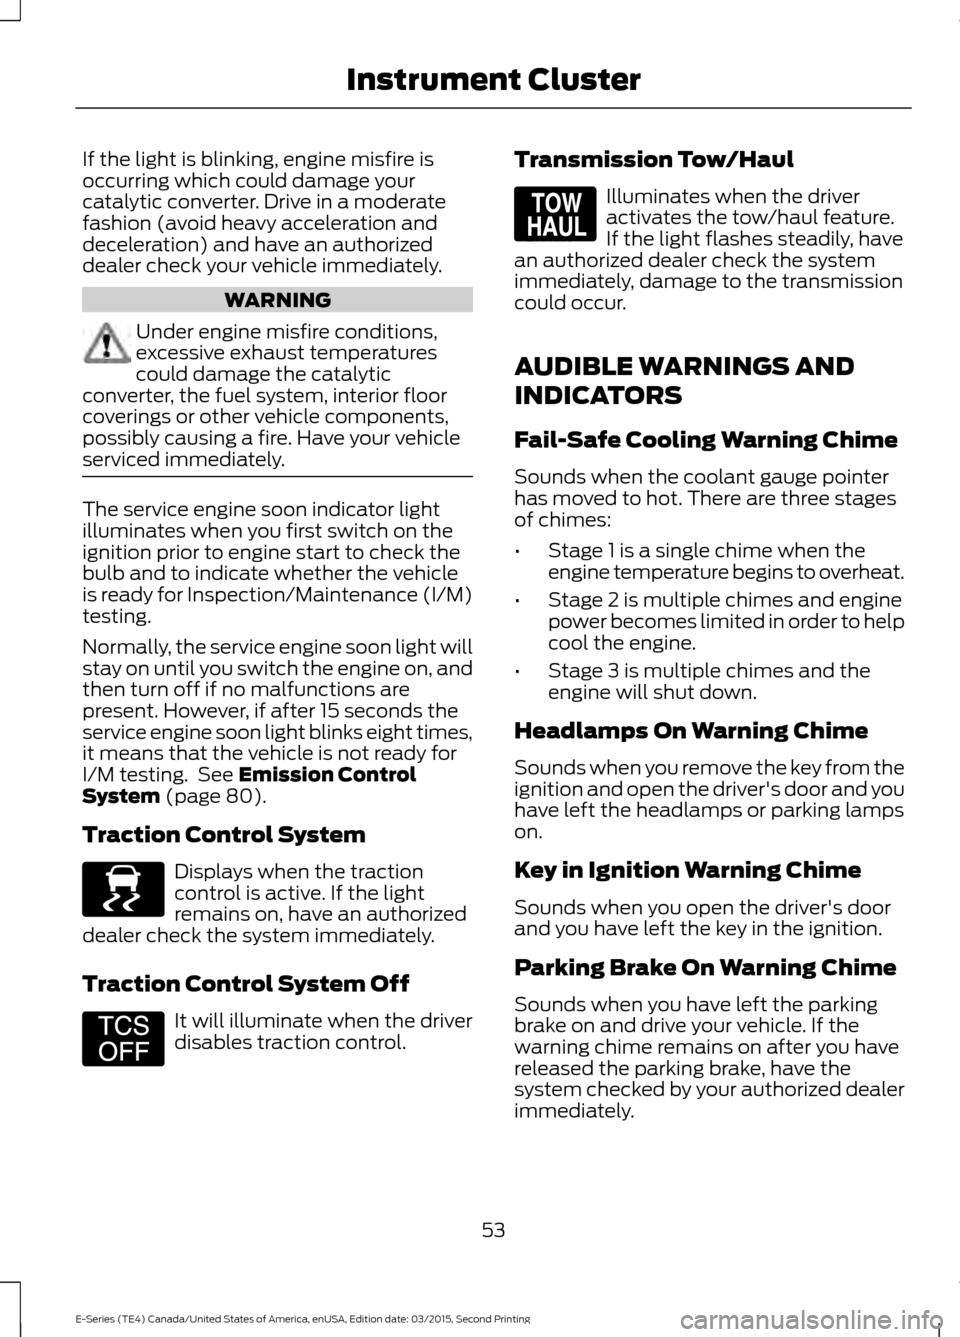
Traction Control System Displays when the traction
control is active. If the light
remains on, have an authorized
dealer check the system immediately.
Traction Control System Off It will illuminate when the driver
disables traction control. Transmission Tow/Haul Illuminates when the driver
activates the tow/haul feature.
If the light flashes steadily, have
an authorized dealer check the system
immediately, damage to the transmission
could occur.
AUDIBLE WARNINGS AND
INDICATORS
Fail-Safe Cooling Warning Chime
Sounds when the coolant gauge pointer
has moved to hot. There are three stages
of chimes:
• Stage 1 is a single chime when the
engine temperature begins to overheat.
• Stage 2 is multiple chimes and engine
power becomes limited in order to help
cool the engine.
• Stage 3 is multiple chimes and the
engine will shut down.
Headlamps On Warning Chime
Sounds when you remove the key from the
ignition and open the driver's door and you
have left the headlamps or parking lamps
on.
Key in Ignition Warning Chime
Sounds when you open the driver's door
and you have left the key in the ignition.
Parking Brake On Warning Chime
Sounds when you have left the parking
brake on and drive your vehicle. If the
warning chime remains on after you have
released the parking brake, have the
system checked by your authorized dealer
immediately.
53
E-Series (TE4) Canada/United States of America, enUSA, Edition date: 03/2015, Second Printing Instrument ClusterE138639 E194301 E161509
Page 65 of 319
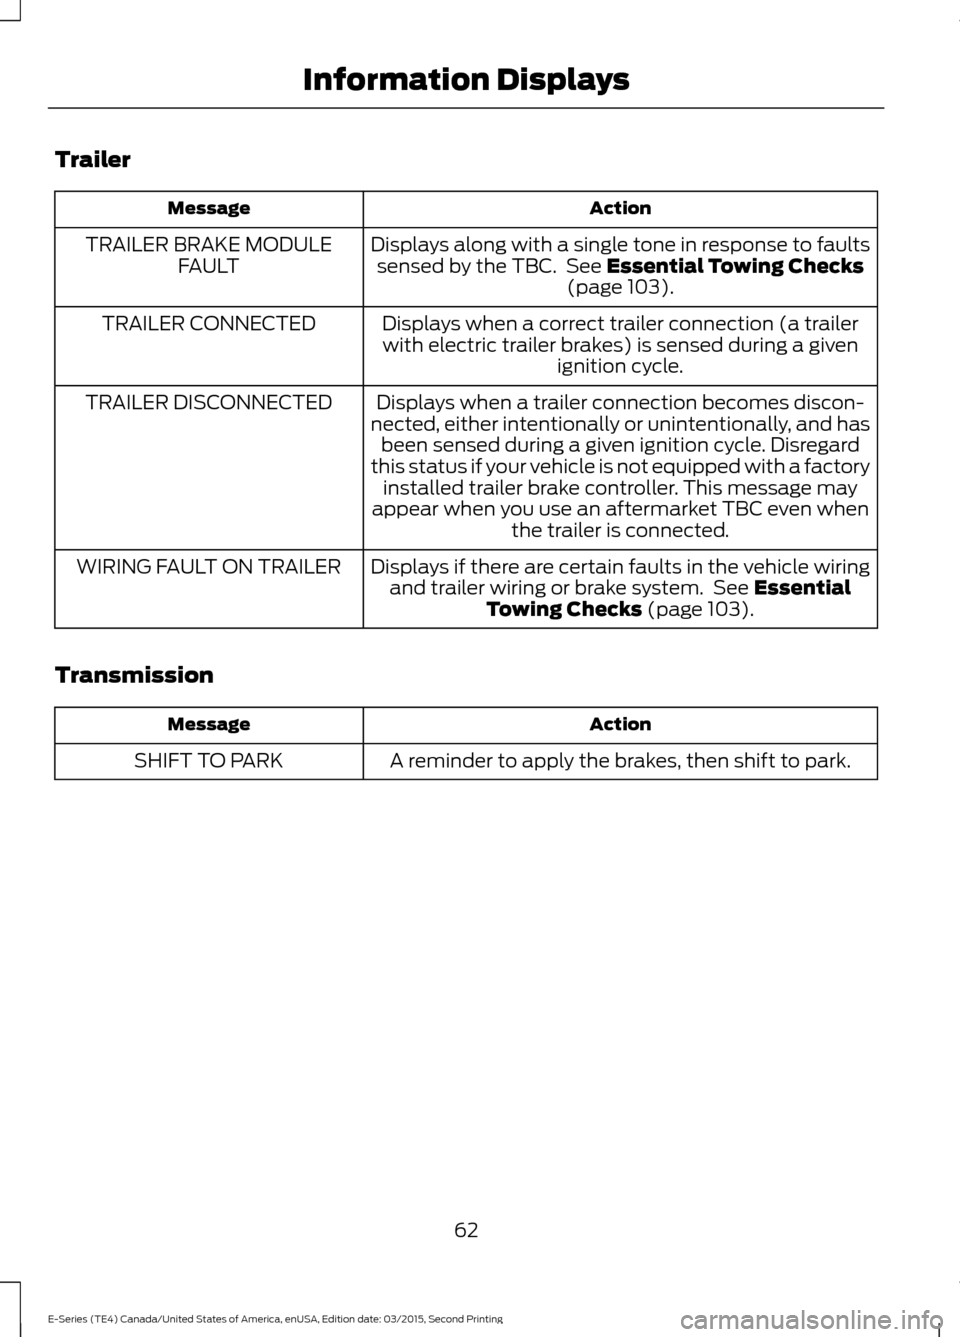
Trailer
Action
Message
Displays along with a single tone in response to faultssensed by the TBC. See Essential Towing Checks
(page 103).
TRAILER BRAKE MODULE
FAULT
Displays when a correct trailer connection (a trailerwith electric trailer brakes) is sensed during a given ignition cycle.
TRAILER CONNECTED
Displays when a trailer connection becomes discon-
nected, either intentionally or unintentionally, and has been sensed during a given ignition cycle. Disregard
this status if your vehicle is not equipped with a factory installed trailer brake controller. This message may
appear when you use an aftermarket TBC even when the trailer is connected.
TRAILER DISCONNECTED
Displays if there are certain faults in the vehicle wiringand trailer wiring or brake system. See
Essential
Towing Checks (page 103).
WIRING FAULT ON TRAILER
Transmission Action
Message
A reminder to apply the brakes, then shift to park.
SHIFT TO PARK
62
E-Series (TE4) Canada/United States of America, enUSA, Edition date: 03/2015, Second Printing Information Displays
Page 69 of 319
Side Window Defogging in Cold
Weather
•
Adjust the air distribution control to the
instrument panel and windshield air
vents positions.
• Select the A/C function.
• Adjust the temperature control to the
desired setting.
• Adjust the fan speed to the highest
setting. •
Direct the instrument panel side air
vents toward the side windows.
• Close the instrument panel vents.
Maximum Cooling Performance in
Instrument Panel or Instrument
Panel and Footwell Positions
• Adjust the temperature control to the
lowest setting.
• Adjust the fan speed to the highest
setting initially and then adjust it to suit
the desired comfort level.
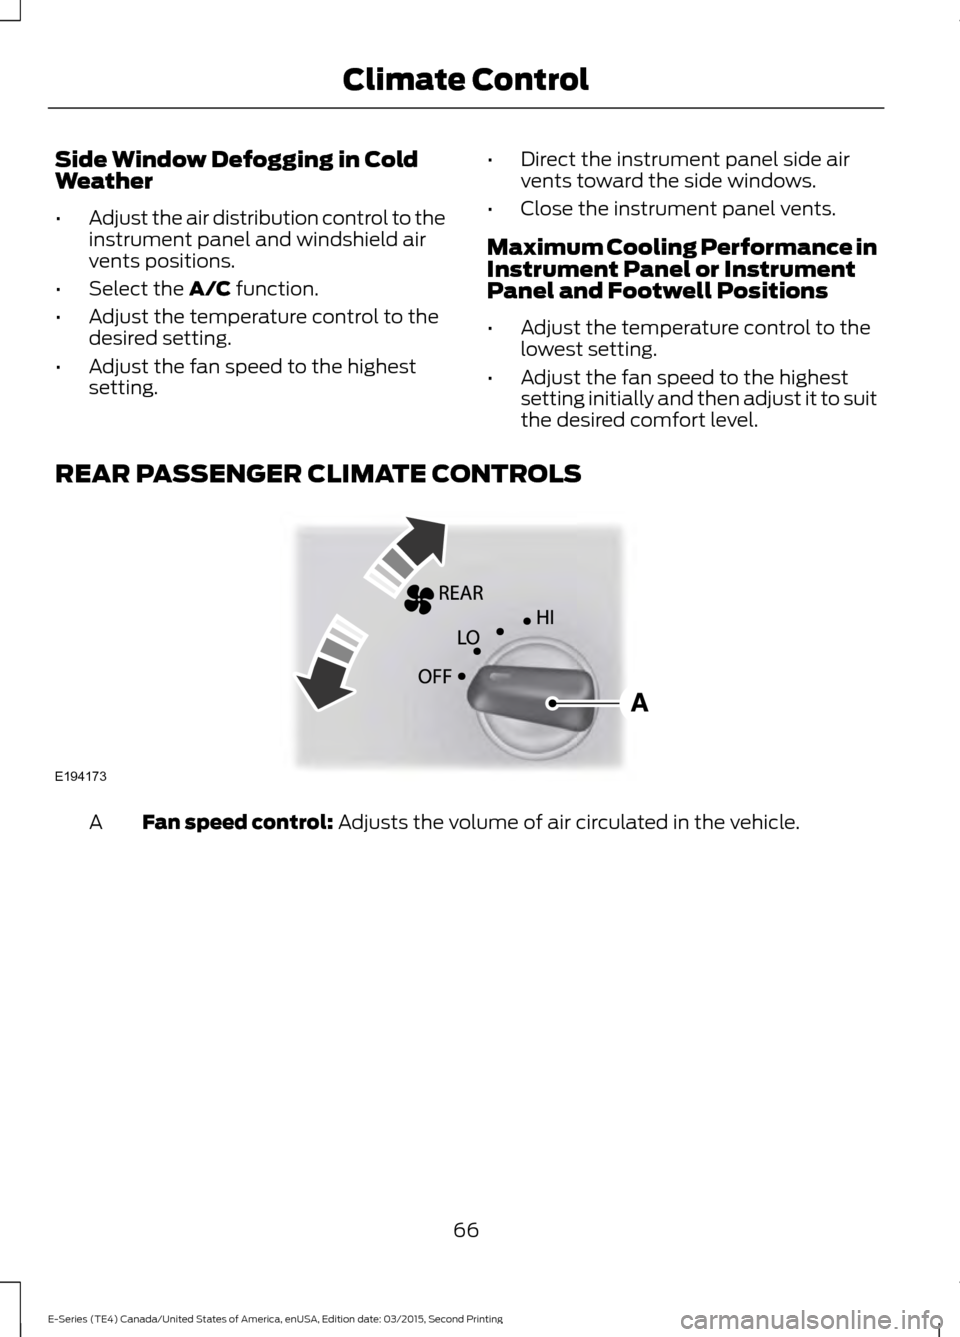
REAR PASSENGER CLIMATE CONTROLS Fan speed control:
Adjusts the volume of air circulated in the vehicle.
A
66
E-Series (TE4) Canada/United States of America, enUSA, Edition date: 03/2015, Second Printing Climate ControlE194173
Page 77 of 319
ENGINE BLOCK HEATER (If
Equipped) WARNINGS
Failure to follow engine block heater
instructions could result in property
damage or serious personal injury.
Do not use your heater with
ungrounded electrical systems or
two-pronged adapters. There is a risk
of electrical shock. Do not fully close the hood, or allow
it to drop under its own weight when
using the engine block heater. This
could damage the power cable and may
cause an electrical short resulting in fire,
injury and property damage. Note:
The heater is most effective when
outdoor temperatures are below 0°F
(-18°C).
The heater acts as a starting aid by
warming the engine coolant. This allows
the climate control system to respond
quickly. The equipment includes a heater
element (installed in the engine block) and
a wire harness. You can connect the
system to a grounded 120-volt AC
electrical source.
We recommend that you do the following
for a safe and correct operation:
• Use a 16-gauge outdoor extension cord
that is product certified by
Underwriter ’s Laboratory (UL) or
Canadian Standards Association
(CSA). This extension cord must be
suitable for use outdoors, in cold temperatures, and be clearly marked
Suitable for Use with Outdoor
Appliances. Do not use an indoor
extension cord outdoors. This could
result in an electric shock or become a
fire hazard.
• Use as short an extension cord as
possible.
• Do not use multiple extension cords.
• Make sure that when in operation, the
extension cord plug and heater cord
plug connections are free and clear of
water. This could cause an electric
shock or fire.
• Make sure your vehicle is parked in a
clean area, clear of combustibles.
• Make sure the heater, heater cord and
extension cord are firmly connected.
• Check for heat anywhere in the
electrical hookup once the system has
been operating for approximately 30
minutes.
• Make sure the system is unplugged and
properly stowed before starting and
driving your vehicle. Make sure the
protective cover seals the prongs of the
block heater cord plug when not in use.
• Make sure the heater system is
checked for proper operation before
winter.
Using the Engine Block Heater
Make sure the receptacle terminals are
clean and dry prior to use. Clean them with
a dry cloth if necessary.
The heater uses 0.4 to 1.0 kilowatt-hours
of energy per hour of use. The system does
not have a thermostat. It achieves
maximum temperature after
approximately three hours of operation.
Using the heater longer than three hours
does not improve system performance and
unnecessarily uses electricity.
74
E-Series (TE4) Canada/United States of America, enUSA, Edition date: 03/2015, Second Printing Starting and Stopping the Engine
Page 79 of 319
FUEL QUALITY
Choosing the Right Fuel
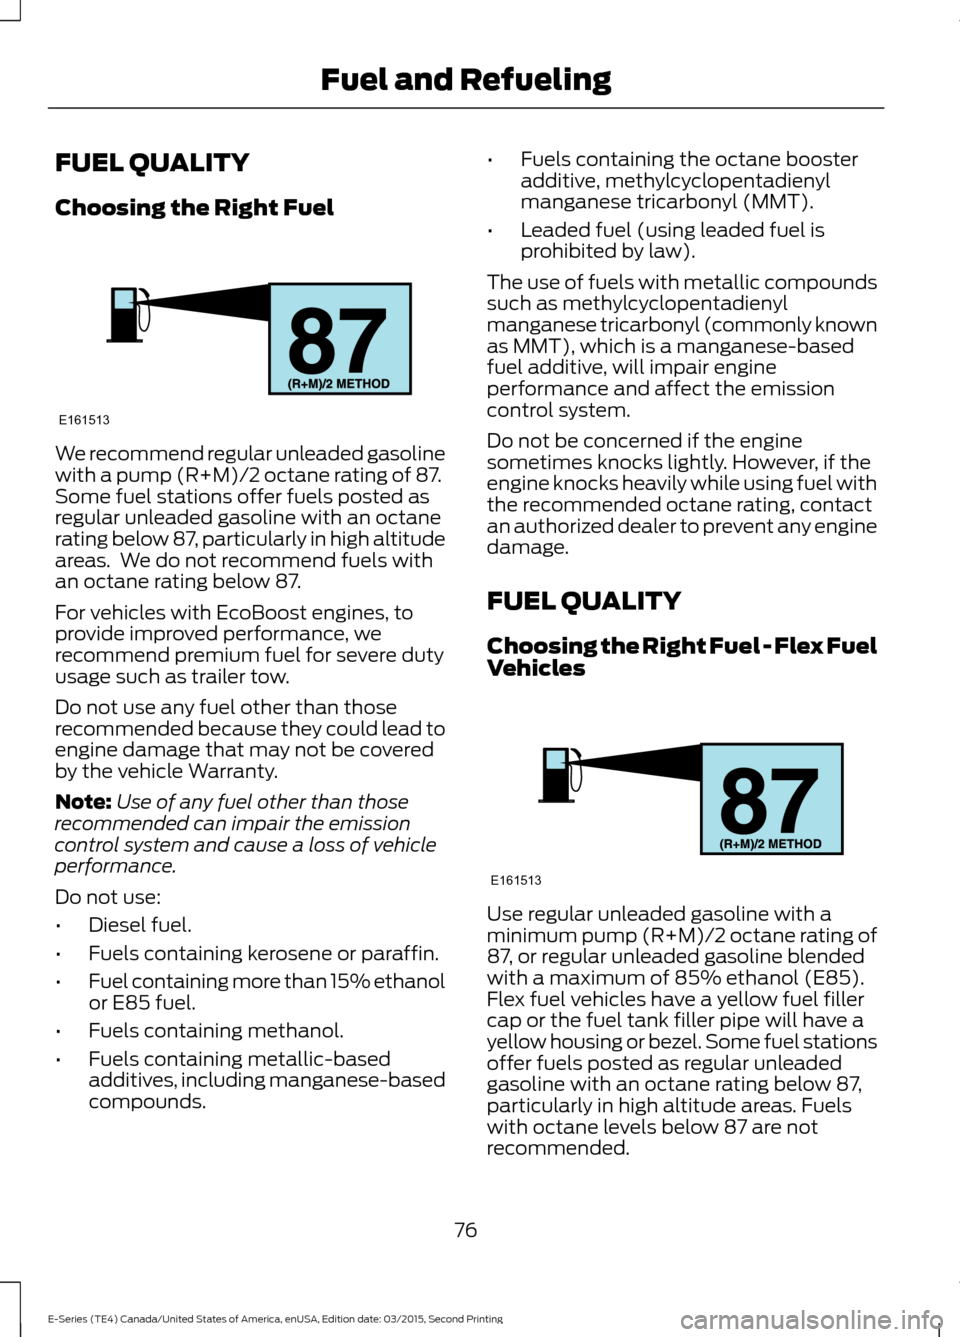
We recommend regular unleaded gasoline
with a pump (R+M)/2 octane rating of 87.
Some fuel stations offer fuels posted as
regular unleaded gasoline with an octane
rating below 87, particularly in high altitude
areas. We do not recommend fuels with
an octane rating below 87.
For vehicles with EcoBoost engines, to
provide improved performance, we
recommend premium fuel for severe duty
usage such as trailer tow.
Do not use any fuel other than those
recommended because they could lead to
engine damage that may not be covered
by the vehicle Warranty.
Note:
Use of any fuel other than those
recommended can impair the emission
control system and cause a loss of vehicle
performance.
Do not use:
• Diesel fuel.
• Fuels containing kerosene or paraffin.
• Fuel containing more than 15% ethanol
or E85 fuel.
• Fuels containing methanol.
• Fuels containing metallic-based
additives, including manganese-based
compounds. •
Fuels containing the octane booster
additive, methylcyclopentadienyl
manganese tricarbonyl (MMT).
• Leaded fuel (using leaded fuel is
prohibited by law).
The use of fuels with metallic compounds
such as methylcyclopentadienyl
manganese tricarbonyl (commonly known
as MMT), which is a manganese-based
fuel additive, will impair engine
performance and affect the emission
control system.
Do not be concerned if the engine
sometimes knocks lightly. However, if the
engine knocks heavily while using fuel with
the recommended octane rating, contact
an authorized dealer to prevent any engine
damage.
FUEL QUALITY
Choosing the Right Fuel - Flex Fuel
Vehicles Use regular unleaded gasoline with a
minimum pump (R+M)/2 octane rating of
87, or regular unleaded gasoline blended
with a maximum of 85% ethanol (E85).
Flex fuel vehicles have a yellow fuel filler
cap or the fuel tank filler pipe will have a
yellow housing or bezel. Some fuel stations
offer fuels posted as regular unleaded
gasoline with an octane rating below 87,
particularly in high altitude areas. Fuels
with octane levels below 87 are not
recommended.
76
E-Series (TE4) Canada/United States of America, enUSA, Edition date: 03/2015, Second Printing Fuel and RefuelingE161513 E161513
Page 86 of 319
AUTOMATIC TRANSMISSION
WARNING
Always set the parking brake fully
and make sure the transmission is
latched in park (P). Turn the ignition
off and remove the key whenever you leave
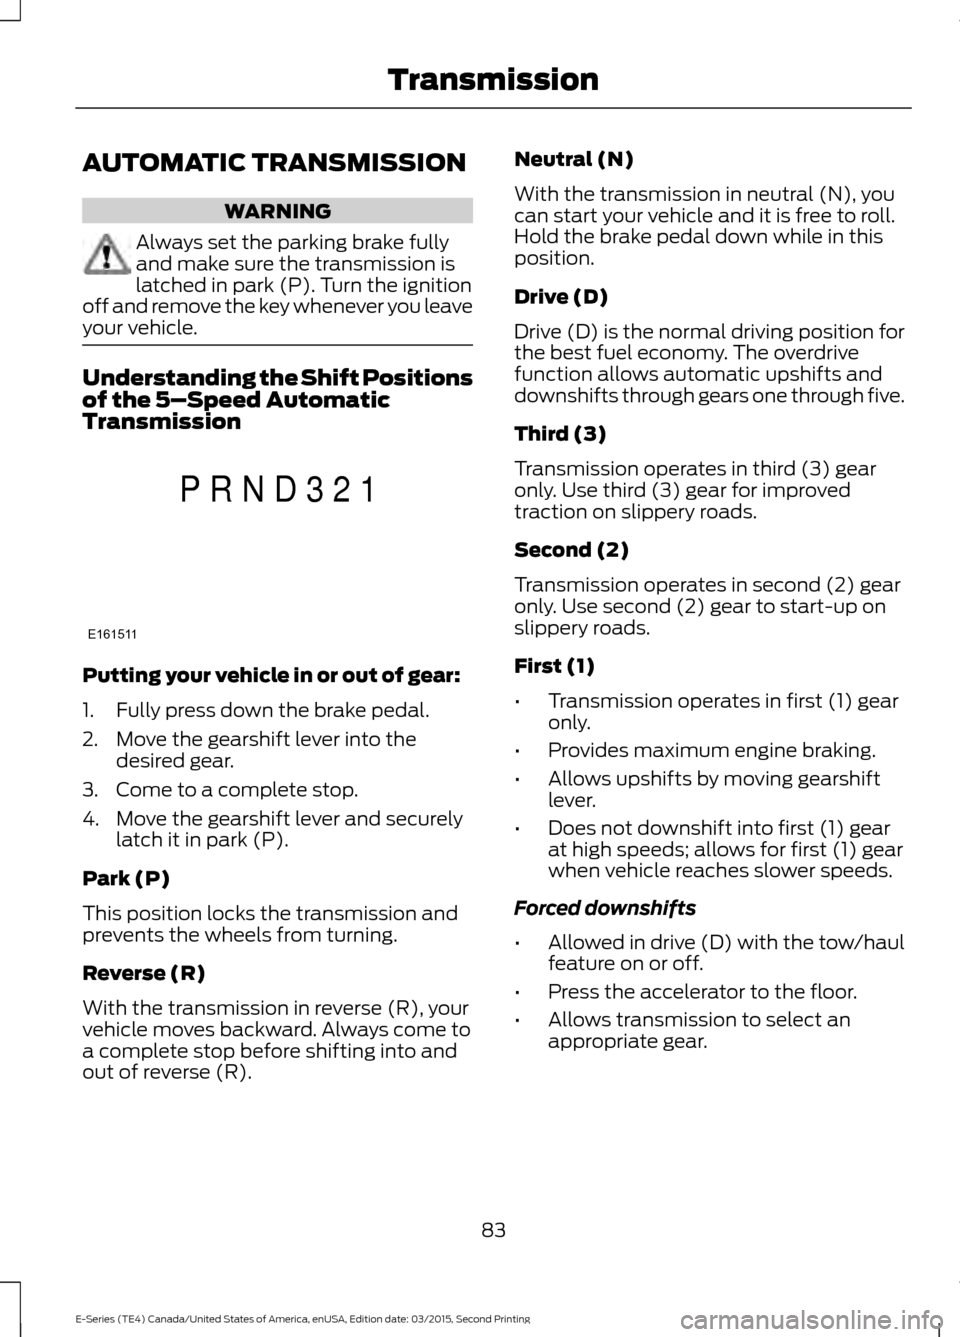
your vehicle. Understanding the Shift Positions
of the 5–
Speed Automatic
Transmission Putting your vehicle in or out of gear:
1. Fully press down the brake pedal.
2. Move the gearshift lever into the
desired gear.
3. Come to a complete stop.
4. Move the gearshift lever and securely latch it in park (P).
Park (P)
This position locks the transmission and
prevents the wheels from turning.
Reverse (R)
With the transmission in reverse (R), your
vehicle moves backward. Always come to
a complete stop before shifting into and
out of reverse (R). Neutral (N)
With the transmission in neutral (N), you
can start your vehicle and it is free to roll.
Hold the brake pedal down while in this
position.
Drive (D)
Drive (D) is the normal driving position for
the best fuel economy. The overdrive
function allows automatic upshifts and
downshifts through gears one through five.
Third (3)
Transmission operates in third (3) gear
only. Use third (3) gear for improved
traction on slippery roads.
Second (2)
Transmission operates in second (2) gear
only. Use second (2) gear to start-up on
slippery roads.
First (1)
•
Transmission operates in first (1) gear
only.
• Provides maximum engine braking.
• Allows upshifts by moving gearshift
lever.
• Does not downshift into first (1) gear
at high speeds; allows for first (1) gear
when vehicle reaches slower speeds.
Forced downshifts
• Allowed in drive (D) with the tow/haul
feature on or off.
• Press the accelerator to the floor.
• Allows transmission to select an
appropriate gear.
83
E-Series (TE4) Canada/United States of America, enUSA, Edition date: 03/2015, Second Printing TransmissionE161511
P R N D 3 2 1