trailer FORD E SERIES 2017 4.G Owners Manual
[x] Cancel search | Manufacturer: FORD, Model Year: 2017, Model line: E SERIES, Model: FORD E SERIES 2017 4.GPages: 318, PDF Size: 6.21 MB
Page 5 of 318
Information Displays
General Information......................................55
Information Messages
.................................60
Climate Control
Manual Climate Control..............................63
Hints on Controlling the Interior Climate..........................................................65
Rear Passenger Climate Controls
............66
Seats
Sitting in the Correct Position....................67
Head Restraints
..............................................67
Manual Seats
..................................................68
Power Seats
.....................................................69
Auxiliary Power Points
Auxiliary Power Points..................................70
Starting and Stopping the Engine
General Information
......................................72
Ignition Switch
.................................................72
Starting a Gasoline Engine..........................72
Engine Block Heater......................................74
Fuel and Refueling
Safety Precautions
.........................................75
Fuel Quality - Gasoline.................................76
Fuel Quality - E85..........................................76
Running Out of Fuel.......................................77
Refueling............................................................78
Fuel Consumption
.........................................79
Emission Control System...........................80
Transmission
Automatic Transmission
.............................83 Brakes
General Information
.....................................88
Hints on Driving With Anti-Lock Brakes............................................................88
Parking Brake
..................................................89
Traction Control
Principle of Operation..................................90
Using Traction Control.................................90
Parking Aids
Rear View Camera..........................................91
Cruise Control
Principle of Operation..................................93
Using Cruise Control.....................................93
Driving Aids
Steering.............................................................94
Load Carrying
Load Limit
.........................................................95
Towing
Towing a Trailer.............................................100
Trailer Sway Control.....................................101
Recommended Towing Weights.............101
Essential Towing Checks...........................102
Towing the Vehicle on Four Wheels......109
Driving Hints
Breaking-In......................................................110
Reduced Engine Performance.................110
Economical Driving.......................................110
Driving Through Water..................................111
Floor Mats
..........................................................111
Roadside Emergencies
Roadside Assistance
....................................113
2
E-Series (TE4) Canada/United States of America, enUSA, First Printing Table of Contents
Page 51 of 318
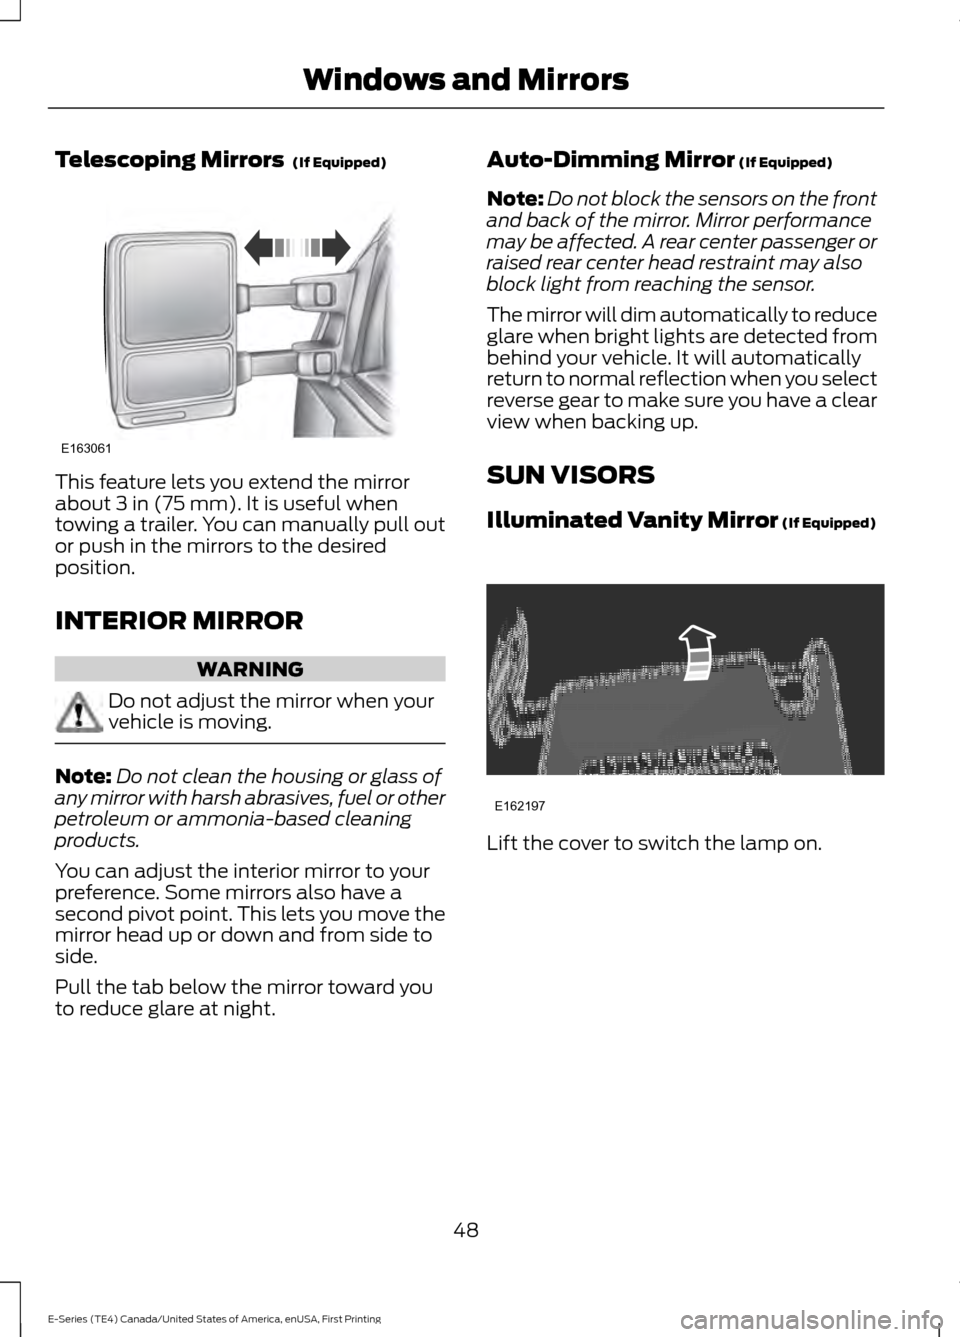
Telescoping Mirrors (If Equipped)
This feature lets you extend the mirror
about
3 in (75 mm). It is useful when
towing a trailer. You can manually pull out
or push in the mirrors to the desired
position.
INTERIOR MIRROR WARNING
Do not adjust the mirror when your
vehicle is moving.
Note:
Do not clean the housing or glass of
any mirror with harsh abrasives, fuel or other
petroleum or ammonia-based cleaning
products.
You can adjust the interior mirror to your
preference. Some mirrors also have a
second pivot point. This lets you move the
mirror head up or down and from side to
side.
Pull the tab below the mirror toward you
to reduce glare at night. Auto-Dimming Mirror
(If Equipped)
Note: Do not block the sensors on the front
and back of the mirror. Mirror performance
may be affected. A rear center passenger or
raised rear center head restraint may also
block light from reaching the sensor.
The mirror will dim automatically to reduce
glare when bright lights are detected from
behind your vehicle. It will automatically
return to normal reflection when you select
reverse gear to make sure you have a clear
view when backing up.
SUN VISORS
Illuminated Vanity Mirror
(If Equipped) Lift the cover to switch the lamp on.
48
E-Series (TE4) Canada/United States of America, enUSA, First Printing Windows and MirrorsE163061 E162197
Page 53 of 318
The needle should move toward F when
you refuel your vehicle. If the needle points
to E after adding fuel, have an authorized
dealer check the system soon.
After refueling, some variability in the
position of the needle is normal:
•
It may take a short time for the needle
to reach F after leaving the gas station.
This is normal and depends upon the
slope of the pavement at the gas
station.
• The fuel amount dispensed into the
tank is a little less or more than the
gauge indicated. This is normal and
depends upon the slope of the
pavement at the gas station. •
If the gas station nozzle shuts off
before the tank is full, try a different
gas pump nozzle.
• There is a small reserve left in the tank
when the fuel gauge reaches empty.
Low Fuel Reminder
A low fuel reminder triggers when the fuel
gauge needle is at one-sixteenth or about
50 miles (80 km) to empty, whichever
occurs first.
Variations:
Note: The low fuel warning and distance-to-empty warning can appear at different fuel
gauge positions depending on fuel economy conditions. This variation is normal. Distance-to-empty
Fuel gauge position
Driving type (fuel economy
conditions)
30 miles to 80 miles (48 kmto 129 km)
1/16th
Highway driving
10 miles to 35 miles (16 kmto 56 km)
1/16th-1/4
Severe duty driving (trailer
towing, extended idle)
Engine Coolant Temperature
Gauge
Indicates engine coolant temperature. At
normal operating temperature, the level
indicator will be in the normal range. If the
engine coolant temperature exceeds the
normal range, stop the vehicle as soon as
safely possible, switch off the engine and
let the engine cool. WARNING
Never remove the coolant reservoir
cap while the engine is running or hot. Battery Voltage Gauge
Indicates the battery voltage when the
ignition is in the on position. If the pointer
moves and stays outside the normal
operating range, have an authorized dealer
check the vehicle
’s electrical system as
soon as possible.
Information Display
Odometer
Located in the bottom of the information
display, the gauge registers the distance
your vehicle travels.
50
E-Series (TE4) Canada/United States of America, enUSA, First Printing Instrument Cluster
Page 61 of 318
SYSTEM CHECK
TBC GAIN = XX.X or NO
TRAILER (if equipped)
TBC GAIN = XX.X or
OUTPUT = ////// (if
equipped)
XXX MILES TO E
OIL LIFE XXX% HOLD RESET = NEW
This displays the remaining oil life. An oil
change is required whenever indicated by
the message center and according to the
recommended maintenance schedule.
USE ONLY RECOMMENDED ENGINE OILS.
To reset the oil monitoring system to 100%
after each oil change, perform the
following:
1. Press and release the SELECT/RESET stem to display OIL LIFE XXX% HOLD
RESET = NEW.
2. Press and hold the SELECT/RESET stem for two seconds and release to
reset the oil life to 100%.
Note: To change oil life 100% value (if
equipped):
3. Once OIL LIFE SET TO XXX%
displays, release and press the
SELECT/RESET stem to change the oil
life start value. Each release and press
reduces the value by 10%.
UNITS ENG / METRIC
Displays the current units in English or
Metric.
AUTOLOCK
This feature automatically locks all vehicle
doors when you shift into any gear, putting
the vehicle in motion. AUTOUNLOCK
This feature automatically unlocks all
vehicle doors when you open the driver's
door within 10 minutes of switching the
ignition off.
COMPASS (if equipped)
Displays the vehicle's heading direction.
Note:
Driving near large buildings, bridges,
power lines and powerful broadcast
antennas may affect the compass reading.
Magnetic or metallic objects placed in, on
or near the vehicle may also affect compass
accuracy. If the compass appears to be
inaccurate, a manual calibration may be
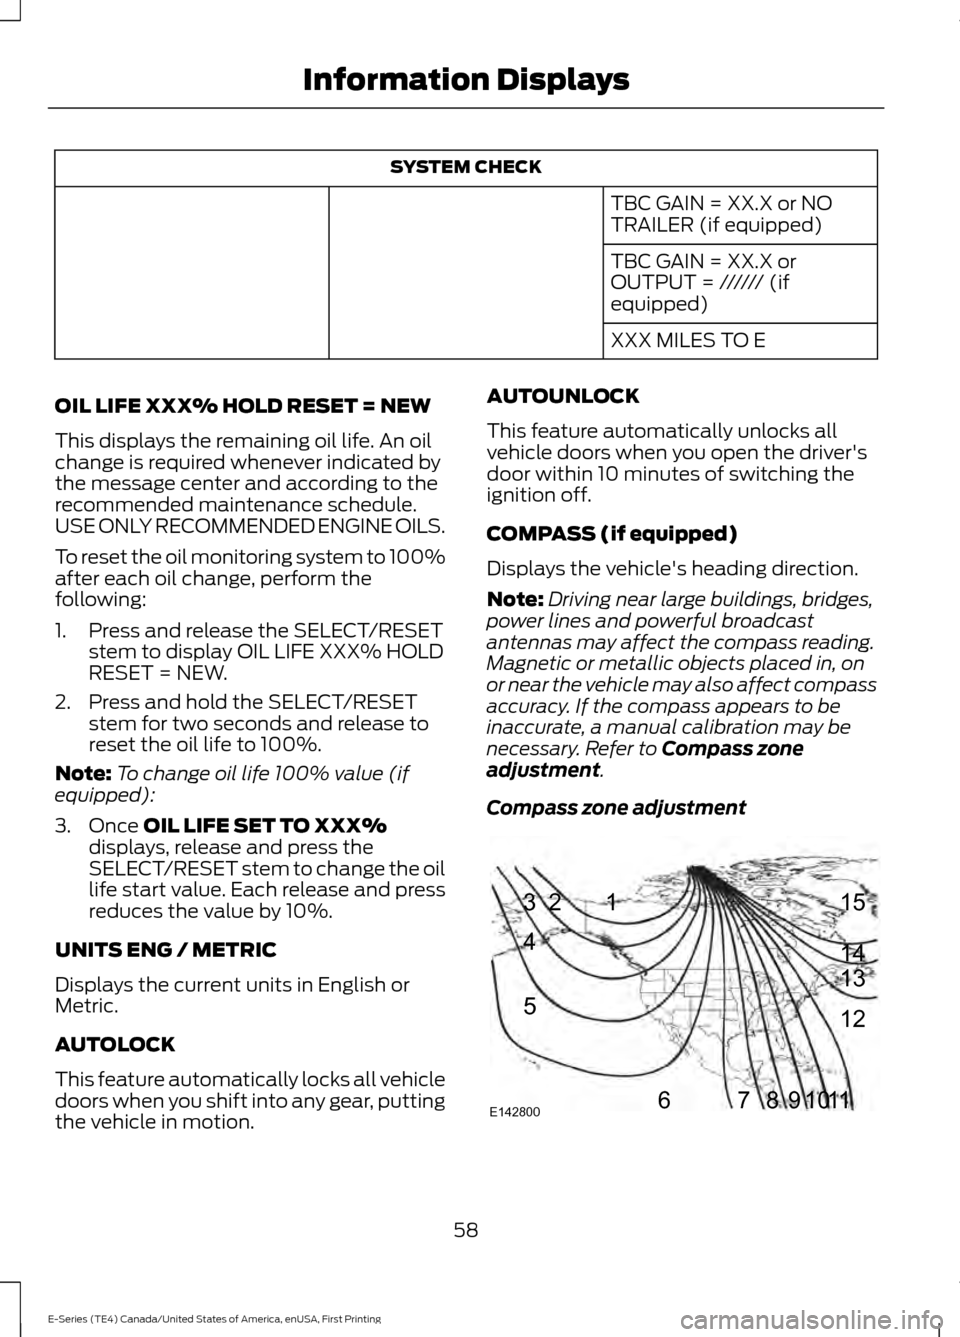
necessary. Refer to
Compass zone
adjustment.
Compass zone adjustment 58
E-Series (TE4) Canada/United States of America, enUSA, First Printing Information Displays1
2
3
4
5
678910 1112 13 14 15
E142800
Page 62 of 318
1. Determine which magnetic zone you
are in for your geographic location by
referring to the zone map.
2. Press and release the SELECT/RESET stem to scroll through the information
displays until the message center
displays HOLD RESET FOR SETUP
MENU.
3. Press and hold the SELECT/RESET stem to get into the setup menu. Press
repeatedly to scroll through the setup
menu until COMPASS ZONE XX
appears in the information display.
4. Press and hold the SELECT/RESET stem for approximately two seconds
to go to the next zone, then release.
5. Press and hold to go up by one zone then release. Repeat this until you
reach the desired zone.
6. To exit the procedure, release the SELECT/RESET stem and allow the
setup timer to expire.
Compass calibration adjustment
Note: For optimum calibration, drive to an
open, level location away from large
metallic objects or structures. Switch off all
non-essential electrical accessories (heated
rear window, heater, A/C, map lamps, wiper,
etc.) and make sure all the doors are closed.
Note: If you press the SELECT/RESET stem
during the calibration or three minutes
elapse since the beginning of the calibration
without driving the vehicle, the information
display reverts back to normal operation
and CAL displays until you complete a
successful calibration.
1. Press and release the SELECT/RESET stem to scroll through the information
displays until HOLD RESET FOR SETUP
MENU appears. 2. Press and hold the SELECT/RESET
stem to get into the setup menu. Press
it repeatedly to scroll through the setup
menu until HOLD RESET FOR
CALIBRATION appears in the
information display.
3. Press and hold the SELECT/RESET stem for approximately two seconds
until the information display enters the
compass zone adjustment mode.
4. Press and hold the SELECT/RESET stem until CIRCLE SLOWLY TO
CALIBRATE appears in the information
display.
5. Slowly drive the vehicle in a circle less than 3 mph (5 km/h) until the CIRCLE
SLOWLY TO CALIBRATE message
changes to CALIBRATION
COMPLETED. This may require up to
five circles to complete the calibration.
TBC MODE (if equipped)
Allows you to choose the trailer brake
mode.
LANGUAGE = ENGLISH / SPANISH /
FRENCH
Allows you to choose which language
appears in the information display.
Waiting four seconds or pressing the
SELECT/RESET stem cycles the
information display through each of the
language choices.
Press the SELECT/RESET stem to set the
language choice when the language you
want appears.
HOLD RESET FOR SYSTEM CHECK
The information display begins to cycle
through the vehicle systems and provides
a status of the item if needed. Some
systems show a message only if a
condition is present.
59
E-Series (TE4) Canada/United States of America, enUSA, First Printing Information Displays
Page 65 of 318
Trailer
Action
Message
Displays along with a single tone in response to faultssensed by the TBC. See Essential Towing Checks
(page 102).
TRAILER BRAKE MODULE
FAULT
Displays when a correct trailer connection (a trailerwith electric trailer brakes) is sensed during a given ignition cycle.
TRAILER CONNECTED
Displays when a trailer connection becomes discon-
nected, either intentionally or unintentionally, and has been sensed during a given ignition cycle. Disregard
this status if your vehicle is not equipped with a factory installed trailer brake controller. This message may
appear when you use an aftermarket TBC even when the trailer is connected.
TRAILER DISCONNECTED
Displays if there are certain faults in the vehicle wiringand trailer wiring or brake system. See
Essential
Towing Checks (page 102).
WIRING FAULT ON TRAILER
Transmission Action
Message
A reminder to apply the brakes, then shift to park.
SHIFT TO PARK
62
E-Series (TE4) Canada/United States of America, enUSA, First Printing Information Displays
Page 79 of 318
FUEL QUALITY - GASOLINE
Choosing the Right Fuel
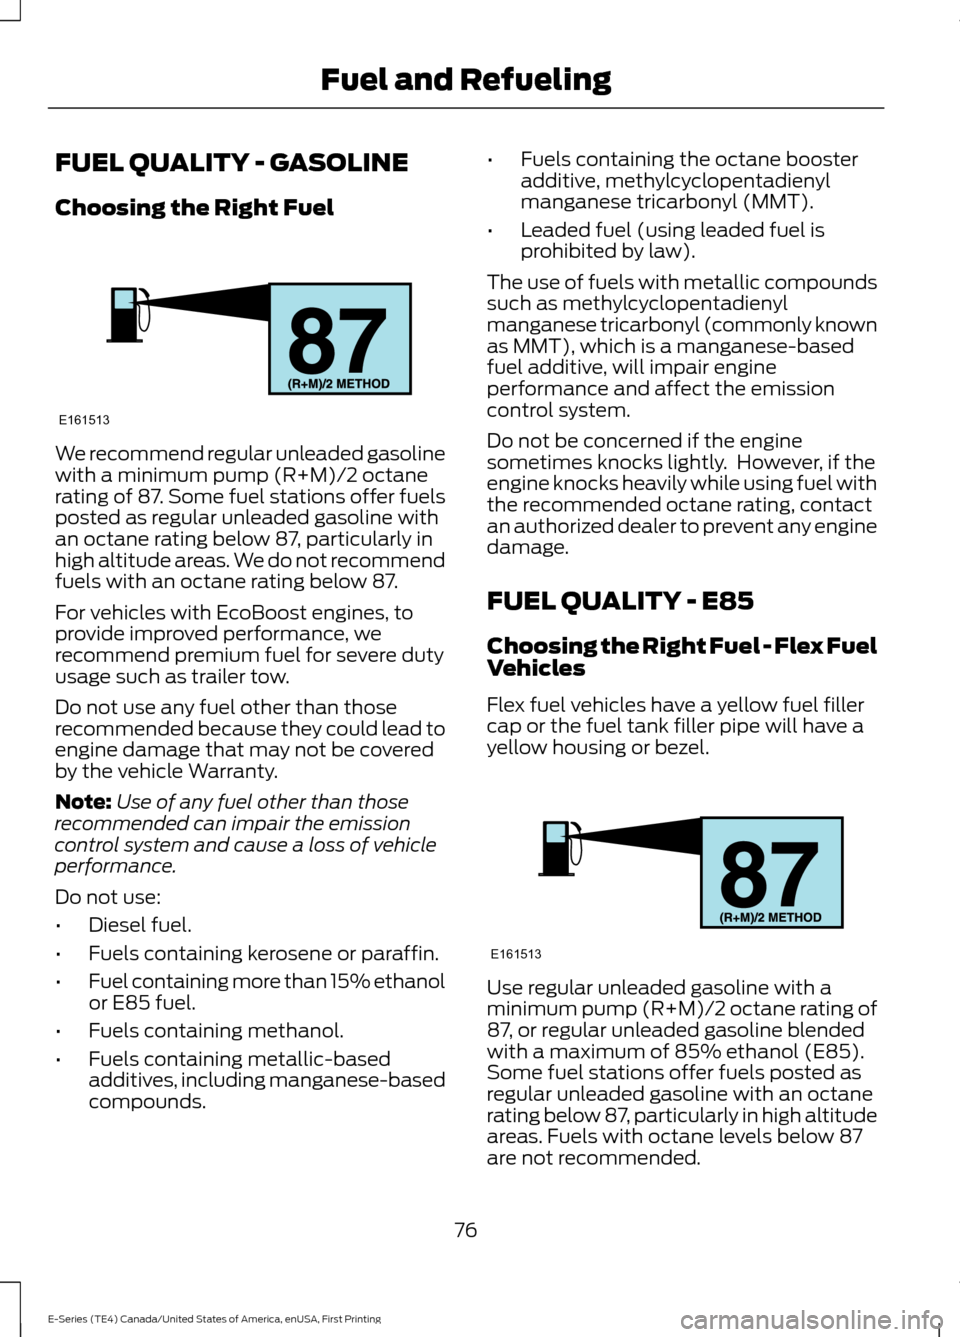
We recommend regular unleaded gasoline
with a minimum pump (R+M)/2 octane
rating of 87. Some fuel stations offer fuels
posted as regular unleaded gasoline with
an octane rating below 87, particularly in
high altitude areas. We do not recommend
fuels with an octane rating below 87.
For vehicles with EcoBoost engines, to
provide improved performance, we
recommend premium fuel for severe duty
usage such as trailer tow.
Do not use any fuel other than those
recommended because they could lead to
engine damage that may not be covered
by the vehicle Warranty.
Note:
Use of any fuel other than those
recommended can impair the emission
control system and cause a loss of vehicle
performance.
Do not use:
• Diesel fuel.
• Fuels containing kerosene or paraffin.
• Fuel containing more than 15% ethanol
or E85 fuel.
• Fuels containing methanol.
• Fuels containing metallic-based
additives, including manganese-based
compounds. •
Fuels containing the octane booster
additive, methylcyclopentadienyl
manganese tricarbonyl (MMT).
• Leaded fuel (using leaded fuel is
prohibited by law).
The use of fuels with metallic compounds
such as methylcyclopentadienyl
manganese tricarbonyl (commonly known
as MMT), which is a manganese-based
fuel additive, will impair engine
performance and affect the emission
control system.
Do not be concerned if the engine
sometimes knocks lightly. However, if the
engine knocks heavily while using fuel with
the recommended octane rating, contact
an authorized dealer to prevent any engine
damage.
FUEL QUALITY - E85
Choosing the Right Fuel - Flex Fuel
Vehicles
Flex fuel vehicles have a yellow fuel filler
cap or the fuel tank filler pipe will have a
yellow housing or bezel. Use regular unleaded gasoline with a
minimum pump (R+M)/2 octane rating of
87, or regular unleaded gasoline blended
with a maximum of 85% ethanol (E85).
Some fuel stations offer fuels posted as
regular unleaded gasoline with an octane
rating below 87, particularly in high altitude
areas. Fuels with octane levels below 87
are not recommended.
76
E-Series (TE4) Canada/United States of America, enUSA, First Printing Fuel and RefuelingE161513 E161513
Page 87 of 318
Tow/Haul Mode
To activate tow/haul, press the
button on the gearshift lever.
The TOW HAUL indicator light
illuminates in the instrument cluster.
The tow/haul feature:
• Delays upshifts to reduce the frequency
of transmission shifting.
• Provides engine braking in all forward
gears, which slows your vehicle and
assists you in controlling your vehicle
when descending a grade.
• Depending on driving conditions and
load conditions, may downshift the
transmission, slow your vehicle and
control your vehicle speed when
descending a hill, without pressing the
accelerator pedal. The amount of
downshift braking provided varies
based upon the amount you press the
brake pedal.
The tow/haul feature improves
transmission operation when towing a
trailer or a heavy load. All transmission
gear ranges are available when using
tow/haul.
To deactivate the tow/haul feature and
return to normal driving mode, press the
button on the gearshift lever again. The
TOW HAUL light deactivates. Tow/haul
also deactivates when you power down
your vehicle. WARNING
Do not use the tow/haul feature
when driving in icy or slippery
conditions as the increased engine
braking can cause the rear wheels to slide
and your vehicle to swing around with the
possible loss of vehicle control. Understanding the Shift Positions
of a 6–
Speed Automatic
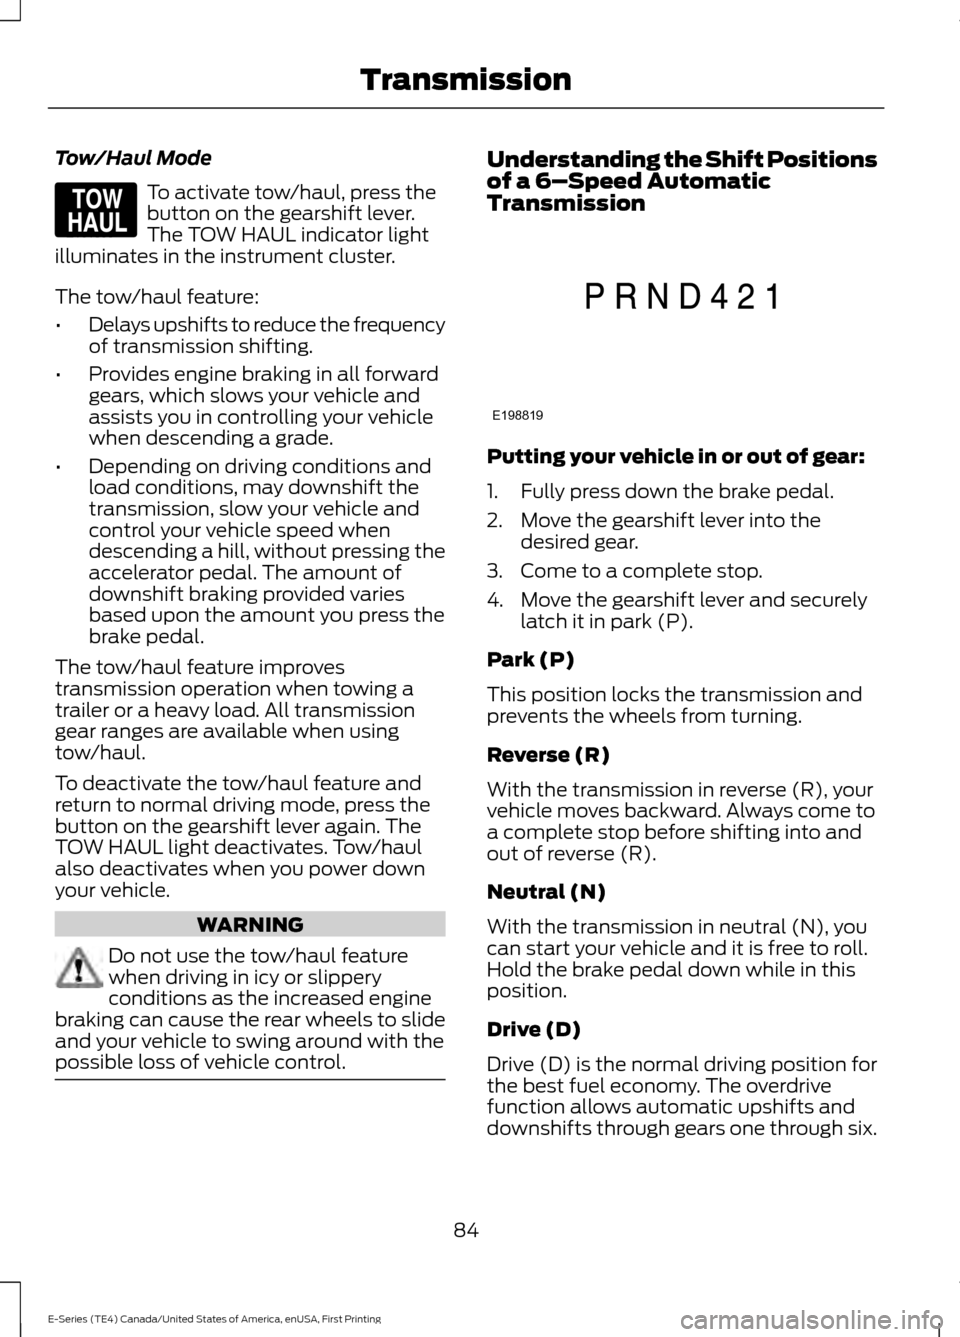
Transmission Putting your vehicle in or out of gear:
1. Fully press down the brake pedal.
2. Move the gearshift lever into the
desired gear.
3. Come to a complete stop.
4. Move the gearshift lever and securely latch it in park (P).
Park (P)
This position locks the transmission and
prevents the wheels from turning.
Reverse (R)
With the transmission in reverse (R), your
vehicle moves backward. Always come to
a complete stop before shifting into and
out of reverse (R).
Neutral (N)
With the transmission in neutral (N), you
can start your vehicle and it is free to roll.
Hold the brake pedal down while in this
position.
Drive (D)
Drive (D) is the normal driving position for
the best fuel economy. The overdrive
function allows automatic upshifts and
downshifts through gears one through six.
84
E-Series (TE4) Canada/United States of America, enUSA, First Printing TransmissionE161509 E198819
Page 88 of 318
Fourth (4)
Trasnmission operates in fourth (4) gear
only. Used for improved traction on
slippery roads.
Second (2)
Transmission operates in second (2) gear
only. Use second (2) gear to start-up on
slippery roads.
First (1)
•
Transmission operates in first (1) gear
only.
• Provides maximum engine braking.
• Allows upshifts by moving gearshift
lever.
• Does not downshift into first (1) gear
at high speeds; allows for first (1) gear
when vehicle reaches slower speeds.
Forced downshifts
• Allowed in drive (D) with the tow/haul
feature on or off.
• Press the accelerator to the floor.
• Allows transmission to select an
appropriate gear.
Tow/Haul Mode To activate tow/haul, press the
button on the gearshift lever.
The TOW HAUL indicator light
illuminates in the instrument cluster. The tow/haul feature:
•
Delays upshifts to reduce the frequency
of transmission shifting.
• Provides engine braking in all forward
gears, which slows your vehicle and
assists you in controlling your vehicle
when descending a grade.
• Depending on driving conditions and
load conditions, may downshift the
transmission, slow your vehicle and
control your vehicle speed when
descending a hill, without pressing the
accelerator pedal. The amount of
downshift braking provided will vary
based upon the amount you press the
brake pedal.
The tow/haul feature improves
transmission operation when towing a
trailer or a heavy load. All transmission
gear ranges are available when using
tow/haul.
To deactivate the tow/haul feature and
return to normal driving mode, press the
button on the gearshift lever again. The
TOW HAUL light deactivates. Tow/haul
also deactivates when you power down
your vehicle. WARNING
Do not use the tow/haul feature
when driving in icy or slippery
conditions as the increased engine
braking can cause the rear wheels to slide
and your vehicle to swing around with the
possible loss of vehicle control. Brake-Shift Interlock
WARNINGS
Do not drive your vehicle until you
verify that the brake lamps are
working.
85
E-Series (TE4) Canada/United States of America, enUSA, First Printing TransmissionE161509
Page 98 of 318
LOAD LIMIT
Vehicle Loading - with and
without a Trailer
This section guides you in the
proper loading of your vehicle,
trailer, or both. Keep your loaded
vehicle weight within its design
rating capability, with or without
a trailer. Properly loading your
vehicle provides maximum return
of vehicle design performance.
Before you load your vehicle,
become familiar with the
following terms for determining
your vehicle
’s weight rating, with
or without a trailer, from the
vehicle ’s Tire and Loading
Information label or Safety
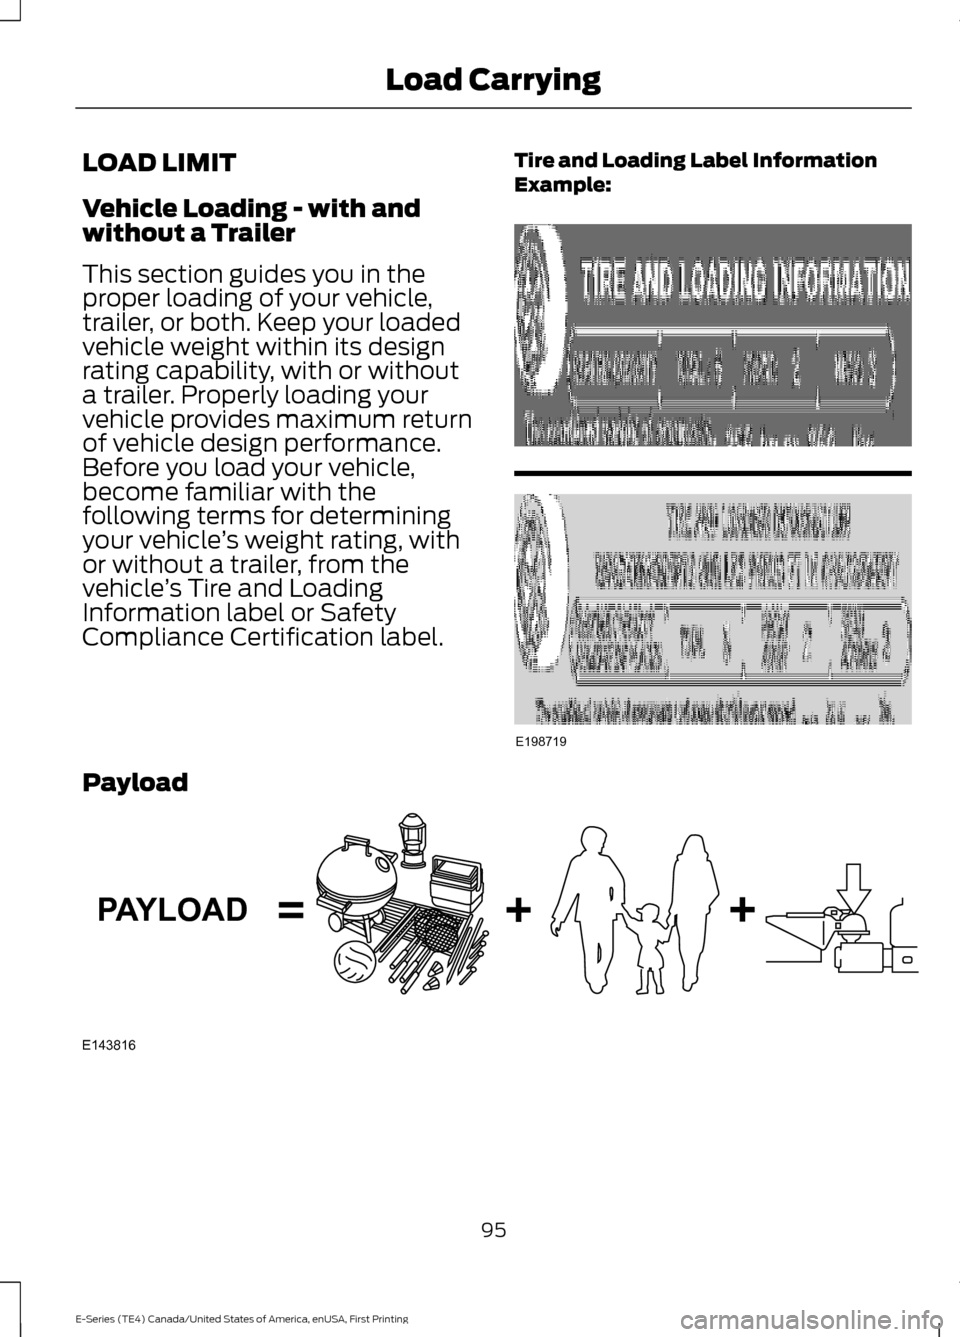
Compliance Certification label. Tire and Loading Label Information
Example:Payload
95
E-Series (TE4) Canada/United States of America, enUSA, First Printing Load CarryingE198719 E143816PAYLOAD