set clock FORD E SERIES 2019 Owners Manual
[x] Cancel search | Manufacturer: FORD, Model Year: 2019, Model line: E SERIES, Model: FORD E SERIES 2019Pages: 329, PDF Size: 2.92 MB
Page 84 of 329
•Keep the fuel pump nozzle in contactwith the fuel container while filling.
•Do not use a device that would holdthe fuel pump handle in the fill position.
Fuel Filler Cap
WARNING: The fuel system maybe under pressure. If you hear a hissingsound near the fuel filler door, do notrefuel until the sound stops. Otherwise,fuel may spray out, which could causeserious personal injury.
WARNING: If you do not use theproper fuel filler cap, excessive pressureor vacuum in the fuel tank may damagethe fuel system or cause the fuel cap todisengage in a collision, which may resultin possible personal injury.
Note:If you must replace the fuel filler cap,replace it with a fuel filler cap that isdesigned for your vehicle. The customerwarranty may be void for any damage to thefuel tank or fuel system if the correctgenuine Ford, Motorcraft or other certifiedfuel filler cap is not used.
Your fuel tank filler cap has an indexeddesign with a 1/4th turn on and off feature.When fueling your vehicle:
1. Put your vehicle in park (P).
2. Switch the engine off.
3. Carefully turn the filler capcounterclockwise until it spins off.
4. Pull to remove the cap from the fuelfiller pipe.
5.To install the cap, align the tabs on thecap with the notches on the filler pipe.
6. Turn the filler cap clockwise 1/4 of aturn clockwise until it clicks at leastonce.
If the Check Fuel Cap light or a Check FuelCap message appears in the instrumentcluster and stays on after you start theengine, you may not have installed the fuelfiller properly.
If the fuel cap light remains on, at the nextopportunity, safely pull off of the road,remove the fuel filler cap, align the capproperly and reinstall it. The check fuel caplight or Check fuel cap message may notreset immediately. It may take severaldriving cycles for the indicators to turn off.A driving cycle consists of an enginestart-up (after four or more hours with theengine off) followed by normal city andhighway driving.
FUEL CONSUMPTION
Advertised Capacity
The advertised capacity is the maximumamount of fuel that you can add to the fueltank after running out of fuel. Included inthe advertised capacity is an emptyreserve. The empty reserve is anunspecified amount of fuel that remainsin the fuel tank when the fuel gaugeindicates empty.
Note:The amount of fuel in the emptyreserve varies and should not be relied uponto increase driving range.
Fuel Economy
Your vehicle calculates fuel economyfigures through the trip computer averagefuel function. See General Information(page 58).
The first 1,000 mi (1,500 km) of driving isthe break-in period of the engine. A moreaccurate measurement is obtained after2,000 mi (3,000 km).
81
E-Series (TE4) Canada/United States of America, enUSA, Edition date: 201804, Second-Printing
Fuel and Refueling
Page 147 of 329
Only use oils certified for gasoline enginesby the American Petroleum Institute (API).An oil with this trademark symbolconforms to the current engine andemission system protection standards andfuel economy requirements of theInternational Lubricants SpecificationAdvisory Committee (ILSAC).
To top up the engine oil level do thefollowing:
1. Clean the area surrounding the engineoil filler cap before you remove it.
2. Remove the engine oil filler cap. SeeUnder Hood Overview (page 142).Turn it counterclockwise and removeit.
3. Add engine oil that meets Fordspecifications. See Capacities andSpecifications (page 203). You mayhave to use a funnel to pour the engineoil into the opening.
4. Recheck the oil level.
5. If the oil level is correct, replace thedipstick and make sure it is fully seated.
6. Replace the engine oil filler cap. Turnit clockwise until you feel a strongresistance.
Note: Do not add oil further than themaximum mark. Oil levels above themaximum mark may cause engine damage.
Note:Make sure you install the oil filler capcorrectly.
Note:Soak up any spillage with anabsorbent cloth immediately.
OIL CHANGE INDICATOR
RESET
Resetting the Oil Life MonitoringSystem
Only reset the oil life monitoring systemafter changing the engine oil and oil filter.
To reset the oil life monitoring system dothe following:
1.Switch the ignition on. Do not start theengine.
2. Fully press the accelerator and brakepedals at the same time.
3.Keep the accelerator and brake pedalsfully pressed.
4. After three seconds, a messagedisplays confirming the reset procedureis in progress.
5. After 25 seconds, a message displaysconfirming the reset procedure iscomplete.
6. Release the accelerator and brakepedals.
7. Switch the ignition off.
ENGINE COOLANT CHECK
WARNING: Do not remove thecoolant reservoir cap when the engine ison or the cooling system is hot. Wait 10minutes for the cooling system to cooldown. Cover the coolant reservoir capwith a thick cloth to prevent thepossibility of scalding and slowly removethe cap. Failure to follow this instructioncould result in personal injury.
WARNING: Do not put coolant inthe windshield washer reservoir. Ifsprayed on the windshield, coolant couldmake it difficult to see through thewindshield.
144
E-Series (TE4) Canada/United States of America, enUSA, Edition date: 201804, Second-Printing
Maintenance
Page 195 of 329
3. Cycle the ignition to the on positionwith the engine off.
4. Turn the hazard flashers on then offthree times. You must accomplish thiswithin 10 seconds. If you successfullyenter the reset mode, the horn soundsonce, the system indicator flashes anda message shows in the informationdisplay. If this does not occur, pleasetry again starting at step 2. If afterrepeated attempts to enter the resetmode, the horn does not sound, thesystem indicator does not flash and nomessage shows in the informationdisplay, have the system checked assoon as possible.
5. Train the tire pressure monitoringsystem sensors in the tires using thefollowing system reset sequencestarting with the left front tire in thefollowing clockwise order: Left front -driver side front tire, Right front -passenger side front tire, Right rear -passenger side rear tire, Left rear -driver side rear tire.
6. Remove the valve cap from the valvestem on the left front tire. Decrease theair pressure until the horn sounds.
Note:The single horn tone confirms thatthe sensor identification code has beenlearned by the module for this position. Ifyou hear a double horn, the reset procedurewas unsuccessful, and you must repeat it.
7. Remove the valve cap from the valvestem on the right front tire. Decreasethe air pressure until the horn sounds.
8. Remove the valve cap from the valvestem on the right rear tire. Decrease theair pressure until the horn sounds.
9. Remove the valve cap from the valvestem on the left rear tire. Decrease theair pressure until the horn sounds.Training is complete after the hornsounds for the last tire trained, driverside rear tire, the system indicatorstops flashing, and a message showsin the information display.
10. Turn the ignition off. If you hear twoshort tones, the reset procedure wasunsuccessful and you must repeat it.If you hear two short beeps when theignition is off after repeating theprocedure, have the system checkedas soon as possible
11.Set all four tires to the recommendedair pressure as indicated on theSafety Compliance CertificationLabel, affixed to either the door hingepillar, door-latch post, or the dooredge that meets the door-latch post,next to the driver seating position orTire Label located on the B-Pillar orthe edge of the driver door.
CHANGING A ROAD WHEEL
WARNING: To determine therequired pressure(s) for your vehicle, seethe Safety Compliance CertificationLabel (on the door hinge pillar,door-latch post or the door edge thatmeets the door-latch post, next to thedriver seat) or the Tire Label on theB-Pillar or the edge of the driver door.
Note:You should only use tire sealants inroadside emergencies as they may causedamage to the tire pressure monitoringsystem sensor.
192
E-Series (TE4) Canada/United States of America, enUSA, Edition date: 201804, Second-Printing
Wheels and Tires
Page 218 of 329
Always handle discs by their edges only.Clean the disc with an approved CDcleaner only. Wipe it from the center ofthe disc toward the edge. Do not clean ina circular motion.
Do not expose discs to direct sunlight orheat sources for extended periods.
MP3 and WMA Track and FolderStructure
Audio systems capable of recognizing andplaying MP3 and WMA individual tracksand folder structures work as follows:
•There are two different modes for MP3and WMA disc playback: MP3 andWMA track mode (system default) andMP3 and WMA folder mode.
•MP3 and WMA track mode ignores anyfolder structure on the MP3 and WMAdisc. The player numbers each MP3and WMA track on the disc (noted bythe MP3 or WMA file extension) fromT001 to a maximum of T255. Themaximum number of playable MP3 andWMA files may be less depending onthe structure of the CD and exactmodel of radio present.
•MP3 and WMA folder mode representsa folder structure consisting of onelevel of folders. The CD player numbersall MP3 and WMA tracks on the disc(noted by the MP3 or WMA fileextension) and all folders containingMP3 and WMA files, from F001 (folder)T001 (track) to F253 T255.
•Creating discs with only one level offolders helps with navigation throughthe disc files.
If you are burning your own MP3 and WMAdiscs, it is important to understand howthe system reads the structures you create.While various files may be present (fileswith extensions other than MP3 andWMA), only files with the MP3 and WMA
extension are played; other files areignored by the system. This enables you touse the same MP3 and WMA disc for avariety of tasks on your work computer,home computer and your in-vehiclesystem.
In track mode, the system displays andplays the structure as if it were only onelevel deep (all MP3 and WMA files play,regardless of being in a specific folder). Infolder mode, the system only plays theMP3 and WMA files in the current folder.
AUDIO UNIT - VEHICLES WITH:
AM/FM
WARNING: Driving whiledistracted can result in loss of vehiclecontrol, crash and injury. We stronglyrecommend that you use extremecaution when using any device that maytake your focus off the road. Yourprimary responsibility is the safeoperation of your vehicle. Werecommend against the use of anyhand-held device while driving andencourage the use of voice-operatedsystems when possible. Make sure youare aware of all applicable local lawsthat may affect the use of electronicdevices while driving.
Accessing the Clock Settings
Press and release to display theclock.
To set the time, press and hold until thehours start to flash. Use the center arrowcontrols to change the hours, then repeatto set the minutes. Press again to exit clockmode.
215
E-Series (TE4) Canada/United States of America, enUSA, Edition date: 201804, Second-Printing
Audio SystemE265935
Page 220 of 329
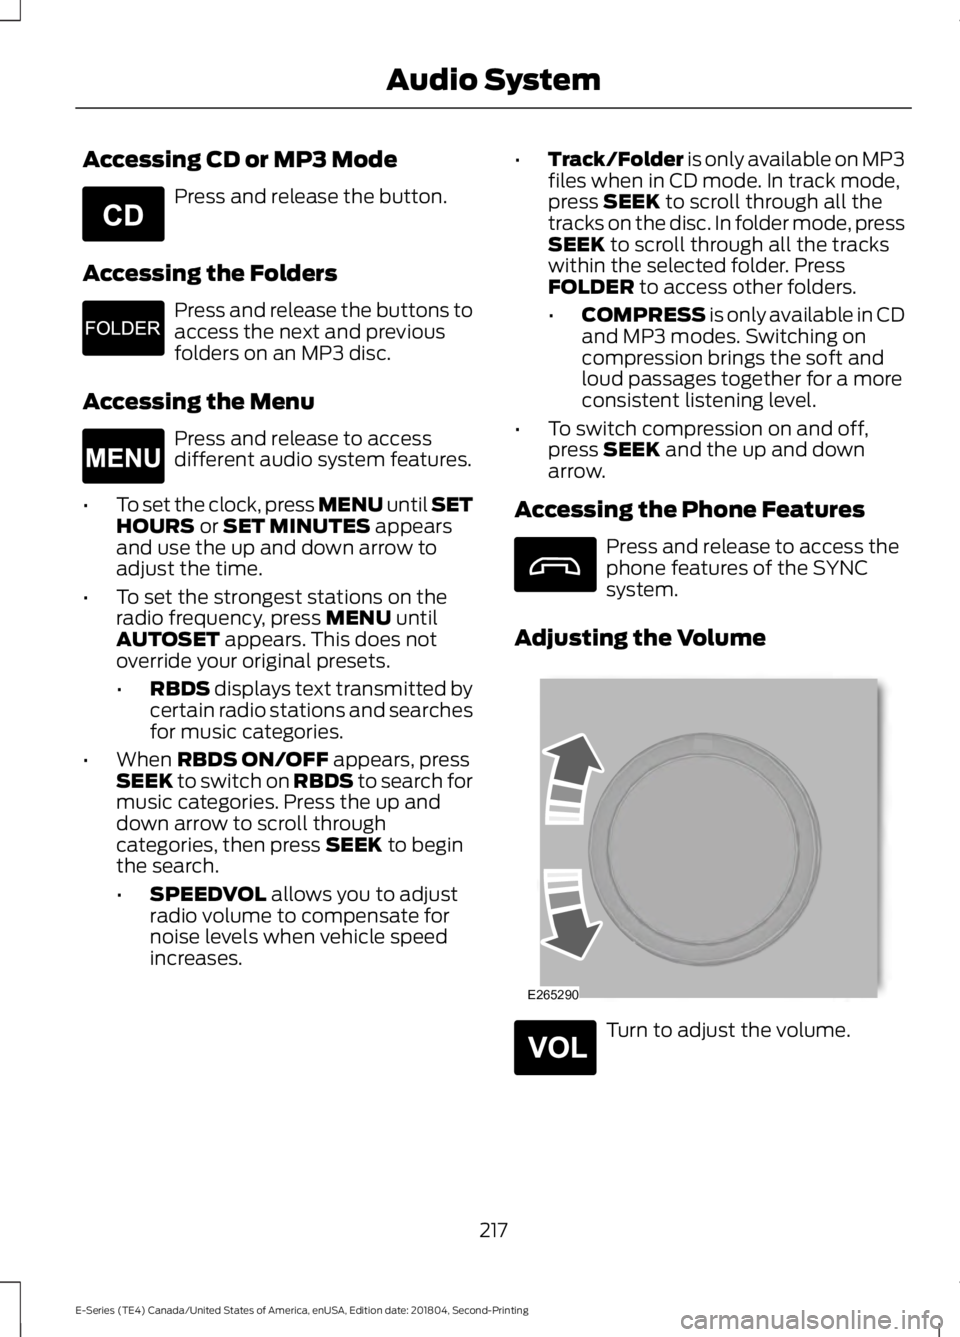
Accessing CD or MP3 Mode
Press and release the button.
Accessing the Folders
Press and release the buttons toaccess the next and previousfolders on an MP3 disc.
Accessing the Menu
Press and release to accessdifferent audio system features.
•To set the clock, press MENU until SETHOURS or SET MINUTES appearsand use the up and down arrow toadjust the time.
•To set the strongest stations on theradio frequency, press MENU untilAUTOSET appears. This does notoverride your original presets.
•RBDS displays text transmitted bycertain radio stations and searchesfor music categories.
•When RBDS ON/OFF appears, pressSEEK to switch on RBDS to search formusic categories. Press the up anddown arrow to scroll throughcategories, then press SEEK to beginthe search.
•SPEEDVOL allows you to adjustradio volume to compensate fornoise levels when vehicle speedincreases.
•Track/Folder is only available on MP3files when in CD mode. In track mode,press SEEK to scroll through all thetracks on the disc. In folder mode, pressSEEK to scroll through all the trackswithin the selected folder. PressFOLDER to access other folders.
•COMPRESS is only available in CDand MP3 modes. Switching oncompression brings the soft andloud passages together for a moreconsistent listening level.
•To switch compression on and off,press SEEK and the up and downarrow.
Accessing the Phone Features
Press and release to access thephone features of the SYNCsystem.
Adjusting the Volume
Turn to adjust the volume.
217
E-Series (TE4) Canada/United States of America, enUSA, Edition date: 201804, Second-Printing
Audio SystemE265039 E265913 E265038 E265290 E265304
Page 322 of 329
A
A/CSee: Climate Control..........................................66About This Manual...........................................5ABSSee: Brakes..............................................................91ABS driving hintsSee: Hints on Driving With Anti-LockBrakes...................................................................91Accessories......................................................271Exterior Style.........................................................271Interior Style..........................................................271Peace of Mind.......................................................271AccessoriesSee: Replacement PartsRecommendation............................................12Adjusting the Headlamps.........................156Vertical Aim Adjustment Procedure...........156Adjusting the Steering Wheel....................47Airbag Disposal...............................................38Air ConditioningSee: Climate Control..........................................66Air FilterSee: Changing the Engine Air Filter..............159Appendices....................................................294At a Glance........................................................16Audible Warnings and Indicators..............57Fail-Safe Cooling Warning Chime..................57Headlamps On Warning Chime......................57Key in Ignition Warning Chime.........................57Parking Brake On Warning Chime..................57Shift to Park Warning Chime............................57Audio System.................................................214General Information..........................................214Audio Unit - Vehicles With: AM/FM/CD/SYNC..............................................................216Accessing CD or MP3 Mode............................217Accessing the Auxiliary MediaSources..............................................................216Accessing the Folders........................................217Accessing the Menu...........................................217Accessing the Phone Features.......................217Adjusting the Volume........................................217Changing Radio Stations.................................218Ejecting the CD....................................................218Fast Forwarding the Media.............................218Inserting a CD.......................................................218
Muting the Audio................................................218Playing or Pausing Media................................218Rewinding the Media.........................................218Scanning the Audio...........................................218Selecting a Frequency Band..........................218Setting the Memory Presets...........................218Switching Shuffle Mode On and Off...........218Switching the Audio Unit On and Off.........218Using Seek, Fast Forward andReverse..............................................................219Audio Unit - Vehicles With: AM/FM.......215Accessing the Clock Settings.........................215Accessing the Sound Settings.......................216Adjusting the Volume........................................216Changing Radio Stations.................................216Selecting the Audio Modes.............................216Setting the Memory Presets...........................216Switching the Audio Unit On and Off.........216Using Seek, Fast Forward andReverse..............................................................216Automatic Transmission.............................87Brake-Shift Interlock..........................................88If Your Vehicle Gets Stuck In Mud orSnow....................................................................89Putting your vehicle in or out of gear:...........87Automatic Transmission FluidCheck.............................................................149Automatic Transmission Fluid Filter............152Checking Automatic TransmissionFluid....................................................................149Auxiliary Power Points..................................72110 Volt AC Power Point.....................................7212 Volt DC Power Point.......................................72Locations..................................................................72Auxiliary Switches........................................272
B
BatterySee: Changing the 12V Battery......................153Bonnet LockSee: Opening and Closing the Hood............141Booster Seats..................................................22Types of Booster Seats......................................23Brake Fluid Check.........................................152Brakes..................................................................91General Information.............................................91Breaking-In.......................................................116
319
E-Series (TE4) Canada/United States of America, enUSA, Edition date: 201804, Second-Printing
Index