tow FORD E SERIES 2022 Owner's Manual
[x] Cancel search | Manufacturer: FORD, Model Year: 2022, Model line: E SERIES, Model: FORD E SERIES 2022Pages: 300, PDF Size: 3.18 MB
Page 96 of 300
•
Incorrect fuel for climatic conditions.
• Incorrect engine oil viscosity for
climactic conditions.
Note: Some vehicles have a lifetime fuel
filter that is integrated with the fuel tank.
Regular maintenance or replacement is not
needed.
Note: If these checks do not help you
correct the concern, have your vehicle
checked as soon as possible.
Noise Emissions Warranty,
Prohibited Tampering Acts and
Maintenance
On January 1, 1978, Federal regulation
became effective governing the noise
emission on trucks over 10,000 lb
(4,536 kg) Gross Vehicle Weight Rating
(GVWR). The preceding statements
concerning prohibited tampering acts and
maintenance, and the noise warranty
found in the Warranty Guide, are
applicable to complete chassis cabs over
10,000 lb (4,536 kg)
GVWR.
CATALYTIC CONVERTER WARNING:
Do not park, idle or
drive your vehicle on dry grass or other
dry ground cover. The emission system
heats up the engine compartment and
exhaust system, creating the risk of fire. WARNING:
The normal operating
temperature of the exhaust system is
very high. Never work around or attempt
to repair any part of the exhaust system
until it has cooled. Use special care when
working around the catalytic converter.
The catalytic converter heats up to a very
high temperature after only a short
period of engine operation and stays hot
after the engine is switched off. WARNING:
Exhaust leaks may
result in entry of harmful and potentially
lethal fumes into the passenger
compartment. If you smell exhaust
fumes inside your vehicle, have your
vehicle inspected immediately. Do not
drive if you smell exhaust fumes.
Your vehicle has various emission control
components and a catalytic converter that
enables it to comply with applicable
exhaust emission standards.
To make sure that the catalytic converter
and other emission control components
continue to work properly:
• Do not crank the engine for more than
10 seconds at a time.
• Do not run the engine with a spark plug
lead disconnected.
• Do not push-start or tow-start your
vehicle. Use booster cables. See Jump
Starting the Vehicle
(page 146).
• Use only the specified fuel listed.
• Do not switch the ignition off when your
vehicle is moving.
• Avoid running out of fuel.
• Have the items listed in scheduled
maintenance information performed
according to the specified schedule.
Note: Resulting component damage may
not be covered by the vehicle Warranty.
The scheduled maintenance items listed
in scheduled maintenance information are
essential to the life and performance of
your vehicle and to its emissions system.
If you use anything other than Ford,
Motorcraft or Ford-authorized parts for
maintenance replacements or for service
of components affecting emission control,
such non-Ford parts should be equivalent
to genuine Ford Motor Company parts in
performance and durability.
93
E-Series (TE4) Canada/United States of America, enUSA, Edition date: 202010, First-Printing Engine Emission Control
Page 99 of 300
AUTOMATIC TRANSMISSION
WARNING: Apply the parking
brake, shift into park (P), switch the
ignition off and remove the key before
you leave your vehicle. Failure to follow
this instruction could result in personal
injury or death. Putting your vehicle in or out of
gear:
1. Fully press down the brake pedal.
2. Move the gearshift lever into the
preferred gear.
3. When you finish driving, come to a complete stop.
4. Move the gearshift lever and securely latch it in park (P).
5. Release the brake pedal and the transmission remains in the selected
gear.
Park (P)
This position locks the transmission and
prevents the wheels from turning.
Reverse (R)
With the transmission in reverse (R), your
vehicle moves backward. Always come to
a complete stop before shifting into and
out of reverse (R). Neutral (N)
With the transmission in neutral (N), you
can start your vehicle and it is free to roll.
Hold the brake pedal down when in this
position.
Drive (D)
Drive (D) is the normal driving position for
the best fuel economy. The overdrive
function allows automatic upshifts and
downshifts through gears one through six.
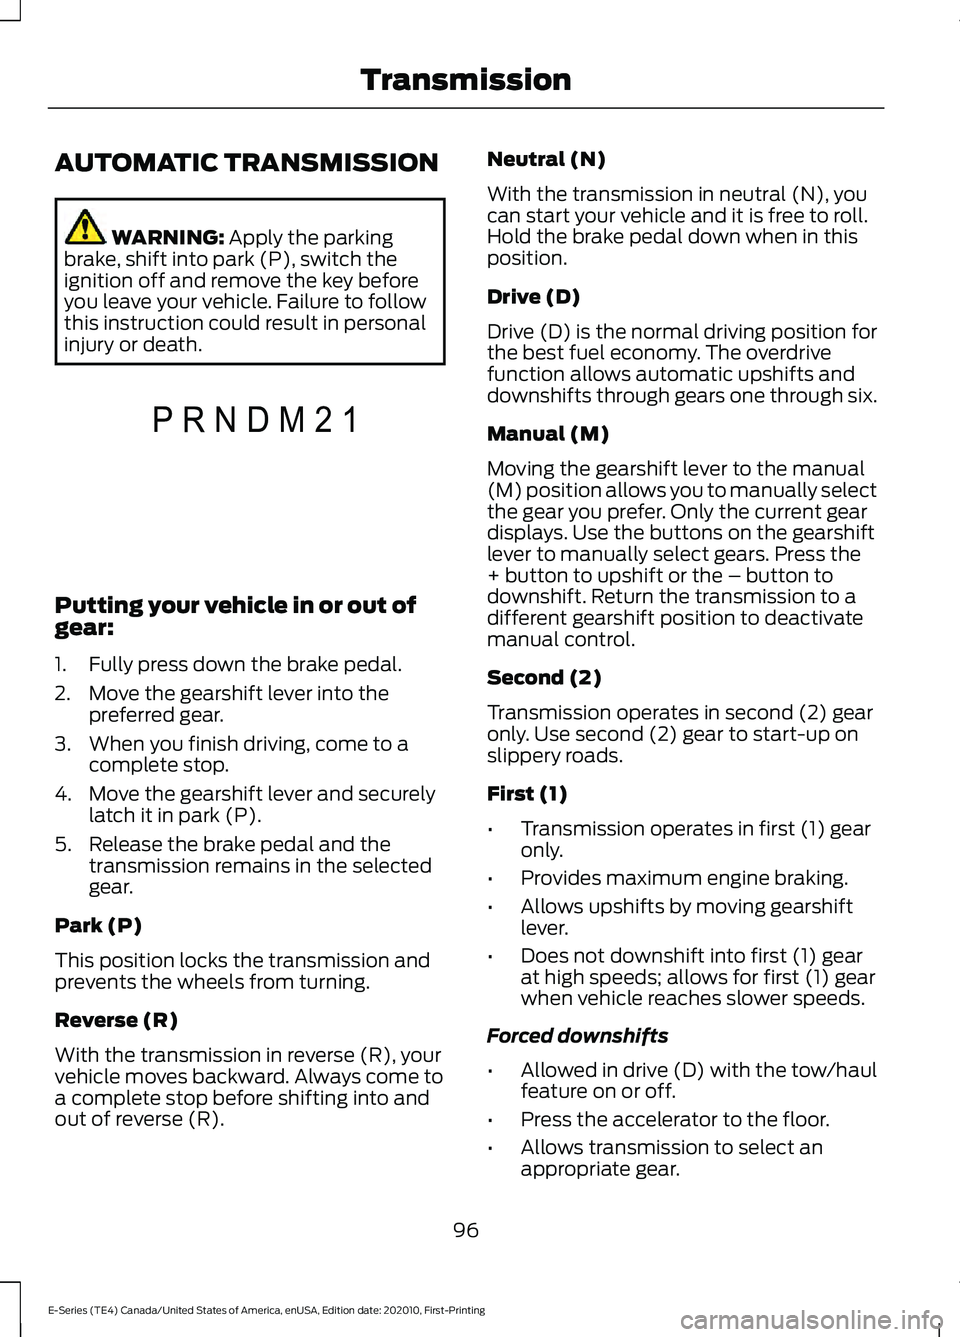
Manual (M)
Moving the gearshift lever to the manual
(M) position allows you to manually select
the gear you prefer. Only the current gear
displays. Use the buttons on the gearshift
lever to manually select gears. Press the
+ button to upshift or the – button to
downshift. Return the transmission to a
different gearshift position to deactivate
manual control.
Second (2)
Transmission operates in second (2) gear
only. Use second (2) gear to start-up on
slippery roads.
First (1)
•
Transmission operates in first (1) gear
only.
• Provides maximum engine braking.
• Allows upshifts by moving gearshift
lever.
• Does not downshift into first (1) gear
at high speeds; allows for first (1) gear
when vehicle reaches slower speeds.
Forced downshifts
• Allowed in drive (D) with the tow/haul
feature on or off.
• Press the accelerator to the floor.
• Allows transmission to select an
appropriate gear.
96
E-Series (TE4) Canada/United States of America, enUSA, Edition date: 202010, First-Printing TransmissionP R N D M 2 1E307627
Page 100 of 300
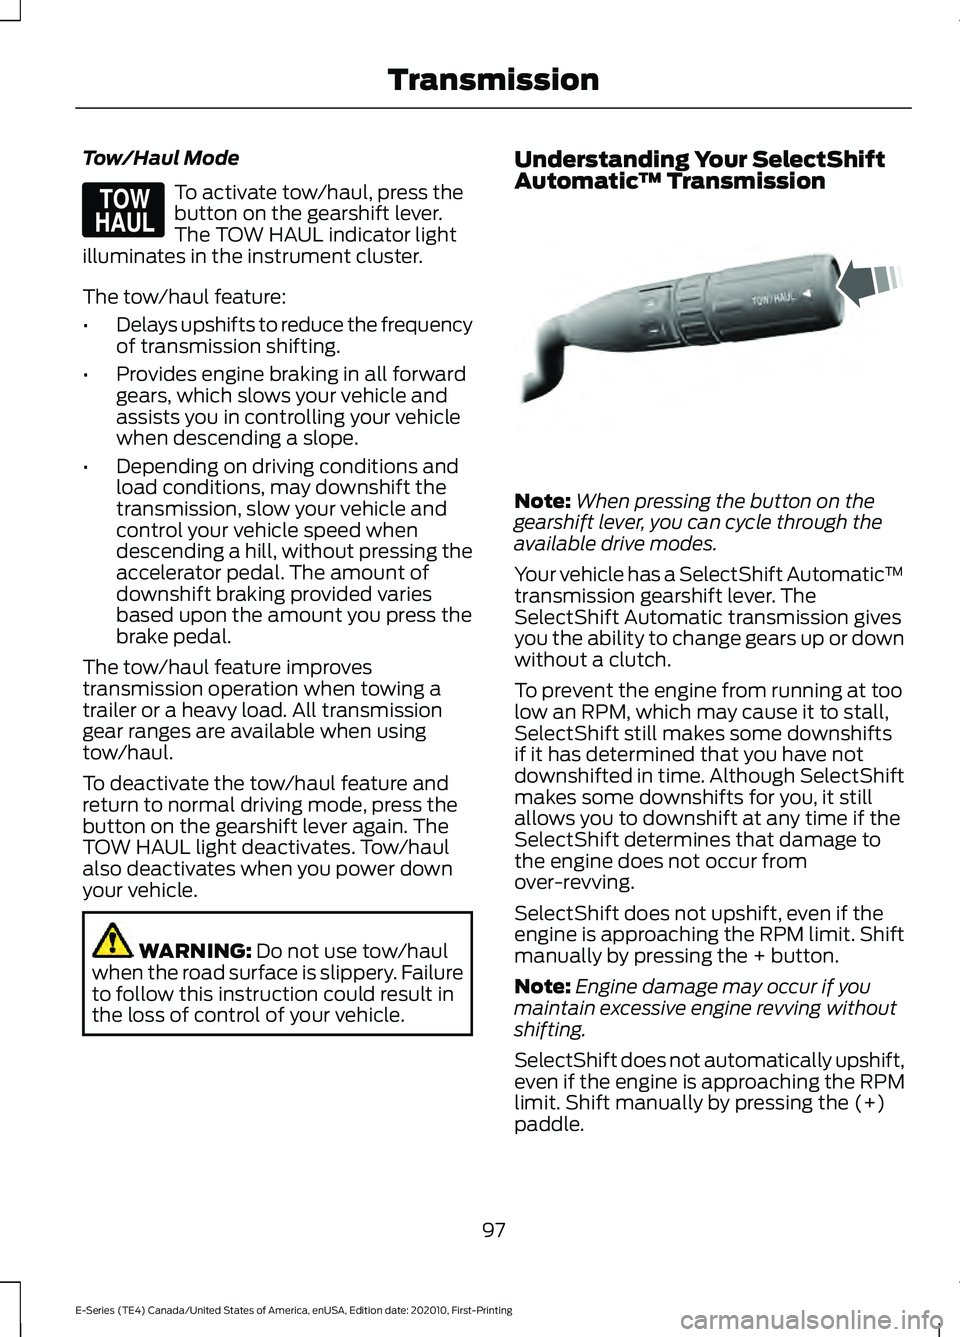
Tow/Haul Mode
To activate tow/haul, press the
button on the gearshift lever.
The TOW HAUL indicator light
illuminates in the instrument cluster.
The tow/haul feature:
• Delays upshifts to reduce the frequency
of transmission shifting.
• Provides engine braking in all forward
gears, which slows your vehicle and
assists you in controlling your vehicle
when descending a slope.
• Depending on driving conditions and
load conditions, may downshift the
transmission, slow your vehicle and
control your vehicle speed when
descending a hill, without pressing the
accelerator pedal. The amount of
downshift braking provided varies
based upon the amount you press the
brake pedal.
The tow/haul feature improves
transmission operation when towing a
trailer or a heavy load. All transmission
gear ranges are available when using
tow/haul.
To deactivate the tow/haul feature and
return to normal driving mode, press the
button on the gearshift lever again. The
TOW HAUL light deactivates. Tow/haul
also deactivates when you power down
your vehicle. WARNING: Do not use tow/haul
when the road surface is slippery. Failure
to follow this instruction could result in
the loss of control of your vehicle. Understanding Your SelectShift
Automatic
™ Transmission Note:
When pressing the button on the
gearshift lever, you can cycle through the
available drive modes.
Your vehicle has a SelectShift Automatic ™
transmission gearshift lever. The
SelectShift Automatic transmission gives
you the ability to change gears up or down
without a clutch.
To prevent the engine from running at too
low an RPM, which may cause it to stall,
SelectShift still makes some downshifts
if it has determined that you have not
downshifted in time. Although SelectShift
makes some downshifts for you, it still
allows you to downshift at any time if the
SelectShift determines that damage to
the engine does not occur from
over-revving.
SelectShift does not upshift, even if the
engine is approaching the RPM limit. Shift
manually by pressing the + button.
Note: Engine damage may occur if you
maintain excessive engine revving without
shifting.
SelectShift does not automatically upshift,
even if the engine is approaching the RPM
limit. Shift manually by pressing the (+)
paddle.
97
E-Series (TE4) Canada/United States of America, enUSA, Edition date: 202010, First-Printing TransmissionE161509 E318028
Page 102 of 300
If the fuse is not blown and the brake
lamps are working properly, the following
procedure allows you to move the gearshift
lever from park (P):
1. Apply the parking brake. Switch the
ignition key to 1 (off), then remove the
key.
2. Move the steering column to the full down and full rearward position,
toward the driver seat.
3. Remove the gearshift lever boot.
4. Place your fingers into the hole where you removed the gearshift lever boot
and pull the top half of the shroud up
and forward to separate it from the
lower half of the shroud. There is a
hinge at the forward edge of the top of
the shroud. Roll the top half of the
shroud upward on the hinge point, then
pull straight rearward toward the driver
seat to remove.
5. Remove the top half of the shroud.
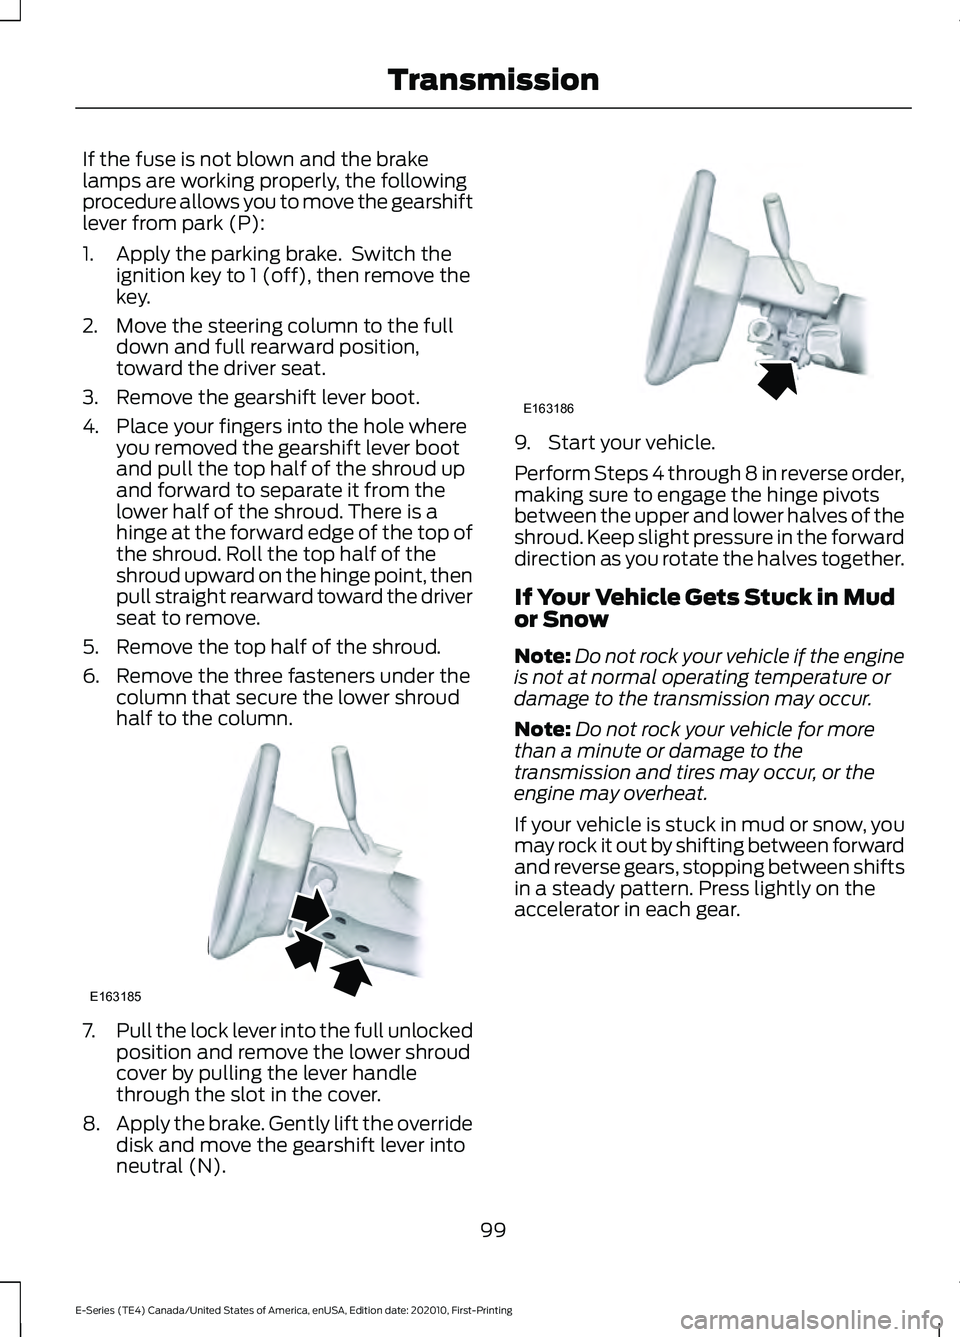
6. Remove the three fasteners under the column that secure the lower shroud
half to the column. 7.
Pull the lock lever into the full unlocked
position and remove the lower shroud
cover by pulling the lever handle
through the slot in the cover.
8. Apply the brake. Gently lift the override
disk and move the gearshift lever into
neutral (N). 9. Start your vehicle.
Perform Steps 4 through 8 in reverse order,
making sure to engage the hinge pivots
between the upper and lower halves of the
shroud. Keep slight pressure in the forward
direction as you rotate the halves together.
If Your Vehicle Gets Stuck in Mud
or Snow
Note:
Do not rock your vehicle if the engine
is not at normal operating temperature or
damage to the transmission may occur.
Note: Do not rock your vehicle for more
than a minute or damage to the
transmission and tires may occur, or the
engine may overheat.
If your vehicle is stuck in mud or snow, you
may rock it out by shifting between forward
and reverse gears, stopping between shifts
in a steady pattern. Press lightly on the
accelerator in each gear.
99
E-Series (TE4) Canada/United States of America, enUSA, Edition date: 202010, First-Printing TransmissionE163185 E163186
Page 110 of 300
REAR VIEW CAMERA (IF EQUIPPED)
WARNING: The rear view camera
system is a reverse aid supplement
device that still requires the driver to use
it in conjunction with the interior and
exterior mirrors for maximum coverage. WARNING:
Objects that are close
to either corner of the bumper or under
the bumper, might not be seen on the
screen due to the limited coverage of the
camera system. WARNING:
Reverse your vehicle
as slow as possible, higher speeds may
limit your reaction time to stop your
vehicle. WARNING:
Use caution when the
rear cargo door is ajar. If the rear cargo
door is ajar, the camera will be out of
position and the video image may be
incorrect. All guidelines disappear when
the rear cargo door is ajar. Some vehicles
may not come equipped with guidelines. WARNING:
Use caution when
turning camera features on or off when
the transmission is not in park (P). Make
sure your vehicle is not moving.
The rear view camera system provides a
video image of the area behind your
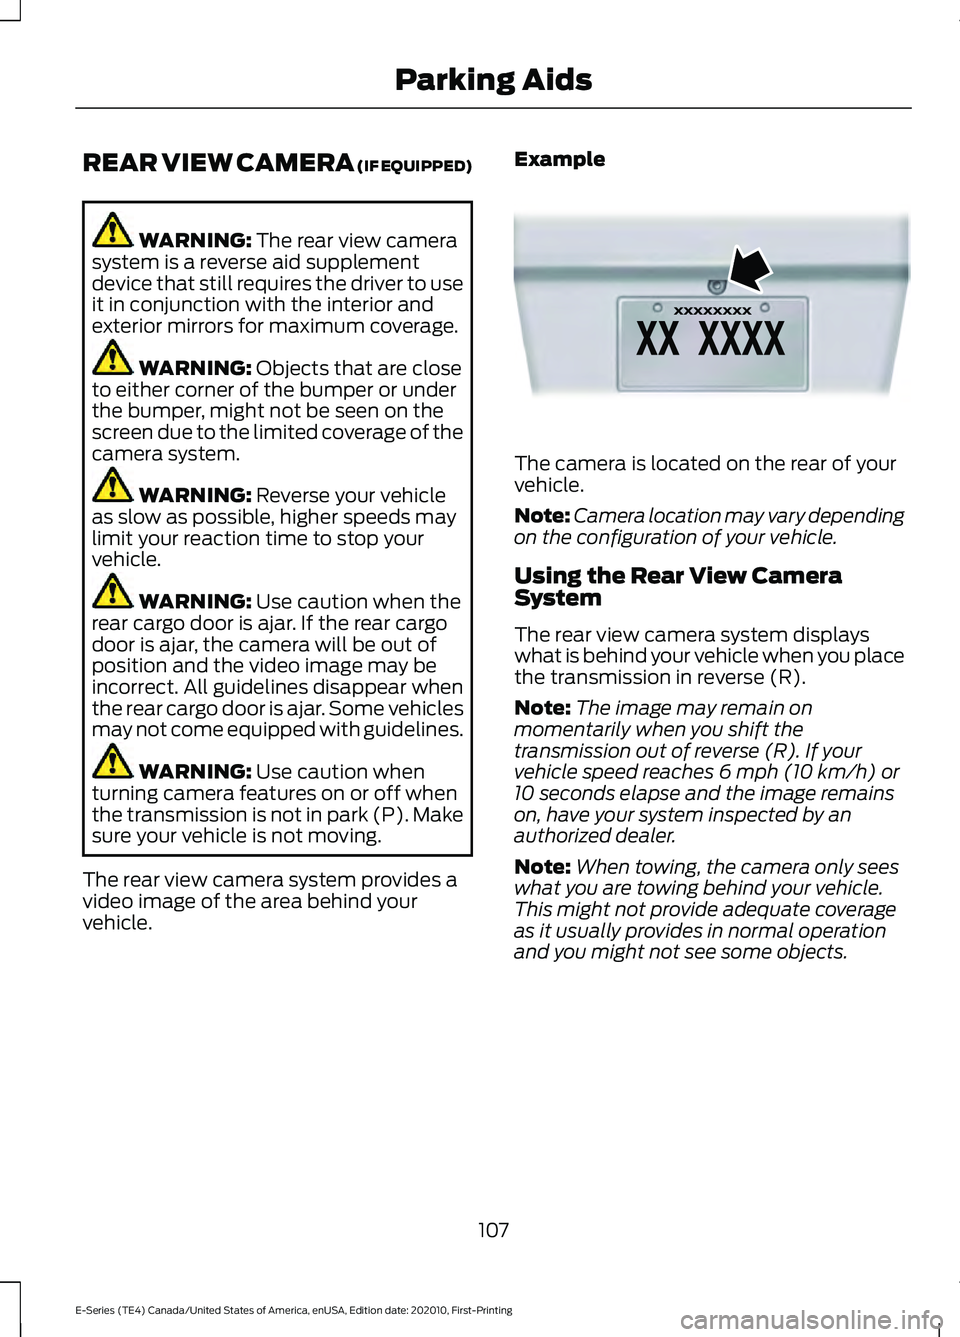
vehicle. Example The camera is located on the rear of your
vehicle.
Note:
Camera location may vary depending
on the configuration of your vehicle.
Using the Rear View Camera
System
The rear view camera system displays
what is behind your vehicle when you place
the transmission in reverse (R).
Note: The image may remain on
momentarily when you shift the
transmission out of reverse (R). If your
vehicle speed reaches 6 mph (10 km/h) or
10 seconds elapse and the image remains
on, have your system inspected by an
authorized dealer.
Note: When towing, the camera only sees
what you are towing behind your vehicle.
This might not provide adequate coverage
as it usually provides in normal operation
and you might not see some objects.
107
E-Series (TE4) Canada/United States of America, enUSA, Edition date: 202010, First-Printing Parking AidsE142435
Page 113 of 300
CANCELING THE SET SPEED
Press the button, or tap the
brake pedal to cancel the set
speed.
Note: The system remembers the set
speed.
Note: The system cancels if the vehicle
speed drops below 10 mph (16 km/h) under
the set speed when driving uphill.
RESUMING THE SET SPEED Press the button.
CRUISE CONTROL
INDICATORS Illuminates when you switch the
system on.
USING ADAPTIVE CRUISE
CONTROL WARNING: You are responsible for
controlling your vehicle at all times. The
system is designed to be an aid and does
not relieve you of your responsibility to
drive with due care and attention. Failure
to follow this instruction could result in
the loss of control of your vehicle,
personal injury or death. WARNING: Pay close attention to
changing road conditions such as
entering or leaving a highway, on roads
with intersections or roundabouts, roads
without visible lanes of travel, roads that
are winding, slippery, unpaved, or steep
slopes. WARNING:
Do not use the system
in poor visibility, for example fog, heavy
rain, spray or snow. WARNING:
Do not use the system
when towing a trailer that has
aftermarket electronic trailer brake
controls. Failure to follow this instruction
could result in the loss of control of your
vehicle, personal injury or death. WARNING:
Do not use tire sizes
other than those recommended because
this can affect the normal operation of
the system. Failure to do so may result
in a loss of vehicle control, which could
result in serious injury. WARNING:
The system may not
detect stationary or slow moving
vehicles below
6 mph (10 km/h). WARNING:
The system does not
detect pedestrians or objects in the road. WARNING:
The system does not
detect oncoming vehicles in the same
lane. WARNING:
The system is not a
crash warning or avoidance system. WARNING:
Do not use the system
with a snow plow blade installed.
The system adjusts your vehicle speed to
maintain the set gap between you and the
vehicle in front of you in the same lane.
You can select four gap settings.
110
E-Series (TE4) Canada/United States of America, enUSA, Edition date: 202010, First-Printing Cruise Control
(If Equipped)E265298 E71340
Page 117 of 300
Automatic cancellation can also occur
when:
•
The tires lose traction.
• You apply the parking brake.
Hilly Condition and Trailer Tow
Usage
You should select a lower gear when the
system is active in situations such as
prolonged downhill driving on steep
grades, for example in mountainous areas.
The system needs additional engine
braking in these situations to reduce the
load on the vehicle ’s regular brake system
to prevent it from overheating.
Note: An audible alarm sounds and the
system shuts down if it applies the brakes
for an extended period of time. This allows
the brakes to cool. The system functions
normally again after the brakes cool.
Note: When towing with adaptive cruise
control, switch on Tow/Haul Mode.
Note: Tow/Haul mode increases the time
gaps and allows more distance for braking.
Switching Adaptive Cruise Control
Off Press and release the button
when the system is in standby
mode, or switch the ignition off.
Note: You erase the set speed and gap
setting when you switch the system off. Detection Issues WARNING: On rare occasions,
detection issues can occur due to the
road infrastructures, for example bridges,
tunnels and safety barriers. In these
cases, the system may brake late or
unexpectedly. At all times, you are
responsible for controlling your vehicle,
supervising the system and intervening,
if required. WARNING:
If the system
malfunctions, have your vehicle checked
as soon as possible.
The radar sensor has a limited field of
view. It may not detect vehicles at all or
detect a vehicle later than expected in
some situations. The lead vehicle graphic
does not illuminate if the system does not
detect a vehicle in front of you.
114
E-Series (TE4) Canada/United States of America, enUSA, Edition date: 202010, First-Printing Cruise Control
(If Equipped)E265297
Page 126 of 300
Note:
A high crown in the road or high
crosswinds may also make the steering
seem to wander or pull.
PRE-COLLISION ASSIST (IF
EQUIPPED) WARNING: You are responsible for
controlling your vehicle at all times. The
system is designed to be an aid and does
not relieve you of your responsibility to
drive with due care and attention. Failure
to follow this instruction could result in
the loss of control of your vehicle,
personal injury or death. WARNING:
The system does not
detect vehicles that are driving in a
different direction, pedestrians at night,
cyclists or animals. Apply the brakes
when necessary. Failure to follow this
instruction could result in the loss of
control of your vehicle, personal injury or
death. WARNING:
The system does not
operate during hard acceleration or
steering. Failure to take care may lead
to a crash or personal injury. WARNING: The system may fail or
operate with reduced function during
cold and severe weather conditions.
Snow, ice, rain, spray and fog can
adversely affect the system. Keep the
front camera and radar free of snow and
ice. Failure to take care may result in the
loss of control of your vehicle, serious
personal injury or death. WARNING:
Some situations and
objects prevent hazard detection. For
example low or direct sunlight, inclement
weather, unconventional vehicle types,
and pedestrians. Apply the brakes when
necessary. Failure to follow this
instruction could result in the loss of
control of your vehicle, personal injury or
death. WARNING:
Take additional care if
your vehicle is heavily loaded or you are
towing a trailer. These conditions could
result in reduced performance of this
system. Failure to follow this instruction
could result in the loss of control of your
vehicle, personal injury or death. WARNING:
The system cannot
help prevent all crashes. Do not rely on
this system to replace driver judgment
and the need to maintain a safe distance
and speed.
Using the Pre-Collision Assist
System
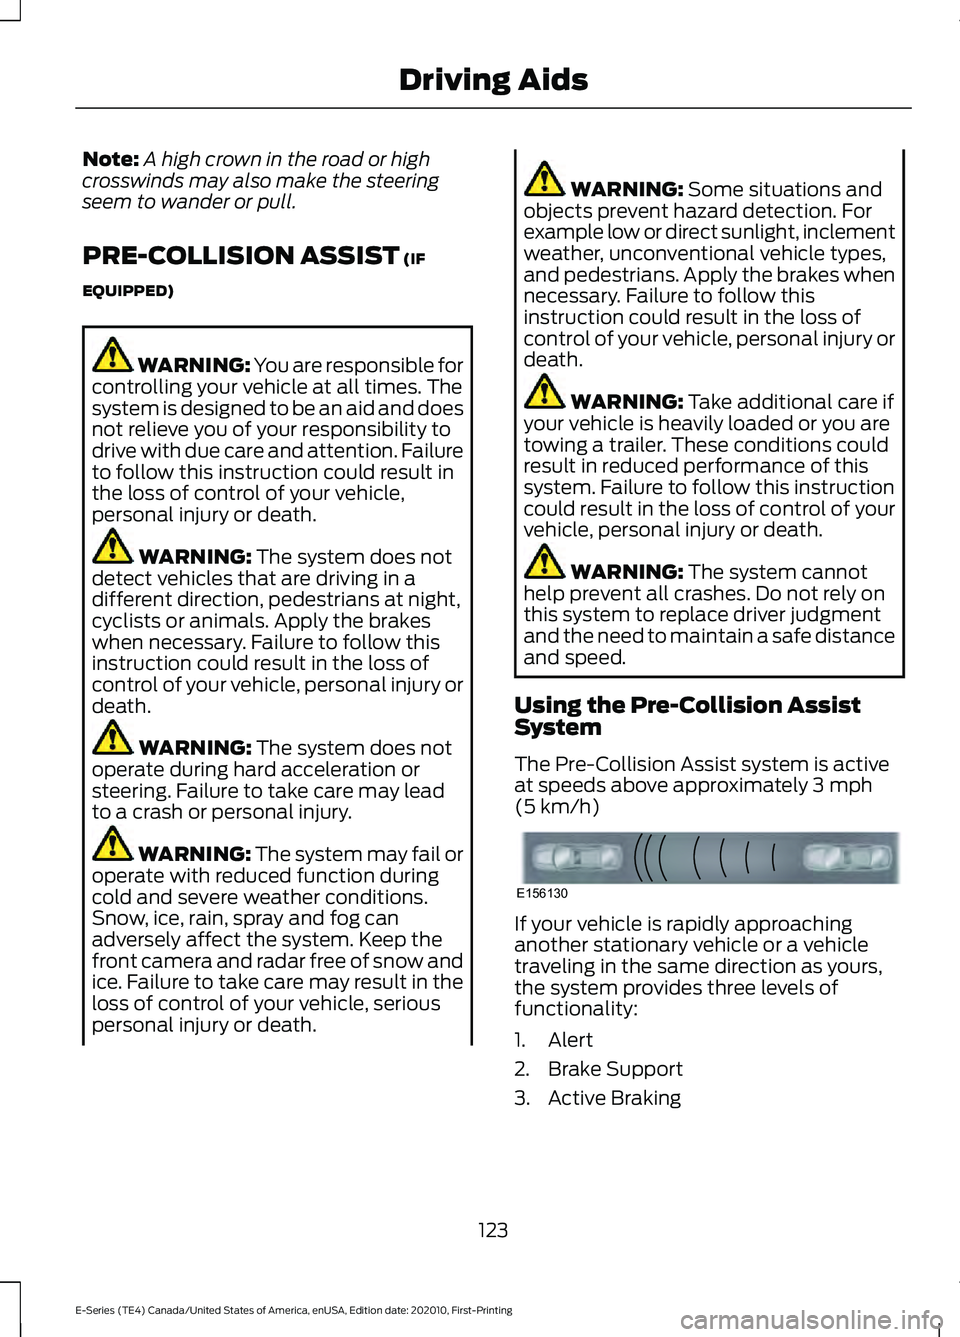
The Pre-Collision Assist system is active
at speeds above approximately
3 mph
(5 km/h) If your vehicle is rapidly approaching
another stationary vehicle or a vehicle
traveling in the same direction as yours,
the system provides three levels of
functionality:
1. Alert
2. Brake Support
3. Active Braking
123
E-Series (TE4) Canada/United States of America, enUSA, Edition date: 202010, First-Printing Driving AidsE156130
Page 131 of 300
is the maximum payload for your
vehicle as built by the assembly
plant. If you install any additional
equipment on your vehicle, you
must determine the new payload.
Subtract the weight of the
equipment from the payload listed
on the Tire and Loading label.
When towing, trailer tongue
weight or king pin weight is also
part of payload.
WARNING: The
appropriate loading capacity of
your vehicle can be limited either
by volume capacity (how much
space is available) or by payload
capacity (how much weight the
vehicle should carry). Once you
have reached the maximum
payload of your vehicle, do not
add more cargo, even if there is
space available. Overloading or
improperly loading your vehicle
can contribute to loss of vehicle
control and vehicle rollover.
GAWR (Gross Axle Weight
Rating)
GAWR is the maximum allowable
weight that a single axle (front or
rear) can carry. These numbers
are on the Safety Compliance
Certification label. The label is
located on the door hinge pillar,
door-latch post, or the door edge
that meets the door-latch post,
next to the driver seating position. The total load on each axle must
never exceed its Gross Axle
Weight Rating.
GVWR (Gross Vehicle Weight
Rating)
GVWR is the maximum allowable
weight of the fully loaded vehicle.
This includes all options,
equipment, passengers and cargo.
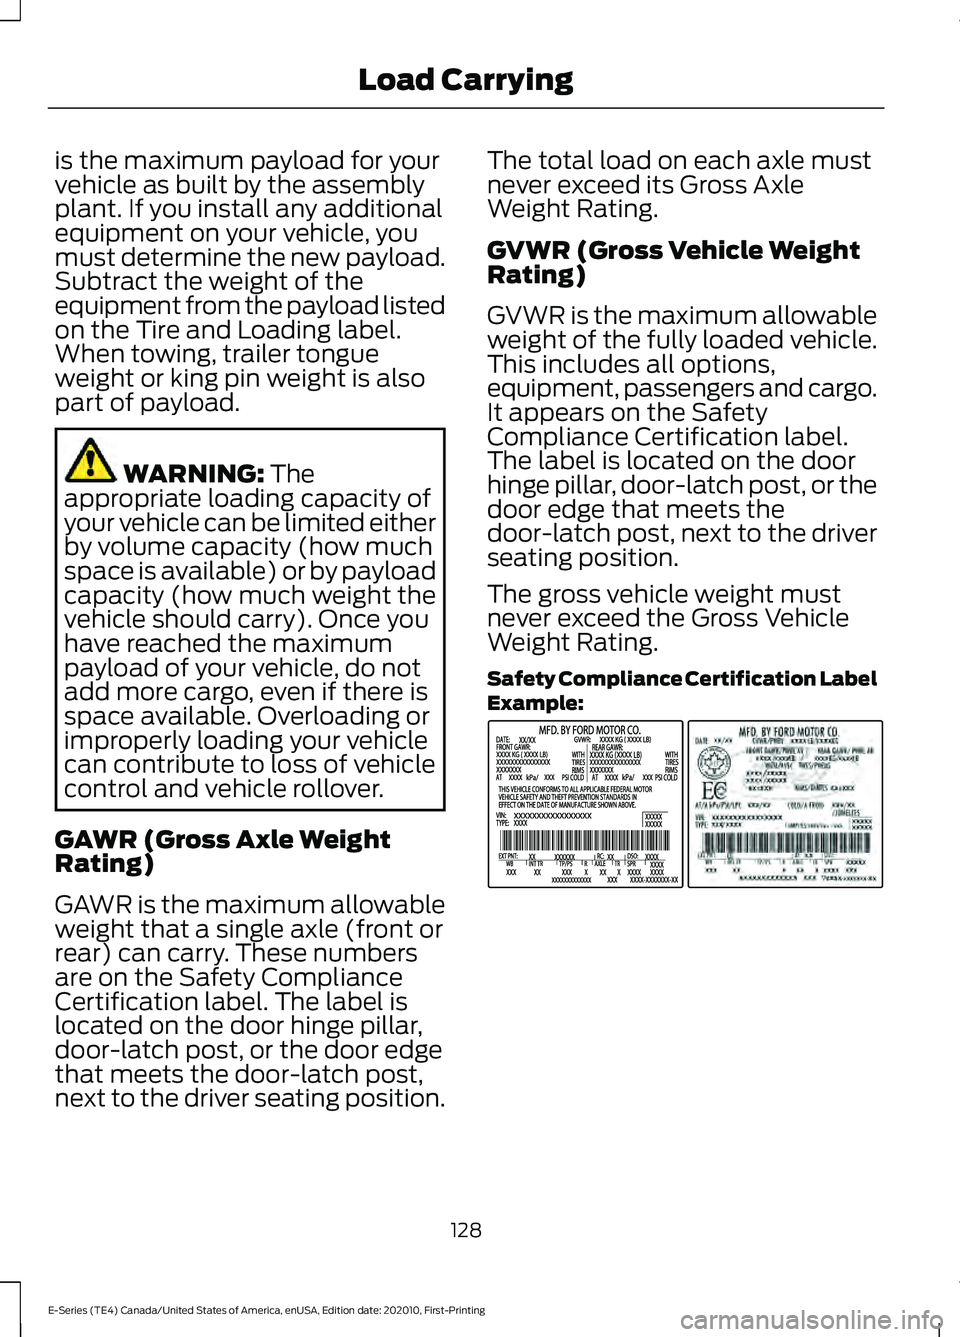
It appears on the Safety
Compliance Certification label.
The label is located on the door
hinge pillar, door-latch post, or the
door edge that meets the
door-latch post, next to the driver
seating position.
The gross vehicle weight must
never exceed the Gross Vehicle
Weight Rating.
Safety Compliance Certification Label
Example:
128
E-Series (TE4) Canada/United States of America, enUSA, Edition date: 202010, First-Printing Load CarryingE198828
Page 132 of 300
WARNING: Exceeding the
Safety Compliance Certification
label vehicle weight limits can
adversely affect the
performance and handling of
your vehicle, cause vehicle
damage and can result in the
loss of control of your vehicle,
serious personal injury or death.
Maximum Loaded Trailer
Weight
Maximum loaded trailer weight is
the highest possible weight of a
fully loaded trailer the vehicle can
tow. Consult an authorized dealer
(or the RV and Trailer Towing
Guide available at an authorized
dealer) for more detailed
information.
GCWR (Gross Combined
Weight Rating)
GCWR is the maximum allowable
weight of the vehicle and the
loaded trailer, including all cargo
and passengers, that the vehicle
can handle without risking
damage. (Important: The towing
vehicle ’s braking system is rated
for operation at Gross Vehicle
Weight Rating, not at Gross
Combined Weight Rating.)
Separate functional brakes should be used for safe control of towed
vehicles and for trailers where the
Gross Combined Weight of the
towing vehicle plus the trailer
exceed the Gross Vehicle Weight
Rating of the towing vehicle.
The gross combined weight must
never exceed the Gross Combined
Weight Rating.
Note:
For trailer towing
information refer to the RV and
Trailer Towing Guide available at
an authorized dealer. WARNING:
Do not exceed
the GVWR or the GAWR
specified on the certification
label. WARNING:
Do not use
replacement tires with lower
load carrying capacities than the
original tires because they may
lower your vehicle's GVWR and
GAWR limitations. Replacement
tires with a higher limit than the
original tires do not increase the
GVWR and GAWR limitations. WARNING: Exceeding any
vehicle weight rating can
adversely affect the
performance and handling of
your vehicle, cause vehicle
damage and can result in the
loss of control of your vehicle,
serious personal injury or death.
129
E-Series (TE4) Canada/United States of America, enUSA, Edition date: 202010, First-Printing Load Carrying