light FORD EDGE 2009 1.G User Guide
[x] Cancel search | Manufacturer: FORD, Model Year: 2009, Model line: EDGE, Model: FORD EDGE 2009 1.GPages: 320, PDF Size: 2.26 MB
Page 35 of 320
RBDS:Available only in FM mode. This feature allows you to search
RBDS-equipped stations for a certain category of music format:
CLASSIC, COUNTRY, INFORM, JAZZ/RB, ROCK, etc.
To activate,press MENU repeatedly until RBDS (ON/OFF) appears in
the display. Use
/to toggle RBDS ON/OFF. When RBDS is OFF,
you will not be able to search for RBDS equipped stations or view the
station name or type. Press OK to close and return to the main menu.
To search for specific RBDS music categories:When the desired
category appears in the display, press
/to find the desired type,
then press and release
SEEK, SEEKor press and hold SCAN to
begin the search.
To view the station name or type:When the desired category appears
in the display, press TEXT/SCAN to toggle between displaying the station
type (COUNTRY, ROCK, etc.) or the station name (WYCD, WXYT, etc.).
BASS:Press MENU to reach the bass setting. Use
/to adjust.
Press OK to close and return to the main menu.
TREB (Treble):Press MENU to reach the treble setting. Use
/to
adjust. Press OK to close and return to the main menu.
BAL (Balance):Press MENU to reach the balance setting. Use
/
to adjust the audio between the left (L) and right (R) speakers. Press
OK to close and return to the main menu.
FADE:Press MENU to reach the fade setting. Use
/to adjust the
audio between the back (B) and front (F) speakers. Press OK to close
and return to the main menu.
SPEED VOL (Speed sensitive volume):Press MENU to reach the
SPEEDVOL setting. Radio volume automatically gets louder with
increasing vehicle speed to compensate for road and wind noise.
Use
/to adjust. Press OK to close and return to the main menu.
The default setting isoff;increasing your vehicle speed will not change
the volume level.
Adjust1–7:Increasing this setting from 1 (lowest setting) to 7 (highest
setting) allows the radio volume to automatically change slightly with
vehicle speed to compensate for road and wind noise.
Recommended level is1–3;SPEED OFF turns the feature off and level 7
is the maximum setting.
2009 Edge(edg)
Owners Guide, 1st Printing
USA(fus)
Entertainment Systems
35
Page 42 of 320
USB port (if equipped)
WARNING:Driving while distracted can result in loss of vehicle
control, accident and injury. Ford strongly recommends that
drivers use extreme caution when using any device that may take their
focus off the road. The driver’s primary responsibility is the safe
operation of their vehicle. Only use cell phones and other devices not
essential to the driving task when it is safe to do so.
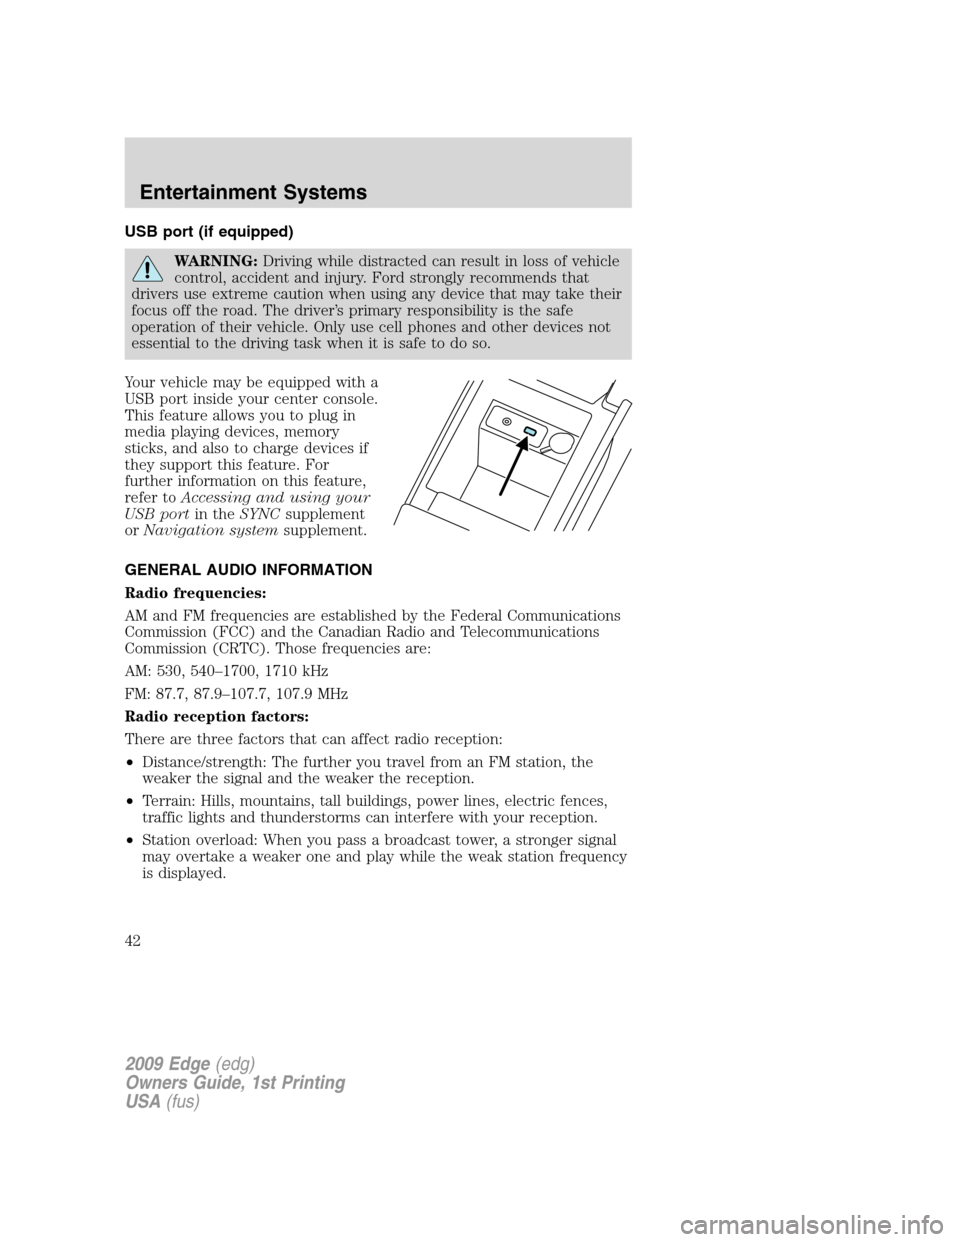
Your vehicle may be equipped with a
USB port inside your center console.
This feature allows you to plug in
media playing devices, memory
sticks, and also to charge devices if
they support this feature. For
further information on this feature,
refer toAccessing and using your
USB portin theSYNCsupplement
orNavigation systemsupplement.
GENERAL AUDIO INFORMATION
Radio frequencies:
AM and FM frequencies are established by the Federal Communications
Commission (FCC) and the Canadian Radio and Telecommunications
Commission (CRTC). Those frequencies are:
AM: 530, 540–1700, 1710 kHz
FM: 87.7, 87.9–107.7, 107.9 MHz
Radio reception factors:
There are three factors that can affect radio reception:
•Distance/strength: The further you travel from an FM station, the
weaker the signal and the weaker the reception.
•Terrain: Hills, mountains, tall buildings, power lines, electric fences,
traffic lights and thunderstorms can interfere with your reception.
•Station overload: When you pass a broadcast tower, a stronger signal
may overtake a weaker one and play while the weak station frequency
is displayed.
2009 Edge(edg)
Owners Guide, 1st Printing
USA(fus)
Entertainment Systems
42
Page 43 of 320
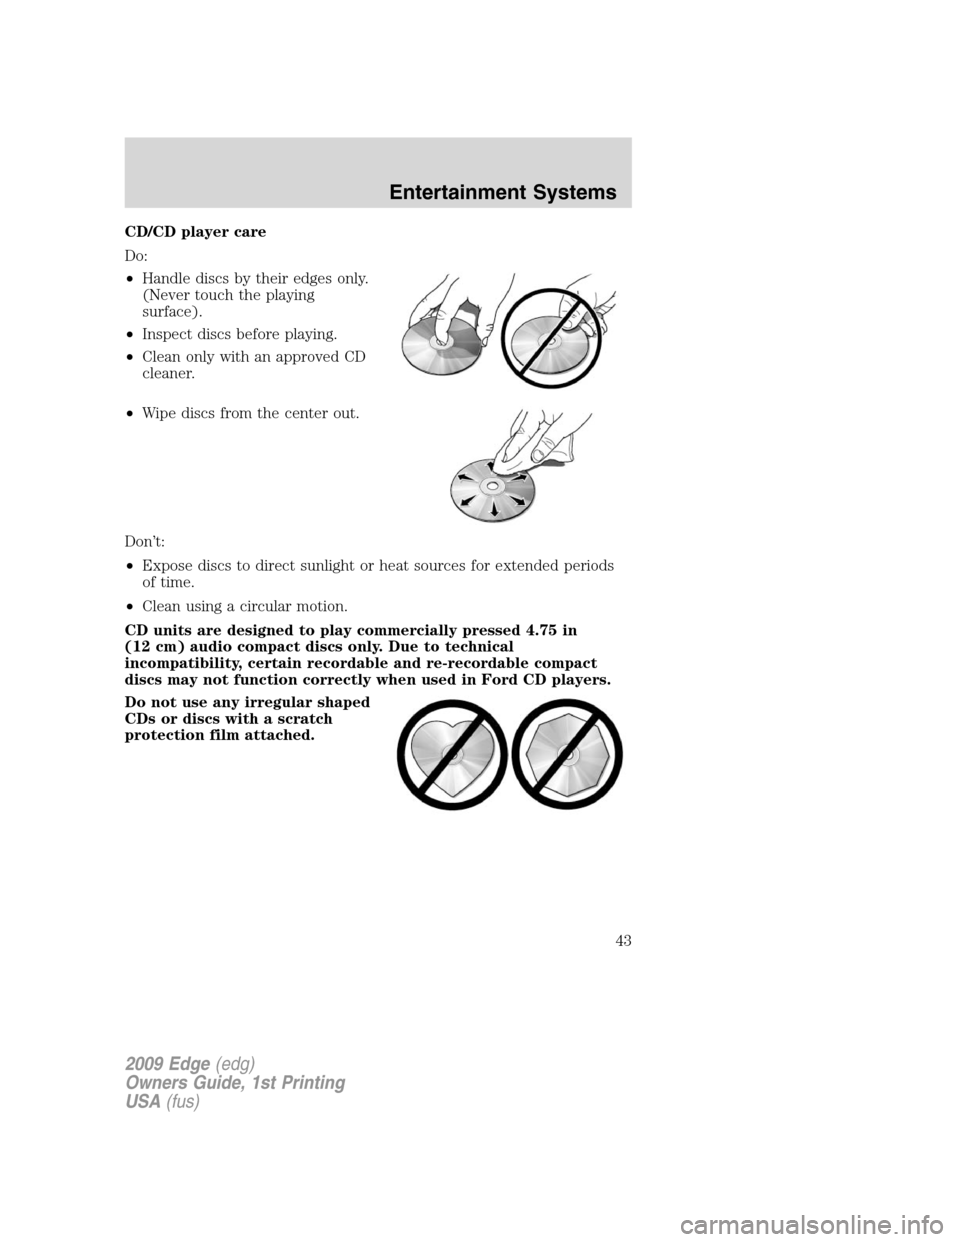
CD/CD player care
Do:
•Handle discs by their edges only.
(Never touch the playing
surface).
•Inspect discs before playing.
•Clean only with an approved CD
cleaner.
•Wipe discs from the center out.
Don’t:
•Expose discs to direct sunlight or heat sources for extended periods
of time.
•Clean using a circular motion.
CD units are designed to play commercially pressed 4.75 in
(12 cm) audio compact discs only. Due to technical
incompatibility, certain recordable and re-recordable compact
discs may not function correctly when used in Ford CD players.
Do not use any irregular shaped
CDs or discs with a scratch
protection film attached.
2009 Edge(edg)
Owners Guide, 1st Printing
USA(fus)
Entertainment Systems
43
Page 50 of 320
5.A/C:Press to activate/deactivate air conditioning. Use with
recirculated air to improve cooling performance and efficiency. Engages
automatically in MAX A/C,
(defrost) and(floor/defrost).
6.Fan speed adjustment:Controls the volume of air circulated in the
vehicle.
Operating tips
•To reduce fog build up on the windshield during humid weather, place
the air flow selector in the
(defrost) or(floor/defrost)
position.
•To reduce humidity build up inside the vehicle, do not drive with the
air flow selector in the O (OFF) position or with
(recirculated
air) engaged and A/C off.
•Do not put objects under the front seats that will interfere with the
airflow to the back seats.
•Remove any snow, ice or leaves from the air intake area at the base of
the windshield.
•To improve the A/C cool down, drive with the windows slightly open
for 2-3 minutes after start up or until the vehicle has been “aired out.”
During extreme high ambient temperatures when idling stationary for
extended periods of time in gear, it is recommended to run the A/C in
the MAX A/C position, reduce blower fan speed from the highest setting
and put the vehicle’s transmission into the PARK gear position to
continue to receive cool air from your A/C system.
For maximum cooling performance in MAX A/C mode:
1. Select MAX A/C.
2. Move temperature control selector to the coolest setting.
3. Set the fan to the highest speed initially, then adjust to maintain
comfort.
To aid in side window defogging/demisting in cold weather:
1. Select
.
2. Select A/C.
3. Adjust the temperature control to maintain comfort.
4. Set the fan speed to the highest setting.
5. Direct the outer instrument panel vents towards the side windows.
2009 Edge(edg)
Owners Guide, 1st Printing
USA(fus)
Climate Controls
50
Page 53 of 320
14.EXT:Press to display outside temperature. Press again to display
cabin temperature settings.Note:Exterior readings are more accurate
when the vehicle is moving.
Operating tips
•To reduce fog build up on the windshield during humid weather,
select
(defrost) or(floor/defrost).
•To reduce humidity build up inside the vehicle, do not drive with the
system OFF or with
(recirculated air) engaged and A/C off.
•Do not put objects under the front seats that will interfere with the
airflow to the back seats.
•Remove any snow, ice or leaves from the air intake area at the base of
the windshield.
•To improve the A/C cool down, drive with the windows slightly open
for 2-3 minutes after start up or until the vehicle has been “aired out.”
During extreme high ambient temperatures when idling stationary for
extended periods of time in gear, it is recommended to run the A/C in
the MAX A/C position, reduce blower fan speed from the highest setting
and put the vehicle’s transmission into the PARK gear position to
continue to receive cool air from your A/C system.
For maximum cooling performance in MAX A/C mode:
•Automatic operation:
1. Press AUTO for full automatic operation.
2. Do not override A/C or
(recirculated air).
3. Set the temperature to 60°F (16°C).
•Manual operation:
1. Select
or.
2. Select A/C and
(recirculated air). Use(recirculated air)
with A/C to provide colder airflow.
3. Set the temperature to 60°F (16°C).
4. Set highest fan setting initially, then adjust to maintain comfort.
To aid in side window defogging/demisting in cold weather:
1. Select
.
2. Select A/C.
2009 Edge(edg)
Owners Guide, 1st Printing
USA(fus)
Climate Controls
53
Page 54 of 320
3. Adjust the temperature control to maintain comfort.
4. Set the fan speed to the highest setting.
5. Direct the outer instrument panel vents towards the side windows.
REAR WINDOW DEFROSTER
R
The rear defroster control is located on the climate control panel and
works to clear the rear window of fog and thin ice.
The engine must be running to operate the rear window defroster.
Press the control to turn the rear window defroster on. An indicator light
on the button will illuminate when active. The rear window defroster
turns off automatically after 15 minutes or when the engine is turned off.
To manually turn off the rear window defroster at any time, press the
control again.
If your vehicle is equipped with both rear defroster and heated mirrors,
the same button will activate both.
Do not use razor blades or other sharp objects to clean the inside
of the rear window or to remove decals from the inside of the
rear window. This may cause damage to the heated grid lines and
will not be covered by your warranty.
CABIN AIR FILTER (IF EQUIPPED)
The cabin air filter element is designed to reduce the concentration of
airborne particles such as dust, spores and pollen in the air being
supplied to the interior of the vehicle. The presence of a particulate filter
element provides the following benefits:
•Improves your driving comfort by reducing particle concentration.
•Improves the interior compartment cleanliness.
•Protects the climate control components from particle deposits.
Note:A cabin air filter must be installed at all times to prevent foreign
objects from entering the system. Running the system without a filter in
place could result in degradation or damage to the system. If your
vehicle is not equipped with a cabin air filter, a protective screen has
been provided in its place and must remain installed at all times.
The access door for the filter is located behind the glove box. For
replacement intervals regarding the cabin air filter, see thescheduled
maintenance information. For more information regarding your filter,
see your authorized dealer.
2009 Edge(edg)
Owners Guide, 1st Printing
USA(fus)
Climate Controls
54
Page 55 of 320
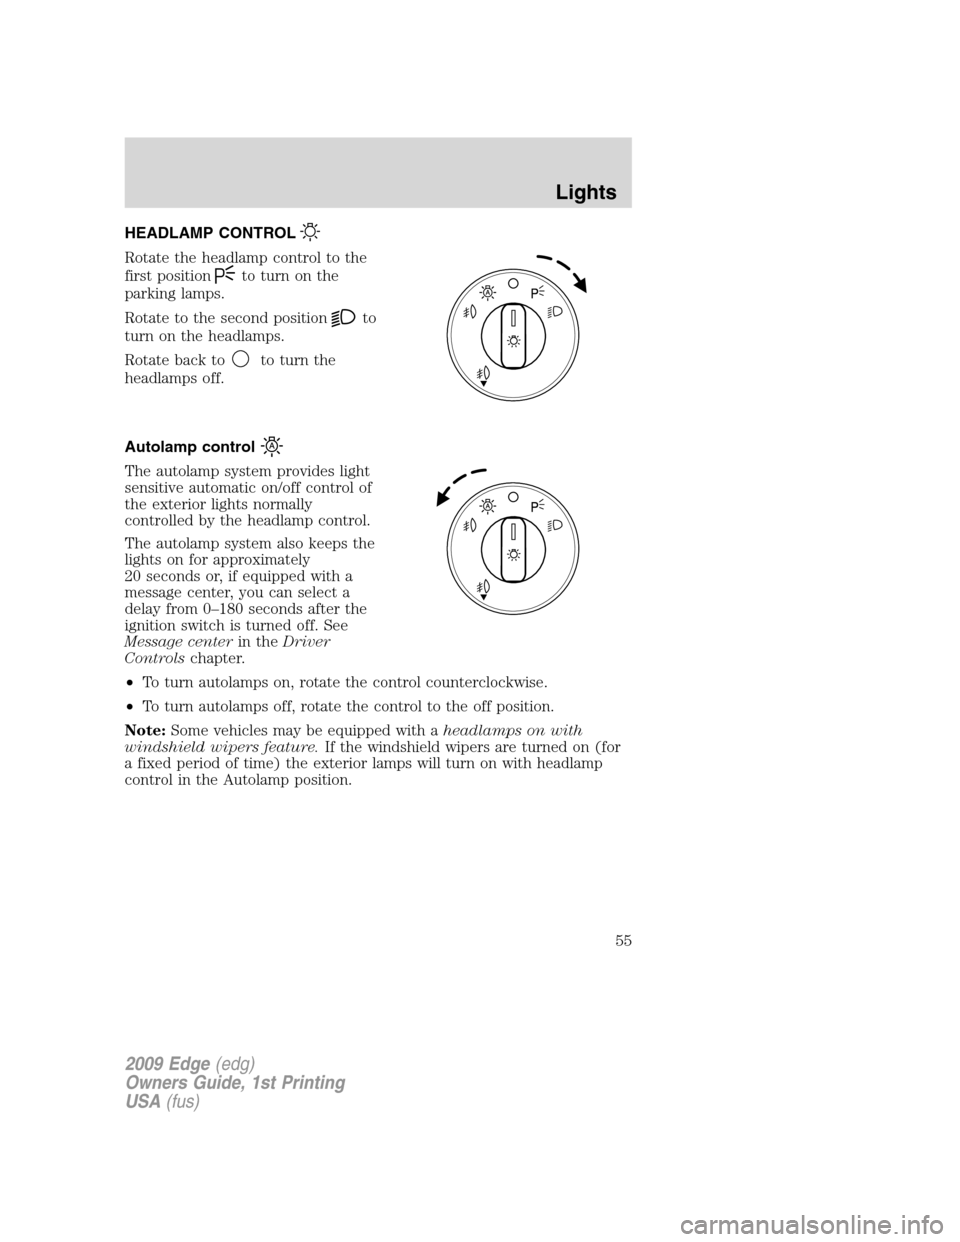
HEADLAMP CONTROL
Rotate the headlamp control to the
first position
to turn on the
parking lamps.
Rotate to the second position
to
turn on the headlamps.
Rotate back to
to turn the
headlamps off.
Autolamp control
The autolamp system provides light
sensitive automatic on/off control of
the exterior lights normally
controlled by the headlamp control.
The autolamp system also keeps the
lights on for approximately
20 seconds or, if equipped with a
message center, you can select a
delay from 0–180 seconds after the
ignition switch is turned off. See
Message centerin theDriver
Controlschapter.
•To turn autolamps on, rotate the control counterclockwise.
•To turn autolamps off, rotate the control to the off position.
Note:Some vehicles may be equipped with aheadlamps on with
windshield wipers feature.If the windshield wipers are turned on (for
a fixed period of time) the exterior lamps will turn on with headlamp
control in the Autolamp position.
2009 Edge(edg)
Owners Guide, 1st Printing
USA(fus)
Lights
55
Page 56 of 320
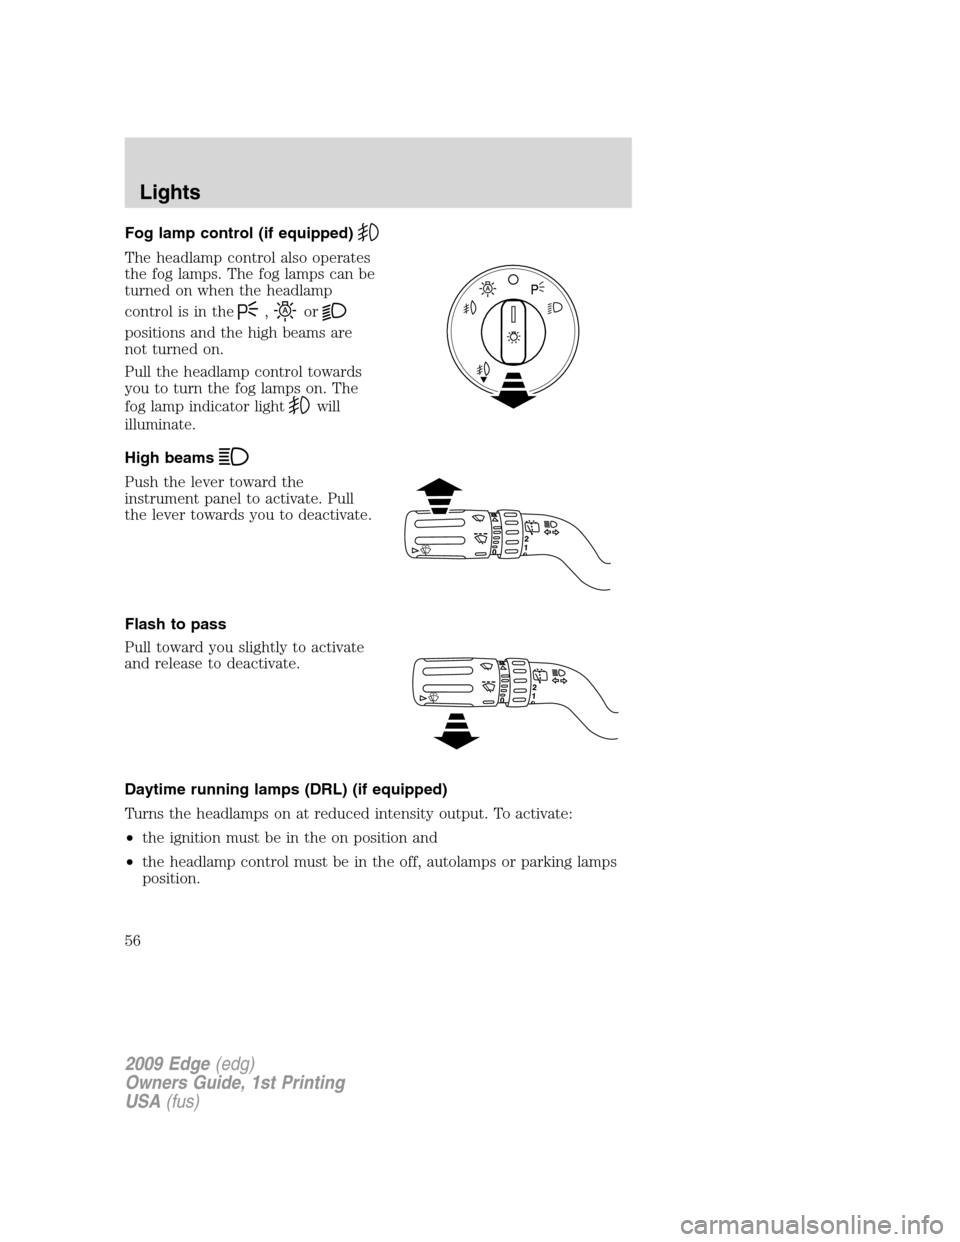
Fog lamp control (if equipped)
The headlamp control also operates
the fog lamps. The fog lamps can be
turned on when the headlamp
control is in the
,or
positions and the high beams are
not turned on.
Pull the headlamp control towards
you to turn the fog lamps on. The
fog lamp indicator light
will
illuminate.
High beams
Push the lever toward the
instrument panel to activate. Pull
the lever towards you to deactivate.
Flash to pass
Pull toward you slightly to activate
and release to deactivate.
Daytime running lamps (DRL) (if equipped)
Turns the headlamps on at reduced intensity output. To activate:
•the ignition must be in the on position and
•the headlamp control must be in the off, autolamps or parking lamps
position.
2009 Edge(edg)
Owners Guide, 1st Printing
USA(fus)
Lights
56
Page 57 of 320
WARNING:Always remember to turn on your headlamps at
dusk or during inclement weather. The Daytime Running Lamp
(DRL) system does not activate the tail lamps and generally may not
provide adequate lighting during these conditions. Failure to activate
your headlamps under these conditions may result in a collision.
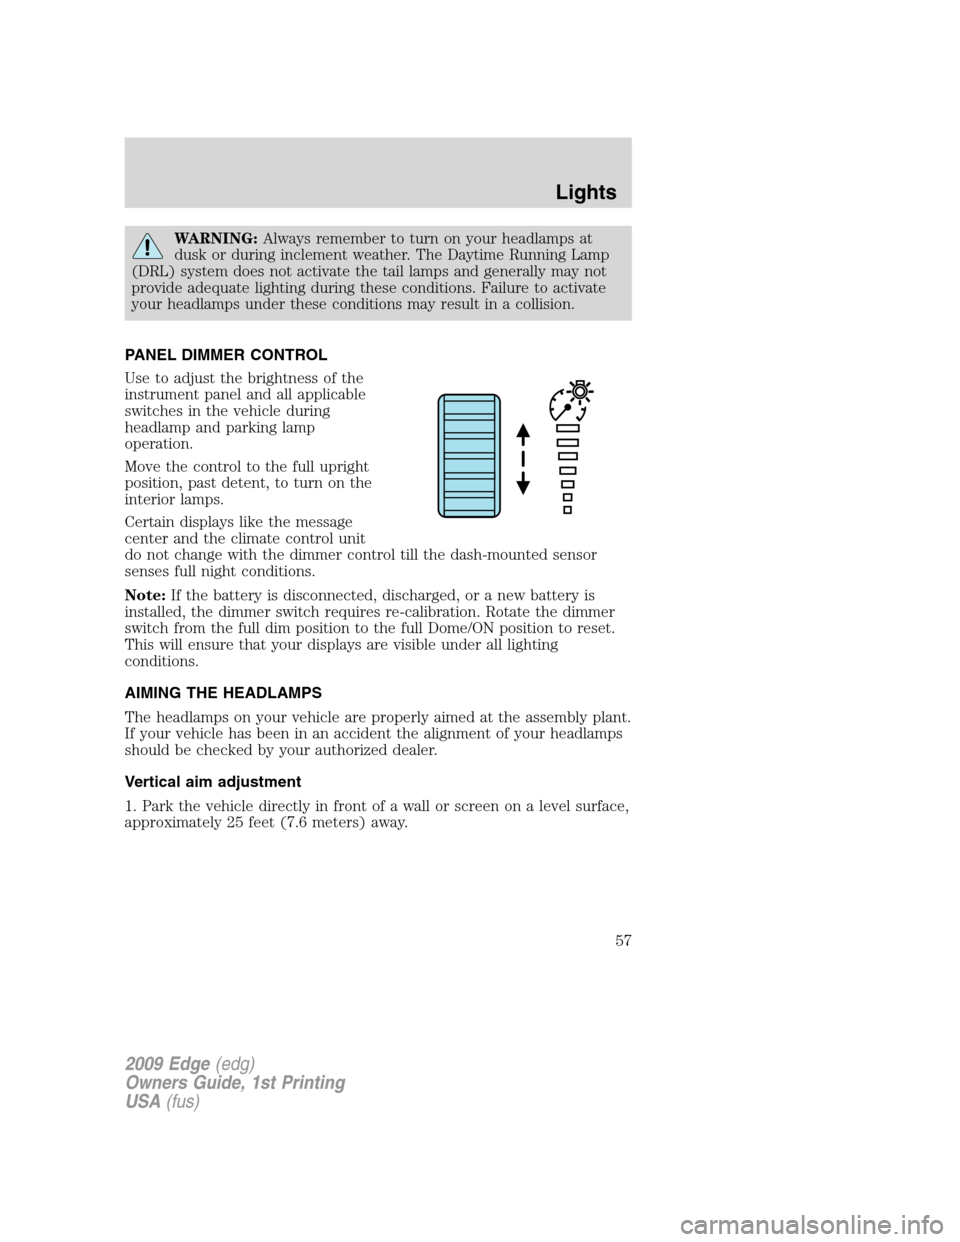
PANEL DIMMER CONTROL
Use to adjust the brightness of the
instrument panel and all applicable
switches in the vehicle during
headlamp and parking lamp
operation.
Move the control to the full upright
position, past detent, to turn on the
interior lamps.
Certain displays like the message
center and the climate control unit
do not change with the dimmer control till the dash-mounted sensor
senses full night conditions.
Note:If the battery is disconnected, discharged, or a new battery is
installed, the dimmer switch requires re-calibration. Rotate the dimmer
switch from the full dim position to the full Dome/ON position to reset.
This will ensure that your displays are visible under all lighting
conditions.
AIMING THE HEADLAMPS
The headlamps on your vehicle are properly aimed at the assembly plant.
If your vehicle has been in an accident the alignment of your headlamps
should be checked by your authorized dealer.
Vertical aim adjustment
1. Park the vehicle directly in front of a wall or screen on a level surface,
approximately 25 feet (7.6 meters) away.
2009 Edge(edg)
Owners Guide, 1st Printing
USA(fus)
Lights
57
Page 58 of 320
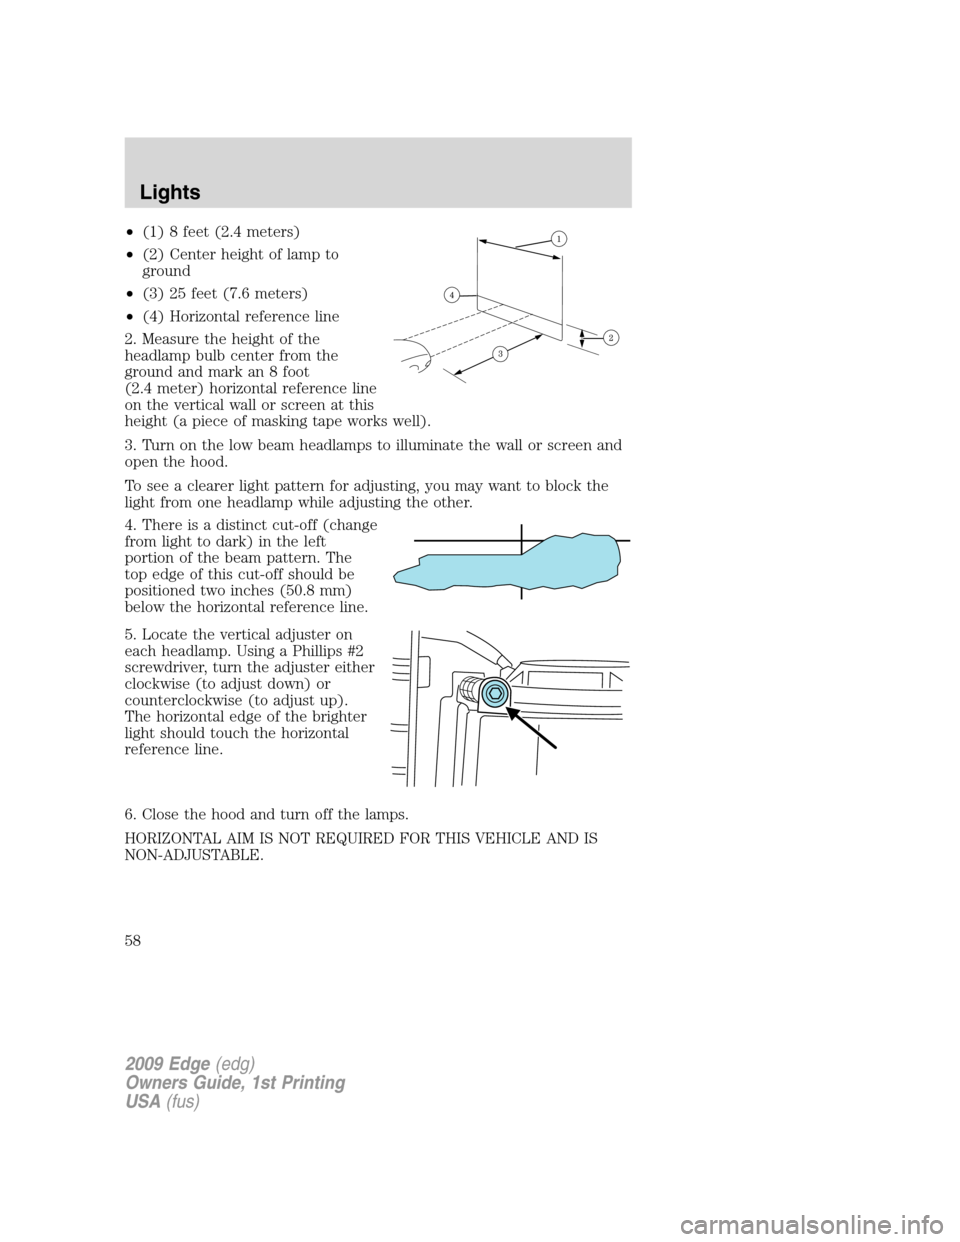
•(1) 8 feet (2.4 meters)
•(2) Center height of lamp to
ground
•(3) 25 feet (7.6 meters)
•(4) Horizontal reference line
2. Measure the height of the
headlamp bulb center from the
ground and mark an 8 foot
(2.4 meter) horizontal reference line
on the vertical wall or screen at this
height (a piece of masking tape works well).
3. Turn on the low beam headlamps to illuminate the wall or screen and
open the hood.
To see a clearer light pattern for adjusting, you may want to block the
light from one headlamp while adjusting the other.
4. There is a distinct cut-off (change
from light to dark) in the left
portion of the beam pattern. The
top edge of this cut-off should be
positioned two inches (50.8 mm)
below the horizontal reference line.
5. Locate the vertical adjuster on
each headlamp. Using a Phillips #2
screwdriver, turn the adjuster either
clockwise (to adjust down) or
counterclockwise (to adjust up).
The horizontal edge of the brighter
light should touch the horizontal
reference line.
6. Close the hood and turn off the lamps.
HORIZONTAL AIM IS NOT REQUIRED FOR THIS VEHICLE AND IS
NON-ADJUSTABLE.
2009 Edge(edg)
Owners Guide, 1st Printing
USA(fus)
Lights
58