technical specifications FORD EDGE 2020 Owners Manual
[x] Cancel search | Manufacturer: FORD, Model Year: 2020, Model line: EDGE, Model: FORD EDGE 2020Pages: 495, PDF Size: 6.38 MB
Page 8 of 495
Engine Coolant Check
..............................284
Automatic Transmission Fluid Check ........................................................................\
288
Brake Fluid Check .......................................
288
Power Steering Fluid Check ...................
289
Changing the 12V Battery ........................
289
Adjusting the Headlamps .........................
291
Washer Fluid Check ...................................
292
Fuel Filter .......................................................
292
Checking the Wiper Blades .....................
293
Changing the Wiper Blades ....................
293
Removing a Headlamp ............................
294
Changing a Bulb .........................................
294
Vehicle Care
General Information ..................................
297
Cleaning Products ......................................
297
Cleaning the Exterior .................................
298
Waxing ............................................................
299
Cleaning the Engine ..................................
299
Cleaning the Windows and Wiper Blades .......................................................................
300
Cleaning the Interior .................................
300
Cleaning the Instrument Panel and Instrument Cluster Lens .......................
301
Cleaning Leather Seats .............................
301
Repairing Minor Paint Damage .............
302
Cleaning the Wheels .................................
302
Vehicle Storage ...........................................
302
Body Styling Kits ........................................
304
Wheels and Tires
General Information ..................................
305
Tire Sealant and Inflator Kit ...................
306
Tire Care ..........................................................
313
Using Summer Tires ..................................
329
Using Snow Chains ....................................
329
Tire Pressure Monitoring System .........
330
Changing a Road Wheel ..........................
333
Technical Specifications ..........................
339Capacities and Specifications
Engine Specifications - 2.0L EcoBoost™
........................................................................\
.
341
Engine Specifications - 2.7L EcoBoost™ ........................................................................\
.
341
Motorcraft Parts - 2.0L EcoBoost™ .....
342
Motorcraft Parts - 2.7L EcoBoost™ ......
343
Vehicle Identification Number ...............
344
Vehicle Certification Label ......................
345
Transmission Code Designation ...........
345
Capacities and Specifications - 2.0L EcoBoost™ ..............................................
346
Capacities and Specifications - 2.7L EcoBoost™, ST .......................................
352
Capacities and Specifications - 2.7L EcoBoost™ ...............................................
359
Bulb Specification Chart .........................
366
Connected Vehicle
What Is a Connected Vehicle .................
368
Connected Vehicle Requirements .......
368
Connected Vehicle Limitations .............
368
Connecting the Vehicle to a Mobile Network .....................................................
368
Connecting the Vehicle to a Wi-Fi Network .....................................................
368
Connected Vehicle – Troubleshooting .......................................................................
369
Vehicle Wi-Fi Hotspot
Creating a Vehicle Wi-Fi Hotspot ...........
371
Changing the Vehicle Wi-Fi Hotspot Name or Password ..................................
371
Audio System
General Information ...................................
372
Audio Unit - Vehicles With: SYNC 3 ......
372
Audio Unit - Vehicles With: SYNC 3/Bang and Olufsen Audio System .................
374
Digital Radio ..................................................
375
Satellite Radio ..............................................
377
5
Edge (CDQ) Canada/United States of America, enUSA, Edition date: 201907, Third-Printing- Table of Contents
Page 55 of 495
GENERAL INFORMATION ON
RADIO FREQUENCIES
This device complies with Part 15 of the
FCC Rules and with Industry Canada
license-exempt RSS standard(s).
Operation is subject to the following two
conditions: (1) This device may not cause
harmful interference, and (2) This device
must accept any interference received,
including interference that may cause
undesired operation.
WARNING: Changes or
modifications not expressively approved
by the party responsible for compliance
could void the user's authority to operate
the equipment. The term "IC:" before the
radio certification number only signifies
that Industry Canada technical
specifications were met.
The typical operating range for your
transmitter is approximately
33 ft (10 m).
Vehicles with the remote start feature will
have a greater range.
One of the following could cause a
decrease in operating range:
• Weather conditions.
• Nearby radio towers.
• Structures around the vehicle.
• Other vehicles parked next to your
vehicle.
The radio frequency used by your remote
control can also be used by other radio
transmitters, for example amateur radios,
medical equipment, wireless headphones,
wireless remote controls, cell phones,
battery chargers and alarm systems. If the
frequencies are jammed, you will not be
able to use your remote control. You can
lock and unlock the doors with the key.
Note: Make sure to lock your vehicle before
leaving it unattended. Note:
If you are in range, the remote control
will operate if you press any button
unintentionally.
Note: The remote control contains sensitive
electrical components. Exposure to moisture
or impact may cause permanent damage.
Intelligent Access
(If Equipped)
The system uses a radio frequency signal
to communicate with your vehicle and
authorize your vehicle to unlock when one
of the following conditions are met:
• You activate the front exterior door
handle switch.
• You press the luggage compartment
button.
• You press a button on the transmitter.
If excessive radio frequency interference
is present in the area or if the transmitter
battery is low, you may need to
mechanically unlock your door. You can
use the mechanical key blade in your
intelligent access key to open the driver
door in this situation. See
Remote
Control (page 52).
REMOTE CONTROL
Intelligent Access Key
Note: You may not be able to shift out of
park (P) unless the remote control is inside
your vehicle.
52
Edge (CDQ) Canada/United States of America, enUSA, Edition date: 201907, Third-Printing- Keys and Remote Controls
Page 155 of 495

5. Press and hold the previously
programmed button on the visor for 2
seconds. Repeat this step up to 3 times
until the garage door moves.
Programming is now complete.
Clearing a HomeLink Device
To erase programming from the three
HomeLink buttons press and hold the two
outer HomeLink buttons until the indicator
light begins to flash. The indicator light will
begin flashing in 10 to 20 seconds, at which
time both buttons should be released.
Programming has now been erased, and
the indicator light should blink slowly to
indicate the device is in train mode when
any of the three HomeLink buttons are
pressed.
FCC and RSS-210 Industry Canada
Compliance
This device complies with Part 15 of the
FCC Rules and with RSS-210 of Industry
Canada. Operation is subject to the
following two conditions: (1) this device
may not cause harmful interference, and
(2) this device must accept any
interference received, including
interference that may cause undesired
operation. WARNING: Changes or
modifications not expressively approved
by the party responsible for compliance
could void the user's authority to operate
the equipment. The term "IC:" before the
radio certification number only signifies
that Industry Canada technical
specifications were met. This equipment complies with FCC
radiation exposure limits set forth for an
uncontrolled environment. End Users must
follow the specific operating instructions
for satisfying RF exposure compliance. This
transmitter must be at least
8 in (20 cm)
from the user and must not be co-located
or operating in conjunction with any other
antenna or transmitter.
The term “IC:” before the
certification/registration number only
signifies that Industry Canada technical
specifications were met.
152
Edge (CDQ) Canada/United States of America, enUSA, Edition date: 201907, Third-Printing- Garage Door Opener
(If Equipped)
Page 157 of 495
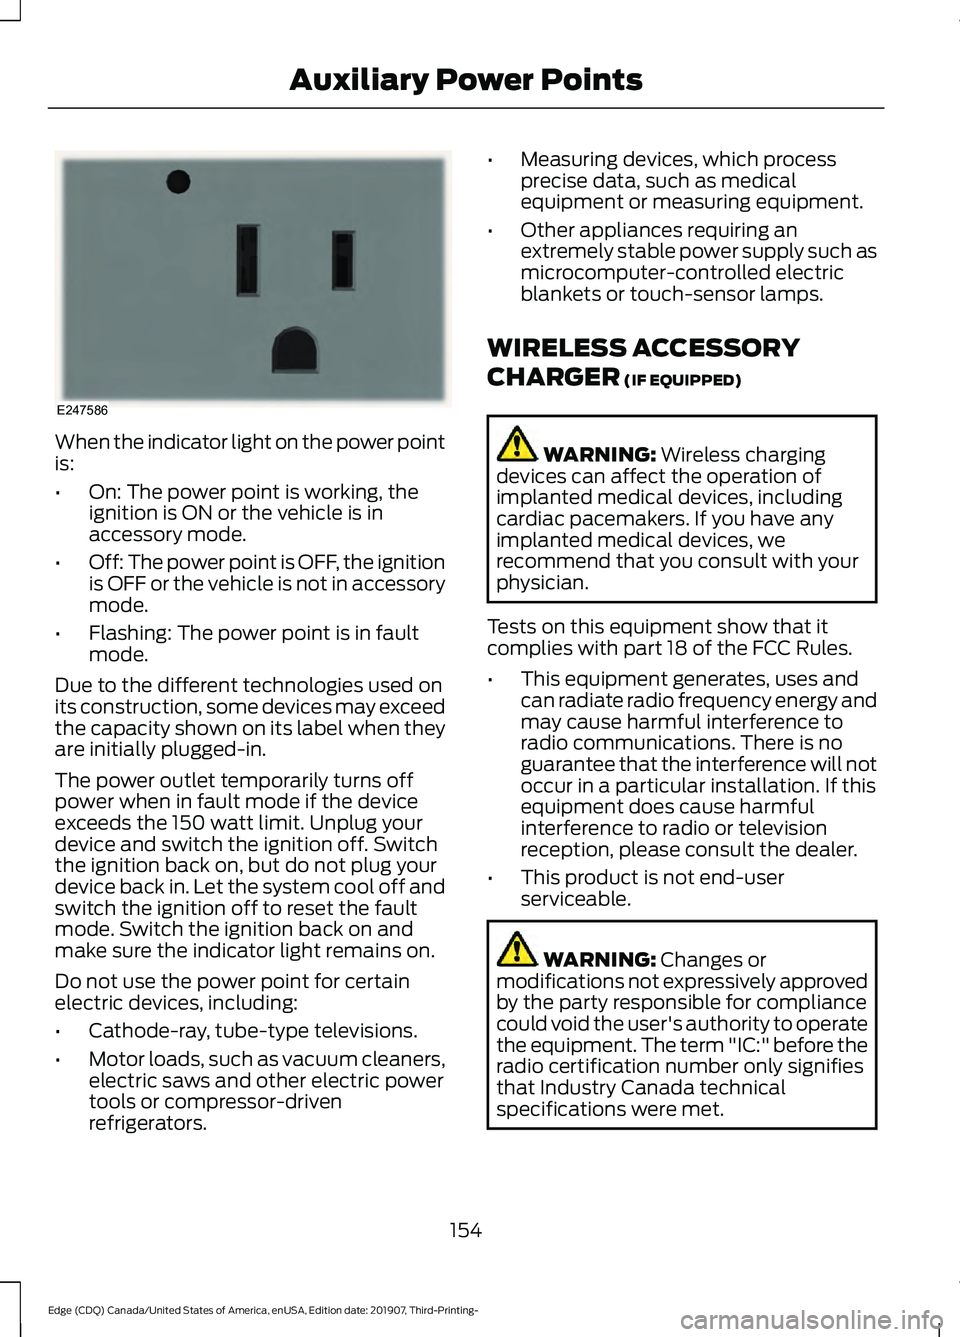
When the indicator light on the power point
is:
•
On: The power point is working, the
ignition is ON or the vehicle is in
accessory mode.
• Off: The power point is OFF, the ignition
is OFF or the vehicle is not in accessory
mode.
• Flashing: The power point is in fault
mode.
Due to the different technologies used on
its construction, some devices may exceed
the capacity shown on its label when they
are initially plugged-in.
The power outlet temporarily turns off
power when in fault mode if the device
exceeds the 150 watt limit. Unplug your
device and switch the ignition off. Switch
the ignition back on, but do not plug your
device back in. Let the system cool off and
switch the ignition off to reset the fault
mode. Switch the ignition back on and
make sure the indicator light remains on.
Do not use the power point for certain
electric devices, including:
• Cathode-ray, tube-type televisions.
• Motor loads, such as vacuum cleaners,
electric saws and other electric power
tools or compressor-driven
refrigerators. •
Measuring devices, which process
precise data, such as medical
equipment or measuring equipment.
• Other appliances requiring an
extremely stable power supply such as
microcomputer-controlled electric
blankets or touch-sensor lamps.
WIRELESS ACCESSORY
CHARGER (IF EQUIPPED) WARNING:
Wireless charging
devices can affect the operation of
implanted medical devices, including
cardiac pacemakers. If you have any
implanted medical devices, we
recommend that you consult with your
physician.
Tests on this equipment show that it
complies with part 18 of the FCC Rules.
• This equipment generates, uses and
can radiate radio frequency energy and
may cause harmful interference to
radio communications. There is no
guarantee that the interference will not
occur in a particular installation. If this
equipment does cause harmful
interference to radio or television
reception, please consult the dealer.
• This product is not end-user
serviceable. WARNING:
Changes or
modifications not expressively approved
by the party responsible for compliance
could void the user's authority to operate
the equipment. The term "IC:" before the
radio certification number only signifies
that Industry Canada technical
specifications were met.
154
Edge (CDQ) Canada/United States of America, enUSA, Edition date: 201907, Third-Printing- Auxiliary Power PointsE247586
Page 334 of 495
2. This device must accept any
interference received, including
interference that may cause undesired
operation. WARNING: Changes or
modifications not expressively approved
by the party responsible for compliance
could void the user's authority to operate
the equipment. The term "IC:" before the
radio certification number only signifies
that Industry Canada technical
specifications were met.
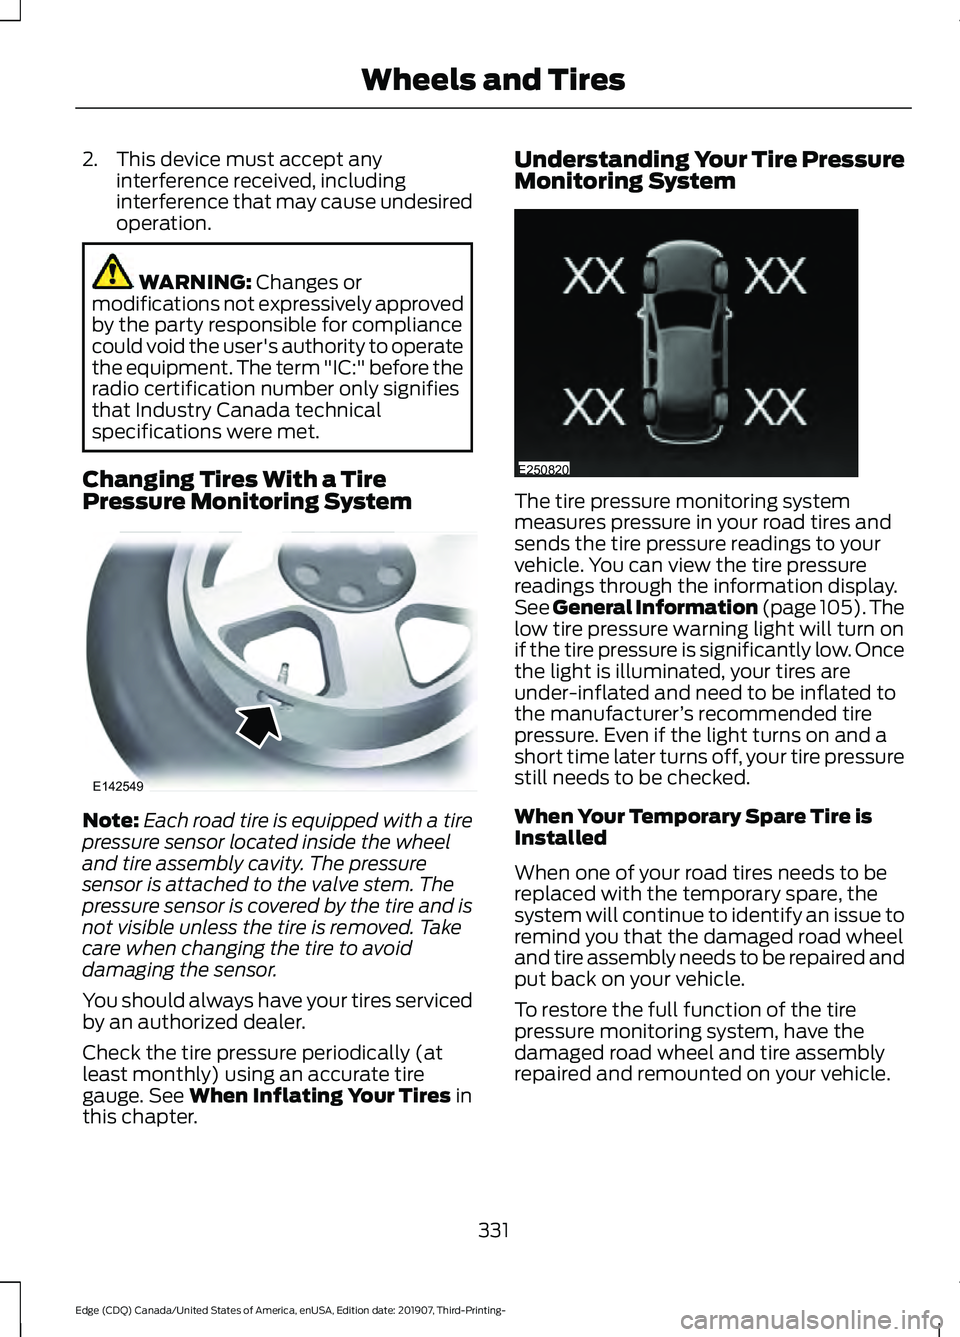
Changing Tires With a Tire
Pressure Monitoring System Note:
Each road tire is equipped with a tire
pressure sensor located inside the wheel
and tire assembly cavity. The pressure
sensor is attached to the valve stem. The
pressure sensor is covered by the tire and is
not visible unless the tire is removed. Take
care when changing the tire to avoid
damaging the sensor.
You should always have your tires serviced
by an authorized dealer.
Check the tire pressure periodically (at
least monthly) using an accurate tire
gauge. See
When Inflating Your Tires in
this chapter. Understanding Your Tire Pressure
Monitoring System
The tire pressure monitoring system
measures pressure in your road tires and
sends the tire pressure readings to your
vehicle. You can view the tire pressure
readings through the information display.
See General Information (page 105). The
low tire pressure warning light will turn on
if the tire pressure is significantly low. Once
the light is illuminated, your tires are
under-inflated and need to be inflated to
the manufacturer
’s recommended tire
pressure. Even if the light turns on and a
short time later turns off, your tire pressure
still needs to be checked.
When Your Temporary Spare Tire is
Installed
When one of your road tires needs to be
replaced with the temporary spare, the
system will continue to identify an issue to
remind you that the damaged road wheel
and tire assembly needs to be repaired and
put back on your vehicle.
To restore the full function of the tire
pressure monitoring system, have the
damaged road wheel and tire assembly
repaired and remounted on your vehicle.
331
Edge (CDQ) Canada/United States of America, enUSA, Edition date: 201907, Third-Printing- Wheels and TiresE142549 E250820
Page 340 of 495
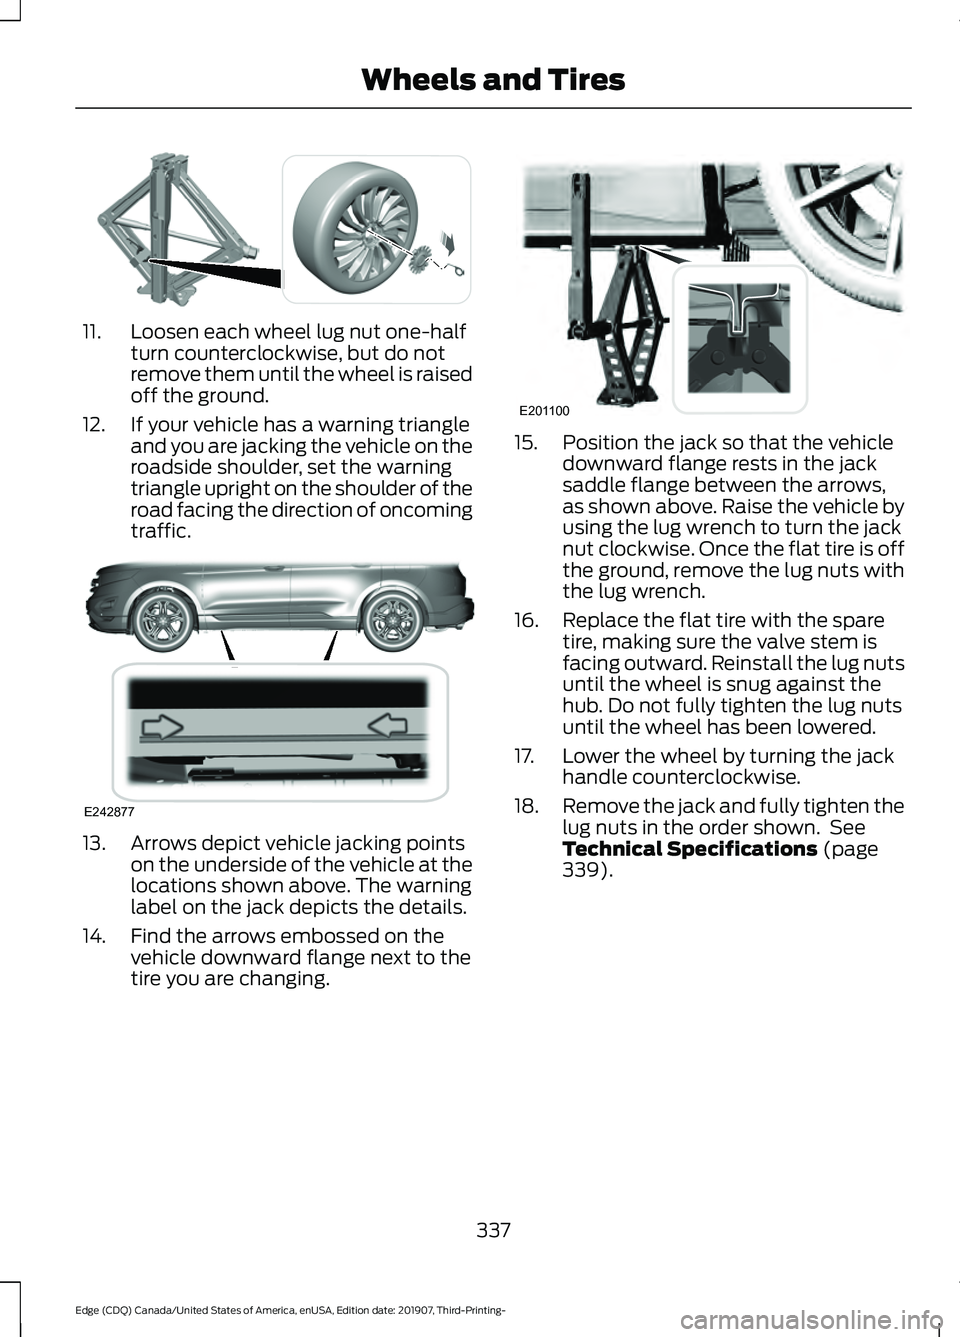
11. Loosen each wheel lug nut one-half
turn counterclockwise, but do not
remove them until the wheel is raised
off the ground.
12. If your vehicle has a warning triangle and you are jacking the vehicle on the
roadside shoulder, set the warning
triangle upright on the shoulder of the
road facing the direction of oncoming
traffic. 13. Arrows depict vehicle jacking points
on the underside of the vehicle at the
locations shown above. The warning
label on the jack depicts the details.
14. Find the arrows embossed on the vehicle downward flange next to the
tire you are changing. 15. Position the jack so that the vehicle
downward flange rests in the jack
saddle flange between the arrows,
as shown above. Raise the vehicle by
using the lug wrench to turn the jack
nut clockwise. Once the flat tire is off
the ground, remove the lug nuts with
the lug wrench.
16. Replace the flat tire with the spare tire, making sure the valve stem is
facing outward. Reinstall the lug nuts
until the wheel is snug against the
hub. Do not fully tighten the lug nuts
until the wheel has been lowered.
17. Lower the wheel by turning the jack handle counterclockwise.
18. Remove the jack and fully tighten the
lug nuts in the order shown. See
Technical Specifications (page
339).
337
Edge (CDQ) Canada/United States of America, enUSA, Edition date: 201907, Third-Printing- Wheels and TiresE294584 E242877 E201100
Page 342 of 495
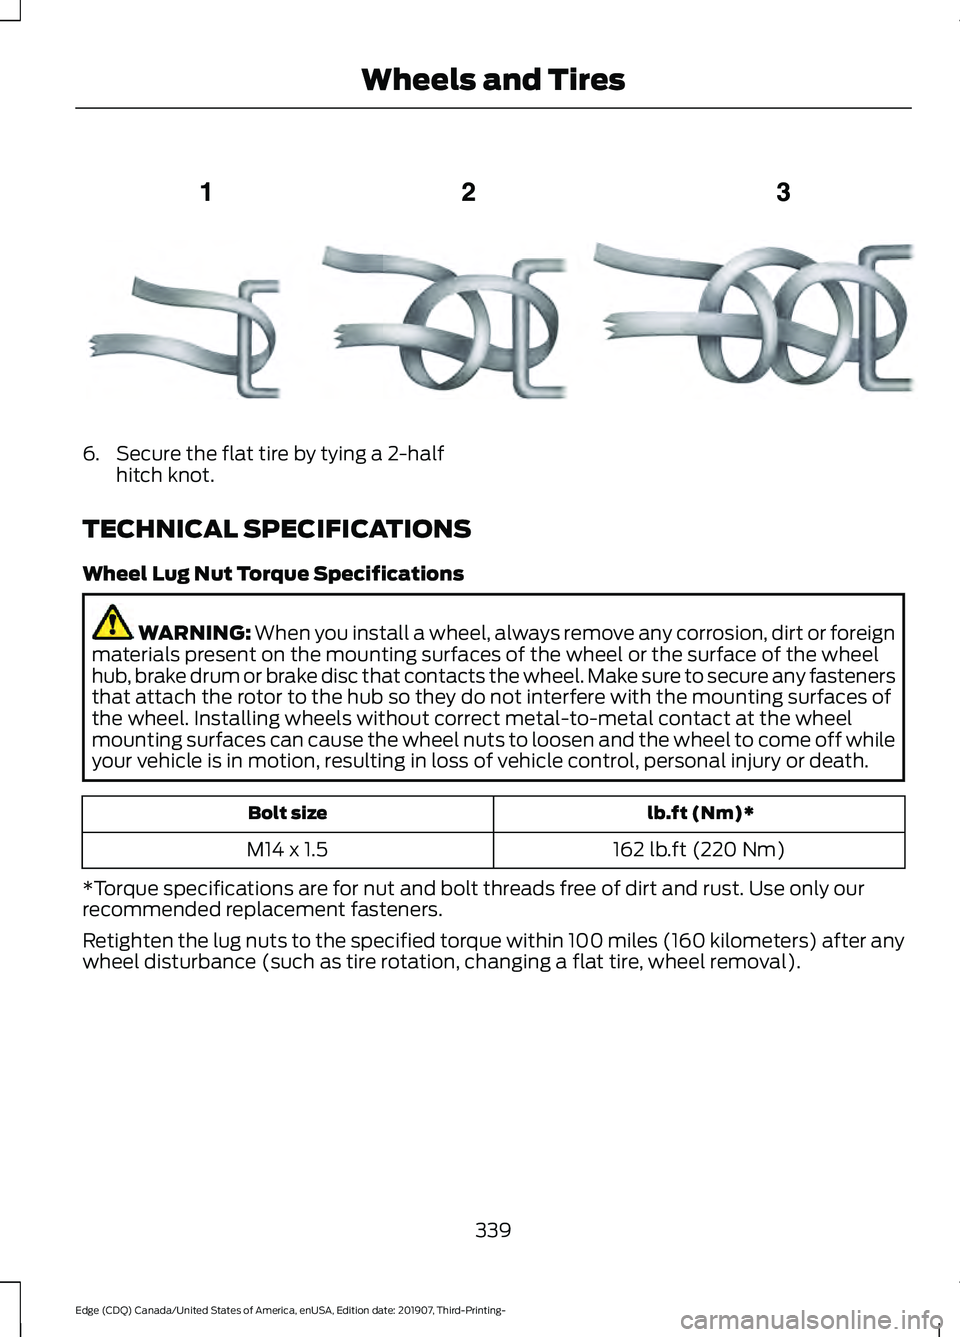
6. Secure the flat tire by tying a 2-half
hitch knot.
TECHNICAL SPECIFICATIONS
Wheel Lug Nut Torque Specifications WARNING: When you install a wheel, always remove any corrosion, dirt or foreign
materials present on the mounting surfaces of the wheel or the surface of the wheel
hub, brake drum or brake disc that contacts the wheel. Make sure to secure any fasteners
that attach the rotor to the hub so they do not interfere with the mounting surfaces of
the wheel. Installing wheels without correct metal-to-metal contact at the wheel
mounting surfaces can cause the wheel nuts to loosen and the wheel to come off while
your vehicle is in motion, resulting in loss of vehicle control, personal injury or death. lb.ft (Nm)*
Bolt size
162 lb.ft (220 Nm)
M14 x 1.5
*Torque specifications are for nut and bolt threads free of dirt and rust. Use only our
recommended replacement fasteners.
Retighten the lug nuts to the specified torque within 100 miles (160 kilometers) after any
wheel disturbance (such as tire rotation, changing a flat tire, wheel removal).
339
Edge (CDQ) Canada/United States of America, enUSA, Edition date: 201907, Third-Printing- Wheels and TiresE143746
Page 476 of 495
including any copyrighted material or
music file information. You agree that
Gracenote may enforce its respective
rights, collectively or separately, under this
agreement against you, directly in each
company's own name.
Gracenote uses a unique identifier to track
queries for statistical purposes. The
purpose of a randomly assigned numeric
identifier is to allow Gracenote to count
queries without knowing anything about
who you are. For more information, see the
web page at www.gracenote.com for the
Gracenote Privacy Policy.
THE GRACENOTE SOFTWARE, EACH ITEM
OF GRACENOTE DATA AND THE
GRACENOTE CONTENT ARE LICENSED
TO YOU "AS IS". NEITHER GRACENOTE
MAKES ANY REPRESENTATIONS OR
WARRANTIES, EXPRESS OR IMPLIED,
REGARDING THE ACCURACY OF ANY
GRACENOTE DATA FROM THE
GRACENOTE SERVERS OR GRACENOTE
CONTENT. GRACENOTE COLLECTIVELY
AND SEPARATELY RESERVE THE RIGHT
TO DELETE DATA AND/OR CONTENT
FROM THE COMPANIES' RESPECTIVE
SERVERS OR, IN THE CASE OF
GRACENOTE, CHANGE DATA
CATEGORIES FOR ANY CAUSE THAT
GRACENOTE DEEMS SUFFICIENT. NO
WARRANTY IS MADE THAT EITHER
GRACENOTE CONTENT OR THE
GRACENOTE SOFTWARE OR
GRACENOTE SERVERS ARE ERROR-FREE
OR THAT THE FUNCTIONING OF THE
GRACENOTE SOFTWARE OR
GRACENOTE SERVERS WILL BE
UNINTERRUPTED. GRACENOTE IS NOT
OBLIGATED TO PROVIDE YOU WITH ANY
ENHANCED OR ADDITIONAL DATA TYPES
THAT GRACENOTE MAY CHOOSE TO
PROVIDE IN THE FUTURE AND IS FREE
TO DISCONTINUE ITS ONLINE SERVICES
AT ANY TIME. GRACENOTE DISCLAIM ALL
WARRANTIES EXPRESS OR IMPLIED,
INCLUDING, BUT NOT LIMITED TO,
IMPLIED WARRANTIES OF
MERCHANTABILITY, FITNESS FOR A
PARTICULAR PURPOSE, TITLE, AND
NON-INFRINGEMENT. NEITHER
GRACENOTE WARRANTS THE RESULTS
THAT WILL BE OBTAINED BY YOUR USE
OF THE GRACENOTE SOFTWARE OR ANY
GRACENOTE SERVER. IN NO CASE WILL
GRACENOTE BE LIABLE FOR ANY
CONSEQUENTIAL OR INCIDENTAL
DAMAGES OR FOR ANY LOST PROFITS
OR LOST REVENUES FOR ANY REASON
WHATSOEVER. © Gracenote 2007.
Radio Frequency Statement
FCC ID: ACJ-SYNCG3-L
IC: 216B-SYNCG3-L
This device complies with Part 15 of the
FCC Rules and with RSS-210 of Industry
Canada. Operation is subject to the
following two conditions:
(1) This device may not cause harmful
interference, and
(2)
this device must accept any
interference received, including
interference that may cause undesired
operation. WARNING:
Changes or
modifications not expressively approved
by the party responsible for compliance
could void the user's authority to operate
the equipment. The term "IC:" before the
radio certification number only signifies
that Industry Canada technical
specifications were met.
The antenna used for this transmitter must
not be co-located or operating in
conjunction with any other antenna or
transmitter.
473
Edge (CDQ) Canada/United States of America, enUSA, Edition date: 201907, Third-Printing- Appendices
Page 479 of 495

WARNING: Changes or
modifications not expressively approved
by the party responsible for compliance
could void the user's authority to operate
the equipment. The term "IC:" before the
radio certification number only signifies
that Industry Canada technical
specifications were met.
These devices comply with Part 15 of the
FCC Rules and with RSS-210 of Industry
Canada. Operation is subject to the
following two conditions:
1. The device does not cause harmful interference.
2. The device accepts any interference received, including interference that
could cause undesired operation.
TYPE APPROVALS
Radio Frequency Certifications for
Blind Spot Information System
(If
Equipped)
Argentina Ghana
Malaysia
Paraguay
476
Edge (CDQ) Canada/United States of America, enUSA, Edition date: 201907, Third-Printing- AppendicesE337180 E269695 E269697 E337181
Page 480 of 495
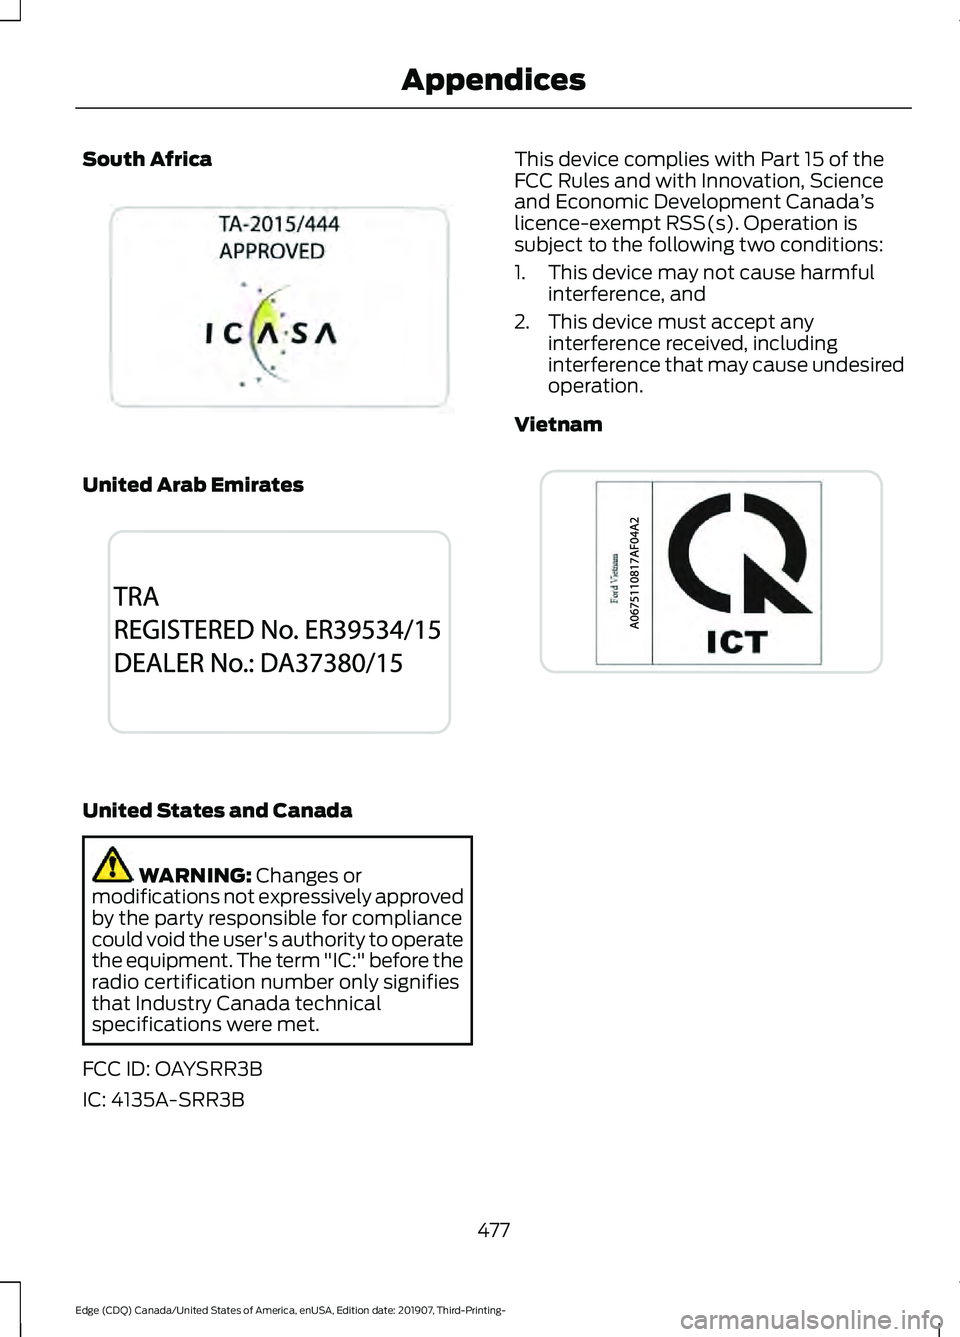
South Africa
United Arab Emirates
United States and Canada
WARNING: Changes or
modifications not expressively approved
by the party responsible for compliance
could void the user's authority to operate
the equipment. The term "IC:" before the
radio certification number only signifies
that Industry Canada technical
specifications were met.
FCC ID: OAYSRR3B
IC: 4135A-SRR3B This device complies with Part 15 of the
FCC Rules and with Innovation, Science
and Economic Development Canada
’s
licence-exempt RSS(s). Operation is
subject to the following two conditions:
1. This device may not cause harmful interference, and
2. This device must accept any interference received, including
interference that may cause undesired
operation.
Vietnam 477
Edge (CDQ) Canada/United States of America, enUSA, Edition date: 201907, Third-Printing- AppendicesE269696 E269694 E269693