FORD ESCAPE 2002 1.G User Guide
Manufacturer: FORD, Model Year: 2002, Model line: ESCAPE, Model: FORD ESCAPE 2002 1.GPages: 280, PDF Size: 2.75 MB
Page 11 of 280
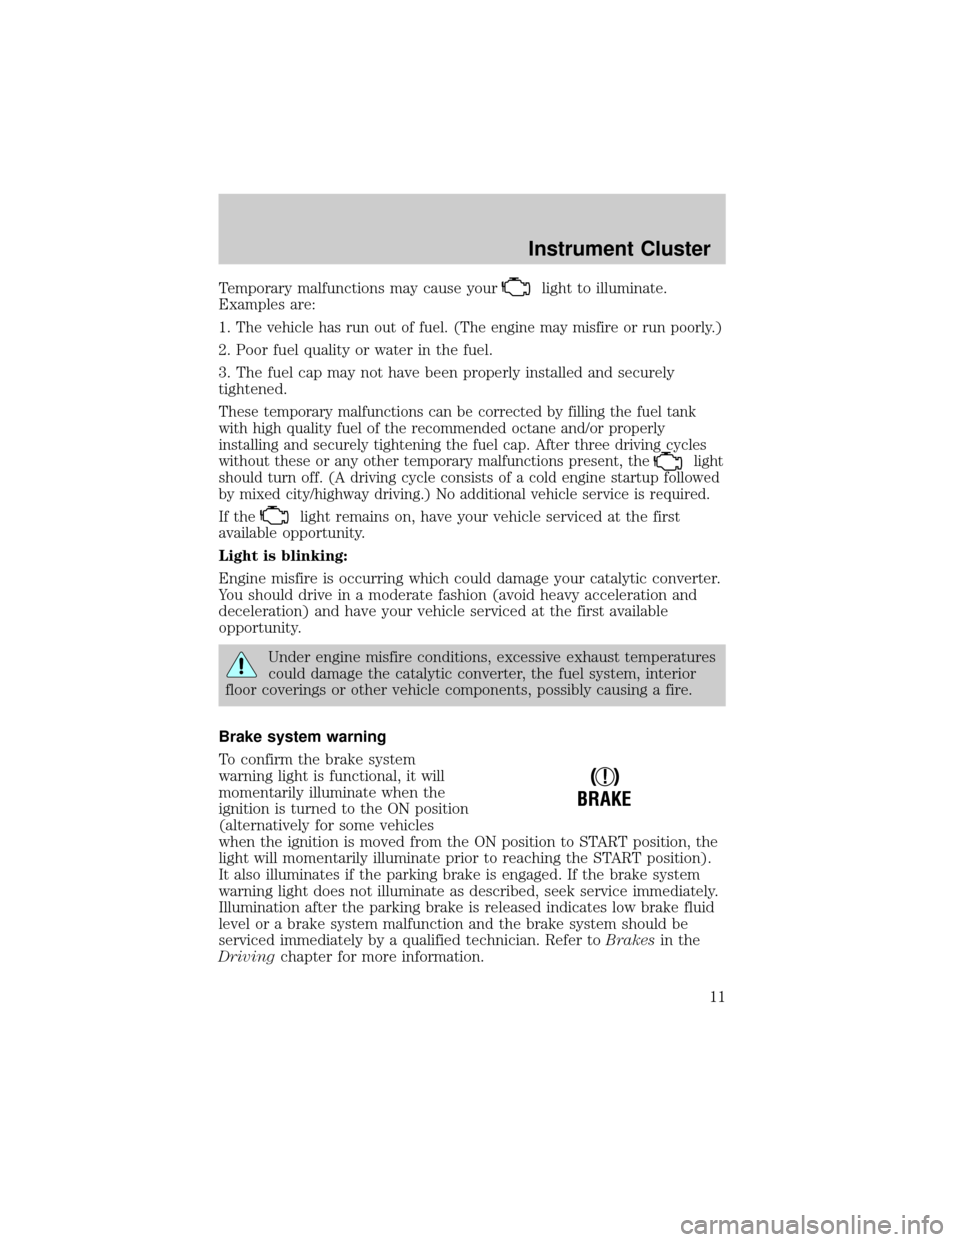
Temporary malfunctions may cause yourlight to illuminate.
Examples are:
1.
The vehicle has run out of fuel. (The engine may misfire or run poorly.)
2. Poor fuel quality or water in the fuel.
3. The fuel cap may not have been properly installed and securely
tightened.
These temporary malfunctions can be corrected by filling the fuel tank
with high quality fuel of the recommended octane and/or properly
installing and securely tightening the fuel cap. After three driving cycles
without these or any other temporary malfunctions present, the
light
should turn off. (A driving cycle consists of a cold engine startup followed
by mixed city/highway driving.) No additional vehicle service is required.
If thelight remains on, have your vehicle serviced at the first
available opportunity.
Light is blinking:
Engine misfire is occurring which could damage your catalytic converter.
You should drive in a moderate fashion (avoid heavy acceleration and
deceleration) and have your vehicle serviced at the first available
opportunity.
Under engine misfire conditions, excessive exhaust temperatures
could damage the catalytic converter, the fuel system, interior
floor coverings or other vehicle components, possibly causing a fire.
Brake system warning
To confirm the brake system
warning light is functional, it will
momentarily illuminate when the
ignition is turned to the ON position
(alternatively for some vehicles
when the ignition is moved from the ON position to START position, the
light will momentarily illuminate prior to reaching the START position).
It also illuminates if the parking brake is engaged. If the brake system
warning light does not illuminate as described, seek service immediately.
Illumination after the parking brake is released indicates low brake fluid
level or a brake system malfunction and the brake system should be
serviced immediately by a qualified technician. Refer toBrakesin the
Drivingchapter for more information.
!
BRAKE
Instrument Cluster
11
Page 12 of 280
Anti-lock brake system (ABS) (if equipped)
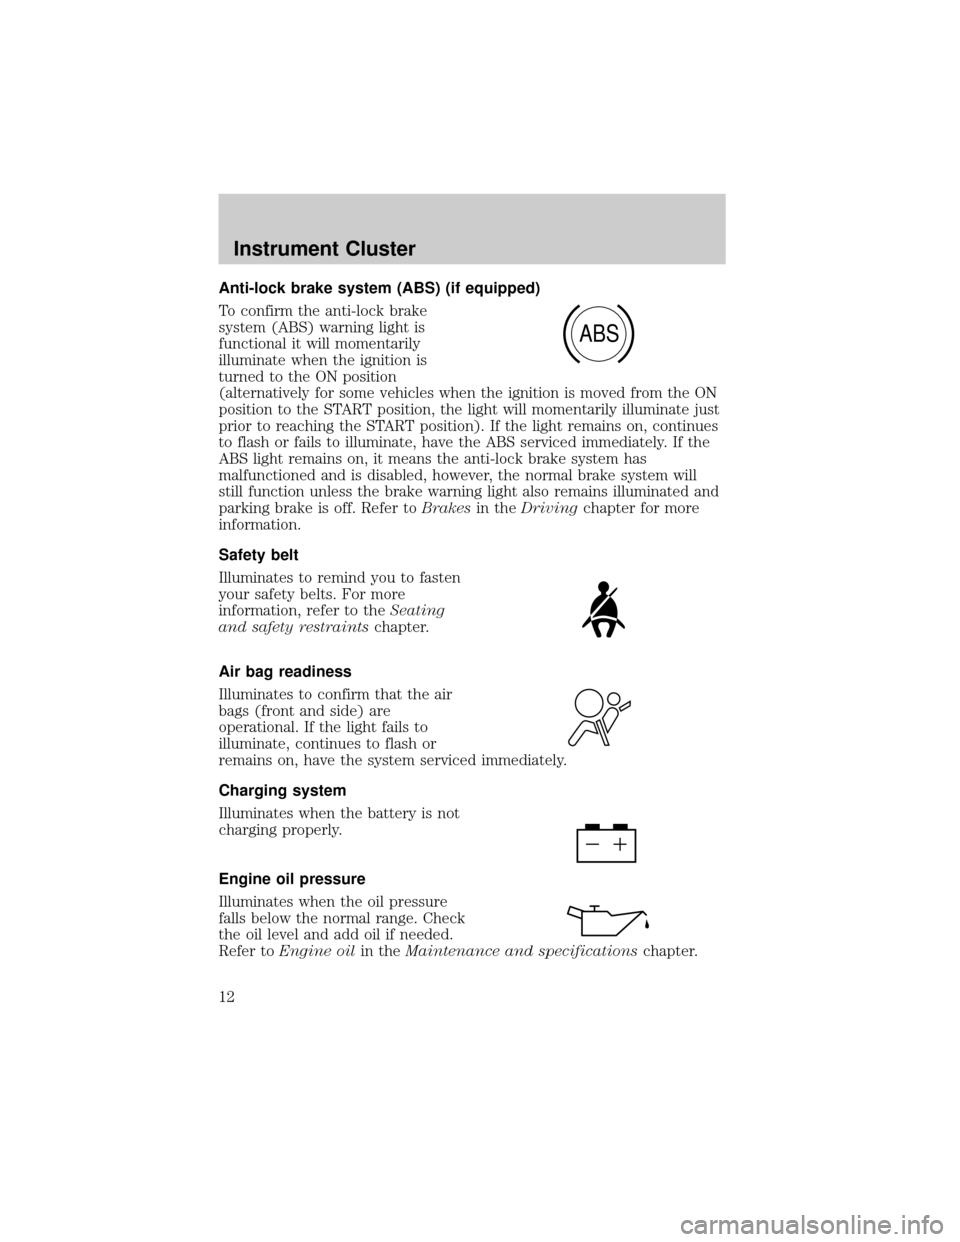
To confirm the anti-lock brake
system (ABS) warning light is
functional it will momentarily
illuminate when the ignition is
turned to the ON position
(alternatively for some vehicles when the ignition is moved from the ON
position to the START position, the light will momentarily illuminate just
prior to reaching the START position). If the light remains on, continues
to flash or fails to illuminate, have the ABS serviced immediately. If the
ABS light remains on, it means the anti-lock brake system has
malfunctioned and is disabled, however, the normal brake system will
still function unless the brake warning light also remains illuminated and
parking brake is off. Refer toBrakesin theDrivingchapter for more
information.
Safety belt
Illuminates to remind you to fasten
your safety belts. For more
information, refer to theSeating
and safety restraintschapter.
Air bag readiness
Illuminates to confirm that the air
bags (front and side) are
operational. If the light fails to
illuminate, continues to flash or
remains on, have the system serviced immediately.
Charging system
Illuminates when the battery is not
charging properly.
Engine oil pressure
Illuminates when the oil pressure
falls below the normal range. Check
the oil level and add oil if needed.
Refer toEngine oilin theMaintenance and specificationschapter.
ABS
Instrument Cluster
12
Page 13 of 280
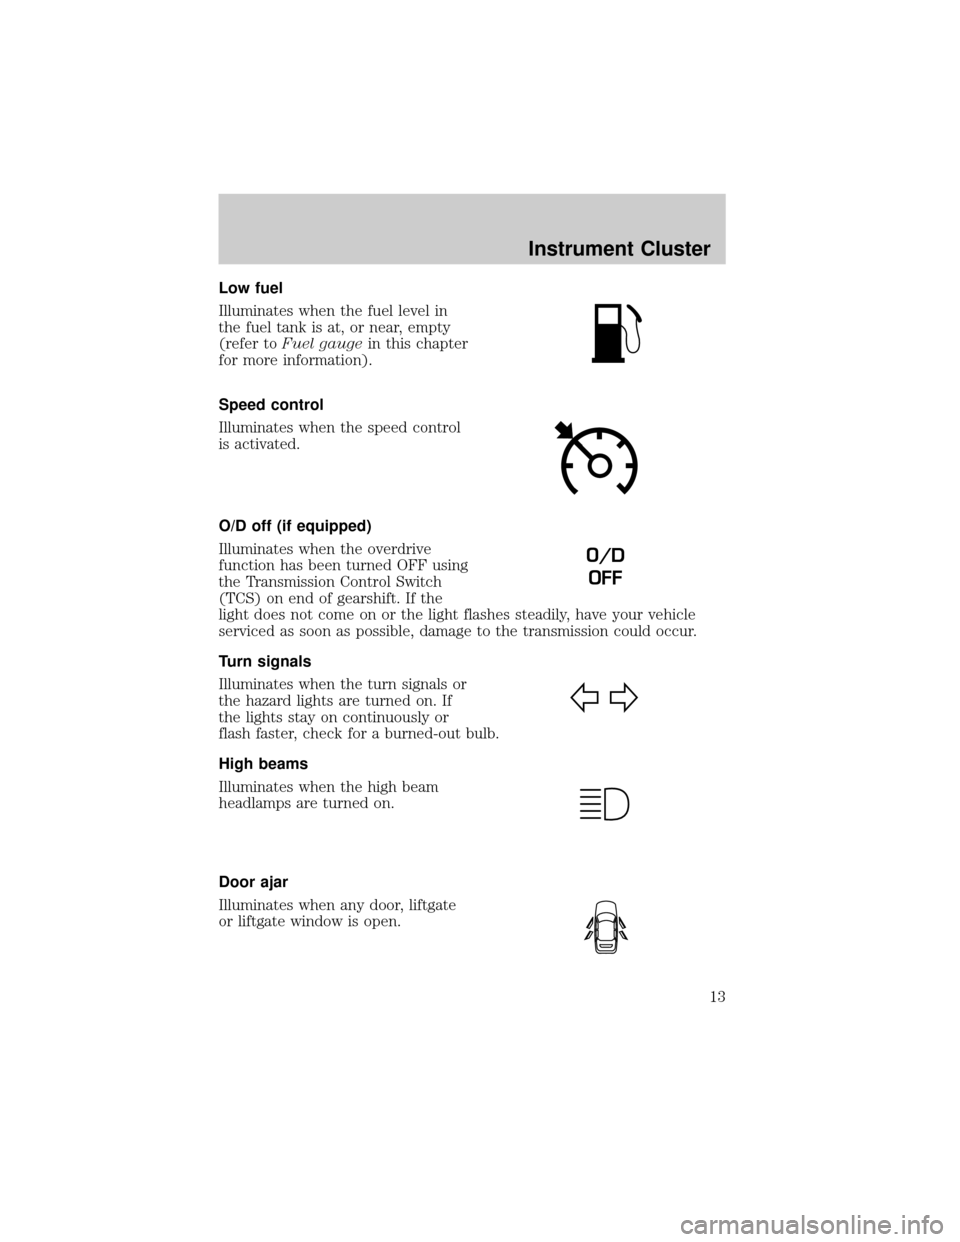
Low fuel
Illuminates when the fuel level in
the fuel tank is at, or near, empty
(refer toFuel gaugein this chapter
for more information).
Speed control
Illuminates when the speed control
is activated.
O/D off (if equipped)
Illuminates when the overdrive
function has been turned OFF using
the Transmission Control Switch
(TCS) on end of gearshift. If the
light does not come on or the light flashes steadily, have your vehicle
serviced as soon as possible, damage to the transmission could occur.
Turn signals
Illuminates when the turn signals or
the hazard lights are turned on. If
the lights stay on continuously or
flash faster, check for a burned-out bulb.
High beams
Illuminates when the high beam
headlamps are turned on.
Door ajar
Illuminates when any door, liftgate
or liftgate window is open.
O/D
OFF
Instrument Cluster
13
Page 14 of 280
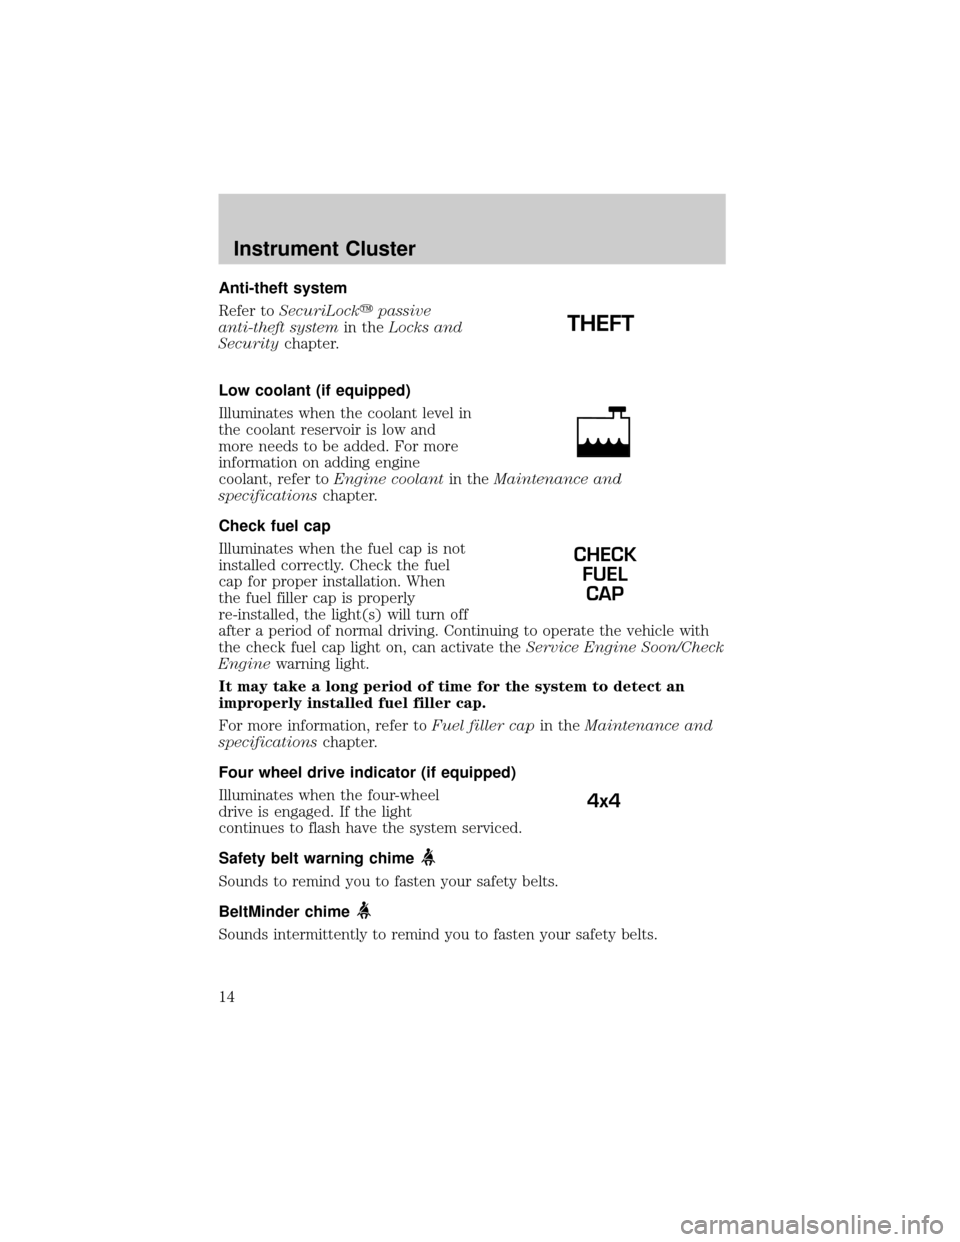
Anti-theft system
Refer toSecuriLockypassive
anti-theft systemin theLocks and
Securitychapter.
Low coolant (if equipped)
Illuminates when the coolant level in
the coolant reservoir is low and
more needs to be added. For more
information on adding engine
coolant, refer toEngine coolantin theMaintenance and
specificationschapter.
Check fuel cap
Illuminates when the fuel cap is not
installed correctly. Check the fuel
cap for proper installation. When
the fuel filler cap is properly
re-installed, the light(s) will turn off
after a period of normal driving. Continuing to operate the vehicle with
the check fuel cap light on, can activate theService Engine Soon/Check
Enginewarning light.
It may take a long period of time for the system to detect an
improperly installed fuel filler cap.
For more information, refer toFuel filler capin theMaintenance and
specificationschapter.
Four wheel drive indicator (if equipped)
Illuminates when the four-wheel
drive is engaged. If the light
continues to flash have the system serviced.
Safety belt warning chime
Sounds to remind you to fasten your safety belts.
BeltMinder chime
Sounds intermittently to remind you to fasten your safety belts.
CHECK
FUEL
CAP
4x4
Instrument Cluster
14
Page 15 of 280
Supplemental restraint system (SRS) warning chime
Sounds when a malfunction in the supplemental restraint system (front
or side airbags) has been detected. Have the supplemental restraint
system inspected immediately.
Key-in-ignition warning chime
Sounds when the key is left in the ignition and the door, liftgate or
liftgate window is opened.
Headlamps on warning chime
Sounds when the headlamps or parking lamps are on, the key is removed
from the ignition and the driver's door is opened.
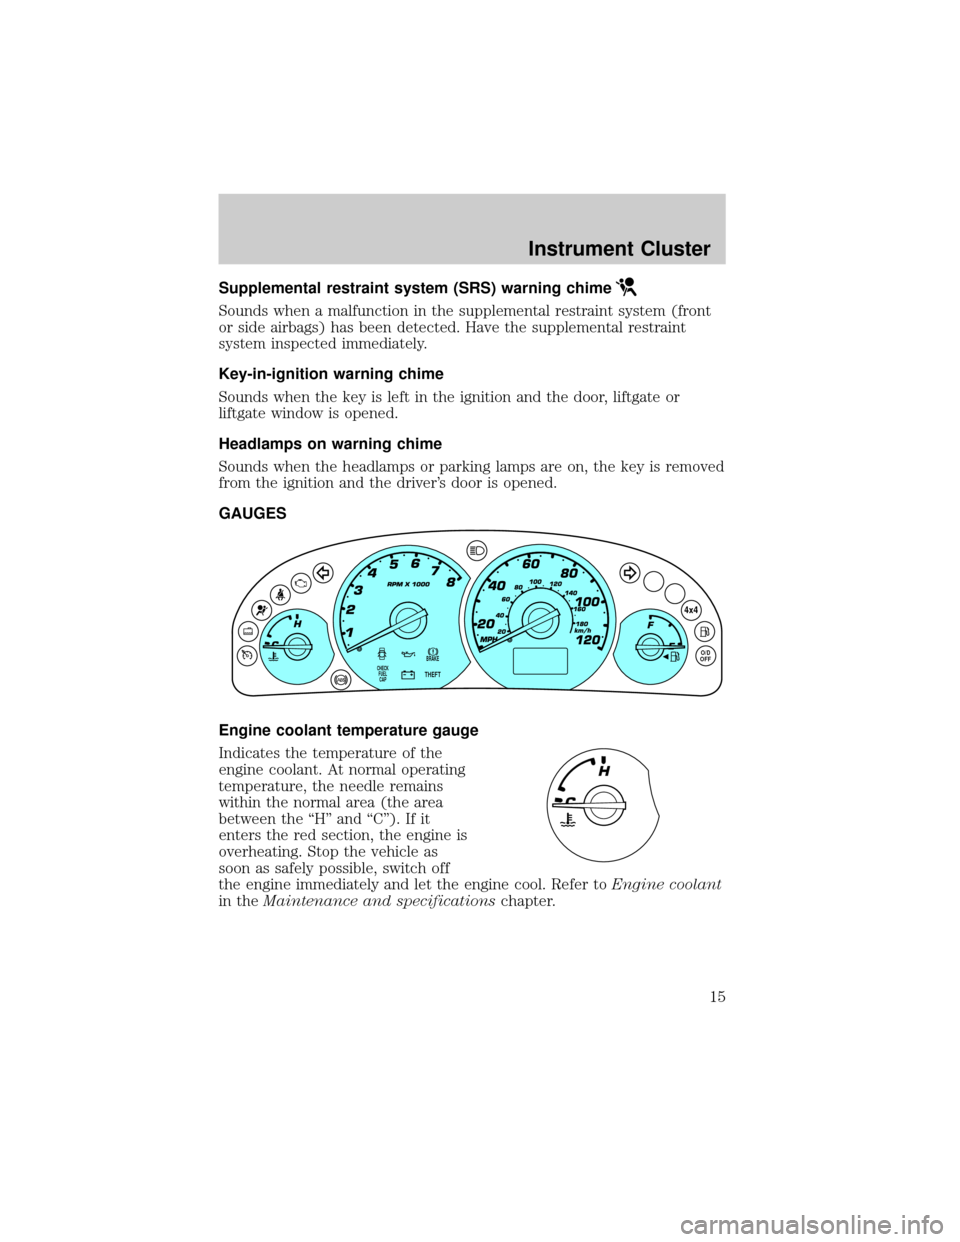
GAUGES
Engine coolant temperature gauge
Indicates the temperature of the
engine coolant. At normal operating
temperature, the needle remains
within the normal area (the area
between the ªHº and ªCº). If it
enters the red section, the engine is
overheating. Stop the vehicle as
soon as safely possible, switch off
the engine immediately and let the engine cool. Refer toEngine coolant
in theMaintenance and specificationschapter.
BRAKE
THEFT
4x4
O/D
OFFCHECK
FUEL
CAP
Instrument Cluster
15
Page 16 of 280
Never remove the coolant reservoir cap while the engine is
running or hot. Steam and scalding liquid from a hot cooling
system can burn you badly.
This gauge indicates the temperature of the engine coolant, not the
coolant level. If the coolant is not at its proper level the gauge indication
will not be accurate.
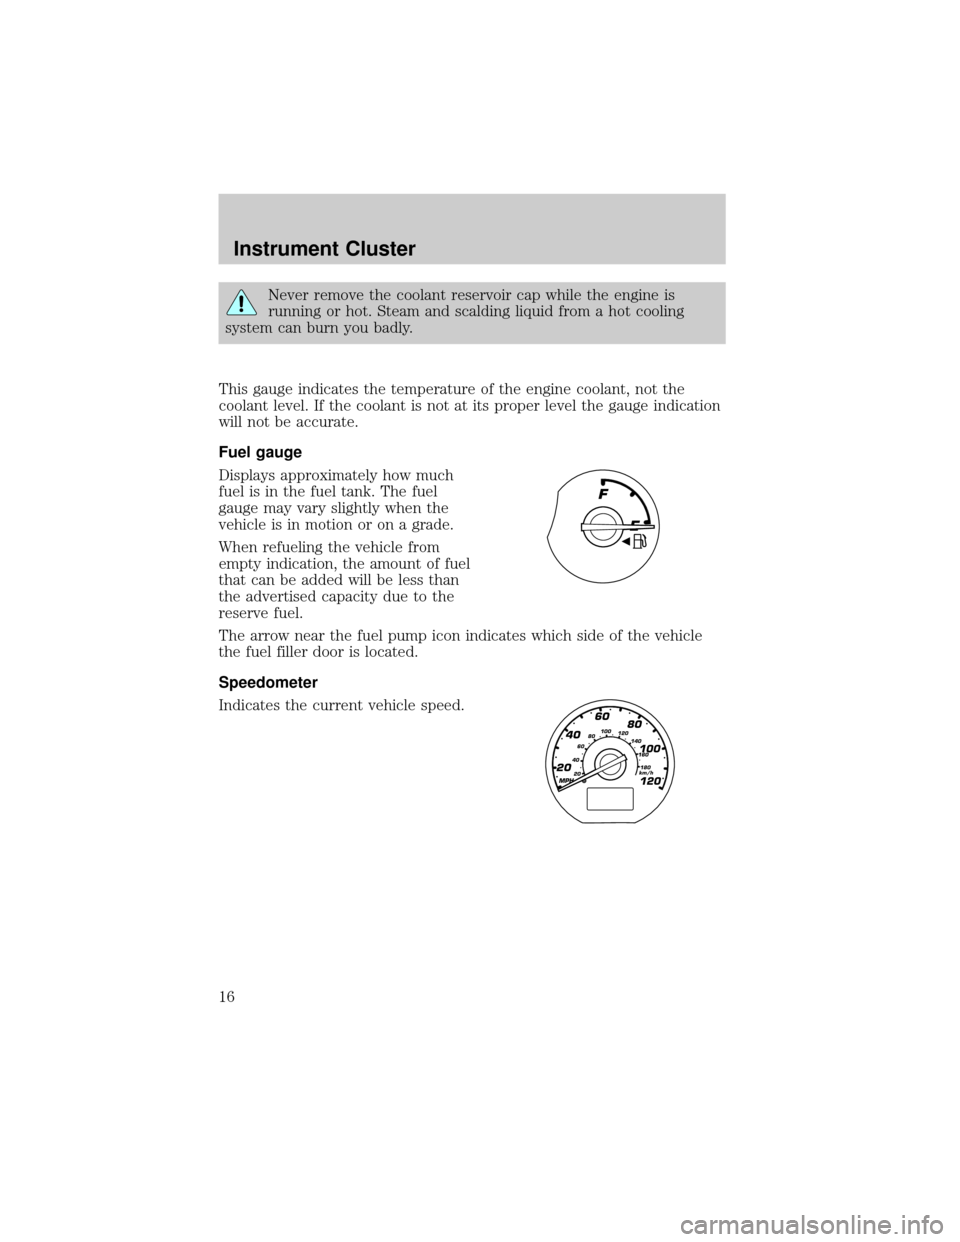
Fuel gauge
Displays approximately how much
fuel is in the fuel tank. The fuel
gauge may vary slightly when the
vehicle is in motion or on a grade.
When refueling the vehicle from
empty indication, the amount of fuel
that can be added will be less than
the advertised capacity due to the
reserve fuel.
The arrow near the fuel pump icon indicates which side of the vehicle
the fuel filler door is located.
Speedometer
Indicates the current vehicle speed.
MPH
60
40
20
20 406080100
120
140
160
180
80
100
120
km/h
Instrument Cluster
16
Page 17 of 280
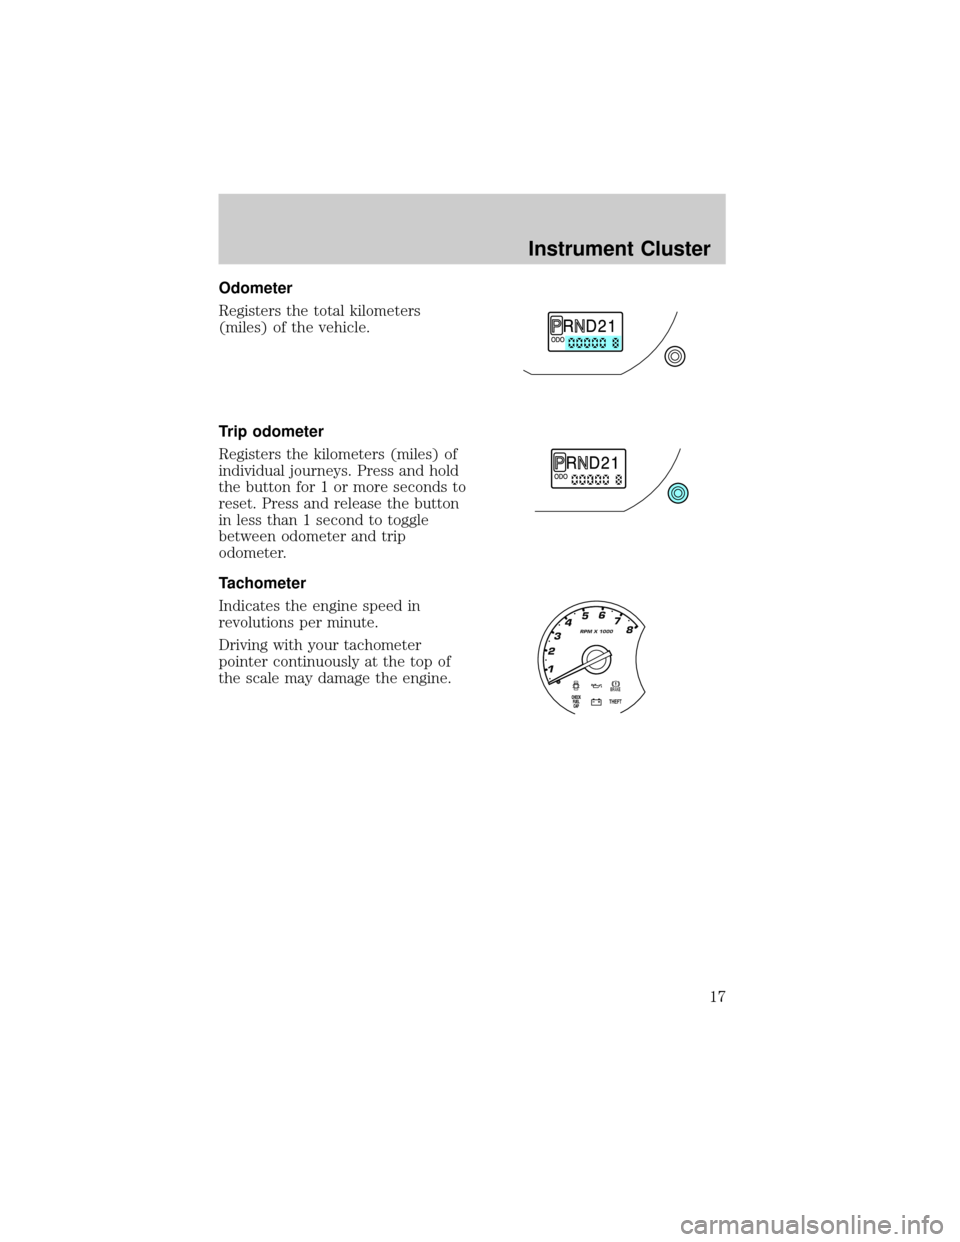
Odometer
Registers the total kilometers
(miles) of the vehicle.
Trip odometer
Registers the kilometers (miles) of
individual journeys. Press and hold
the button for 1 or more seconds to
reset. Press and release the button
in less than 1 second to toggle
between odometer and trip
odometer.
Tachometer
Indicates the engine speed in
revolutions per minute.
Driving with your tachometer
pointer continuously at the top of
the scale may damage the engine.
Instrument Cluster
17
Page 18 of 280
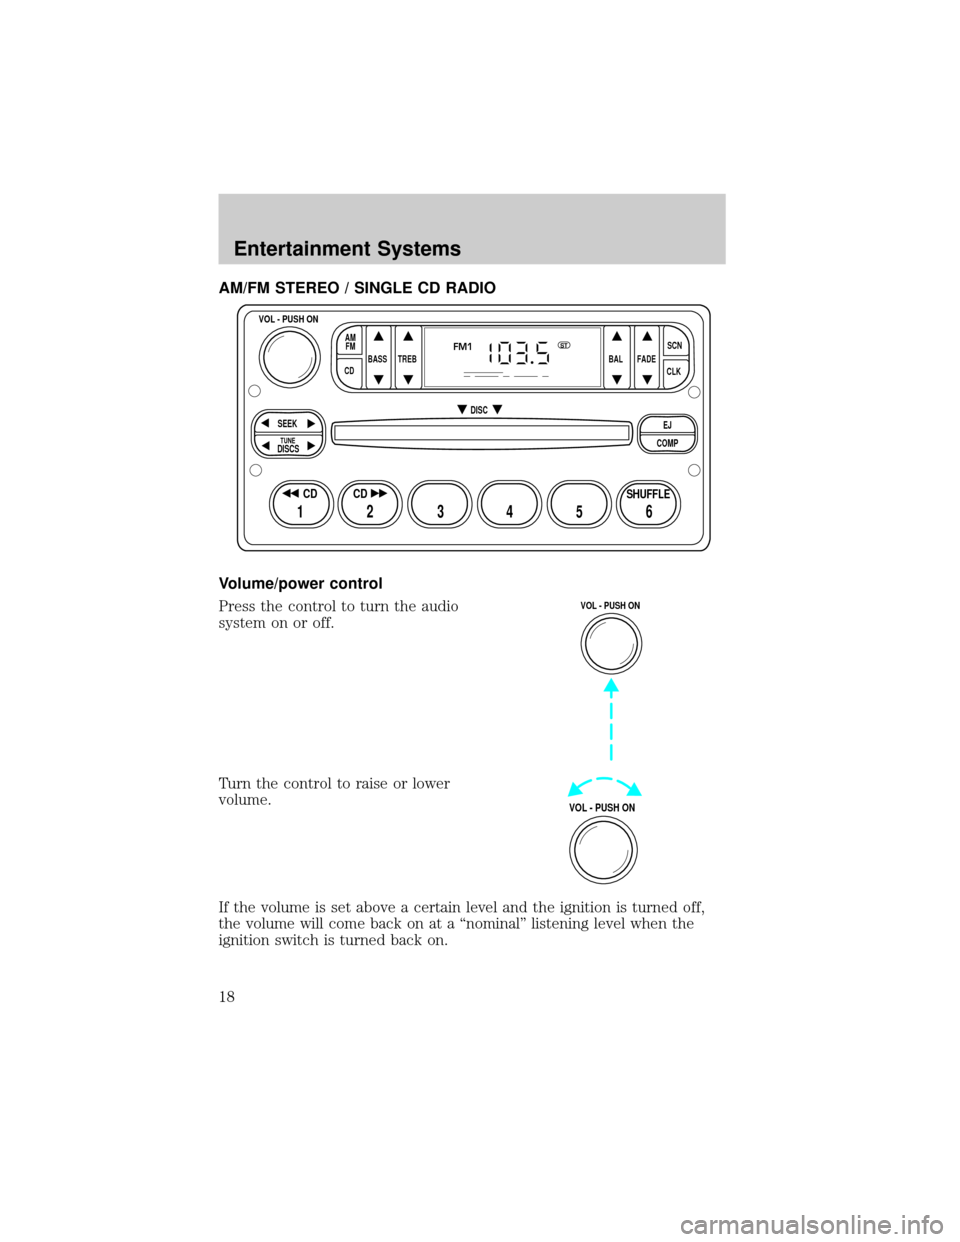
AM/FM STEREO / SINGLE CD RADIO
Volume/power control
Press the control to turn the audio
system on or off.
Turn the control to raise or lower
volume.
If the volume is set above a certain level and the ignition is turned off,
the volume will come back on at a ªnominalº listening level when the
ignition switch is turned back on.
BASS
CDTREB BAL FADESCN
CLK AM
FM
VOL - PUSH ON
SEEK
EJ
COMP DISC
DISCS
TUNE
12 3456
FM1ST
SHUFFLE CD CD
VOL - PUSH ON
VOL - PUSH ON
Entertainment Systems
18
Page 19 of 280
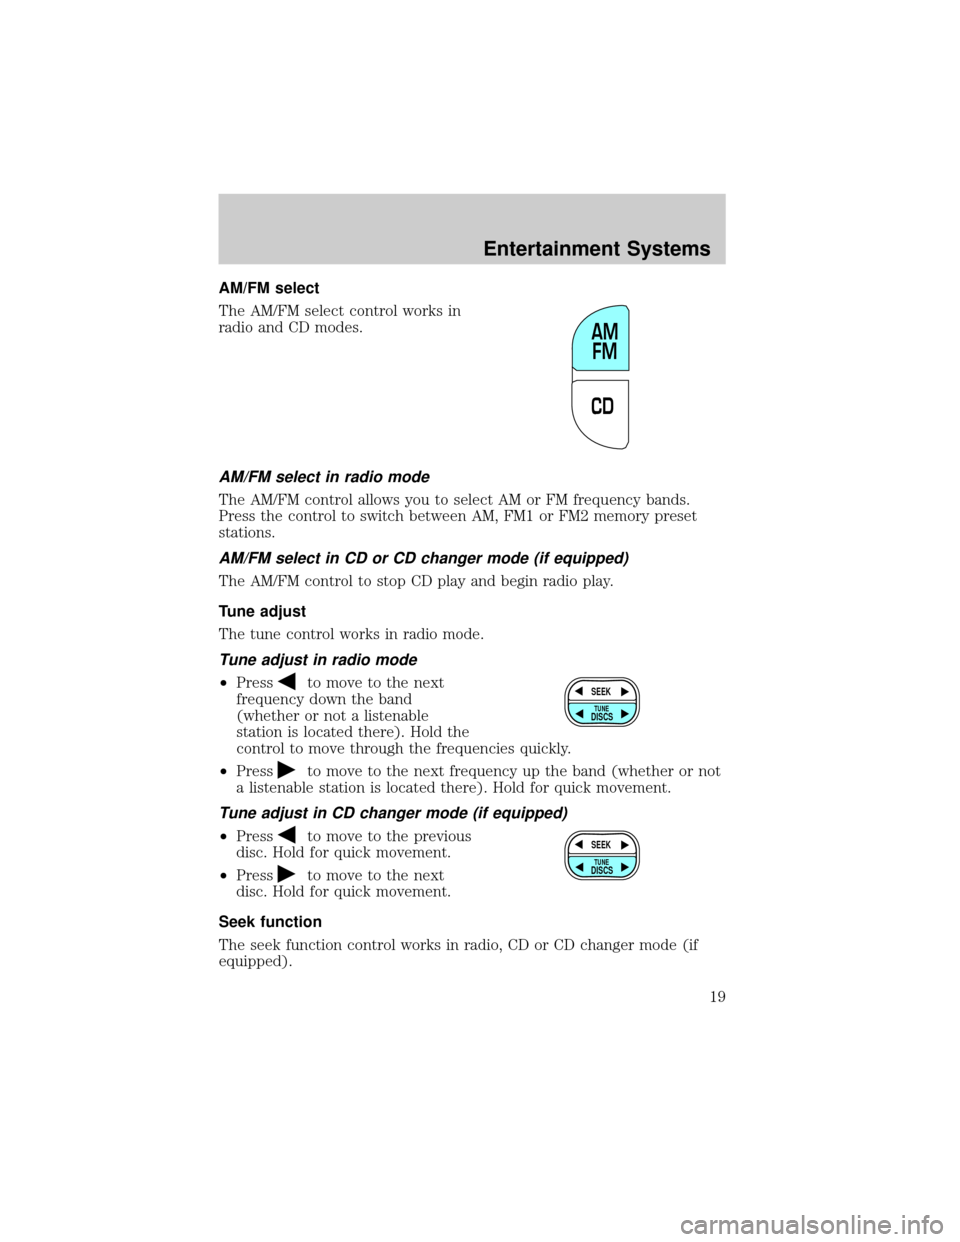
AM/FM select
The AM/FM select control works in
radio and CD modes.
AM/FM select in radio mode
The AM/FM control allows you to select AM or FM frequency bands.
Press the control to switch between AM, FM1 or FM2 memory preset
stations.
AM/FM select in CD or CD changer mode (if equipped)
The AM/FM control to stop CD play and begin radio play.
Tune adjust
The tune control works in radio mode.
Tune adjust in radio mode
²Pressto move to the next
frequency down the band
(whether or not a listenable
station is located there). Hold the
control to move through the frequencies quickly.
²Press
to move to the next frequency up the band (whether or not
a listenable station is located there). Hold for quick movement.
Tune adjust in CD changer mode (if equipped)
²Pressto move to the previous
disc. Hold for quick movement.
²Press
to move to the next
disc. Hold for quick movement.
Seek function
The seek function control works in radio, CD or CD changer mode (if
equipped).
CDAM
FM
SEEK
DISCS
TUNE
SEEK
DISCS
TUNE
Entertainment Systems
19
Page 20 of 280
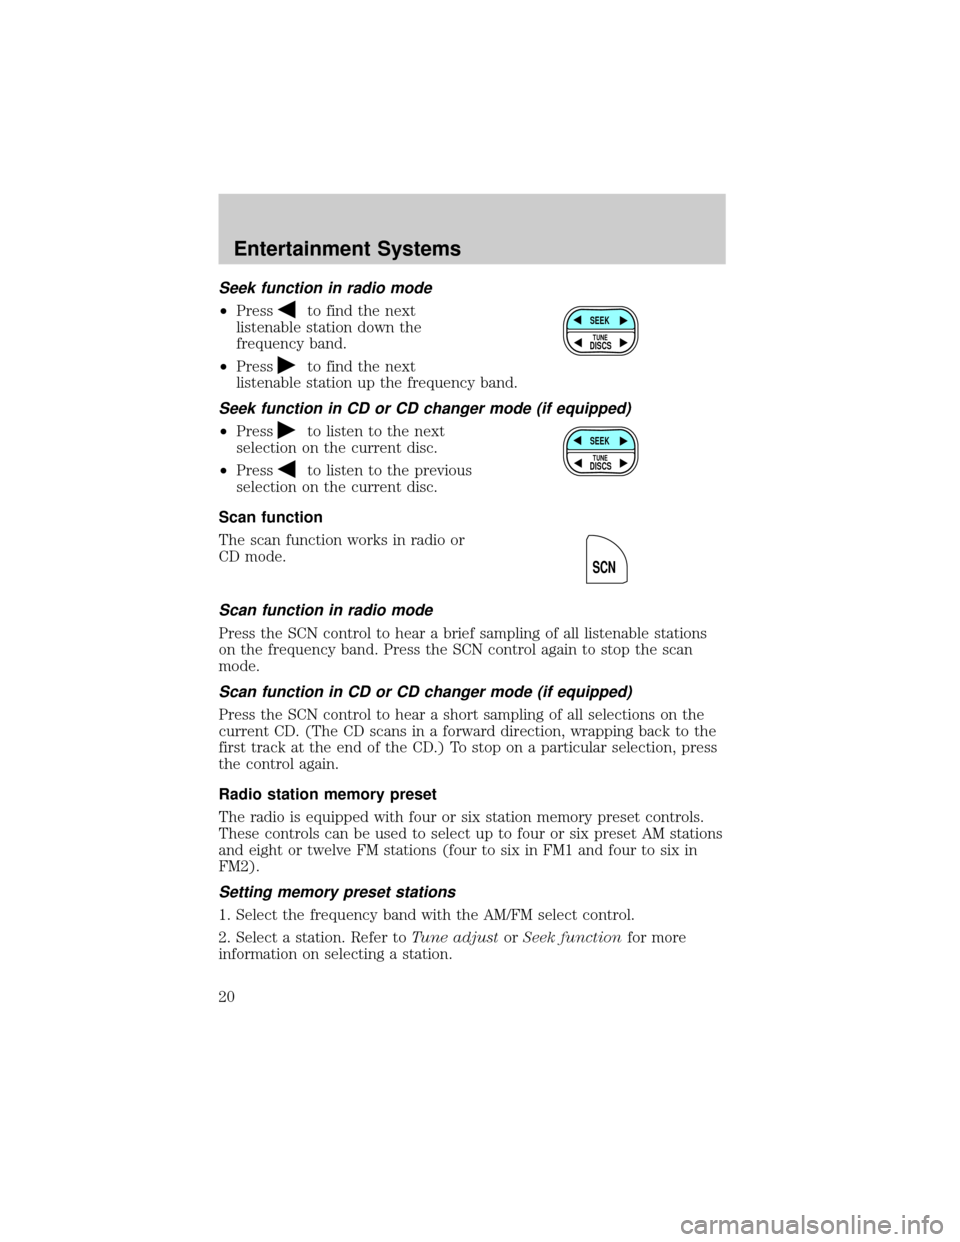
Seek function in radio mode
²Pressto find the next
listenable station down the
frequency band.
²Press
to find the next
listenable station up the frequency band.
Seek function in CD or CD changer mode (if equipped)
²Pressto listen to the next
selection on the current disc.
²Press
to listen to the previous
selection on the current disc.
Scan function
The scan function works in radio or
CD mode.
Scan function in radio mode
Press the SCN control to hear a brief sampling of all listenable stations
on the frequency band. Press the SCN control again to stop the scan
mode.
Scan function in CD or CD changer mode (if equipped)
Press the SCN control to hear a short sampling of all selections on the
current CD. (The CD scans in a forward direction, wrapping back to the
first track at the end of the CD.) To stop on a particular selection, press
the control again.
Radio station memory preset
The radio is equipped with four or six station memory preset controls.
These controls can be used to select up to four or six preset AM stations
and eight or twelve FM stations (four to six in FM1 and four to six in
FM2).
Setting memory preset stations
1. Select the frequency band with the AM/FM select control.
2. Select a station. Refer toTune adjustorSeek functionfor more
information on selecting a station.
SEEK
DISCS
TUNE
SEEK
DISCS
TUNE
SCN
Entertainment Systems
20