specification FORD ESCAPE 2019 User Guide
[x] Cancel search | Manufacturer: FORD, Model Year: 2019, Model line: ESCAPE, Model: FORD ESCAPE 2019Pages: 509, PDF Size: 6.69 MB
Page 252 of 509
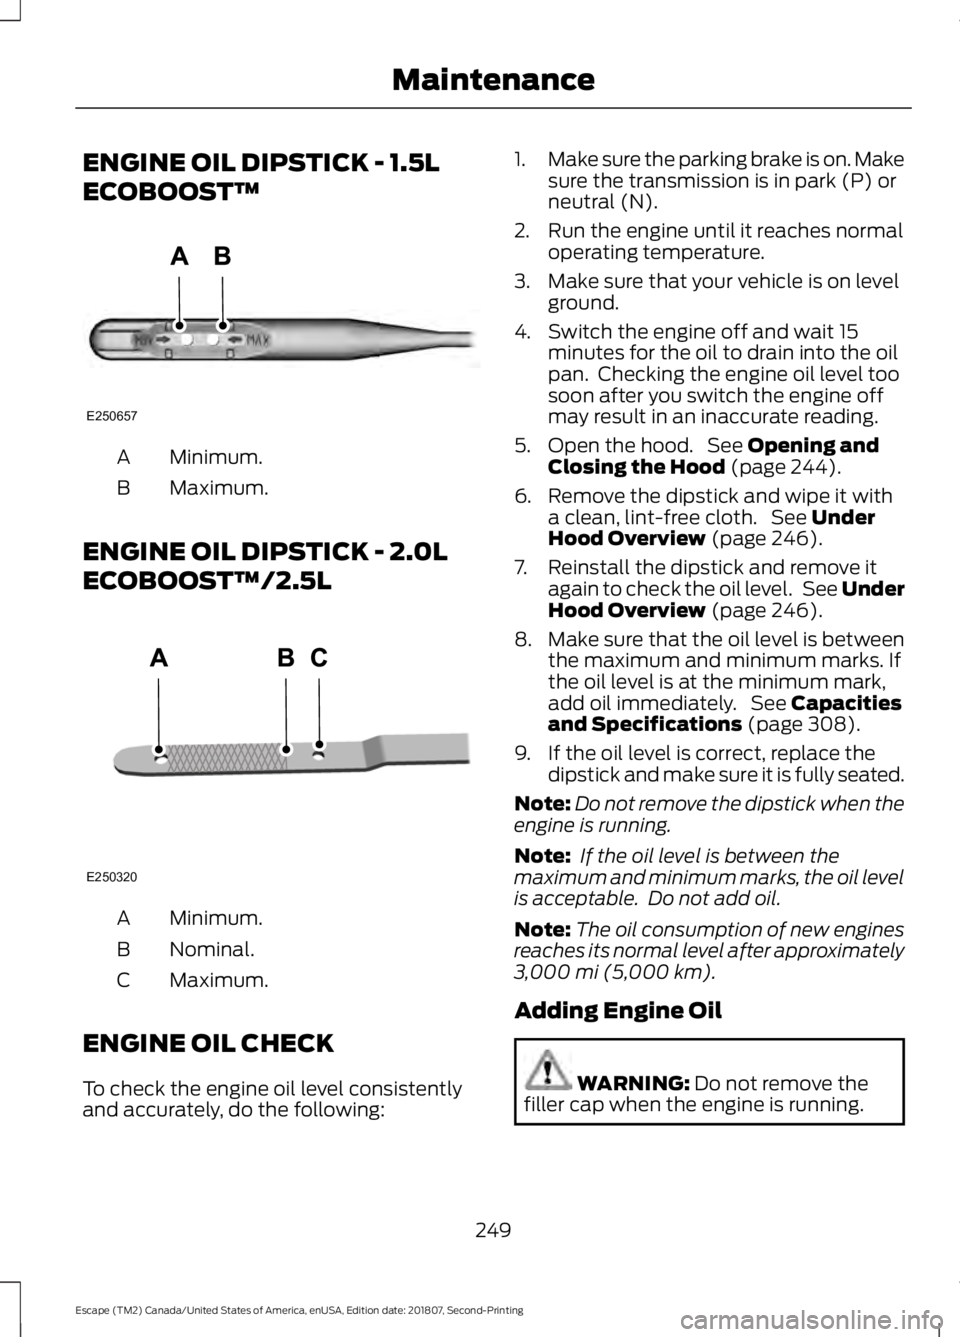
ENGINE OIL DIPSTICK - 1.5L
ECOBOOST™
Minimum.
A
Maximum.
B
ENGINE OIL DIPSTICK - 2.0L
ECOBOOST™/2.5L Minimum.
A
Nominal.
B
Maximum.
C
ENGINE OIL CHECK
To check the engine oil level consistently
and accurately, do the following: 1.
Make sure the parking brake is on. Make
sure the transmission is in park (P) or
neutral (N).
2. Run the engine until it reaches normal operating temperature.
3. Make sure that your vehicle is on level ground.
4. Switch the engine off and wait 15 minutes for the oil to drain into the oil
pan. Checking the engine oil level too
soon after you switch the engine off
may result in an inaccurate reading.
5. Open the hood. See Opening and
Closing the Hood (page 244).
6. Remove the dipstick and wipe it with a clean, lint-free cloth. See
Under
Hood Overview (page 246).
7. Reinstall the dipstick and remove it again to check the oil level. See Under
Hood Overview
(page 246).
8. Make sure that the oil level is between
the maximum and minimum marks. If
the oil level is at the minimum mark,
add oil immediately. See
Capacities
and Specifications (page 308).
9. If the oil level is correct, replace the dipstick and make sure it is fully seated.
Note: Do not remove the dipstick when the
engine is running.
Note: If the oil level is between the
maximum and minimum marks, the oil level
is acceptable. Do not add oil.
Note: The oil consumption of new engines
reaches its normal level after approximately
3,000 mi (5,000 km)
.
Adding Engine Oil WARNING:
Do not remove the
filler cap when the engine is running.
249
Escape (TM2) Canada/United States of America, enUSA, Edition date: 201807, Second-Printing MaintenanceE250657 E250320
Page 253 of 509
Do not use supplemental engine oil
additives because they are unnecessary
and could lead to engine damage that may
not be covered by the vehicle Warranty.
Only use oils certified for gasoline engines
by the American Petroleum Institute (API).
An oil with this trademark symbol
conforms to the current engine and
emission system protection standards and
fuel economy requirements of the
International Lubricants Specification
Advisory Committee (ILSAC).
To top up the engine oil level do the
following:
1. Clean the area surrounding the engine
oil filler cap before you remove it.
2. Remove the engine oil filler cap. See Under Hood Overview (page 246).
Turn it counterclockwise and remove
it.
3. Add engine oil that meets our specifications. See
Capacities and
Specifications (page 308). You may
have to use a funnel to pour the engine
oil into the opening.
4. Recheck the oil level.
5. If the oil level is correct, replace the dipstick and make sure it is fully seated.
6. Replace the engine oil filler cap. Turn it clockwise until you feel a strong
resistance. Note:
Do not add oil further than the
maximum mark. Oil levels above the
maximum mark may cause engine damage.
Note: Make sure you install the oil filler cap
correctly.
Note: Soak up any spillage with an
absorbent cloth immediately.
OIL CHANGE INDICATOR
RESET
Use the information display controls on
the steering wheel to reset the oil change
indicator.
From the main menu scroll to: Action and description
Message
Press the right arrow button,
then from this menu scroll
to the following message.
Settings
Press the right arrow button,
then from this menu scroll
to the following message.
Vehicle
Press the right arrow button,
then from this menu scroll
to the following message.
Oil Life
Press and hold the
OK
button until the instrument
cluster displays the
following message.
Hold OK to
Reset
Reset Successful
When the oil change indic-
ator resets the instrument
cluster displays 100%.
Remaining Life
{00}%
250
Escape (TM2) Canada/United States of America, enUSA, Edition date: 201807, Second-Printing MaintenanceE142732
Page 255 of 509
It is very important to use prediluted
coolant approved to the correct
specification in order to avoid plugging the
small passageways in the engine cooling
system. See Capacities and
Specifications (page 301). Do not mix
different colors or types of coolant in your
vehicle. Mixing of engine coolants or using
an incorrect coolant may harm the engine
or cooling system components and may
not be covered by the vehicle Warranty.
Note: If prediluted coolant is not available,
use the approved concentrated coolant
diluting it to 50/50 with distilled water. See
Capacities and Specifications (page 301).
Using water that has not been deionised
may contribute to deposit formation,
corrosion and plugging of the small cooling
system passageways.
Note: Coolants marketed for all makes and
models may not be approved to our
specifications and may cause damage to
the cooling system. Resulting component
damage may not be covered by the vehicle
Warranty.
If the coolant level is at or below the
minimum mark, add prediluted coolant
immediately.
To top up the coolant level do the
following:
1. Unscrew the cap slowly. Any pressure escapes as you unscrew the cap.
2. Add prediluted coolant approved to the correct specification. See
Capacities and Specifications (page
301
).
3. Add enough prediluted coolant to reach the correct level.
4. Replace the coolant reservoir cap, turn
it clockwise until you feel a strong
resistance. 5. Check the coolant level in the coolant
reservoir the next few times you drive
your vehicle. If necessary, add enough
prediluted engine coolant to bring the
coolant level to the correct level.
If you have to add more than
1.1 qt (1 L) of
engine coolant per month, have your
vehicle checked as soon as possible.
Operating an engine with a low level of
coolant can result in engine overheating
and possible engine damage.
In case of emergency, you can add a large
amount of water without engine coolant
in order to reach a vehicle service location.
In this instance, qualified personnel:
1. Must drain the cooling system.
2. Chemically clean the coolant system.
3. Refill with engine coolant as soon as possible.
Water alone, without engine coolant, can
cause engine damage from corrosion,
overheating or freezing.
Do not use the following as a coolant
substitute:
• Alcohol.
• Methanol.
• Brine.
• Any coolant mixed with alcohol or
methanol antifreeze.
Alcohol and other liquids can cause engine
damage from overheating or freezing.
Do not add extra inhibitors or additives to
the coolant. These can be harmful and
compromise the corrosion protection of
the coolant.
Recycled Coolant
We do not recommend the use of recycled
coolant as an approved recycling process
is not yet available.
Note: Dispose of used coolant in the
appropriate manner.
252
Escape (TM2) Canada/United States of America, enUSA, Edition date: 201807, Second-Printing Maintenance
Page 256 of 509
Follow your community's regulations and
standards for recycling and disposing of
automotive fluids.
Severe Climates
If you drive in extremely cold climates:
•
It may be necessary to increase the
coolant concentration above 50%.
• A coolant concentration of 60%
provides improved freeze point
protection. Coolant concentrations
above 60% decrease the overheat
protection characteristics of the
coolant and may cause engine
damage.
If you drive in extremely hot climates:
• You can decrease the coolant
concentration to 40%.
• Coolant concentrations below 40%
decrease the freeze and corrosion
protection characteristics of the
coolant and may cause engine
damage.
Vehicles driven year-round in non-extreme
climates should use prediluted coolant for
optimum cooling system and engine
protection.
Coolant Change
At specific mileage intervals, as listed in
the scheduled maintenance information,
the coolant should be changed. Add
prediluted coolant approved to the correct
specification. See Capacities and
Specifications (page 301).
Fail-Safe Cooling
Fail-safe cooling allows you to temporarily
drive your vehicle before any incremental
component damage occurs. The fail-safe
distance depends on ambient
temperature, vehicle load and terrain. How Fail-Safe Cooling Works If the engine begins to overheat,
the coolant temperature gauge
moves toward the red zone:
A warning lamp illuminates and
a message may appear in the
information display.
If the engine reaches a preset
over-temperature condition, the engine
automatically switches to alternating
cylinder operation. Each disabled cylinder
acts as an air pump and cools the engine.
When this occurs, your vehicle still
operates, however:
• Engine power is limited.
• The air conditioning system turns off.
Continued operation increases the engine
temperature, causing the engine to
completely shut down. Your steering and
braking effort increases in this situation.
When the engine temperature cools, you
can re-start the engine. Have your vehicle
checked as soon as possible to minimize
engine damage.
When Fail-Safe Mode Is Activated WARNING:
Fail-safe mode is for
use during emergencies only. Operate
your vehicle in fail-safe mode only as
long as necessary to bring your vehicle
to rest in a safe location and seek
immediate repairs. When in fail-safe
mode, your vehicle will have limited
power, will not be able to maintain
high-speed operation, and may
completely shut down without warning,
potentially losing engine power, power
steering assist, and power brake assist,
which may increase the possibility of a
crash resulting in serious injury.
253
Escape (TM2) Canada/United States of America, enUSA, Edition date: 201807, Second-Printing Maintenance
Page 259 of 509
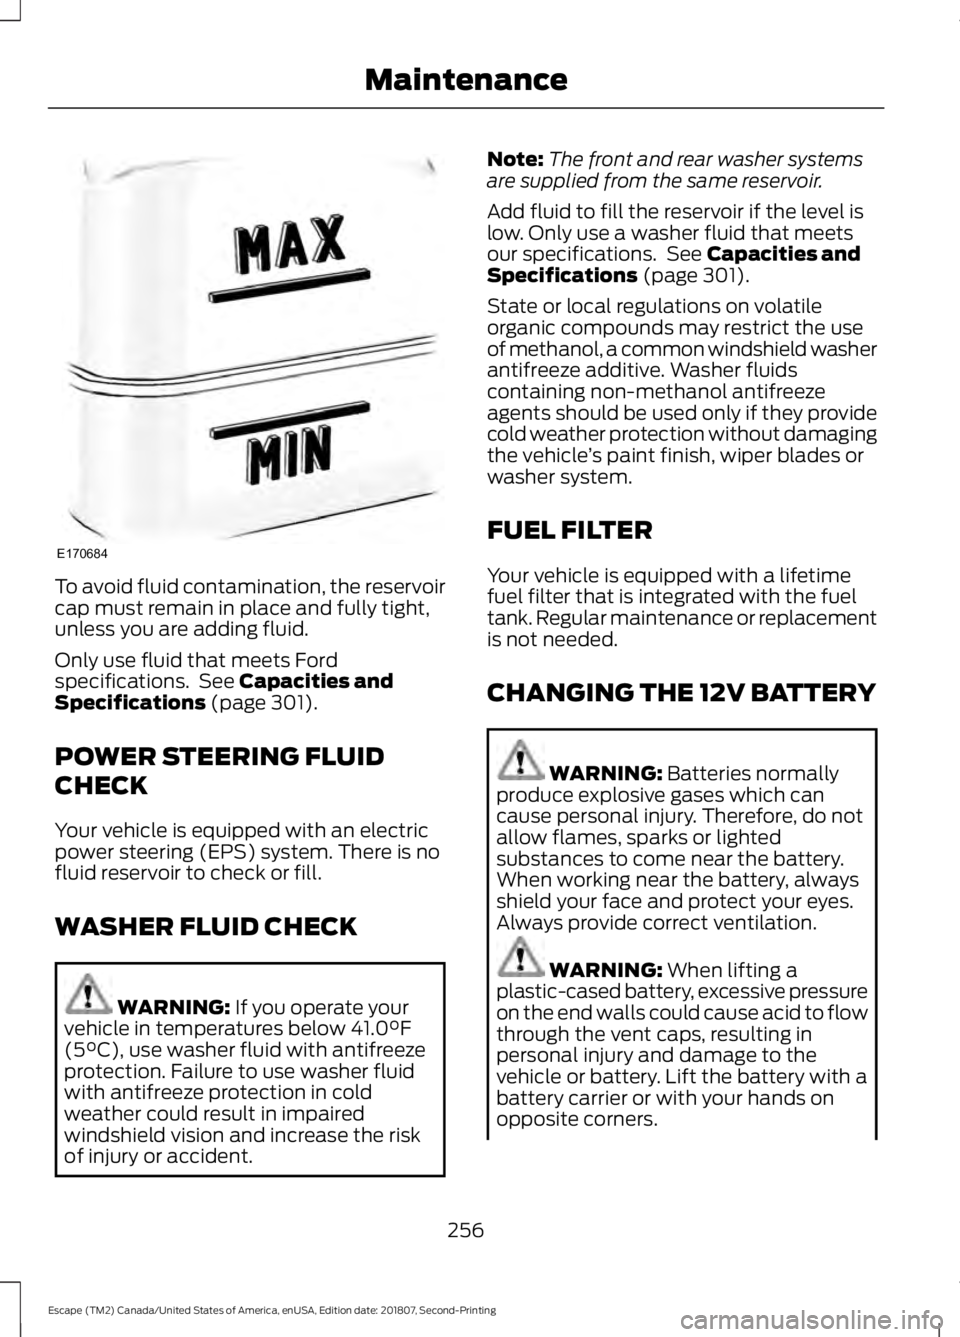
To avoid fluid contamination, the reservoir
cap must remain in place and fully tight,
unless you are adding fluid.
Only use fluid that meets Ford
specifications. See Capacities and
Specifications (page 301).
POWER STEERING FLUID
CHECK
Your vehicle is equipped with an electric
power steering (EPS) system. There is no
fluid reservoir to check or fill.
WASHER FLUID CHECK WARNING:
If you operate your
vehicle in temperatures below 41.0°F
(5°C), use washer fluid with antifreeze
protection. Failure to use washer fluid
with antifreeze protection in cold
weather could result in impaired
windshield vision and increase the risk
of injury or accident. Note:
The front and rear washer systems
are supplied from the same reservoir.
Add fluid to fill the reservoir if the level is
low. Only use a washer fluid that meets
our specifications. See
Capacities and
Specifications (page 301).
State or local regulations on volatile
organic compounds may restrict the use
of methanol, a common windshield washer
antifreeze additive. Washer fluids
containing non-methanol antifreeze
agents should be used only if they provide
cold weather protection without damaging
the vehicle ’s paint finish, wiper blades or
washer system.
FUEL FILTER
Your vehicle is equipped with a lifetime
fuel filter that is integrated with the fuel
tank. Regular maintenance or replacement
is not needed.
CHANGING THE 12V BATTERY WARNING:
Batteries normally
produce explosive gases which can
cause personal injury. Therefore, do not
allow flames, sparks or lighted
substances to come near the battery.
When working near the battery, always
shield your face and protect your eyes.
Always provide correct ventilation. WARNING:
When lifting a
plastic-cased battery, excessive pressure
on the end walls could cause acid to flow
through the vent caps, resulting in
personal injury and damage to the
vehicle or battery. Lift the battery with a
battery carrier or with your hands on
opposite corners.
256
Escape (TM2) Canada/United States of America, enUSA, Edition date: 201807, Second-Printing MaintenanceE170684
Page 268 of 509
4. Gently pull the lamp assembly away
from the vehicle.
5. Disconnect the electrical connector.
6. Remove the turn signal bulb by turning
the lower bulb socket
counterclockwise. Gently pull the bulb
straight out of the socket.
Install the new bulb in reverse order.
Replacing Reverse Lamp Assembly
For bulb replacement, see your authorized
dealer.
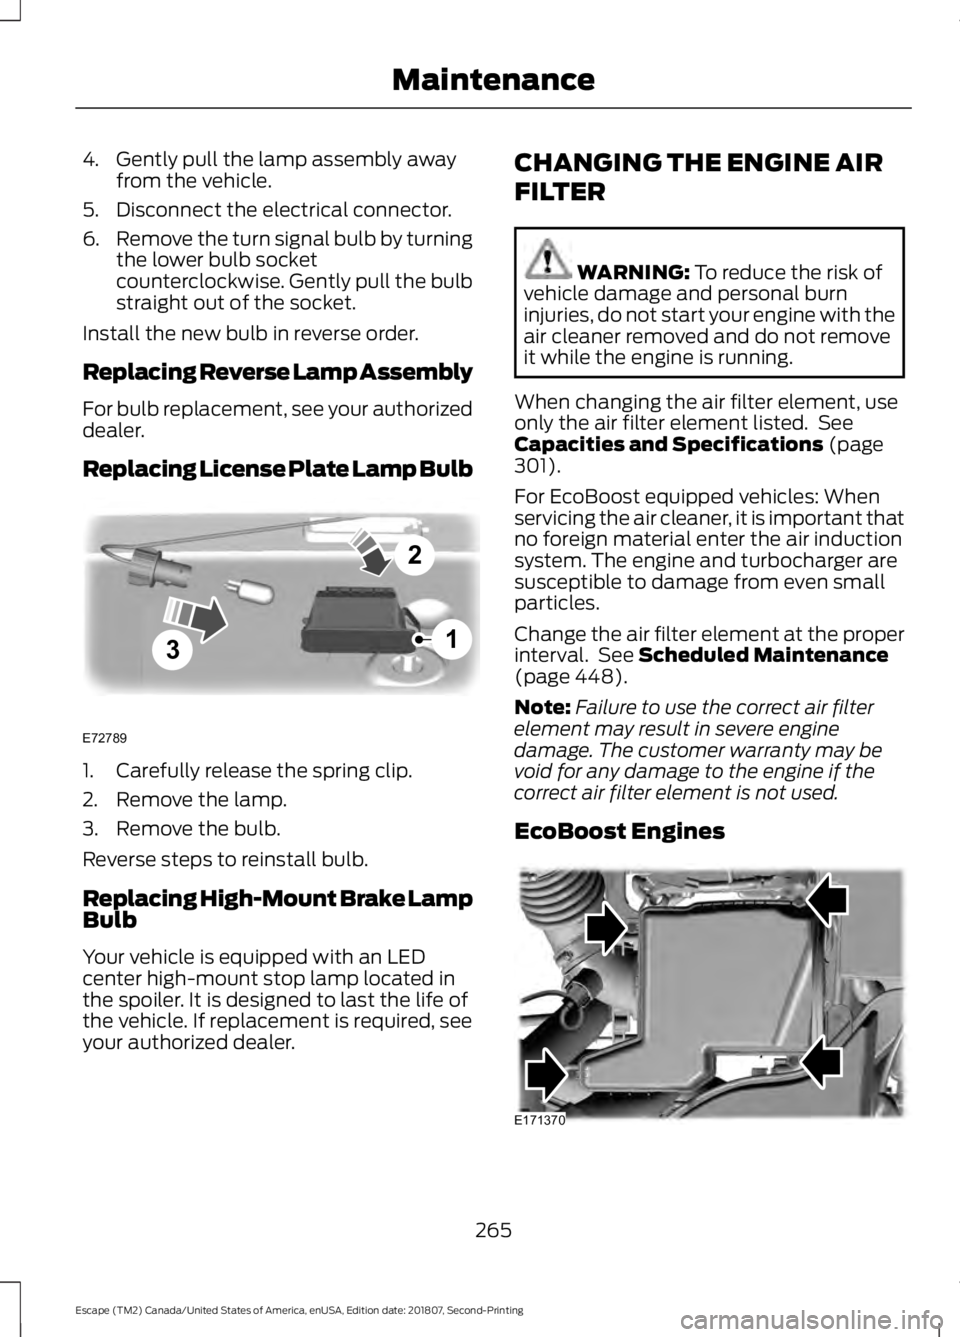
Replacing License Plate Lamp Bulb 1. Carefully release the spring clip.
2. Remove the lamp.
3. Remove the bulb.
Reverse steps to reinstall bulb.
Replacing High-Mount Brake Lamp
Bulb
Your vehicle is equipped with an LED
center high-mount stop lamp located in
the spoiler. It is designed to last the life of
the vehicle. If replacement is required, see
your authorized dealer. CHANGING THE ENGINE AIR
FILTER WARNING: To reduce the risk of
vehicle damage and personal burn
injuries, do not start your engine with the
air cleaner removed and do not remove
it while the engine is running.
When changing the air filter element, use
only the air filter element listed. See
Capacities and Specifications
(page
301).
For EcoBoost equipped vehicles: When
servicing the air cleaner, it is important that
no foreign material enter the air induction
system. The engine and turbocharger are
susceptible to damage from even small
particles.
Change the air filter element at the proper
interval. See
Scheduled Maintenance
(page 448).
Note: Failure to use the correct air filter
element may result in severe engine
damage. The customer warranty may be
void for any damage to the engine if the
correct air filter element is not used.
EcoBoost Engines 265
Escape (TM2) Canada/United States of America, enUSA, Edition date: 201807, Second-Printing Maintenance3
2
1
E72789 E171370
Page 270 of 509
GENERAL INFORMATION
Your dealer has many quality products
available to clean your vehicle and protect
its finishes.
CLEANING PRODUCTS
Materials
For best results, use the following products
or products of equivalent quality: Specification
Name
Motorcraft® Bug and Tar Remover, ZC-42 (U.S. & Canada) ESR-M5B194-B
Motorcraft® Custom Bright Metal Cleaner, ZC-15 (U.S. & Canada)
ESR-M14P4-A
Motorcraft® Detail Wash, ZC-3-A (U.S. & Canada)
ESR-M14P3-A
Motorcraft® Engine Shampoo and Degreaser, ZC-20 (U.S.)
Motorcraft® Engine Shampoo, CXC-66-A (Canada)
Motorcraft® Premium Leather and Vinyl Cleaner, ZC-56 (U.S. &
Canada)
Motorcraft® Multi-Purpose Cleaner, CXC-101 (Canada)
WSS-M14P19-A
Motorcraft® Premium Windshield Wash Concentrate with
Bitterant, ZC-32-B2 (U.S.)
WSS-M14P19-A
Motorcraft® Premium Quality Windshield Washer Fluid, CXC-37-
A/B/D/F (Canada)
Motorcraft® Professional Strength Carpet & Upholstery Cleaner,
ZC-54 (U.S. & Canada)
ESR-M14P5-A
Motorcraft® Premium Glass Cleaner, CXC-100 (Canada)
Motorcraft® Spot and Stain Remover, ZC-14 (U.S.)
ESR-M14P5-A
Motorcraft® Ultra-Clear Spray Glass Cleaner, ZC-23 (U.S.)
Motorcraft® Wheel and Tire Cleaner, ZC-37-A (U.S. & Canada)
CLEANING THE EXTERIOR
Wash your vehicle regularly with cool or
lukewarm water and a neutral pH
shampoo, we recommend Motorcraft
Detail Wash. •
Never use strong household detergents
or soap, for example dish washing or
laundry liquid. These products can
discolor and spot painted surfaces.
• Never wash your vehicle when it is hot
to the touch, or during strong or direct
sunlight.
267
Escape (TM2) Canada/United States of America, enUSA, Edition date: 201807, Second-Printing Vehicle Care
Page 293 of 509
USING SUMMER TIRES
Summer tires provide superior
performance on wet and dry roads.
Summer tires do not have the Mud and
Snow (M+S or M/S) tire traction rating on
the tire side wall. Since summer tires do
not have the same traction performance
as All-season or Snow tires, we do not
recommend using summer tires when
temperatures drop to about 45°F (7°C) or
below (depending on tire wear and
environmental conditions) or in snow and
ice conditions. Like any tire, summer tire
performance is affected by tire wear and
environmental conditions. If you must drive
in those conditions, we recommend using
Mud and Snow (M+S, M/S), All-season or
Snow tires.
Always store your summer tires indoors at
temperatures above 19°F (-7°C). The
rubber compounds used in these tires lose
flexibility and may develop surface cracks
in the tread area at temperatures below
19°F (-7°C)
. If the tires have been
subjected to 19°F (-7°C) or less, warm
them in a heated space to at least 41°F
(5°C) for at least 24 hours before installing
them on a vehicle, or moving the vehicle
with the tires installed, or checking tire
inflation. Do not place tires near heaters
or heating devices used to warm the room
where the tires are stored. Do not apply
heat or blow heated air directly on the tires.
Always inspect the tires after storage
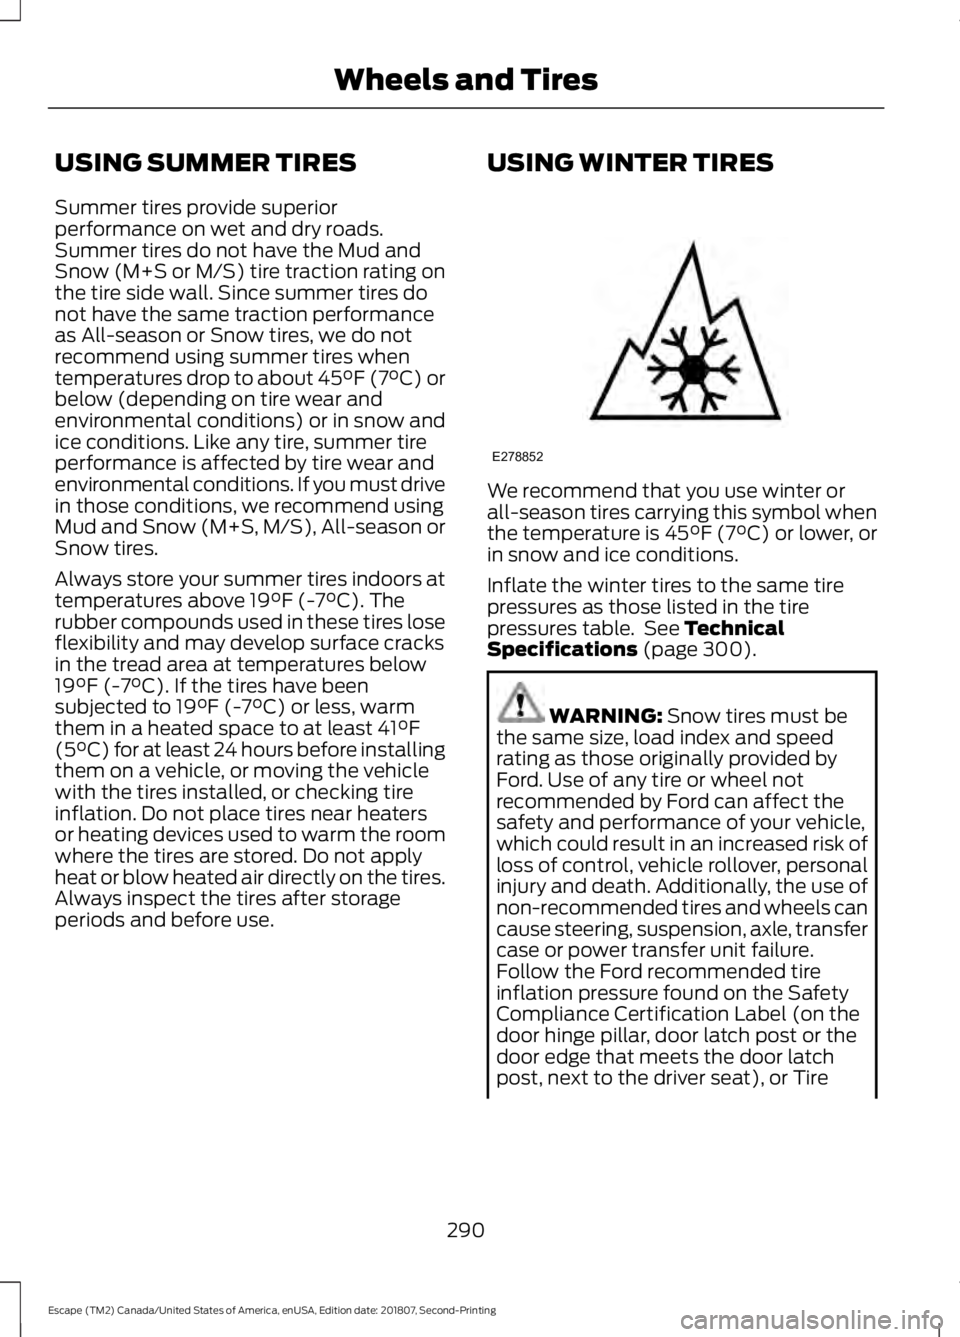
periods and before use. USING WINTER TIRES We recommend that you use winter or
all-season tires carrying this symbol when
the temperature is
45°F (7°C) or lower, or
in snow and ice conditions.
Inflate the winter tires to the same tire
pressures as those listed in the tire
pressures table. See
Technical
Specifications (page 300). WARNING:
Snow tires must be
the same size, load index and speed
rating as those originally provided by
Ford. Use of any tire or wheel not
recommended by Ford can affect the
safety and performance of your vehicle,
which could result in an increased risk of
loss of control, vehicle rollover, personal
injury and death. Additionally, the use of
non-recommended tires and wheels can
cause steering, suspension, axle, transfer
case or power transfer unit failure.
Follow the Ford recommended tire
inflation pressure found on the Safety
Compliance Certification Label (on the
door hinge pillar, door latch post or the
door edge that meets the door latch
post, next to the driver seat), or Tire
290
Escape (TM2) Canada/United States of America, enUSA, Edition date: 201807, Second-Printing Wheels and TiresE278852
Page 294 of 509
Label on the B-Pillar or the edge of the
driver door. Failure to follow the tire
pressure recommendations can cause
uneven treadwear patterns and
adversely affect the way your vehicle
handles.
USING SNOW CHAINS WARNING: Snow tires must be
the same size, load index, speed rating
as those originally provided by Ford. Use
of any tire or wheel not recommended
by Ford can affect the safety and
performance of your vehicle, which could
result in an increased risk of loss of
vehicle control, vehicle rollover, personal
injury and death. Additionally, the use of
non-recommended tires and wheels
could cause steering, suspension, axle,
transfer case or power transfer unit
failure.
The tires on your vehicle have all-weather
treads to provide traction in rain and snow.
However, in some climates, you may need
to use snow tires and cables. If you need
to use cables, it is recommended that steel
wheels (of the same size and
specifications) be used, as cables may chip
aluminum wheels.
Follow these guidelines when using snow
tires and traction devices
• If possible, avoid fully loading your
vehicle
• Purchase chains or cables from a
manufacturer that clearly labels body
to tire dimension restrictions.
• Use 10 mm cables or chains only on
front axle with 235/55R17 tires. •
Not all S-class snow chains or cables
meet these restrictions. Chains of this
size restriction will include a tensioning
device.
• The snow chains or cables must be
mounted in pairs on the front axle.
• Do not use chains or cables on
235/50R18 and 235/45R19 tires.
• Install cables securely, verifying that
the cables do not touch any wiring,
brake lines or fuel lines.
• When driving with tire cables do not
exceed 30 mph (48 km/h) or the
maximum speed recommended by the
chain manufacturer, whichever is less.
• Drive cautiously. If you hear the cables
rub or bang against the vehicle, stop
and retighten them. If this does not
work, remove the cables to prevent
vehicle damage.
• Remove the cables when they are no
longer needed. Do not use cables on
dry roads.
If you have any questions regarding snow
chains or cables, please contact your
authorized dealer.
TIRE PRESSURE MONITORING
SYSTEM WARNING:
The tire pressure
monitoring system is not a substitute for
manually checking tire pressures. You
should periodically check tire pressures
using a pressure gauge. Failure to
correctly maintain tire pressures could
increase the risk of tire failure, loss of
control, vehicle rollover and personal
injury.
291
Escape (TM2) Canada/United States of America, enUSA, Edition date: 201807, Second-Printing Wheels and Tires
Page 295 of 509
Note:
You should only use tire sealants in
roadside emergencies as they may cause
damage to the tire pressure monitoring
system sensor.
Note: If the tire pressure monitoring system
sensor becomes damaged, it may not
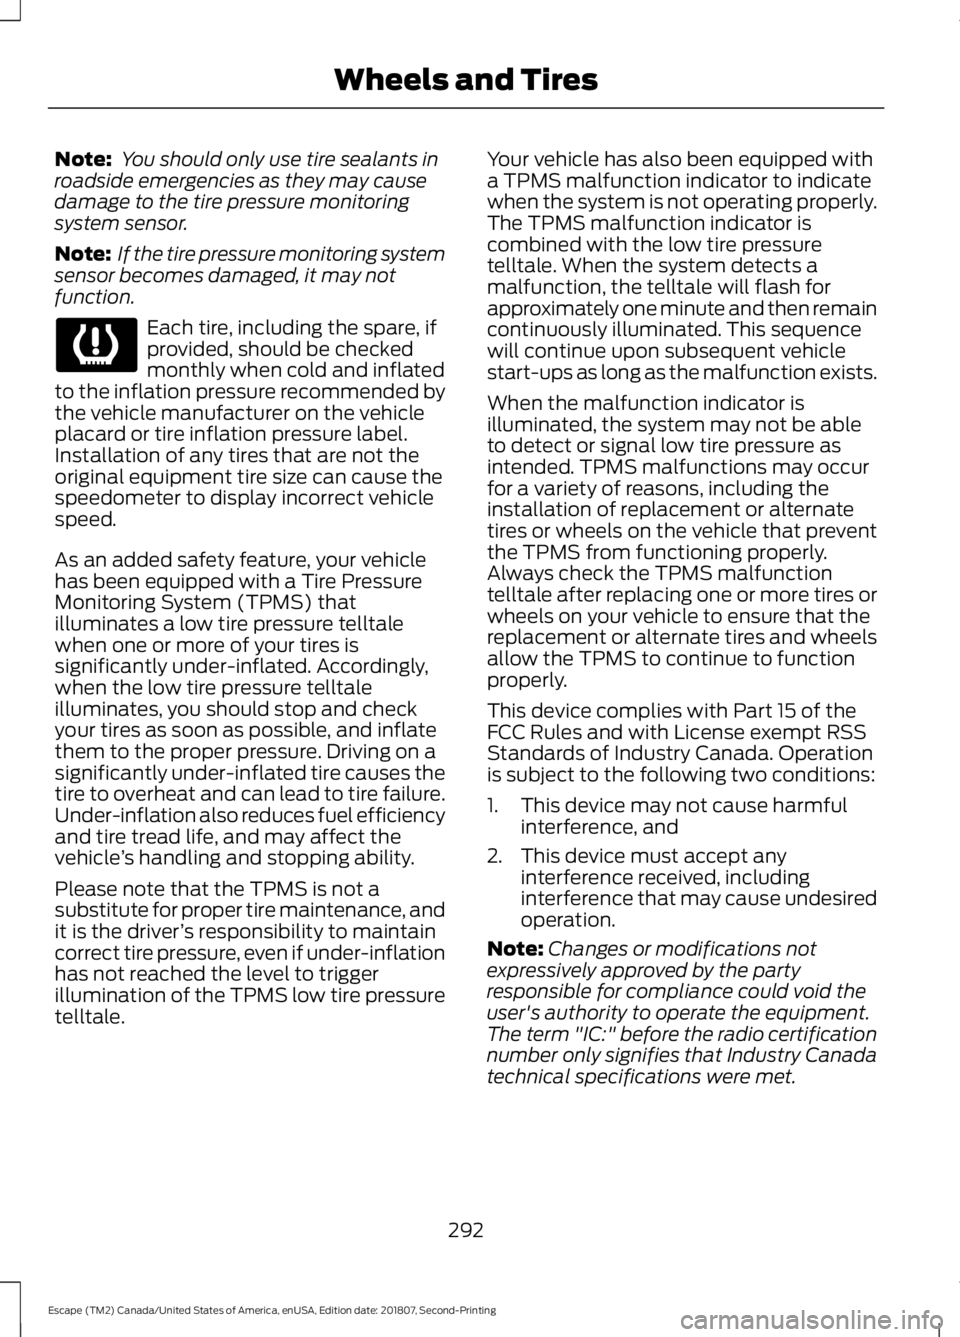
function. Each tire, including the spare, if
provided, should be checked
monthly when cold and inflated
to the inflation pressure recommended by
the vehicle manufacturer on the vehicle
placard or tire inflation pressure label.
Installation of any tires that are not the
original equipment tire size can cause the
speedometer to display incorrect vehicle
speed.
As an added safety feature, your vehicle
has been equipped with a Tire Pressure
Monitoring System (TPMS) that
illuminates a low tire pressure telltale
when one or more of your tires is
significantly under-inflated. Accordingly,
when the low tire pressure telltale
illuminates, you should stop and check
your tires as soon as possible, and inflate
them to the proper pressure. Driving on a
significantly under-inflated tire causes the
tire to overheat and can lead to tire failure.
Under-inflation also reduces fuel efficiency
and tire tread life, and may affect the
vehicle ’s handling and stopping ability.
Please note that the TPMS is not a
substitute for proper tire maintenance, and
it is the driver ’s responsibility to maintain
correct tire pressure, even if under-inflation
has not reached the level to trigger
illumination of the TPMS low tire pressure
telltale. Your vehicle has also been equipped with
a TPMS malfunction indicator to indicate
when the system is not operating properly.
The TPMS malfunction indicator is
combined with the low tire pressure
telltale. When the system detects a
malfunction, the telltale will flash for
approximately one minute and then remain
continuously illuminated. This sequence
will continue upon subsequent vehicle
start-ups as long as the malfunction exists.
When the malfunction indicator is
illuminated, the system may not be able
to detect or signal low tire pressure as
intended. TPMS malfunctions may occur
for a variety of reasons, including the
installation of replacement or alternate
tires or wheels on the vehicle that prevent
the TPMS from functioning properly.
Always check the TPMS malfunction
telltale after replacing one or more tires or
wheels on your vehicle to ensure that the
replacement or alternate tires and wheels
allow the TPMS to continue to function
properly.
This device complies with Part 15 of the
FCC Rules and with License exempt RSS
Standards of Industry Canada. Operation
is subject to the following two conditions:
1. This device may not cause harmful
interference, and
2. This device must accept any interference received, including
interference that may cause undesired
operation.
Note: Changes or modifications not
expressively approved by the party
responsible for compliance could void the
user's authority to operate the equipment.
The term "IC:" before the radio certification
number only signifies that Industry Canada
technical specifications were met.
292
Escape (TM2) Canada/United States of America, enUSA, Edition date: 201807, Second-Printing Wheels and Tires