lock FORD ESCORT 1998 6.G Owners Manual
[x] Cancel search | Manufacturer: FORD, Model Year: 1998, Model line: ESCORT, Model: FORD ESCORT 1998 6.GPages: 191, PDF Size: 1.51 MB
Page 10 of 191

Brake system warning
Momentarily illuminates when the
ignition is turned ON and the
engine is off. Also illuminates when
the parking brake is engaged.
Illumination after releasing the
parking brake indicates low brake
fluid level.
Anti-lock brake system (ABS)
(If equipped)
Momentarily illuminates when the
ignition is turned on and the
engine is off. If the light remains
on or continues to flash, the ABS
needs to be serviced.
Turn signal
Illuminates when the left or right
turn signal or the hazard lights are
turned on. If one or both of the
indicators stay on continuously or
flash faster, check for a burned-out
turn signal bulb. Refer toExterior
bulbsin theMaintenance and
carechapter.
High beams
Illuminates when the high beam
headlamps are turned on.
Anti-theft system (if equipped)
Refer toAnti-theft systemin the
Controls and featureschapter.
P!
BRAKE
ABS
THEFT
Instrumentation
10
Page 12 of 191

For information on the safety belt
warning chime, refer to the
Seating and safety restraints
chapter.
Supplemental restraint system
(SRS) warning chime
For information on the SRS
warning chime, refer to the
Seating and safety restraints
chapter.
Key-in-ignition warning chime
Sounds when the key is left in the
ignition in the OFF/LOCK or ACC
position and either front door is
opened.
Headlamps on warning chime
Sounds when the headlamps or
parking lamps are on, the ignition
is off (and the key is not in the
ignition) and either front door is
opened.
Instrumentation
12
Page 17 of 191
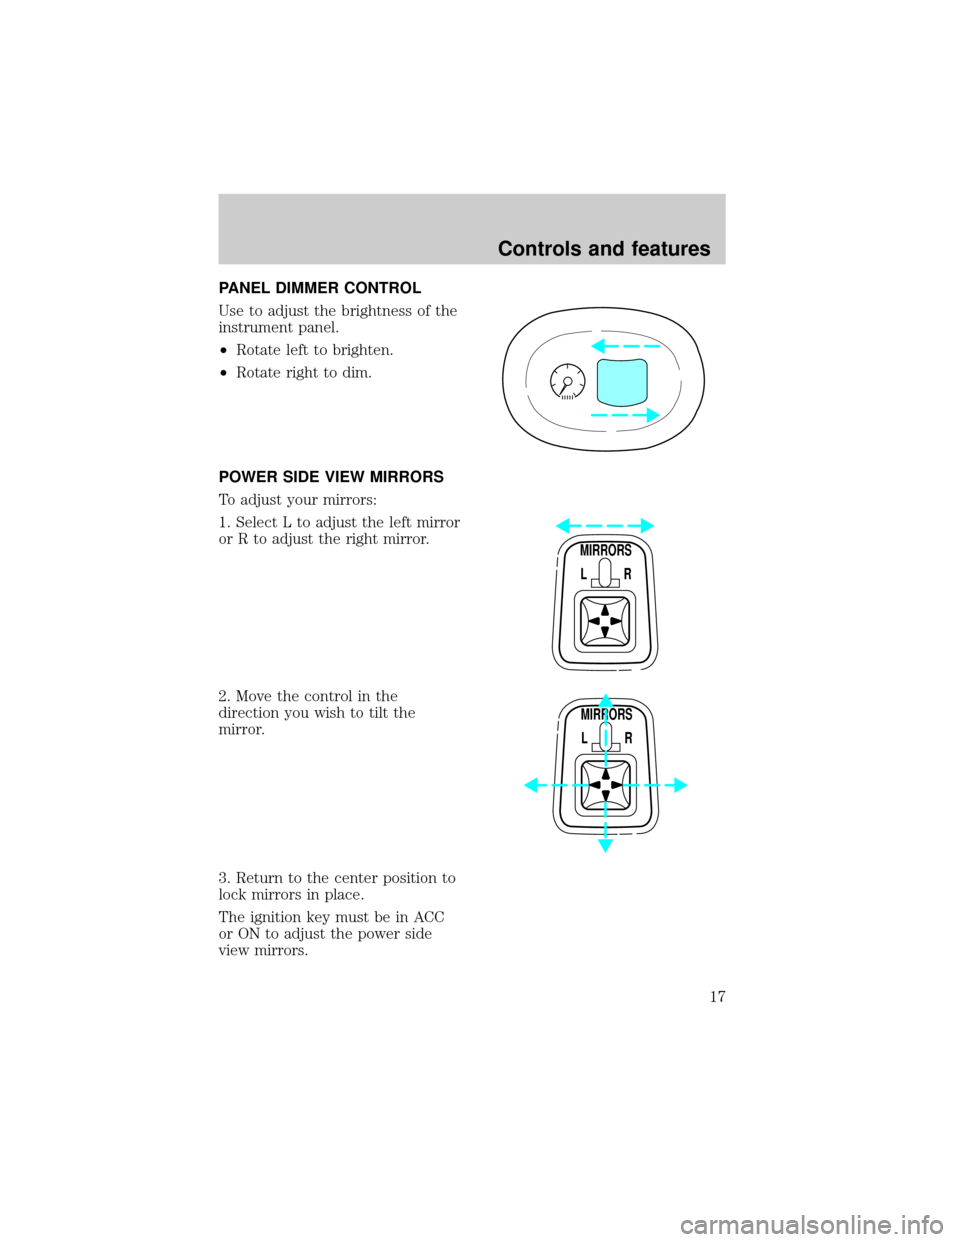
PANEL DIMMER CONTROL
Use to adjust the brightness of the
instrument panel.
²Rotate left to brighten.
²Rotate right to dim.
POWER SIDE VIEW MIRRORS
To adjust your mirrors:
1. Select L to adjust the left mirror
or R to adjust the right mirror.
2. Move the control in the
direction you wish to tilt the
mirror.
3. Return to the center position to
lock mirrors in place.
The ignition key must be in ACC
or ON to adjust the power side
view mirrors.
MIRRORS
L R
MIRRORS
L R
Controls and features
17
Page 20 of 191
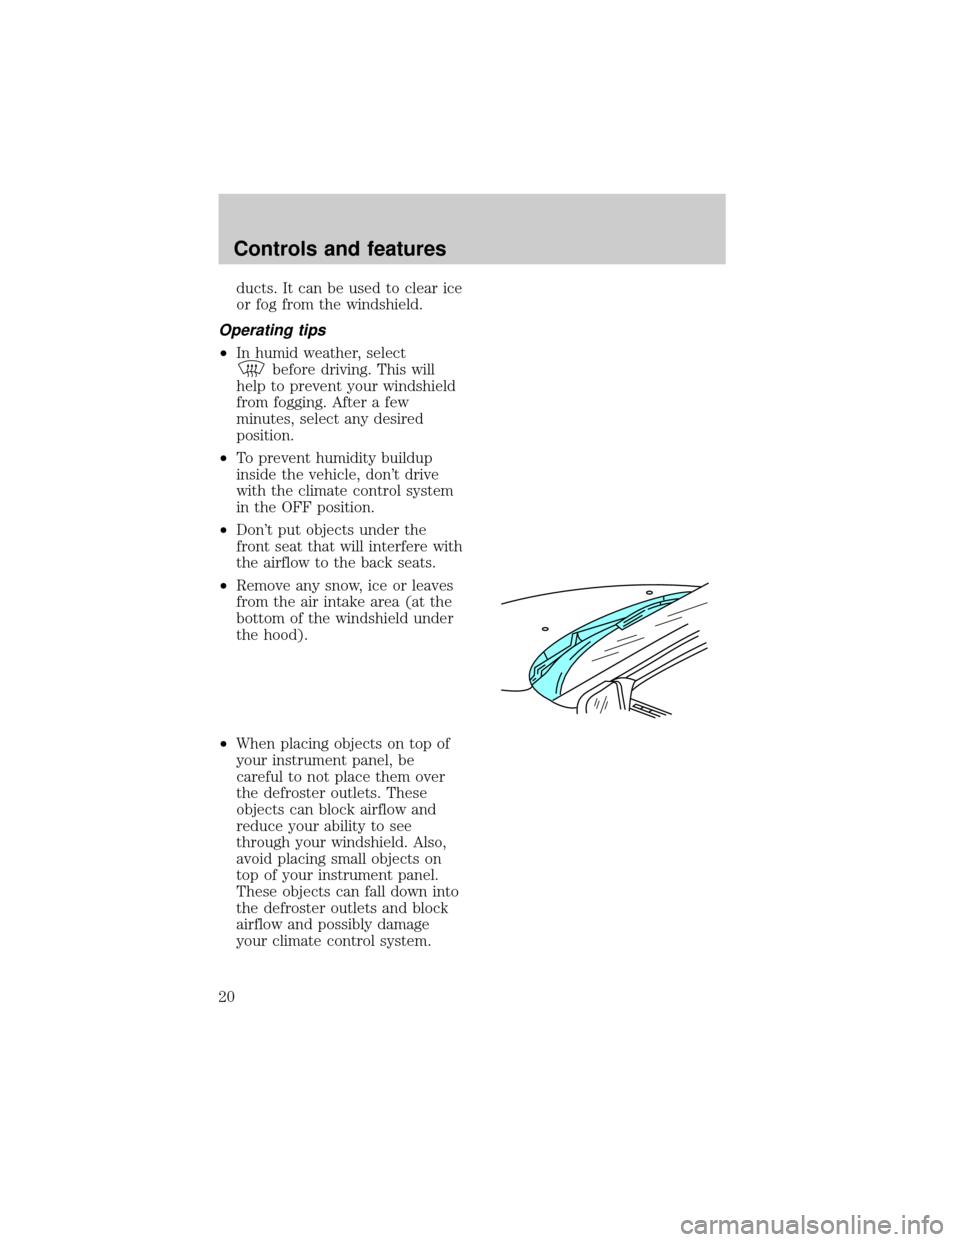
ducts. It can be used to clear ice
or fog from the windshield.
Operating tips
²In humid weather, select
before driving. This will
help to prevent your windshield
from fogging. After a few
minutes, select any desired
position.
²To prevent humidity buildup
inside the vehicle, don't drive
with the climate control system
in the OFF position.
²Don't put objects under the
front seat that will interfere with
the airflow to the back seats.
²Remove any snow, ice or leaves
from the air intake area (at the
bottom of the windshield under
the hood).
²When placing objects on top of
your instrument panel, be
careful to not place them over
the defroster outlets. These
objects can block airflow and
reduce your ability to see
through your windshield. Also,
avoid placing small objects on
top of your instrument panel.
These objects can fall down into
the defroster outlets and block
airflow and possibly damage
your climate control system.
Controls and features
20
Page 25 of 191

Then operate your air
conditioner as you would
normally.
²When placing objects on top of
your instrument panel, be
careful to not place them over
the defroster outlets. These
objects can block airflow and
reduce your ability to see
through your windshield. Also,
avoid placing small objects on
top of your instrument panel.
These objects can fall down into
the defroster outlets and block
airflow and possibly damage
your climate control system.
REAR WINDOW DEFROSTER
Clears the rear window of thin ice
and fog. To operate:
1. Turn the ignition to the ON
position.
2. Press and release the control
once to turn on. The light will be
lit while the rear window defroster
is on.
3. Press and release the control
again to turn off.
The defroster will automatically
turn off after fifteen minutes.
R.DEF
Controls and features
25
Page 26 of 191
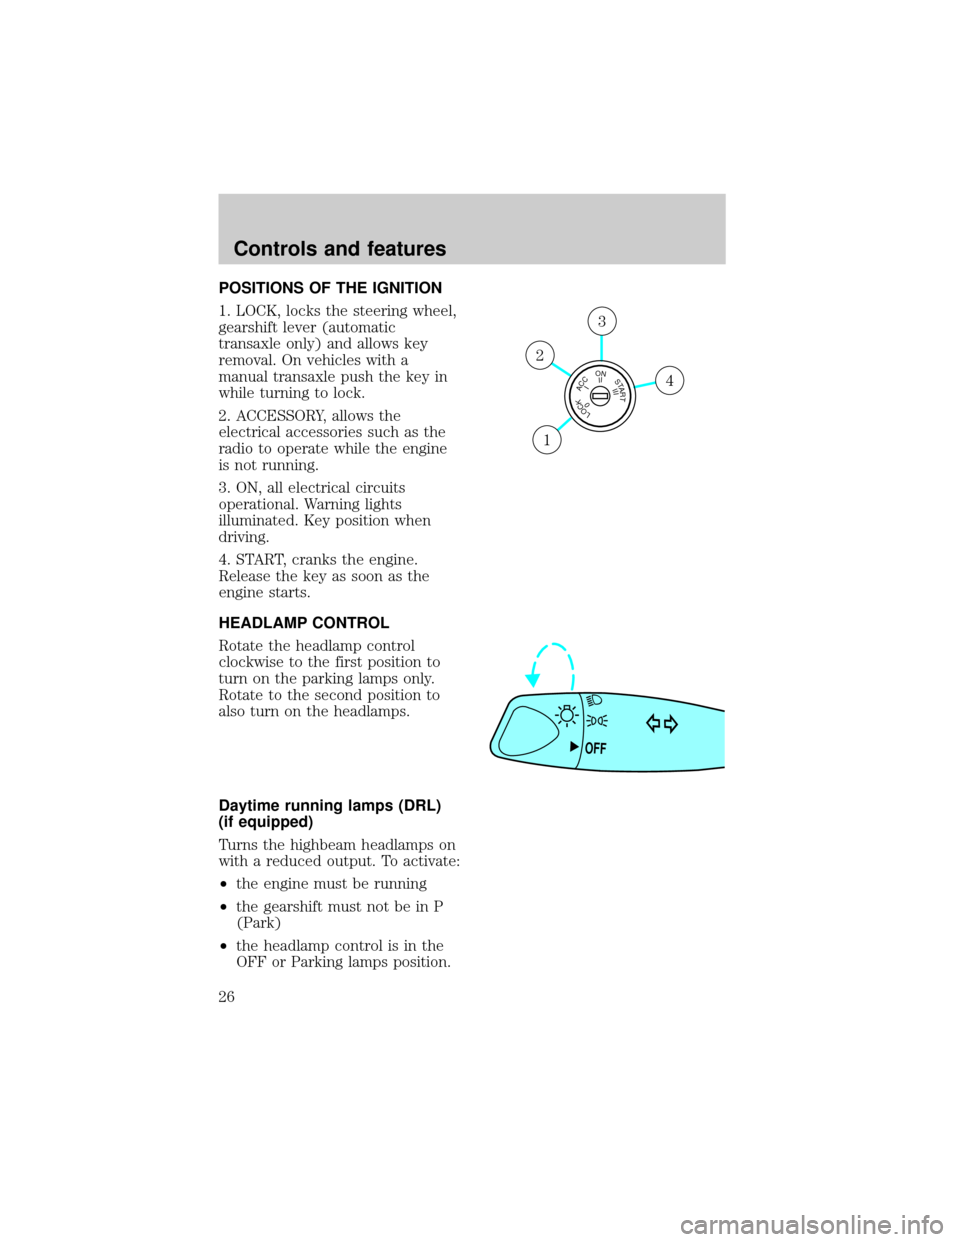
POSITIONS OF THE IGNITION
1. LOCK, locks the steering wheel,
gearshift lever (automatic
transaxle only) and allows key
removal. On vehicles with a
manual transaxle push the key in
while turning to lock.
2. ACCESSORY, allows the
electrical accessories such as the
radio to operate while the engine
is not running.
3. ON, all electrical circuits
operational. Warning lights
illuminated. Key position when
driving.
4. START, cranks the engine.
Release the key as soon as the
engine starts.
HEADLAMP CONTROL
Rotate the headlamp control
clockwise to the first position to
turn on the parking lamps only.
Rotate to the second position to
also turn on the headlamps.
Daytime running lamps (DRL)
(if equipped)
Turns the highbeam headlamps on
with a reduced output. To activate:
²the engine must be running
²the gearshift must not be in P
(Park)
²the headlamp control is in the
OFF or Parking lamps position.
LOCKACCONSTART0IIIIII4
3
2
1
OFF
Controls and features
26
Page 33 of 191
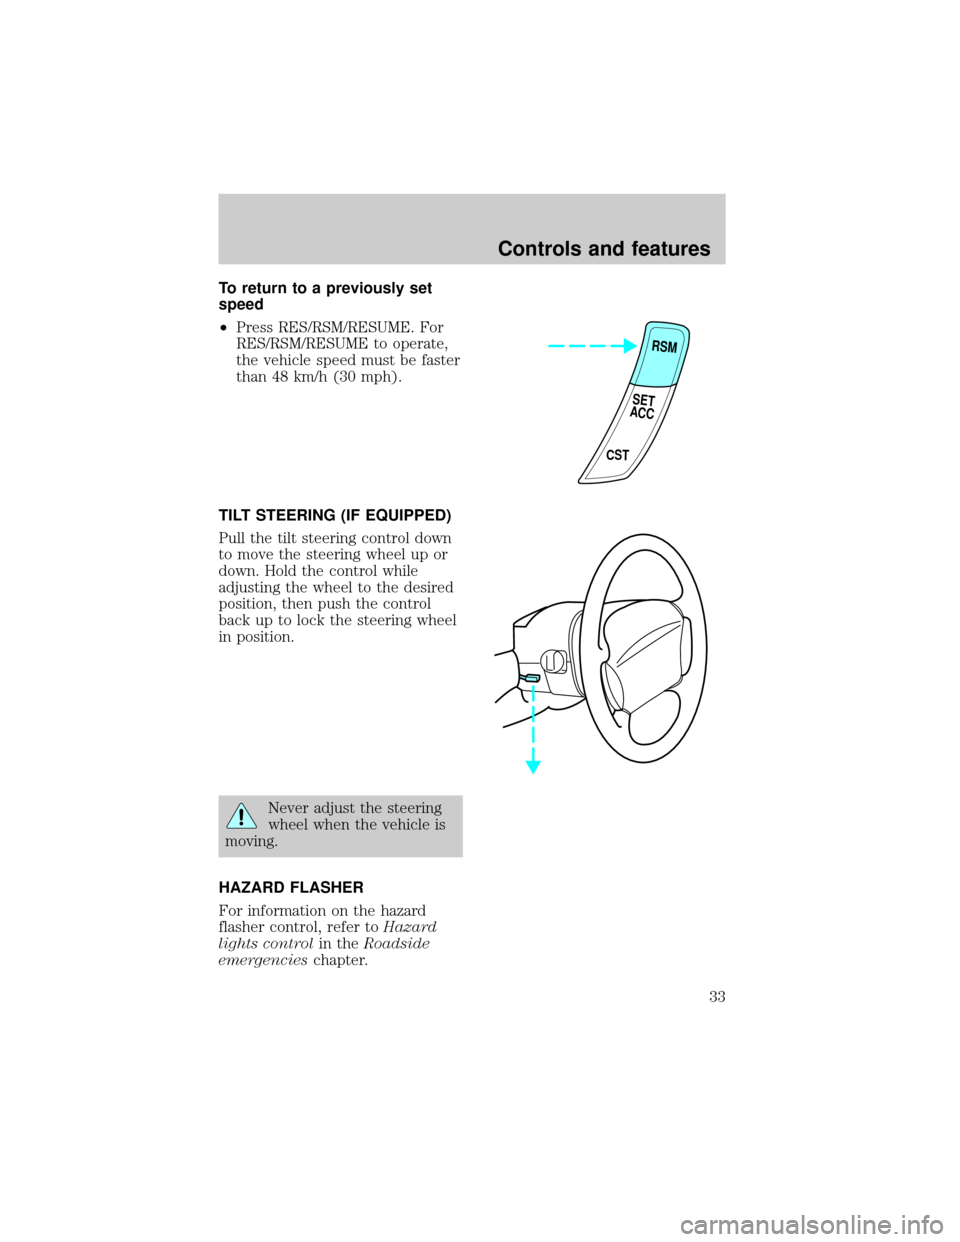
To return to a previously set
speed
²Press RES/RSM/RESUME. For
RES/RSM/RESUME to operate,
the vehicle speed must be faster
than 48 km/h (30 mph).
TILT STEERING (IF EQUIPPED)
Pull the tilt steering control down
to move the steering wheel up or
down. Hold the control while
adjusting the wheel to the desired
position, then push the control
back up to lock the steering wheel
in position.
Never adjust the steering
wheel when the vehicle is
moving.
HAZARD FLASHER
For information on the hazard
flasher control, refer toHazard
lights controlin theRoadside
emergencieschapter.
RSM
CST
SET
ACC
Controls and features
33
Page 38 of 191
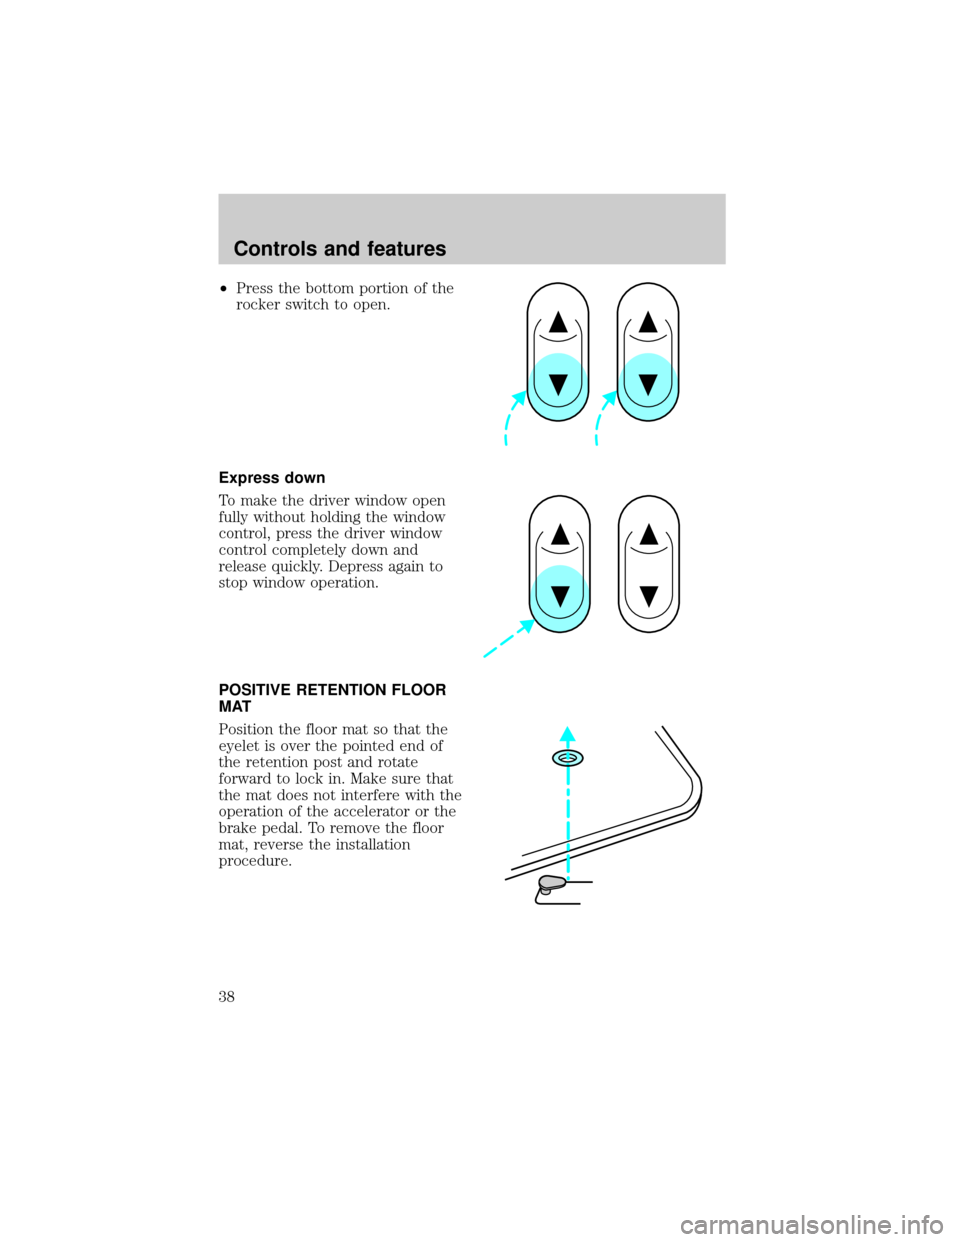
²Press the bottom portion of the
rocker switch to open.
Express down
To make the driver window open
fully without holding the window
control, press the driver window
control completely down and
release quickly. Depress again to
stop window operation.
POSITIVE RETENTION FLOOR
MAT
Position the floor mat so that the
eyelet is over the pointed end of
the retention post and rotate
forward to lock in. Make sure that
the mat does not interfere with the
operation of the accelerator or the
brake pedal. To remove the floor
mat, reverse the installation
procedure.
Controls and features
38
Page 40 of 191

The all-door remote entry system
allows you to:
²lock or unlock all vehicle doors
without a key.
²arm and disarm the anti-theft
system. (For more information
on the anti-theft system, refer to
Anti-theft systemin this
chapter.)
²open the trunk.
²activate the panic alarm.
The driver's door only entry
system allows you to:
²lock the driver's door and
liftgate (wagons)
²unlock the driver's door only
without a key.
²activate the panic alarm.
²open the trunk or unlock liftgate
(wagons).
The remote entry features only
operate with the ignition in the
OFF position.
Unlocking the doors
Press this control to unlock the
driver's door. The interior lamps
will illuminate.
With the all-door remote entry
system, press the control a second
time within five seconds to unlock
all doors (on wagons, this will not
unlock the liftgate).
Controls and features
40
Page 41 of 191
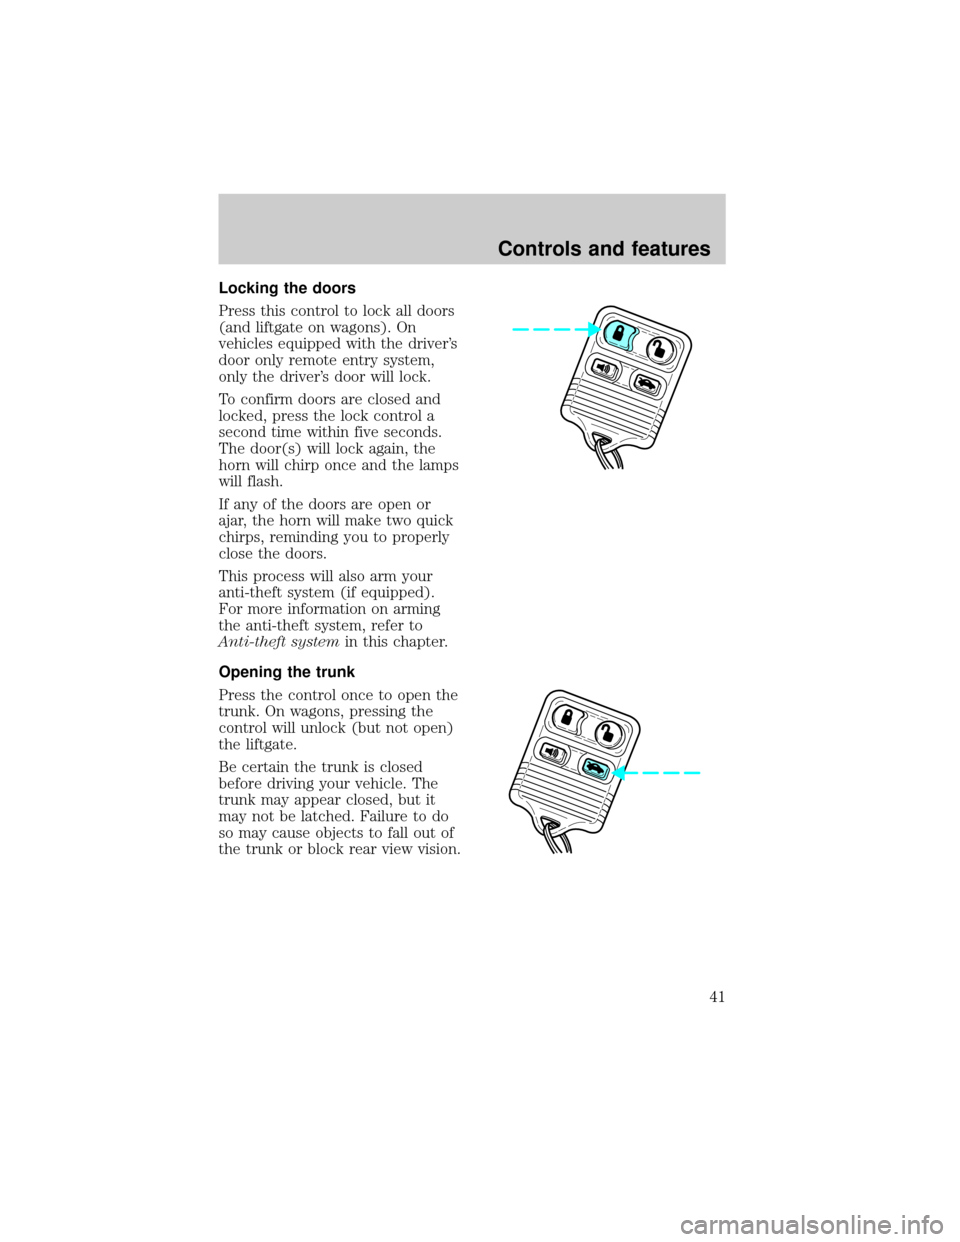
Locking the doors
Press this control to lock all doors
(and liftgate on wagons). On
vehicles equipped with the driver's
door only remote entry system,
only the driver's door will lock.
To confirm doors are closed and
locked, press the lock control a
second time within five seconds.
The door(s) will lock again, the
horn will chirp once and the lamps
will flash.
If any of the doors are open or
ajar, the horn will make two quick
chirps, reminding you to properly
close the doors.
This process will also arm your
anti-theft system (if equipped).
For more information on arming
the anti-theft system, refer to
Anti-theft systemin this chapter.
Opening the trunk
Press the control once to open the
trunk. On wagons, pressing the
control will unlock (but not open)
the liftgate.
Be certain the trunk is closed
before driving your vehicle. The
trunk may appear closed, but it
may not be latched. Failure to do
so may cause objects to fall out of
the trunk or block rear view vision.
Controls and features
41