wheel FORD ESCORT 1998 6.G Owners Manual
[x] Cancel search | Manufacturer: FORD, Model Year: 1998, Model line: ESCORT, Model: FORD ESCORT 1998 6.GPages: 191, PDF Size: 1.51 MB
Page 26 of 191
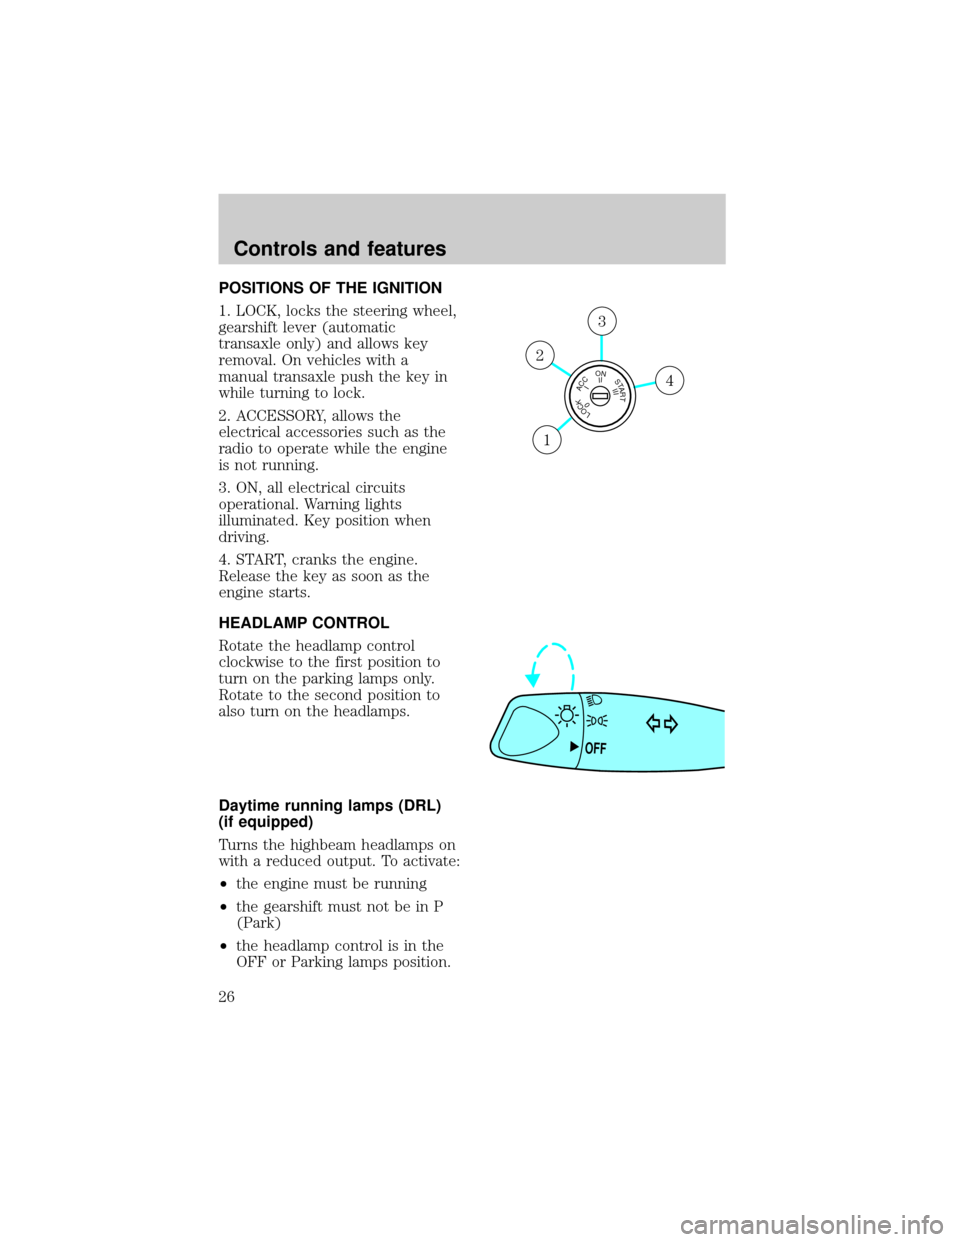
POSITIONS OF THE IGNITION
1. LOCK, locks the steering wheel,
gearshift lever (automatic
transaxle only) and allows key
removal. On vehicles with a
manual transaxle push the key in
while turning to lock.
2. ACCESSORY, allows the
electrical accessories such as the
radio to operate while the engine
is not running.
3. ON, all electrical circuits
operational. Warning lights
illuminated. Key position when
driving.
4. START, cranks the engine.
Release the key as soon as the
engine starts.
HEADLAMP CONTROL
Rotate the headlamp control
clockwise to the first position to
turn on the parking lamps only.
Rotate to the second position to
also turn on the headlamps.
Daytime running lamps (DRL)
(if equipped)
Turns the highbeam headlamps on
with a reduced output. To activate:
²the engine must be running
²the gearshift must not be in P
(Park)
²the headlamp control is in the
OFF or Parking lamps position.
LOCKACCONSTART0IIIIII4
3
2
1
OFF
Controls and features
26
Page 33 of 191
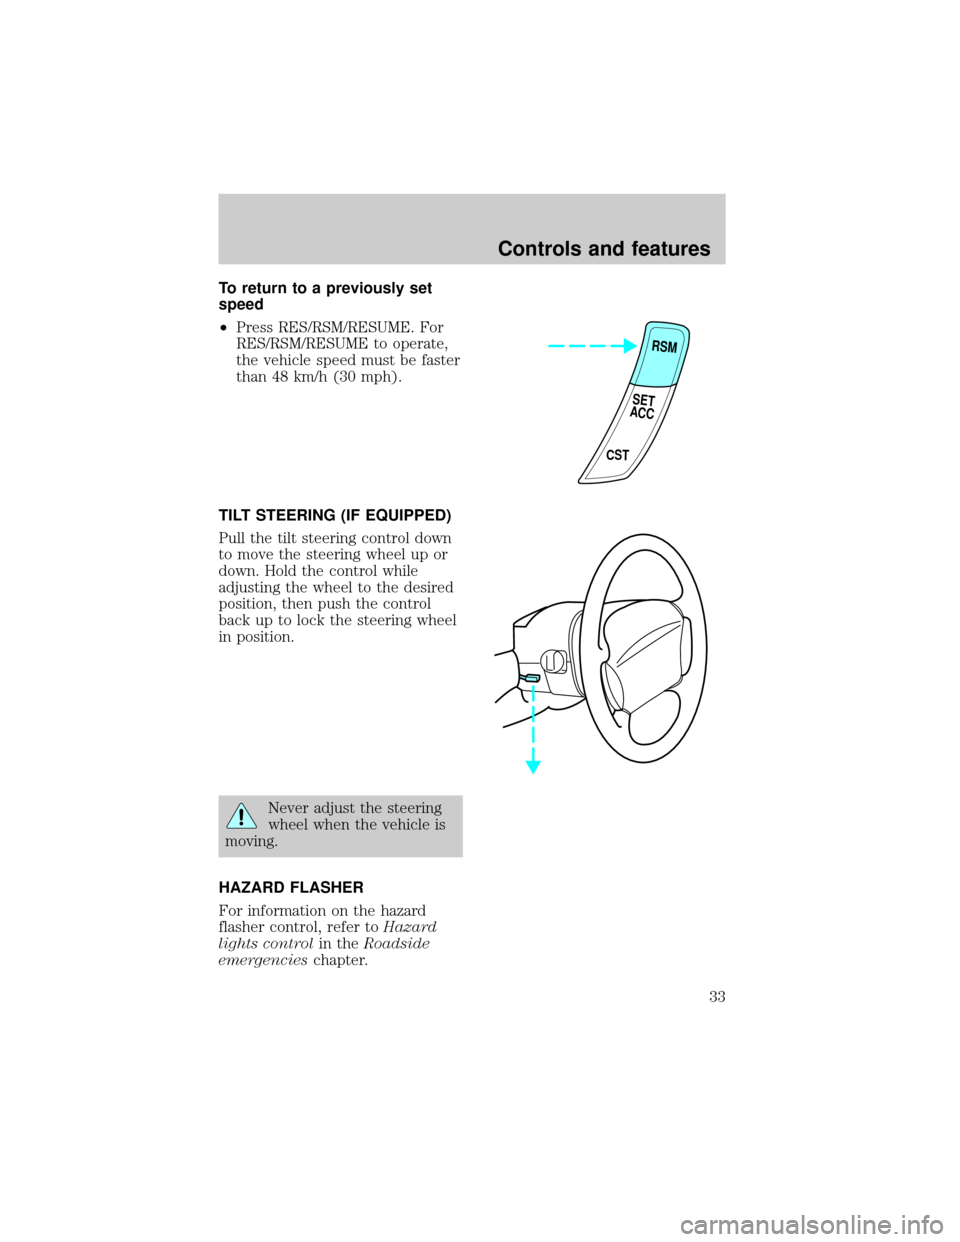
To return to a previously set
speed
²Press RES/RSM/RESUME. For
RES/RSM/RESUME to operate,
the vehicle speed must be faster
than 48 km/h (30 mph).
TILT STEERING (IF EQUIPPED)
Pull the tilt steering control down
to move the steering wheel up or
down. Hold the control while
adjusting the wheel to the desired
position, then push the control
back up to lock the steering wheel
in position.
Never adjust the steering
wheel when the vehicle is
moving.
HAZARD FLASHER
For information on the hazard
flasher control, refer toHazard
lights controlin theRoadside
emergencieschapter.
RSM
CST
SET
ACC
Controls and features
33
Page 60 of 191
Do not place objects or
mount equipment on or
near the air bag cover on the
steering wheel or in front seat
areas that may come into contact
with a deploying air bag. Failure
to follow this instruction may
increase the risk of personal
injury in the event of a collision.
Do not attempt to service,
repair, or modify the Air
Bag Supplemental Restraint
System or its fuses. See your
Ford or Lincoln-Mercury dealer.
Children and air bags
For additional important safety
information, read all information
on safety restraints in this guide.
Children should always wear their
safety belts. Failure to follow these
instructions may increase the risk
of injury in a collision.
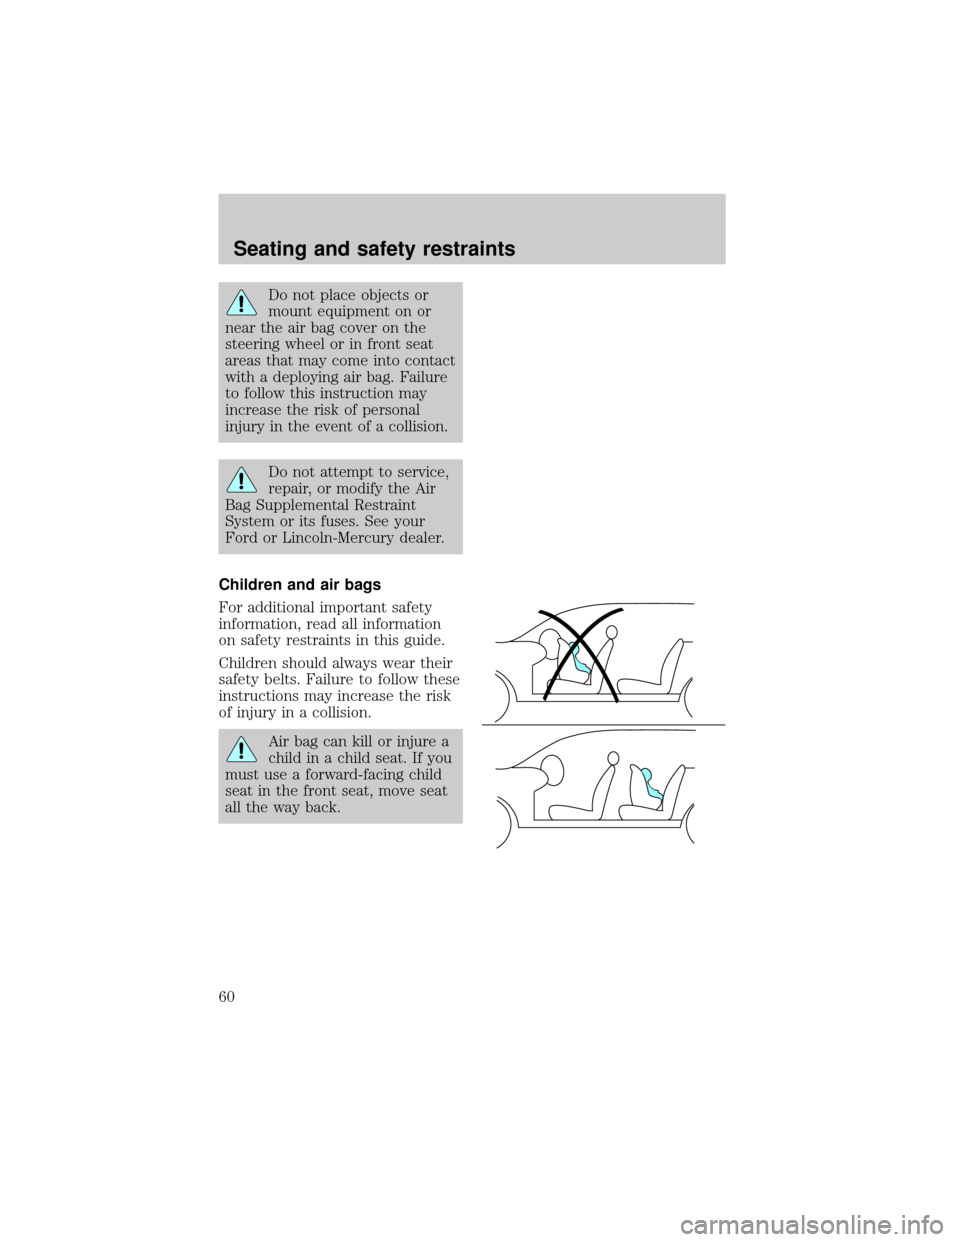
Air bag can kill or injure a
child in a child seat. If you
must use a forward-facing child
seat in the front seat, move seat
all the way back.
Seating and safety restraints
60
Page 88 of 191
vehicle has continuous vibration or
shudder while braking, felt mainly
in the steering wheel, the vehicle
most likely needs service.
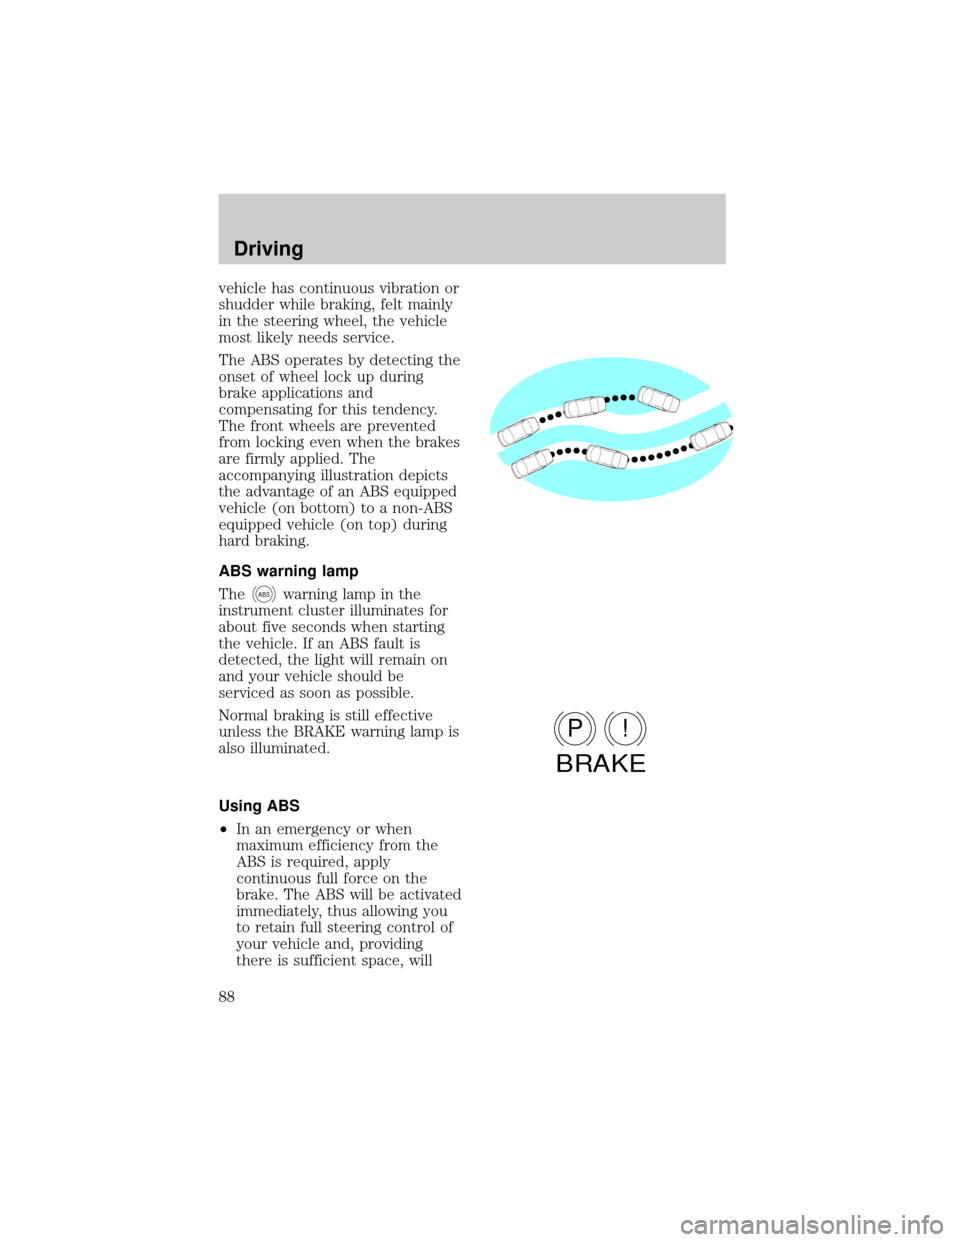
The ABS operates by detecting the
onset of wheel lock up during
brake applications and
compensating for this tendency.
The front wheels are prevented
from locking even when the brakes
are firmly applied. The
accompanying illustration depicts
the advantage of an ABS equipped
vehicle (on bottom) to a non-ABS
equipped vehicle (on top) during
hard braking.
ABS warning lamp
The
ABSwarning lamp in the
instrument cluster illuminates for
about five seconds when starting
the vehicle. If an ABS fault is
detected, the light will remain on
and your vehicle should be
serviced as soon as possible.
Normal braking is still effective
unless the BRAKE warning lamp is
also illuminated.
Using ABS
²In an emergency or when
maximum efficiency from the
ABS is required, apply
continuous full force on the
brake. The ABS will be activated
immediately, thus allowing you
to retain full steering control of
your vehicle and, providing
there is sufficient space, will
P!
BRAKE
Driving
88
Page 94 of 191
into R (Reverse) when you
downshift from 5 (Fifth).
Automatic transaxle
(if equipped)
Hold the brake pedal down
while you move the
gearshift lever from position to
position. If you do not hold the
brake pedal down, your vehicle
may move unexpectedly and
injure someone.
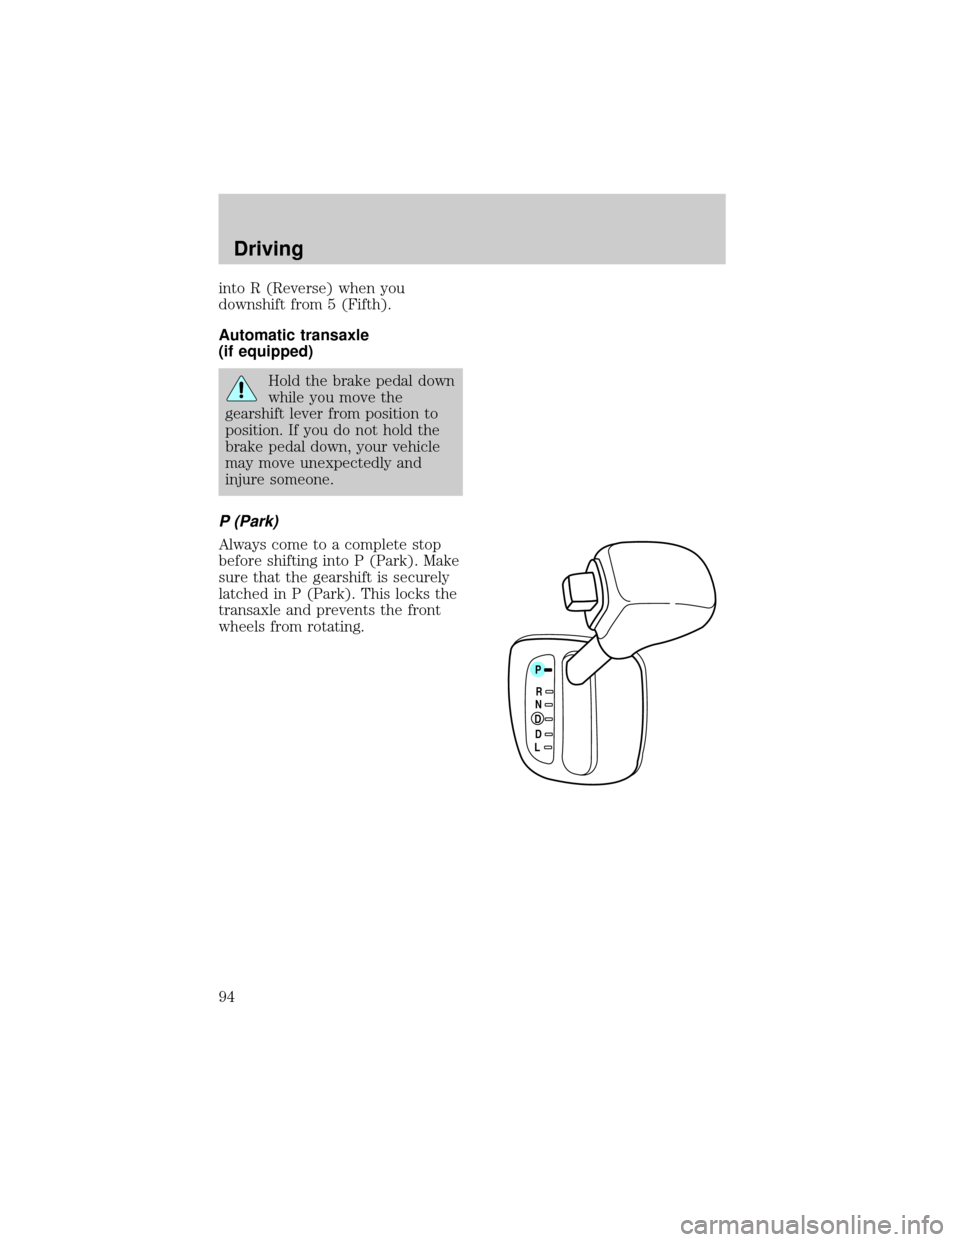
P (Park)
Always come to a complete stop
before shifting into P (Park). Make
sure that the gearshift is securely
latched in P (Park). This locks the
transaxle and prevents the front
wheels from rotating.
P
RNDDL
Driving
94
Page 102 of 191

dealer or trailer rental agency for
proper instructions and equipment
for hooking up trailer lamps.
Driving while you tow
Do not drive faster than 88 km/h
(55 mph) when towing a trailer.
Speed control may shut off if you
are towing on long, steep grades.
When towing a trailer:
²Use D (Drive) or a lower gear
when towing up or down steep
hills. This will eliminate
excessive downshifting and
upshifting for optimum fuel
economy and transmission
cooling.
²Anticipate stops and brake
gradually.
Servicing after towing
If you tow a trailer for long
distances, your vehicle will require
more frequent service intervals.
Refer to the Severe Duty Schedule
in your ªService Guideº for more
information.
Trailer towing tips
²Practice turning, stopping and
backing up in an area before
starting on a trip to get the feel
of the vehicle trailer
combination. When turning,
make wider turns so the trailer
wheels will clear curbs and
other obstacles.
²Allow more distance for
stopping with a trailer attached.
Driving
102
Page 103 of 191

²The trailer tongue weight should
be 10±15% of the loaded trailer
weight.
²After you have traveled 80 km
(50 miles), thoroughly check
your hitch, electrical
connections and trailer wheel
lug nuts.
²When stopped in traffic for long
periods of time in hot weather,
place the gearshift in P (Park)
and increase idle speed. This
aids engine cooling and air
conditioner efficiency.
²Vehicles with trailers should not
be parked on a grade. If you
must park on a grade, place
wheel chocks under the trailer's
wheels.
LUGGAGE RACK
(IF EQUIPPED)
Load luggage as far back as it will
safely go on the rack without
causing the vehicle to exceed the
gross vehicle weight rating
(GVWR) or gross axle weight
rating (GAWR).
FUEL CONSUMPTION
Fuel economy can be improved by
avoiding:
²lack of regular, scheduled
maintenance
²excessive speed
²rapid acceleration
²extended idle
Driving
103
Page 113 of 191

Fuse/Fuse Link
Cartridge
LocationFuse Amp
RatingDescription
MAIN 100A* Charging System, BTN, Cooling
Fan, Fuel Pump, OBD-II, ABS
Fuses, Ignition Switch, Headlamps
BTN 40A* Hazard
ABS 60A* ABS Main Relay
COOLING FAN 40A* Constant Control Relay Module
OBD-II 10A** Data Link Connector (DLC),
Instrument Cluster
FUEL PUMP 30A** Engine Controls
HEAD RH 10A** Headlamps
HEAD LH 10A** Headlamps
* Fuse Link Cartridge ** Fuse
Relays
Relays are located in the power
distribution box and should be
replaced by qualified technicians.
CHANGING THE TIRES
If you get a flat tire while driving,
do not apply the brake heavily.
Instead, gradually decrease your
speed. Hold the steering wheel
firmly and slowly move to a safe
place on the side of the road.
Roadside emergencies
113
Page 114 of 191
Temporary spare tire
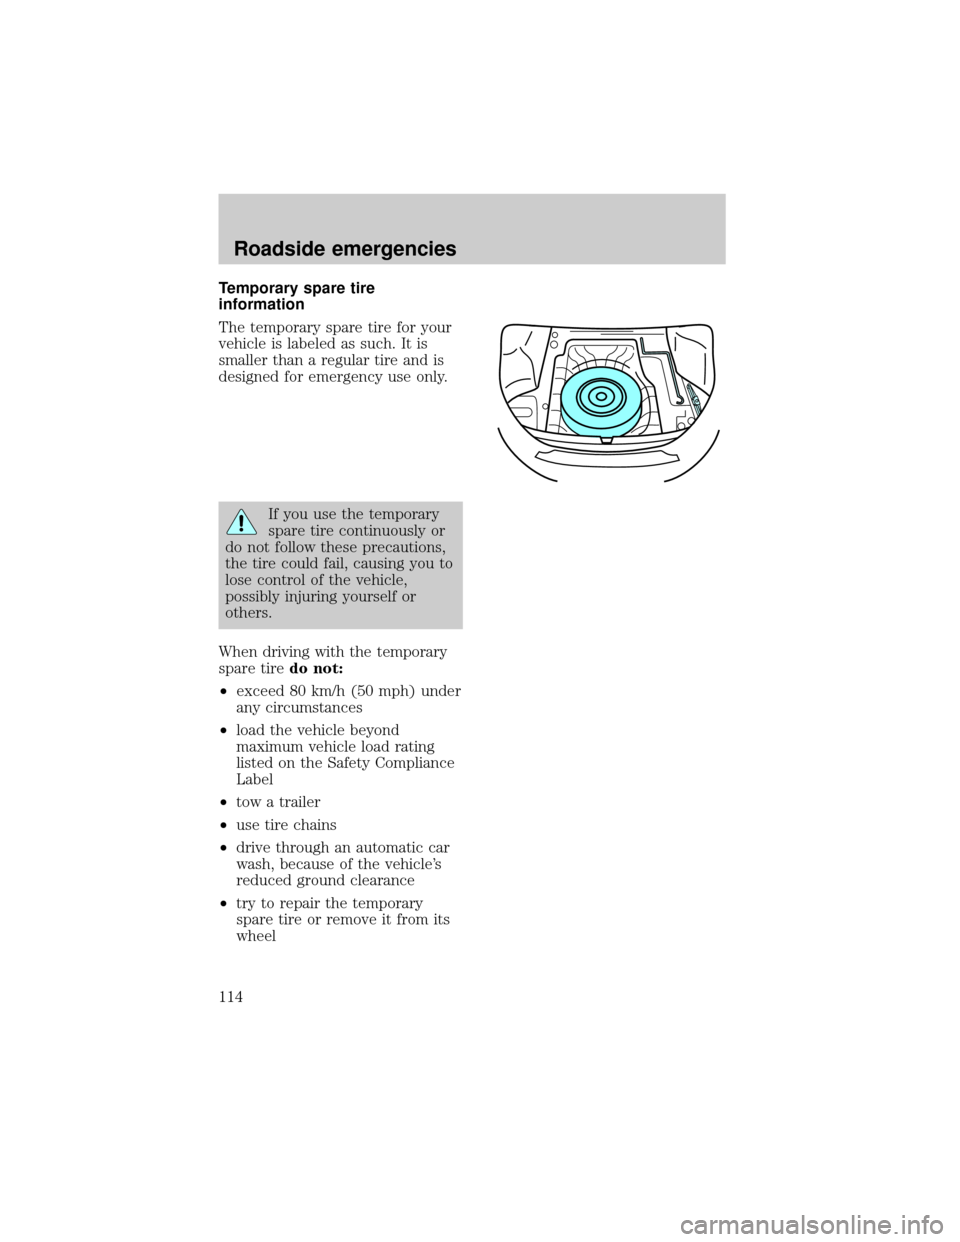
information
The temporary spare tire for your
vehicle is labeled as such. It is
smaller than a regular tire and is
designed for emergency use only.
If you use the temporary
spare tire continuously or
do not follow these precautions,
the tire could fail, causing you to
lose control of the vehicle,
possibly injuring yourself or
others.
When driving with the temporary
spare tiredo not:
²exceed 80 km/h (50 mph) under
any circumstances
²load the vehicle beyond
maximum vehicle load rating
listed on the Safety Compliance
Label
²tow a trailer
²use tire chains
²drive through an automatic car
wash, because of the vehicle's
reduced ground clearance
²try to repair the temporary
spare tire or remove it from its
wheel
Roadside emergencies
114
Page 115 of 191
²use the wheel for any other type
of vehicle
Tire change procedure
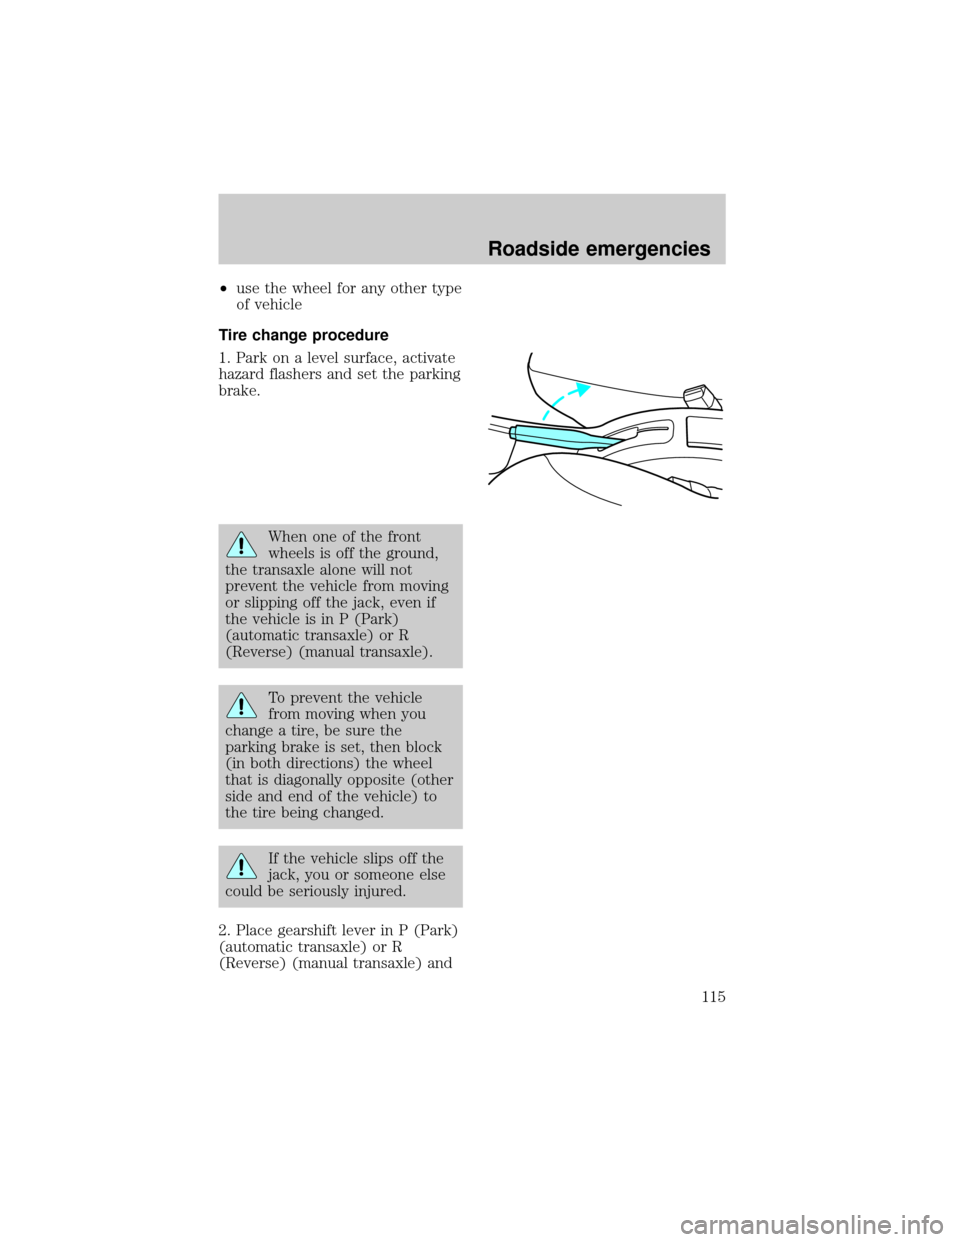
1. Park on a level surface, activate
hazard flashers and set the parking
brake.
When one of the front
wheels is off the ground,
the transaxle alone will not
prevent the vehicle from moving
or slipping off the jack, even if
the vehicle is in P (Park)
(automatic transaxle) or R
(Reverse) (manual transaxle).
To prevent the vehicle
from moving when you
change a tire, be sure the
parking brake is set, then block
(in both directions) the wheel
that is diagonally opposite (other
side and end of the vehicle) to
the tire being changed.
If the vehicle slips off the
jack, you or someone else
could be seriously injured.
2. Place gearshift lever in P (Park)
(automatic transaxle) or R
(Reverse) (manual transaxle) and
Roadside emergencies
115