parking brake FORD ESCORT 1998 7.G Owners Manual
[x] Cancel search | Manufacturer: FORD, Model Year: 1998, Model line: ESCORT, Model: FORD ESCORT 1998 7.GPages: 191, PDF Size: 1.51 MB
Page 10 of 191

Brake system warning
Momentarily illuminates when the
ignition is turned ON and the
engine is off. Also illuminates when
the parking brake is engaged.
Illumination after releasing the
parking brake indicates low brake
fluid level.
Anti-lock brake system (ABS)
(If equipped)
Momentarily illuminates when the
ignition is turned on and the
engine is off. If the light remains
on or continues to flash, the ABS
needs to be serviced.
Turn signal
Illuminates when the left or right
turn signal or the hazard lights are
turned on. If one or both of the
indicators stay on continuously or
flash faster, check for a burned-out
turn signal bulb. Refer toExterior
bulbsin theMaintenance and
carechapter.
High beams
Illuminates when the high beam
headlamps are turned on.
Anti-theft system (if equipped)
Refer toAnti-theft systemin the
Controls and featureschapter.
P!
BRAKE
ABS
THEFT
Instrumentation
10
Page 82 of 191
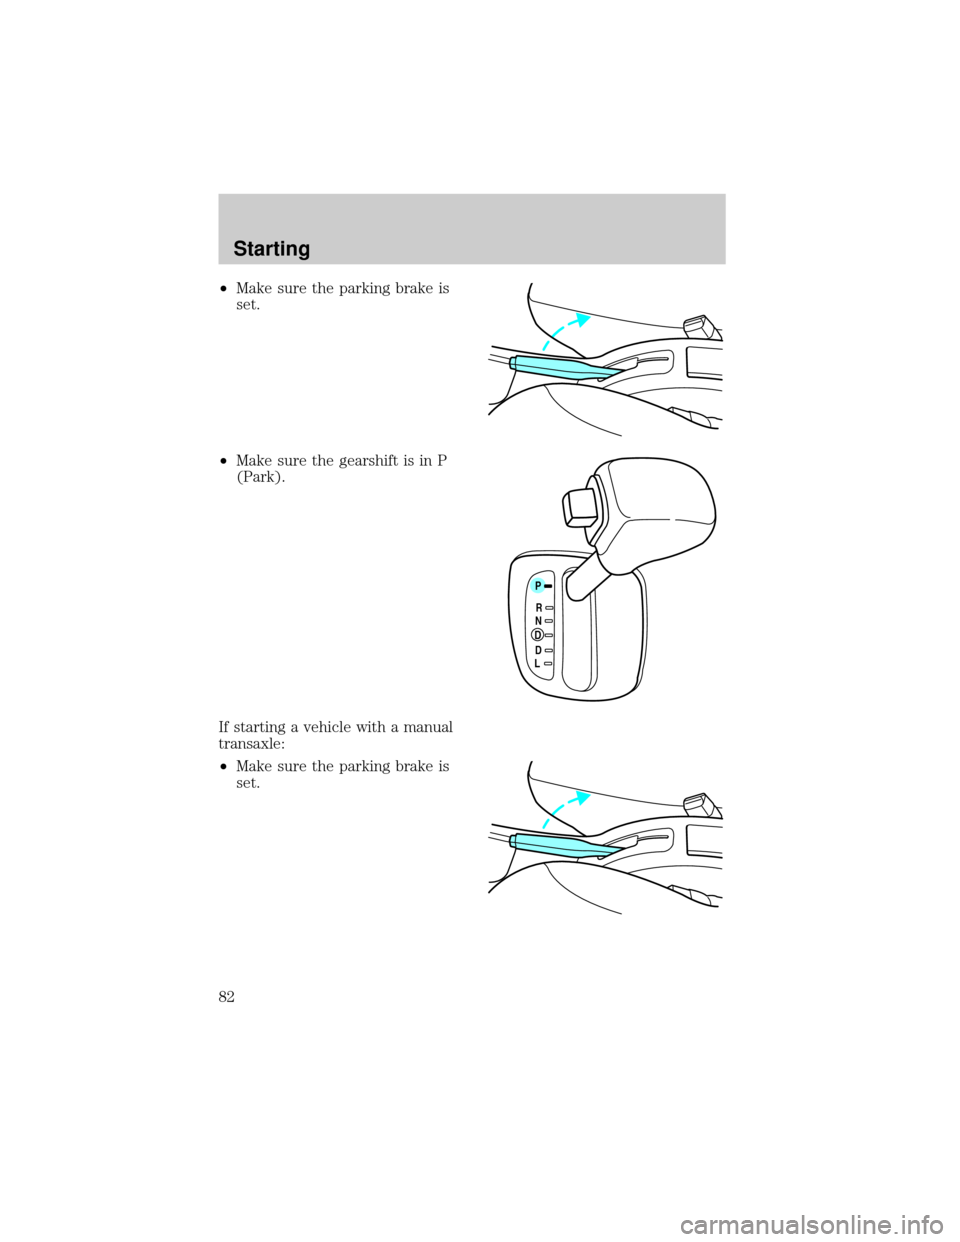
²Make sure the parking brake is
set.
²Make sure the gearshift is in P
(Park).
If starting a vehicle with a manual
transaxle:
²Make sure the parking brake is
set.
P
RNDDL
Starting
82
Page 84 of 191

²If the driver's safety belt is
fastened, the light (
) will not
illuminate.
STARTING THE ENGINE
1. Turn the key to 4 (START)
without pressing the accelerator
pedal and release as soon as the
engine starts. The key will return
to 3 (ON).
2. If the engine does not start
within five seconds, wait ten
seconds and try again.
3. If the engine does not start in
two attempts OR if the
temperature is below -12ÉC (10ÉF),
depress the accelerator and start
the engine while holding the
accelerator down. Release the
accelerator when the engine starts.
4. After idling for a few seconds,
apply the brake and release the
parking brake.
Using the engine block heater
(if equipped)
An engine block heater warms the
engine coolant, which improves
starting, warms up the engine
faster and allows the
heater-defroster system to respond
quickly. They are strongly
recommended if you live in a
region where temperatures reach
-23ÉC (-10ÉF) or below.
LOCKACCONSTART0IIIIII4
3
2
1
Starting
84
Page 89 of 191

enable you to avoid obstacles
and bring the vehicle to a
controlled stop.
²We recommend that you
familiarize yourself with this
braking technique. However,
avoid taking any unnecessary
risks.
Parking brake
Apply the parking brake whenever
the vehicle is parked. To set the
parking brake, pull the handle up.
The BRAKE warning lamp in the
instrument cluster illuminates and
remains illuminated (when the
ignition is turned ON) until the
parking brake is released.
The parking brake is not designed
to stop a moving vehicle. However,
if the normal brakes fail, the
parking brake can be used to stop
your vehicle in an emergency.
Since the parking brake applies
only the rear brakes, the vehicle's
stopping distance will be adversely
affected.
P!
BRAKE
Driving
89
Page 90 of 191
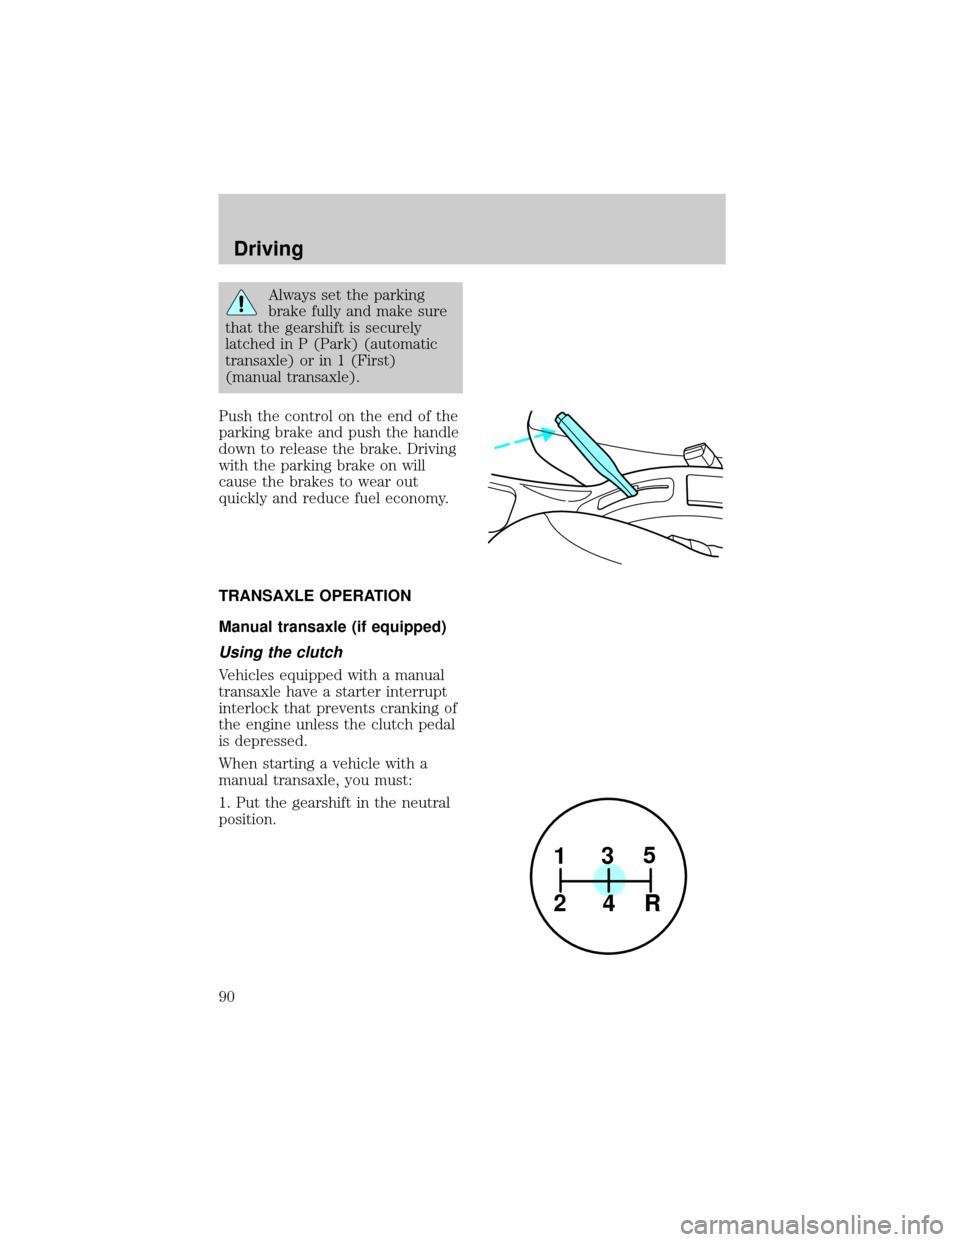
Always set the parking
brake fully and make sure
that the gearshift is securely
latched in P (Park) (automatic
transaxle) or in 1 (First)
(manual transaxle).
Push the control on the end of the
parking brake and push the handle
down to release the brake. Driving
with the parking brake on will
cause the brakes to wear out
quickly and reduce fuel economy.
TRANSAXLE OPERATION
Manual transaxle (if equipped)
Using the clutch
Vehicles equipped with a manual
transaxle have a starter interrupt
interlock that prevents cranking of
the engine unless the clutch pedal
is depressed.
When starting a vehicle with a
manual transaxle, you must:
1. Put the gearshift in the neutral
position.
1
24R35
Driving
90
Page 92 of 191
Sedan/Wagon
Upshifts when cruising (recommended for best fuel economy)
1-2 18 km/h (11 mph)
2-3 32 km/h (20 mph)
3-4 46 km/h (29 mph)
4-5 61 km/h (38 mph)
Parking your vehicle
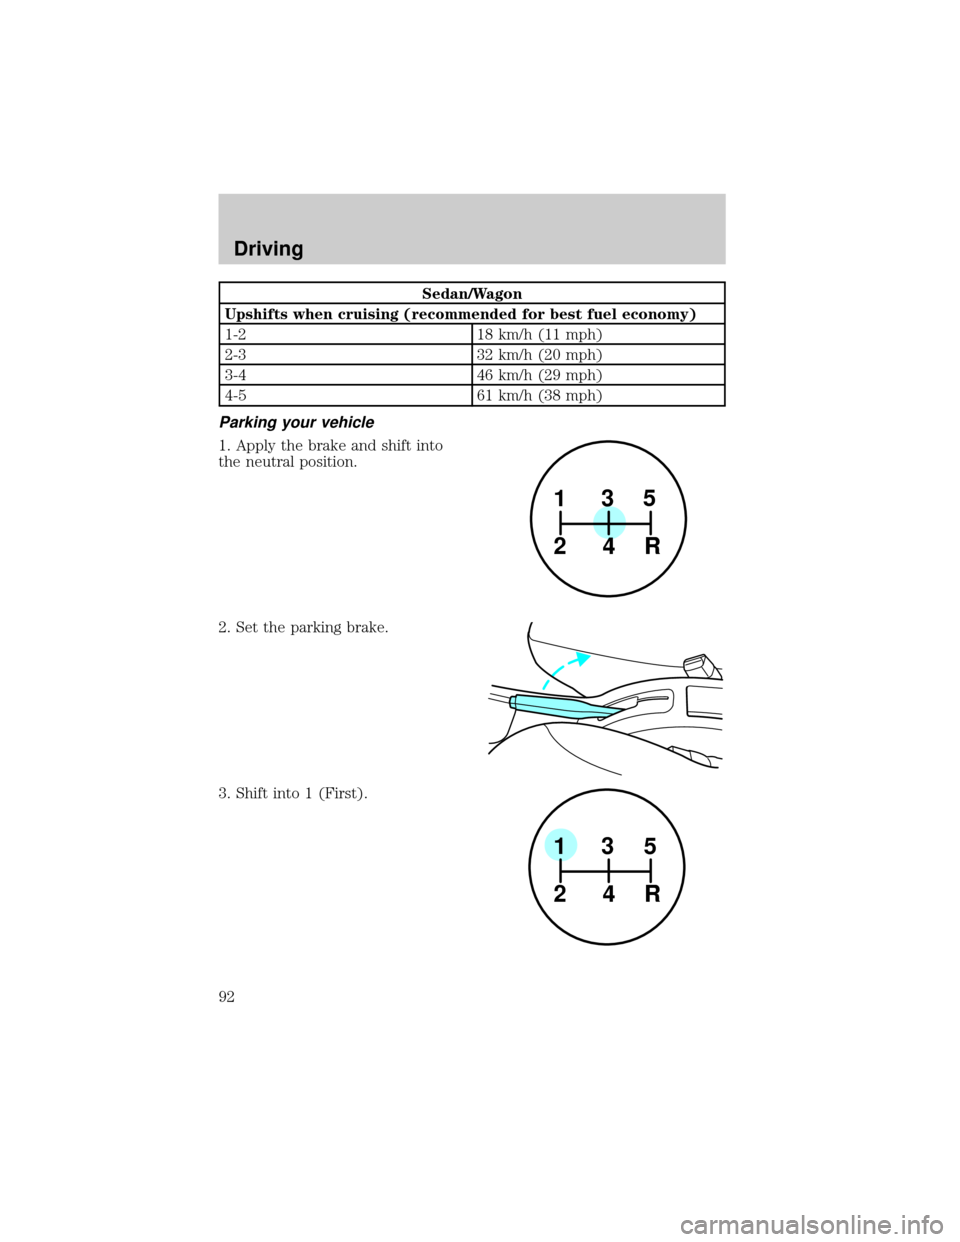
1. Apply the brake and shift into
the neutral position.
2. Set the parking brake.
3. Shift into 1 (First).
1
24R35
1
24R35
Driving
92
Page 93 of 191
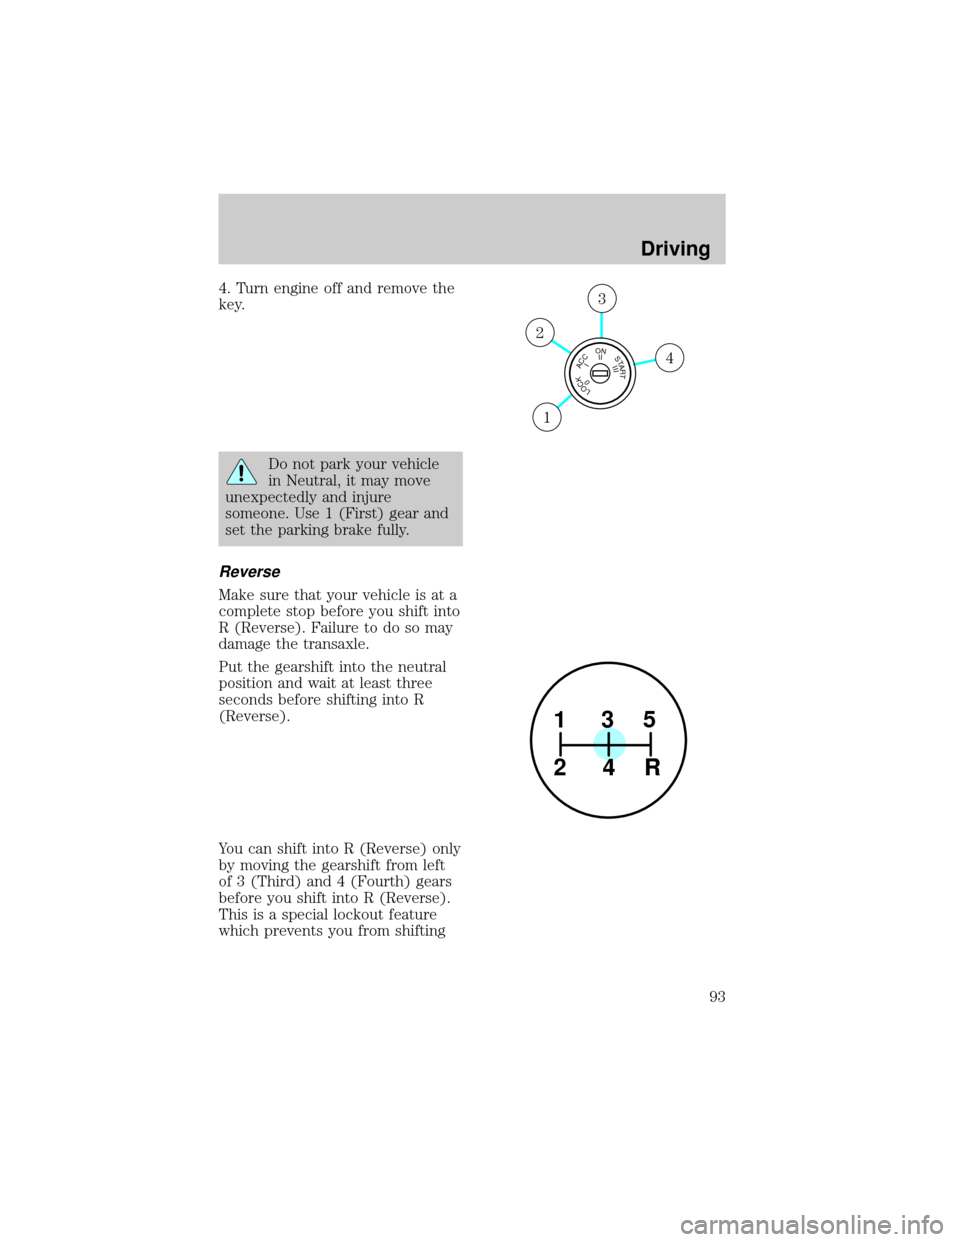
4. Turn engine off and remove the
key.
Do not park your vehicle
in Neutral, it may move
unexpectedly and injure
someone. Use 1 (First) gear and
set the parking brake fully.
Reverse
Make sure that your vehicle is at a
complete stop before you shift into
R (Reverse). Failure to do so may
damage the transaxle.
Put the gearshift into the neutral
position and wait at least three
seconds before shifting into R
(Reverse).
You can shift into R (Reverse) only
by moving the gearshift from left
of 3 (Third) and 4 (Fourth) gears
before you shift into R (Reverse).
This is a special lockout feature
which prevents you from shifting
LOCKACCONSTART0IIIIII4
3
2
1
1
24R35
Driving
93
Page 97 of 191
L (Low)
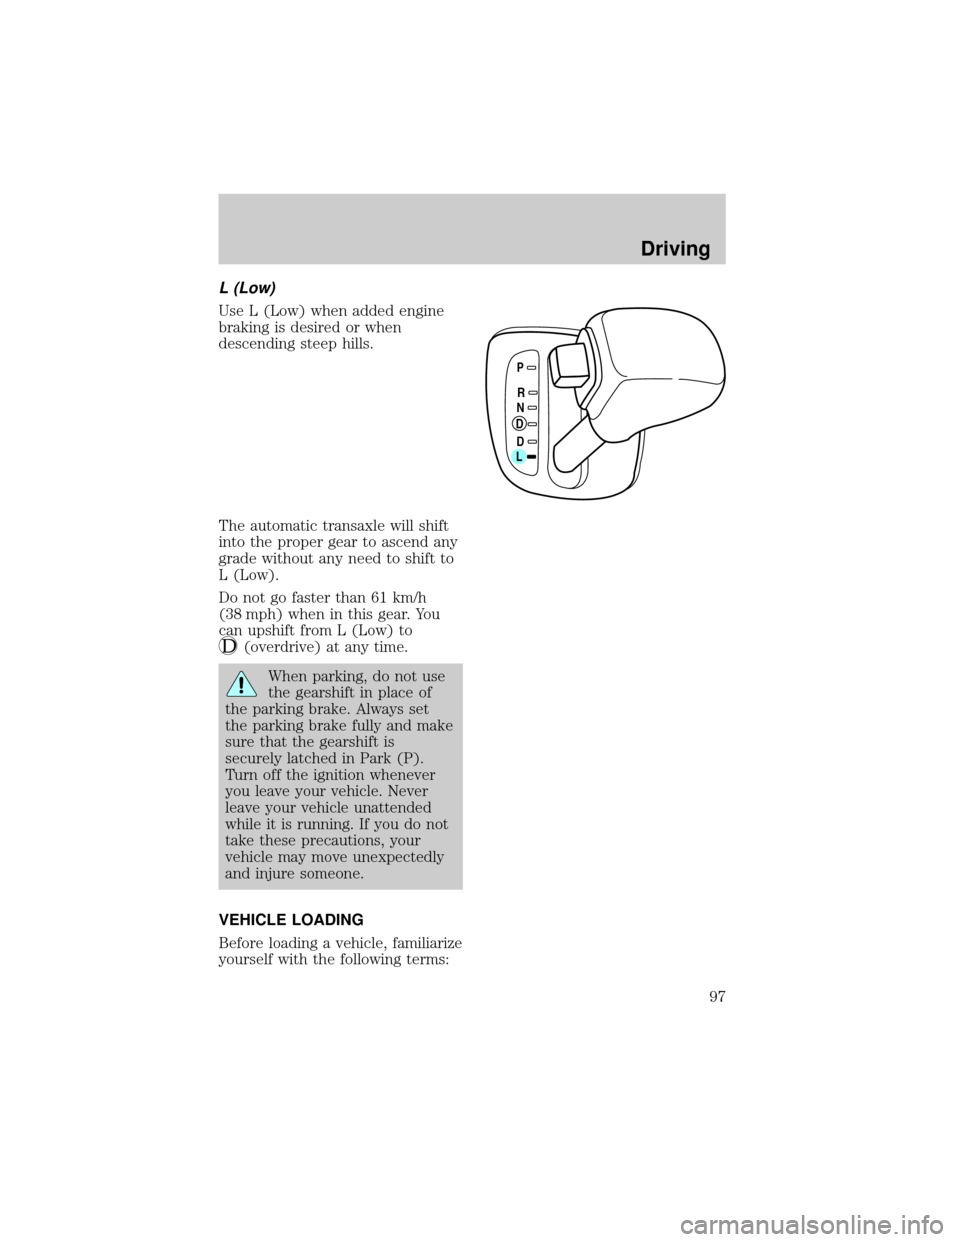
Use L (Low) when added engine
braking is desired or when
descending steep hills.
The automatic transaxle will shift
into the proper gear to ascend any
grade without any need to shift to
L (Low).
Do not go faster than 61 km/h
(38 mph) when in this gear. You
can upshift from L (Low) to
(overdrive) at any time.
When parking, do not use
the gearshift in place of
the parking brake. Always set
the parking brake fully and make
sure that the gearshift is
securely latched in Park (P).
Turn off the ignition whenever
you leave your vehicle. Never
leave your vehicle unattended
while it is running. If you do not
take these precautions, your
vehicle may move unexpectedly
and injure someone.
VEHICLE LOADING
Before loading a vehicle, familiarize
yourself with the following terms:
P
RN
D
DL
Driving
97
Page 115 of 191
²use the wheel for any other type
of vehicle
Tire change procedure
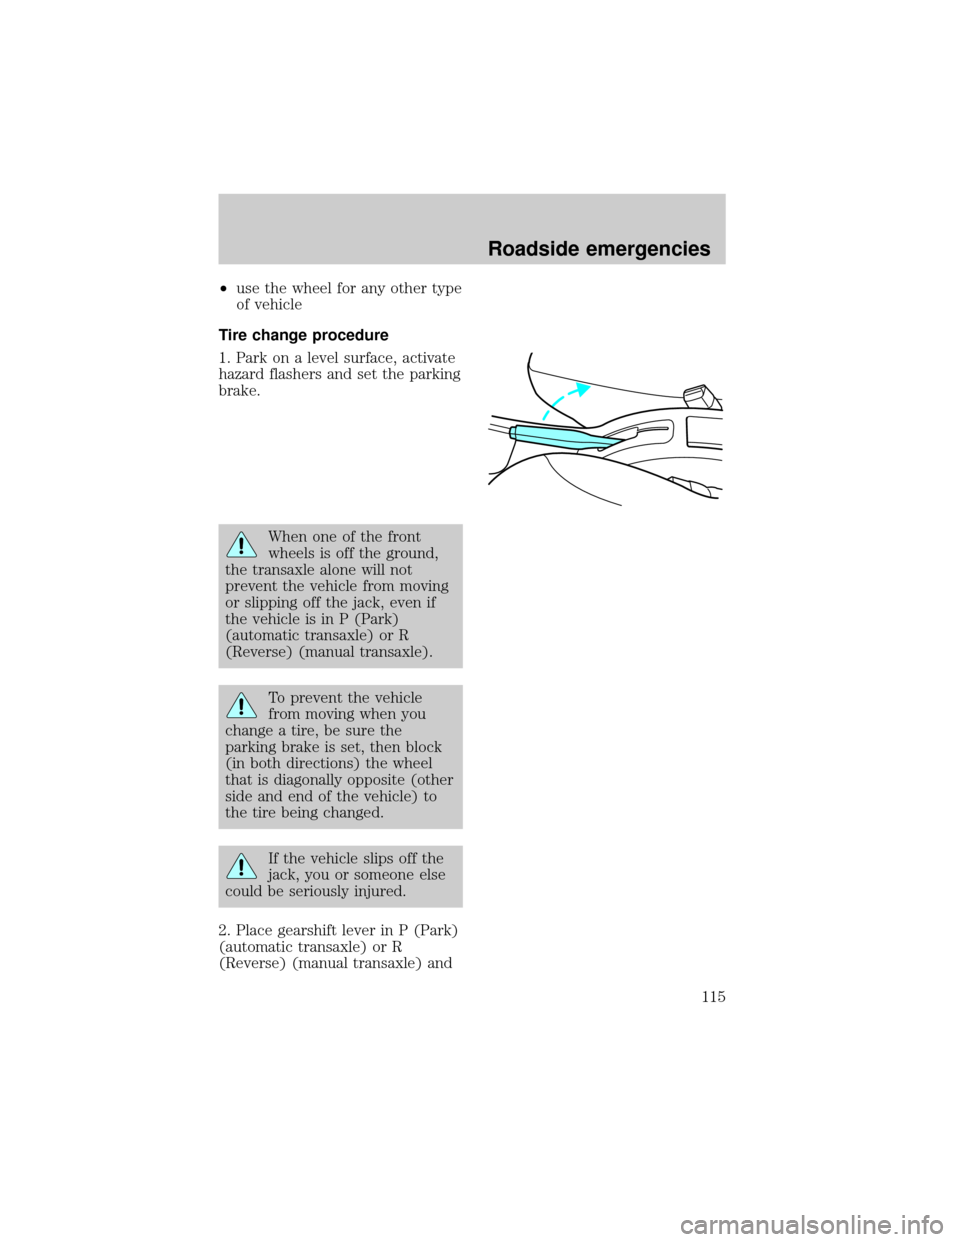
1. Park on a level surface, activate
hazard flashers and set the parking
brake.
When one of the front
wheels is off the ground,
the transaxle alone will not
prevent the vehicle from moving
or slipping off the jack, even if
the vehicle is in P (Park)
(automatic transaxle) or R
(Reverse) (manual transaxle).
To prevent the vehicle
from moving when you
change a tire, be sure the
parking brake is set, then block
(in both directions) the wheel
that is diagonally opposite (other
side and end of the vehicle) to
the tire being changed.
If the vehicle slips off the
jack, you or someone else
could be seriously injured.
2. Place gearshift lever in P (Park)
(automatic transaxle) or R
(Reverse) (manual transaxle) and
Roadside emergencies
115
Page 119 of 191
2. Do not disconnect the battery of
the disabled vehicle as this could
damage the vehicle's electrical
system.
3. Park the booster vehicle close to
the hood of the disabled vehicle
making sure theydo nottouch.
Set the parking brake on both
vehicles and stay clear of the
engine cooling fan and other
moving parts.
4. Check all battery terminals and
remove any excessive corrosion
before you attach the battery
cables.
5. Turn the heater fan on in both
vehicles to protect any electrical
surges. Turn all other accessories
off.
Connecting the jumper cables
1. Position the vehicles so that
they do not touch one another.
2. Switch off the engine. Switch off
any unnecessary electrical
equipment.
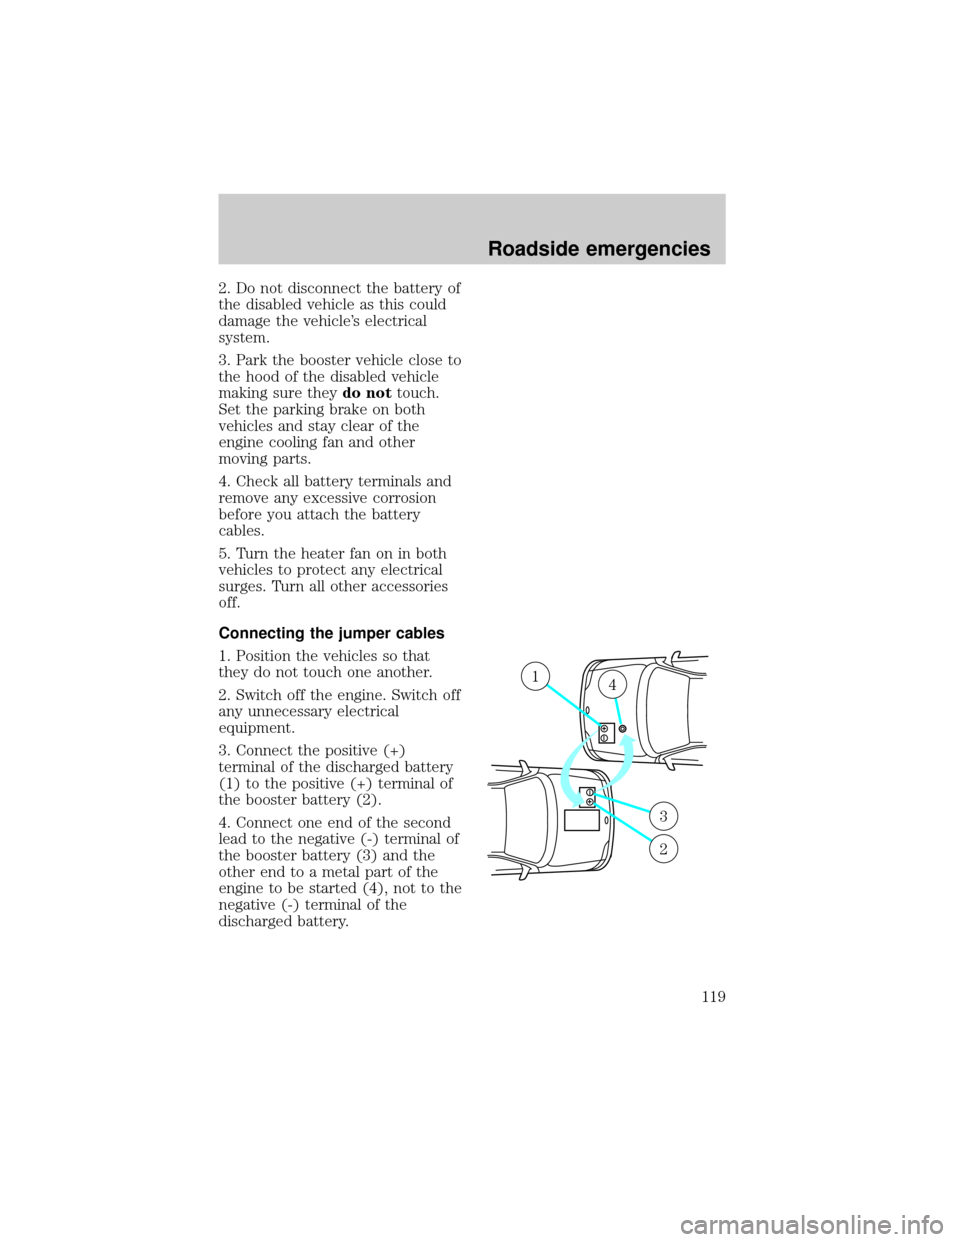
3. Connect the positive (+)
terminal of the discharged battery
(1) to the positive (+) terminal of
the booster battery (2).
4. Connect one end of the second
lead to the negative (-) terminal of
the booster battery (3) and the
other end to a metal part of the
engine to be started (4), not to the
negative (-) terminal of the
discharged battery.
+–
+–
14
3
2
Roadside emergencies
119