brakes FORD ESCORT 2002 7.G Owners Manual
[x] Cancel search | Manufacturer: FORD, Model Year: 2002, Model line: ESCORT, Model: FORD ESCORT 2002 7.GPages: 216, PDF Size: 1.8 MB
Page 2 of 216
Seating and Safety Restraints 72
Seating 72
Safety restraints 75
Air bags 85
Child restraints 89
Driving 97
Starting 97
Brakes 102
Transmission operation 105
Vehicle loading 113
Trailer towing 115
Roadside Emergencies 118
Hazard flasher switch 119
Fuses and relays 121
Changing tires 128
Jump starting 132
Wrecker towing 137
Customer Assistance 138
The dispute settlement board 141
Utilizing the mediation/arbitration 144
Getting assistance outside the U.S. and Canada 144
Ordering additional owner's literature 145
Reporting safety defects (U.S. only) 147
Cleaning 148
Cleaning your vehicle 148
Underbody preservation 154
Table of Contents
2
Page 12 of 216
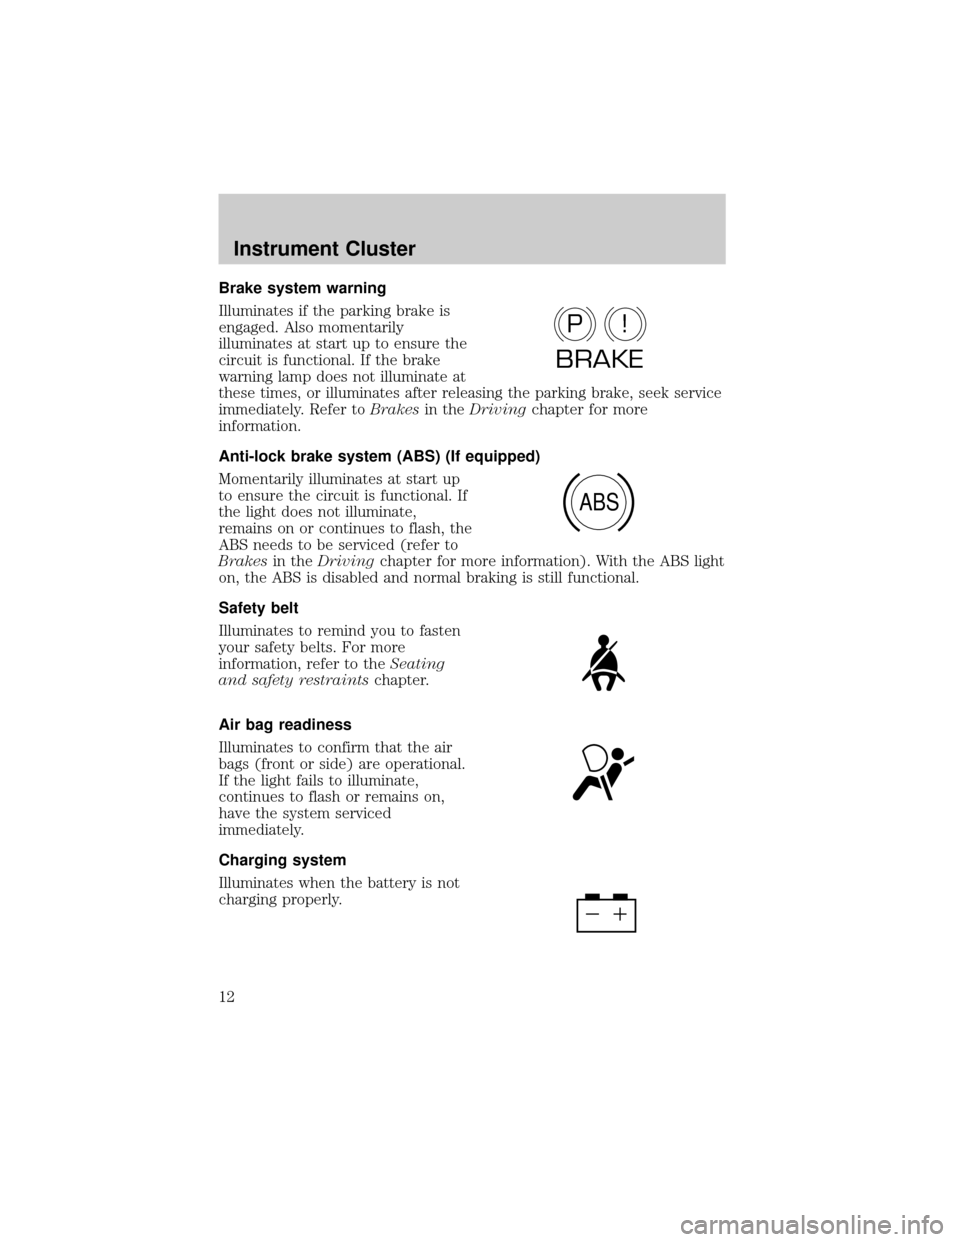
Brake system warning
Illuminates if the parking brake is
engaged. Also momentarily
illuminates at start up to ensure the
circuit is functional. If the brake
warning lamp does not illuminate at
these times, or illuminates after releasing the parking brake, seek service
immediately. Refer toBrakesin theDrivingchapter for more
information.
Anti-lock brake system (ABS) (If equipped)
Momentarily illuminates at start up
to ensure the circuit is functional. If
the light does not illuminate,
remains on or continues to flash, the
ABS needs to be serviced (refer to
Brakesin theDrivingchapter for more information). With the ABS light
on, the ABS is disabled and normal braking is still functional.
Safety belt
Illuminates to remind you to fasten
your safety belts. For more
information, refer to theSeating
and safety restraintschapter.
Air bag readiness
Illuminates to confirm that the air
bags (front or side) are operational.
If the light fails to illuminate,
continues to flash or remains on,
have the system serviced
immediately.
Charging system
Illuminates when the battery is not
charging properly.
P!
BRAKE
ABS
Instrument Cluster
12
Page 58 of 216
If you drive up or down a steep hill, your vehicle speed may vary
momentarily slower or faster than the set speed. This is normal.
Speed control cannot reduce the vehicle speed if it increases above the
set speed on a downhill. If your vehicle speed is faster than the set
speed while driving on a downhill, you may want to shift to the next
lower gear or apply the brakes to reduce your vehicle speed.
If your vehicle slows down more than 16 km/h (10 mph) below your set
speed on an uphill, your speed control will disengage. This is normal.
Pressing RSM will re-engage it.
Do not use the speed control in heavy traffic or on roads that
are winding, slippery, or unpaved.
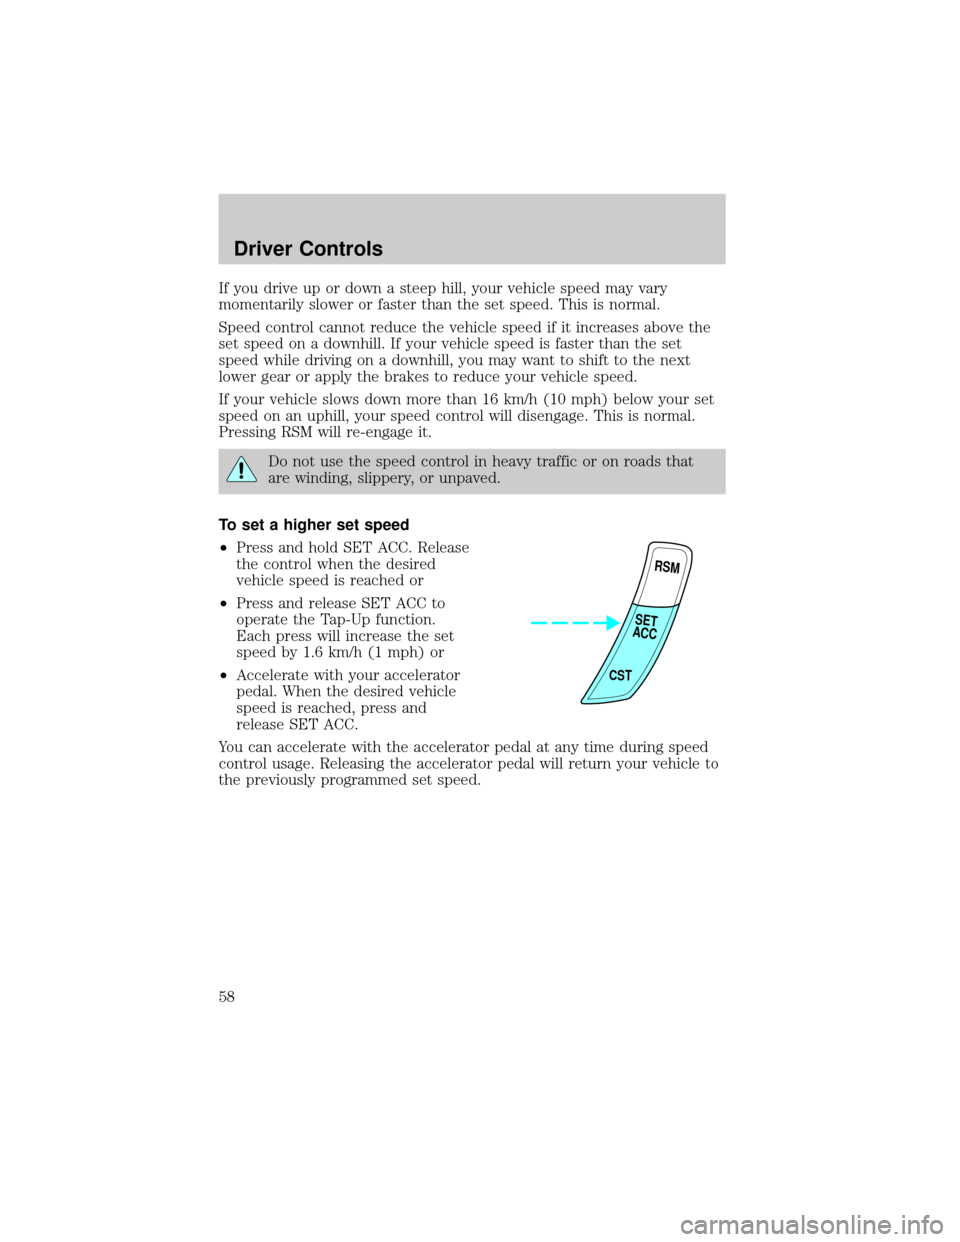
To set a higher set speed
²Press and hold SET ACC. Release
the control when the desired
vehicle speed is reached or
²Press and release SET ACC to
operate the Tap-Up function.
Each press will increase the set
speed by 1.6 km/h (1 mph) or
²Accelerate with your accelerator
pedal. When the desired vehicle
speed is reached, press and
release SET ACC.
You can accelerate with the accelerator pedal at any time during speed
control usage. Releasing the accelerator pedal will return your vehicle to
the previously programmed set speed.
RSM
CST
SET
ACC
Driver Controls
58
Page 76 of 216
Each seating position in your vehicle has a specific safety belt
assembly which is made up of one buckle and one tongue that
are designed to be used as a pair. 1) Use the shoulder belt on the
outside shoulder only. Never wear the shoulder belt under the arm. 2)
Never swing the safety belt around your neck over the inside shoulder.
3) Never use a single belt for more than one person.
Always transport children 12 years old and under in the back
seat and always properly use appropriate child restraints.
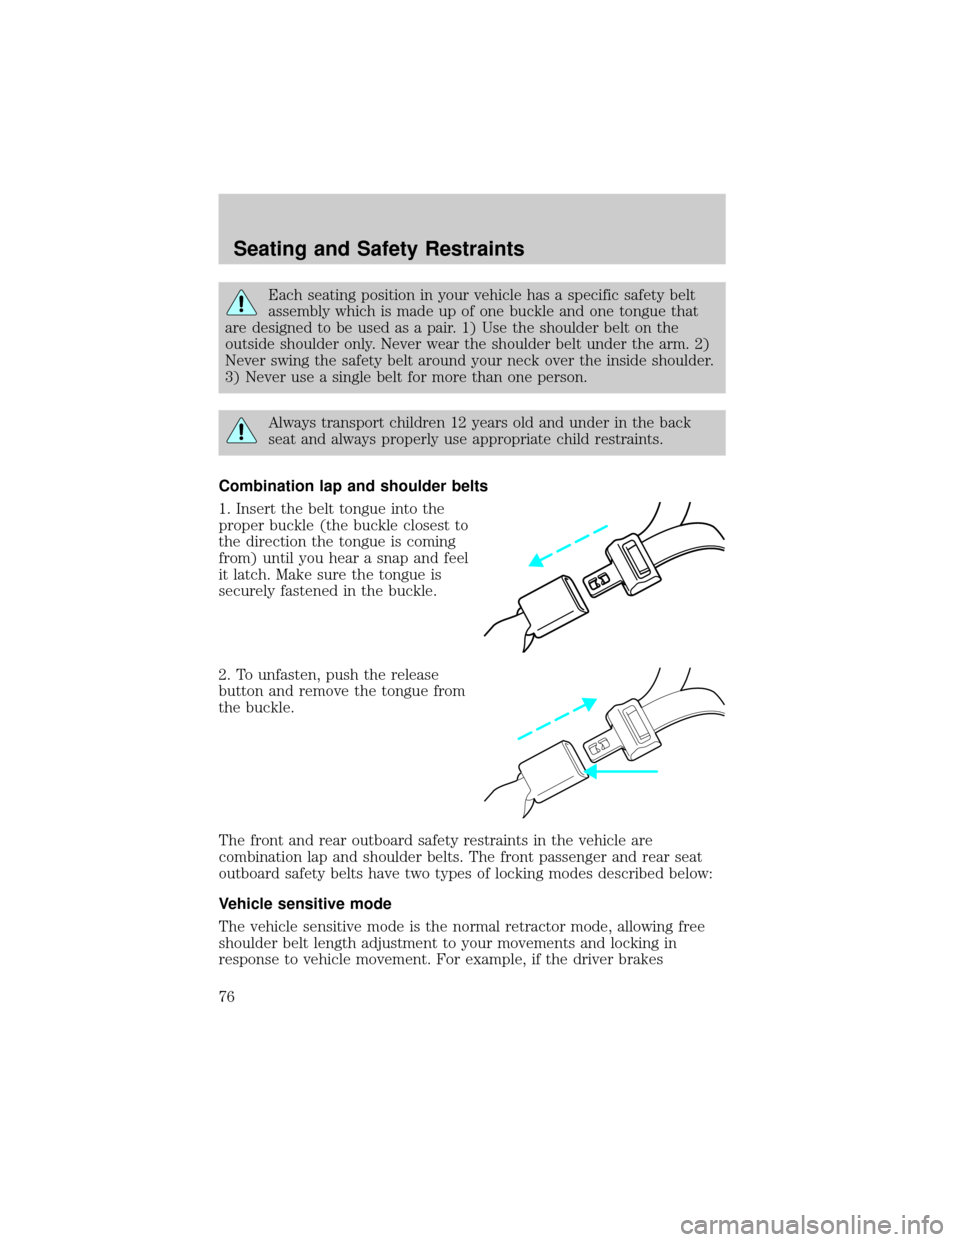
Combination lap and shoulder belts
1. Insert the belt tongue into the
proper buckle (the buckle closest to
the direction the tongue is coming
from) until you hear a snap and feel
it latch. Make sure the tongue is
securely fastened in the buckle.
2. To unfasten, push the release
button and remove the tongue from
the buckle.
The front and rear outboard safety restraints in the vehicle are
combination lap and shoulder belts. The front passenger and rear seat
outboard safety belts have two types of locking modes described below:
Vehicle sensitive mode
The vehicle sensitive mode is the normal retractor mode, allowing free
shoulder belt length adjustment to your movements and locking in
response to vehicle movement. For example, if the driver brakes
Seating and Safety Restraints
76
Page 102 of 216

Important ventilating information
If the engine is idling while the vehicle is stopped in an open area for
long periods of time, open the windows at least 2.5 cm (one inch).
Adjust the heating or air conditioning (if equipped) to bring in fresh air.
Improve vehicle ventilation by keeping all air inlet vents clear of snow,
leaves and other debris.
BRAKES
Your service brakes are self-adjusting. Refer to the scheduled
maintenance guide for scheduled maintenance.
Occasional brake noise is normal and often does not indicate a
performance concern with the vehicle's brake system. In normal
operation, automotive brake systems may emit occasional or intermittent
squeal or groan noises when the brakes are applied. Such noises are
usually heard during the first few brake applications in the morning;
however, they may be heard at any time while braking and can be
aggravated by environmental conditions such as cold, heat, moisture,
road dust, salt or mud. If a ªmetal-to-metal,º ªcontinuous grindingº or
ªcontinuous squealº sound is present while braking, the brake linings
may be worn-out and should be inspected by a qualified service
technician.
Anti-lock brake system (ABS) (if equipped)
On vehicles equipped with an anti-lock braking system (ABS), a noise
from the hydraulic pump motor and pulsation in the pedal may be
observed during ABS braking events. Pedal pulsation coupled with noise
while braking under panic conditions or on loose gravel, bumps, wet or
snowy roads is normal and indicates proper functioning of the vehicle's
anti-lock brake system. The ABS performs a self-check after you start
the engine and begin to drive away. A brief mechanical noise may be
heard during this test. This is normal. If a malfunction is found, the ABS
warning light will come on. If the vehicle has continuous vibration or
shudder in the steering wheel while braking, the vehicle should be
inspected by a qualified service technician.
Driving
102
Page 103 of 216
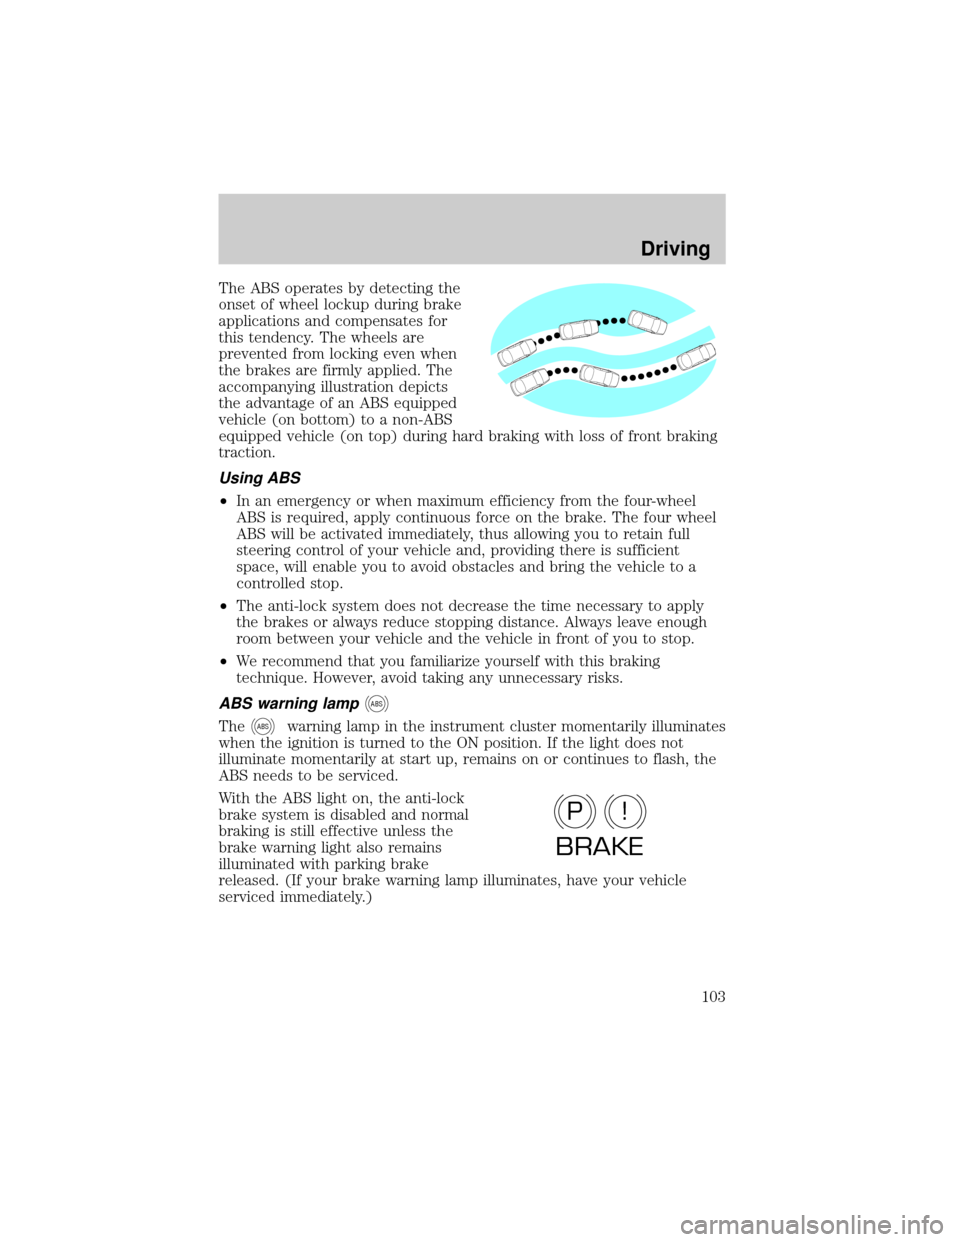
The ABS operates by detecting the
onset of wheel lockup during brake
applications and compensates for
this tendency. The wheels are
prevented from locking even when
the brakes are firmly applied. The
accompanying illustration depicts
the advantage of an ABS equipped
vehicle (on bottom) to a non-ABS
equipped vehicle (on top) during hard braking with loss of front braking
traction.
Using ABS
²In an emergency or when maximum efficiency from the four-wheel
ABS is required, apply continuous force on the brake. The four wheel
ABS will be activated immediately, thus allowing you to retain full
steering control of your vehicle and, providing there is sufficient
space, will enable you to avoid obstacles and bring the vehicle to a
controlled stop.
²The anti-lock system does not decrease the time necessary to apply
the brakes or always reduce stopping distance. Always leave enough
room between your vehicle and the vehicle in front of you to stop.
²We recommend that you familiarize yourself with this braking
technique. However, avoid taking any unnecessary risks.
ABS warning lampABS
TheABSwarning lamp in the instrument cluster momentarily illuminates
when the ignition is turned to the ON position. If the light does not
illuminate momentarily at start up, remains on or continues to flash, the
ABS needs to be serviced.
With the ABS light on, the anti-lock
brake system is disabled and normal
braking is still effective unless the
brake warning light also remains
illuminated with parking brake
released. (If your brake warning lamp illuminates, have your vehicle
serviced immediately.)
P!
BRAKE
Driving
103
Page 104 of 216
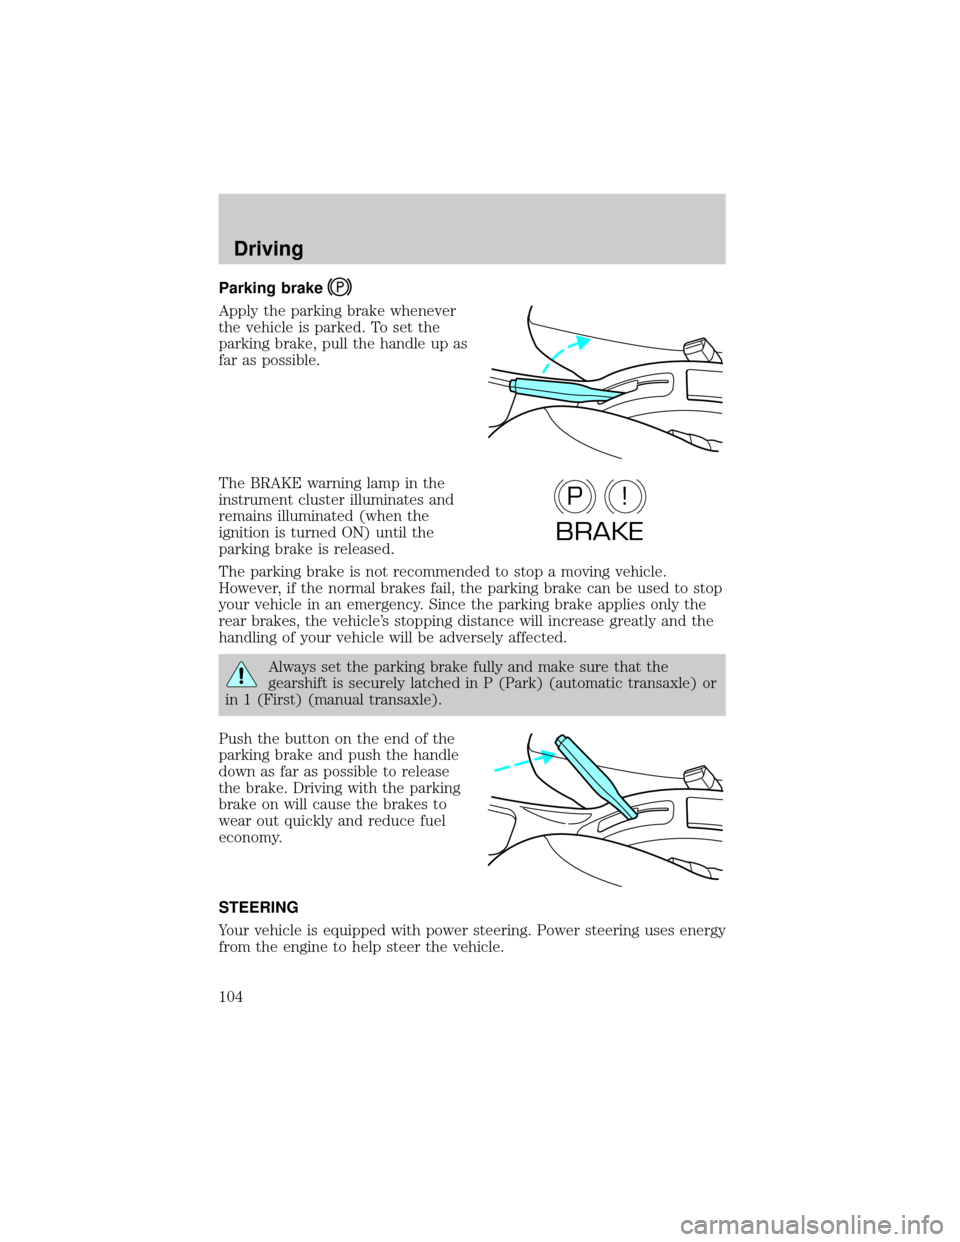
Parking brake
Apply the parking brake whenever
the vehicle is parked. To set the
parking brake, pull the handle up as
far as possible.
The BRAKE warning lamp in the
instrument cluster illuminates and
remains illuminated (when the
ignition is turned ON) until the
parking brake is released.
The parking brake is not recommended to stop a moving vehicle.
However, if the normal brakes fail, the parking brake can be used to stop
your vehicle in an emergency. Since the parking brake applies only the
rear brakes, the vehicle's stopping distance will increase greatly and the
handling of your vehicle will be adversely affected.
Always set the parking brake fully and make sure that the
gearshift is securely latched in P (Park) (automatic transaxle) or
in 1 (First) (manual transaxle).
Push the button on the end of the
parking brake and push the handle
down as far as possible to release
the brake. Driving with the parking
brake on will cause the brakes to
wear out quickly and reduce fuel
economy.
STEERING
Your vehicle is equipped with power steering. Power steering uses energy
from the engine to help steer the vehicle.
P!
BRAKE
Driving
104
Page 106 of 216
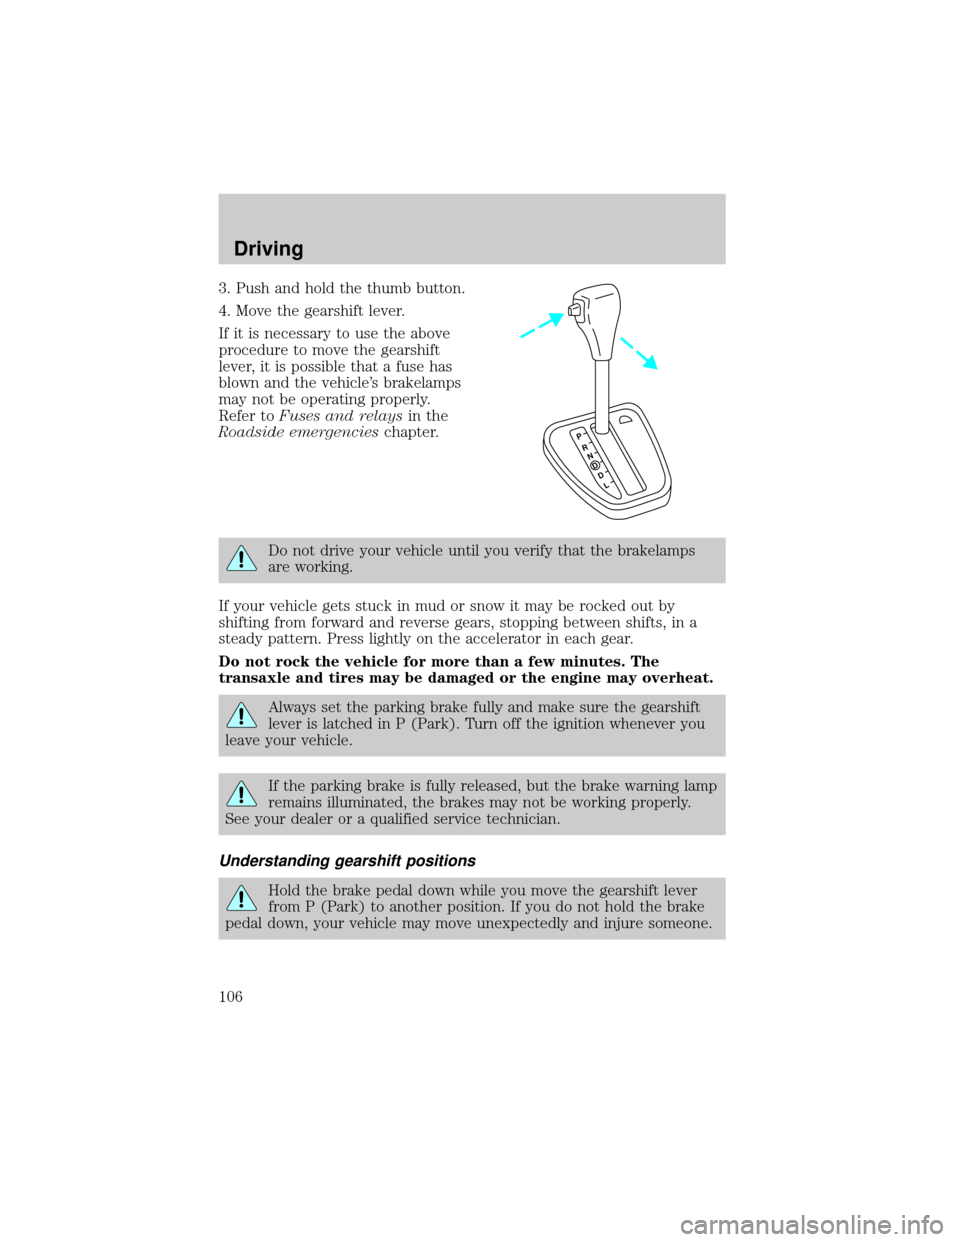
3. Push and hold the thumb button.
4. Move the gearshift lever.
If it is necessary to use the above
procedure to move the gearshift
lever, it is possible that a fuse has
blown and the vehicle's brakelamps
may not be operating properly.
Refer toFuses and relaysin the
Roadside emergencieschapter.
Do not drive your vehicle until you verify that the brakelamps
are working.
If your vehicle gets stuck in mud or snow it may be rocked out by
shifting from forward and reverse gears, stopping between shifts, in a
steady pattern. Press lightly on the accelerator in each gear.
Do not rock the vehicle for more than a few minutes. The
transaxle and tires may be damaged or the engine may overheat.
Always set the parking brake fully and make sure the gearshift
lever is latched in P (Park). Turn off the ignition whenever you
leave your vehicle.
If the parking brake is fully released, but the brake warning lamp
remains illuminated, the brakes may not be working properly.
See your dealer or a qualified service technician.
Understanding gearshift positions
Hold the brake pedal down while you move the gearshift lever
from P (Park) to another position. If you do not hold the brake
pedal down, your vehicle may move unexpectedly and injure someone.
PRND
D
L
Driving
106
Page 113 of 216

Put the gearshift lever into the
neutral position and wait at least
three seconds before shifting into R
(Reverse).
You can shift into R (Reverse) only by moving the gearshift lever from
left of 3 (Third) and 4 (Fourth) gears before you shift into R (Reverse).
This is a special lockout feature which prevents you from shifting into R
(Reverse) when you downshift from 5 (Fifth).
DRIVING THROUGH WATER
Do not drive quickly through standing water, especially if the depth is
unknown. Traction or brake capability may be limited and if the ignition
system gets wet, your engine may stall. Water may also enter your
engine's air intake and severely damage your engine.
If driving through deep or standing water is unavoidable, proceed very
slowly. Never drive through water that is higher than the bottom of the
hubs (for trucks) or the bottom of the wheel rims (for cars).
Once through the water, always try the brakes. Wet brakes do not stop
the vehicle as effectively as dry brakes. Drying can be improved by
moving your vehicle slowly while applying light pressure on the brake
pedal.
Driving through deep water where the transmission vent tube is
submerged may allow water into the transmission and cause
internal transmission damage.
VEHICLE LOADING
Before loading a vehicle, familiarize yourself with the following terms:
²Base Curb Weight:Weight of the vehicle including any standard
equipment, fluids, lubricants, etc. It does not include occupants or
aftermarket equipment.
²Payload:Combined maximum allowable weight of cargo, occupants
and optional equipment. The payload equals the gross vehicle weight
rating minus base curb weight.
1
24R35
Driving
113
Page 115 of 216
additional equipment, refer to these limitations. If you are adding weight
to the front of your vehicle, (potentially including weight added to the
cab), the weight added should not exceed the front axle reserve capacity
(FARC). Additional frontal weight may be added to the front axle reserve
capacity provided you limit your payload in other ways (i.e. restrict the
number of occupants or amount of cargo carried).
Always ensure that the weight of occupants, cargo and equipment being
carried is within the weight limitations that have been established for
your vehicle including both gross vehicle weight and front and rear gross
axle weight rating limits. Under no circumstance should these limitations
be exceeded.
Exceeding any vehicle weight rating limitation could result in
serious damage to the vehicle and/or personal injury.
TRAILER TOWING
Your vehicle is capable of towing a trailer up to 454 kg (1 000 lbs.) gross
trailer weight with a maximum tongue load of 45 kg (100 lbs.). Do not
tow a trailer until your vehicle has been driven at least 800 km (500
miles).
Towing a trailer places an additional load on your vehicle's engine,
transaxle, brakes, tires and suspension. Inspect these components
carefully after towing.
Do not exceed the GVWR or the GAWR specified on the
certification label.
Towing trailers beyond the maximum recommended gross trailer
weight exceeds the limit of the vehicle and could result in
engine damage, transaxle damage, structural damage, loss of control,
and personal injury.
Preparing to tow
Use the proper equipment for towing a trailer, and make sure it is
properly attached to your vehicle. See your dealer or a reliable trailer
dealer if you require assistance.
Driving
115