change wheel FORD EXCURSION 2000 1.G Owners Manual
[x] Cancel search | Manufacturer: FORD, Model Year: 2000, Model line: EXCURSION, Model: FORD EXCURSION 2000 1.GPages: 232, PDF Size: 2.01 MB
Page 3 of 232
BREAKING-IN YOUR VEHICLE
There are no particular breaking-in rules for your vehicle. During the
first 1 600 km (1 000 miles) of driving, vary speeds frequently. This is
necessary to give the moving parts a chance to break in.
INFORMATION ABOUT THIS GUIDE
The information found in this guide was in effect at the time of printing.
Ford may change the contents without notice and without incurring
obligation.
SPECIAL NOTICES
Notice to owners of diesel-powered vehicles
Read the 7.3 Liter Power Stroke Direct Injection Turbo Diesel Owner's
Guide Supplement for information regarding correct operation and
maintenance of your diesel-powered light truck.
Notice to owners of pickup trucks and utility type vehicles
Utility vehicles have a significantly higher rollover rate than
other types of vehicles.
Before you drive your vehicle, please read this Owner's Guide carefully.
Your vehicle is not a passenger car. As with other vehicles of this type,
failure to operate this vehicle correctly may result in loss of control or an
accident.
Be sure to readDriving off roadin theDrivingchapter as well as the
ªFour Wheelingº supplement included with 4WD and utility type vehicles.
Snowplowing
The Excursion is not recommended for snowplow installation. Ford
makes no representation as to the suitability of the Excursion for
snowplowing, in particular regarding the potential for exceeding vehicle
weight limits, airbag (SRS) deployment sensitivity, vehicle crash integrity,
or powertrain durability. The Snowplow Package Option is not available.
Introduction
3
Page 114 of 232
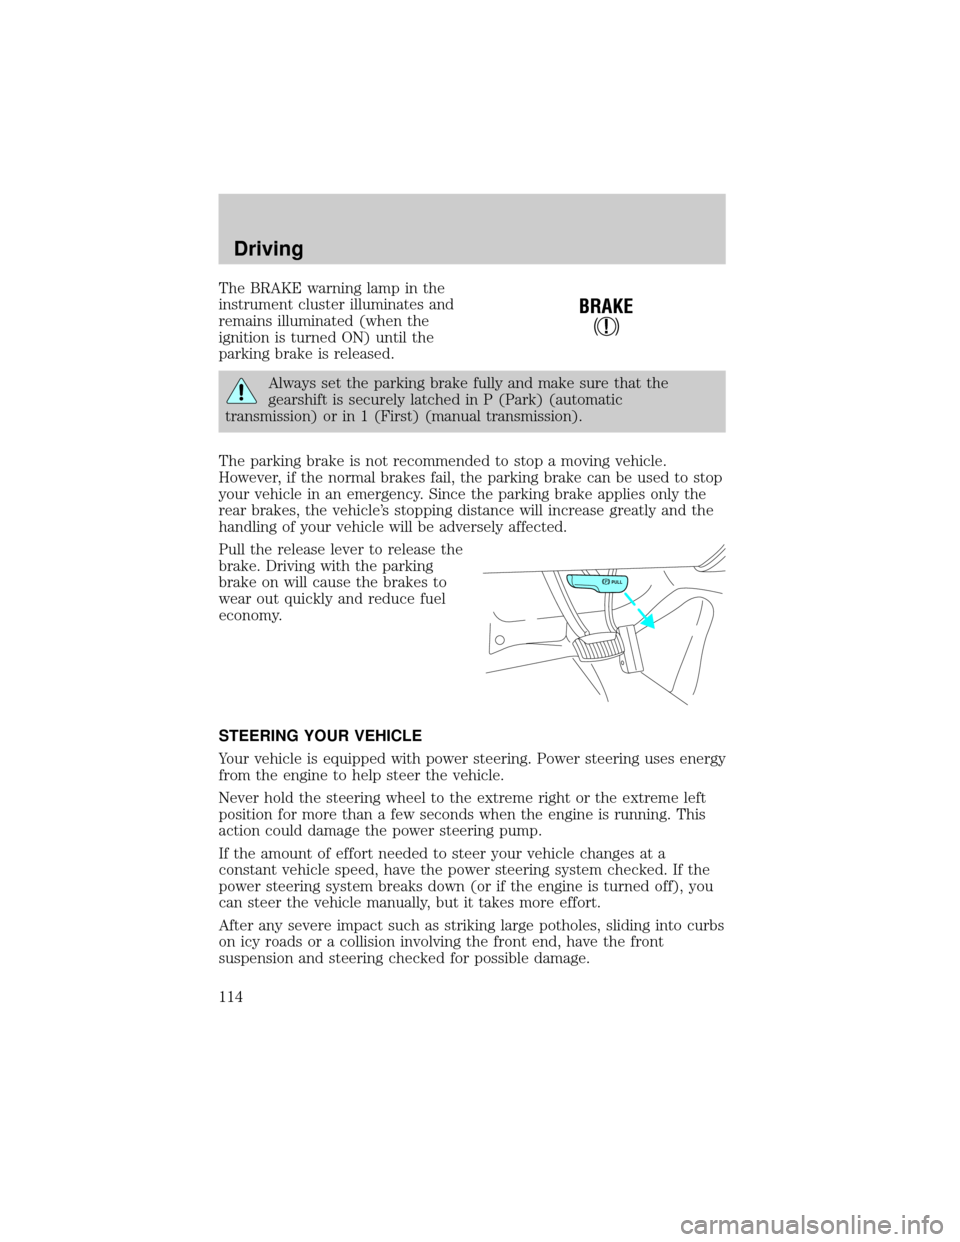
The BRAKE warning lamp in the
instrument cluster illuminates and
remains illuminated (when the
ignition is turned ON) until the
parking brake is released.
Always set the parking brake fully and make sure that the
gearshift is securely latched in P (Park) (automatic
transmission) or in 1 (First) (manual transmission).
The parking brake is not recommended to stop a moving vehicle.
However, if the normal brakes fail, the parking brake can be used to stop
your vehicle in an emergency. Since the parking brake applies only the
rear brakes, the vehicle's stopping distance will increase greatly and the
handling of your vehicle will be adversely affected.
Pull the release lever to release the
brake. Driving with the parking
brake on will cause the brakes to
wear out quickly and reduce fuel
economy.
STEERING YOUR VEHICLE
Your vehicle is equipped with power steering. Power steering uses energy
from the engine to help steer the vehicle.
Never hold the steering wheel to the extreme right or the extreme left
position for more than a few seconds when the engine is running. This
action could damage the power steering pump.
If the amount of effort needed to steer your vehicle changes at a
constant vehicle speed, have the power steering system checked. If the
power steering system breaks down (or if the engine is turned off), you
can steer the vehicle manually, but it takes more effort.
After any severe impact such as striking large potholes, sliding into curbs
on icy roads or a collision involving the front end, have the front
suspension and steering checked for possible damage.
!
BRAKE
PULL
Driving
114
Page 123 of 232

4. Move the 4WD control to the 4x4
HIGH (4WD high) or 2WD (2WD
high) position.
5. Hold the shift command until the
LOW RANGE indicator light shuts
off.
6. If the LOW RANGE indicator light
does notshut off after 15 seconds,
start the vehicle moving, then
repeat steps 1 through 5 before
reporting any shift concerns to your dealer.
Driving off-road with 4WD
Your vehicle is specially equipped for driving on sand, snow, mud and
rough terrain and has operating characteristics that are somewhat
different from conventional vehicles, both on and off the road.
Maintain steering wheel control at all times, especially in rough terrain.
Since sudden changes in terrain can result in abrupt steering wheel
motion, make sure you grip the steering wheel from the outside. Do not
grip the spokes.
Drive cautiously to avoid vehicle damage from concealed objects such as
rocks and stumps.
You should either know the terrain or examine maps of the area before
driving. Map out your route before driving in the area. For more
information on driving off-road, read the ªFour Wheelingº supplement in
your owner's portfolio.
If your vehicle gets stuck
If the vehicle is stuck it may be rocked out by shifting from forward and
reverse gears, stopping between shifts, in a steady pattern. Press lightly
on the accelerator in each gear.
Do not rock the vehicle if the engine is not at normal operating
temperature or damage to the transmission may occur.
Do not rock the vehicle for more than a few minutes or damage
to the transmission and tires may occur or the engine may
overheat.
2WD4X4
LOW4X4
HIGH
Driving
123
Page 124 of 232
Do not spin the wheels at over 56 km/h (35 mph). The tires may
fail and injure a passenger or bystander.
Sand
When driving over sand, try to keep all four wheels on the most solid
area of the trail. Do not reduce the tire pressures but shift to a lower
gear and drive steadily through the terrain. Apply the accelerator slowly
and avoid spinning the wheels.
Mud and water
If you must drive through high water, drive slowly. Traction or brake
capability may be limited.
When driving through water, determine the depth; avoid water higher
than the bottom of the hubs (if possible) and proceed slowly. If the
ignition system gets wet, the vehicle may stall.
Once through water, always try the brakes. Wet brakes do not stop the
vehicle as effectively as dry brakes. Drying can be improved by moving
your vehicle slowly while applying light pressure on the brake pedal.
After driving through mud, clean off residue stuck to rotating driveshafts
and tires. Excess mud stuck on tires and rotating driveshafts causes an
imbalance that could damage drive components.
If the transmission, transfer case or front axle are submerged in water,
their fluids should be checked and changed, if necessary.
Water intrusion into the transmission may damage the
transmission.
If the front or rear axle is submerged in water, the axle lubricant should
be replaced.
Driving on hilly or sloping terrain
When driving on a hill, avoid driving crosswise or turning on steep
slopes. You could lose traction and slip sideways. Drive straight up,
straight down or avoid the hill completely. Know the conditions on the
other side of a hill before driving over the crest.
When climbing a steep hill, start in a lower gear rather than downshifting
to a lower gear from a higher gear once the ascent has started. This
reduces strain on the engine and the possibility of stalling.
Driving
124
Page 125 of 232

When descending a steep hill, avoid sudden braking. Shift to a lower gear
when added engine braking is desired.
When speed control is on and you are driving uphill, your vehicle speed
may drop considerably, especially if you are carrying a heavy load.
If vehicle speed drops more than 16 km/h (10 mph), the speed control
will cancel automatically. Resume speed with accelerator pedal.
If speed control cancels after climbing the hill, reset speed by pressing
and holding the SET ACCEL button (to resume speeds over 50 km/h [30
mph]).
Automatic transmissions may shift frequently while driving up steep
grades. Eliminate frequent shifting by shifting out of
(Overdrive) into
a lower gear.
Driving on snow and ice
A 4WD vehicle has advantages over 2WD vehicles in snow and ice but
can skid like any other vehicle.
Avoid sudden applications of power and quick changes of direction on
snow and ice. Apply the accelerator slowly and steadily when starting
from a full stop.
Apply the brakes as you normally would. Your 4WD vehicle is equipped
with a Four Wheel Anti-lock Brake System (ABS). In order to allow the
ABS to operate properly when braking, keep steady pressure on the
brake pedal, do not pump the brakes.
When driving on snow or ice with either braking system, allow more
stopping distance and drive slower than usual. Consider using one of the
lower gears.
VEHICLE LOADING
Before loading a vehicle, familiarize yourself with the following terms:
²Base Curb Weight:Weight of the vehicle including any standard
equipment, fluids, lubricants, etc. It does not include passengers or
aftermarket equipment.
²Payload:Combined maximum allowable weight of cargo, passengers
and optional equipment. The payload equals the gross vehicle weight
rating minus base curb weight.
²GVW (Gross Vehicle Weight):Base curb weight plus payload
weight. The GVW is not a limit or a specification.
Driving
125
Page 142 of 232
Fuse/Relay
LocationFuse Amp
RatingPassenger Compartment
Fuse Panel Description
17 15A Heated Mirrors, Rear Defroster9ON9
indicator
18 10A Rear Integrated Control Panel (RICP), CD
Changer
19 10A Instrument Cluster, GEM Module, Overdrive
Cancel Switch, PATS/PATS Transiever, Idle
Validation Switch (Diesel only)
20 15A Starter Motor Relay, GEM, Radio (w/
Secondary)
21 5A Radio Start Feed
22 10A Air Bag Module, Blower Motor Relay Coil
23 Ð Not Used
24 10A A/C Clutch, Blend Door Actuator, Trailer
Tow Battery Charge Relay Coil
25 5A 4-Wheel Anti-Lock Brake System (4WABS)
26 Ð Not Used
27 Ð Not Used
28 Ð Not Used
29 5A Instrument Cluster (Charge and Airbag
Warning Lamps)
30 30A PCM Relay Coil, Ignition Coil (Gasoline
only), Fuel Heater (Diesel only), Wastegate
Solenoid (Diesel only), Injector Driver
Module Relay Coil (Diesel only)
31 Ð Not Used
Relay 1 Ð Interior Lamp Relay
Relay 2 Ð Battery Saver Relay
Relay 3 Ð Rear Defroster
Relay 4 Ð Power Window One Touch Down Relay
Relay 5 Ð Accessory Delay Relay
Roadside emergencies
142
Page 147 of 232
Location of the spare tire and tools
The spare tire and tools for your vehicle are stowed in the following
locations:
Tool Location
Spare tire Mounted on the left rear quarter
panel in the cargo area
Jack In the rear cargo area stowage bin.
Jack handle and lug wrench On top of the radiator support in
the engine compartment
Tire change procedure
To prevent the vehicle from moving when you change a tire, be
sure the parking brake is set, then block (in both directions) the
wheel that is diagonally opposite (other side and end of the vehicle) to
the tire being changed.
If the vehicle slips off the jack, you or someone else could be
seriously injured.
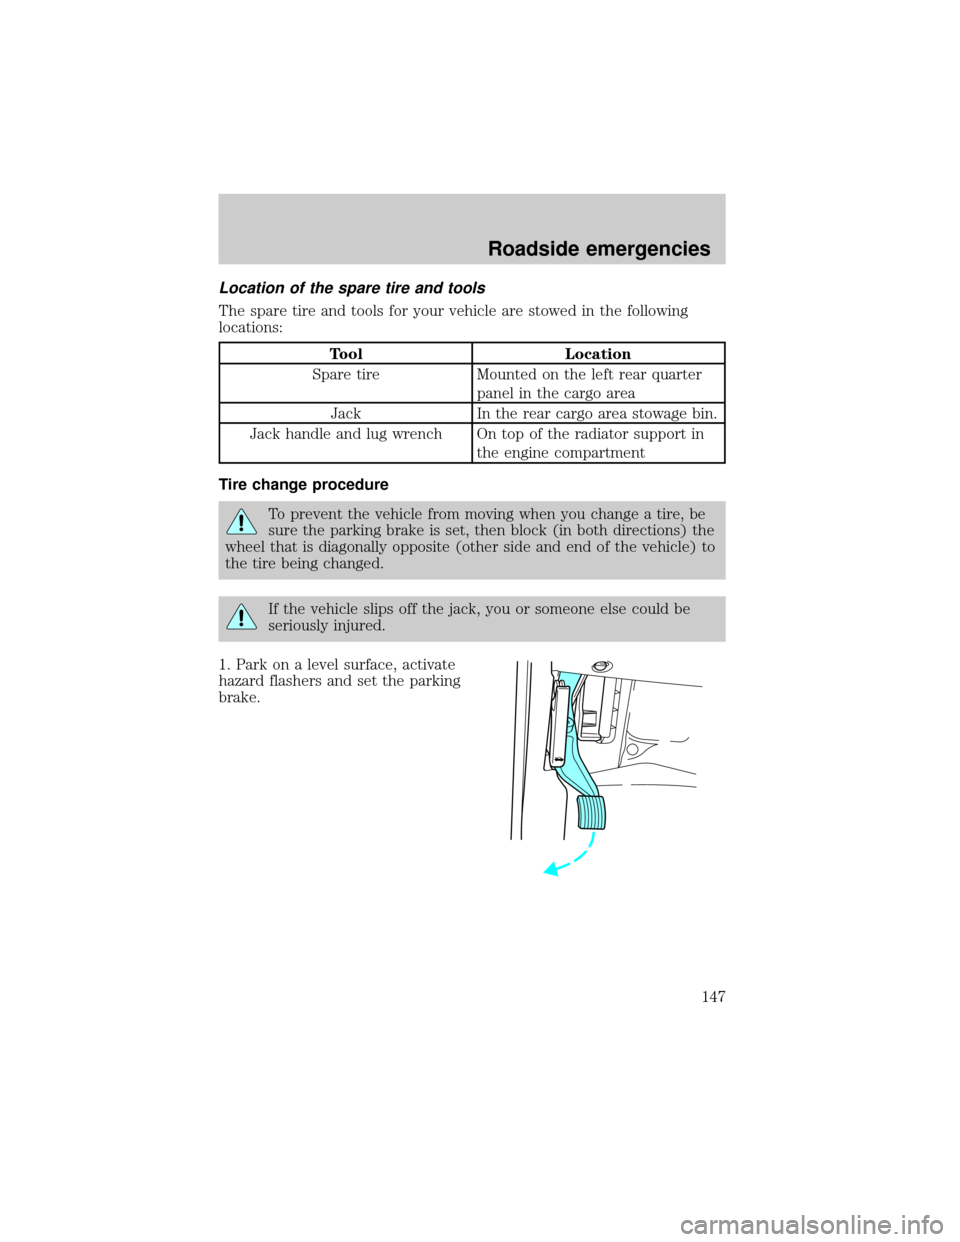
1. Park on a level surface, activate
hazard flashers and set the parking
brake.
Roadside emergencies
147
Page 148 of 232
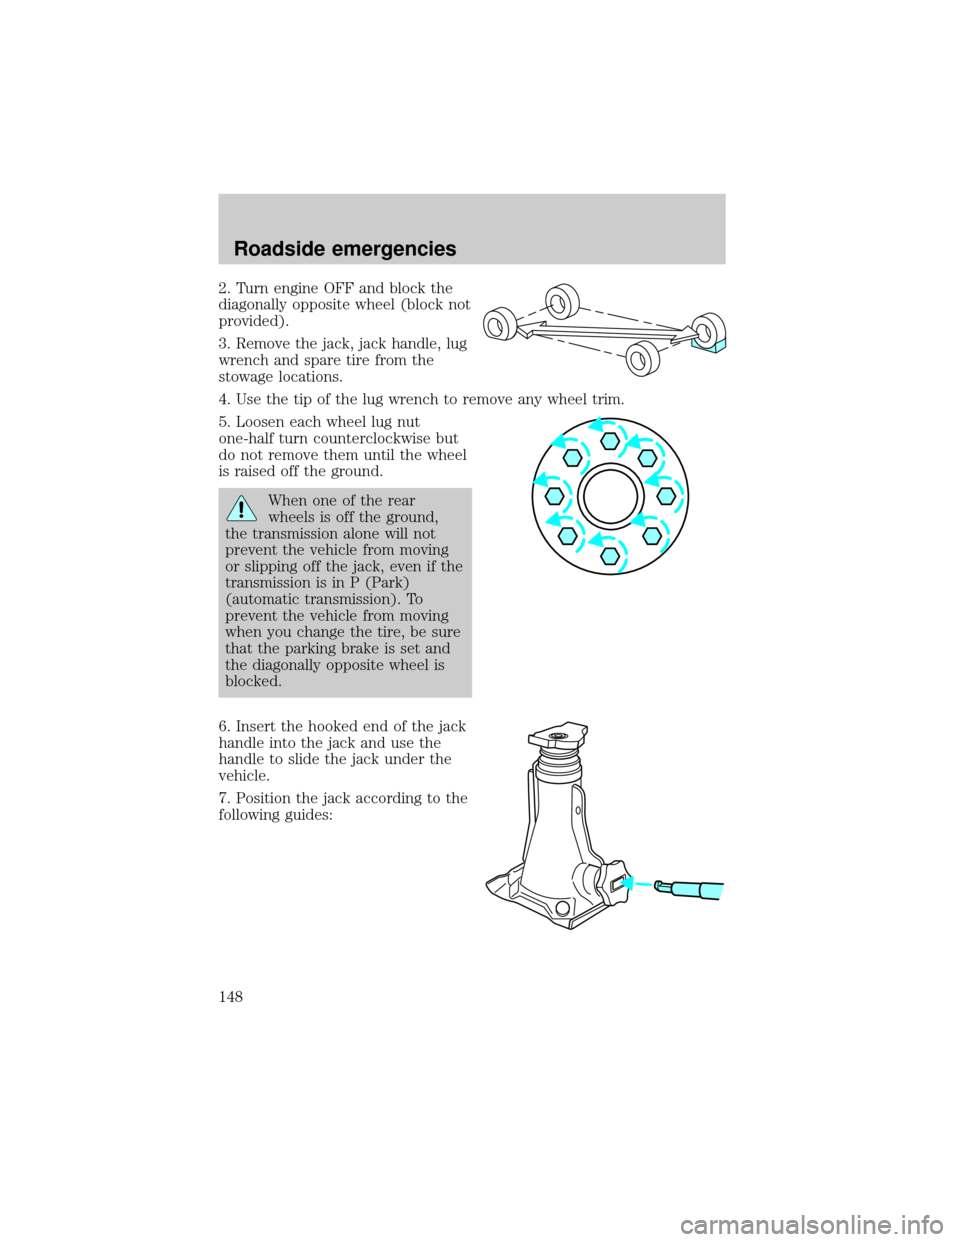
2. Turn engine OFF and block the
diagonally opposite wheel (block not
provided).
3. Remove the jack, jack handle, lug
wrench and spare tire from the
stowage locations.
4. Use the tip of the lug wrench to remove any wheel trim.
5. Loosen each wheel lug nut
one-half turn counterclockwise but
do not remove them until the wheel
is raised off the ground.
When one of the rear
wheels is off the ground,
the transmission alone will not
prevent the vehicle from moving
or slipping off the jack, even if the
transmission is in P (Park)
(automatic transmission). To
prevent the vehicle from moving
when you change the tire, be sure
that the parking brake is set and
the diagonally opposite wheel is
blocked.
6. Insert the hooked end of the jack
handle into the jack and use the
handle to slide the jack under the
vehicle.
7. Position the jack according to the
following guides:
Roadside emergencies
148
Page 151 of 232
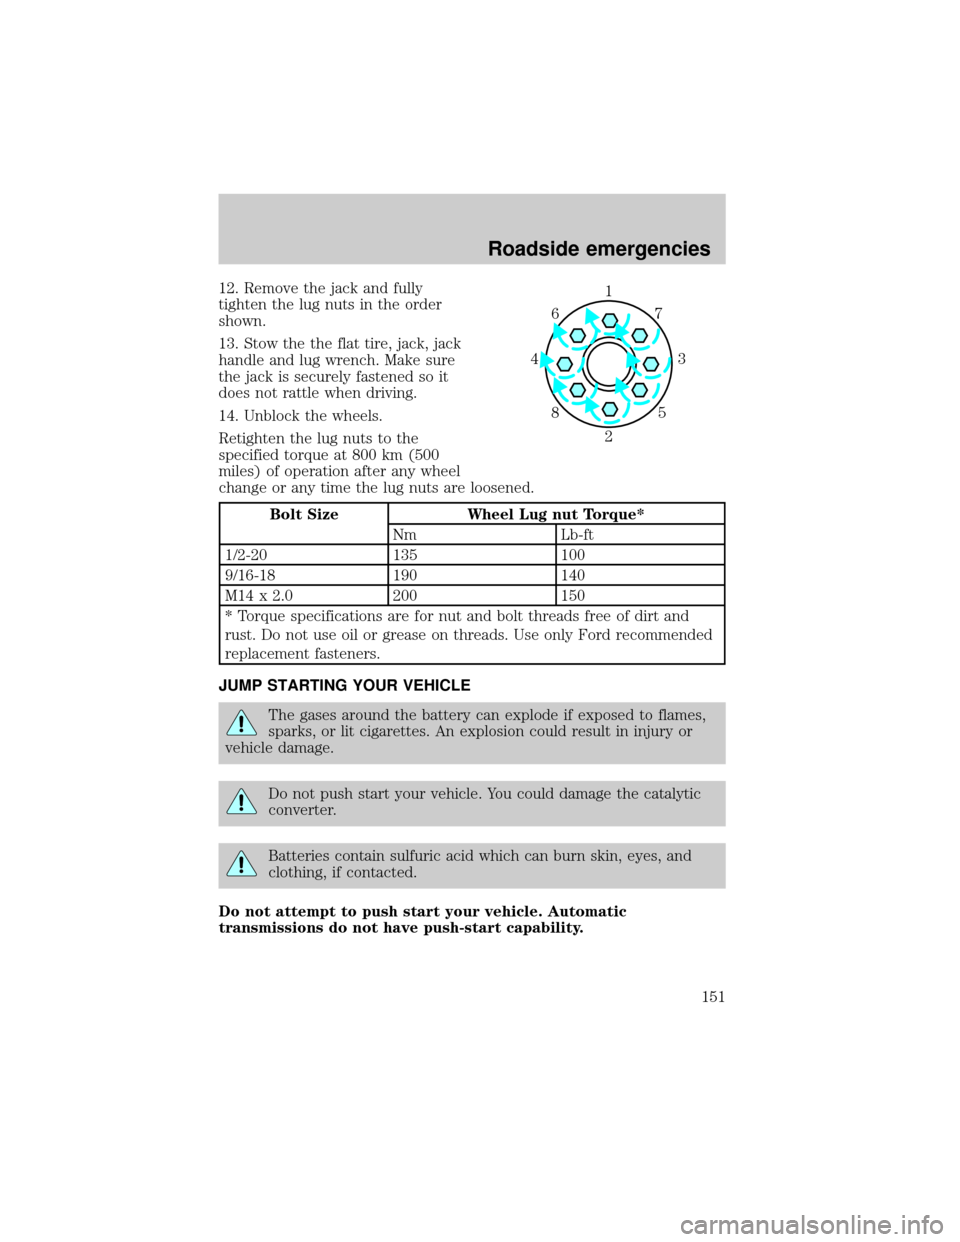
12. Remove the jack and fully
tighten the lug nuts in the order
shown.
13. Stow the the flat tire, jack, jack
handle and lug wrench. Make sure
the jack is securely fastened so it
does not rattle when driving.
14. Unblock the wheels.
Retighten the lug nuts to the
specified torque at 800 km (500
miles) of operation after any wheel
change or any time the lug nuts are loosened.
Bolt Size Wheel Lug nut Torque*
Nm Lb-ft
1/2-20 135 100
9/16-18 190 140
M14 x 2.0 200 150
* Torque specifications are for nut and bolt threads free of dirt and
rust. Do not use oil or grease on threads. Use only Ford recommended
replacement fasteners.
JUMP STARTING YOUR VEHICLE
The gases around the battery can explode if exposed to flames,
sparks, or lit cigarettes. An explosion could result in injury or
vehicle damage.
Do not push start your vehicle. You could damage the catalytic
converter.
Batteries contain sulfuric acid which can burn skin, eyes, and
clothing, if contacted.
Do not attempt to push start your vehicle. Automatic
transmissions do not have push-start capability.
1
3 4
27 6
5 8
Roadside emergencies
151
Page 172 of 232

3. While the engine idles, turn the steering wheel left and right several
times.
4. Turn the engine off.
5. Recheck the fluid level on the dipstick. Do not add fluid if the level is
between the arrows in the FULL COLD range.
6. If the fluid is low, add fluid in small amounts, continuously checking
the level until it reaches the FULL COLD range. Be sure to put the
dipstick back in the reservoir.
TRANSMISSION FLUID
Checking automatic transmission fluid
Refer to your scheduled maintenance guide for scheduled intervals for
fluid checks and changes. Your transmission does not consume fluid.
However, the fluid level should be checked if the transmission is not
working properly, i.e., if the transmission slips or shifts slowly or if you
notice some sign of fluid leakage.
Automatic transmission fluid expands when warmed. To obtain an
accurate fluid check, drive the vehicle until it is at normal operating
temperature (approximately 30 km [20 miles]). If your vehicle has been
operated for an extended period at high speeds, in city traffic during hot
weather or pulling a trailer, the vehicle should be turned off for about 30
minutes to allow fluid to cool before checking.
1. Drive the vehicle 30 km (20 miles) or until it reaches normal operating
temperature.
2. Park the vehicle on a level surface and engage the parking brake.
3. With the parking brake engaged and your foot on the brake pedal,
start the engine and move the gearshift lever through all of the gear
ranges. Allow sufficient time for each gear to engage.
4. Latch the gearshift lever in P (Park) and leave the engine running.
5. Remove the dipstick, wiping it clean with a clean, dry lint free rag. If
necessary, refer toIdentifying components in the engine compartment
in this chapter for the location of the dipstick.
6. Install the dipstick making sure it is fully seated in the filler tube.
7. Remove the dipstick and inspect the fluid level. The fluid should be in
the designated area for normal operating temperature or ambient
temperature.
Maintenance and care
172