ECU FORD EXPEDITION 1998 1.G Owners Manual
[x] Cancel search | Manufacturer: FORD, Model Year: 1998, Model line: EXPEDITION, Model: FORD EXPEDITION 1998 1.GPages: 216, PDF Size: 1.51 MB
Page 7 of 216

the engine is started, one of the
engine's emission control systems
may be malfunctioning. The light
may illuminate without a
driveability concern being noted.
The vehicle will usually be drivable
and will not require towing.
What you should do if the
check engine light illuminates
Light turns on solid:
This means that the OBD II system
has detected a malfunction.
Temporary malfunctions may cause
yourCheck Enginelight to
illuminate. Examples are:
1. The vehicle has run out of fuel.
(The engine may misfire or run
poorly.)
2. Poor fuel quality or water in the
fuel.
3. The fuel cap may not have been
properly installed and securely
tightened.
These temporary malfunctions can
be corrected by filling the fuel tank
with good quality fuel and/or
properly installing and securely
tightening the gas cap. After three
driving cycles without these or any
other temporary malfunctions
present, theCheck Enginelight
should turn off. (A driving cycle
consists of a cold engine startup
followed by mixed city/highway
driving.) No additional vehicle
service is required.
Instrumentation
7
Page 10 of 216
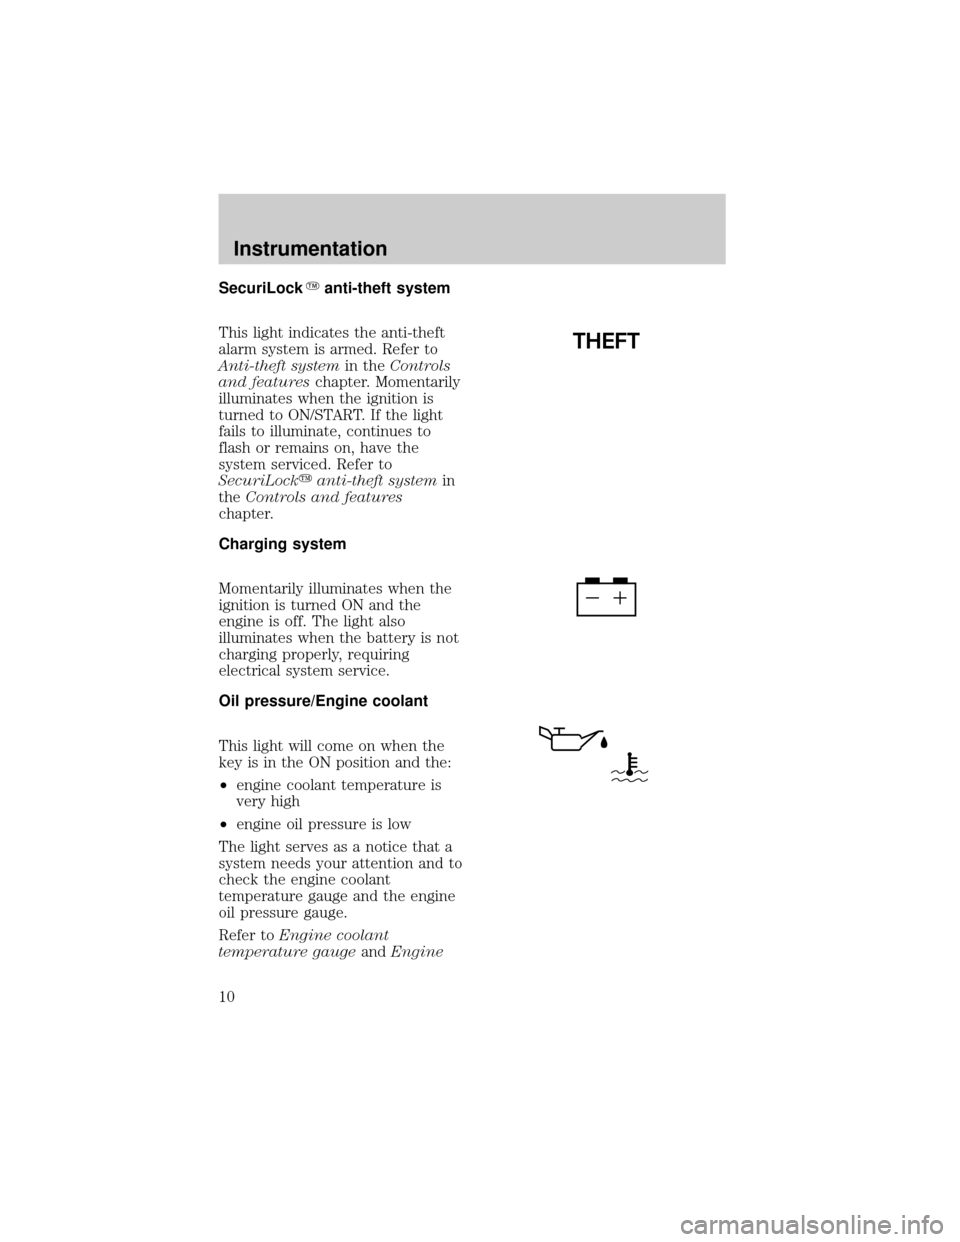
SecuriLockYanti-theft system
This light indicates the anti-theft
alarm system is armed. Refer to
Anti-theft systemin theControls
and featureschapter. Momentarily
illuminates when the ignition is
turned to ON/START. If the light
fails to illuminate, continues to
flash or remains on, have the
system serviced. Refer to
SecuriLockyanti-theft systemin
theControls and features
chapter.
Charging system
Momentarily illuminates when the
ignition is turned ON and the
engine is off. The light also
illuminates when the battery is not
charging properly, requiring
electrical system service.
Oil pressure/Engine coolant
This light will come on when the
key is in the ON position and the:
²engine coolant temperature is
very high
²engine oil pressure is low
The light serves as a notice that a
system needs your attention and to
check the engine coolant
temperature gauge and the engine
oil pressure gauge.
Refer toEngine coolant
temperature gaugeandEngine
THEFT
Instrumentation
10
Page 40 of 216
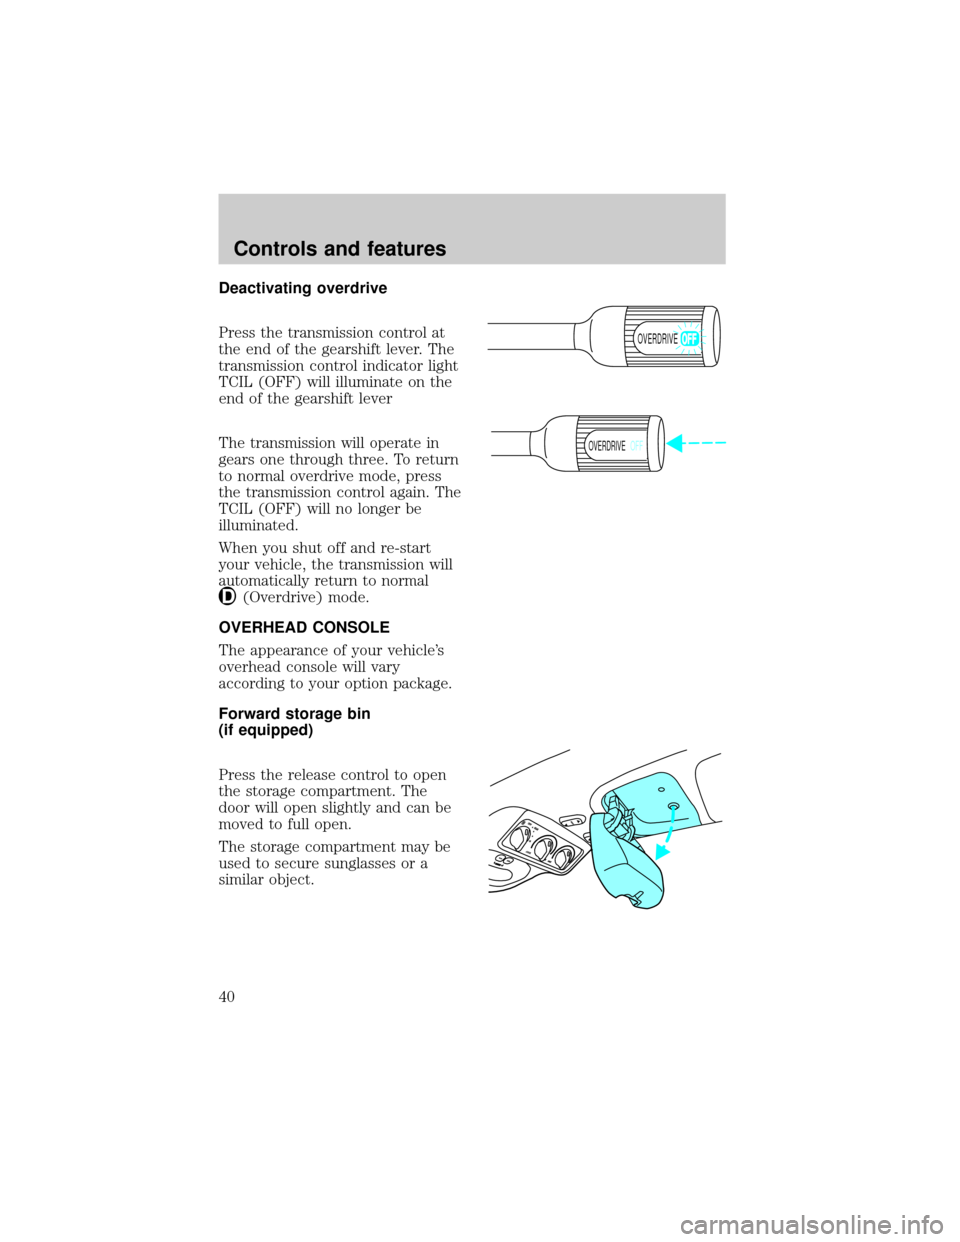
Deactivating overdrive
Press the transmission control at
the end of the gearshift lever. The
transmission control indicator light
TCIL (OFF) will illuminate on the
end of the gearshift lever
The transmission will operate in
gears one through three. To return
to normal overdrive mode, press
the transmission control again. The
TCIL (OFF) will no longer be
illuminated.
When you shut off and re-start
your vehicle, the transmission will
automatically return to normal
(Overdrive) mode.
OVERHEAD CONSOLE
The appearance of your vehicle's
overhead console will vary
according to your option package.
Forward storage bin
(if equipped)
Press the release control to open
the storage compartment. The
door will open slightly and can be
moved to full open.
The storage compartment may be
used to secure sunglasses or a
similar object.
OVERDRIVE
OVERDRIVEOFF
Controls and features
40
Page 54 of 216
Make sure that the liftgate
door and/or window are
closed to prevent exhaust fumes
from being drawn into the
vehicle. This will also prevent
passengers and cargo from falling
out. If you must drive with the
liftgate door or window open,
keep the vents open so outside
air comes into the vehicle.
SECURILOCKYANTI-THEFT
SYSTEM
Your vehicle is equipped with a
coded-key anti-theft system. Only
the correct key will be able to start
your vehicle. If your keys are lost
or stolen, you must take your
vehicle to a Ford/Lincoln-Mercury
dealership for re-programming.
Programming additional keys
If you need additional keys
electronically coded for your
vehicle, spares can be purchased
(a maximum of 16 keys can be
programmed). To program a new
key, perform the following
procedure:
1. With the coded key in the
ignition, turn the ignition from ON
to OFF.
2. Within 15 seconds of turning
ignition off, insert the new coded
key into the ignition and turn it
from OFF to ON or START. If
successful, the THEFT indicator
Controls and features
54
Page 86 of 216
edge of the seat cushion. You may
wish to discuss the special needs
of your child with your
pediatrician.
SAFETY SEATS FOR CHILDREN
Child and infant or child safety
seats
Use a safety seat that is
recommended for the size and
weight of the child. Carefully
follow all of the manufacturer's
instructions with the safety seat
you put in your vehicle. If you do
not install and use the safety seat
properly, the child may be injured
in a sudden stop or collision.
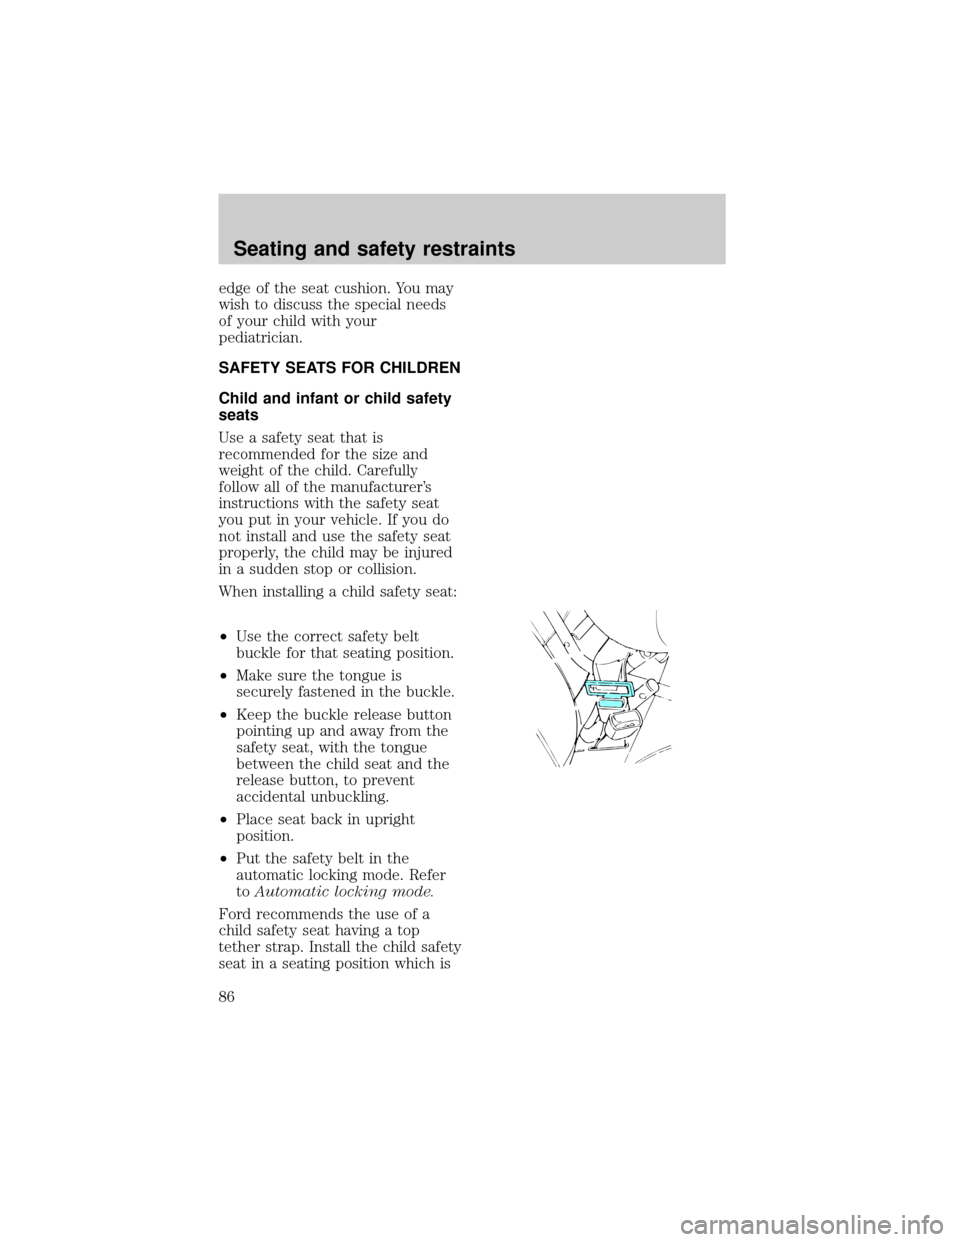
When installing a child safety seat:
²Use the correct safety belt
buckle for that seating position.
²Make sure the tongue is
securely fastened in the buckle.
²Keep the buckle release button
pointing up and away from the
safety seat, with the tongue
between the child seat and the
release button, to prevent
accidental unbuckling.
²Place seat back in upright
position.
²Put the safety belt in the
automatic locking mode. Refer
toAutomatic locking mode.
Ford recommends the use of a
child safety seat having a top
tether strap. Install the child safety
seat in a seating position which is
Seating and safety restraints
86
Page 88 of 216
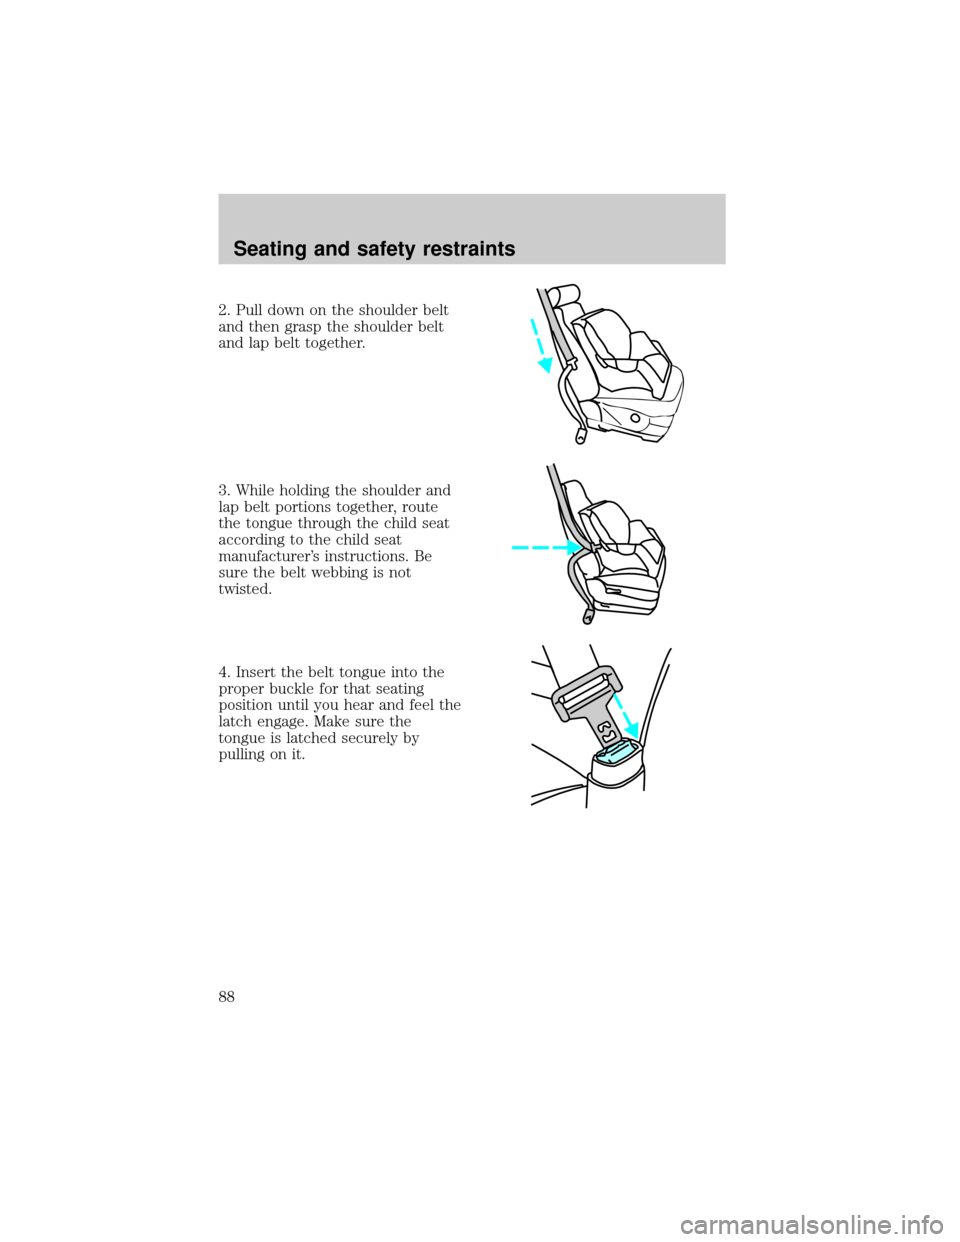
2. Pull down on the shoulder belt
and then grasp the shoulder belt
and lap belt together.
3. While holding the shoulder and
lap belt portions together, route
the tongue through the child seat
according to the child seat
manufacturer's instructions. Be
sure the belt webbing is not
twisted.
4. Insert the belt tongue into the
proper buckle for that seating
position until you hear and feel the
latch engage. Make sure the
tongue is latched securely by
pulling on it.
Seating and safety restraints
88
Page 89 of 216
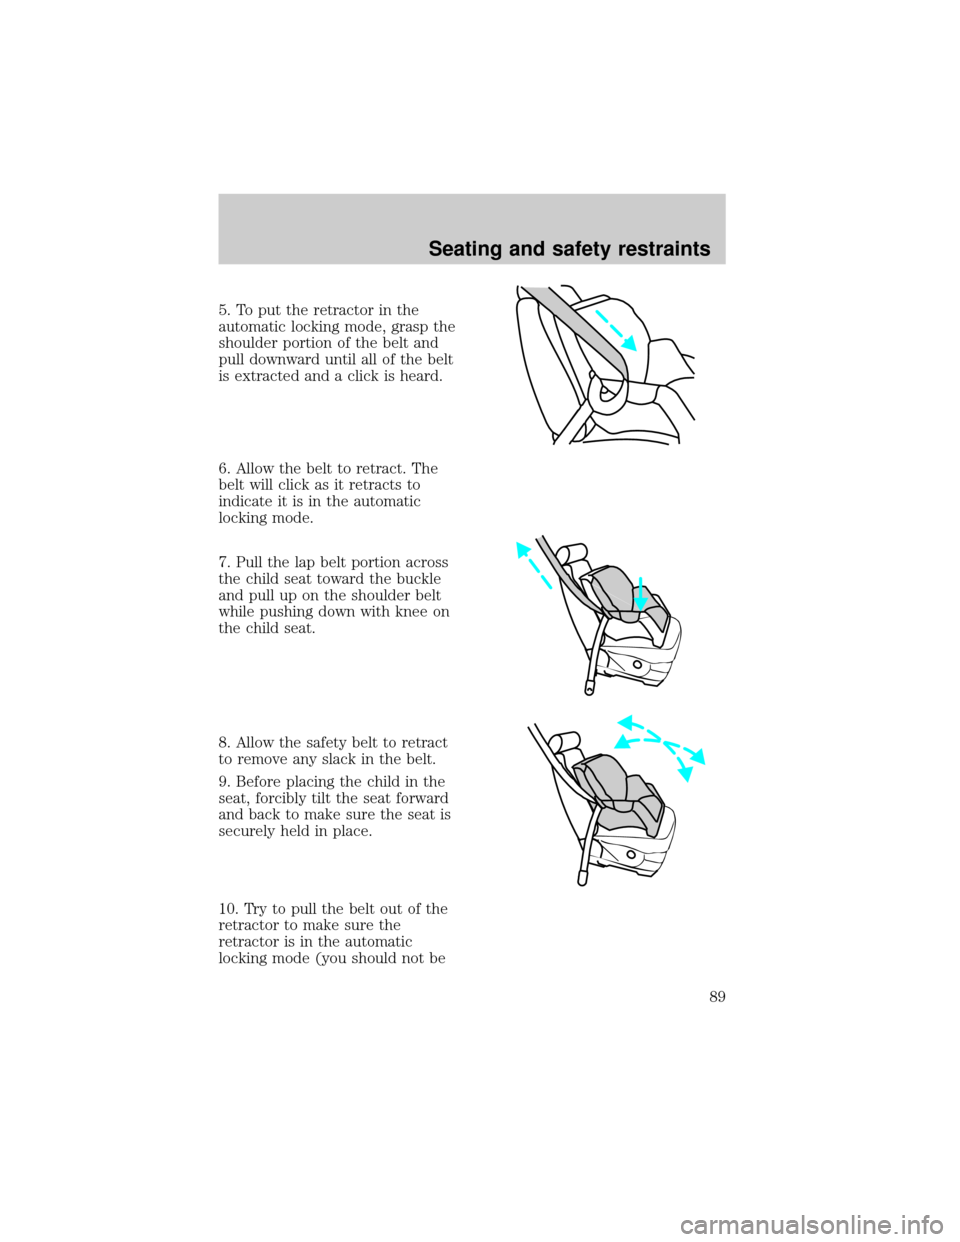
5. To put the retractor in the
automatic locking mode, grasp the
shoulder portion of the belt and
pull downward until all of the belt
is extracted and a click is heard.
6. Allow the belt to retract. The
belt will click as it retracts to
indicate it is in the automatic
locking mode.
7. Pull the lap belt portion across
the child seat toward the buckle
and pull up on the shoulder belt
while pushing down with knee on
the child seat.
8. Allow the safety belt to retract
to remove any slack in the belt.
9. Before placing the child in the
seat, forcibly tilt the seat forward
and back to make sure the seat is
securely held in place.
10. Try to pull the belt out of the
retractor to make sure the
retractor is in the automatic
locking mode (you should not be
Seating and safety restraints
89
Page 90 of 216

able to pull more belt out). If the
retractor is not locked, unbuckle
the belt and repeat steps two
through nine.
Check to make sure the child seat
is properly secured before each
use.
Attaching safety seats with
tether straps
Some manufacturers make safety
seats that include a tether strap
that goes over the back of the
vehicle seat and attaches to an
anchoring point. Other
manufacturers offer the tether
strap as an accessory. Contact the
manufacturer of your child safety
seat for information about ordering
a tether strap.
Tether anchorage hardware
A tethered seat can be installed in
the front seat. Put the tether strap
over the seatback and attach it to
an anchor bracket.
An anchor bracket can be installed
on the rear edge of the front seat
cushion.
The provision (attaching hole) is
provided in the rear edge of the
front passenger seat cushion
frame. The anchor bracket must be
installed using the instructions
provided with the kit.
Tether anchorage hardware kits
(part number 613D74) including
instructions, may be obtained at no
charge from any Ford or
Lincoln-Mercury dealer.
Seating and safety restraints
90
Page 91 of 216
Tether anchor brackets may also
be installed to the floor behind the
second row seats.
Tighten the anchor
according to specifications.
Otherwise, the safety seat may
not be properly secured and the
child may be injured in a sudden
stop or collision.
Seating and safety restraints
91
Page 100 of 216

there is sufficient space, will
enable you to avoid obstacles
and bring the vehicle to a
controlled stop.
²We recommend that you
familiarize yourself with this
braking technique. However,
avoid taking any unnecessary
risks.
Parking brake
Apply the parking brake whenever
the vehicle is parked. To set the
parking brake, press the parking
brake pedal down until the pedal
stops.
The BRAKE warning lamp in the
instrument cluster illuminates and
remains illuminated (when the
ignition is turned ON) until the
parking brake is released.
Always set the parking
brake fully and make sure
that the gearshift is securely
latched in P (Park).
BRAKE
HOOD
!
BRAKE
Driving
100