seats FORD EXPEDITION 1999 1.G Owners Manual
[x] Cancel search | Manufacturer: FORD, Model Year: 1999, Model line: EXPEDITION, Model: FORD EXPEDITION 1999 1.GPages: 216, PDF Size: 1.8 MB
Page 30 of 216
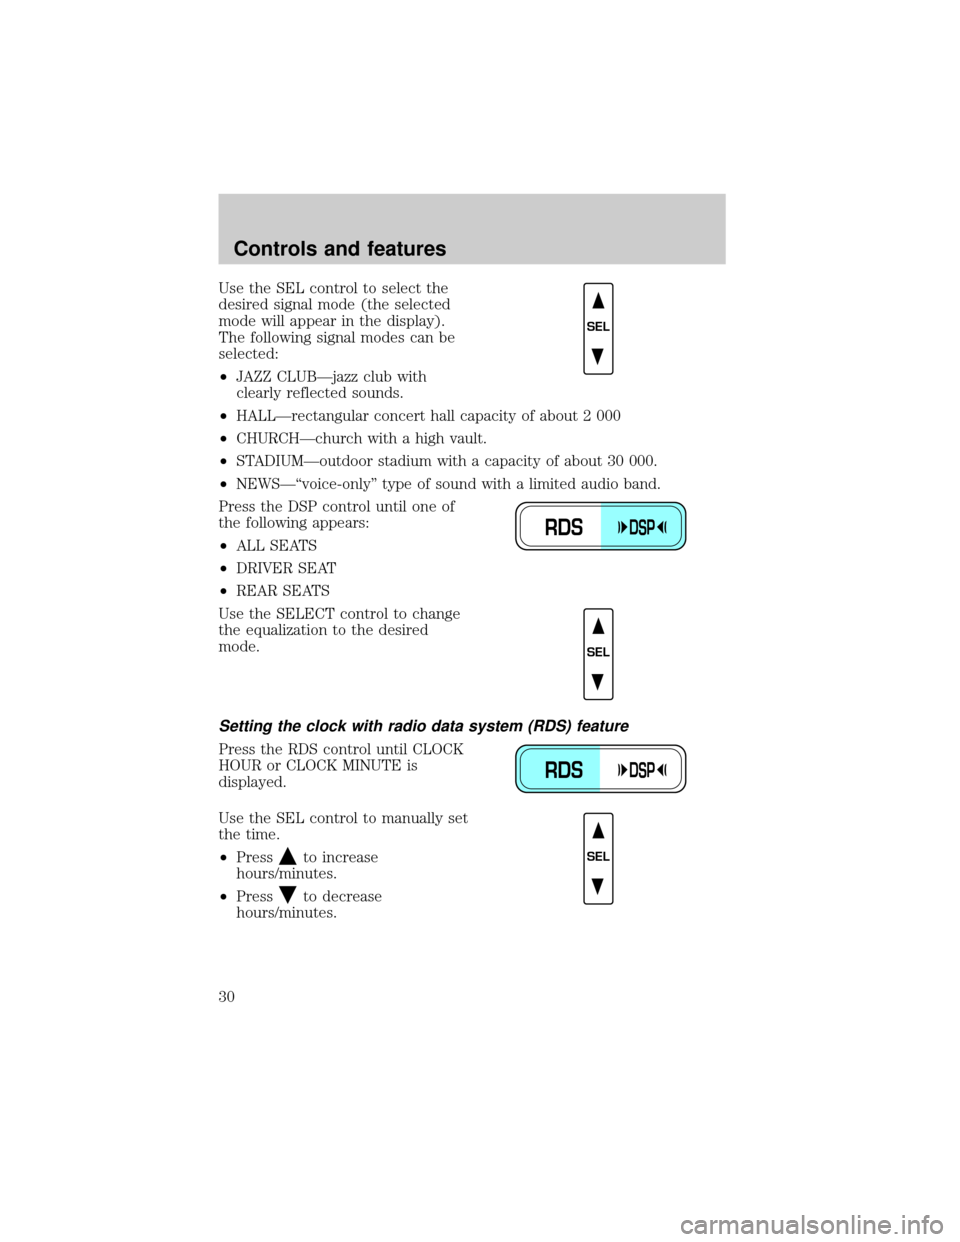
Use the SEL control to select the
desired signal mode (the selected
mode will appear in the display).
The following signal modes can be
selected:
²JAZZ CLUBÐjazz club with
clearly reflected sounds.
²HALLÐrectangular concert hall capacity of about 2 000
²CHURCHÐchurch with a high vault.
²STADIUMÐoutdoor stadium with a capacity of about 30 000.
²NEWSЪvoice-onlyº type of sound with a limited audio band.
Press the DSP control until one of
the following appears:
²ALL SEATS
²DRIVER SEAT
²REAR SEATS
Use the SELECT control to change
the equalization to the desired
mode.
Setting the clock with radio data system (RDS) feature
Press the RDS control until CLOCK
HOUR or CLOCK MINUTE is
displayed.
Use the SEL control to manually set
the time.
²Press
to increase
hours/minutes.
²Press
to decrease
hours/minutes.
SEL
RDSDSP
SEL
RDSDSP
SEL
Controls and features
30
Page 40 of 216
Operating tips
²In humid weather, select DEFbefore driving. This will prevent
your windshield from fogging. After a few minutes, select any desired
position.
²To prevent humidity buildup inside the vehicle, don't drive with the
climate control system in the OFF position.
²Don't put objects under the front seat that will interfere with the
airflow to the back seats (if equipped).
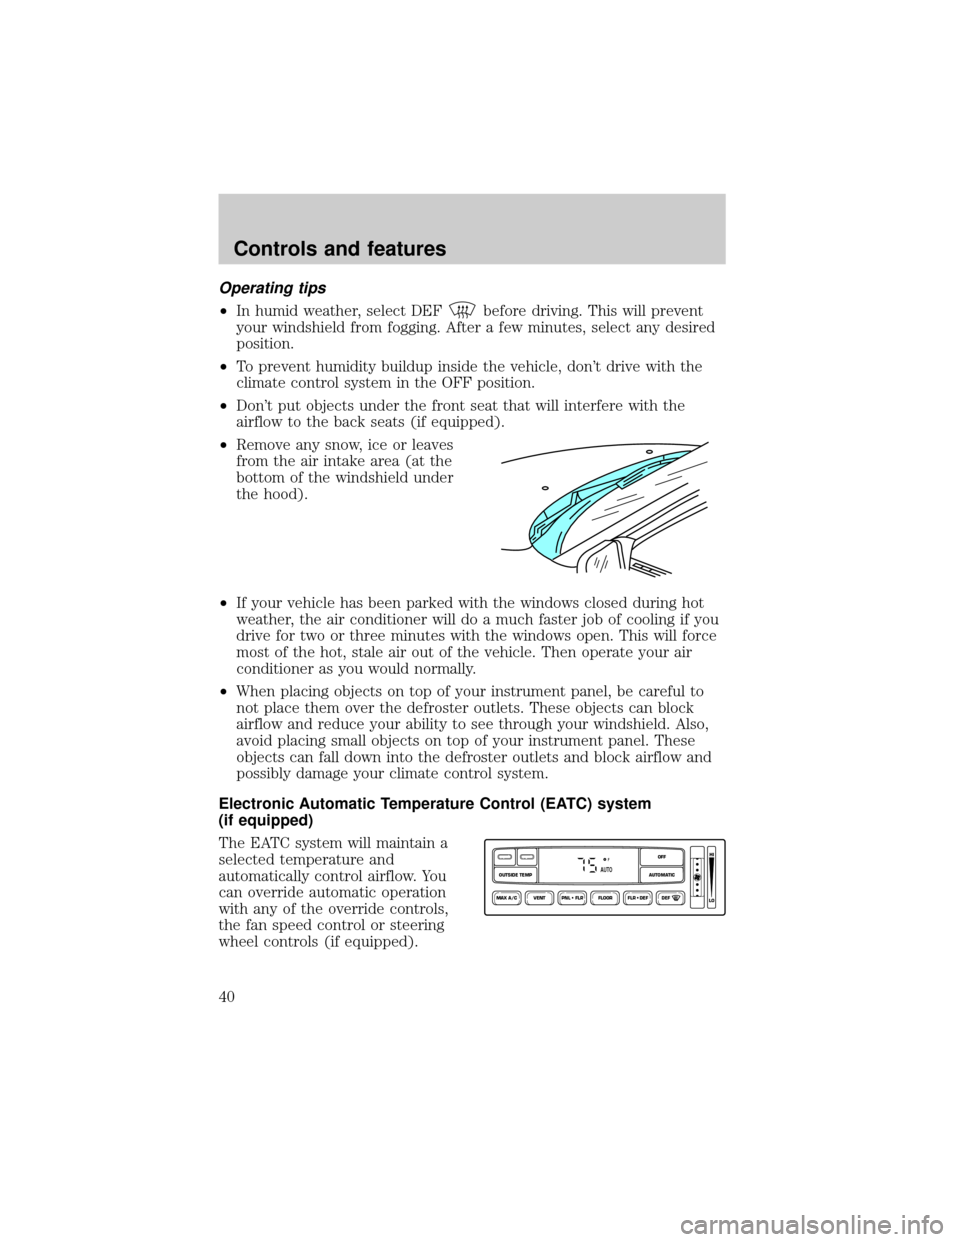
²Remove any snow, ice or leaves
from the air intake area (at the
bottom of the windshield under
the hood).
²If your vehicle has been parked with the windows closed during hot
weather, the air conditioner will do a much faster job of cooling if you
drive for two or three minutes with the windows open. This will force
most of the hot, stale air out of the vehicle. Then operate your air
conditioner as you would normally.
²When placing objects on top of your instrument panel, be careful to
not place them over the defroster outlets. These objects can block
airflow and reduce your ability to see through your windshield. Also,
avoid placing small objects on top of your instrument panel. These
objects can fall down into the defroster outlets and block airflow and
possibly damage your climate control system.
Electronic Automatic Temperature Control (EATC) system
(if equipped)
The EATC system will maintain a
selected temperature and
automatically control airflow. You
can override automatic operation
with any of the override controls,
the fan speed control or steering
wheel controls (if equipped).
VENT PNL • FLR FLOOR FLR • DEF DEF
HI
LO
MAX A/C
OUTSIDE TEMP AUTOMATICOFFFAUTO
Controls and features
40
Page 45 of 216
Displaying outside temperature
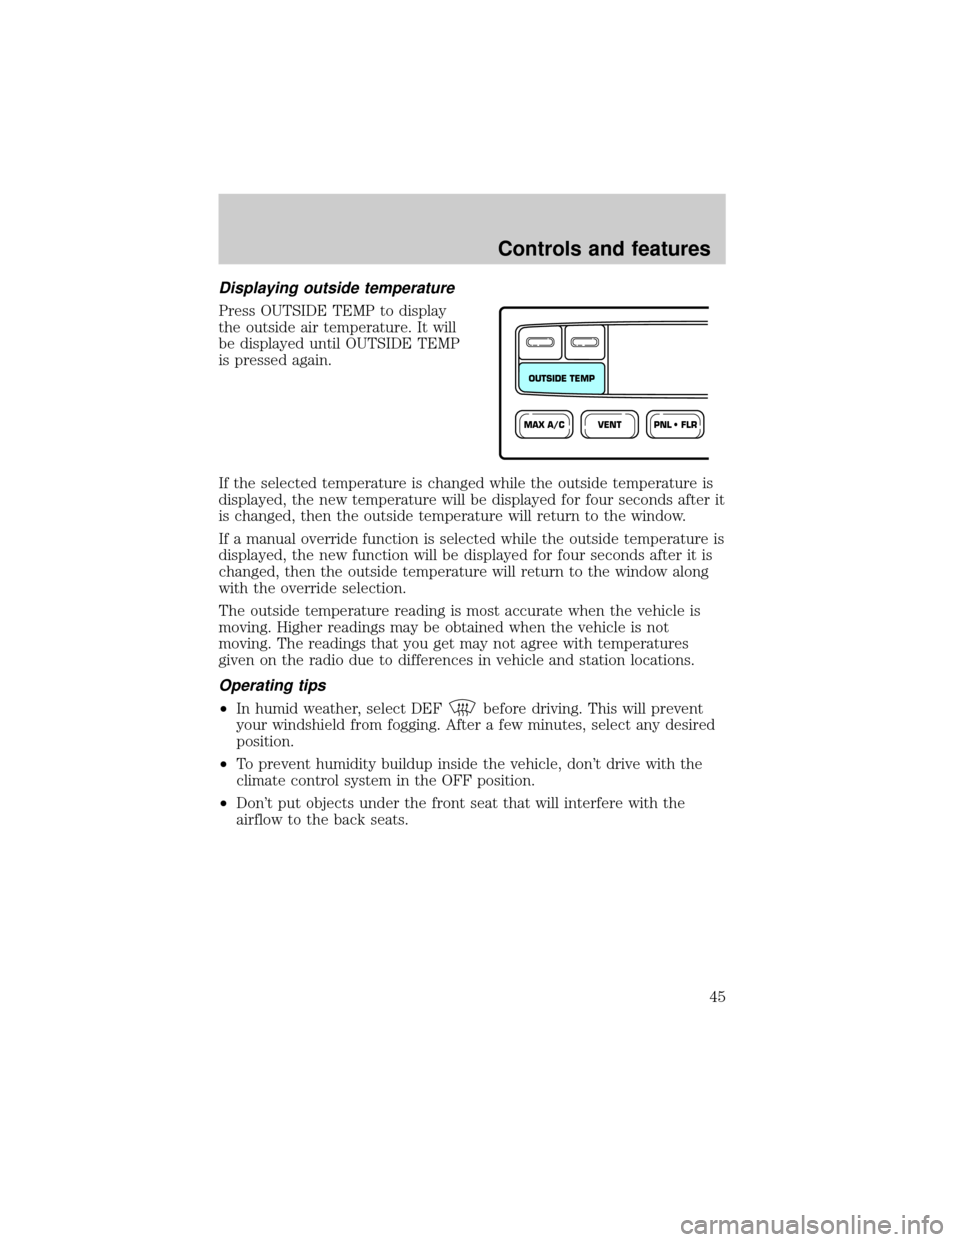
Press OUTSIDE TEMP to display
the outside air temperature. It will
be displayed until OUTSIDE TEMP
is pressed again.
If the selected temperature is changed while the outside temperature is
displayed, the new temperature will be displayed for four seconds after it
is changed, then the outside temperature will return to the window.
If a manual override function is selected while the outside temperature is
displayed, the new function will be displayed for four seconds after it is
changed, then the outside temperature will return to the window along
with the override selection.
The outside temperature reading is most accurate when the vehicle is
moving. Higher readings may be obtained when the vehicle is not
moving. The readings that you get may not agree with temperatures
given on the radio due to differences in vehicle and station locations.
Operating tips
²In humid weather, select DEFbefore driving. This will prevent
your windshield from fogging. After a few minutes, select any desired
position.
²To prevent humidity buildup inside the vehicle, don't drive with the
climate control system in the OFF position.
²Don't put objects under the front seat that will interfere with the
airflow to the back seats.
VENTPNL • FLRMAX A/C
OUTSIDE TEMP
Controls and features
45
Page 74 of 216
SEATING
Adjustable head restraints (if equipped)
Your vehicle's seats may be equipped with head restraints which are
vertically adjustable. The purpose of these head restraints is to help limit
head motion in the event of a rear collision. To properly adjust your head
restraints, lift the head restraint so that it is located directly behind your
head or as close to that position as possible. Refer to the following to
raise and lower the head restraints.
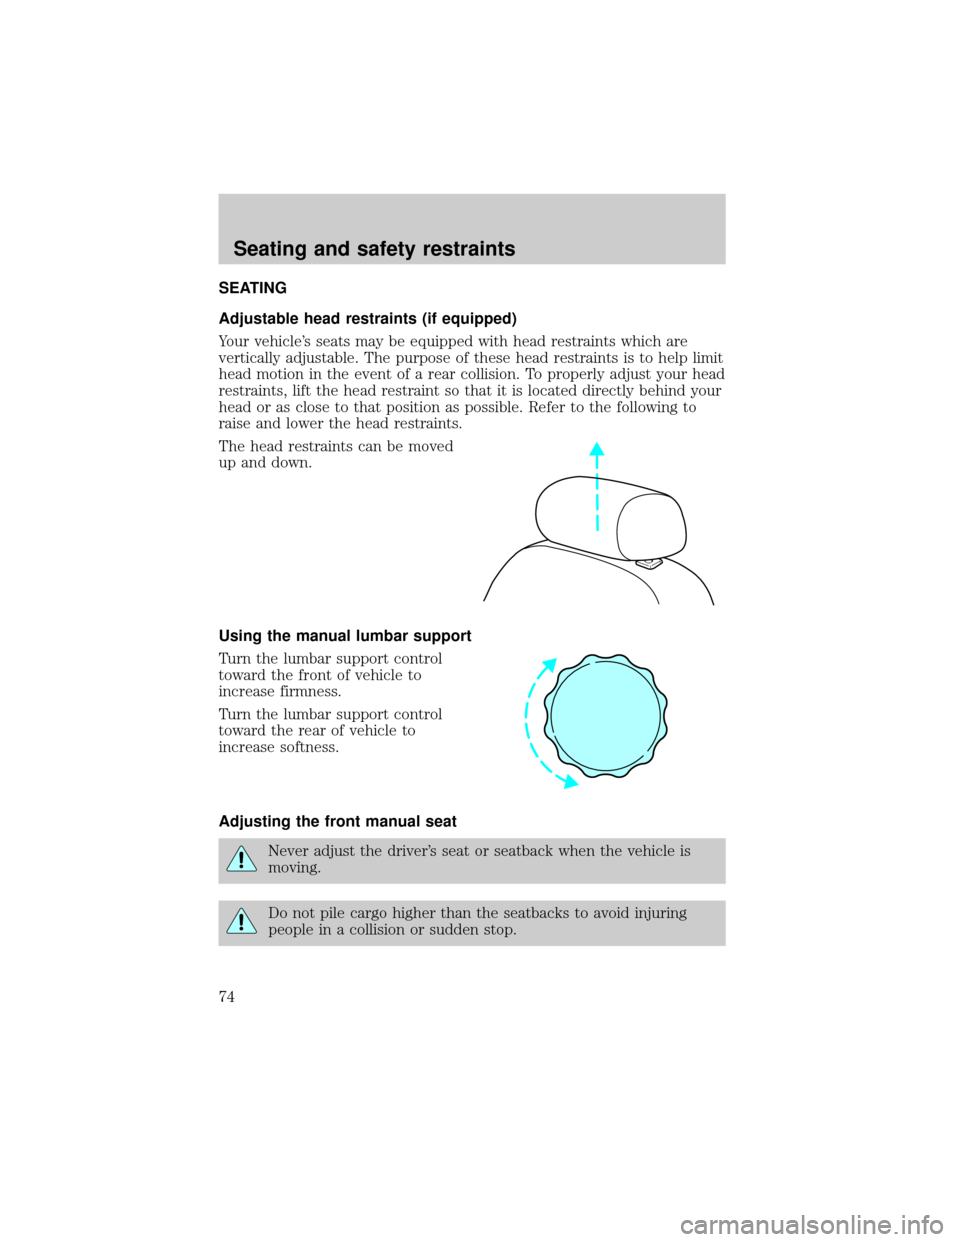
The head restraints can be moved
up and down.
Using the manual lumbar support
Turn the lumbar support control
toward the front of vehicle to
increase firmness.
Turn the lumbar support control
toward the rear of vehicle to
increase softness.
Adjusting the front manual seat
Never adjust the driver's seat or seatback when the vehicle is
moving.
Do not pile cargo higher than the seatbacks to avoid injuring
people in a collision or sudden stop.
Seating and safety restraints
74
Page 77 of 216
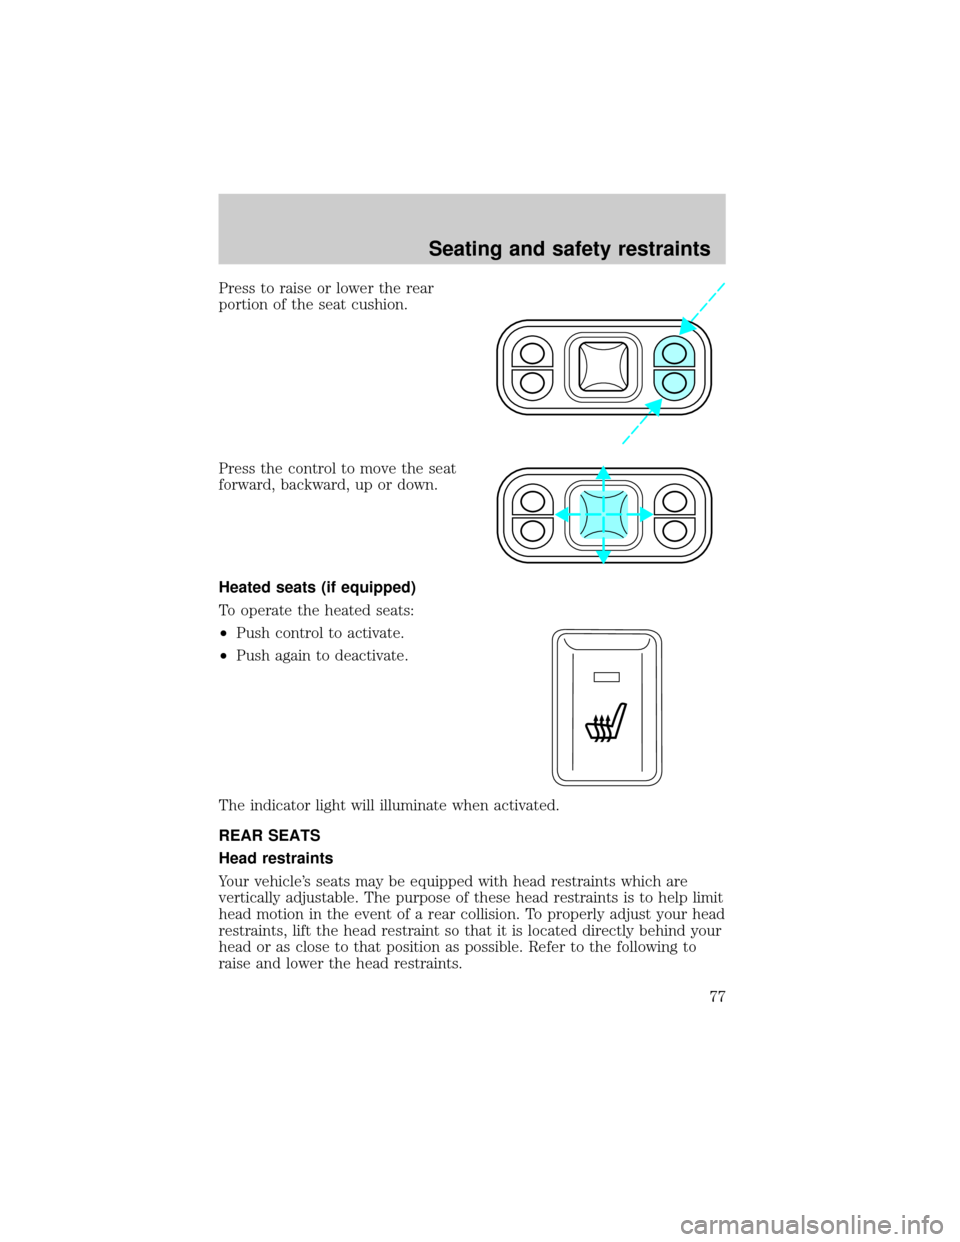
Press to raise or lower the rear
portion of the seat cushion.
Press the control to move the seat
forward, backward, up or down.
Heated seats (if equipped)
To operate the heated seats:
²Push control to activate.
²Push again to deactivate.
The indicator light will illuminate when activated.
REAR SEATS
Head restraints
Your vehicle's seats may be equipped with head restraints which are
vertically adjustable. The purpose of these head restraints is to help limit
head motion in the event of a rear collision. To properly adjust your head
restraints, lift the head restraint so that it is located directly behind your
head or as close to that position as possible. Refer to the following to
raise and lower the head restraints.
Seating and safety restraints
77
Page 78 of 216
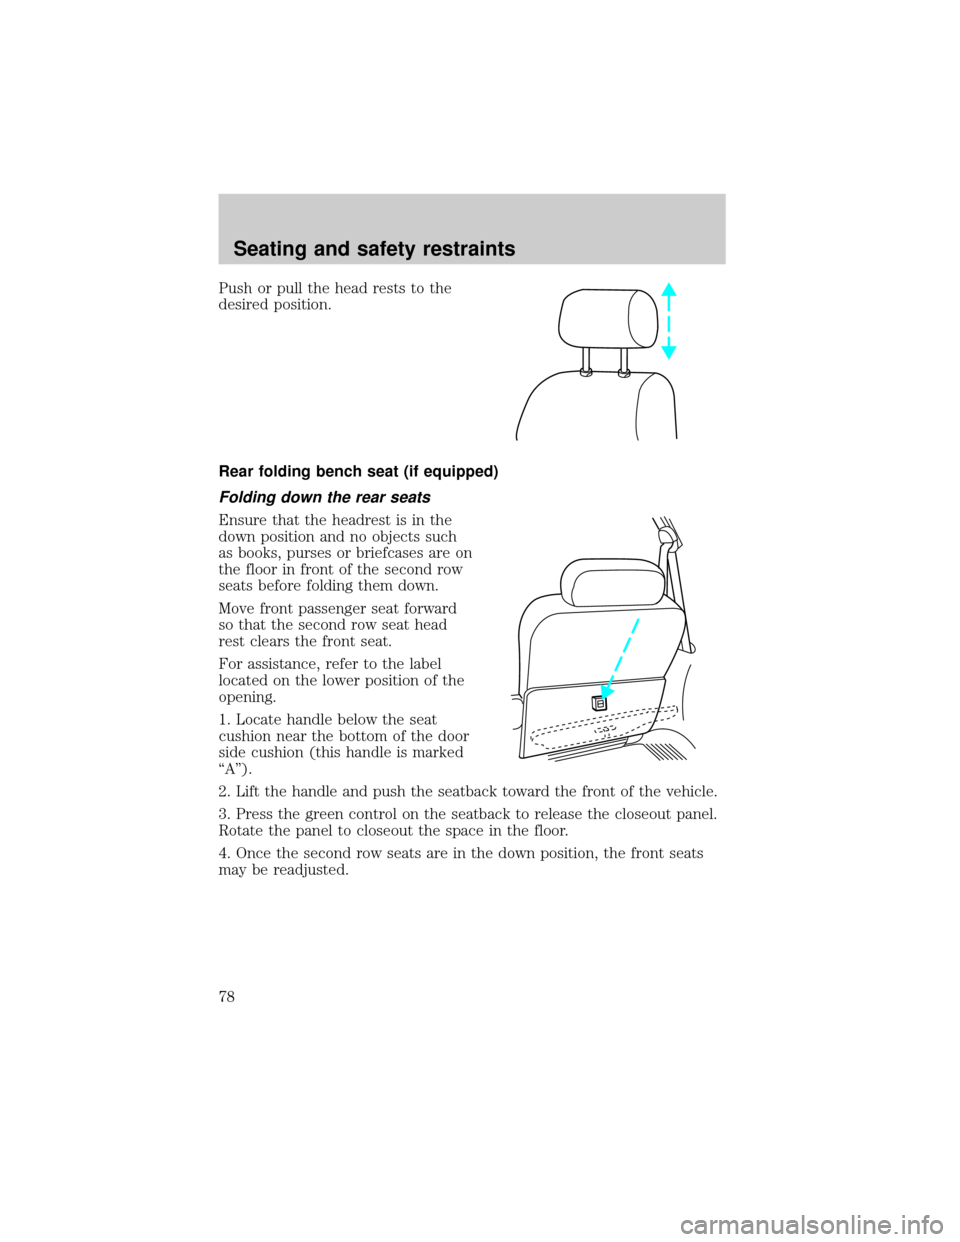
Push or pull the head rests to the
desired position.
Rear folding bench seat (if equipped)
Folding down the rear seats
Ensure that the headrest is in the
down position and no objects such
as books, purses or briefcases are on
the floor in front of the second row
seats before folding them down.
Move front passenger seat forward
so that the second row seat head
rest clears the front seat.
For assistance, refer to the label
located on the lower position of the
opening.
1. Locate handle below the seat
cushion near the bottom of the door
side cushion (this handle is marked
ªAº).
2. Lift the handle and push the seatback toward the front of the vehicle.
3. Press the green control on the seatback to release the closeout panel.
Rotate the panel to closeout the space in the floor.
4. Once the second row seats are in the down position, the front seats
may be readjusted.
Seating and safety restraints
78
Page 80 of 216
Third row seat
The third row seat is equipped with combination lap and shoulder belts
in the outboard seating positions and a manual adjust tongue lap belt in
the center seating position. For information on the proper operation of
the safety restraints, refer toSafety Restraintsin this chapter.
The third row seat may be removed from the vehicle for additional cargo
space.
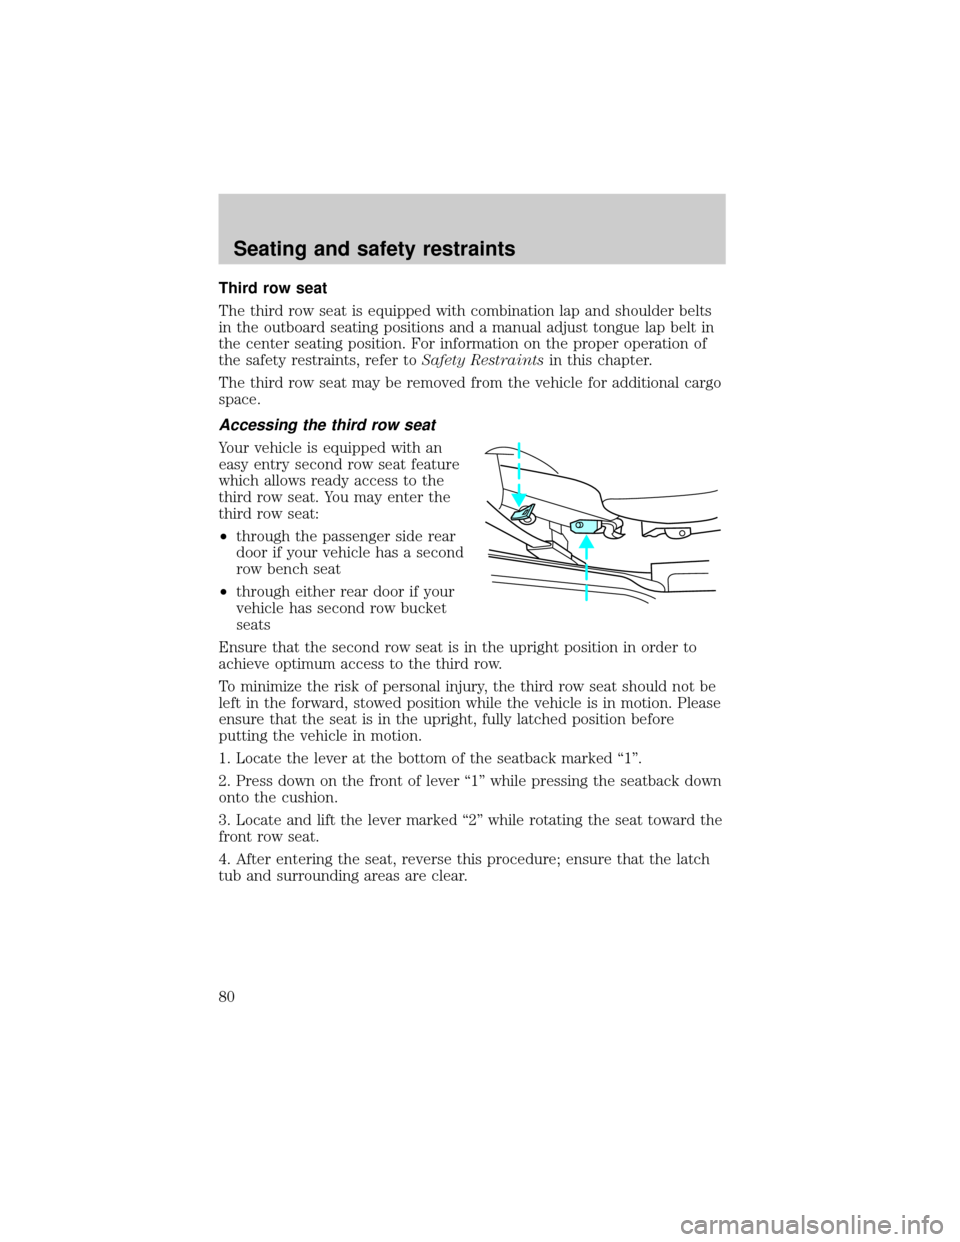
Accessing the third row seat
Your vehicle is equipped with an
easy entry second row seat feature
which allows ready access to the
third row seat. You may enter the
third row seat:
²through the passenger side rear
door if your vehicle has a second
row bench seat
²through either rear door if your
vehicle has second row bucket
seats
Ensure that the second row seat is in the upright position in order to
achieve optimum access to the third row.
To minimize the risk of personal injury, the third row seat should not be
left in the forward, stowed position while the vehicle is in motion. Please
ensure that the seat is in the upright, fully latched position before
putting the vehicle in motion.
1. Locate the lever at the bottom of the seatback marked ª1º.
2. Press down on the front of lever ª1º while pressing the seatback down
onto the cushion.
3. Locate and lift the lever marked ª2º while rotating the seat toward the
front row seat.
4. After entering the seat, reverse this procedure; ensure that the latch
tub and surrounding areas are clear.
Seating and safety restraints
80
Page 84 of 216
It is extremely dangerous to ride in a cargo area, inside or
outside of a vehicle. In a collision, people riding in these areas
are more likely to be seriously injured or killed. Do not allow people to
ride in any area of your vehicle that is not equipped with seats and
safety belts. Be sure everyone in your vehicle is in a seat and using a
safety belt properly.
Each seating position in your vehicle has a specific safety belt
assembly which is made up of one buckle and one tongue that
are designed to be used as a pair. 1) Use the shoulder belt on the
outside shoulder only. Never wear the shoulder belt under the arm. 2)
Never swing the safety belt around your neck over the inside shoulder.
3) Never use a single belt for more than one person.
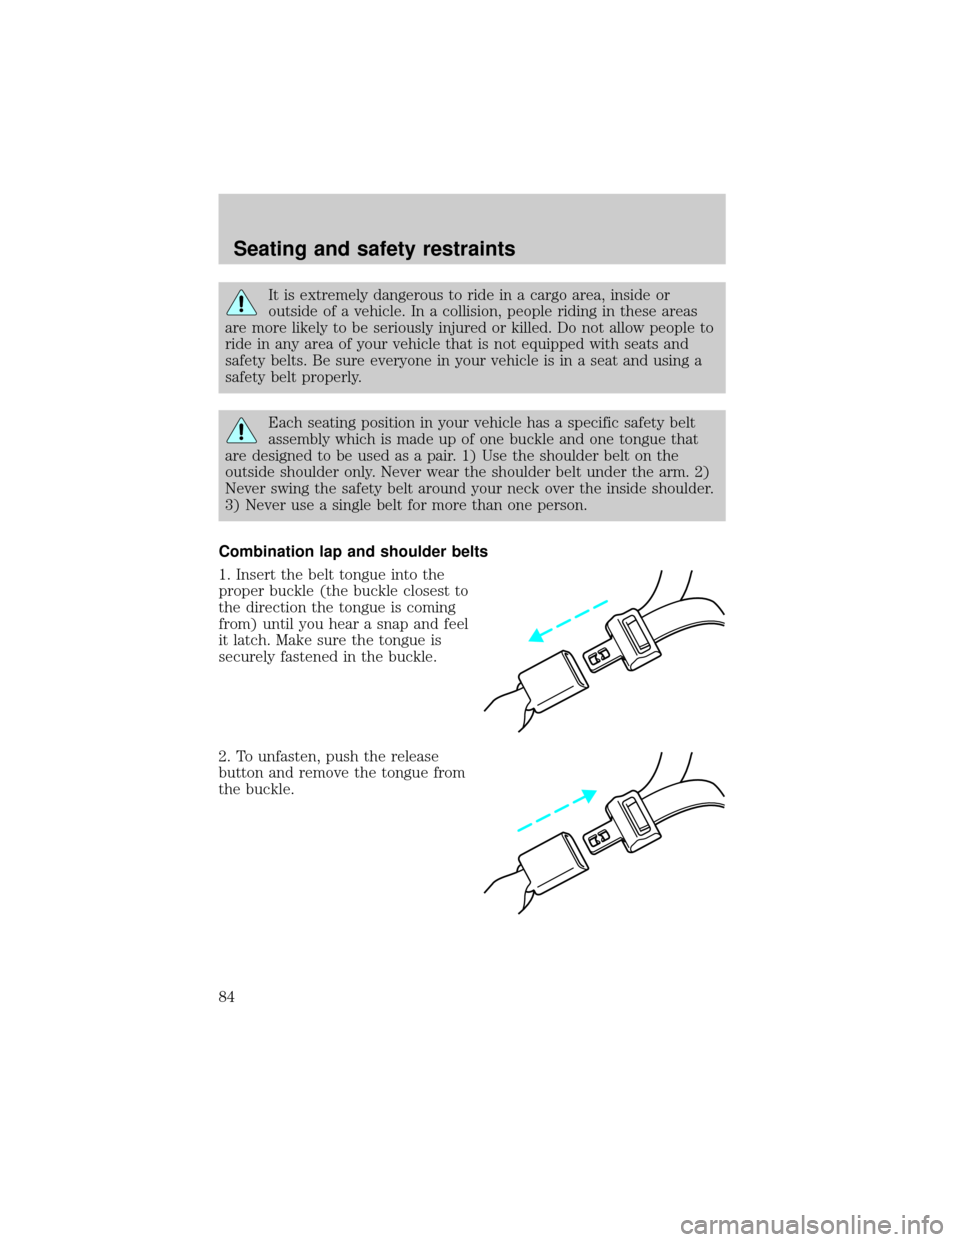
Combination lap and shoulder belts
1. Insert the belt tongue into the
proper buckle (the buckle closest to
the direction the tongue is coming
from) until you hear a snap and feel
it latch. Make sure the tongue is
securely fastened in the buckle.
2. To unfasten, push the release
button and remove the tongue from
the buckle.
Seating and safety restraints
84
Page 85 of 216
The front and rear outboard safety restraints in the vehicle are
combination lap and shoulder belts. The front and rear seat passenger
outboard safety belts have two types of locking modes described below:
Vehicle sensitive mode
The vehicle sensitive mode is the normal retractor mode, allowing free
shoulder belt length adjustment to your movements and locking in
response to vehicle movement. For example, if the driver brakes
suddenly or turns a corner sharply, or the vehicle receives an impact of
8 km/h (5 mph) or more, the combination safety belts will lock to help
reduce forward movement of the driver and passengers.
Automatic locking mode
In this mode, the shoulder belt is automatically pre-locked. The belt will
still retract to remove any slack in the shoulder belt.
The automatic locking mode is not available on the driver safety belt.
When to use the automatic locking mode
²When a tight lap/shoulder fit is desired.
²Anytimea child safety seat is installed in a passenger front or
outboard rear seating position (if equipped). Refer toSafety
Restraints for ChildrenorSafety Seats for Childrenlater in this
chapter.
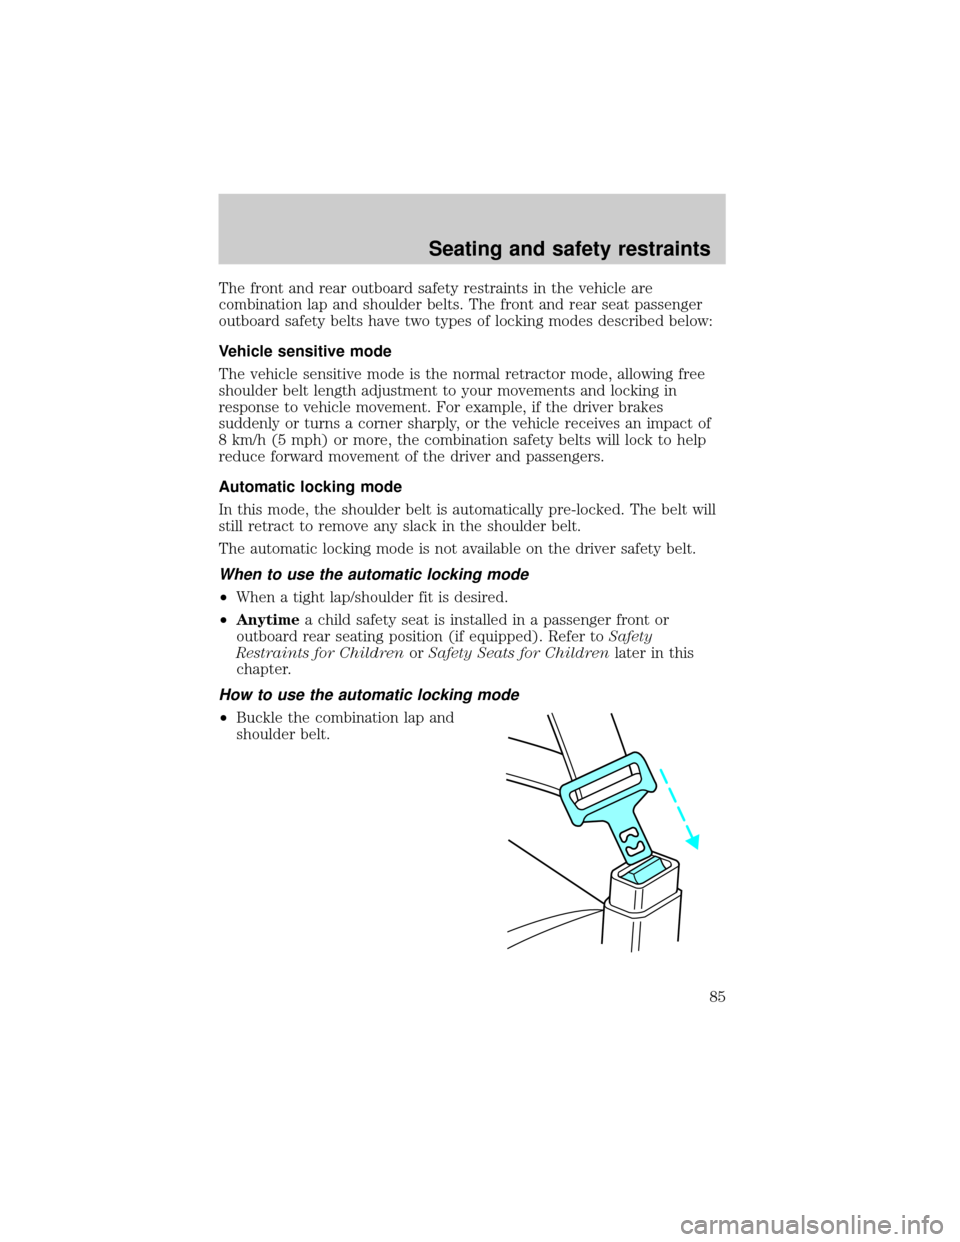
How to use the automatic locking mode
²Buckle the combination lap and
shoulder belt.
Seating and safety restraints
85
Page 93 of 216
Disposal of air bags and air bag equipped vehicles
For disposal of air bags or air bag equipped vehicles, see your local
dealership or qualified technician. Air bags MUST BE disposed of by
qualified personnel.
SAFETY RESTRAINTS FOR CHILDREN
See the following sections for directions on how to properly use safety
restraints for children. Also seeAir Bag Supplemental Restraint System
(SRS)in this chapter for special instructions about using air bags.
Important child restraint precautions
You are required by law to use safety restraints for children in the U.S.
and Canada. If small children ride in your vehicle (generally children who
are four years old or younger and who weigh 18 kg [40 lbs] or less), you
must put them in safety seats made especially for children. Check your
local and state or provincial laws for specific requirements regarding the
safety of children in your vehicle.
Never let a passenger hold a child on his or her lap while the
vehicle is moving. The passenger cannot protect the child from
injury in a collision.
Always follow the instructions and warnings that come with any infant or
child restraint you might use.
When possible, place children in the rear seat of your vehicle. Accident
statistics suggest that children are safer when properly restrained in the
rear seating positions than in the front seating position.
Children and safety belts
If the child is the proper size, restrain the child in a safety seat.
Children who are too large for child safety seats (as specified by your
child safety seat manufacturer) should always wear safety belts.
Follow all the important safety restraint and air bag precautions that
apply to adult passengers in your vehicle.
If the shoulder belt portion of a combination lap and shoulder belt can
be positioned so it does not cross or rest in front of the child's face or
neck, the child should wear the lap and shoulder belt. Moving the child
closer to the center of the vehicle may help provide a good shoulder belt
fit.
Seating and safety restraints
93