door lock FORD EXPEDITION 2000 1.G Owners Manual
[x] Cancel search | Manufacturer: FORD, Model Year: 2000, Model line: EXPEDITION, Model: FORD EXPEDITION 2000 1.GPages: 256, PDF Size: 2.08 MB
Page 5 of 256
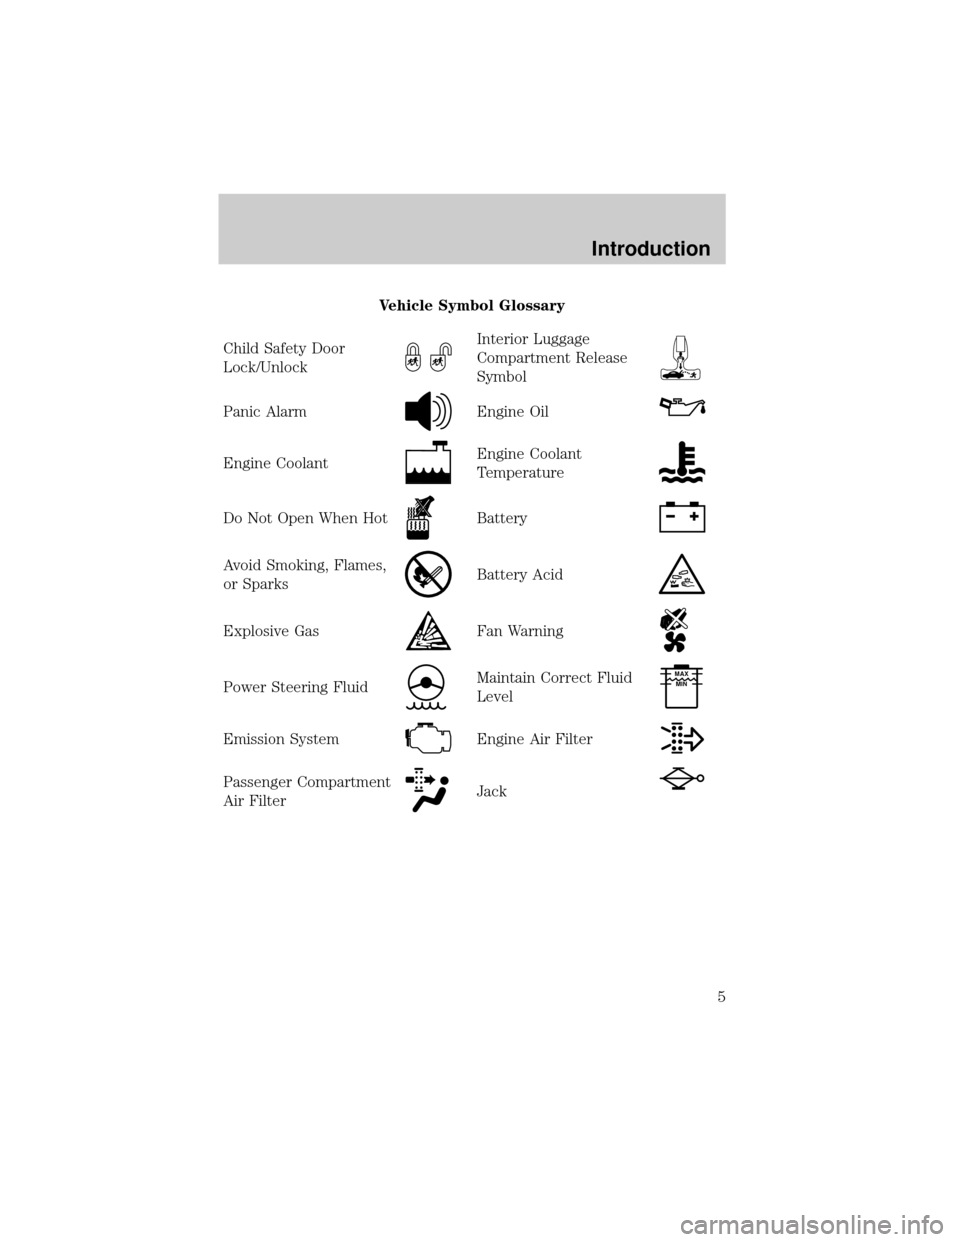
Vehicle Symbol Glossary
Child Safety Door
Lock/Unlock
Interior Luggage
Compartment Release
Symbol
Panic AlarmEngine Oil
Engine CoolantEngine Coolant
Temperature
Do Not Open When HotBattery
Avoid Smoking, Flames,
or SparksBattery Acid
Explosive GasFan Warning
Power Steering FluidMaintain Correct Fluid
LevelMAX
MIN
Emission SystemEngine Air Filter
Passenger Compartment
Air FilterJack
Introduction
5
Page 13 of 256
This light comes on when either the COAST/SET or RES/ACCEL controls
are pressed. It turns off when the cruise cancel control is pressed, the
brake is applied or the ignition is turned to the OFF position.
²Optional electronic instrument
cluster
The ªCRUISEº light comes on when
the ON control is pressed.
The ªSETº light comes on when either the COAST/SET or RES/ACCEL
controls are pressed. The ªSETº light turns off when the cruise cancel
control is pressed or the brake is applied. Both the ªCRUISEº and ªSETº
lights turn off when the OFF control is pressed or the ignition is turned
to the OFF position.
Safety belt warning chime
Sounds to remind you to fasten your safety belts.
For information on the safety belt warning chime, refer to theSeating
and safety restraintschapter.
Supplemental restraint system (SRS) warning chime
For information on the SRS warning chime, refer to theSeating and
safety restraintschapter.
Key-in-ignition warning chime
Sounds when the key is left in the ignition in the OFF/LOCK or ACC
position and the driver's door is opened.
Headlamps on warning chime
Sounds when the headlamps or parking lamps are on, the ignition is off
(and the key is not in the ignition) and the driver's door is opened.
CRUISE
Instrumentation
13
Page 35 of 256
Use the SEL control to select the
desired signal mode (the selected
mode will appear in the display).
The following signal modes can be
selected:
²JAZZ CLUBÐjazz club with
clearly reflected sounds.
²HALLÐrectangular concert hall capacity of about 2 000
²CHURCHÐchurch with a high vault.
²STADIUMÐoutdoor stadium with a capacity of about 30 000.
²NEWSЪvoice-onlyº type of sound with a limited audio band.
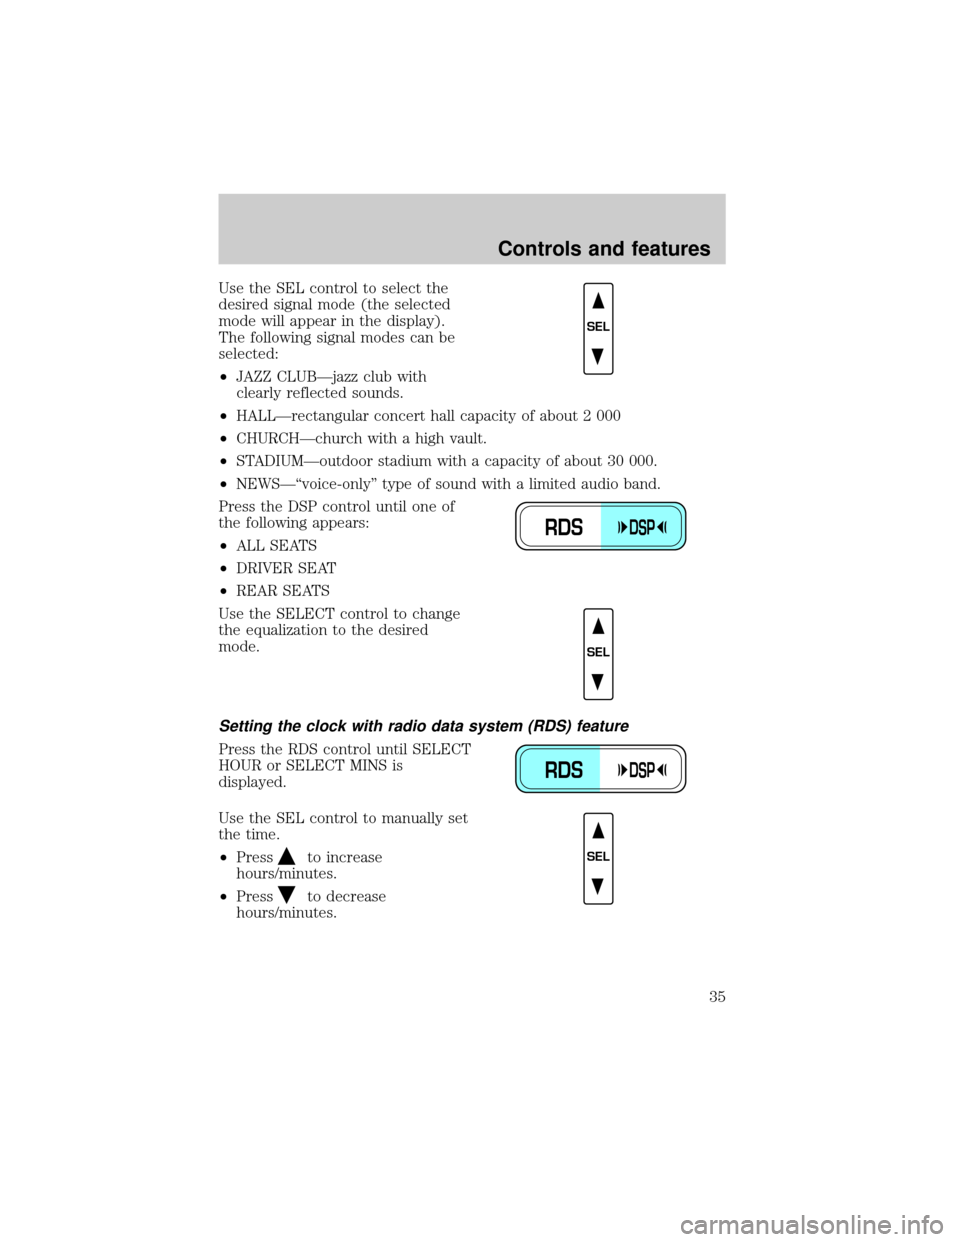
Press the DSP control until one of
the following appears:
²ALL SEATS
²DRIVER SEAT
²REAR SEATS
Use the SELECT control to change
the equalization to the desired
mode.
Setting the clock with radio data system (RDS) feature
Press the RDS control until SELECT
HOUR or SELECT MINS is
displayed.
Use the SEL control to manually set
the time.
²Press
to increase
hours/minutes.
²Press
to decrease
hours/minutes.
SEL
RDSDSP
SEL
RDSDSP
SEL
Controls and features
35
Page 76 of 256
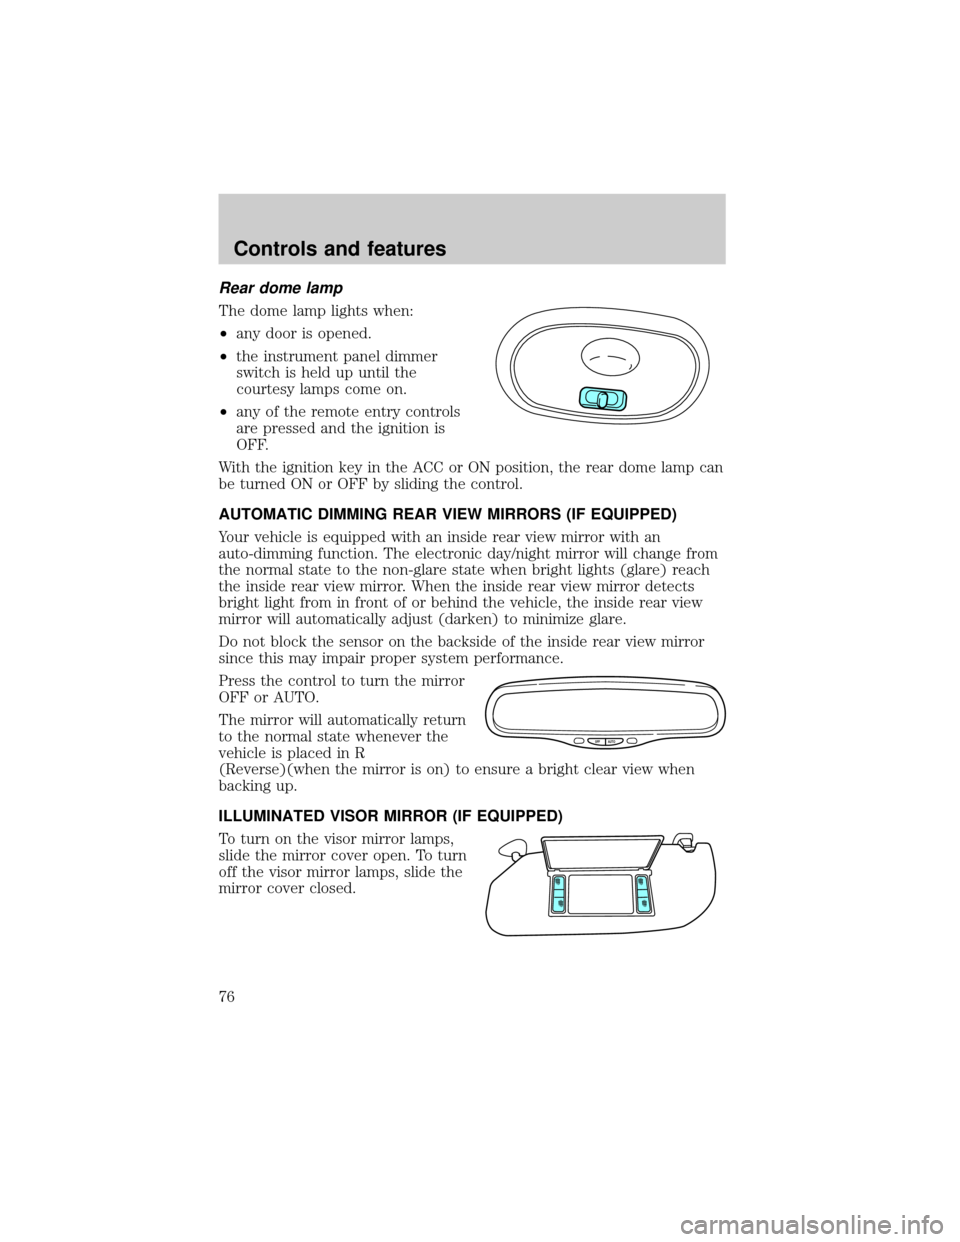
Rear dome lamp
The dome lamp lights when:
²any door is opened.
²the instrument panel dimmer
switch is held up until the
courtesy lamps come on.
²any of the remote entry controls
are pressed and the ignition is
OFF.
With the ignition key in the ACC or ON position, the rear dome lamp can
be turned ON or OFF by sliding the control.
AUTOMATIC DIMMING REAR VIEW MIRRORS (IF EQUIPPED)
Your vehicle is equipped with an inside rear view mirror with an
auto-dimming function. The electronic day/night mirror will change from
the normal state to the non-glare state when bright lights (glare) reach
the inside rear view mirror. When the inside rear view mirror detects
bright light from in front of or behind the vehicle, the inside rear view
mirror will automatically adjust (darken) to minimize glare.
Do not block the sensor on the backside of the inside rear view mirror
since this may impair proper system performance.
Press the control to turn the mirror
OFF or AUTO.
The mirror will automatically return
to the normal state whenever the
vehicle is placed in R
(Reverse)(when the mirror is on) to ensure a bright clear view when
backing up.
ILLUMINATED VISOR MIRROR (IF EQUIPPED)
To turn on the visor mirror lamps,
slide the mirror cover open. To turn
off the visor mirror lamps, slide the
mirror cover closed.
OFF AUTO
Controls and features
76
Page 78 of 256
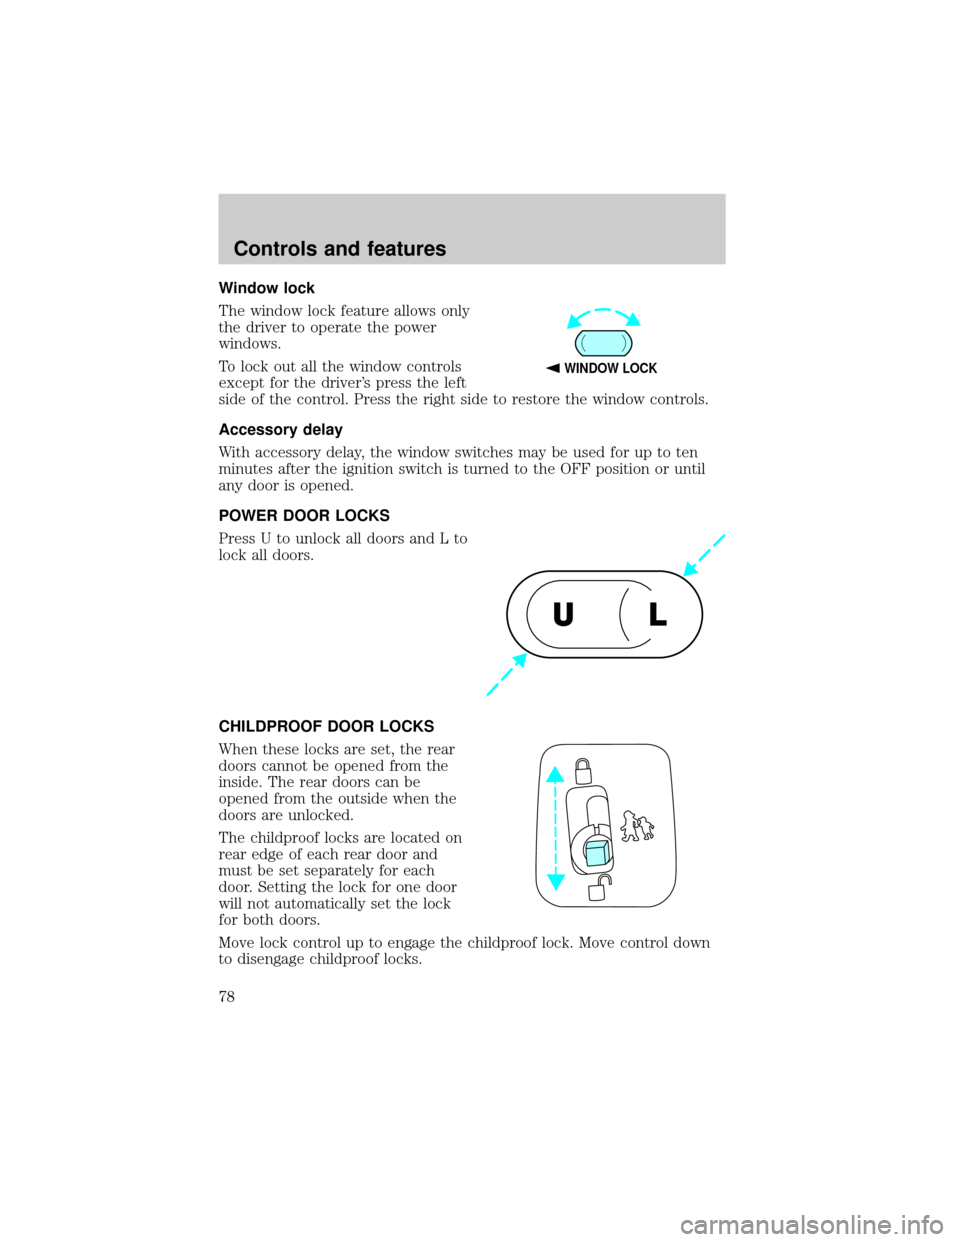
Window lock
The window lock feature allows only
the driver to operate the power
windows.
To lock out all the window controls
except for the driver's press the left
side of the control. Press the right side to restore the window controls.
Accessory delay
With accessory delay, the window switches may be used for up to ten
minutes after the ignition switch is turned to the OFF position or until
any door is opened.
POWER DOOR LOCKS
Press U to unlock all doors and L to
lock all doors.
CHILDPROOF DOOR LOCKS
When these locks are set, the rear
doors cannot be opened from the
inside. The rear doors can be
opened from the outside when the
doors are unlocked.
The childproof locks are located on
rear edge of each rear door and
must be set separately for each
door. Setting the lock for one door
will not automatically set the lock
for both doors.
Move lock control up to engage the childproof lock. Move control down
to disengage childproof locks.
WINDOW LOCK
UL
Controls and features
78
Page 81 of 256
Rear center console features (if equipped)
The rear center console incorporates the following features:
²utility compartment
²cupholders
POSITIVE RETENTION FLOOR MAT (IF EQUIPPED)
Position the floor mat so that the
eyelet is over the pointed end of the
retention post and rotate forward to
lock in. Make sure that the mat does
not interfere with the operation of
the accelerator or the brake pedal.
To remove the floor mat, reverse the
installation procedure.
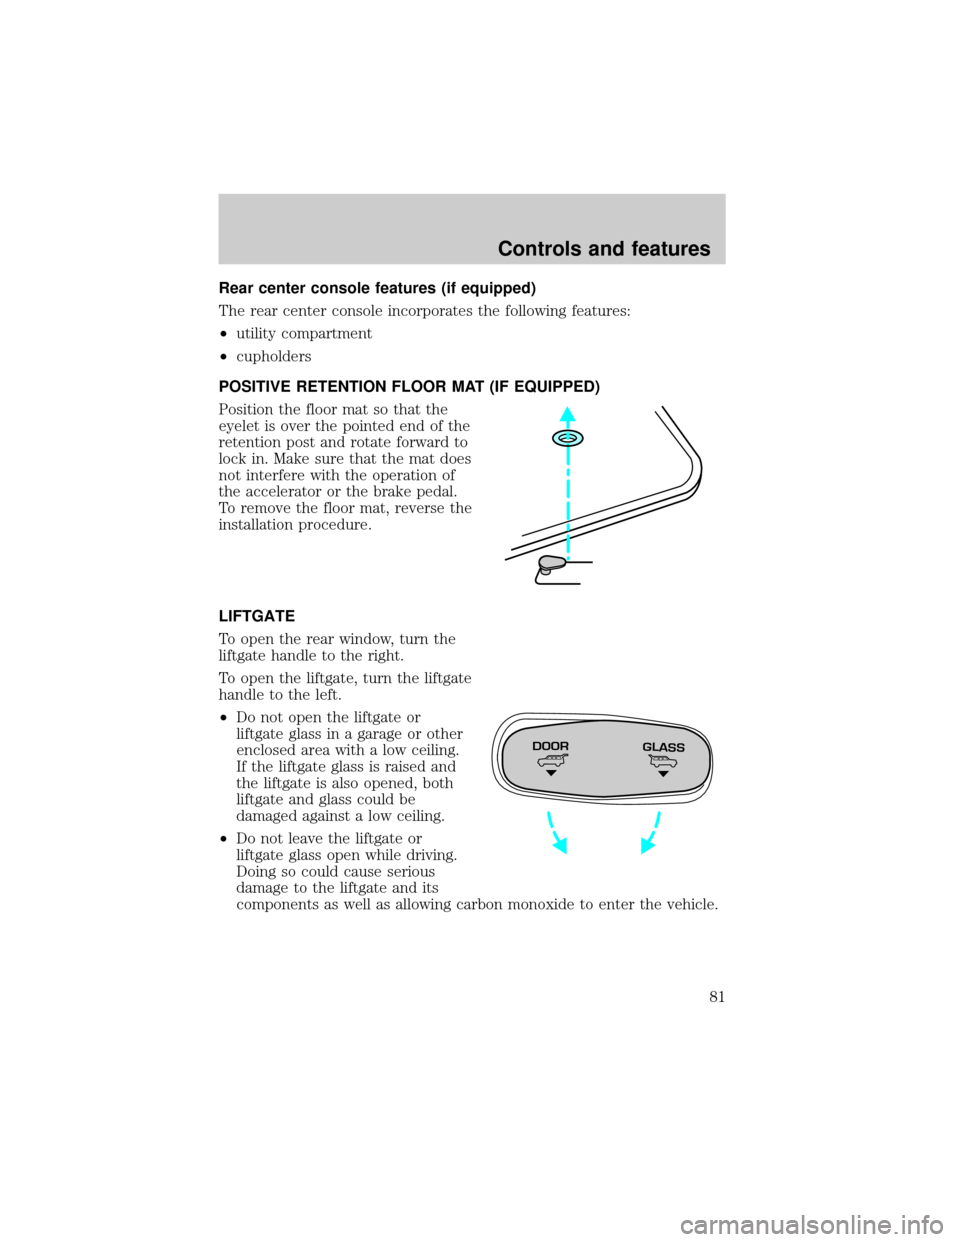
LIFTGATE
To open the rear window, turn the
liftgate handle to the right.
To open the liftgate, turn the liftgate
handle to the left.
²Do not open the liftgate or
liftgate glass in a garage or other
enclosed area with a low ceiling.
If the liftgate glass is raised and
the liftgate is also opened, both
liftgate and glass could be
damaged against a low ceiling.
²Do not leave the liftgate or
liftgate glass open while driving.
Doing so could cause serious
damage to the liftgate and its
components as well as allowing carbon monoxide to enter the vehicle.
DOORGLASS
Controls and features
81
Page 82 of 256
Make sure that the liftgate door and/or window are closed to
prevent exhaust fumes from being drawn into the vehicle. This
will also prevent passengers and cargo from falling out. If you must
drive with the liftgate door or window open, keep the vents open so
outside air comes into the vehicle.
SECURILOCKYPASSIVE ANTI-THEFT SYSTEM
Your vehicle is equipped with a coded-key anti-theft system. Only the
correct keywill be able to start your vehicle. If your keys are lost or
stolen, you must take your vehicle to your dealership for key
reprogramming.
This system provides an advanced level of vehicle theft protection. Your
vehicle's engine can only be started with the two coded keys provided
with your vehicle. Each time you start your vehicle, the coded key is
read by the anti-theft system. If the key identification code matches the
code stored in the anti-theft system, the vehicle's engine is allowed to
start. If the key identification code does not match the code stored in
the system or if a coded key is not detected (vehicle theft situation), the
vehicle's engine will not operate.
If there is any anti-theft problem with your vehicle, ensureALL coded
keysfor that vehicle are brought to the dealership, to aid in
troubleshooting.
The SecuriLockypassive anti-theft system is not compatible with
aftermarket remote start systems. Use of these systems may result in
vehicle starting problems and a loss of security protection. Large metallic
objects, electronic devices on the key chain that can be used to purchase
gasoline or similar items, or a second key on the same key ring as the
PATS ignition key may cause vehicle starting concern and record DTC's
under certain conditions. If present, you need to keep these objects from
touching the PATS ignition key while starting the engine. These objects
and devices cannot damage the PATS ignition key, but can cause a
momentary concern if they are too close to the key during engine start.
If a problem occurs, turn ignition OFF and restart the engine with all
other objects on the key ring held away from the ignition key. Check to
make sure the encoded ignition key is an approved Ford encoded
ignition key.
Controls and features
82
Page 84 of 256

2. Turn ignition to OFF and remove the first coded key from the ignition.
3. Within five seconds of turning the ignition to OFF, insert the second
previously programmed coded key into the ignition and turn the ignition
from OFF to ON (maintain ignition in ON for at least one second but no
more than five seconds).
4. Turn the ignition to OFF and remove the second coded key from the
ignition.
5. Within 10 seconds of turning the ignition to OFF, insert the new
unprogrammed key (new key/valet key) into the ignition and turn the
ignition from OFF to ON (maintain ignition in ON for at least one
second). This step will program your new key to a coded key.
6. To program additional new unprogrammed key(s), repeat this
procedure from step 1.
If the programming procedure was successful, the new coded key(s) will
start the vehicle's engine. The theft indicator (located on the instrument
panel) will light for three seconds and then go out.
If the programming procedure was not successful, the new coded key(s)
will not operate the vehicle's engine. The theft indicator will flash on and
off. Wait at least one minute and then repeat the procedure from step 1.
If failure repeats, bring your vehicle to your dealership to have the new
spare key(s) programmed.
REMOTE ENTRY SYSTEM
Your vehicle is equipped with a remote entry system which allows you to:
²unlock the vehicle doors without a key.
²lock all the vehicle doors without a key.
²activate the personal alarm.
The remote entry features only operate with the ignition in the OFF
position.
If there is any potential remote keyless entry problem with your vehicle,
ensureALL key fobs(remote entry transmitters) are brought to the
dealership, to aid in troubleshooting.
Controls and features
84
Page 85 of 256
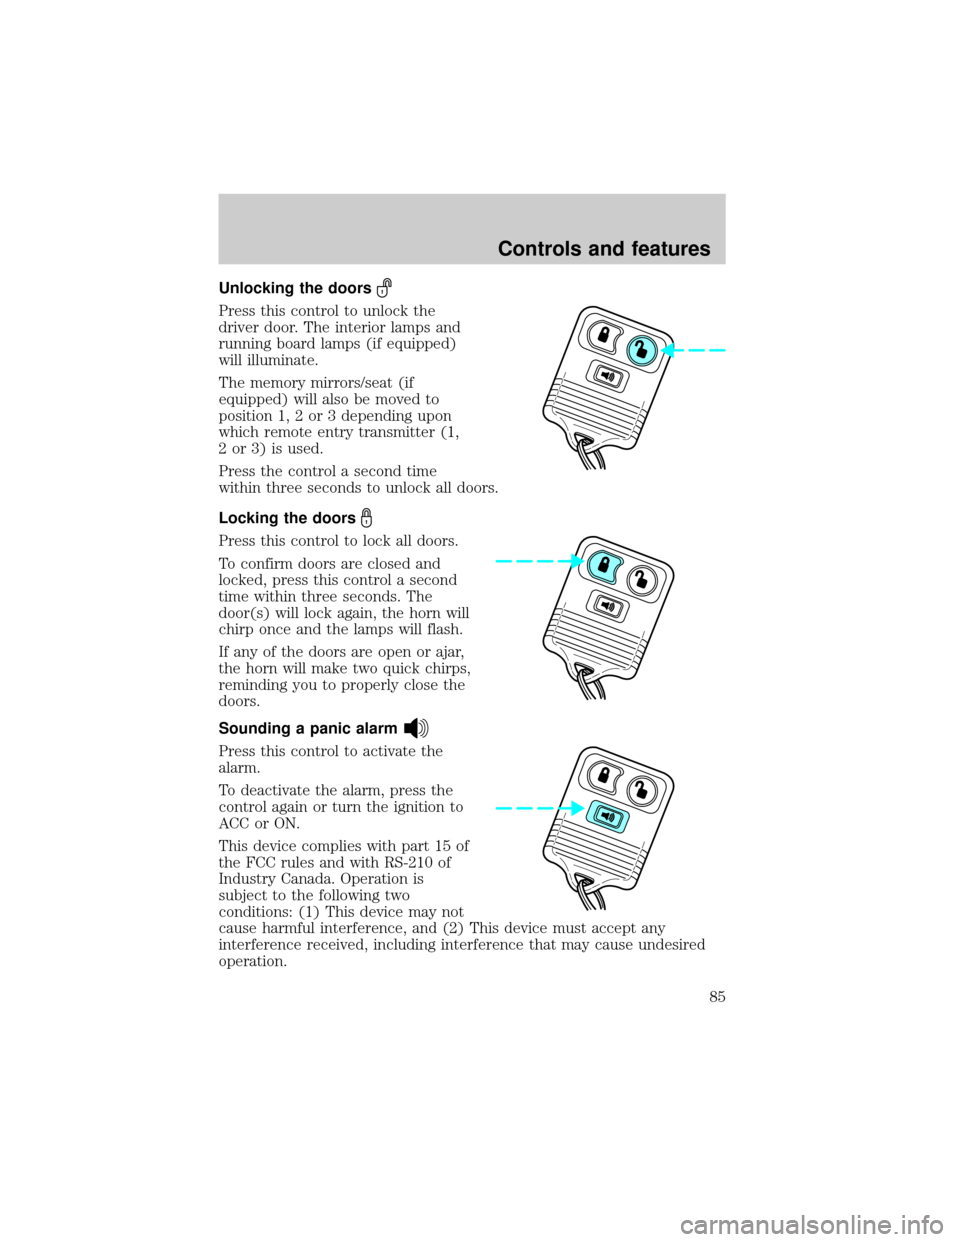
Unlocking the doors
Press this control to unlock the
driver door. The interior lamps and
running board lamps (if equipped)
will illuminate.
The memory mirrors/seat (if
equipped) will also be moved to
position 1, 2 or 3 depending upon
which remote entry transmitter (1,
2 or 3) is used.
Press the control a second time
within three seconds to unlock all doors.
Locking the doors
Press this control to lock all doors.
To confirm doors are closed and
locked, press this control a second
time within three seconds. The
door(s) will lock again, the horn will
chirp once and the lamps will flash.
If any of the doors are open or ajar,
the horn will make two quick chirps,
reminding you to properly close the
doors.
Sounding a panic alarm
Press this control to activate the
alarm.
To deactivate the alarm, press the
control again or turn the ignition to
ACC or ON.
This device complies with part 15 of
the FCC rules and with RS-210 of
Industry Canada. Operation is
subject to the following two
conditions: (1) This device may not
cause harmful interference, and (2) This device must accept any
interference received, including interference that may cause undesired
operation.
Controls and features
85
Page 87 of 256
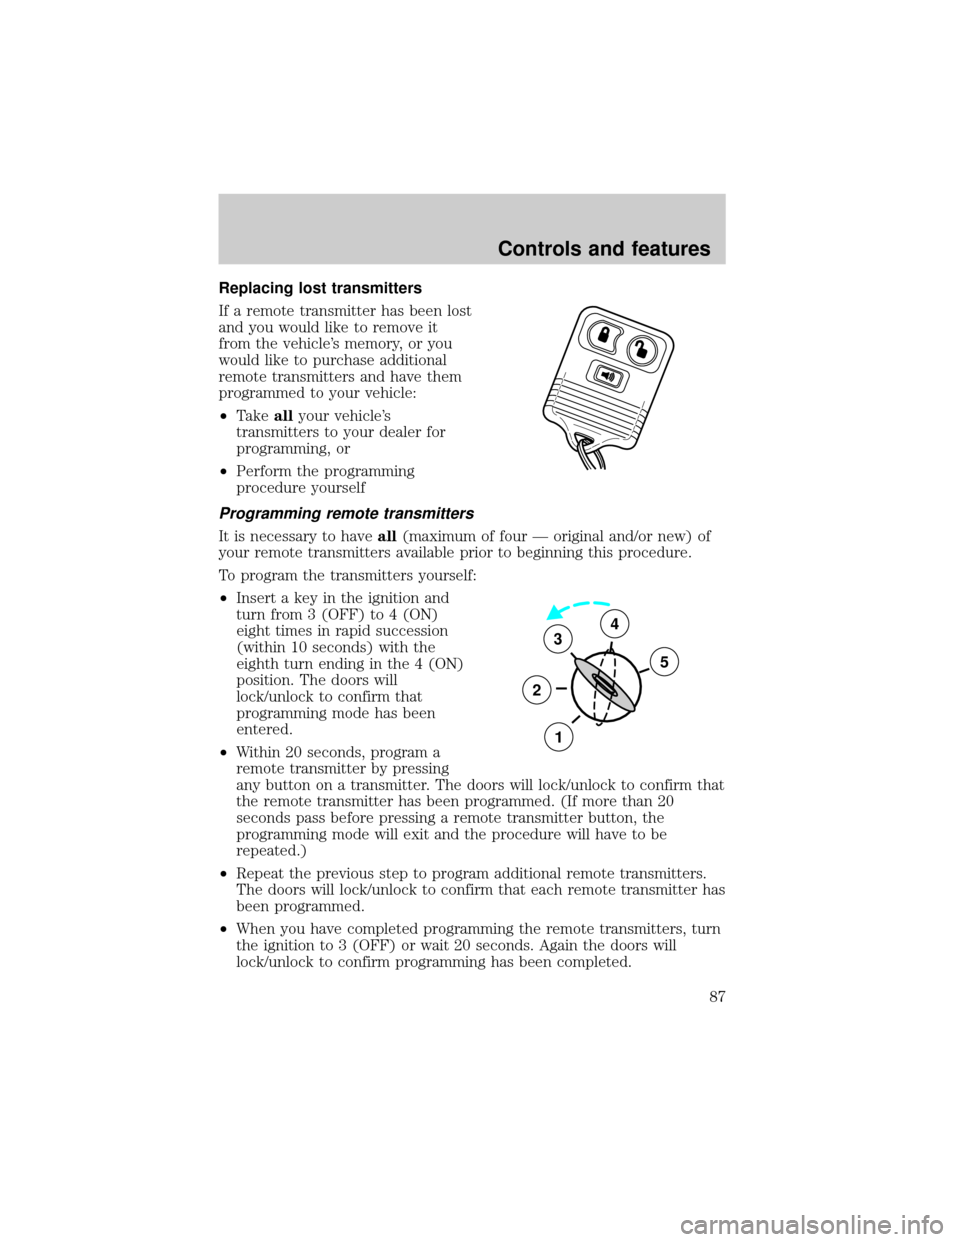
Replacing lost transmitters
If a remote transmitter has been lost
and you would like to remove it
from the vehicle's memory, or you
would like to purchase additional
remote transmitters and have them
programmed to your vehicle:
²Takeallyour vehicle's
transmitters to your dealer for
programming, or
²Perform the programming
procedure yourself
Programming remote transmitters
It is necessary to haveall(maximum of four Ð original and/or new) of
your remote transmitters available prior to beginning this procedure.
To program the transmitters yourself:
²Insert a key in the ignition and
turn from 3 (OFF) to 4 (ON)
eight times in rapid succession
(within 10 seconds) with the
eighth turn ending in the 4 (ON)
position. The doors will
lock/unlock to confirm that
programming mode has been
entered.
²Within 20 seconds, program a
remote transmitter by pressing
any button on a transmitter. The doors will lock/unlock to confirm that
the remote transmitter has been programmed. (If more than 20
seconds pass before pressing a remote transmitter button, the
programming mode will exit and the procedure will have to be
repeated.)
²Repeat the previous step to program additional remote transmitters.
The doors will lock/unlock to confirm that each remote transmitter has
been programmed.
²When you have completed programming the remote transmitters, turn
the ignition to 3 (OFF) or wait 20 seconds. Again the doors will
lock/unlock to confirm programming has been completed.
3
2
1
5
4
Controls and features
87