ECO mode FORD EXPEDITION 2001 1.G Owners Manual
[x] Cancel search | Manufacturer: FORD, Model Year: 2001, Model line: EXPEDITION, Model: FORD EXPEDITION 2001 1.GPages: 280, PDF Size: 1.79 MB
Page 11 of 280
What you should do if the Service Engine Soon light illuminates
Light turns on solid:
This means that the OBD II system has detected a malfunction.
Temporary malfunctions may cause yourService Engine Soonlight to
illuminate. Examples are:
1. The vehicle has run out of fuel. (The engine may misfire or run
poorly.)
2. Poor fuel quality or water in the fuel.
3. The fuel cap may not have been properly installed and securely
tightened.
These temporary malfunctions can be corrected by filling the fuel tank
with high quality fuel of the recommended octane and/or properly
installing and securely tightening the gas cap. After three driving cycles
without these or any other temporary malfunctions present, theService
Engine Soonlight should turn off. (A driving cycle consists of a cold
engine startup followed by mixed city/highway driving.) No additional
vehicle service is required.
If theService Engine Soonlight remains on, have your vehicle serviced
at the first available opportunity.
Light is blinking:
Engine misfire is occurring which could damage your catalytic converter.
You should drive in a moderate fashion (avoid heavy acceleration and
deceleration) and have your vehicle serviced at the first available
opportunity.
Under engine misfire conditions, excessive exhaust temperatures
could damage the catalytic converter, the fuel system, interior
floor coverings or other vehicle components, possibly causing a fire.
Air bag readiness
Momentarily illuminates when the
ignition is turned ON. If the light
fails to illuminate, continues to flash
or remains on, have the system
serviced immediately.
Instrumentation
11
Page 18 of 280
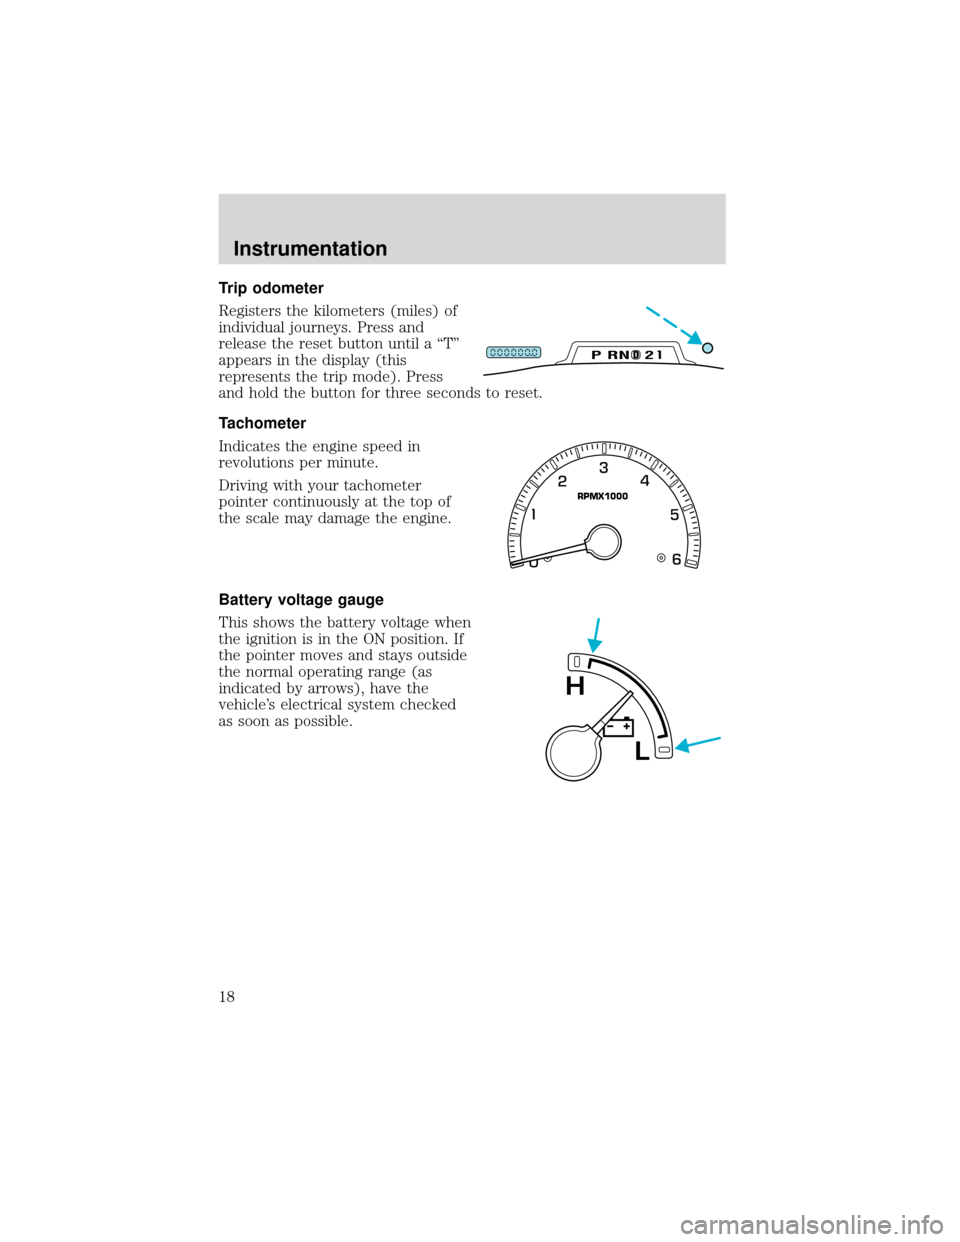
Trip odometer
Registers the kilometers (miles) of
individual journeys. Press and
release the reset button until a“T”
appears in the display (this
represents the trip mode). Press
and hold the button for three seconds to reset.
Tachometer
Indicates the engine speed in
revolutions per minute.
Driving with your tachometer
pointer continuously at the top of
the scale may damage the engine.
Battery voltage gauge
This shows the battery voltage when
the ignition is in the ON position. If
the pointer moves and stays outside
the normal operating range (as
indicated by arrows), have the
vehicle’s electrical system checked
as soon as possible.
DPRND2
RPMX1000
L
H
Instrumentation
18
Page 20 of 280
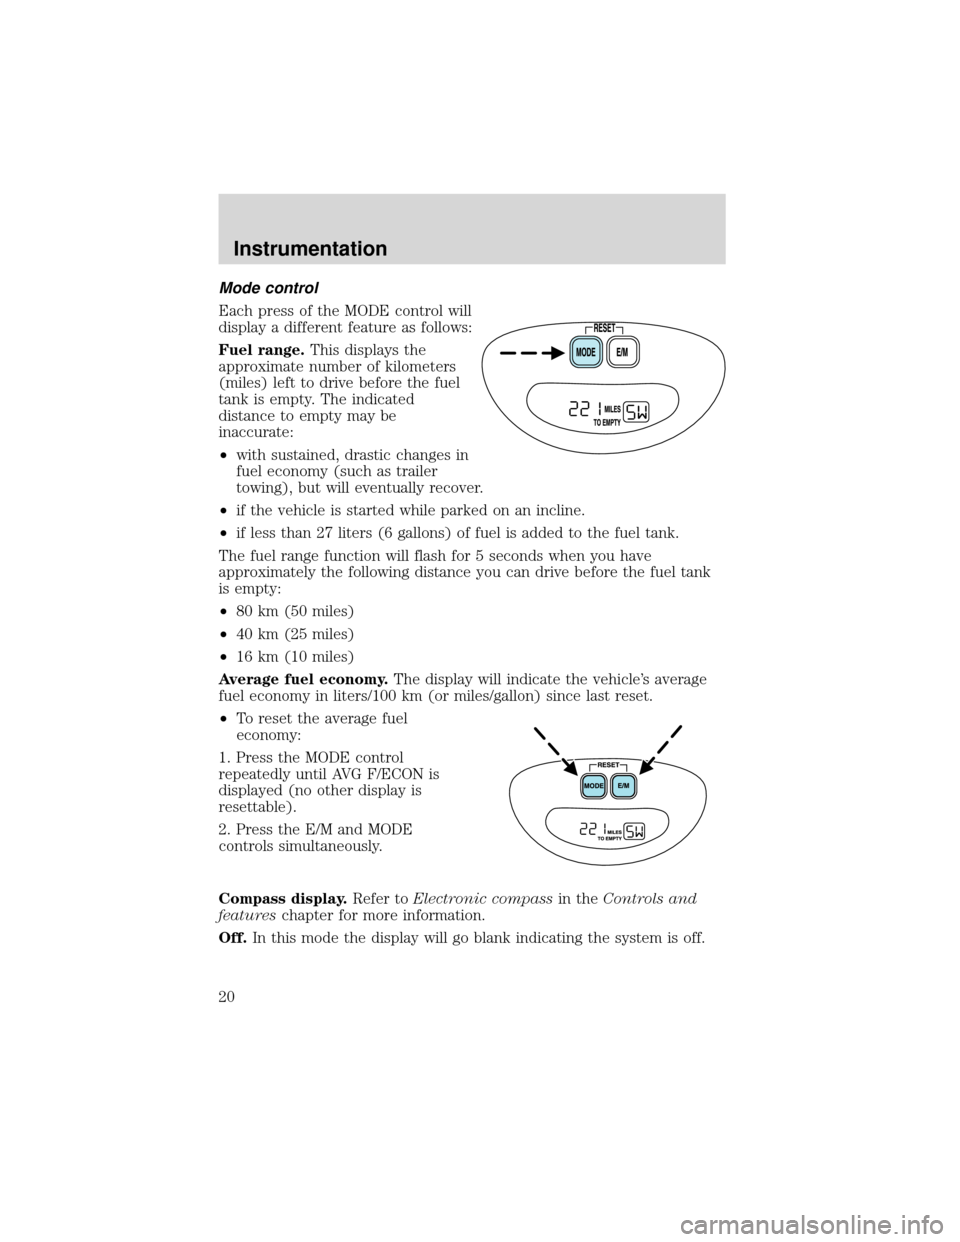
Mode control
Each press of the MODE control will
display a different feature as follows:
Fuel range.This displays the
approximate number of kilometers
(miles) left to drive before the fuel
tank is empty. The indicated
distance to empty may be
inaccurate:
•with sustained, drastic changes in
fuel economy (such as trailer
towing), but will eventually recover.
•if the vehicle is started while parked on an incline.
•if less than 27 liters (6 gallons) of fuel is added to the fuel tank.
The fuel range function will flash for 5 seconds when you have
approximately the following distance you can drive before the fuel tank
is empty:
•80 km (50 miles)
•40 km (25 miles)
•16 km (10 miles)
Average fuel economy.The display will indicate the vehicle’s average
fuel economy in liters/100 km (or miles/gallon) since last reset.
•To reset the average fuel
economy:
1. Press the MODE control
repeatedly until AVG F/ECON is
displayed (no other display is
resettable).
2. Press the E/M and MODE
controls simultaneously.
Compass display.Refer toElectronic compassin theControls and
featureschapter for more information.
Off.In this mode the display will go blank indicating the system is off.
Instrumentation
20
Page 27 of 280
Power outlets are designed
for accessory plugs only. Do
not hang any type of accessory or
accessory bracket from the plug.
Improper use of the power outlet
can cause damage not covered by
your warranty.
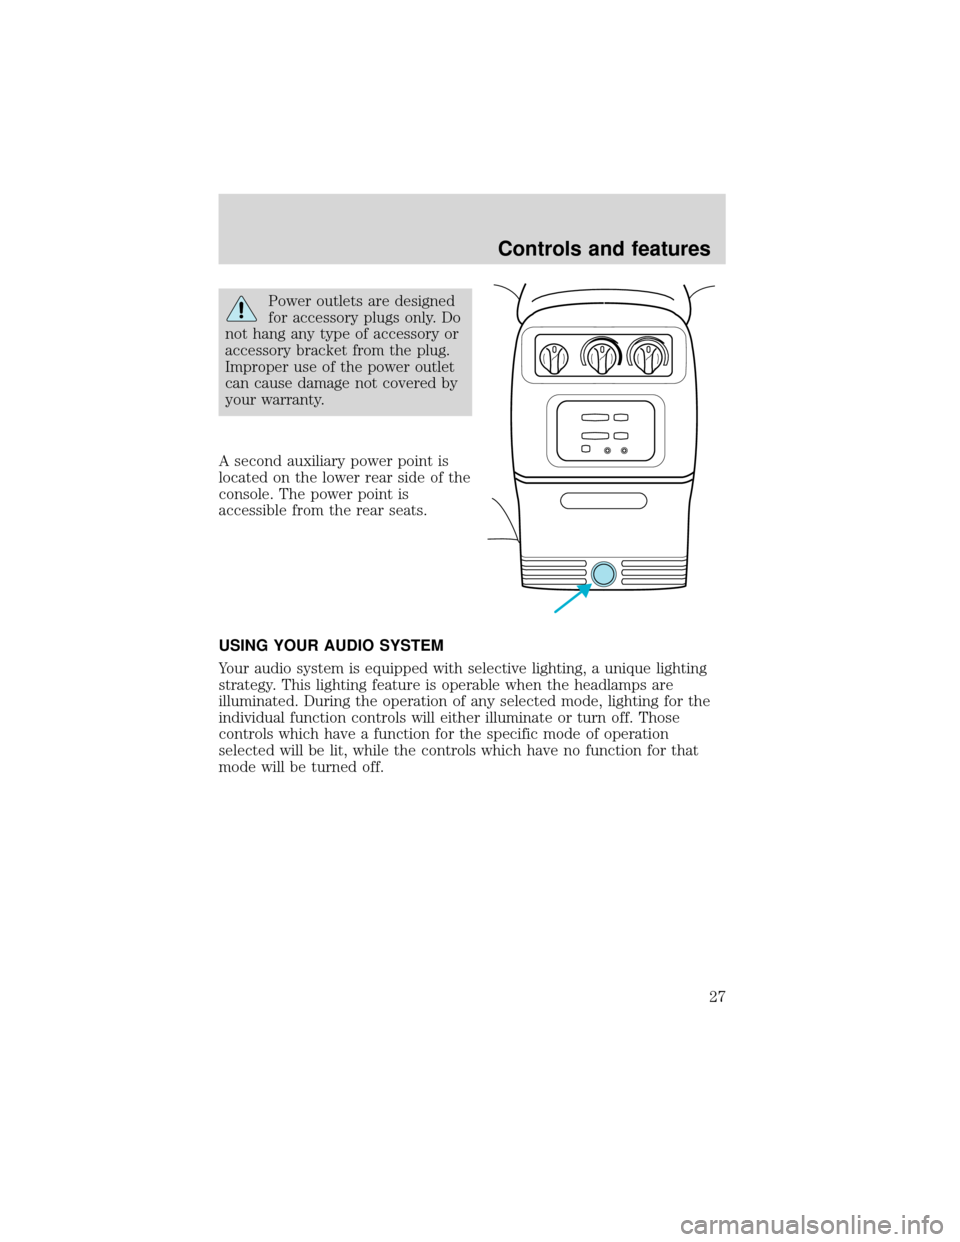
A second auxiliary power point is
located on the lower rear side of the
console. The power point is
accessible from the rear seats.
USING YOUR AUDIO SYSTEM
Your audio system is equipped with selective lighting, a unique lighting
strategy. This lighting feature is operable when the headlamps are
illuminated. During the operation of any selected mode, lighting for the
individual function controls will either illuminate or turn off. Those
controls which have a function for the specific mode of operation
selected will be lit, while the controls which have no function for that
mode will be turned off.
Controls and features
27
Page 31 of 280
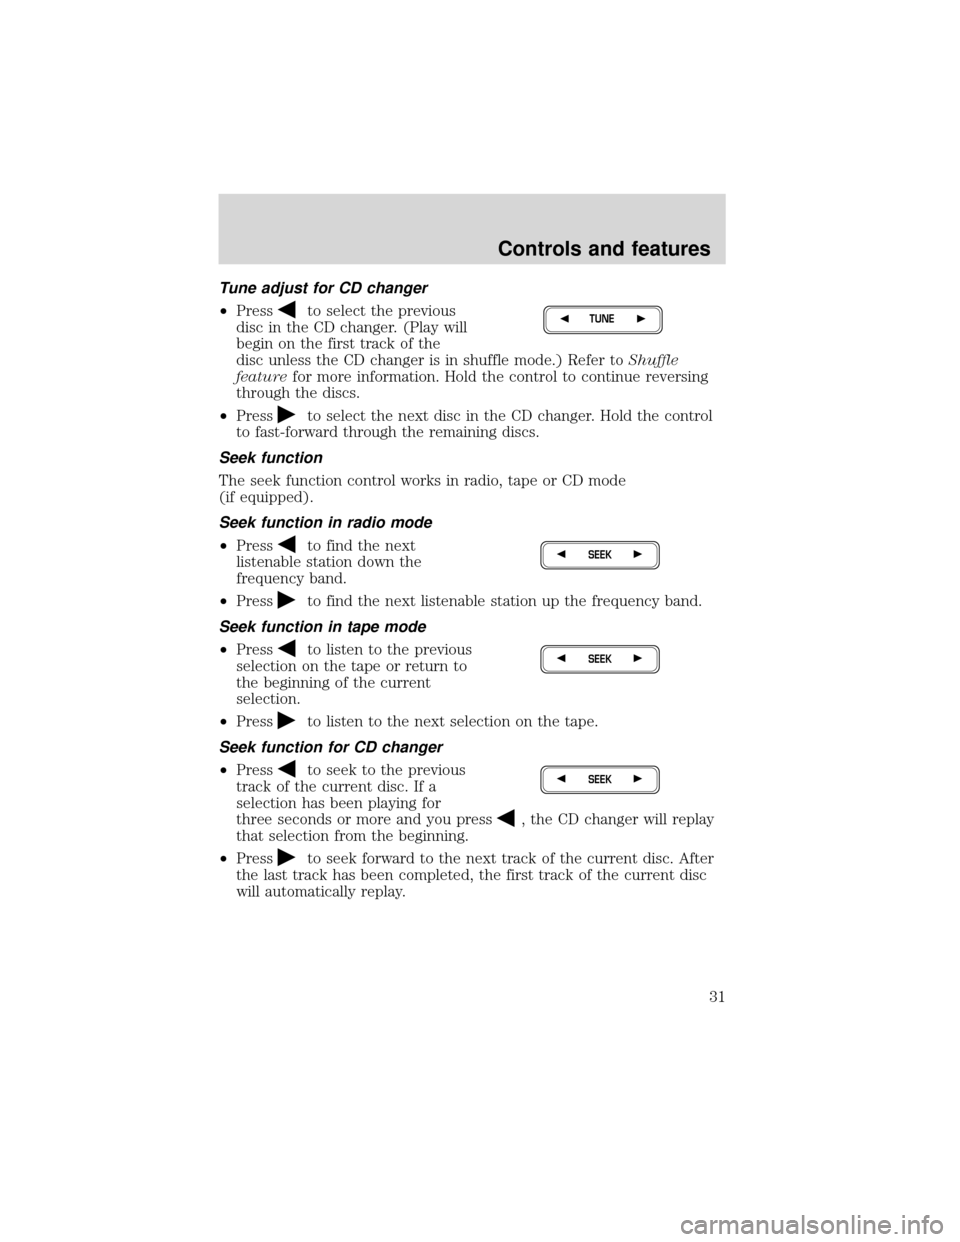
Tune adjust for CD changer
•Press
to select the previous
disc in the CD changer. (Play will
begin on the first track of the
disc unless the CD changer is in shuffle mode.) Refer toShuffle
featurefor more information. Hold the control to continue reversing
through the discs.
•Press
to select the next disc in the CD changer. Hold the control
to fast-forward through the remaining discs.
Seek function
The seek function control works in radio, tape or CD mode
(if equipped).
Seek function in radio mode
•Press
to find the next
listenable station down the
frequency band.
•Press
to find the next listenable station up the frequency band.
Seek function in tape mode
•Press
to listen to the previous
selection on the tape or return to
the beginning of the current
selection.
•Press
to listen to the next selection on the tape.
Seek function for CD changer
•Press
to seek to the previous
track of the current disc. If a
selection has been playing for
three seconds or more and you press
, the CD changer will replay
that selection from the beginning.
•Press
to seek forward to the next track of the current disc. After
the last track has been completed, the first track of the current disc
will automatically replay.
TUNE
SEEK
SEEK
SEEK
Controls and features
31
Page 35 of 280
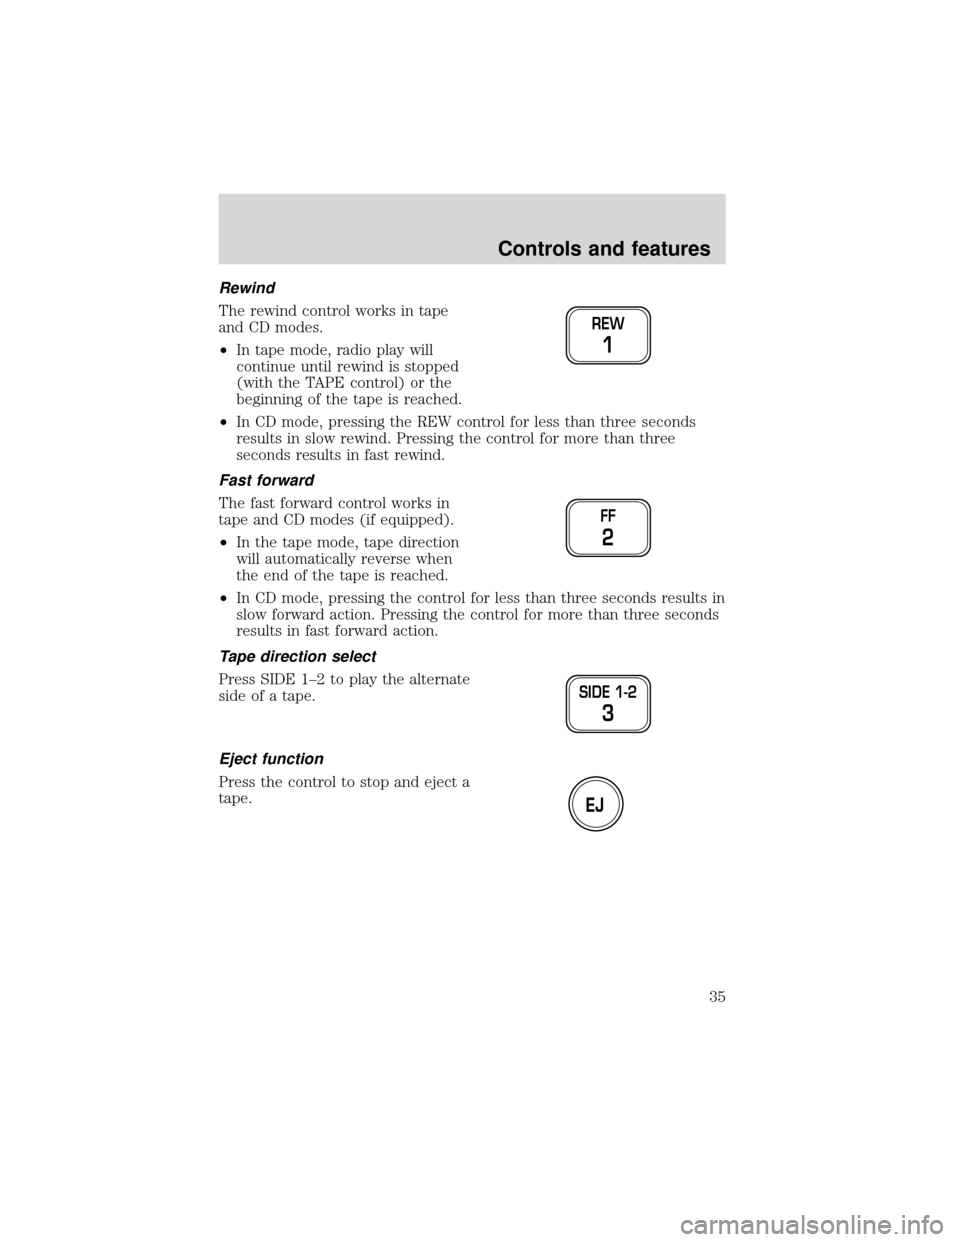
Rewind
The rewind control works in tape
and CD modes.
•In tape mode, radio play will
continue until rewind is stopped
(with the TAPE control) or the
beginning of the tape is reached.
•In CD mode, pressing the REW control for less than three seconds
results in slow rewind. Pressing the control for more than three
seconds results in fast rewind.
Fast forward
The fast forward control works in
tape and CD modes (if equipped).
•In the tape mode, tape direction
will automatically reverse when
the end of the tape is reached.
•In CD mode, pressing the control for less than three seconds results in
slow forward action. Pressing the control for more than three seconds
results in fast forward action.
Tape direction select
Press SIDE 1–2 to play the alternate
side of a tape.
Eject function
Press the control to stop and eject a
tape.
REW
1
FF
2
SIDE 1-2
3
EJ
Controls and features
35
Page 38 of 280
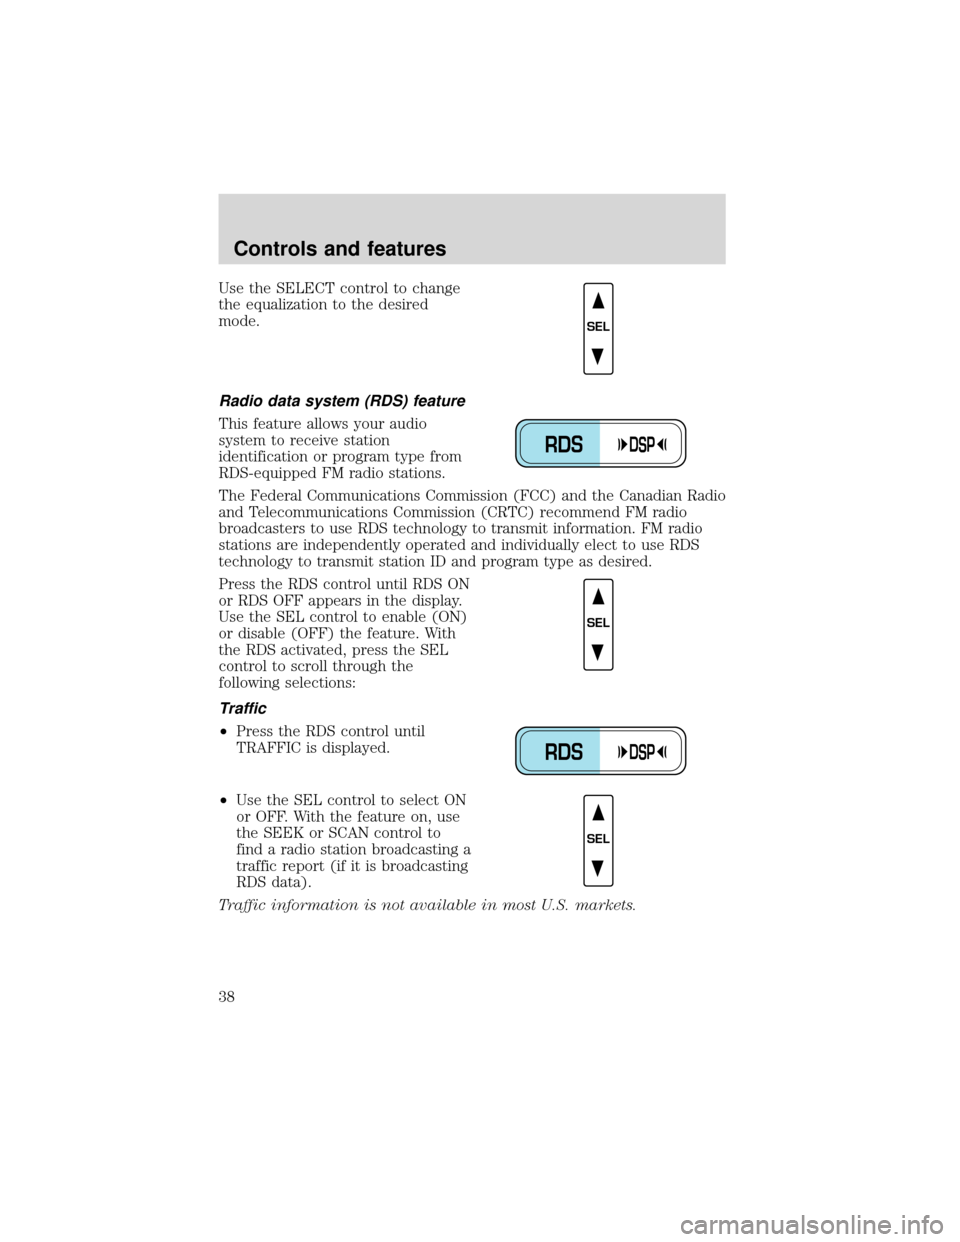
Use the SELECT control to change
the equalization to the desired
mode.
Radio data system (RDS) feature
This feature allows your audio
system to receive station
identification or program type from
RDS-equipped FM radio stations.
The Federal Communications Commission (FCC) and the Canadian Radio
and Telecommunications Commission (CRTC) recommend FM radio
broadcasters to use RDS technology to transmit information. FM radio
stations are independently operated and individually elect to use RDS
technology to transmit station ID and program type as desired.
Press the RDS control until RDS ON
or RDS OFF appears in the display.
Use the SEL control to enable (ON)
or disable (OFF) the feature. With
the RDS activated, press the SEL
control to scroll through the
following selections:
Traffic
•Press the RDS control until
TRAFFIC is displayed.
•Use the SEL control to select ON
or OFF. With the feature on, use
the SEEK or SCAN control to
find a radio station broadcasting a
traffic report (if it is broadcasting
RDS data).
Traffic information is not available in most U.S. markets.
SEL
RDSDSP
SEL
RDSDSP
SEL
Controls and features
38
Page 41 of 280
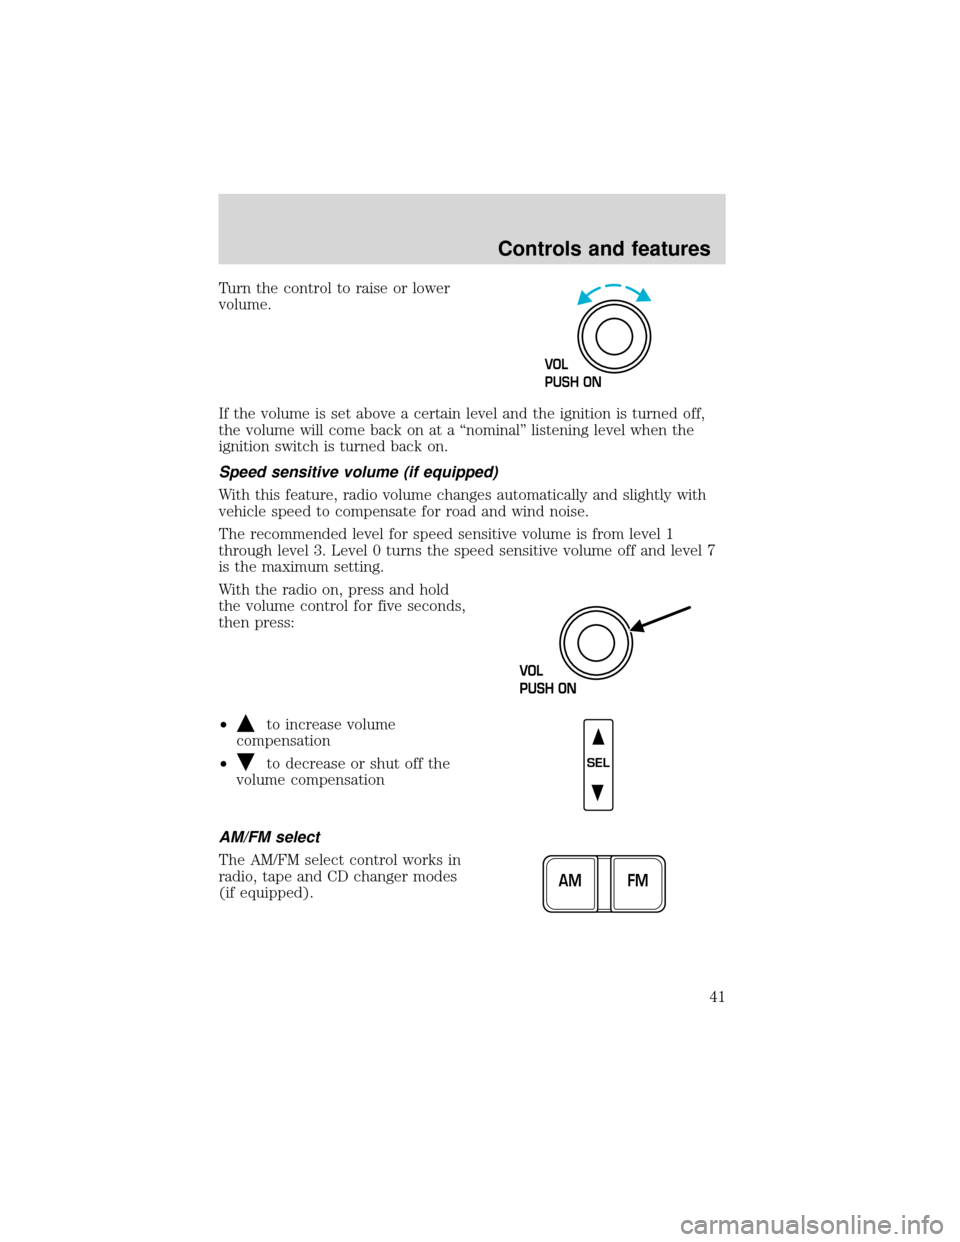
Turn the control to raise or lower
volume.
If the volume is set above a certain level and the ignition is turned off,
the volume will come back on at a“nominal”listening level when the
ignition switch is turned back on.
Speed sensitive volume (if equipped)
With this feature, radio volume changes automatically and slightly with
vehicle speed to compensate for road and wind noise.
The recommended level for speed sensitive volume is from level 1
through level 3. Level 0 turns the speed sensitive volume off and level 7
is the maximum setting.
With the radio on, press and hold
the volume control for five seconds,
then press:
•
to increase volume
compensation
•
to decrease or shut off the
volume compensation
AM/FM select
The AM/FM select control works in
radio, tape and CD changer modes
(if equipped).
VOL
PUSH ON
SEL
FM AM
Controls and features
41
Page 43 of 280
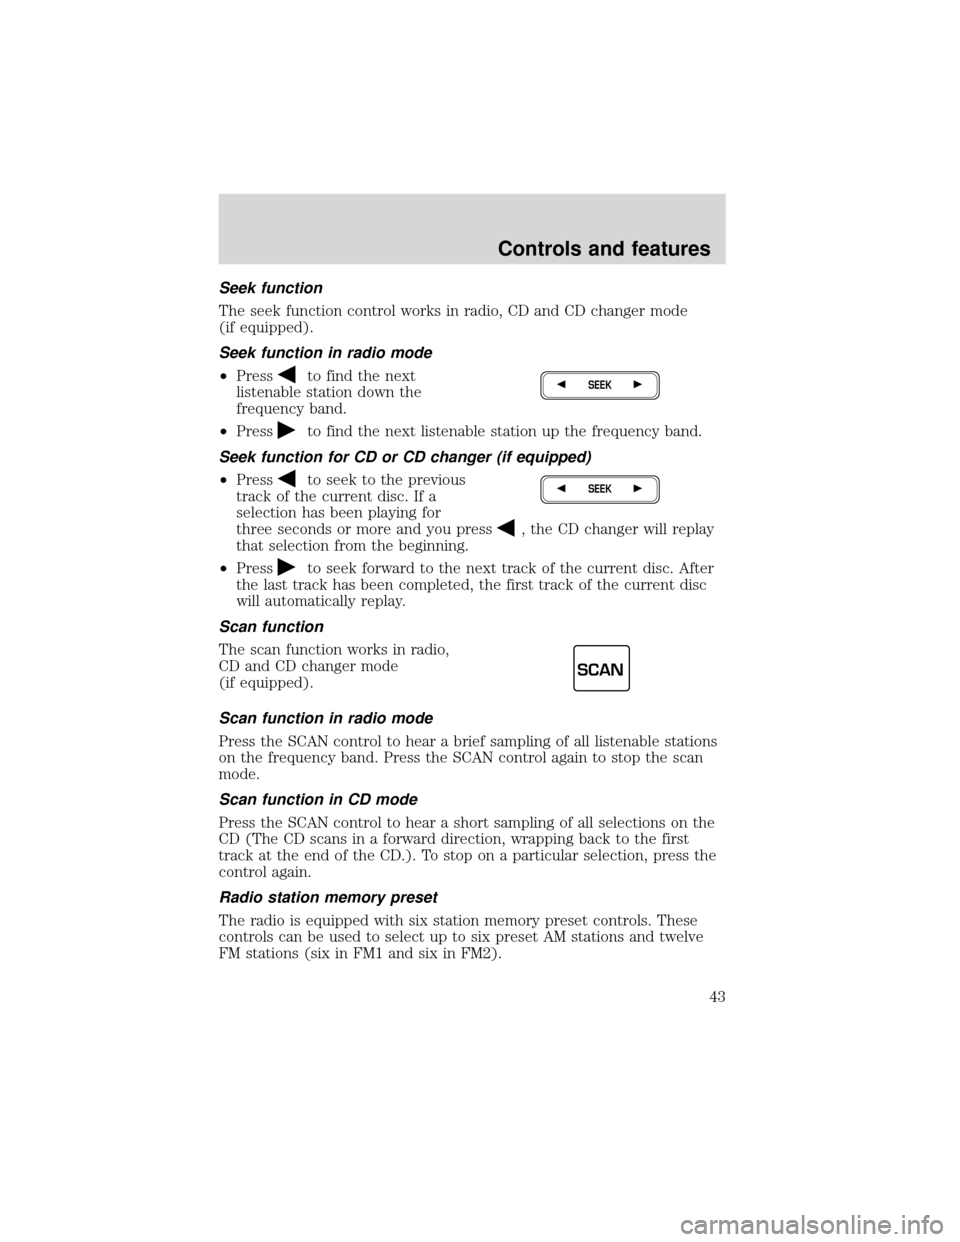
Seek function
The seek function control works in radio, CD and CD changer mode
(if equipped).
Seek function in radio mode
•Press
to find the next
listenable station down the
frequency band.
•Press
to find the next listenable station up the frequency band.
Seek function for CD or CD changer (if equipped)
•Press
to seek to the previous
track of the current disc. If a
selection has been playing for
three seconds or more and you press
, the CD changer will replay
that selection from the beginning.
•Press
to seek forward to the next track of the current disc. After
the last track has been completed, the first track of the current disc
will automatically replay.
Scan function
The scan function works in radio,
CD and CD changer mode
(if equipped).
Scan function in radio mode
Press the SCAN control to hear a brief sampling of all listenable stations
on the frequency band. Press the SCAN control again to stop the scan
mode.
Scan function in CD mode
Press the SCAN control to hear a short sampling of all selections on the
CD (The CD scans in a forward direction, wrapping back to the first
track at the end of the CD.). To stop on a particular selection, press the
control again.
Radio station memory preset
The radio is equipped with six station memory preset controls. These
controls can be used to select up to six preset AM stations and twelve
FM stations (six in FM1 and six in FM2).
SEEK
SEEK
SCAN
Controls and features
43
Page 45 of 280
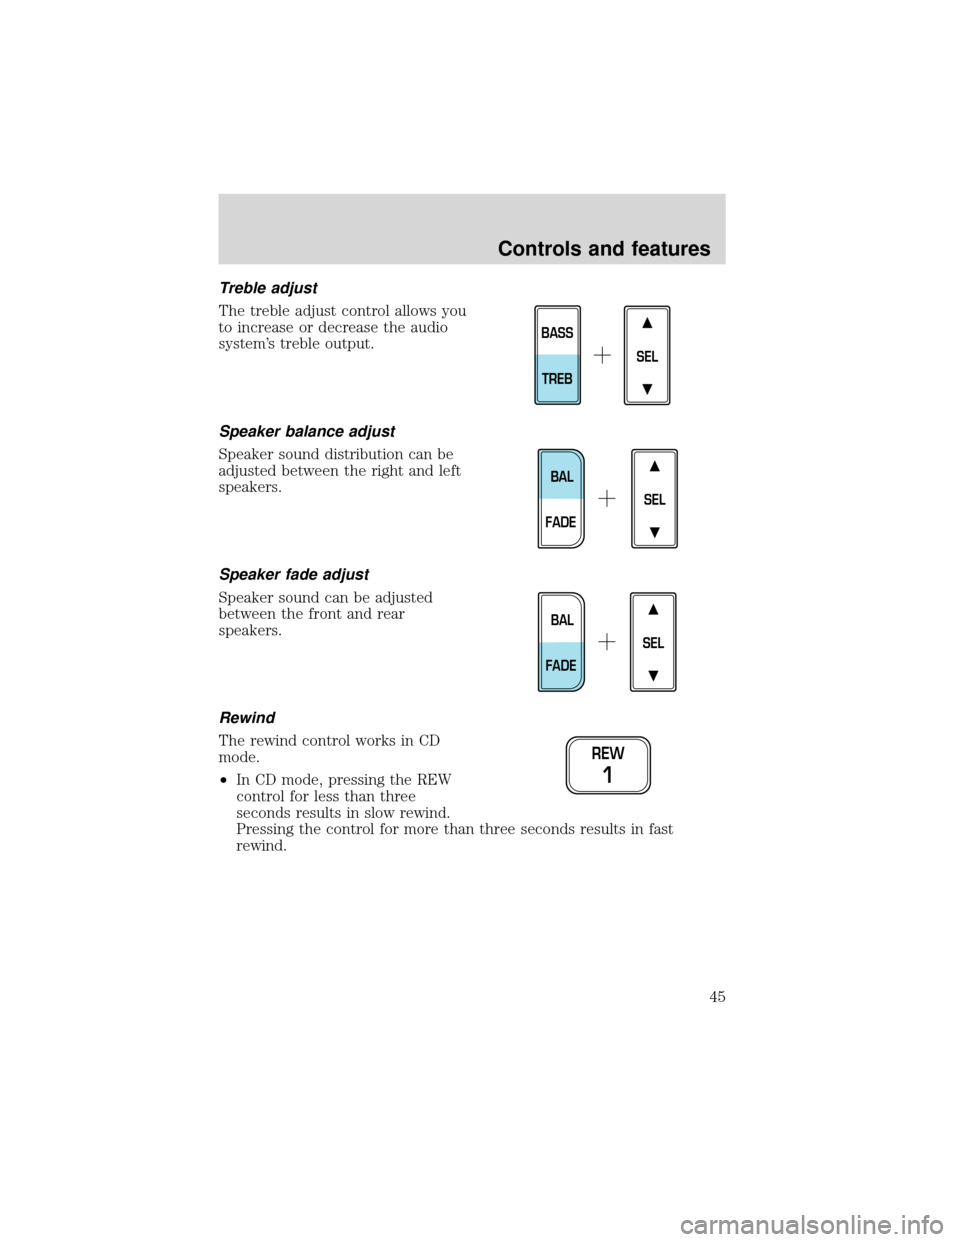
Treble adjust
The treble adjust control allows you
to increase or decrease the audio
system’s treble output.
Speaker balance adjust
Speaker sound distribution can be
adjusted between the right and left
speakers.
Speaker fade adjust
Speaker sound can be adjusted
between the front and rear
speakers.
Rewind
The rewind control works in CD
mode.
•In CD mode, pressing the REW
control for less than three
seconds results in slow rewind.
Pressing the control for more than three seconds results in fast
rewind.
SEL
BASS
TREB
SEL
BAL
FADE
SEL
BAL
FADE
REW
1
Controls and features
45